
Little House on the Prairie Maple Snow Candy [Recipe]
Ok my friends, today’s post is a fun one. I decided to make this recipe because I’ve been reading through the “Little House on the Prairie” book series by Laura Ingalls Wilder with my daughter, and since we just recently got a pretty good amount of fresh snow, she was eager to try making “Maple candy” just like they do in the book.
Long story short, we did it! And now I can honestly say that if you haven’t tried it before, I think it’s worth adding to your winter bucket list! This is a fun family project for a winter day.
Side note, if you haven’t read the books, there’s a reason they’re famous! I love how wholesome, sweet, and well-written these stories are from the life of a family in the 1800’s. It’s a look back through history, and it’s the kind of reading that’s good for the soul.
What is maple snow candy?
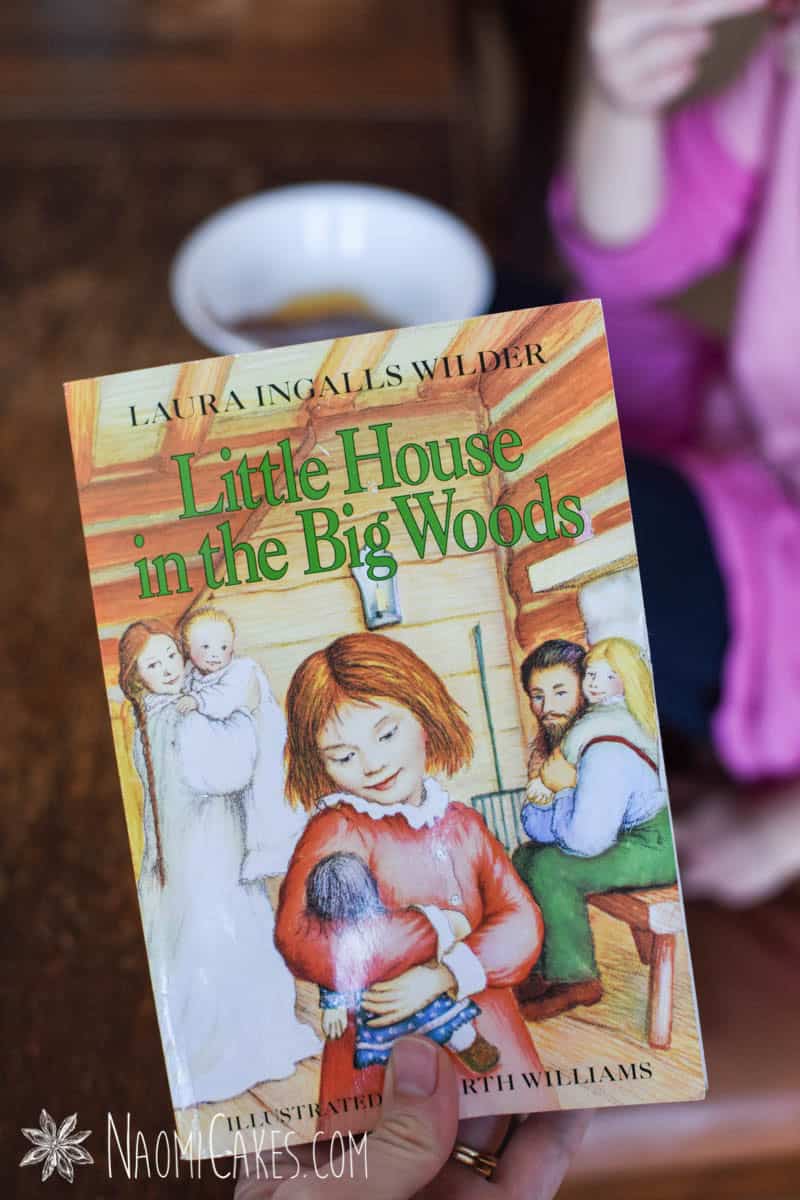
In the first book of the series, “Little House in the Big Woods,” Laura Ingalls’ family has a whole section dedicated to the process of harvesting maple sap from their maple trees and cooking it down for the family’s use. In particular, they made maple sugar out of their harvest, and just before it reached the “Graining” phase (when it could be hardened into sugar), it would get to a waxy texture which (once cooled) would make perfect, soft maple candy.
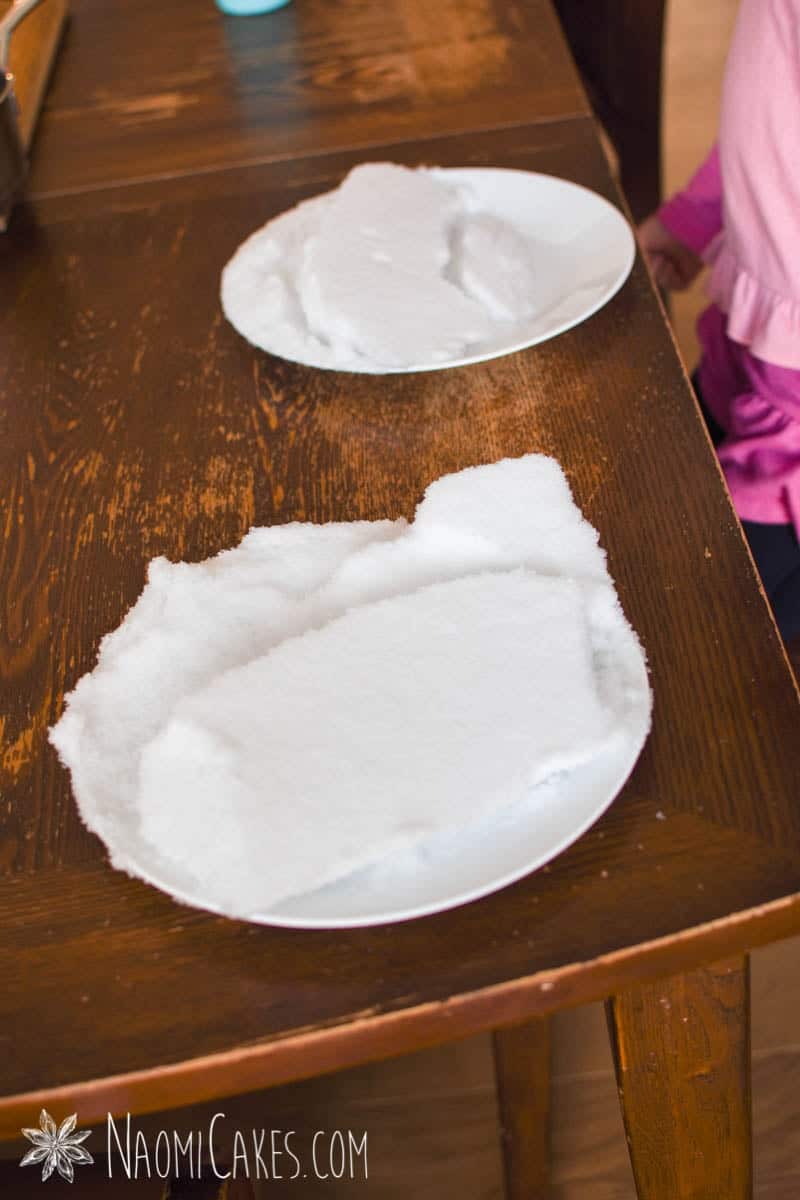
To cool the syrup and enjoy the candy, children in the book brought a plate to their grandmother loaded with fresh white snow to have boiling hot maple syrup poured on top of it. This made a delicious, chewy candy that they could eat right away.
What kind of maple syrup to use
You can use any type of pure maple syrup for this recipe; just know that lighter maple syrup may take a little bit longer to cook to the right temperature/texture. I used dark maple syrup for this post.
Getting the best texture
Like making candy, getting the texture right is all about how long the syrup has been cooking and how much the sugar has been allowed to begin caramelizing. In the book, the grandmother is periodically checking the texture of her syrup by ladling bits of it onto clean snow.
You can check the texture of your syrup candies 2 ways:
- By checking it on snow or ice (like they do in the book), or
- You can check it with a candy thermometer
What temperature should maple syrup snow candy be
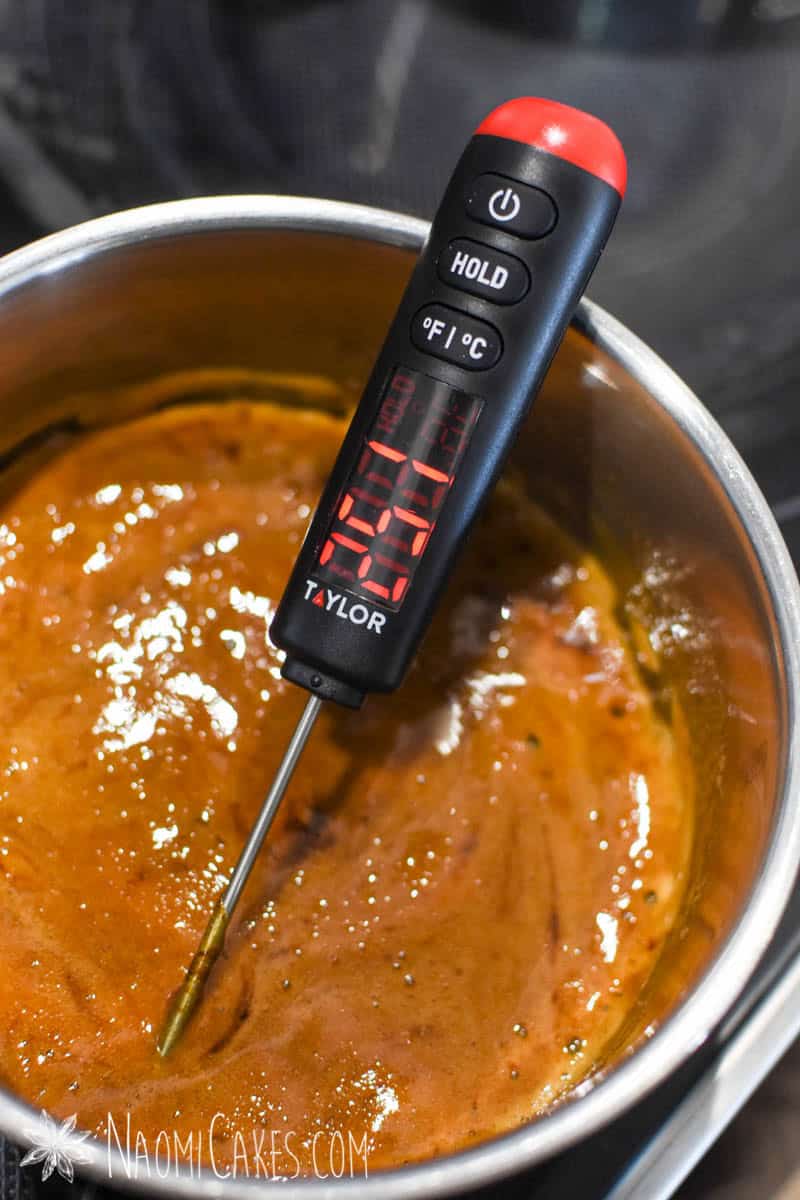
To make this post a little more accurate, I decided to use a digital thermometer to see what temperature the candy would be when it was ready. No surprise, I overcooked mine a little from what I was going for (likely because I was trying to photograph the process, and sugar in the process of cooking just gets hotter by the second)!
Candy cooked to the soft-ball stage should be around 235 degrees F (like a chewy caramel, which is how she describes it in the book), or you can do it like I did (to the hard-ball stage, more like maple taffy) and get it up to 245-250 degrees F.
Do you need a candy thermometer to make maple candy?
As I mentioned above, no! You can do it the old fashioned way and just check your syrup by cooling it on snow or ice cubes.
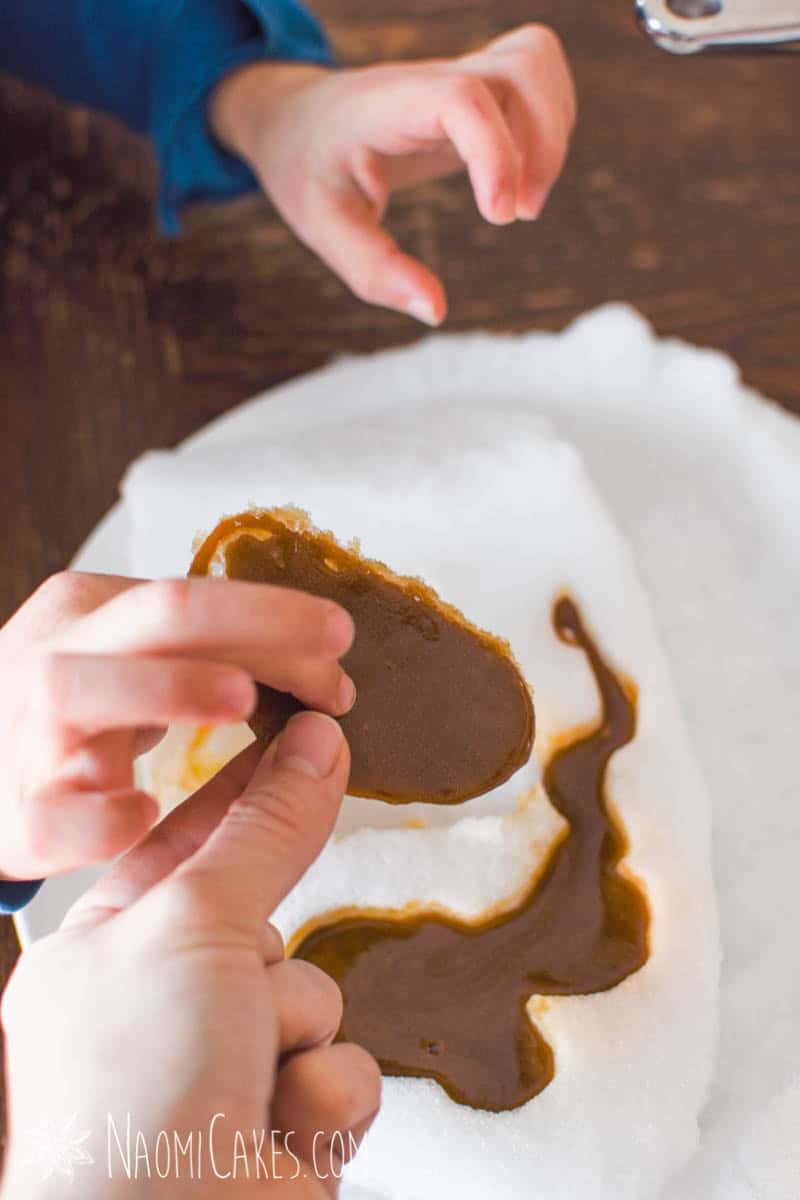
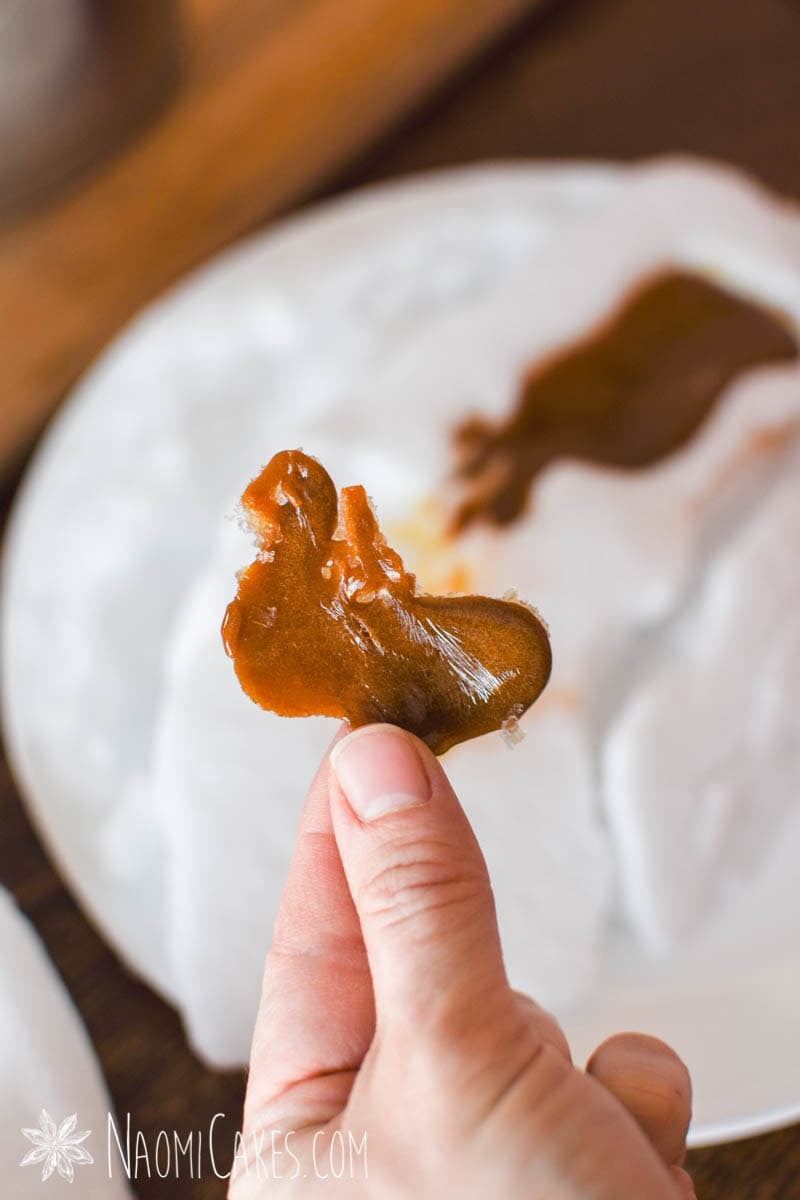
To make a good soft candy, you’ll want your syrup to be able to form a soft, malleable ball in your fingertips when you pick it up off of the cold snow. If you want your candy more firm (like maple syrup taffy), allow the syrup to cook until the cooled candy forms a hard ball in your fingertips.
A word of caution: be careful!
Maple syrup, a natural sugar, gets extremely hot when you cook it. If you spill hot sugar, or in this case hot syrup, onto your skin, it will stick to your skin and just burn deeper and deeper as long as it’s on there. It’s honestly one of the most nasty ways to burn yourself.
That said, just be careful; don’t let the little ones do the cooking, and make sure you keep your fingers from touching any of the hot, sugary syrup at any time.
How to make maple syrup snow candy
Here’s the basic method for how this is done!
Cook the syrup
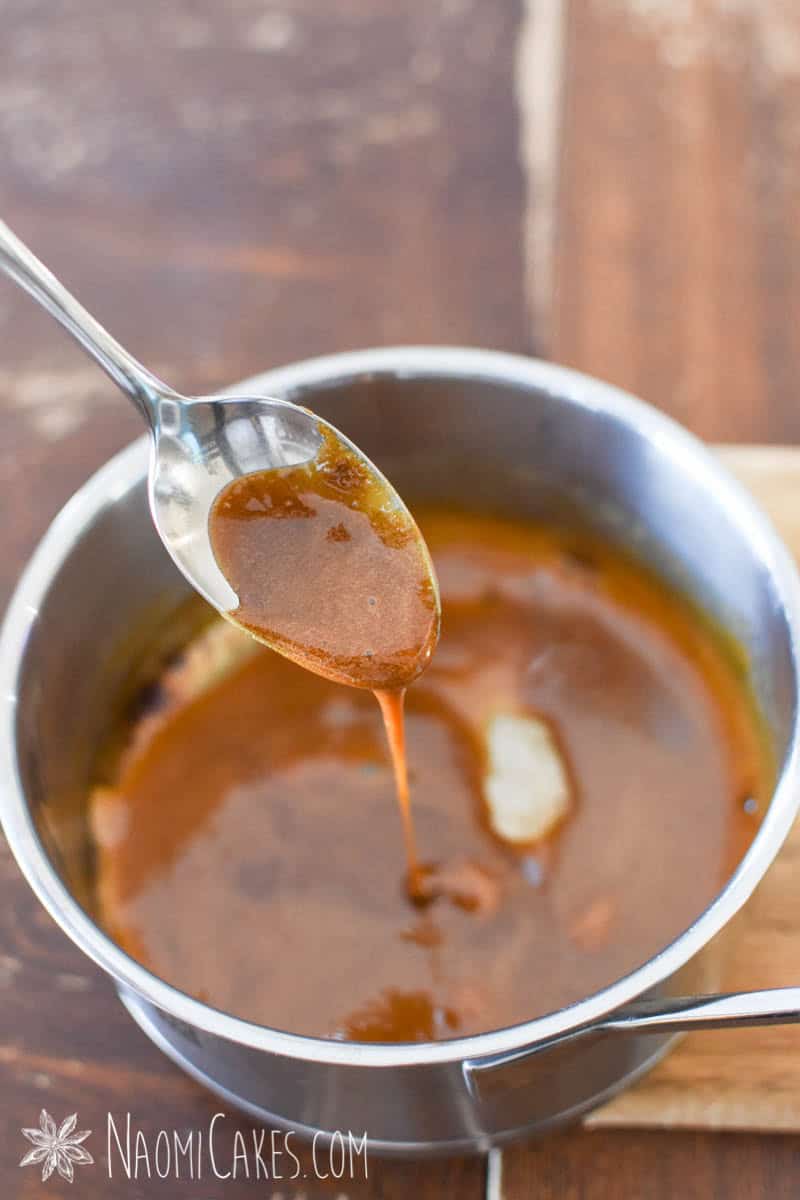
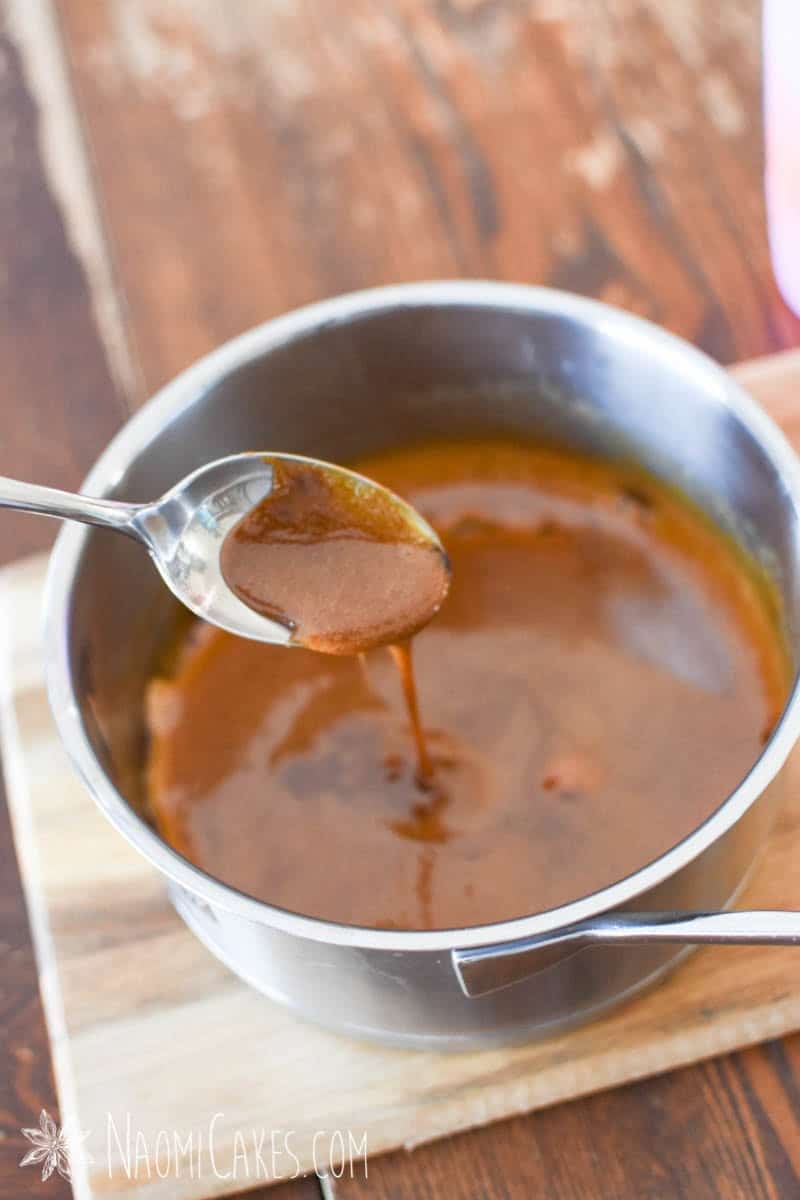
Cook some real maple syrup in a small saucepan (I used about 1/2 cup of maple syrup) until it boils at medium-high heat. Then reduce the temperature to low-medium heat, and continue cooking it until it reaches the correct texture/stage.
Cool the candy
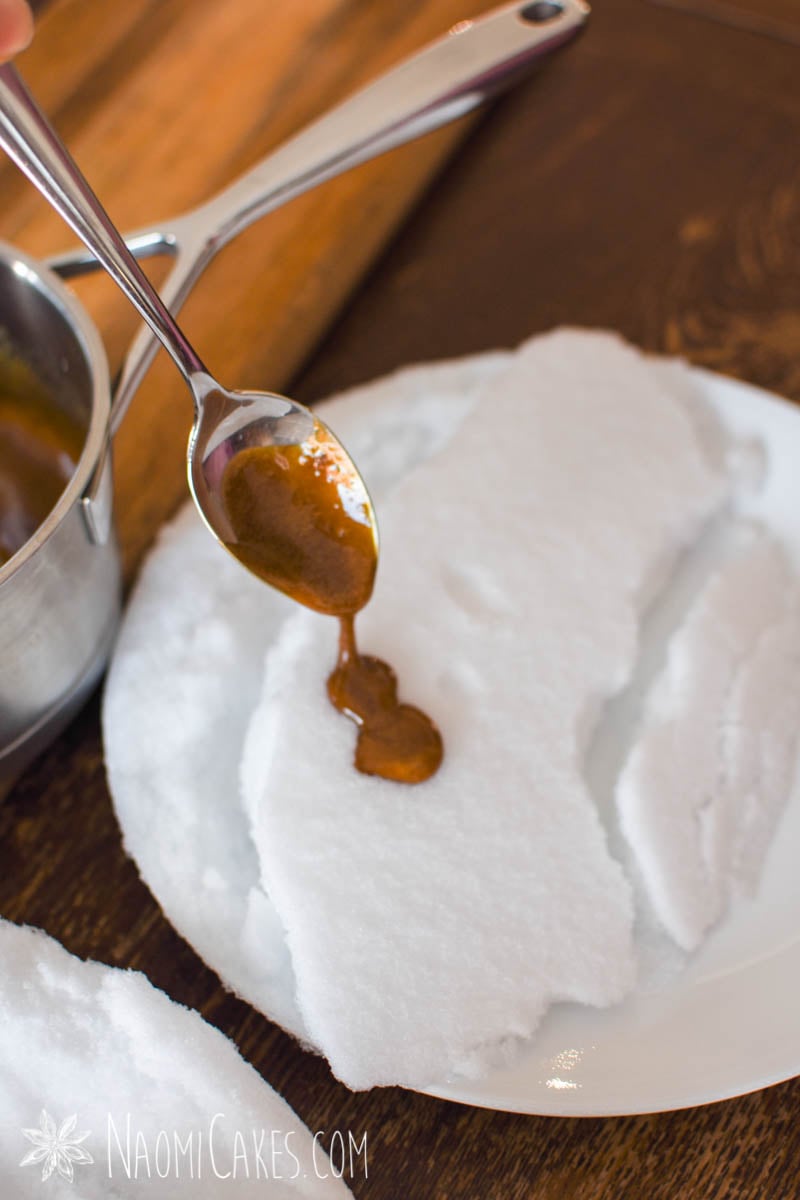
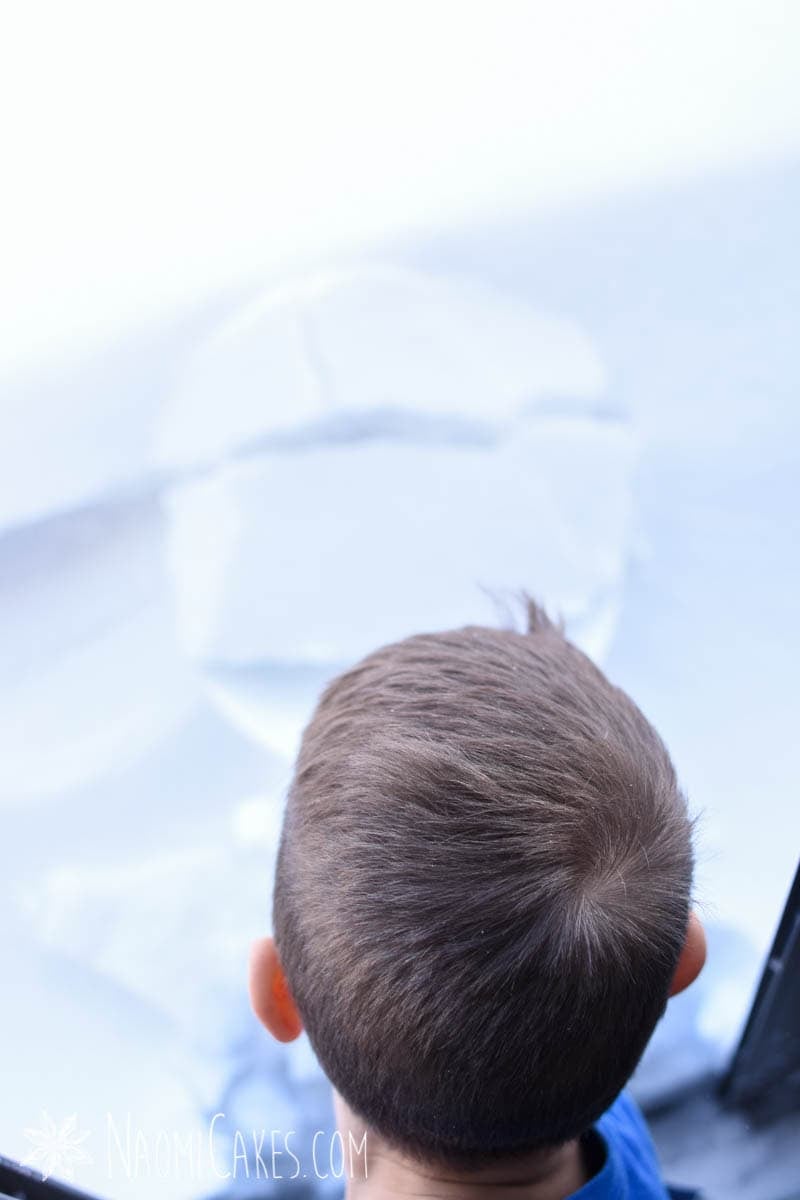
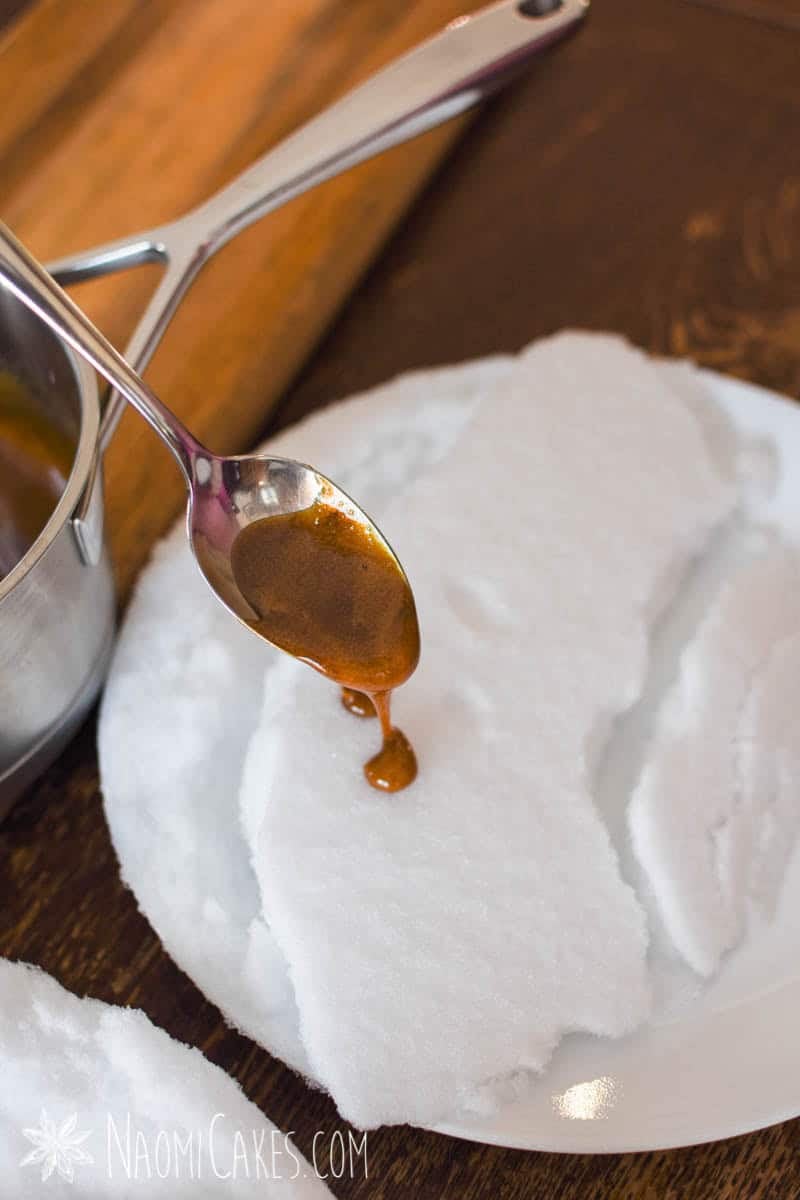
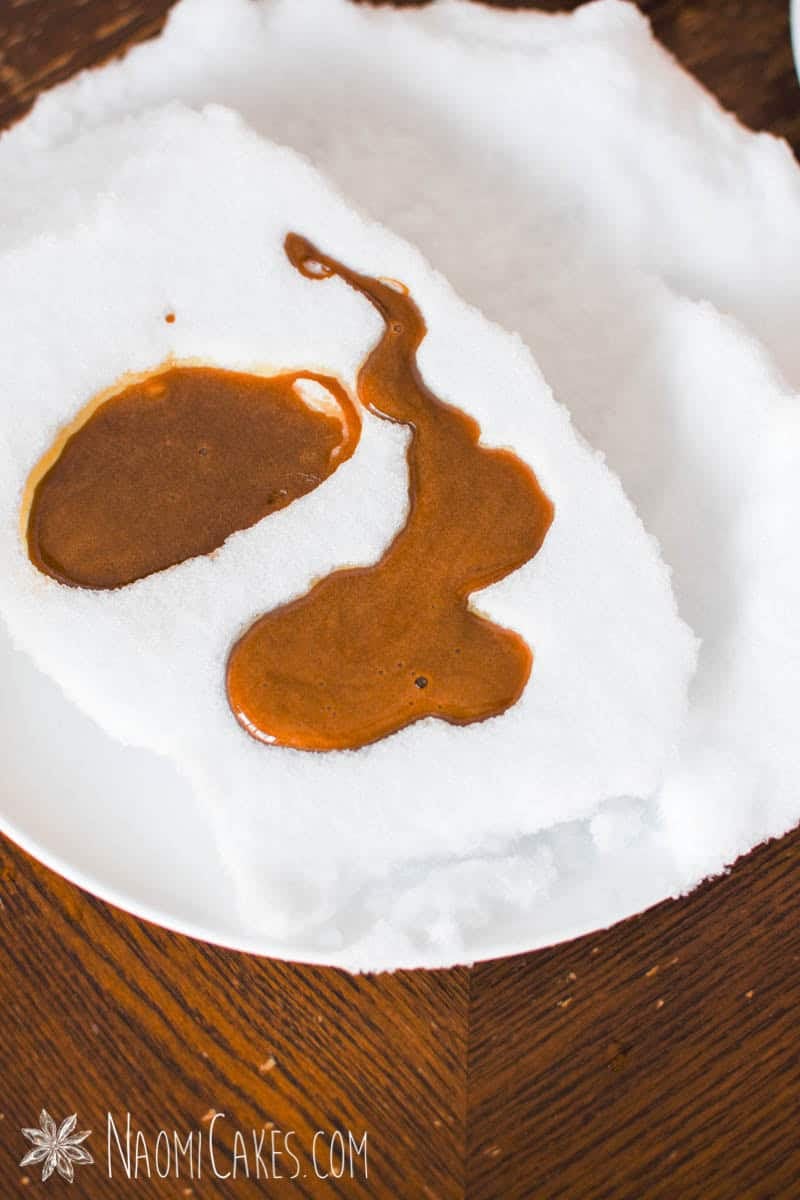
Once you’ve cooked your syrup to the right consistency/temperature, you can cool is quickly by pouring spoonfuls of it onto a clean bed of snow (we just loaded a plate with fresh snow and brought it in the house for this tasty treat.)
Tip: You can also easily load up a baking sheet with a lot of snow and make more homemade candy for more people, all in one place.
Eat the candy
Once all of that is done, you can go ahead and enjoy this sweet treat with your family! It only takes seconds to cool, and then it is perfectly safe for even little fingers to lift off of the snow.
For the detailed instructions, check out the recipe card below!
Notes
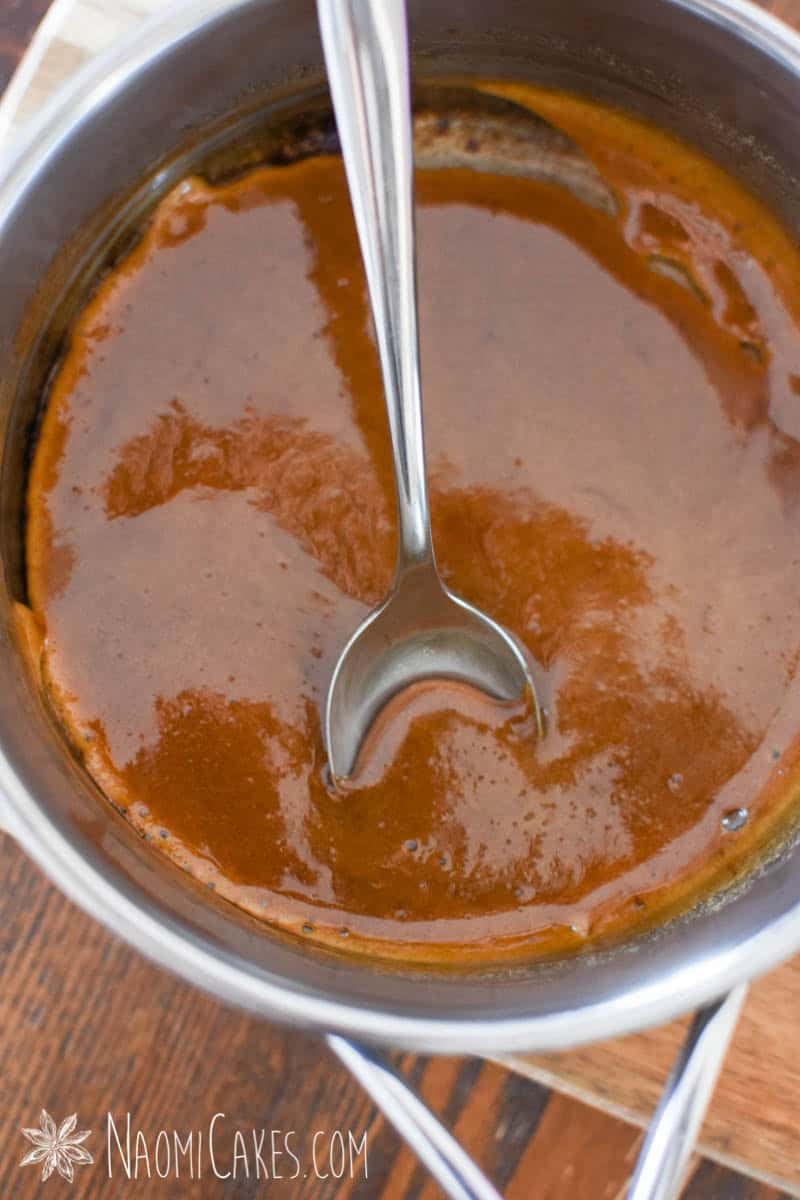
I found that my maple syrup became a much more “blonde” in color as it got hot, and then it appeared thicker and more like caramel as it got closer to temperature. The bubbles formed during the boiling process began to burst into empty holes once the syrup began to get quite thick.
Can you save maple syrup candy for later?
From my experience, no. The reason for this is that the candy becomes wet when it comes in contact with the snow, which begins to break down the sugar and dissolve it.
The best way to enjoy this candy is in the moment, as a fun winter activity with your family.
You will need:
Maple Snow Candy
I created this "recipe" as a way to try out the maple candy from Laura Ingalls Wilder's "Little House in the Big Woods" with my children. A fun project for a snowy day!
Ingredients
- 1/2 cup maple syrup
Instructions
-
In a small heavy bottomed saucepan, cook the maple syrup at medium-high heat until boiling. Reduce to medium-low, and cook (stirring frequently) until it reaches 235-250 degrees F. Remove from heat.
-
Pour the hot syrup over a plate of fresh, clean snow. Allow it to set briefly, and enjoy!
Recipe Notes
Maple syrup snow candy does not last well, since the snow does begin to melt on contact with the high heat of the maple syrup, and the candy mixed with water begins to break down quickly.
For best results, enjoy this candy immediately.

If you like this recipe, you may also like:
- Easy Dark Chocolate Truffles
- The Best Easy Homemade Hot Chocolate
- Oreo Cookie Pops
- Fruit and Nut Granola
That’s all for today! If you make this recipe, make sure to leave me a comment to let me know how it turned out! I hope you have lots of fun with your family. Also, as always – feel free to share your maple snow candy pictures by tagging me on Instagram @naomicakesofficial. I love to see you guys enjoying my posts!
Back soon,
Naomi
This post contains affiliate links.
I love this book series as well as this Canadian winter dessert. Thanks for sharing how to make it!
This looks so yum! I love maple syrup and can’t get the maple syrup candies I used to get in New England.
Thanks so much for the comment, Marissa! This is a delicious– and fun– project for a cold day!