
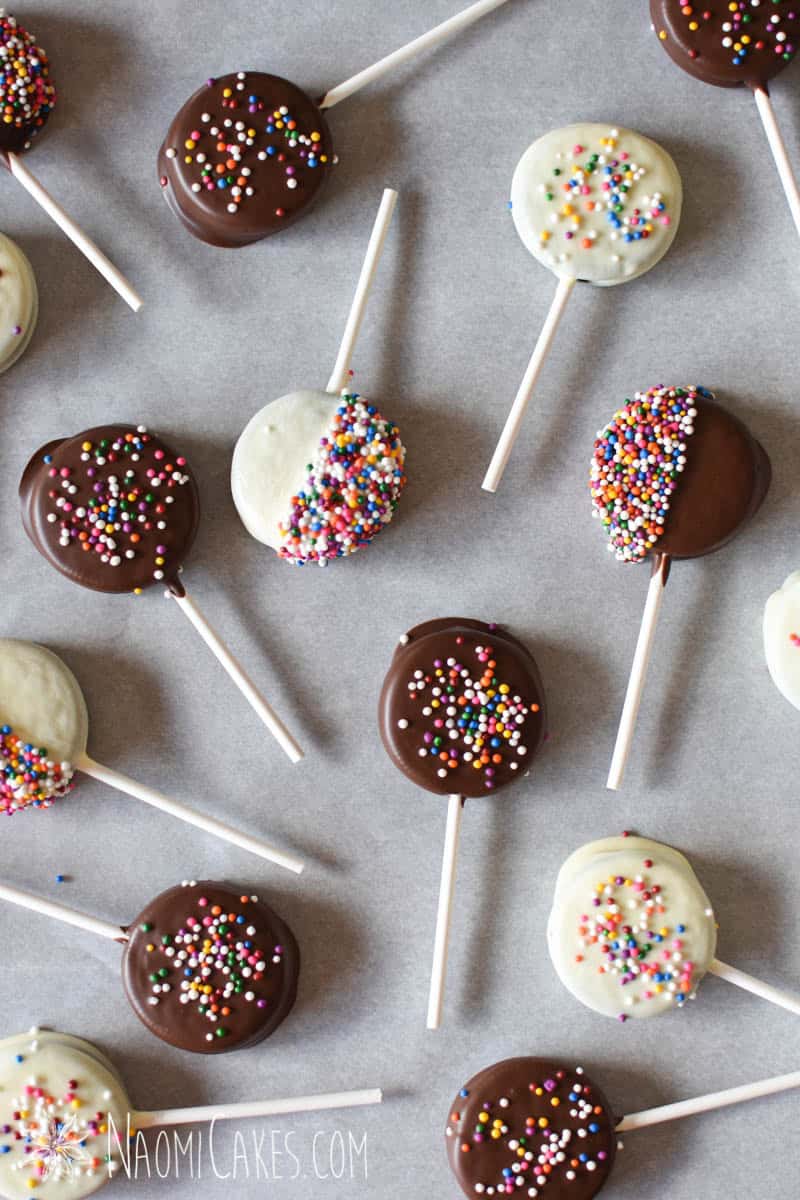
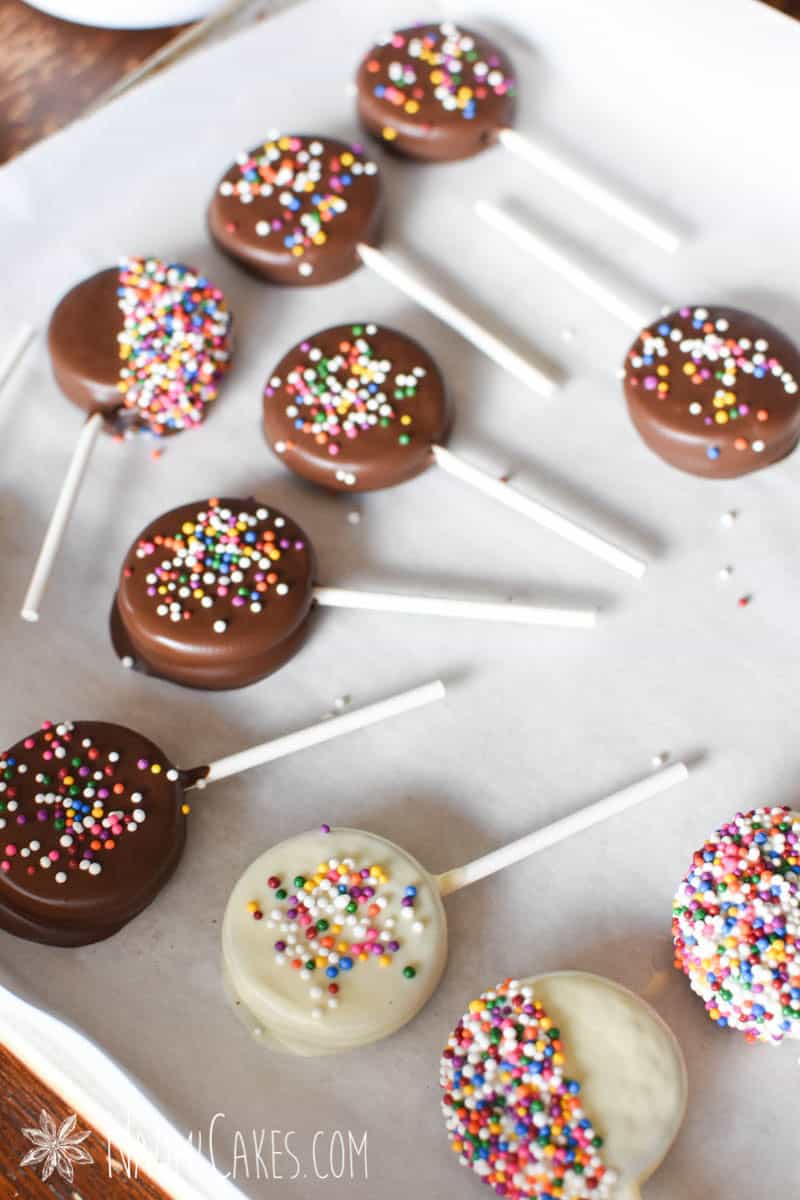
How to Make Chocolate Oreo Cookie Pops [Recipe]
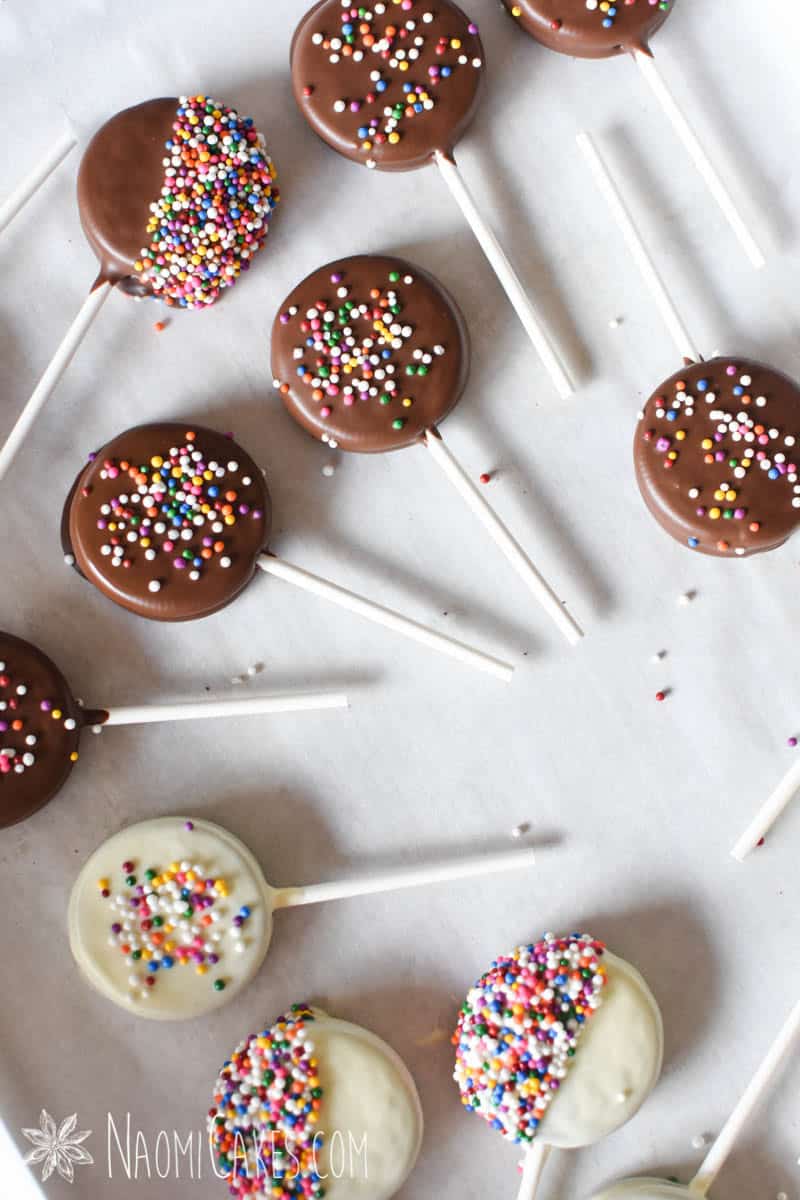
Today I want to teach you guys how to make these oh-so-simple Oreo cookie pops. These Oreo pops are so easy to make, and relatively quick to crank out as well, making them the perfect fun party treat for any of your family’s special occasions!
How to make Oreo cookie pops
These simple Oreo pops are easy breezy. Here’s a basic outline of how to make them:
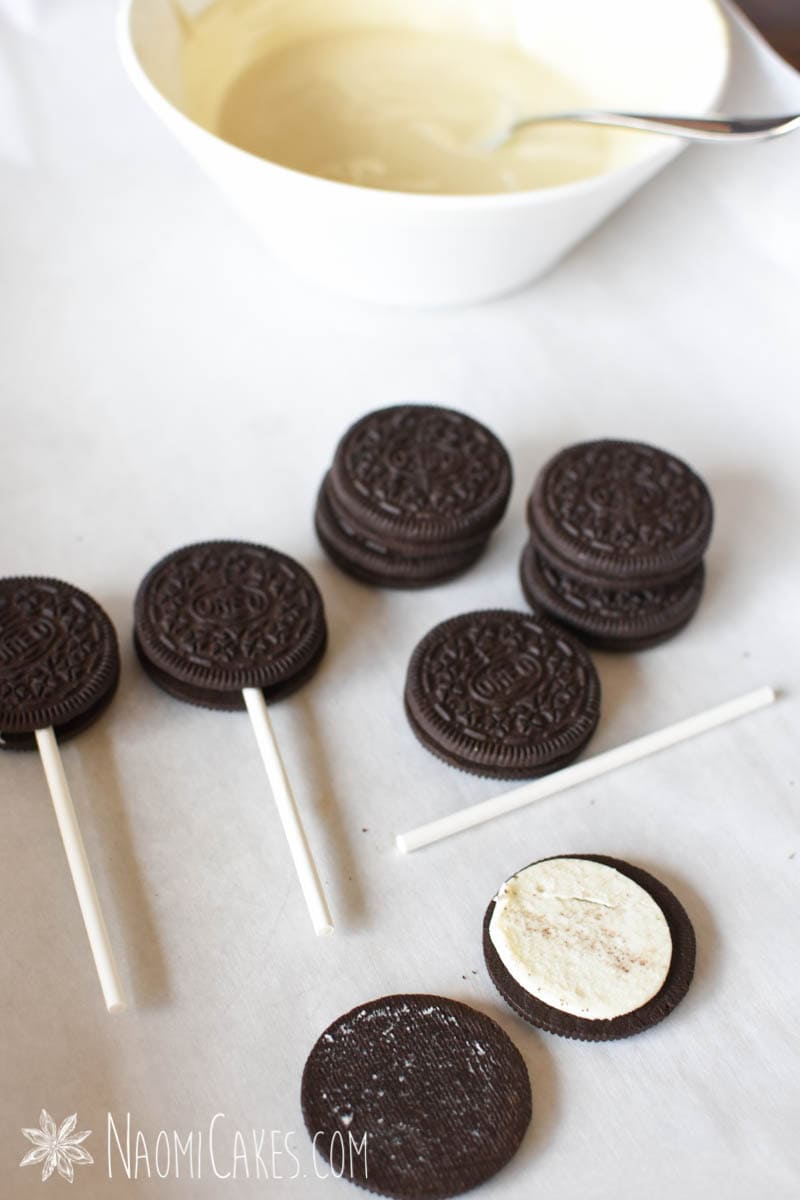
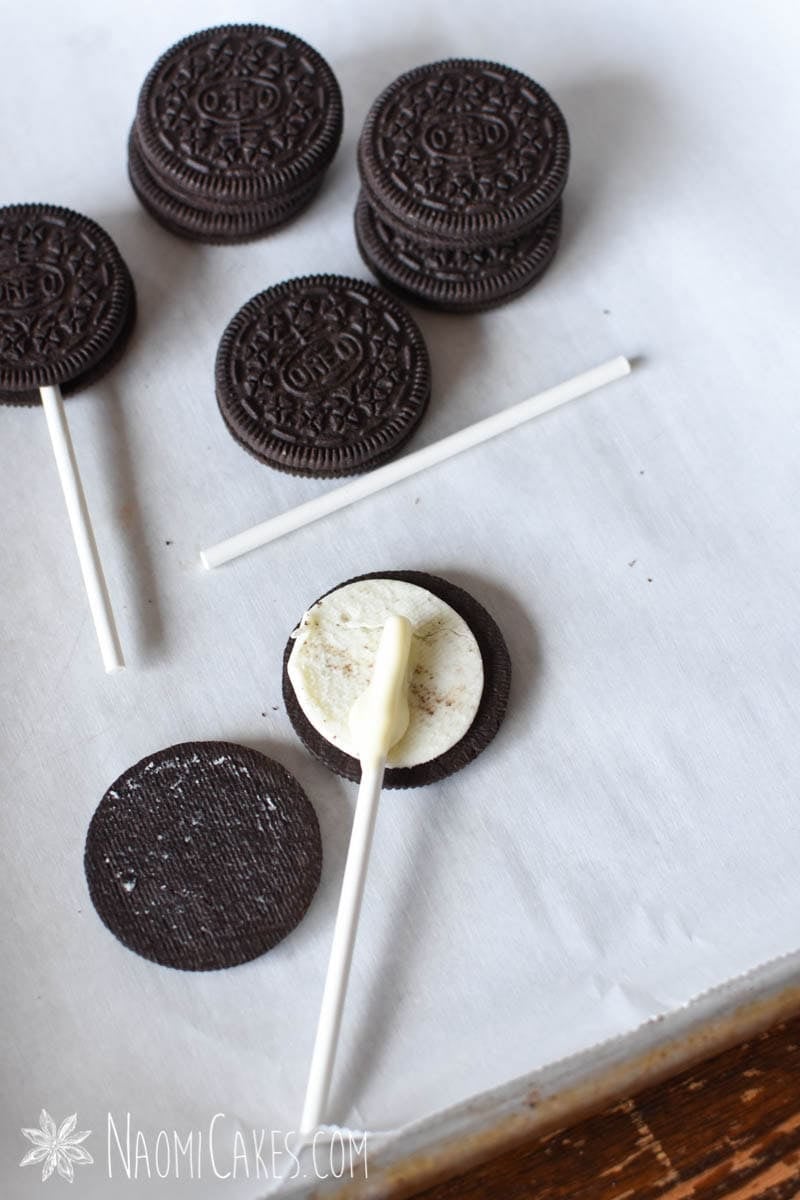
- Gently break apart an Oreo sandwich cookie, exposing the centre of the Oreo. Dip the end of a lollipop stick into some melted chocolate, and then gently press it into the Oreo filling. Top with the other half of the cookie so that the entire Oreo is stuck together with melted chocolate and the candy stick in the centre.
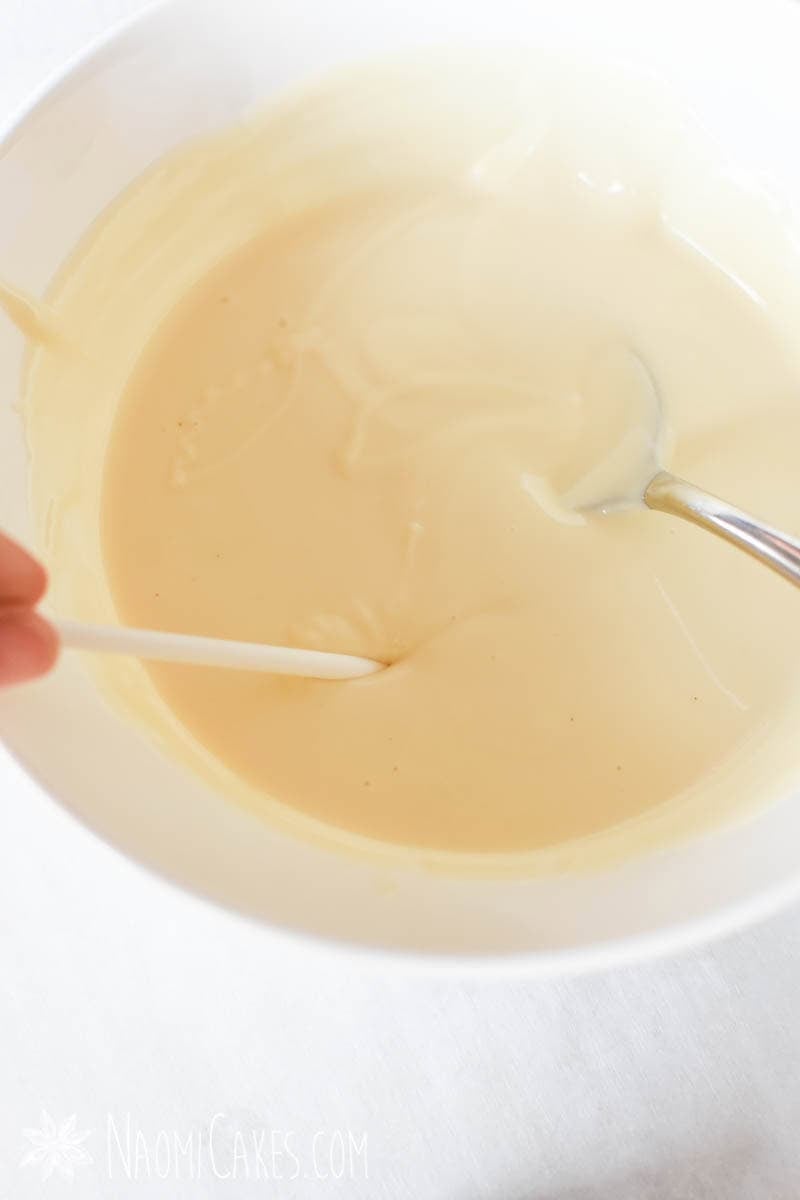
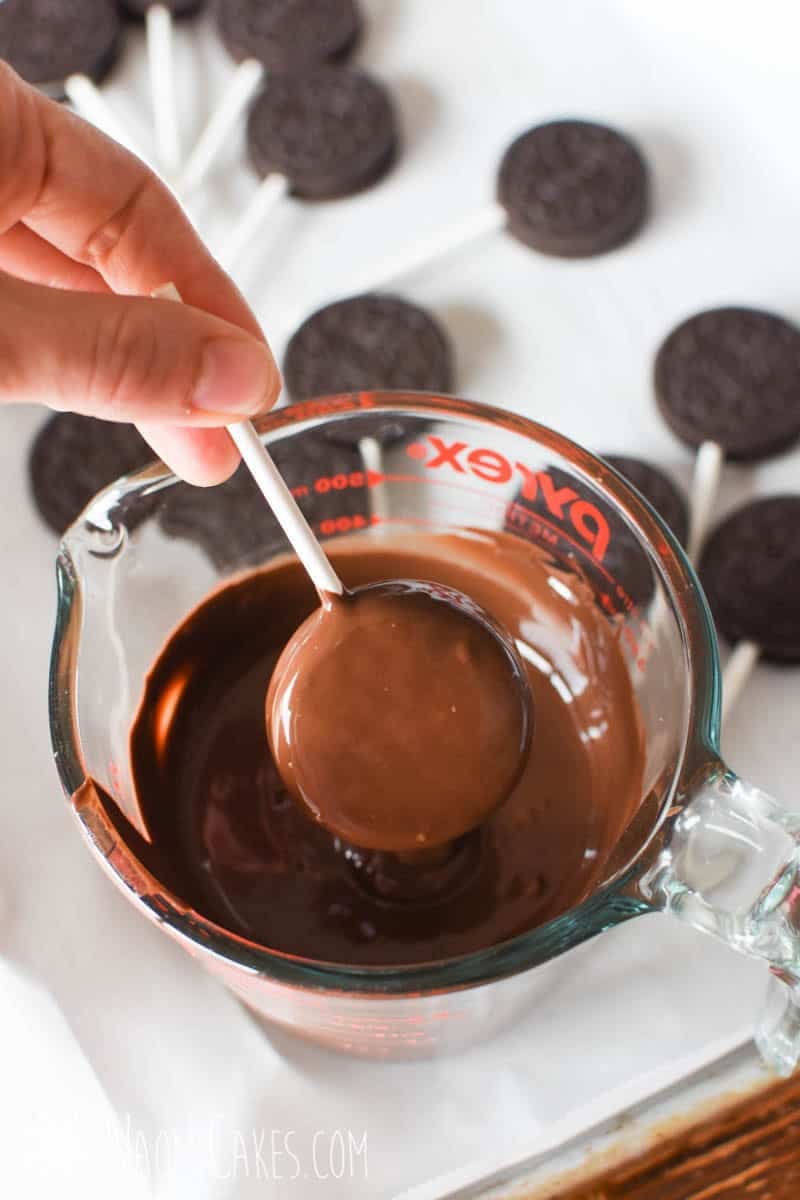
- Melt the chocolate in short bursts in a microwave-safe bowl or in a double boiler on the stovetop until smooth and melted. Pour the chocolate into a tall glass or measuring cup.
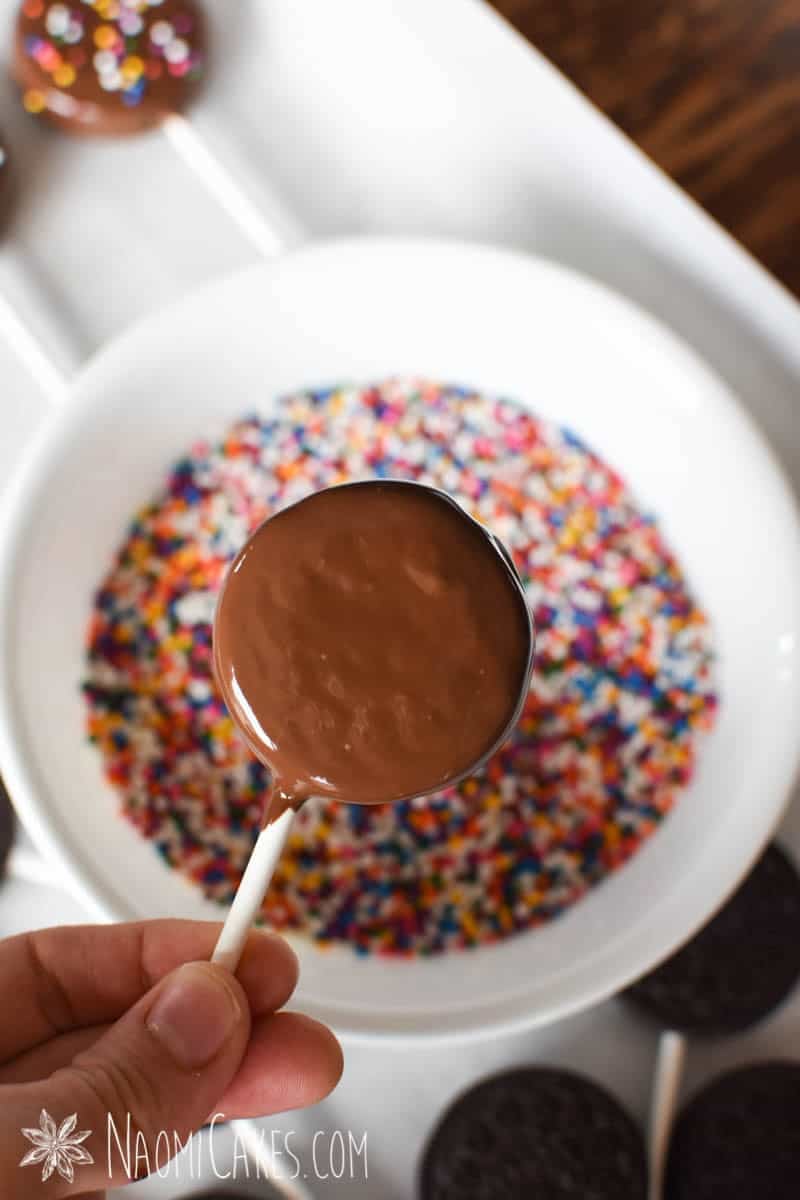
- Dip the entire cookie into the the chocolate coating, and let the excess chocolate drip off the end over the top of the cup.
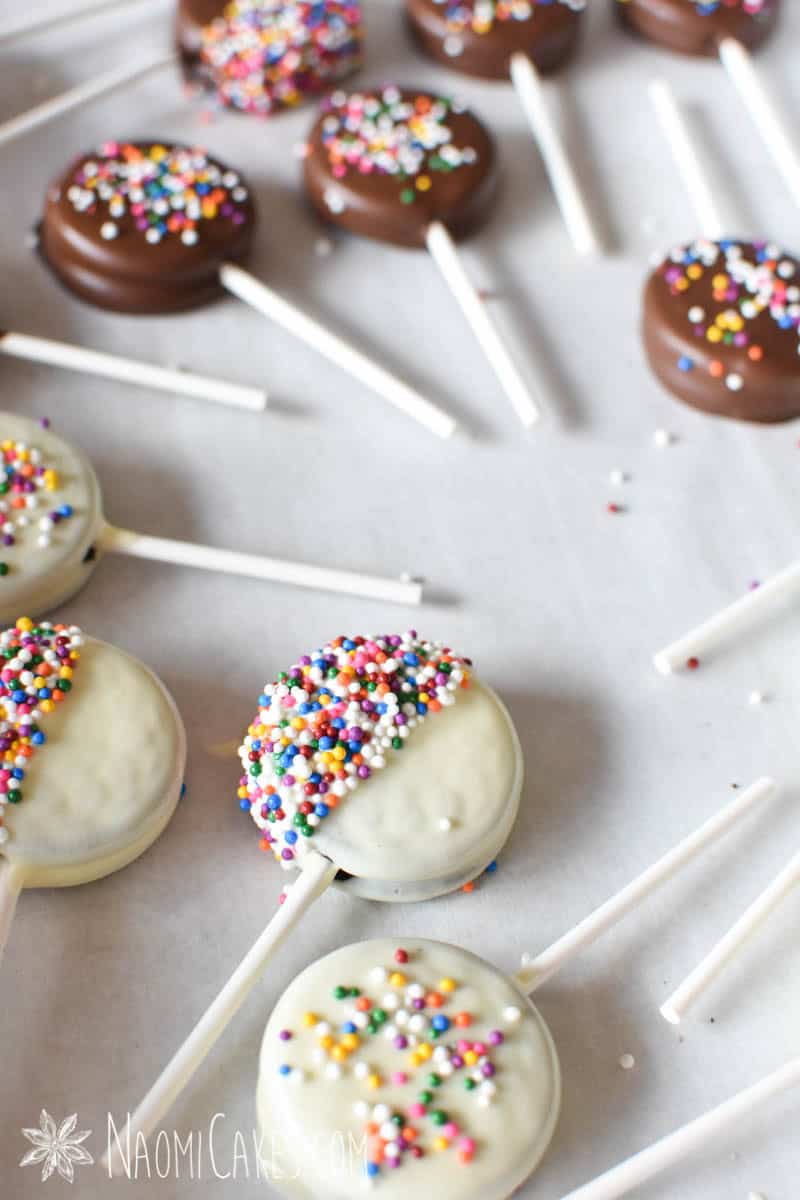
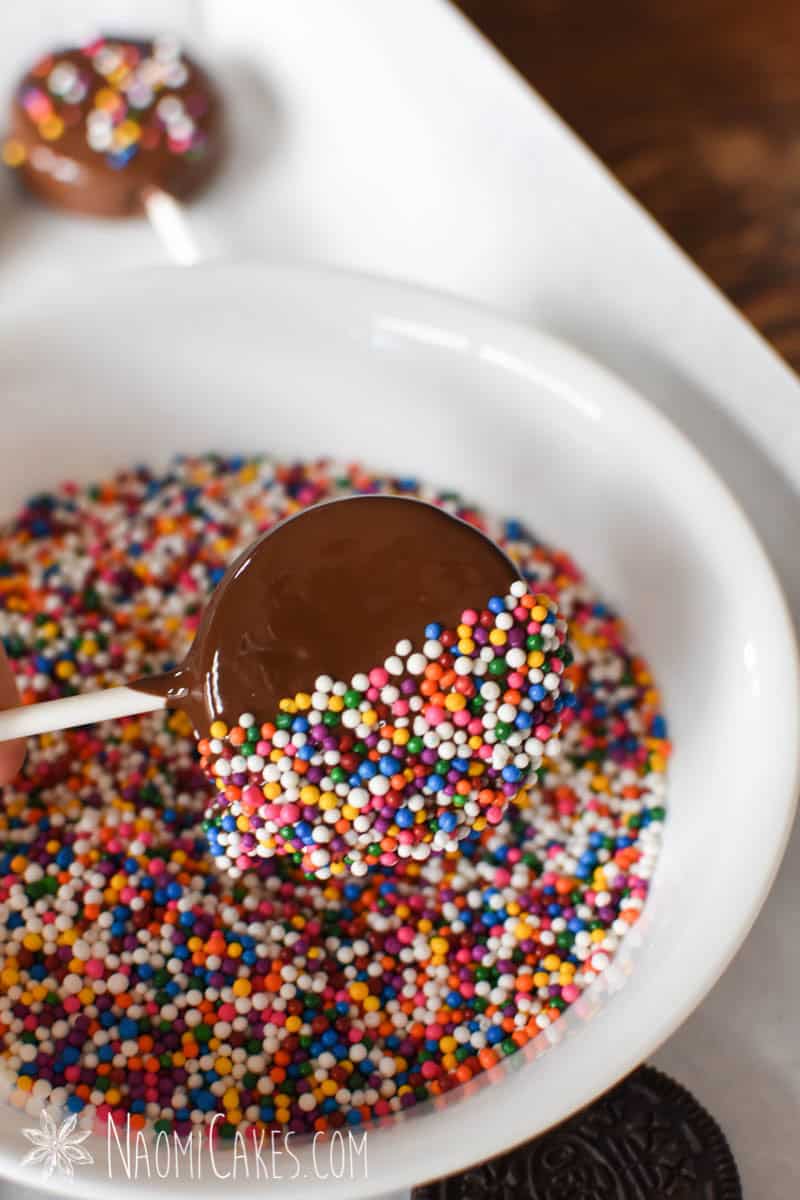
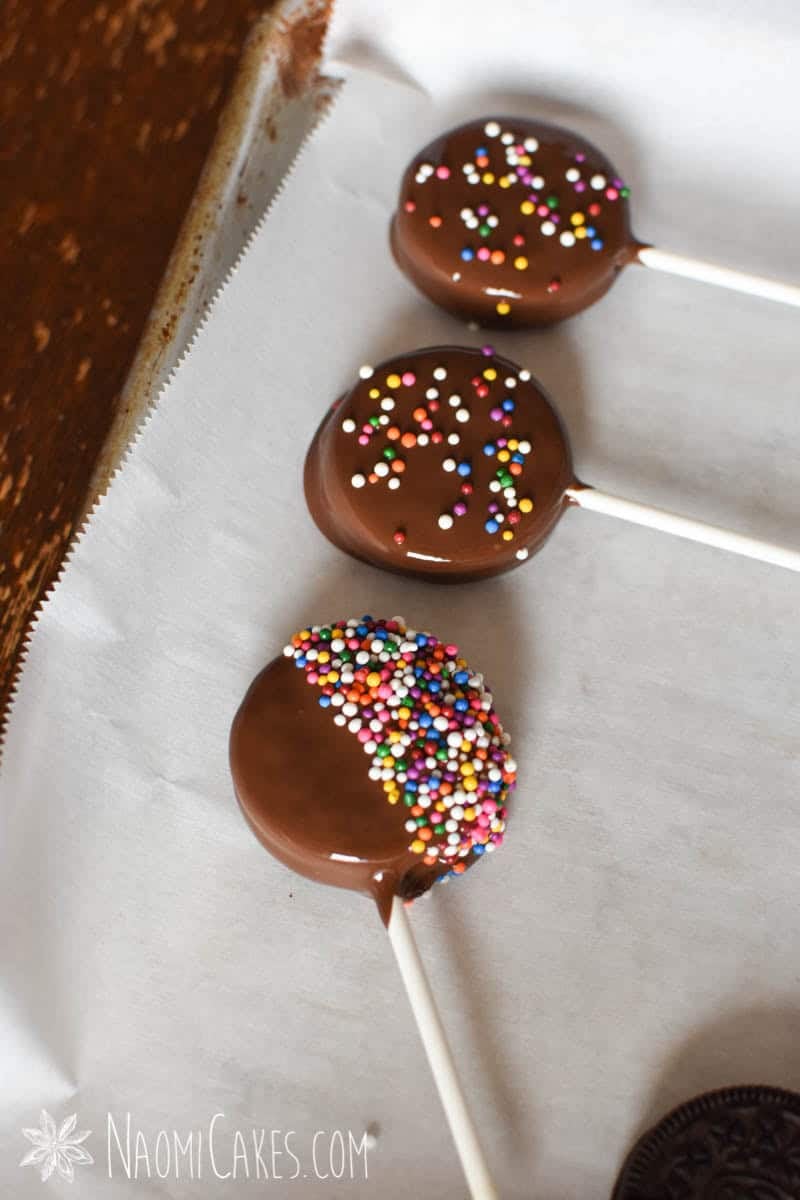
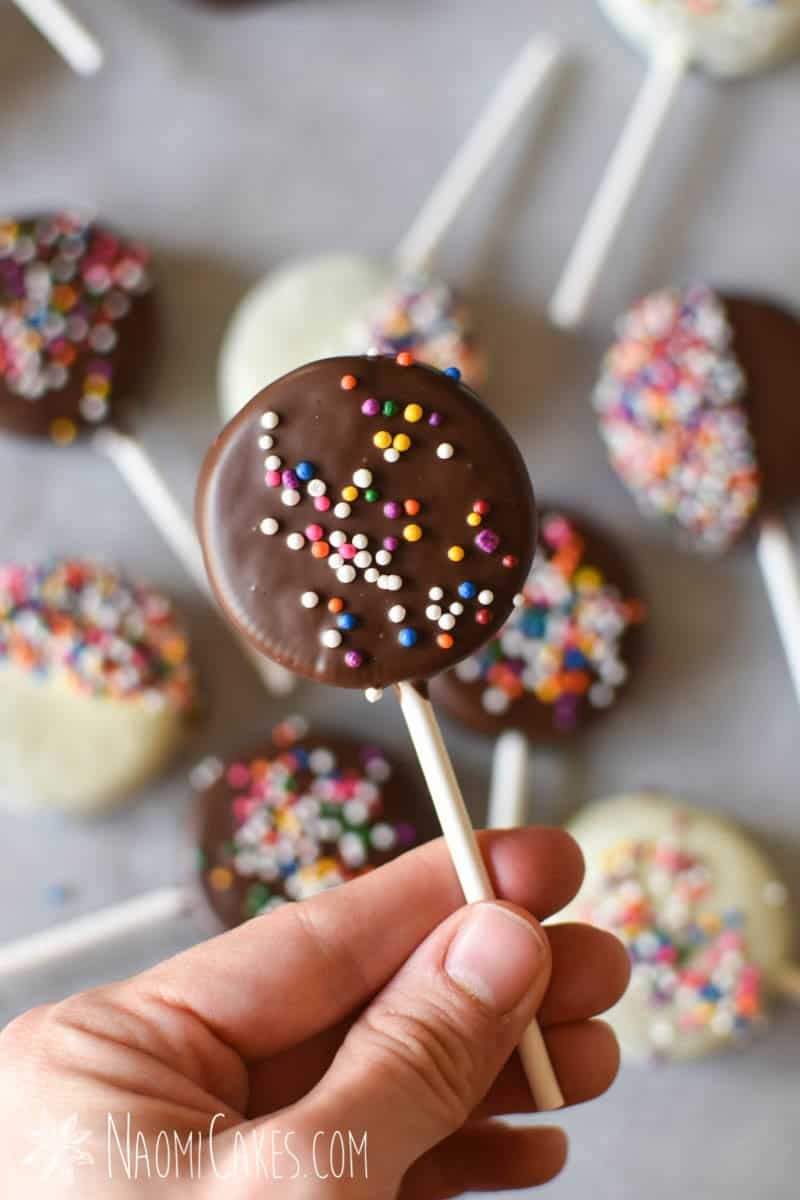
- Decorate the dipped cookie with sprinkles, chocolate drizzle, or the decoration of your choice, allowing it to set on a baking sheet covered with parchment paper or wax paper.
- Allow the chocolate to set at room temperature until firm, and trim the excess chocolate with a sharp knife (if necessary). Package your sweet treats in clear cellophane with a tie twist to seal and ribbon for extra decor.
What to do if the Oreos break
This is a really easy mistake to make, and thankfully it’s one that is not hard to fix. After all, chocolate coating can cover a lot of mistakes! If you break an Oreo cookie while you’re making your pops, the best way to fix it is just to “Glue” the pieces back together with melted chocolate. Allow the chocolate to set, and then proceed with coating the Oreo as before.
The best Oreos to use for this tutorial
I used regular Oreos for this tutorial, but you can use any other kind (or another type of sandwich cookie) as well. Since the Oreos have a thin layer of filling on the inside, it might even be easier to use double stuff Oreos for this tutorial, since the cake pop stick/lollipop stick might fit into the filling better.
Make your Oreo cookie pops “Extra” with this easy tip
You can make your Oreo cookie pops extra special with a thin layer of extra filling on the inside, provided that the filling will set to be quite firm. To do this, use a piping bag to add some chocolate or vanilla buttercream, chocolate ganache, or cream cheese filling to these cookies before sandwiching the cookies on either side of the lollipop stick. Allow the cookie pops to set until firm in the fridge before dipping the whole thing in your melted candy coating/chocolate coating.
What kind of chocolate to use for Oreo cookie pops
The simplest chocolate to use is easy, no-tempering-required candy melts or chocolate coating wafers. I recommend getting a higher quality brand like Girardelli for this, but you can use any kind of coating chocolate with good results.
I would not recommend using chocolate chips or white chocolate chips, since those types of chocolate will be thicker and heavier and will not coat your cookie pops with a smooth finish.
How to decorate Oreo cookie pops
There are so many beautiful, festive sprinkles out that to make any holiday party more fun! Try small amounts of any of the following for a beautiful finish to your homemade treats.
- New Year’s sprinkles
- Valentine’s Day sprinkles
- Superbowl sprinkles
- St. Patrick’s Day sprinkles
- Easter sprinkles
- Canada Day sprinkles
- 4th of July sprinkles
- Back to School sprinkles
- Harvest sprinkles
- Thanksgiving sprinkles
- Christmas sprinkles (or as pictured in this post)
- Birthday sprinkles
- Baby shower sprinkles (Boy or Girl)
- Wedding sprinkles
- Anniversary sprinkles
- Graduation sprinkles
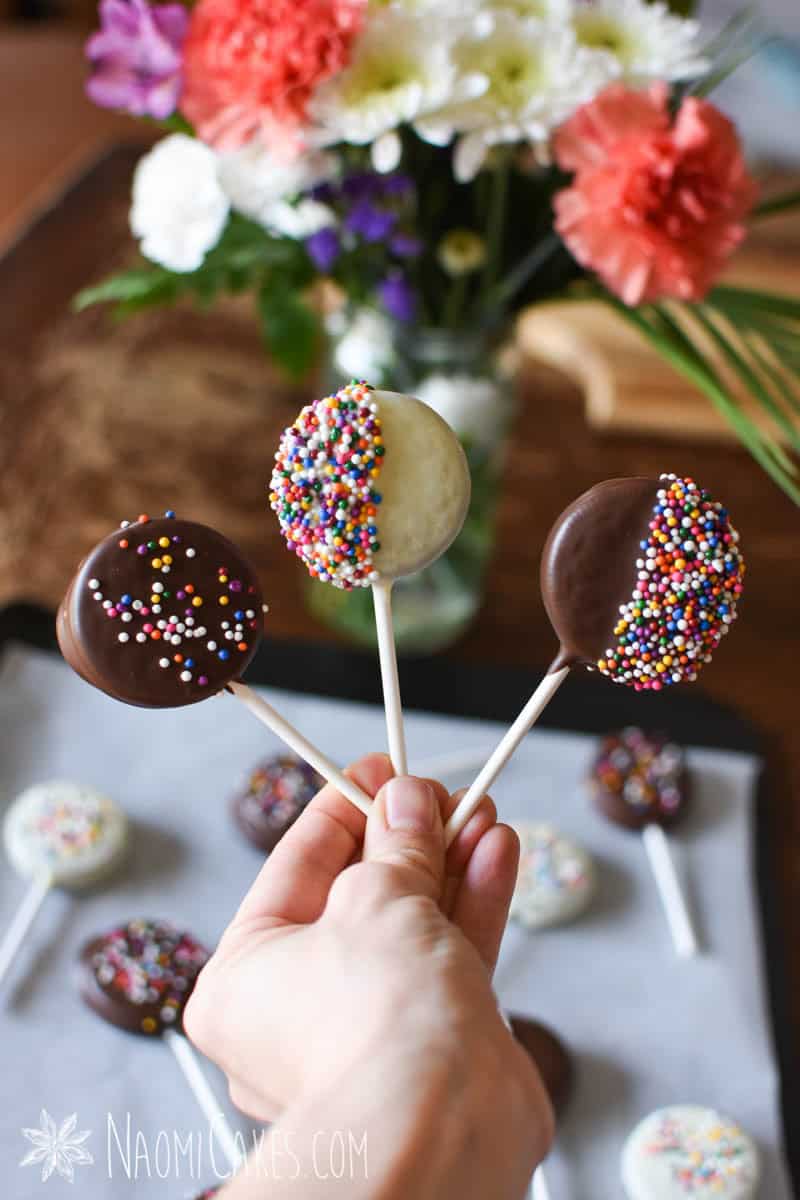
A great edible favor/gift idea
These little cookie pops are one of the best edible favor or gift ideas! The reason is that they are really cute, really easy to make, delicious, and long-lasting. They are also a great party craft for a group; making these cookie pops is fun, easy to do, and easy to finish quickly.
How to package cookie pops
I always like to recommend clear cellophane bags, with a white twist tie and a bit of satin ribbon or curling ribbon as one of my favourite ways to package desserts like this; it’s a simple, pretty way to keep them fresh and clean!
Can you make other types of cookie pops with this tutorial?
Yes! This tutorial works well with any crunchy sandwich cookie with good structure (anything that holds together really well).
You could also try this tutorial with two classic sugar cookies or chocolate sugar cookies, sandwiched together with a thin layer of chocolate or vanilla buttercream.
How long do cookie pops last?
Check the package of your Oreos for an expiry date to look for a recommended amount of time to keep these… but due to the nature of the ingredients involved here, these cookies will easily last for several weeks at cool room temperature.
Storing homemade cookie pops for freshness
Cellophane bags are remarkably good at keeping the freshness of the cookies intact, provided that they are tightly sealed with a twist tie or some other kind of fastener. You can also store your cookie pops in an airtight container or cookie tin at room temperature for several weeks (as mentioned before, according to the recommended expiry date on the cookie container).
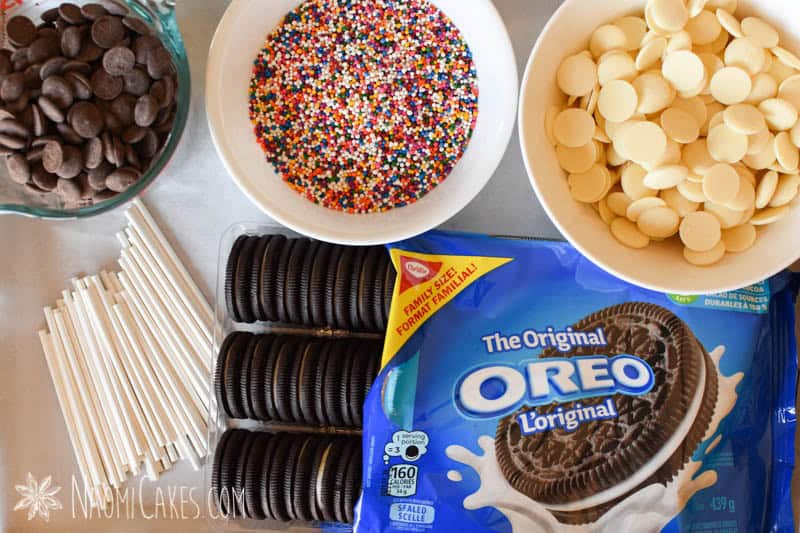
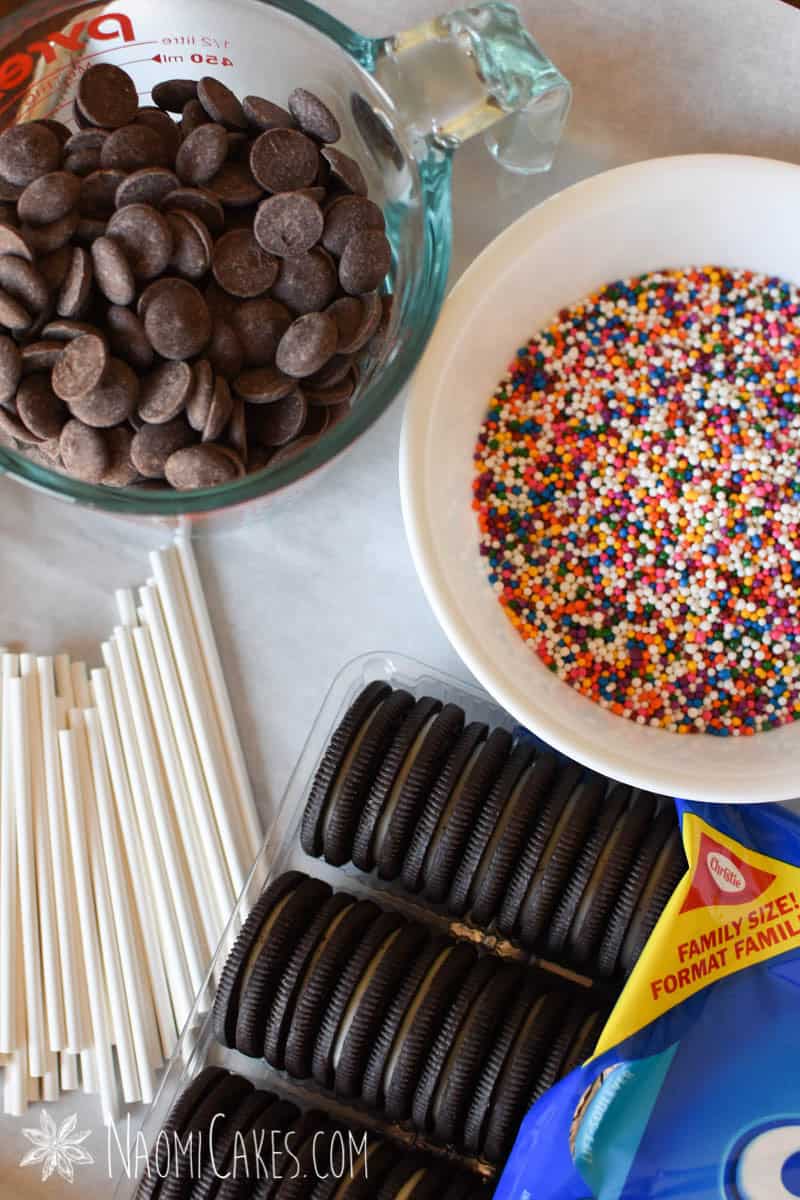
You will need:
- Oreo Cookies (I used regular Oreos)
- Lollipop sticks or wooden pop sticks
- Dark chocolate melting wafers (or milk chocolate wafers or white chocolate wafers, according to your preference
- Sprinkles (optional)
- Double boiler, glass bowl and pot, or a glass bowl in the microwave
- Tall glass or mason jar
- Parchment paper (or wax paper)
- Baking sheet
- Sharp knife
- Packaging supplies, such as clear cellophane bags, with a white twist tie and a bit of satin ribbon or curling ribbon
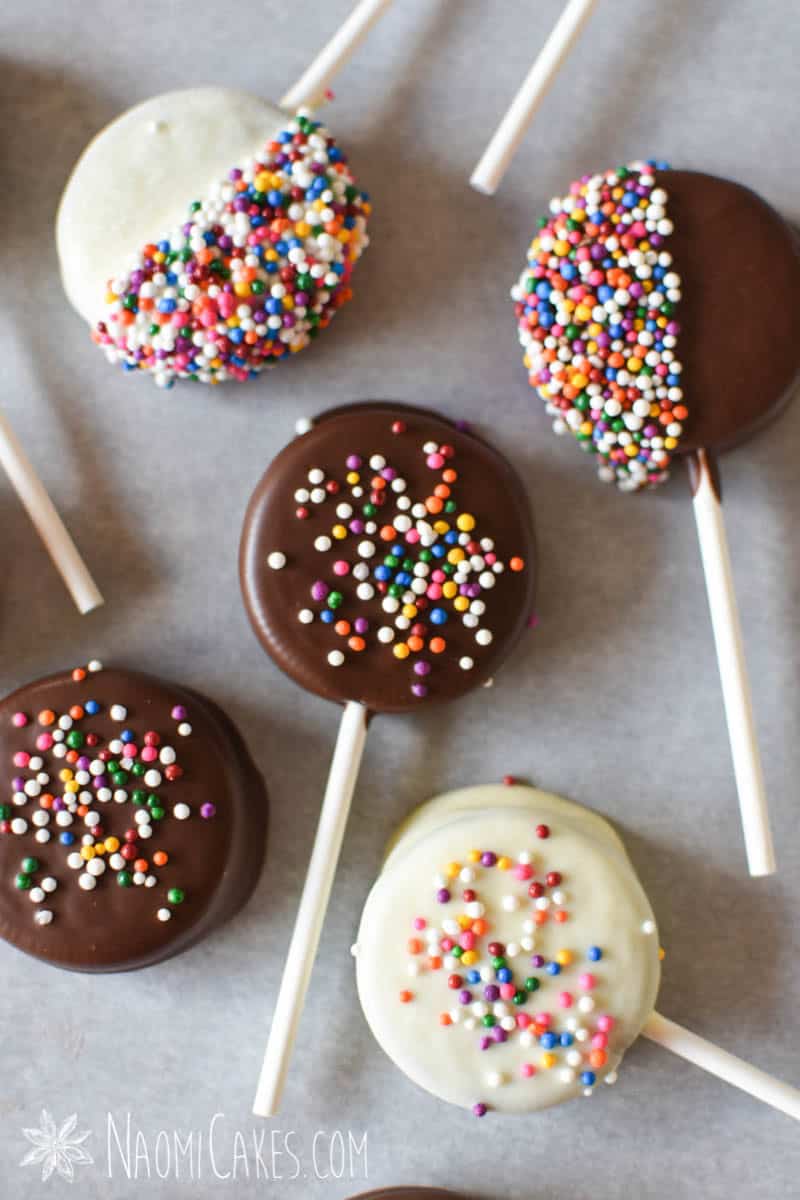
In this tutorial, I used nonpariel sprinkles.


Chocolate Oreo Cookie Pops
These adorable Oreo cookie pops are great to use as wedding or shower favours, or as a great addition to a child's birthday party or Easter treat basket.
Ingredients
- 20 oreo cookies (about 1/2 a regular sized package)
- 20 5-6" sucker sticks
- 3 cups dark or white chocolate melting wafers
- 2 Tbsp sprinkles optional
Instructions
-
In the top of a double boiler, in a glass bowl over a pan of simmering water*, or in the microwave for short (30 second) bursts, melt the chocolate. Stir the chocolate frequently between microwave intervals or while it is on the stove. As soon as the chocolate is melted, remove it from the heat.
*Do not allow any water to get into the chocolate.
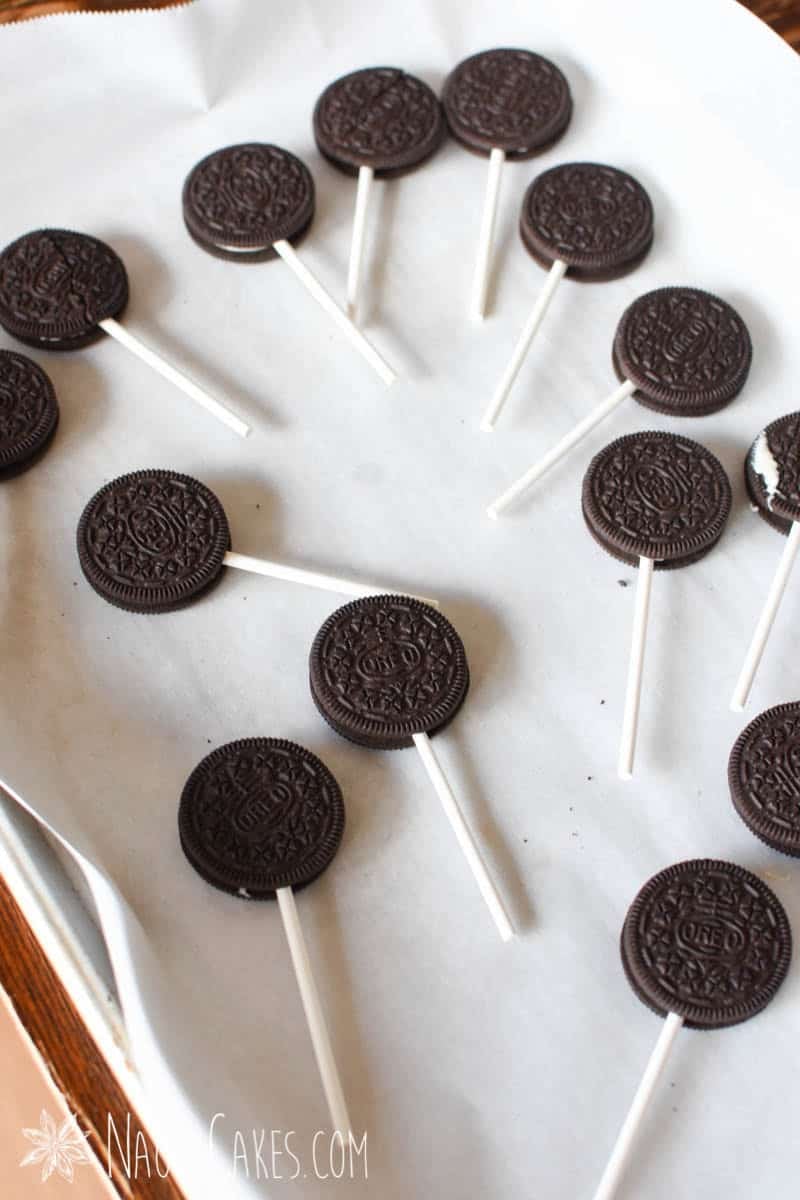
-
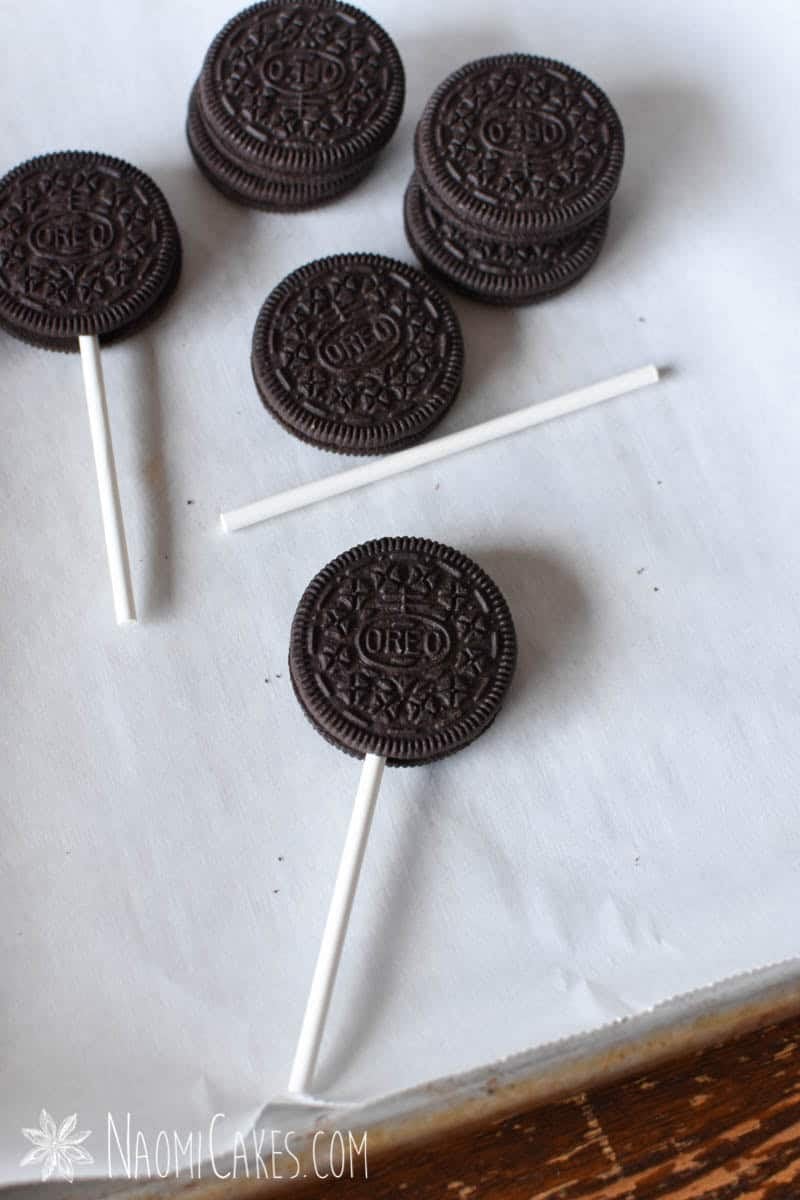
Separate an Oreo into two pieces, and press a sucker stick (with the end dipped in melted chocolate) into the frosting between the cookies. Set the top cookie onto the bottom one, and gently press the two layers together. Set aside, and repeat with the rest of the Oreos.
(If the Oreos crack a little bit, it's ok.)
-
Set the assembled Oreos into the freezer for 5-10 minutes to allow the chocolate to set.
-
Return the melted chocolate to the stovetop or microwave for about 10-30 seconds, or until it is smooth again. Remove from heat, and bring it to your work surface.
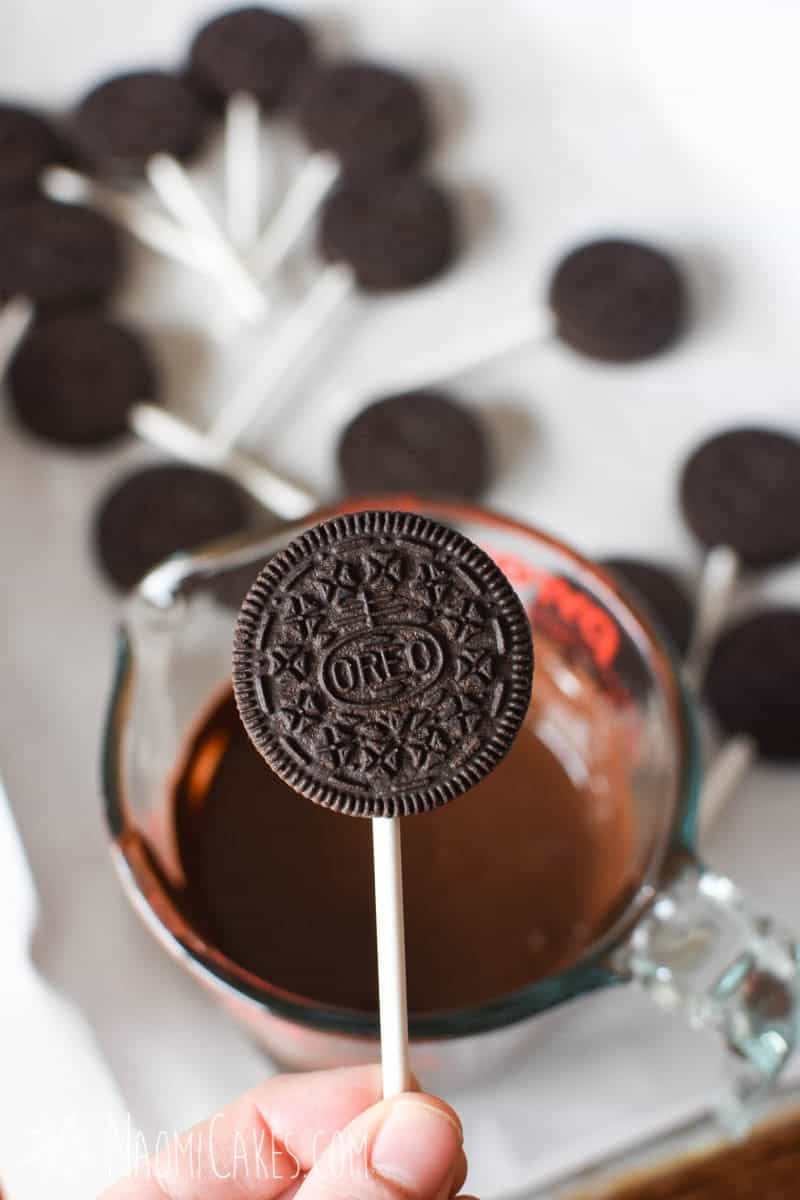
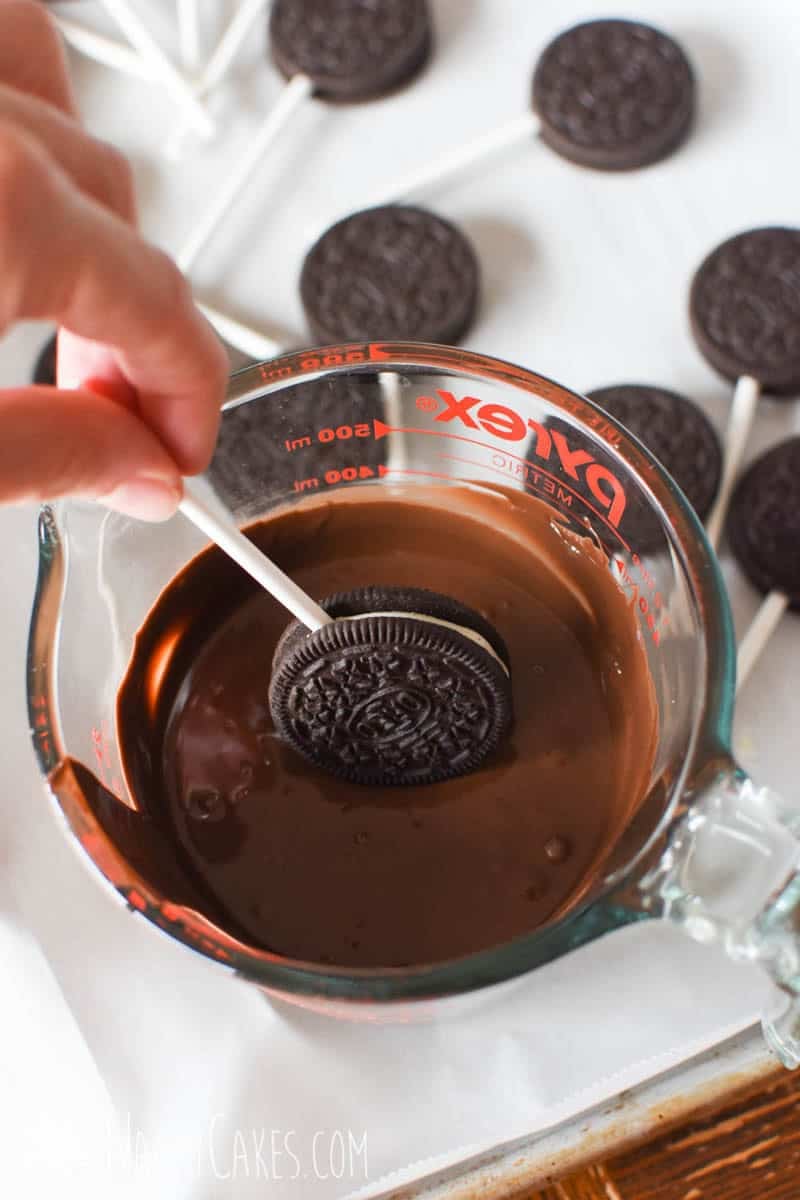
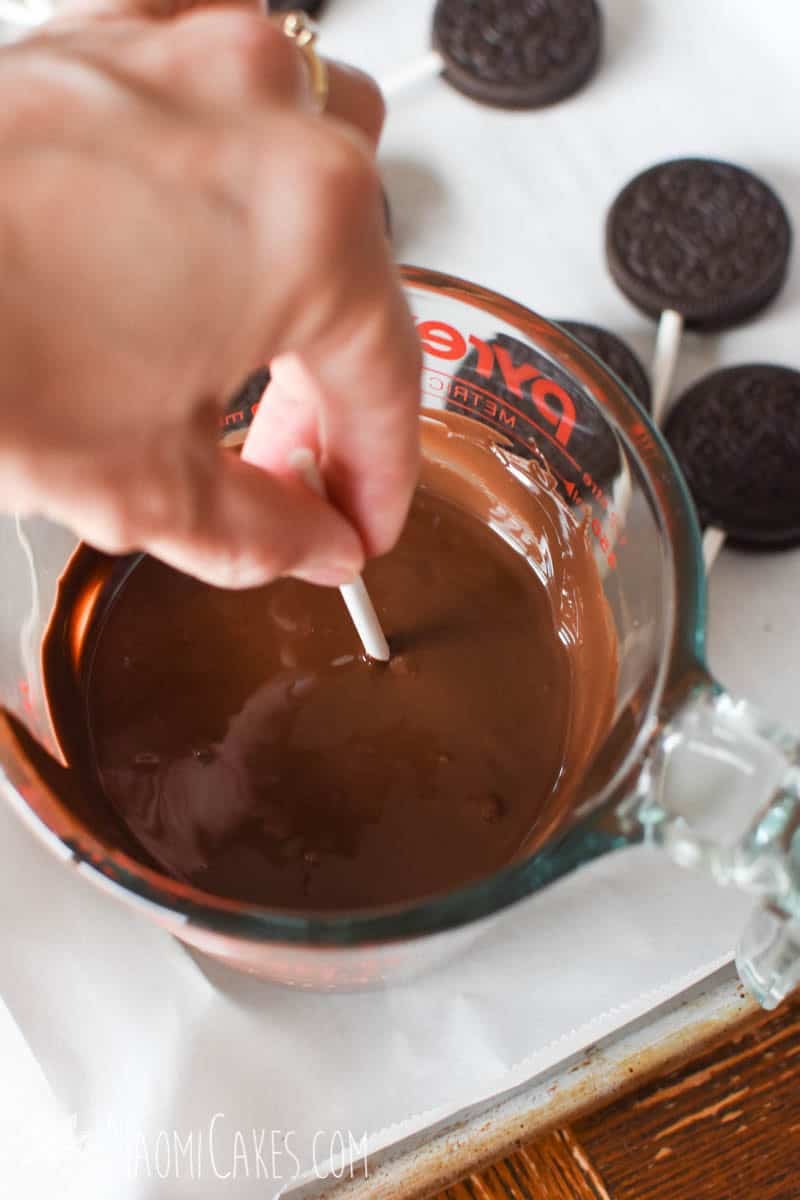
-
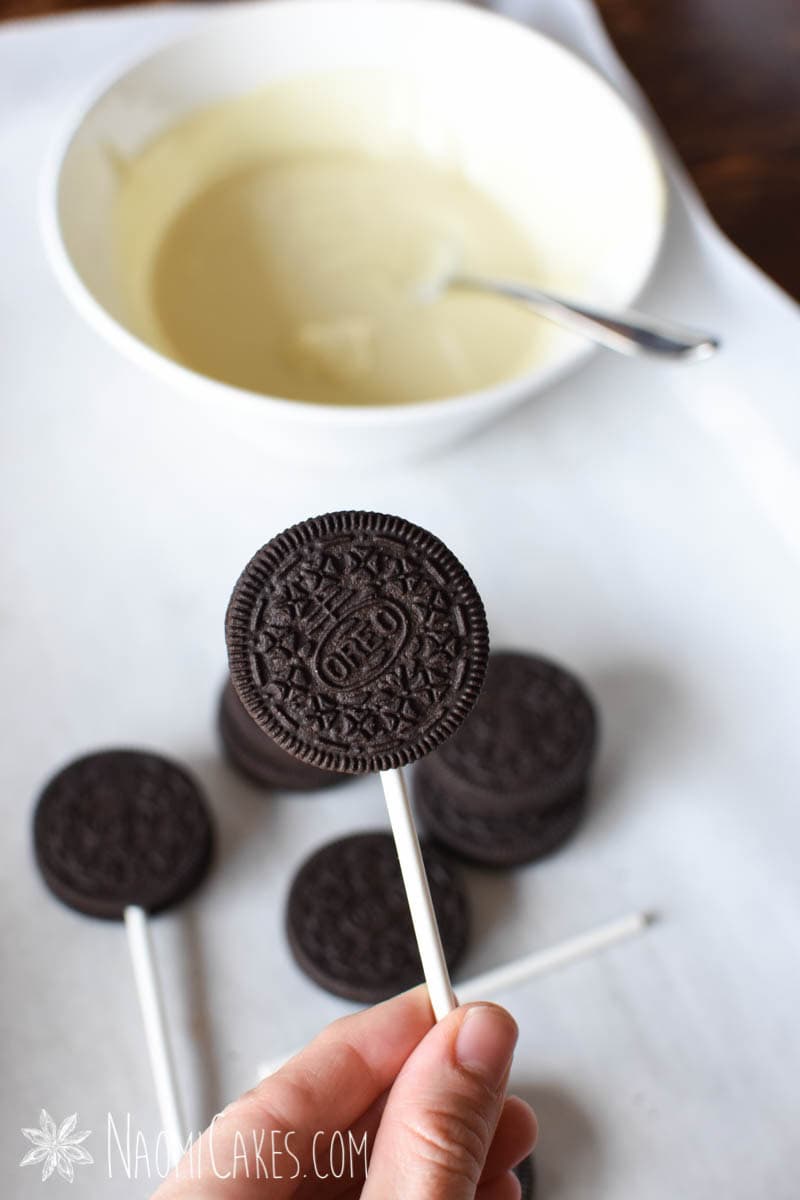
Holding the Oreos by the stick, gently dip each cookie in chocolate until it is fully covered in melted chocolate. Hold the cookie upside down over the bowl of melted chocolate and shake it off vertically to remove any excess. Set the dipped cookie onto your parchment lined cookie sheet, and decorate with sprinkles immediately (if desired).
-
Allow the chocolate to set completely before serving or packaging your cookies.
-
Pour any extra melted chocolate onto a sheet of parchment paper, and spread it into a thin layer. Once the chocolate has set, you can break it apart into small pieces and re-melt this for your next project.

If you like this recipe, you may also like:
- Easy Chocolate Covered Oreo Cookies
- Easy Dark Chocolate Truffles
- Easy White Chocolate Truffles
- Classic Sugar Cookies
- The Easiest Way to Frost Cookies
And that’s it! I hope you enjoyed this tutorial! Let me know what you think in the comments, and if you feel like showing off your great work… you can tag in your photos on Instagram @naomicakesofficial. I would love to see your beautiful artistry!
Thanks for stopping in! Back soon,
Naomi
This post contains affiliate links.