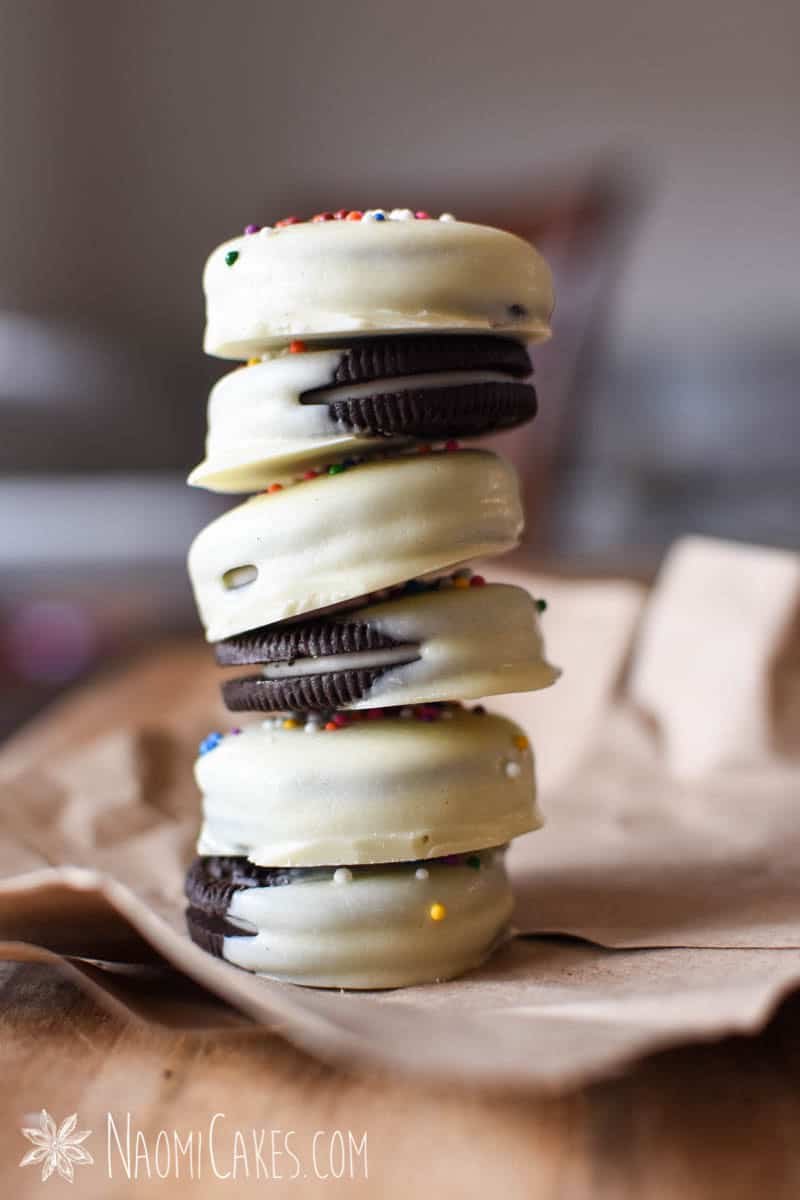
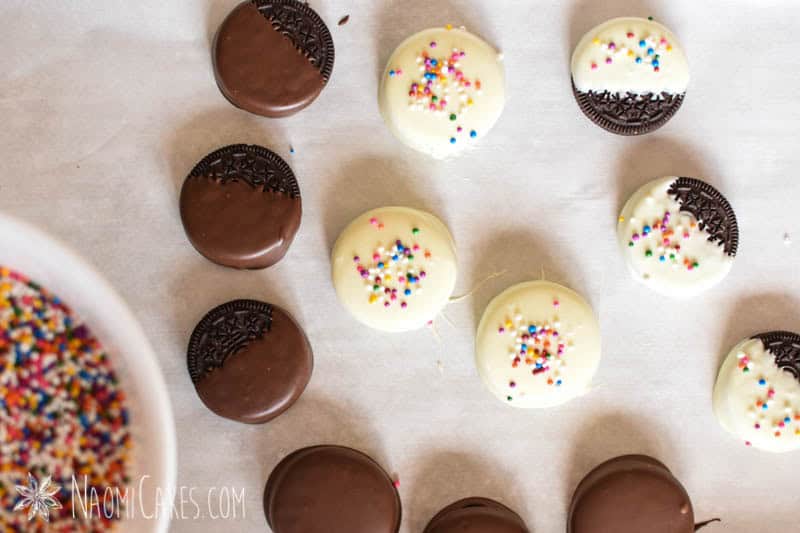
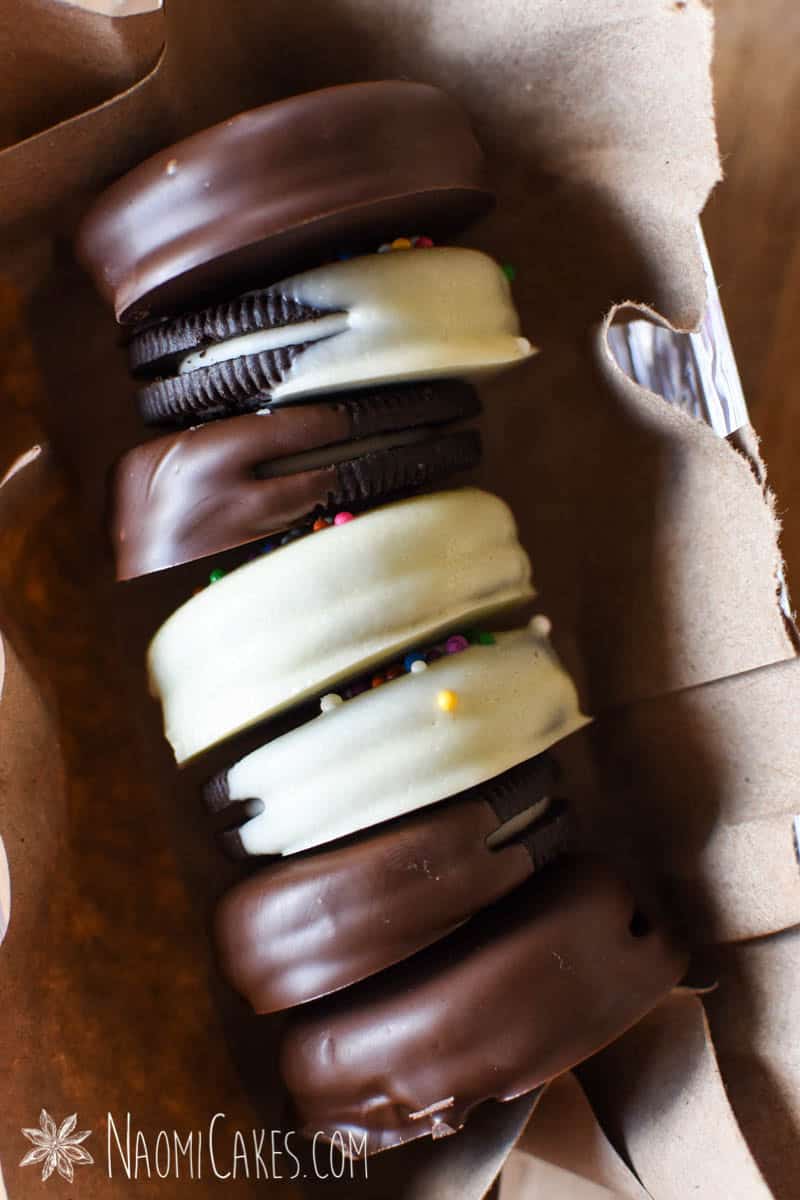
Today’s post is going to be a little simpler than some, but I think it’s a fun one and a great idea for so many different things. I’m referring to chocolate dipped (or chocolate-covered) Oreos; one of the most delicious, simple, long-lasting and fun desserts around.
Chocolate covered Oreos are probably the easiest (and one of the most inexpensive) things you can make as party favors (great for birthday parties!), a fun homemade chocolate covered treat, an edible gift for chocolate lovers, or something fun to add to any special occasion.
What are Oreos?
Oreo cookies are a chocolate sandwich cookie with vanilla cream in the centre. Like most successful brands out there, Oreo cookies can be purchased from many different sources and in many different forms; with chocolate cream centres, doubled stuffed centres, vanilla cookies instead of chocolate, and much more.
For my tutorial today, I’m using a classic chocolate Oreo cookie.
Other great cookies for this tutorial
The great thing about this tutorial is… it can be used for just about any type of cookie! The only thing to note in that regard is that homemade or softer cookies will spoil more quickly. Crunchy cookies from the store (like Oreos) pretty much last (dare I say it?) forever.
(Why do we eat things that last forever?? And we love it. Why do we love it. *sigh*)
Do you need to temper chocolate for dipping Oreos?
If you’re using a high quality chocolate, yes. However, to keep things simple for you, I’m going to avoid that method today.
For this tutorial, I’m going to use a super simple, no tempering easy chocolate coating. What’s that, you may ask? I’ll tell you! (Read on.)
The easiest kind of chocolate to use
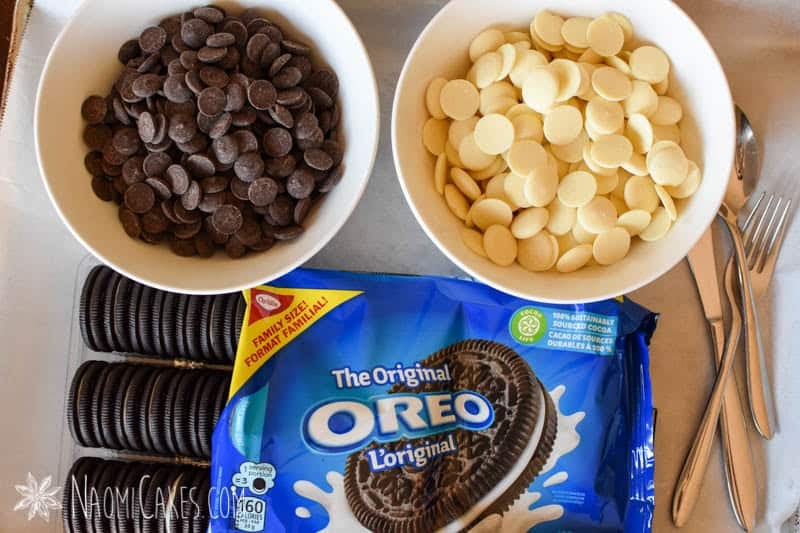
For an absolutely easy, no fuss way of making anything dipped in chocolate, I like to use a product called “Melting wafers,” “Candy wafers,” “Candy melts,” or “Melting chocolate.” There are many different brands that make this kind of chocolate, and definitely some are better tasting than others. For the best flavour, I recommend going for a higher quality, such as these melting wafers from Ghirardelli.
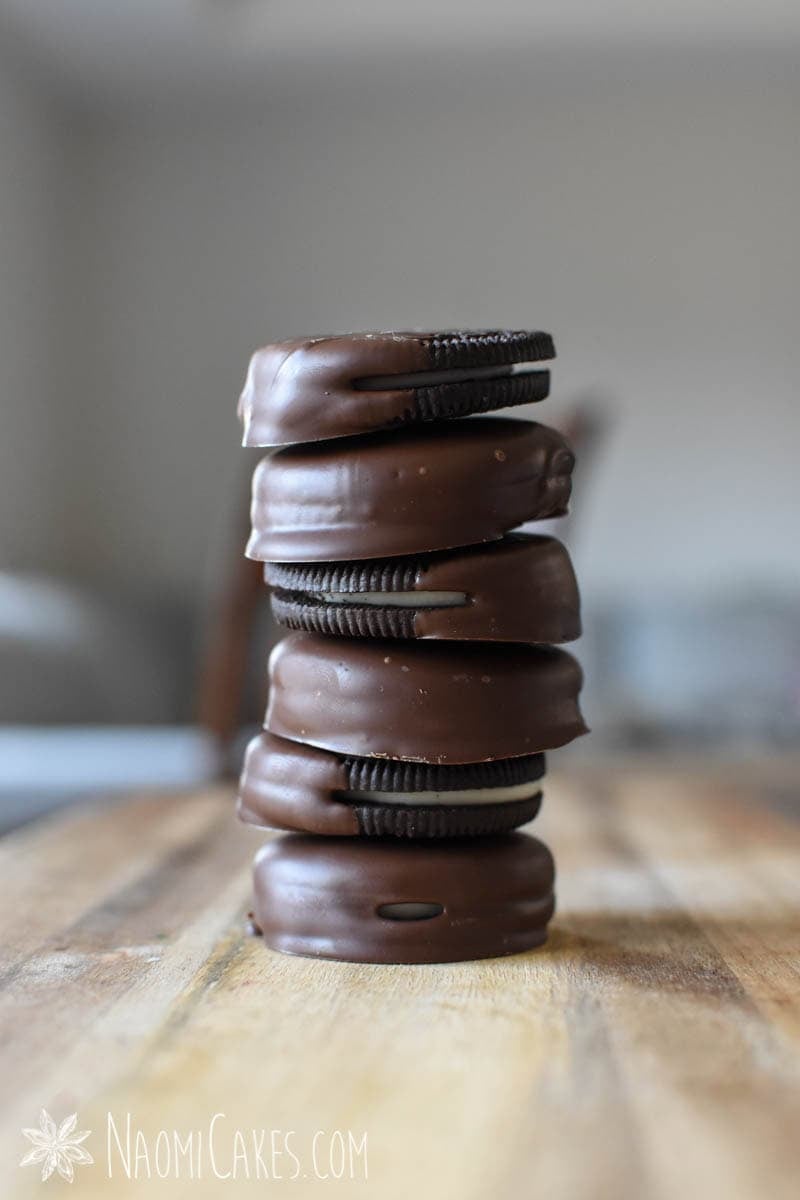
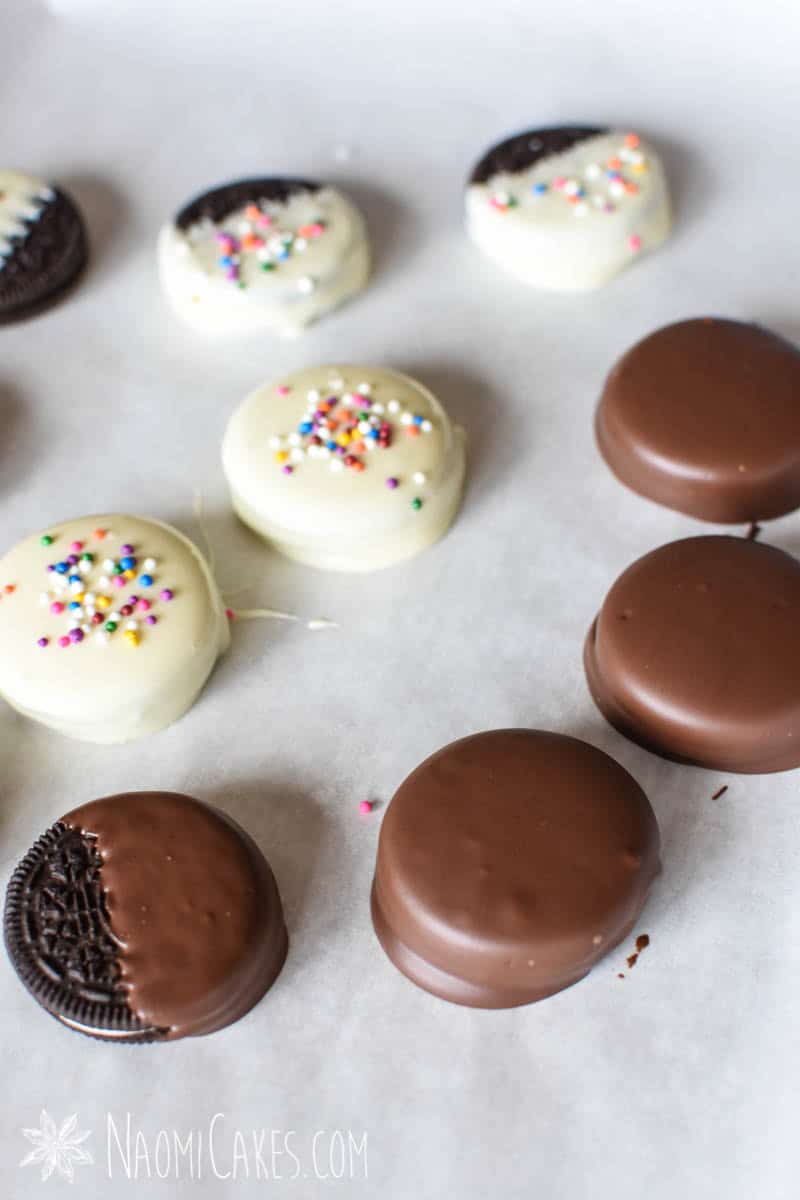
For this tutorial, I’m using dark chocolate candy melts.
Can you use chocolate chips for dipping Oreos?
You can, but I wouldn’t recommend it. Chocolate chips are designed to maintain their shape at high heat, and when you melt chocolate chips they tend to be much thicker, and not as glossy when they set.
If you want to use chocolate chips, you can; however, I would recommend getting EZ thin dipping aid, or food grade paraffin wax to thin it out a little bit first.
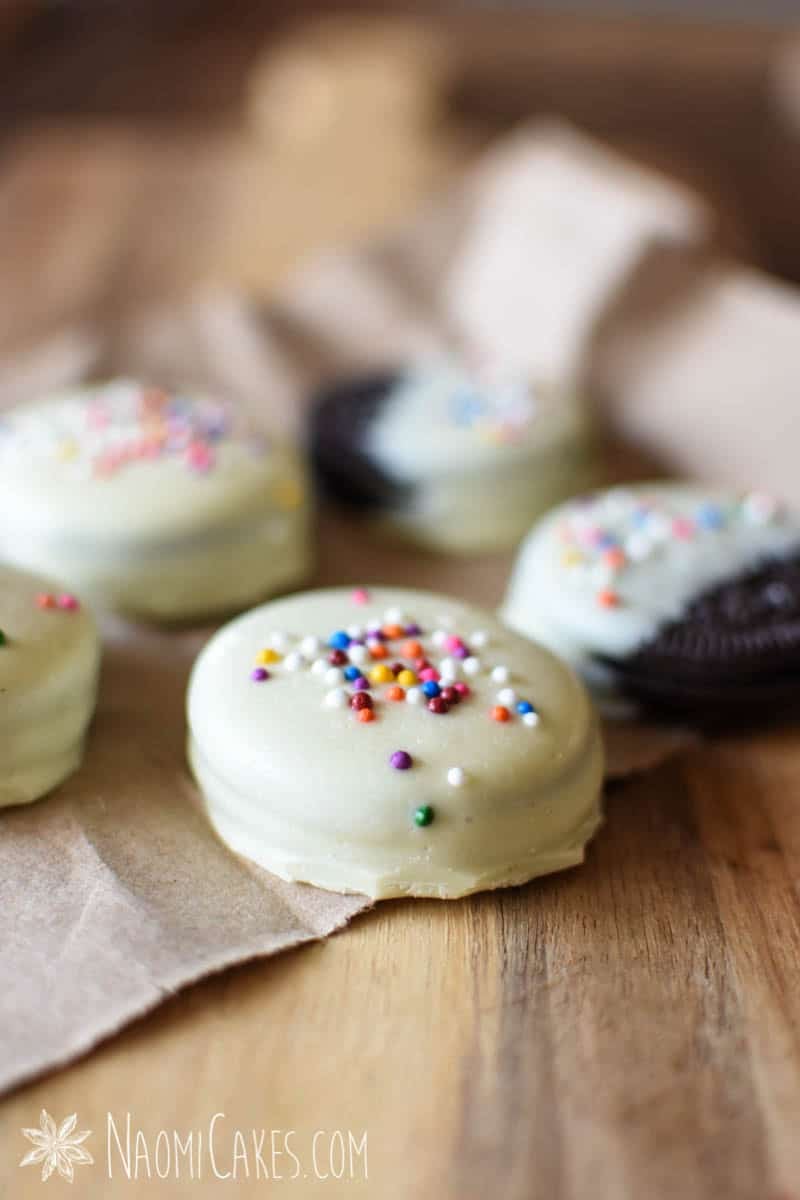
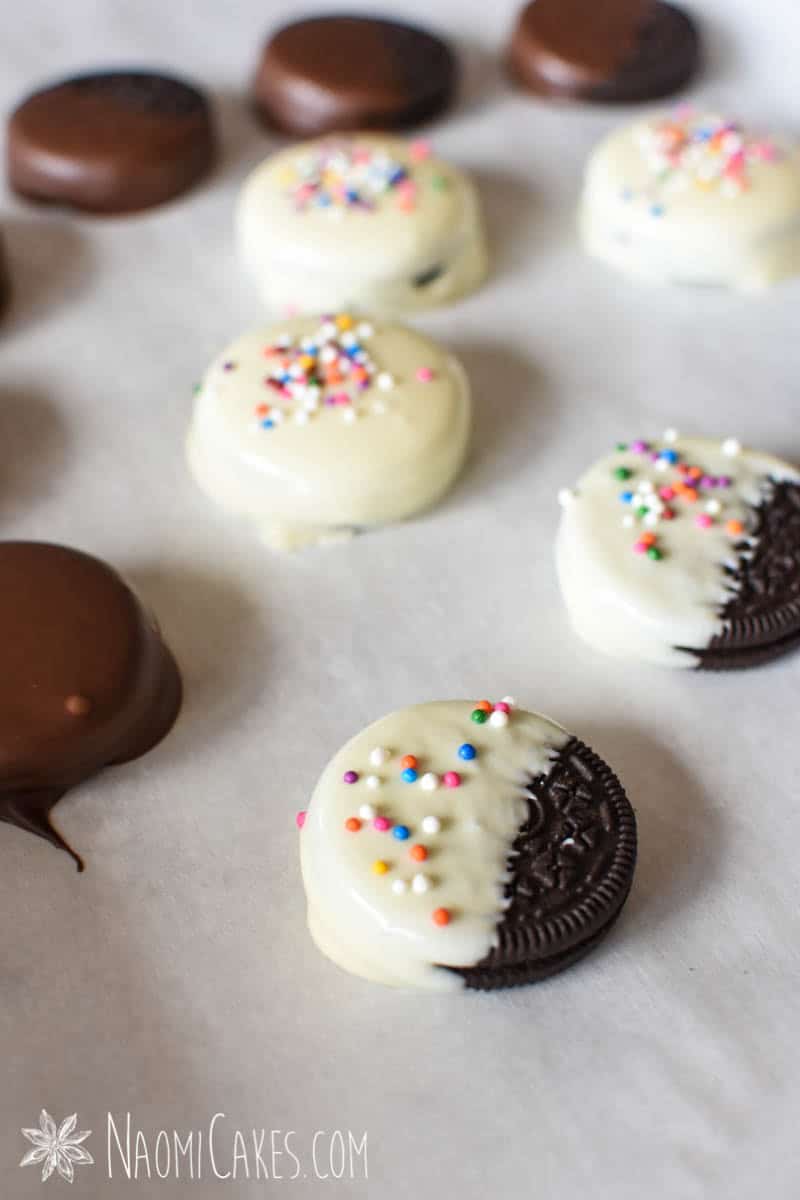
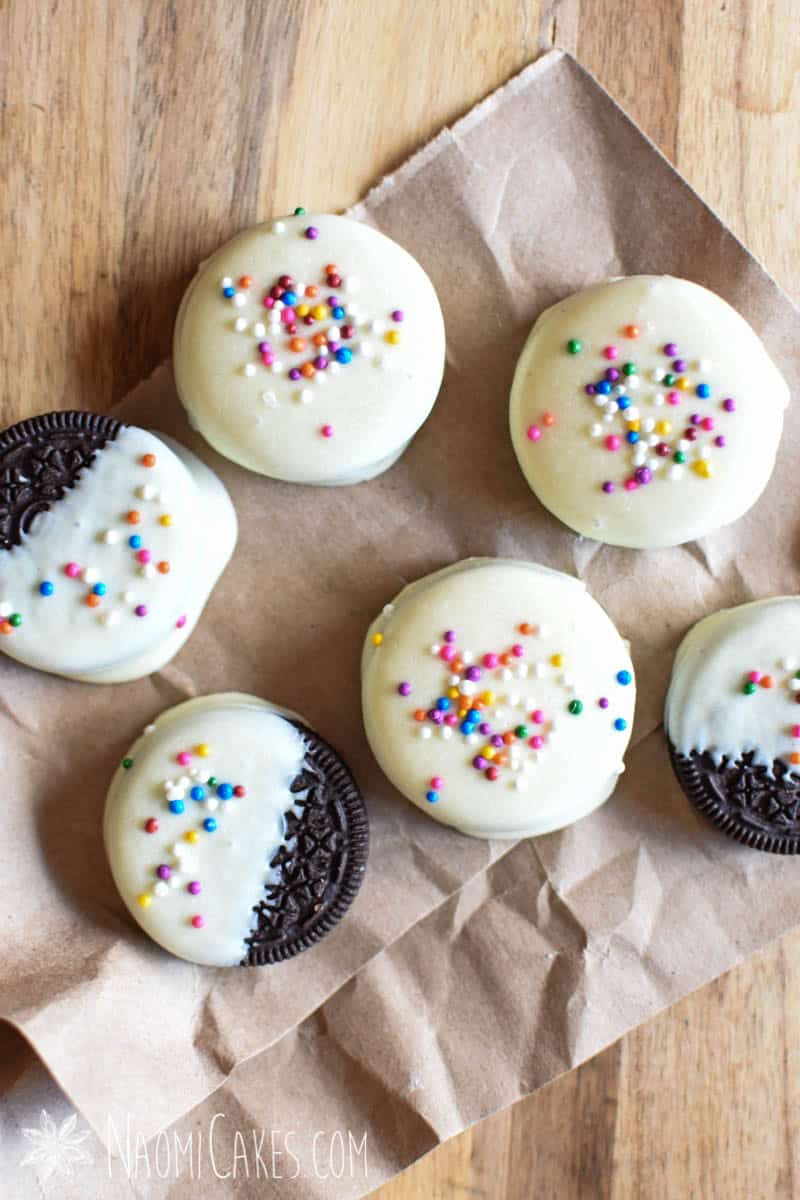
How to decorate chocolate covered Oreos
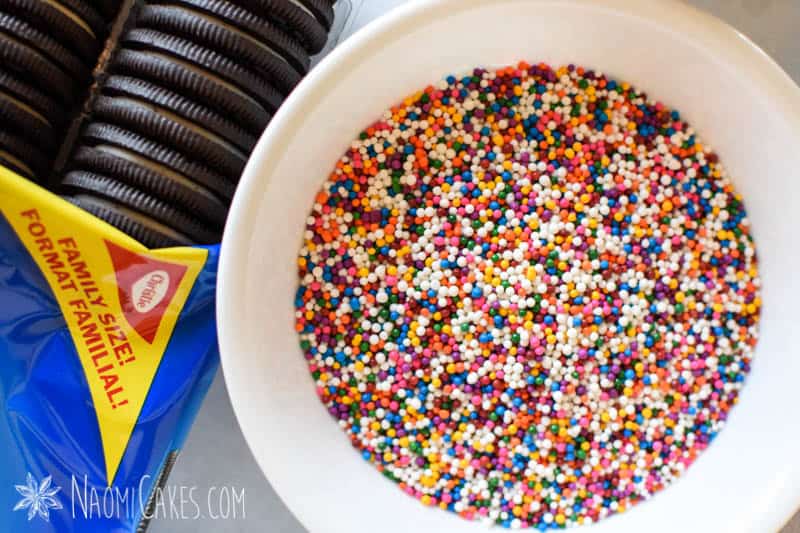
You can decorate them with chocolate drizzle, sprinkles, edible gold, cacao nibs, chopped nuts, dried fruit, candied peel, or any other type of small decorative accent.
Here are some beautiful sprinkle options for different kinds of occasions:
Another pretty idea would be to put them into a Kraft window bag like this one.
Tips for dipping Oreos in chocolate
Don’t let the chocolate get hot Whether your melting in the microwave or on the stovetop, the chocolate (and the container that it’s in) should never be more than slightly warm (enough for it to melt). If you feel the bottom of your bowl and it is hot to the touch, immediately remove it from the heat and let it cool to room temperature before continuing to melt the chocolate.
Never let water get into the chocolate Water will ruin chocolate! Make sure you don’t let any sneak into your melting station.
Keep your work area clean Clean work areas produce clean looking food. To keep your cookies looking crisp, make sure your table surface is clean and you only keep the things you need around you.
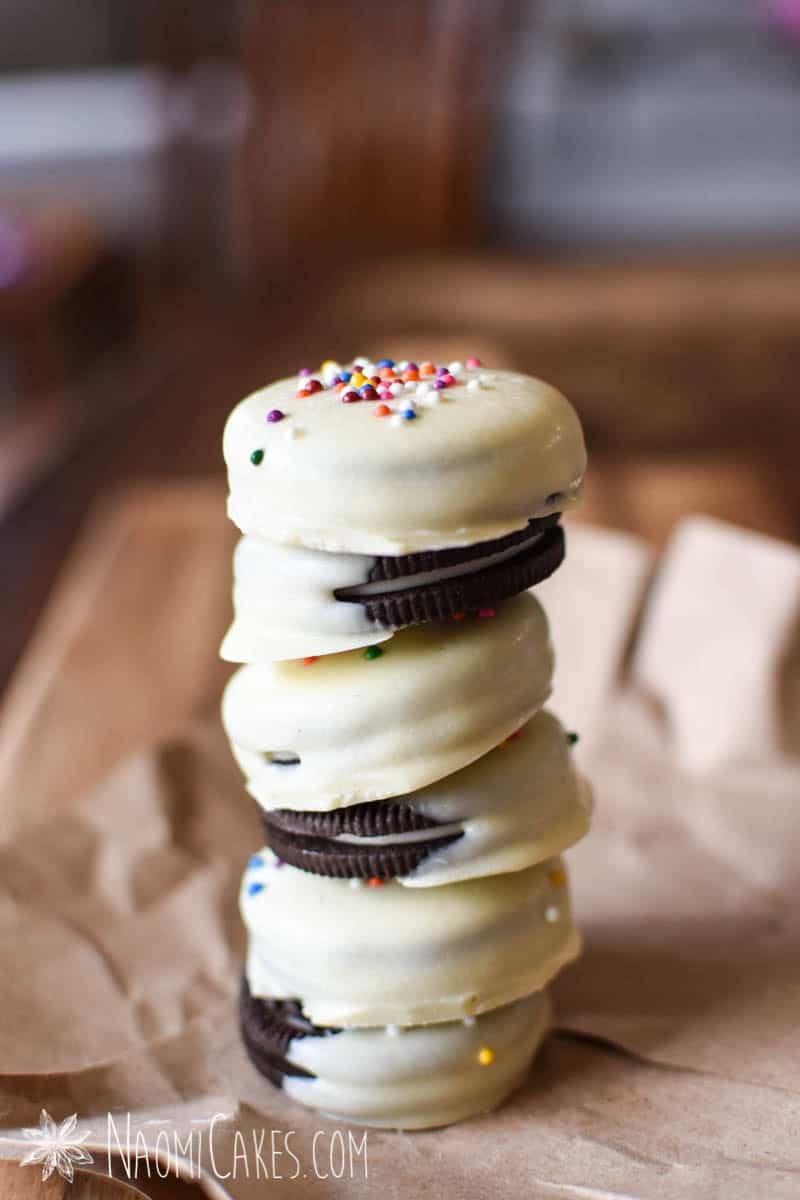
Decorate with colorful sprinkles Make your chocolate-dipped oreos extra pretty with beautiful sprinkles or toppings!
Avoid touching the chocolate directly Once the chocolate has set, touching it directly will leave fingerprint smudge marks on the chocolate. If you want it to look perfect, just barely handle the cookies, or even wear food safe gloves while you do it.
Trim the “tails” to make them look more sharp After you’ve made your cookies, there will be little trails of chocolate off the ends of some of them. You can trim those off with a sharp knife for a perfect finished look. You can save the excess chocolate for another time.
Package them in a sealed bag or container for freshness Keeping the Oreos in an airtight container will prevent them from going stale – an absolute must!
How long will chocolate dipped Oreos last?
As I mentioned before, pretty much forever? (Kidding.)
All jokes aside, they will last as long as you would keep an open package of Oreos (a few months). You can check the expiry date on the package if you want a specific timeline.
This simple tutorial is the simplest way to dip Oreos in chocolate – for the perfect edible gift!
Course
Dessert
Cuisine
American
Keyword
chocolate, Oreos
Prep Time10minutes
Cook Time20minutes
Setting Time30minutes
Total Time1hour
Servings20Oreos
AuthorNaomi
Ingredients
20Oreo cookies (about 1/2 regular package)
3cupschocolate melting wafers(dark or white)
2Tbspsprinkles, chopped nuts, or chocolate shavingsoptional
Instructions
Line a cookie sheet with parchment or wax paper. Set aside.
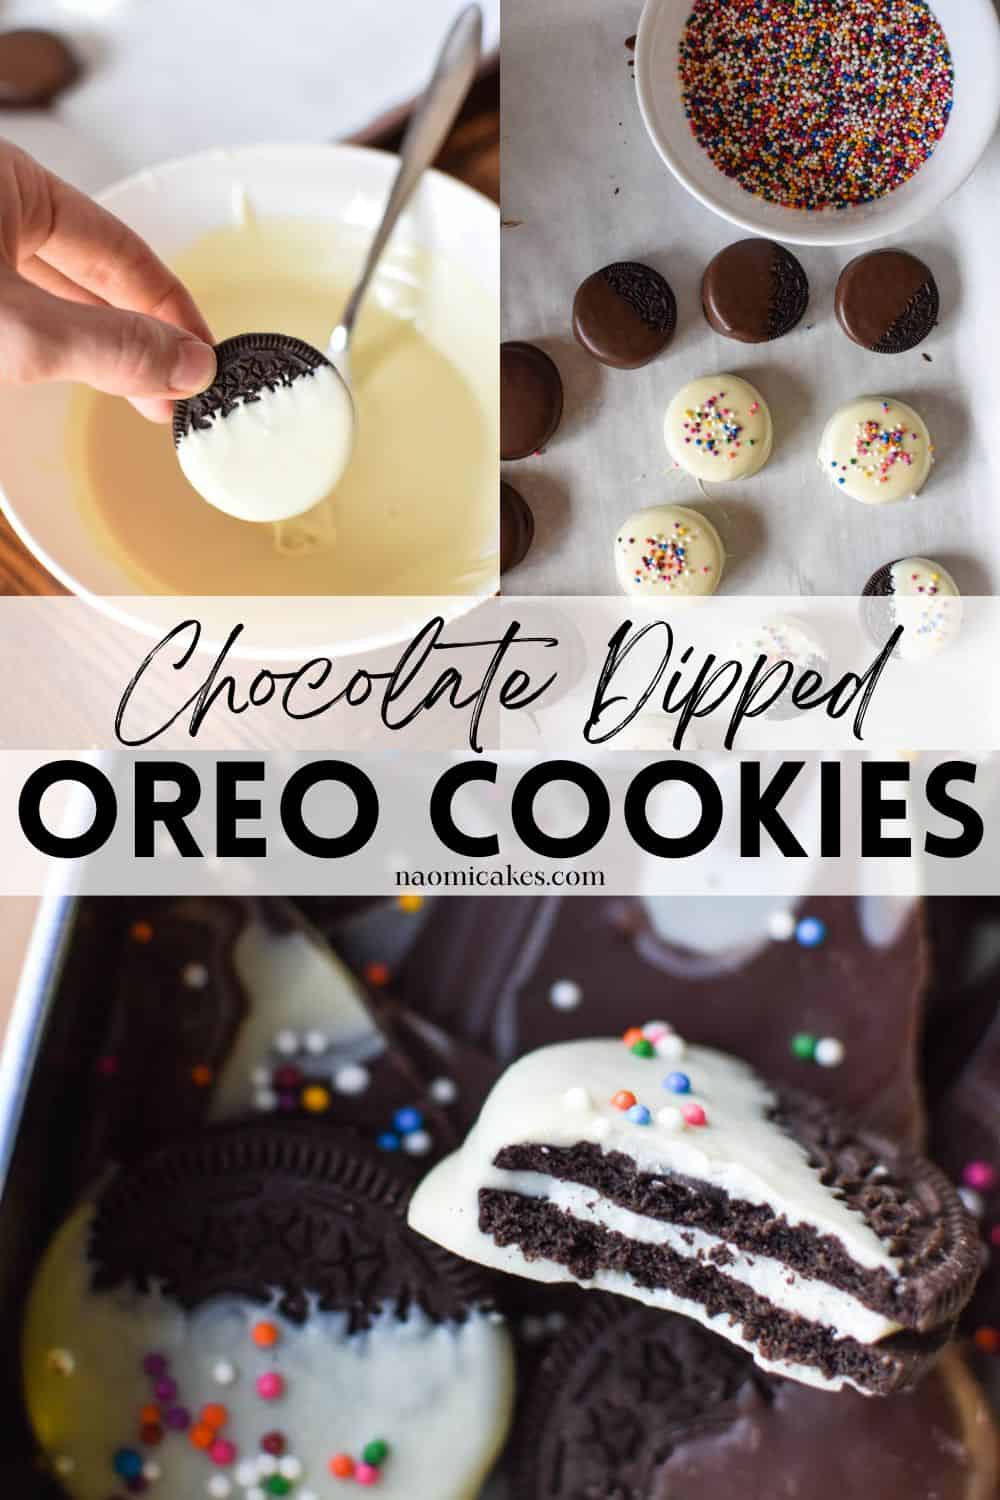
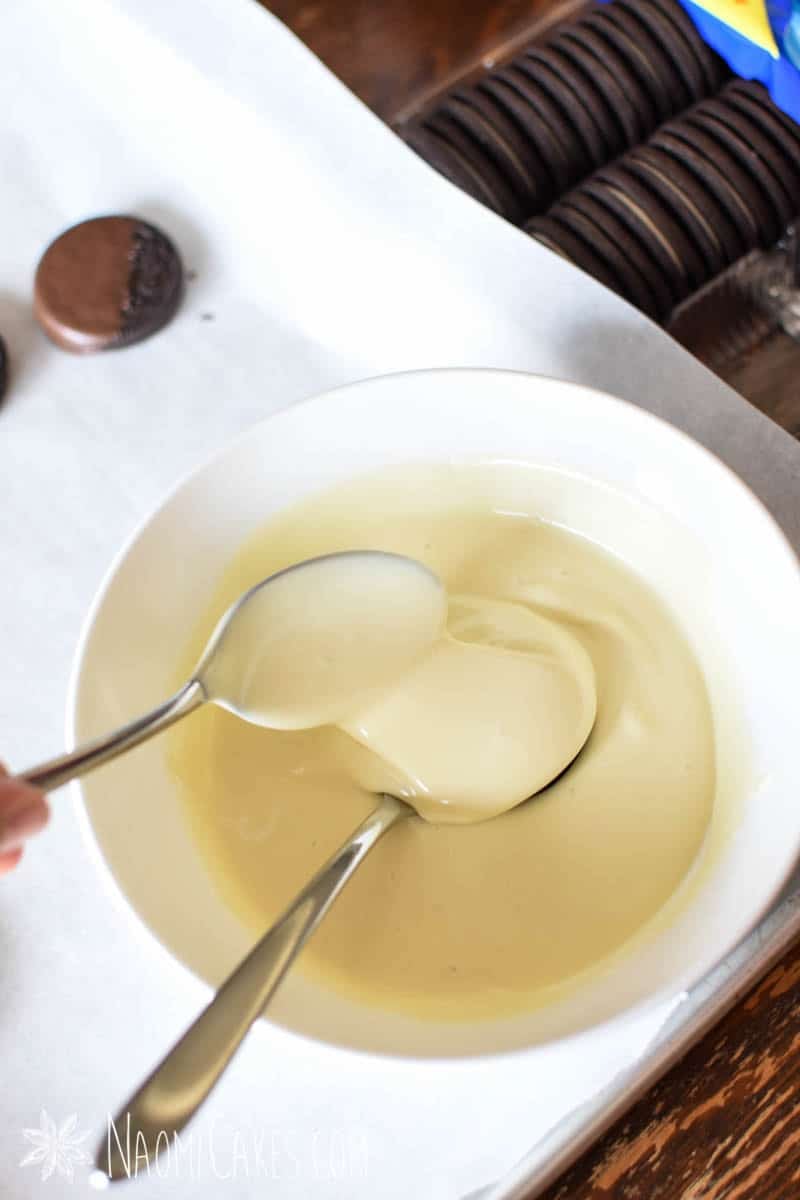
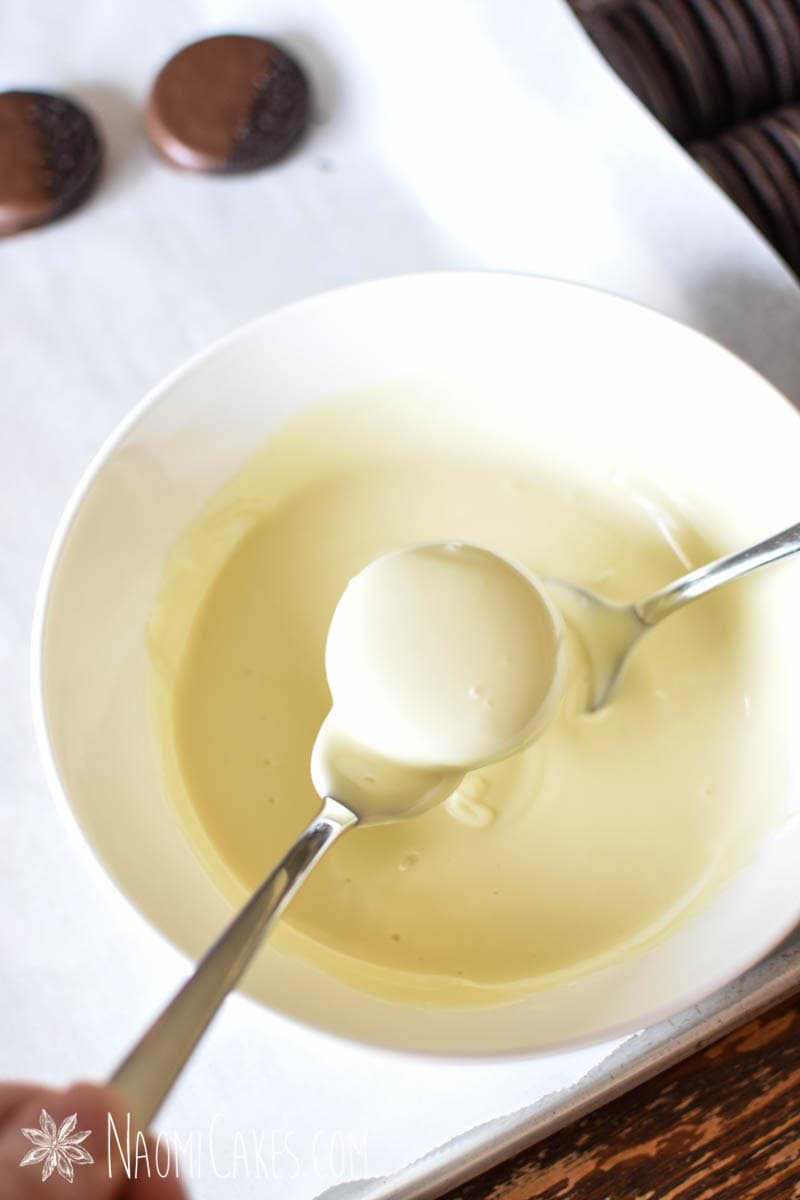
In the top of a double boiler, in a glass bowl over a pan of simmering water, or in the microwave for short (30 second) bursts, melt the chocolate. Stir the chocolate frequently between microwave intervals or while it is on the stove. As soon as the chocolate is melted, remove it from the heat.
*Do not allow any water to get into the chocolate.
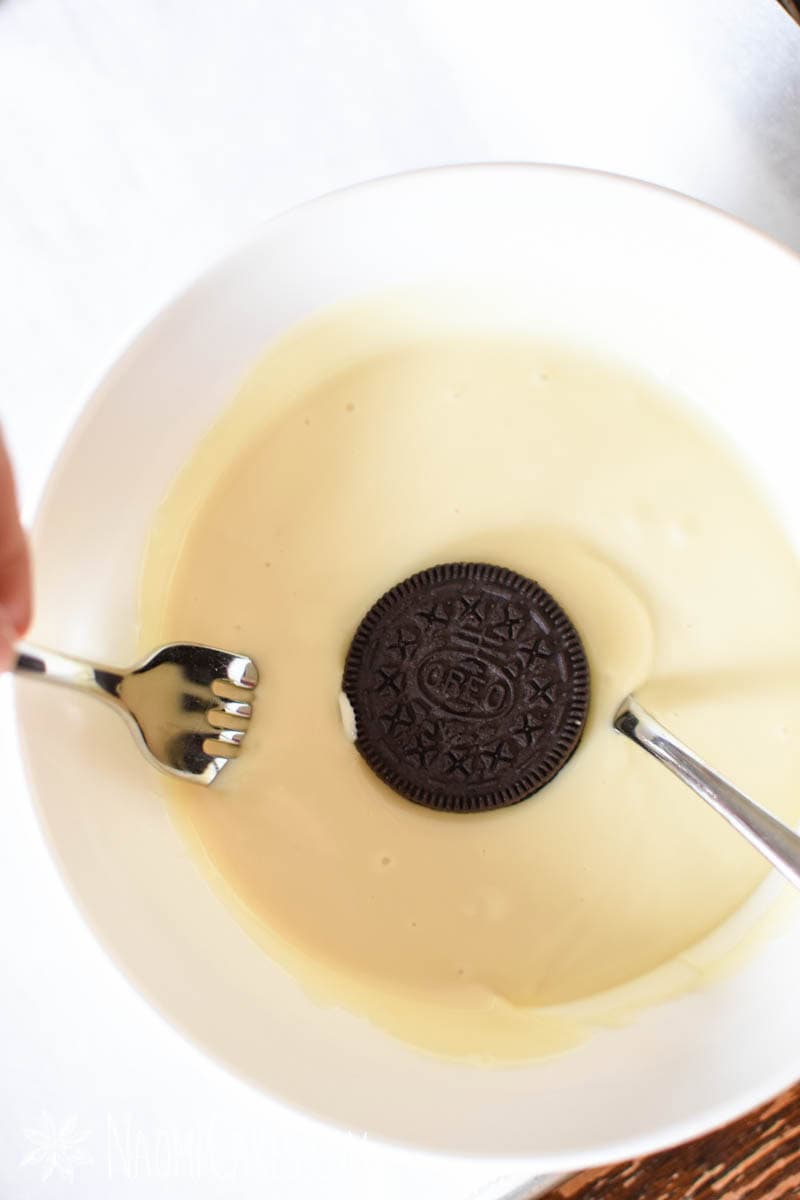
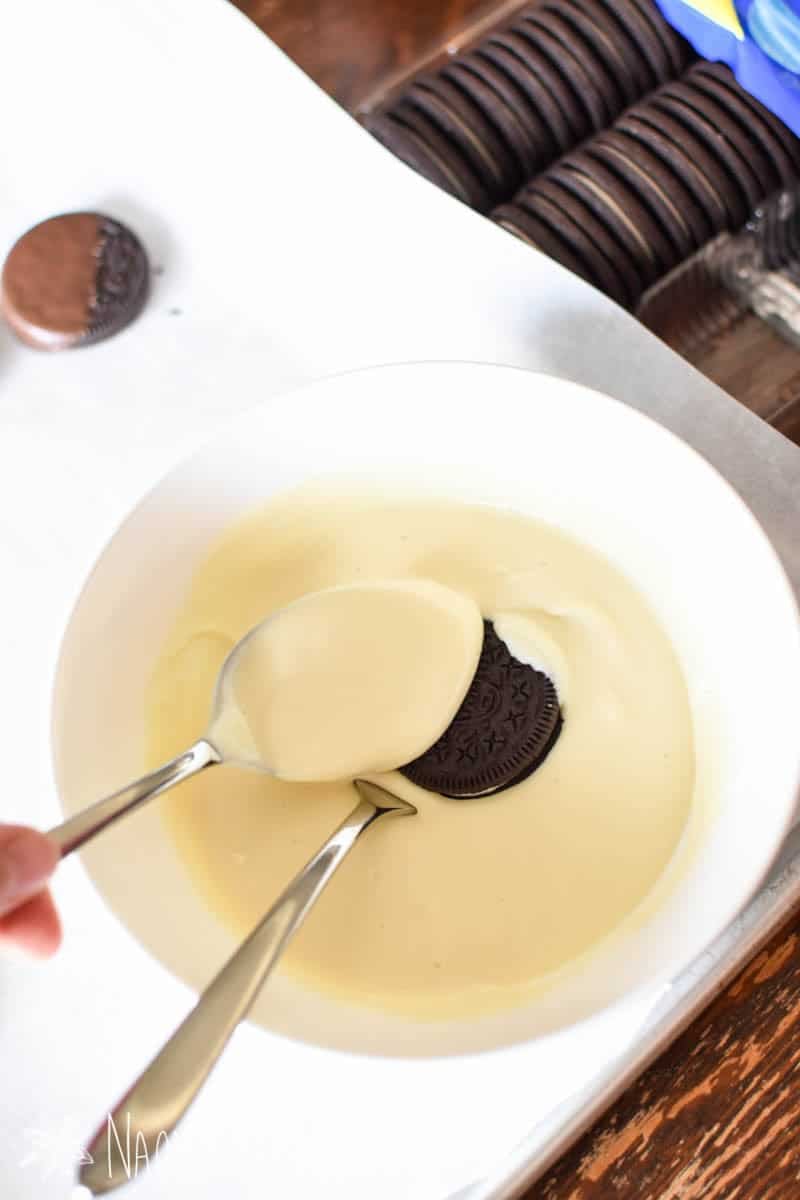
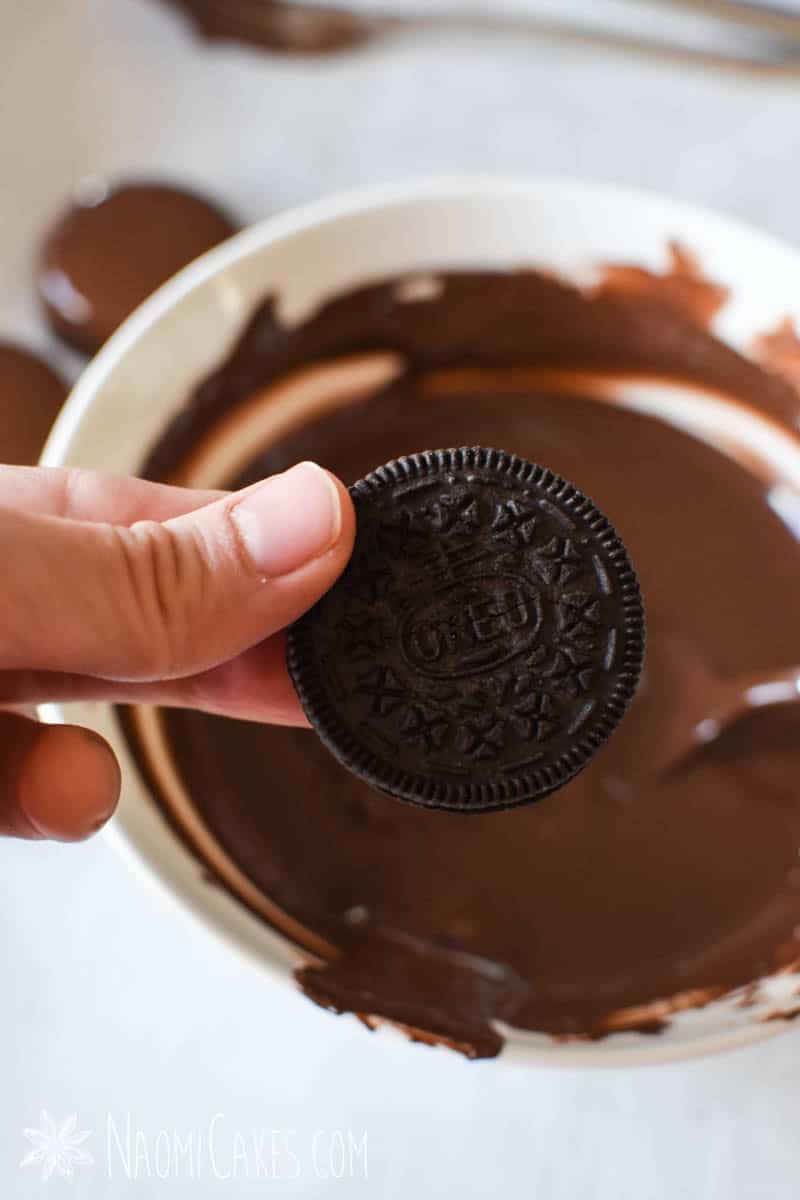
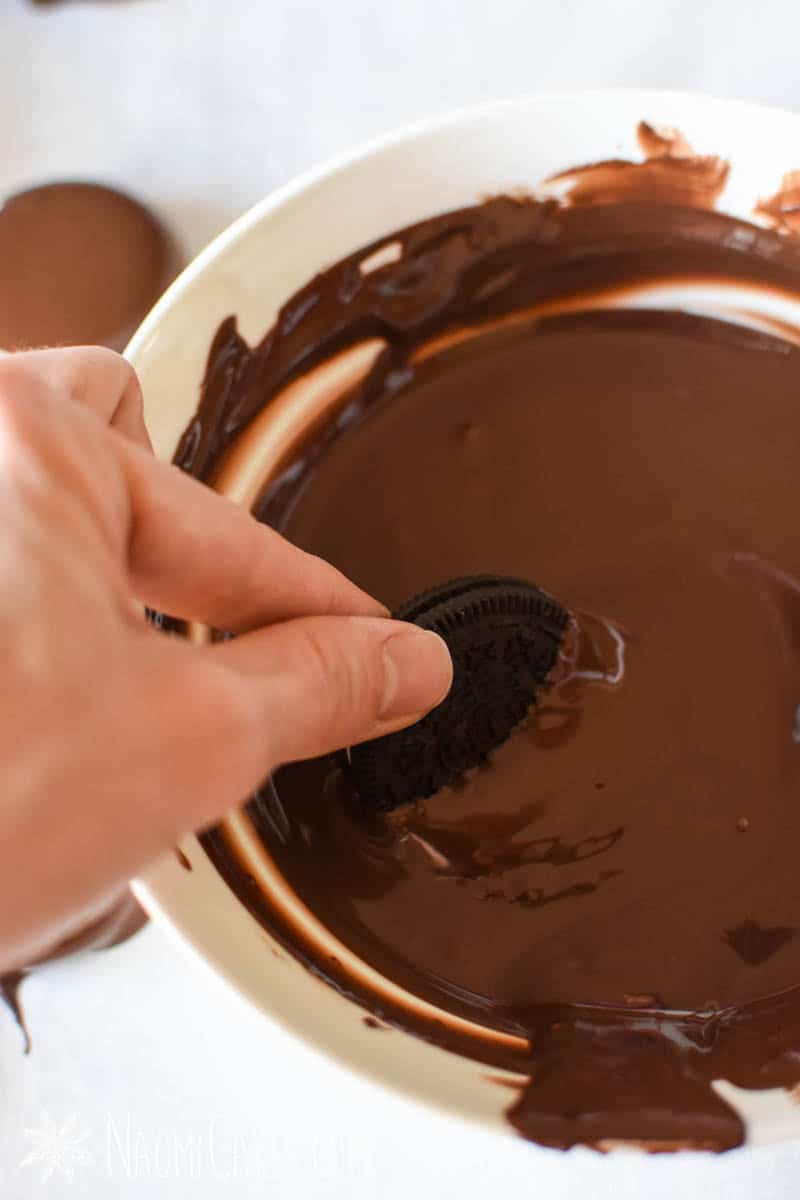
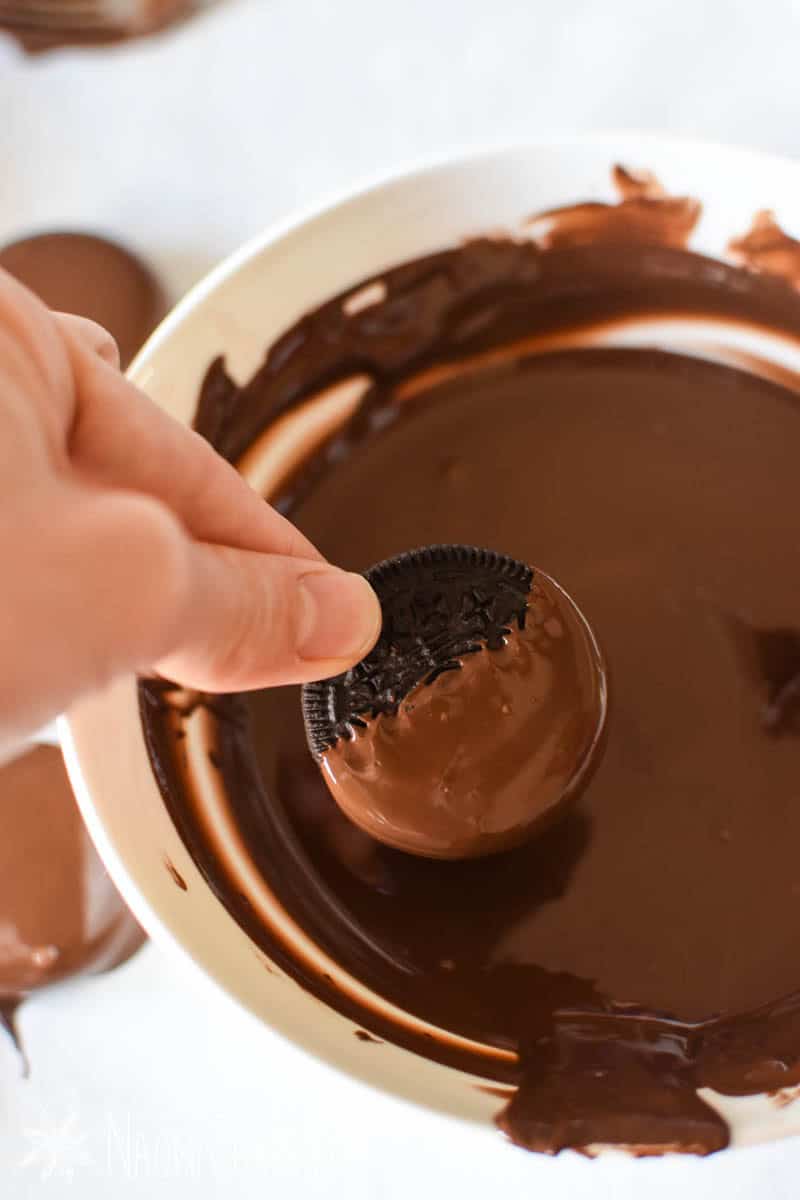
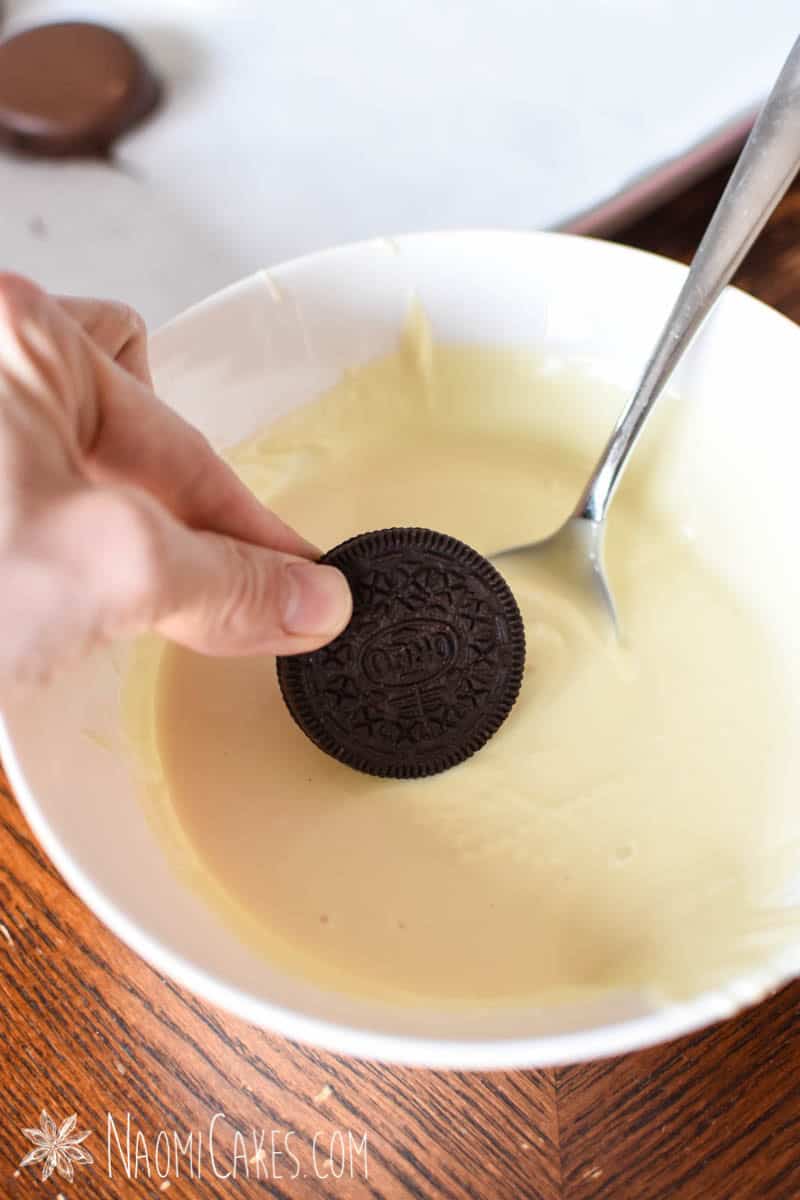
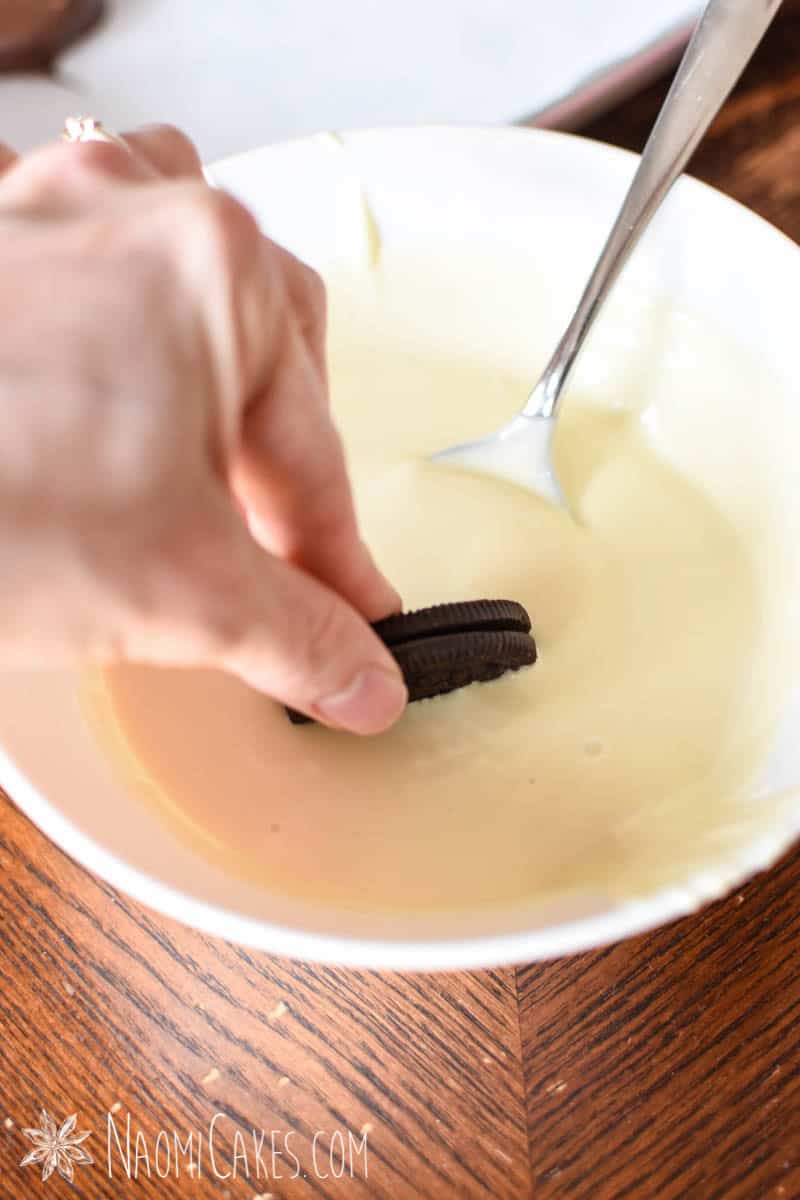
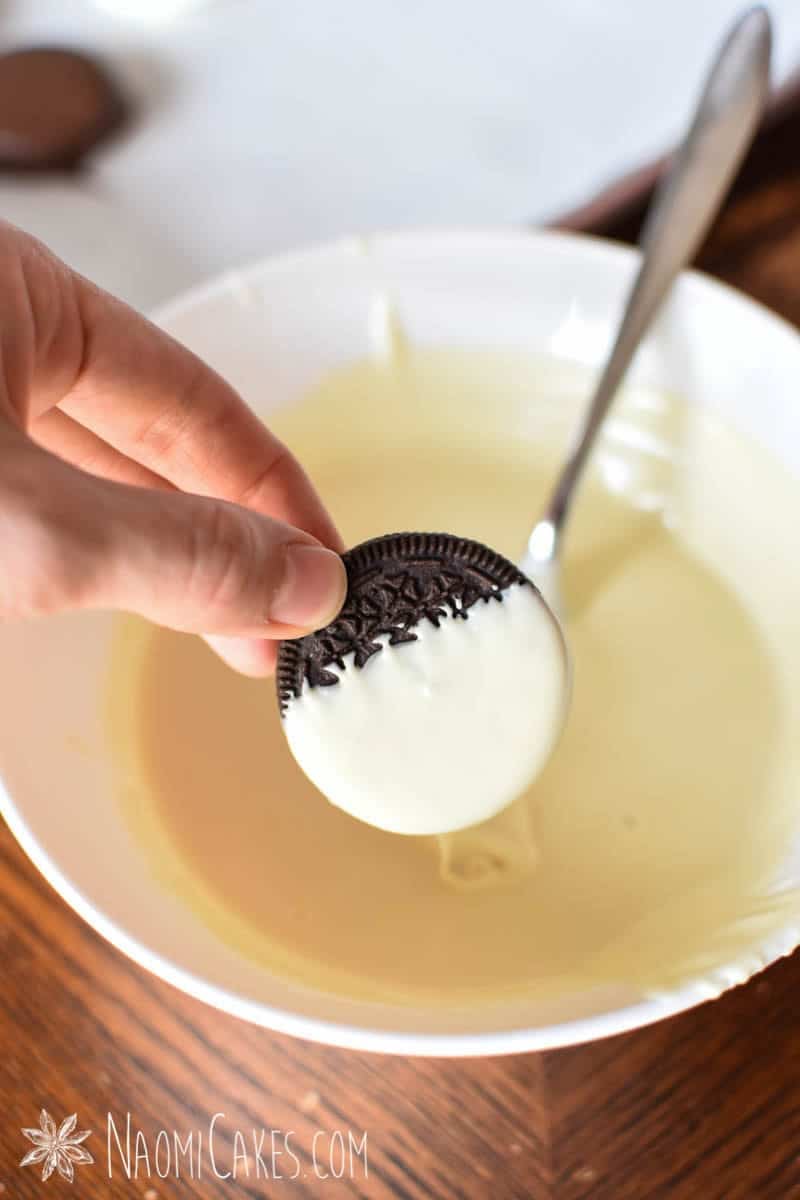
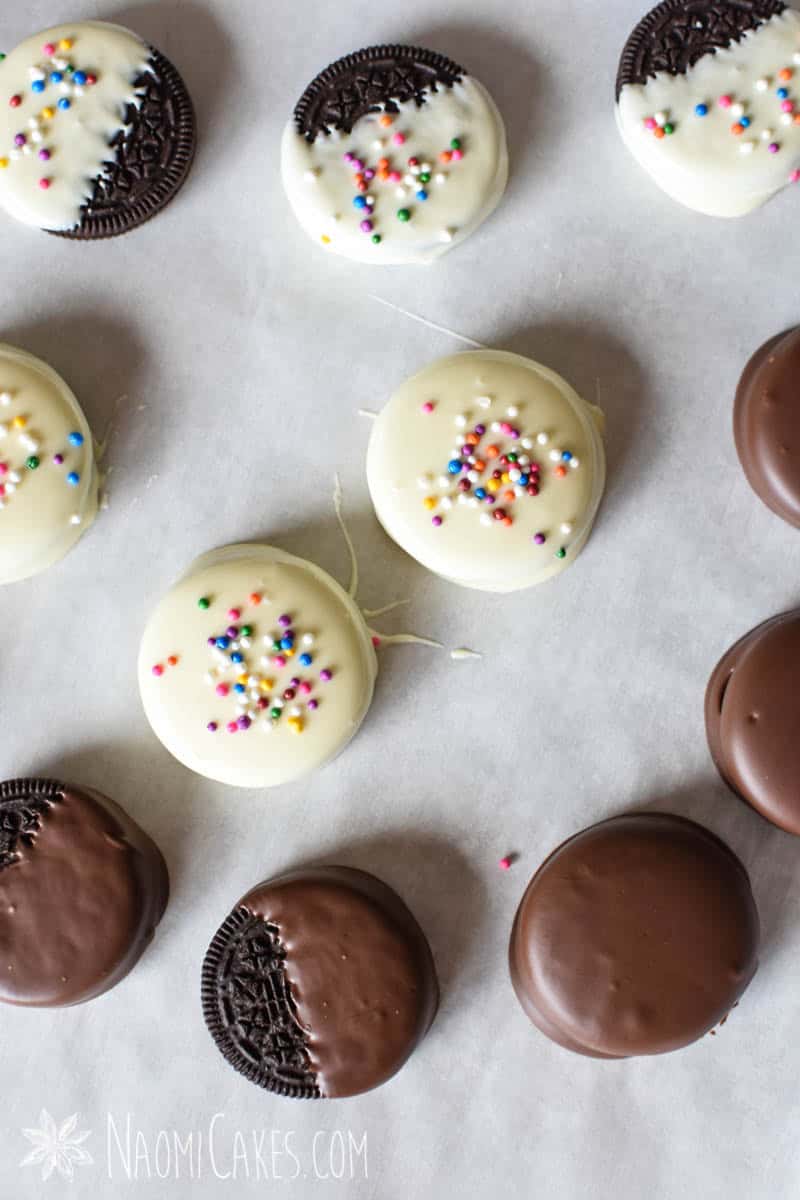
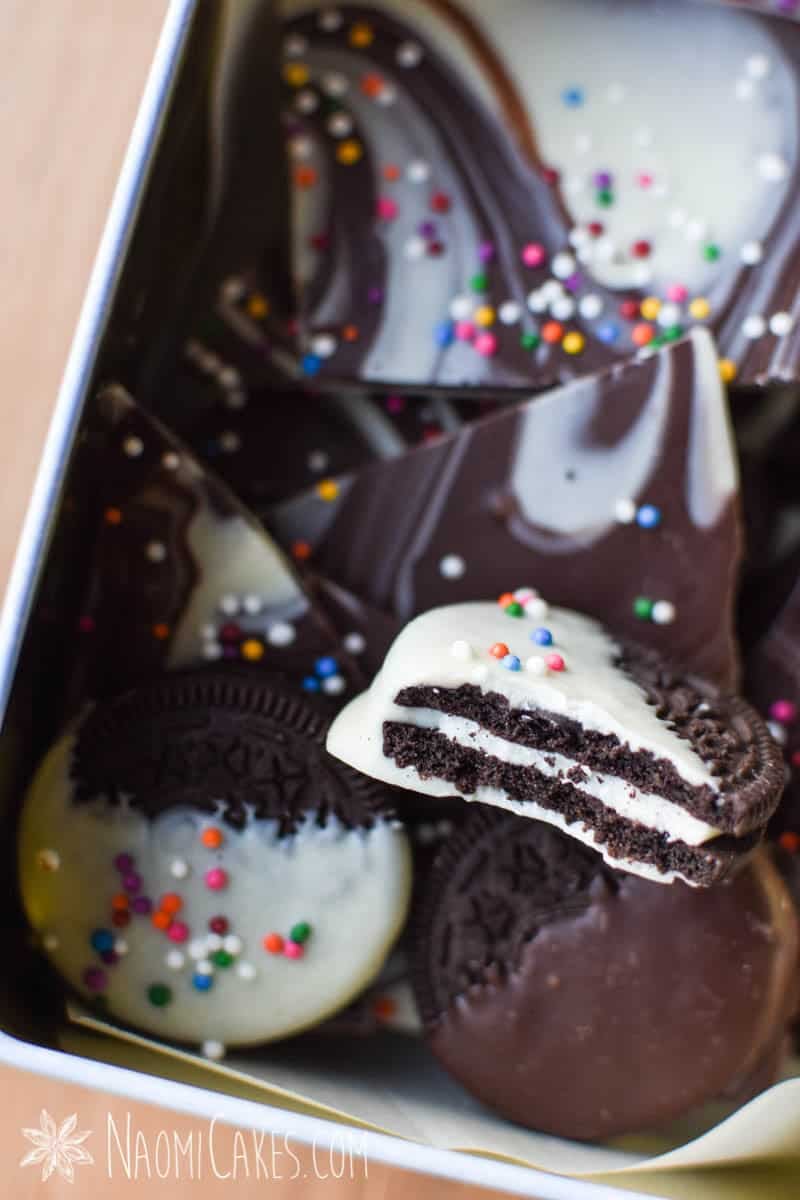
Set one Oreo onto a large fork over the bowl of melted chocolate. Use a large spoon to scoop melted chocolate over the top of the cookie to cover it, and scrape away the excess with a knife. Gently push the cookie off of the fork onto a parchment or wax paper lined cookie sheet. Decorate immediately with sprinkles, chopped nuts, or chocolate shavings (if desired).
Allow the chocolate to set completely. In a warm environment, you can allow the chocolate to set in the fridge* for a maximum of 10 minutes or the freezer for a maximum of 4 minutes.
Note: The chocolate on cookies set in the fridge or freezer may crack.
Use a sharp knife to trim away the tails of chocolate. Package or serve as desired.
Store cookies in an airtight container at cool room temperature.
And that’s it! I hope this little tutorial (and my plethora of pictures) serves you well for good eats and great inspiration. If you follow this tutorial, I’d love to see pictures or hear about your project! Feel free to tag me in your photos on Instagram @naomicakesofficial or leave me a comment below; I’d love to hear from you!
Bye for now,
Naomi
P.S. Next time I want to show you guys how to make Oreo pops – Oreos on a lollipop stick!
To provide the best experiences, we use technologies like cookies to store and/or access device information. Consenting to these technologies will allow us to process data such as browsing behavior or unique IDs on this site. Not consenting or withdrawing consent, may adversely affect certain features and functions.
Functional
Always active
The technical storage or access is strictly necessary for the legitimate purpose of enabling the use of a specific service explicitly requested by the subscriber or user, or for the sole purpose of carrying out the transmission of a communication over an electronic communications network.
Preferences
The technical storage or access is necessary for the legitimate purpose of storing preferences that are not requested by the subscriber or user.
Statistics
The technical storage or access that is used exclusively for statistical purposes.The technical storage or access that is used exclusively for anonymous statistical purposes. Without a subpoena, voluntary compliance on the part of your Internet Service Provider, or additional records from a third party, information stored or retrieved for this purpose alone cannot usually be used to identify you.
Marketing
The technical storage or access is required to create user profiles to send advertising, or to track the user on a website or across several websites for similar marketing purposes.