
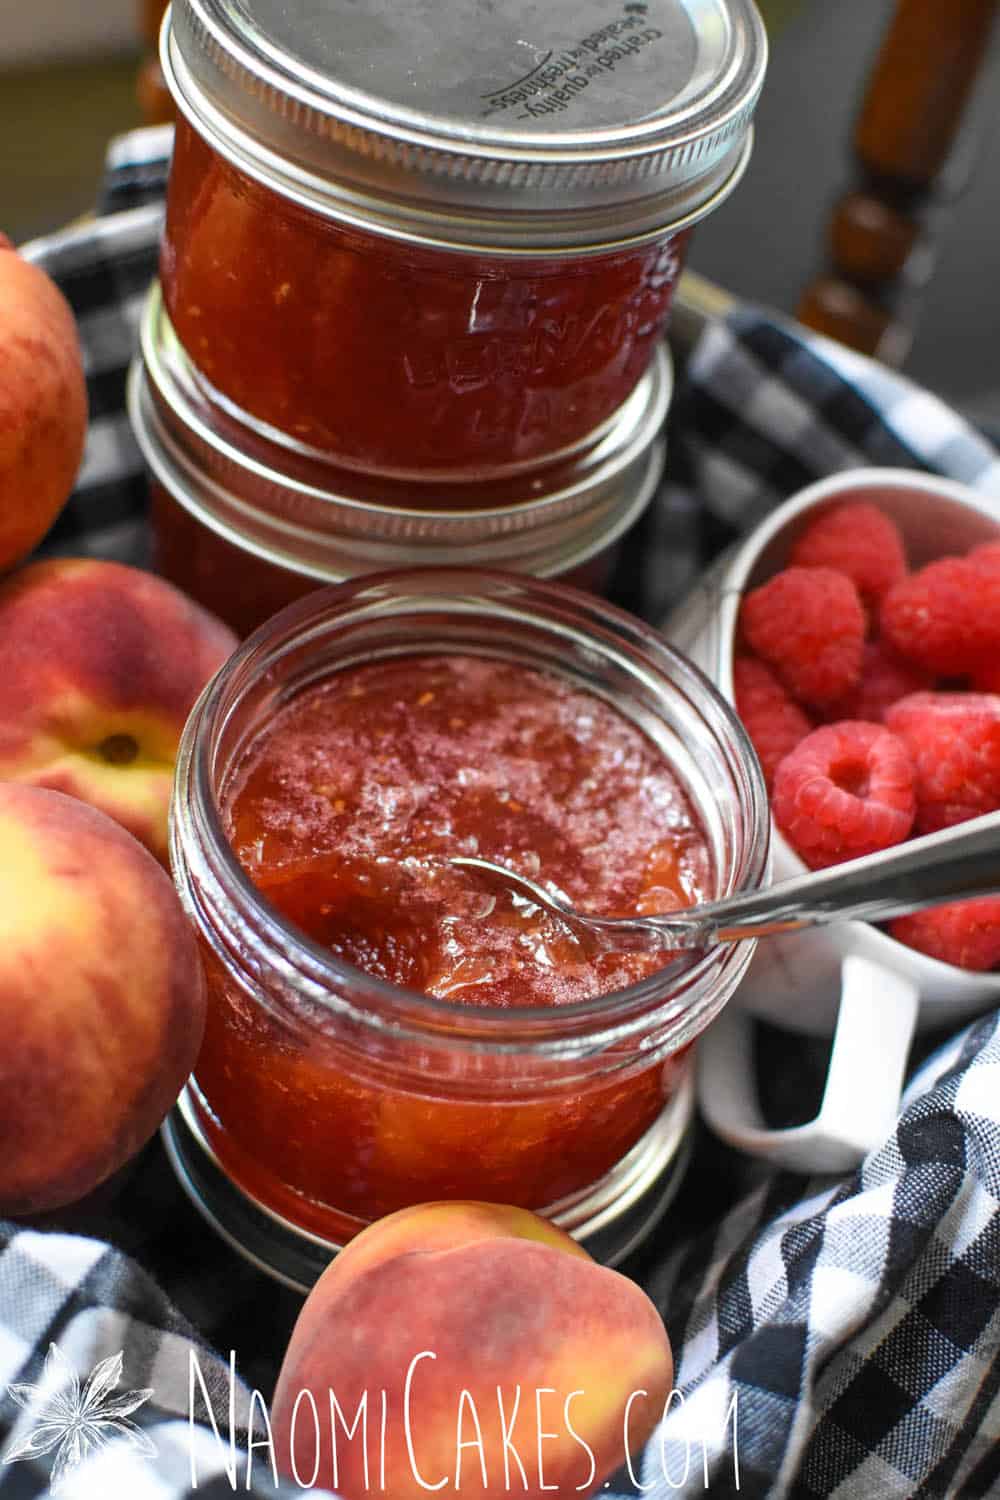
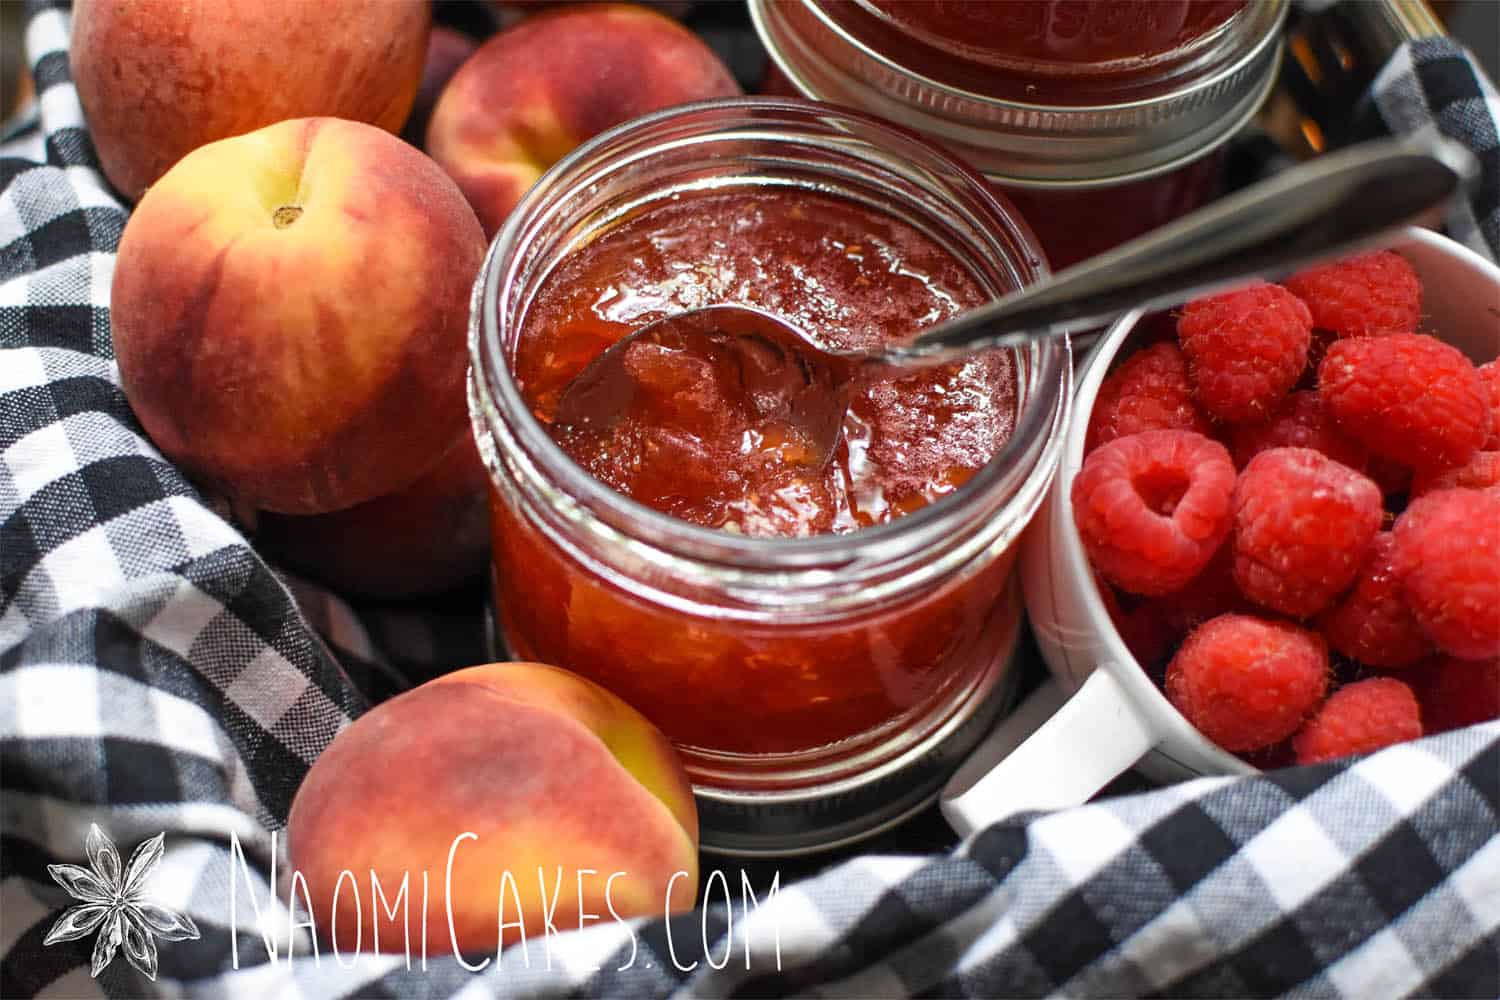
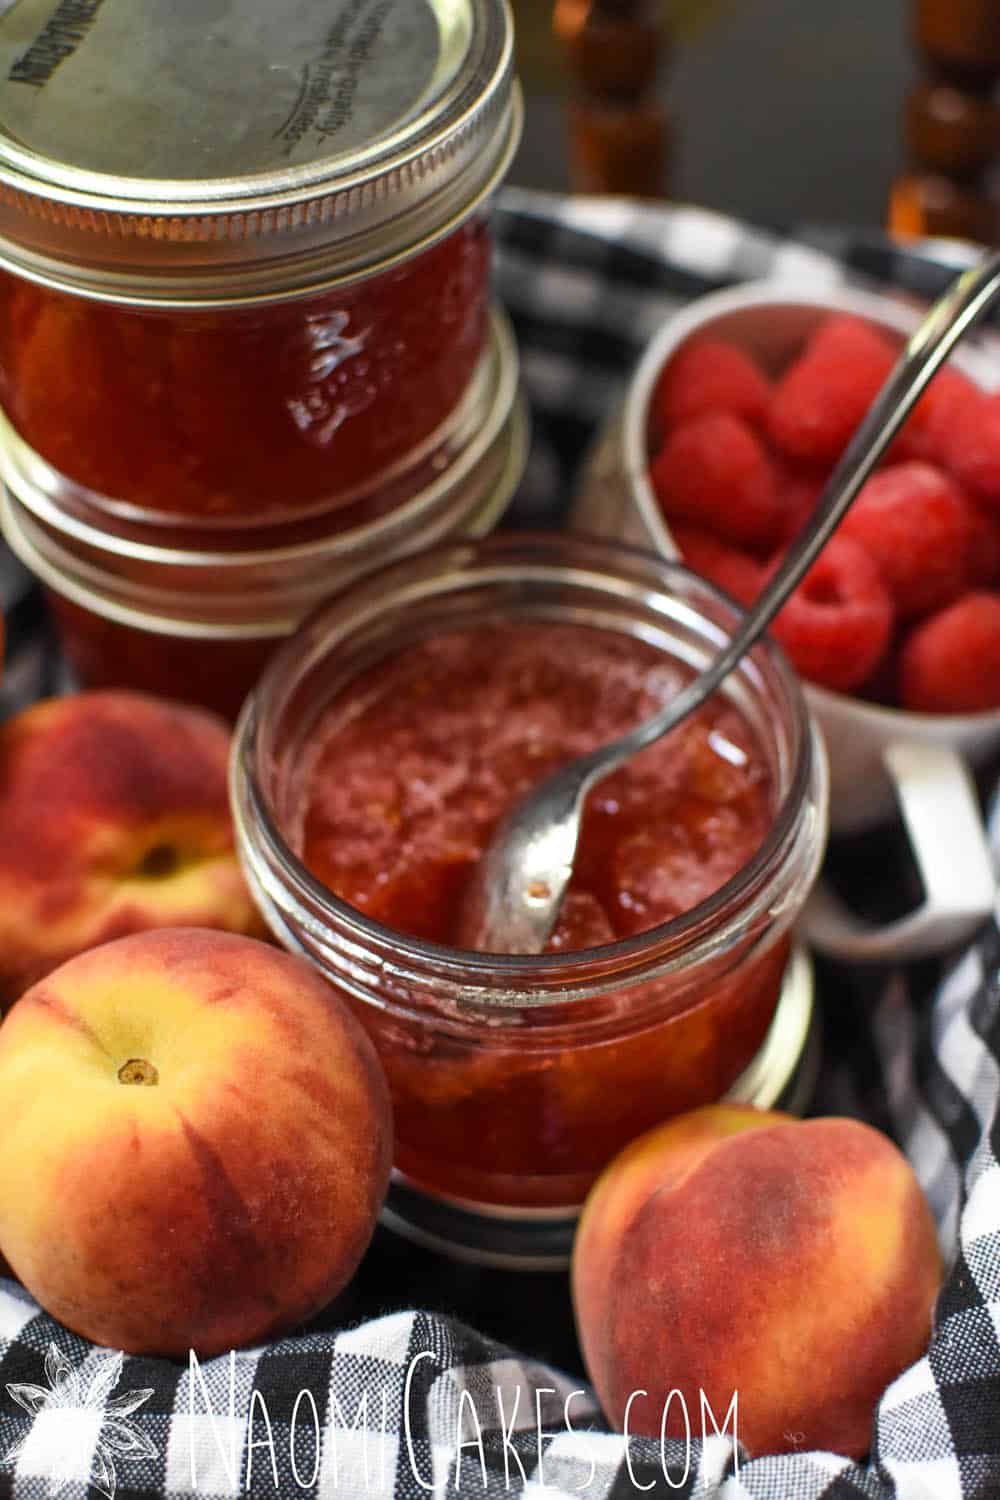
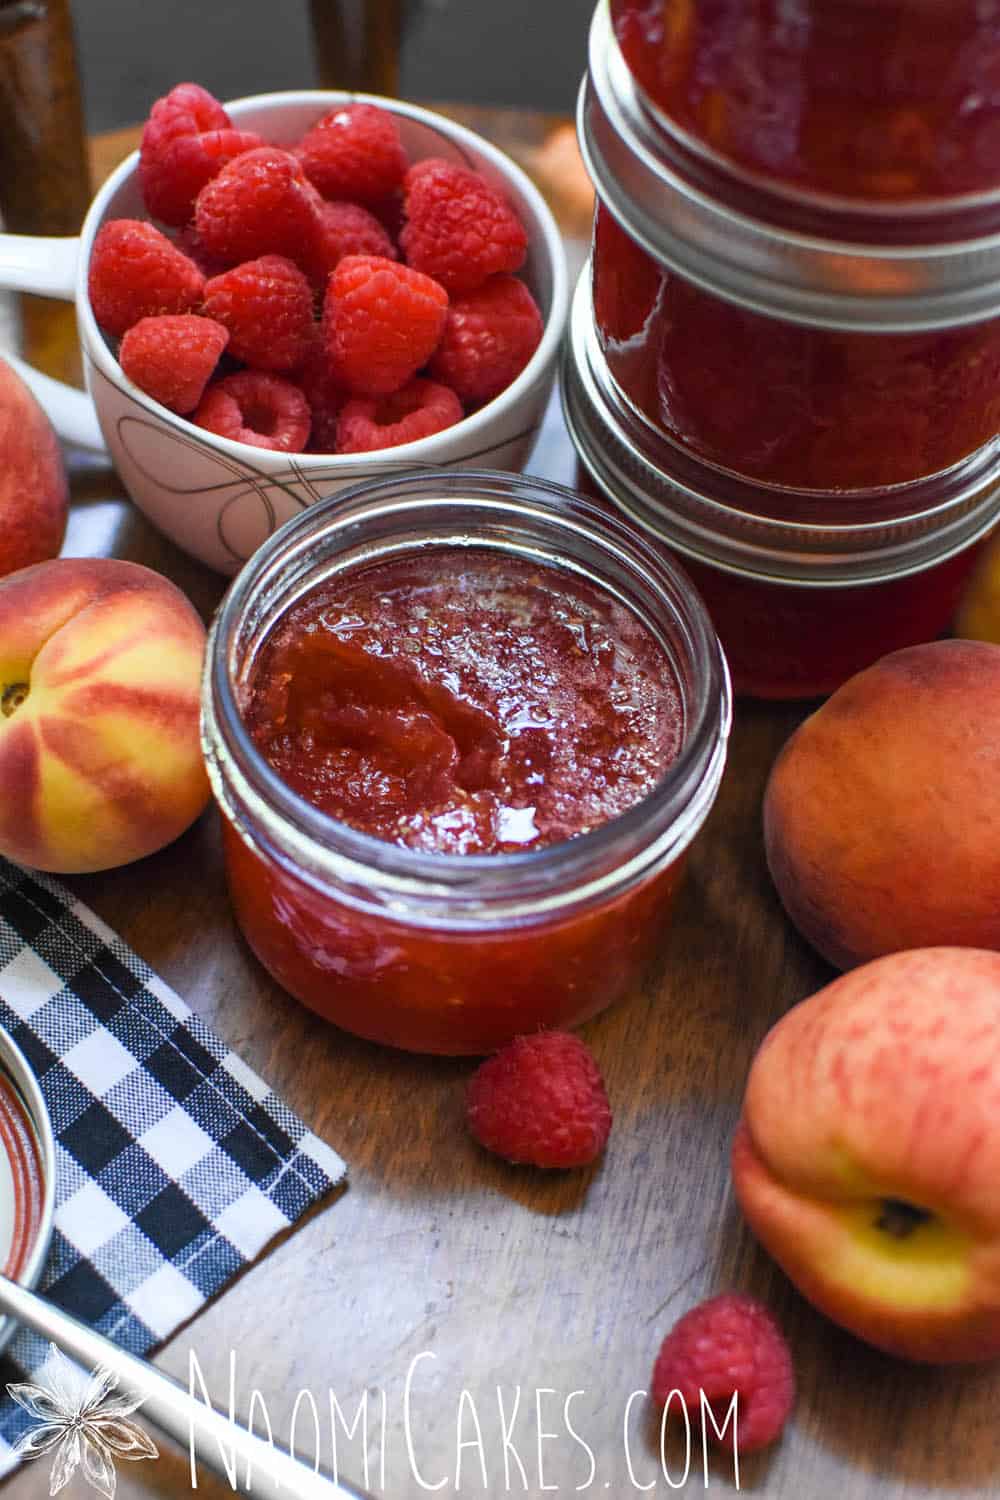
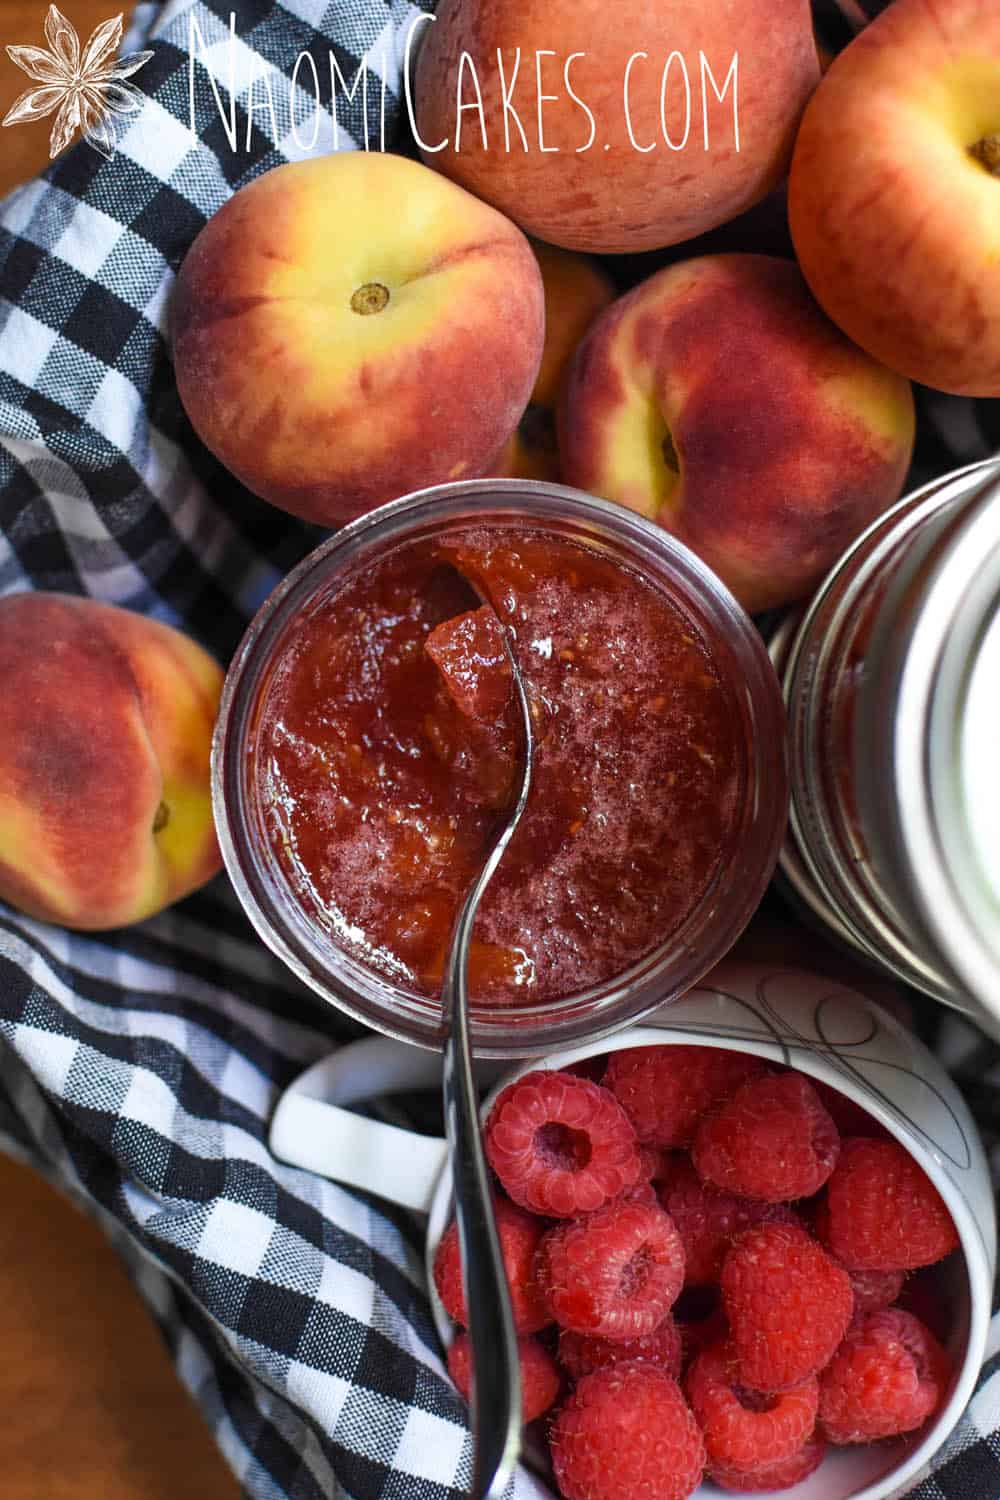
Peach Raspberry Jam [Recipe]
Peach raspberry jam: summer fruit in soft, spreadable form that is perfect to put on just about anything. If you’ve been looking for a great way to use up some of summer’s best, this recipe is a great option – and so easy to make!
Making memories with jam
I remember visiting my Oma (my mom’s mom) when I was a kid, and she always seemed to have lots of homemade jam on hand. Every time we’d visit, we’d get to reap the benefits of her delicious homemade bread or rolls, slathered with a generous helping of whatever delicious jam she had made the previous summer.
Jam for me holds a lot of memories. It’s so simple and seems like just a “regular part of life” – But when you make things at home, and you serve them well, even the smallest things in life can hold some of the sweetest memories.
How to make peach raspberry jam
Making jam is a very simple process. To make this peach raspberry jam, here are the basic steps:
- Prepare the fruit
This step is as it seems – Wash the fruit, and peel, pit, and chop the peaches. - Cook the fruit with pectin
Once the fruit has been prepared, you will put it into a heavy bottomed saucepan and bring it to a boil with pectin and lemon juice (to offset the sweetness of the fruit). This gets cooked until the fruit is broken down and very soft. - Cook the fruit mixture with sugar
At the end, once the fruit is properly broken down, the sugar gets added and cooked until dissolved and has had enough time to bond with the pectin. - Check for thickness
Once the jam has been cooked, it will still appear very watery/thin. To test if the jam is done, you can spoon a little bit onto a plate and put it into the freezer to cool quickly. Once the jam has been allowed to set in the freezer for a few minutes, check it to see if it has begun to thicken. If not, continue cooking for another minute and test it again. If yes, you can proceed to the next step. - Ladle into prepared jars or containers for canning
Prepare your jars for canning by my basic canning method. Ladle the jam into jars, and allow them to seal!
It’s that simple!
What is pectin?
Pectin is a naturally occurring thickener and stabilizer found in fruit and some vegetables. You can purchase pectin in liquid or crystal form as an isolated agent, and it is commonly used to make homemade jams become thick and stable.
Some jams are made without any pectin at all, since those particular ones can be thickened with just the pectin in the fruit itself (such as cranberry or apple).
Can you make raspberry peach jam with gelatine?
I have seen some jam recipes with gelatine, but since gelatine is an animal product with a different affect than pectin, it is not a typical way to thicken jam. Gelatine also sets more like jello, which doesn’t make it as nice for spreading as jams thickened with pectin.
If you wanted to try adding gelatine to your jam instead of pectin, I would add 1 tsp per 2 cups of fruit in your recipe. Since I haven’t tried this myself, I cannot guarantee the results.
Is it possible to make jam with cornstarch?
Technically fruit thickened with cornstarch would be called a sauce or pie filling, not a jam. However, you can absolutely use a fruit sauce as jam if you want to! Also, a little bonus: if you make a fruit sauce this way, you will not need as much sugar to bind with the pectin in order for the sauce to thicken.
The downside to making a cornstarch thickened sauce in place of jam is that it will separate over time. Also, due to the lower sugar content, it will spoil more quickly.
If you want to try it out, here are some delicious fruit sauces thickened with cornstarch:
The freezer test: how to make sure your jam gets nice and thick
The best way to check that you jam is getting nice and thick is to use the freezer test. Drop a little bit of jam onto a plate and put it into the freezer. If, after 5 minutes in the freezer, the jam has “gelled” and it is thicker than before, then you’ve got a successful batch of well thickened jam! If not, you will want to continue cooking the jam on high heat until it passes the freezer test successfully.
Making jam with less sugar
Sugar is necessary in jam in order that the pectin can bind with the sugar and create that beautiful thick texture. It also acts as a preservative, making the jam resistant to spoilage and able to last for a longer period of time.
Most jam recipes are made with an equal amount of fruit of sugar, or even sometimes more sugar than fruit! I can’t bear to do that, however, so I always make my jams with 1/2 the amount of sugar as I use fruit. With this ratio, I sometimes end up with a slightly runnier jam in the end, but in my opinion – it’s worth it for that real fruity taste.
Keeping beautiful colour in homemade jams
Oma always said that the best way to keep that bright, beautiful colour in jam was to make sure that you don’t cook it for too long after adding the sugar.
The reason for this is that the sugar caramelizes after cooking for a long time, creating a golden/amber hue which would darken your jam (and perhaps cause it to burn on the bottom of your pan). To avoid this, just cook your jam long enough for it to pass the freezer test.
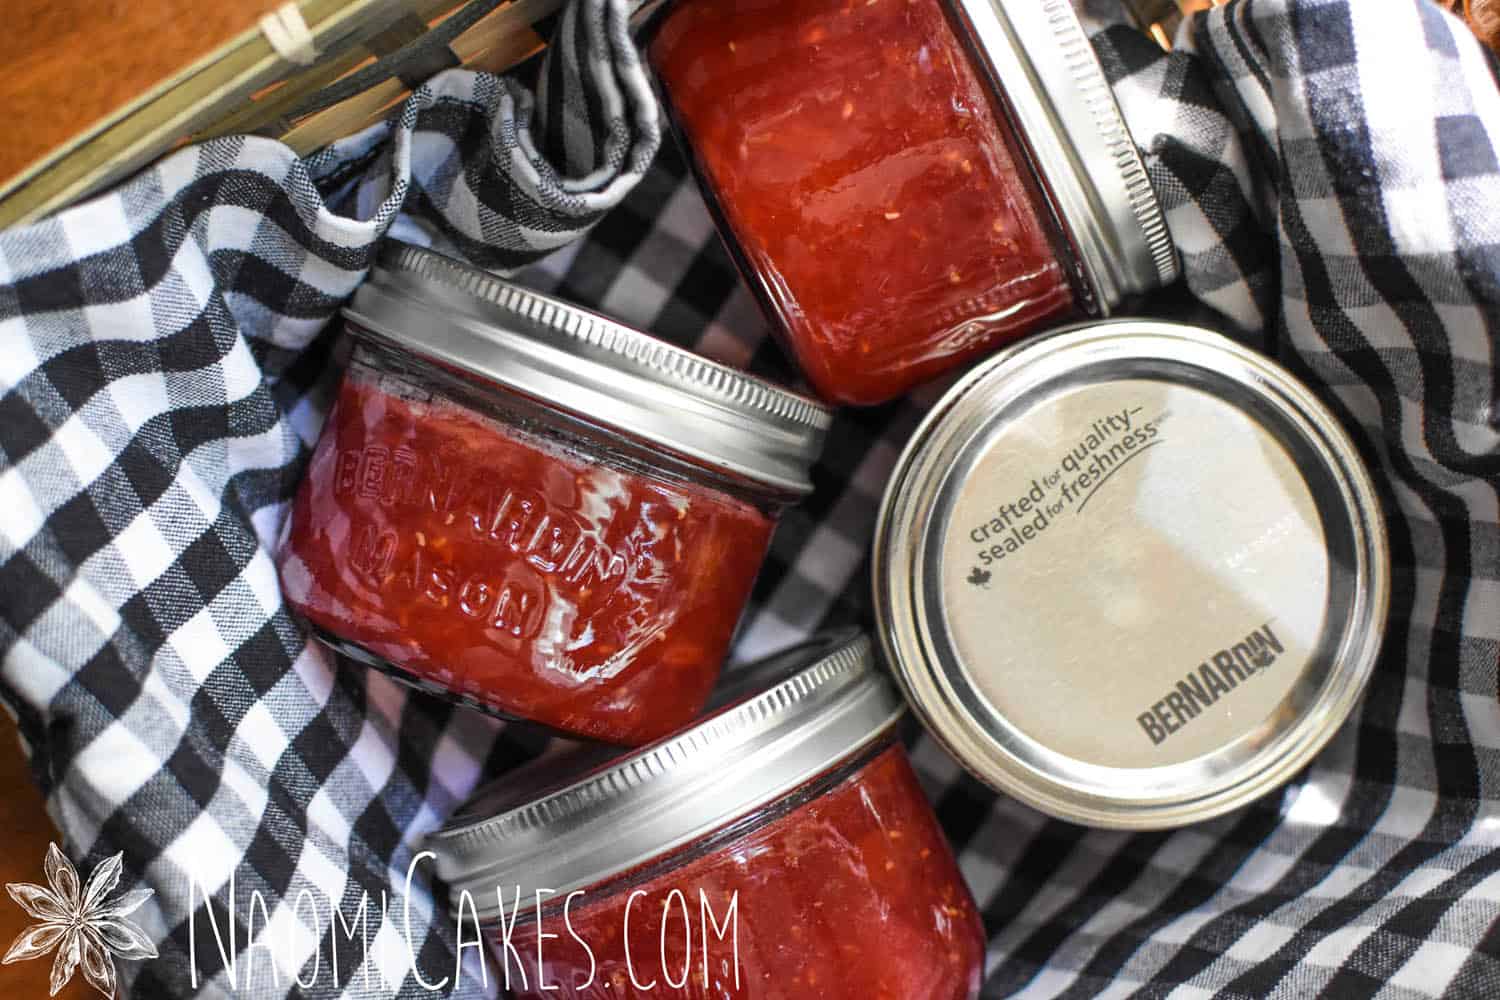
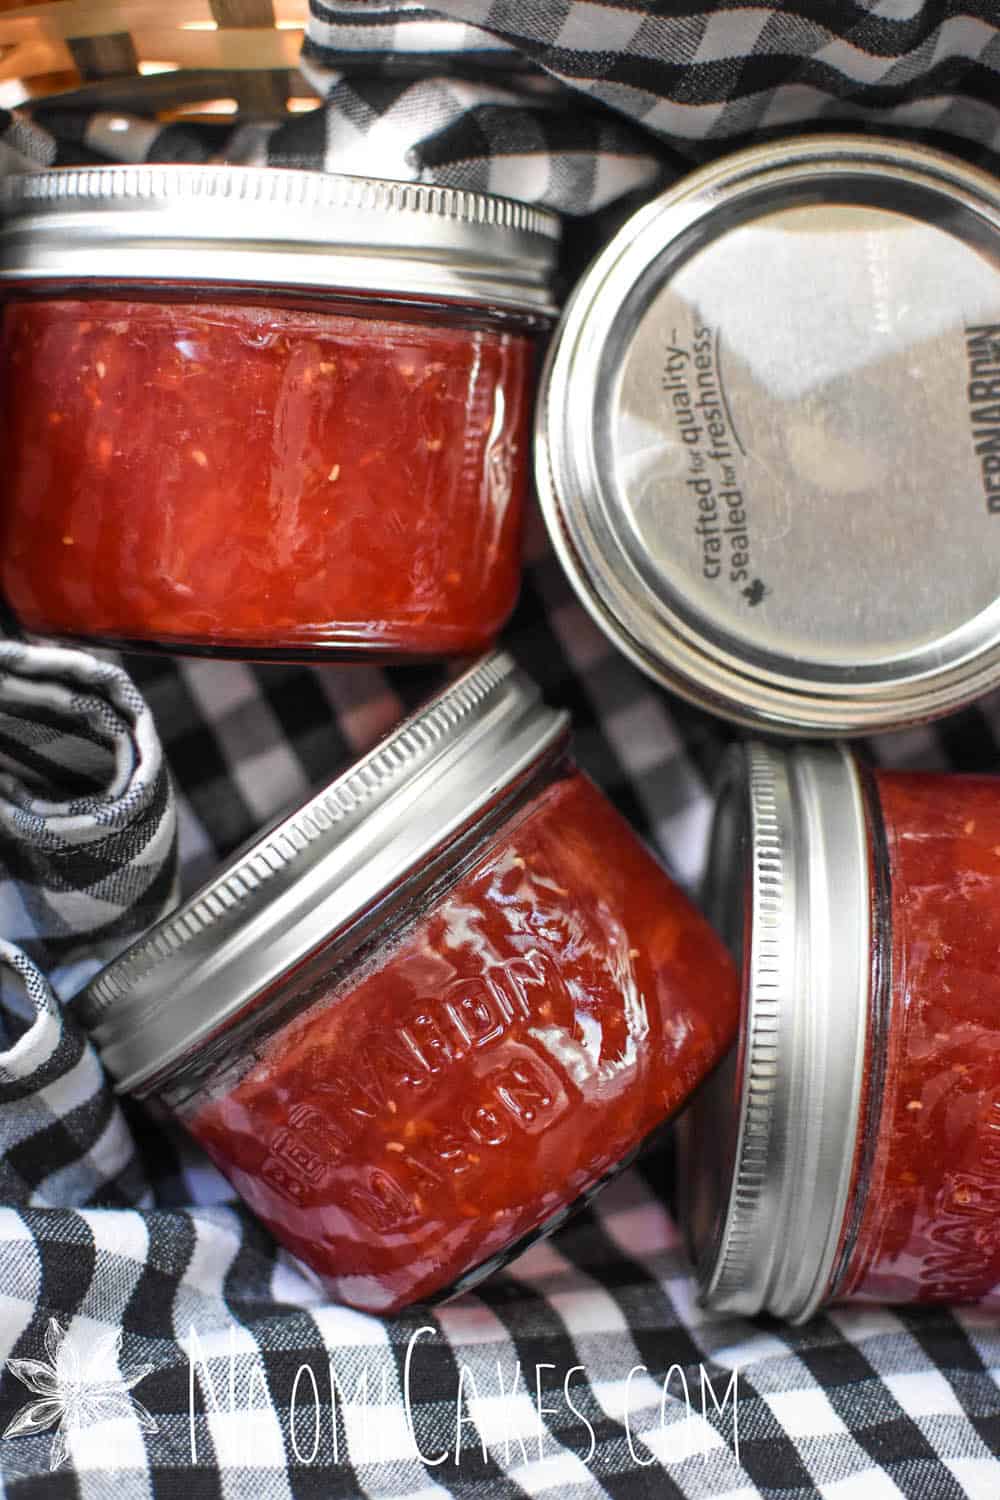
How to preserve jam – the easy way!
This recipe can be canned (as outline in the recipe below, or using my basic canning method), or you can actually just throw it into small sealed containers and put those into the freezer. My Oma often kept her jam that way (even though she did can many things); honestly, it’s one of the simplest ways to go.
You will need:
- Ingredients (see recipe card)
- Colander
- Peeler (optional)
- Chef’s knife (optional)
- Paring knife
- Cutting board
- Measuring cups and spoons
- Glass measuring pitcher
- Large heavy bottomed saucepan
- Immersion blender (optional)
- Jars, for canning (optional) or freezer safe containers
- Canning supplies (optional)
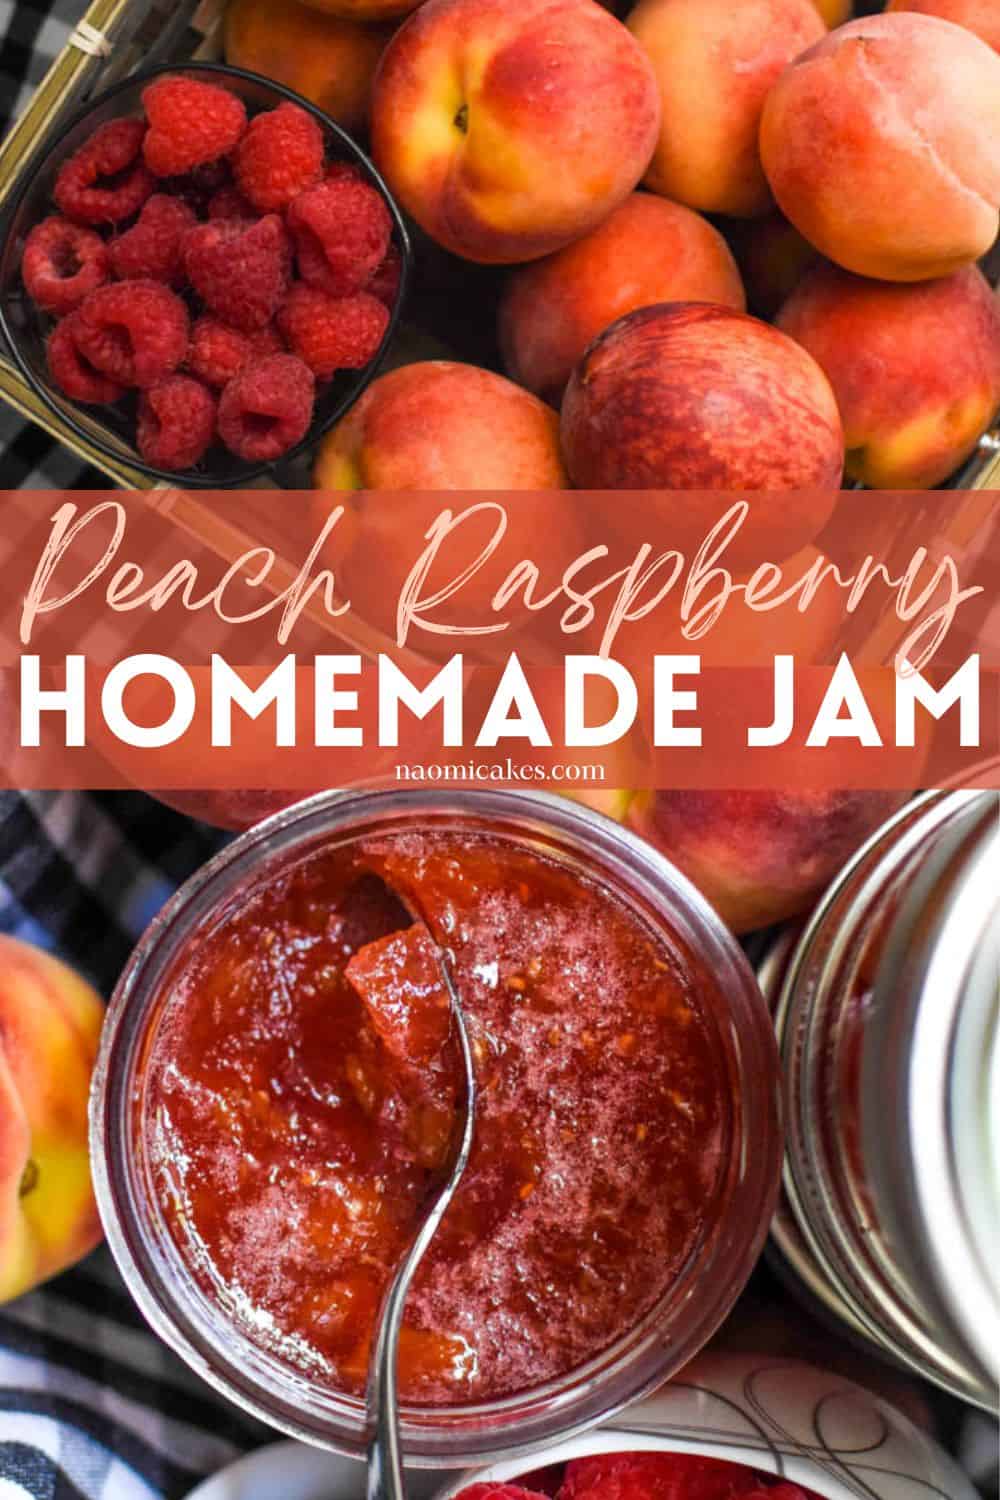
Peach Raspberry Jam
This recipe is thick, delicious, and easy to make.
Ingredients
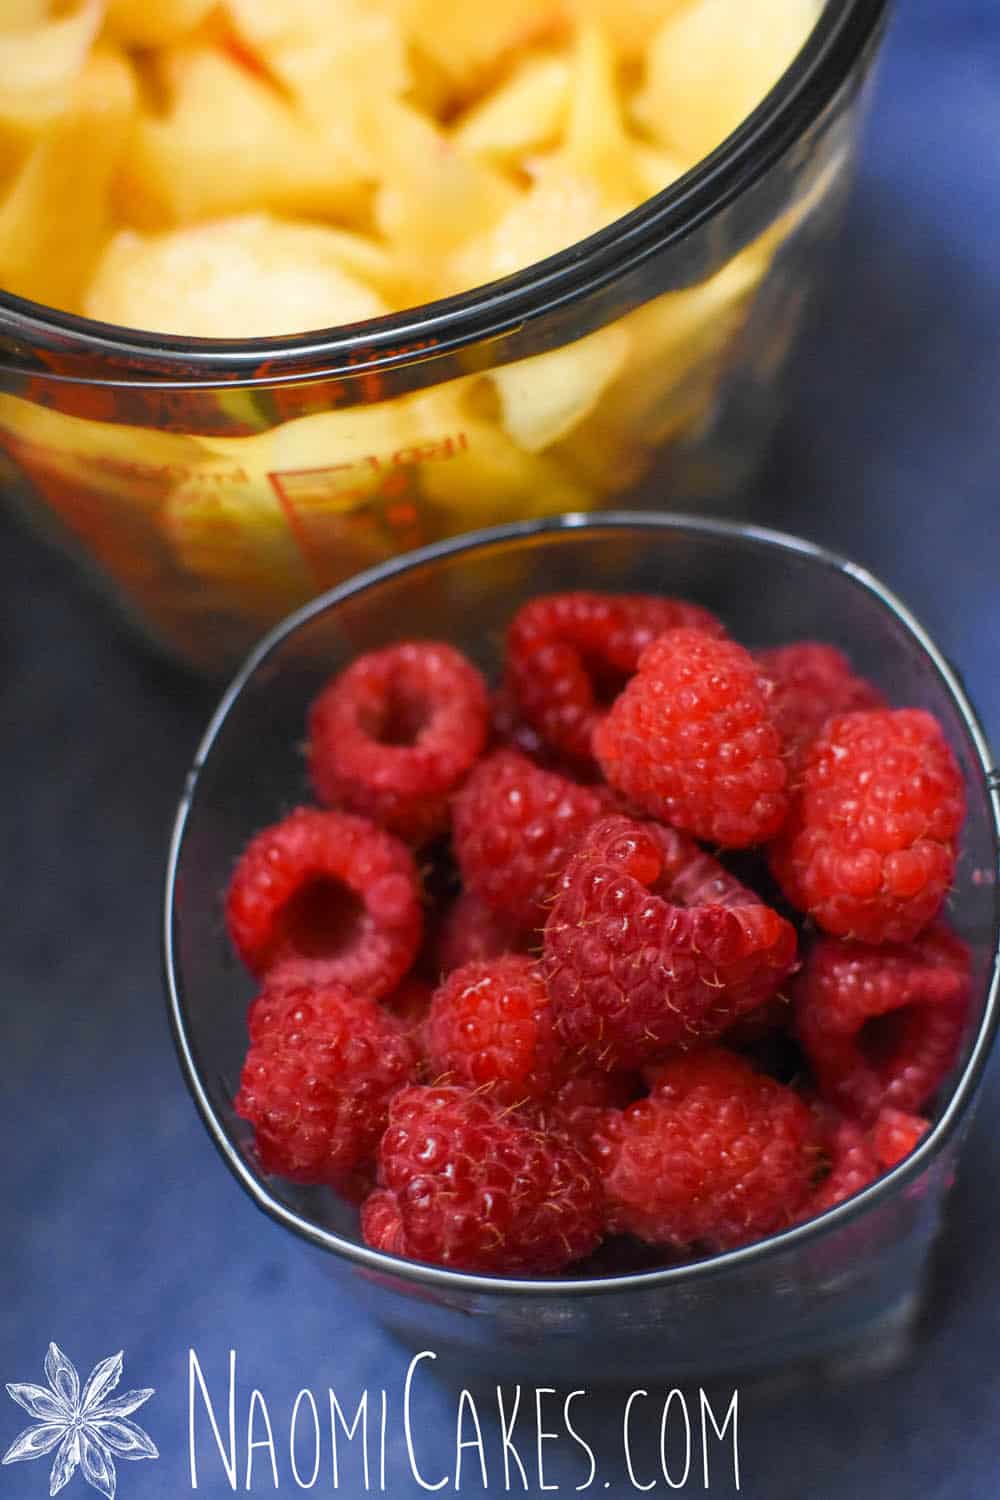
- 4 cups peaches washed, peeled and chopped
- 1 cup raspberries washed
- 1/4 cup water
- 1 lemon juiced
- 1 pkg pectin crystals
- 3 cups sugar
Instructions
-
Wash the jars and lids, and place the jars on a clean cookie sheet in a 200 degree (farenheit) oven. Set the rubber seals into a small saucepan, cover with water, and simmer for 10 minutes. Set the rims aside.
-
Prepare the fruit, and add to a medium-large saucepan with 1/4 cup water and the pectin. Bring to a boil, and cook until the fruit is very soft. Stir in the lemon juice.
Note: If you like, you cook the fruit and lemon juice without pectin and purée the fruit once it is soft, if you like your jam to be more smooth. For these pictures, I pulsed mine a few times, leaving a few chunks of fruit intact. Once the jam has been puréed, you can add the pectin and cook it for about 5 minutes before moving on to the next step.
-
Add all of the sugar and bring the mixture to a full rolling boil that cannot be stirred down. Boil hard for 1 minute. Remove from heat, and skim off the foam if desired.
-
Using a canning funnel, ladel the hot jam into hot jars from the oven. Immediately after you fill each jar, make sure the rim is clean and set a hot rubber seal on top of the jar (using tongs so that you don't burn yourself). Screw on the lid rim and set your filled jars aside to seal.
Important: Do not disturb the jars while they are sealing or touch the lids. You will hear a "pop" sound when the jars have sealed, and the center of the lid should be indented. If your jars cool and have not sealed (i.e., you can push the lid in and make it pop yourself), those jars must be stored in the fridge and used first. Make sure to leave the jars at least 1 hour before checking the seals.
-
Store sealed jars in a cupboard or pantry. Properaly sealed jams will keep for years! Refrigerate after opening.
If you like this recipe, you may also like:
I hope you enjoy this recipe! It’s a great way to put those seasonal summer fruits to great use.
Thanks for stopping in, and I’ll be back soon!
–Naomi
This post contains affiliate links.
One Comment