
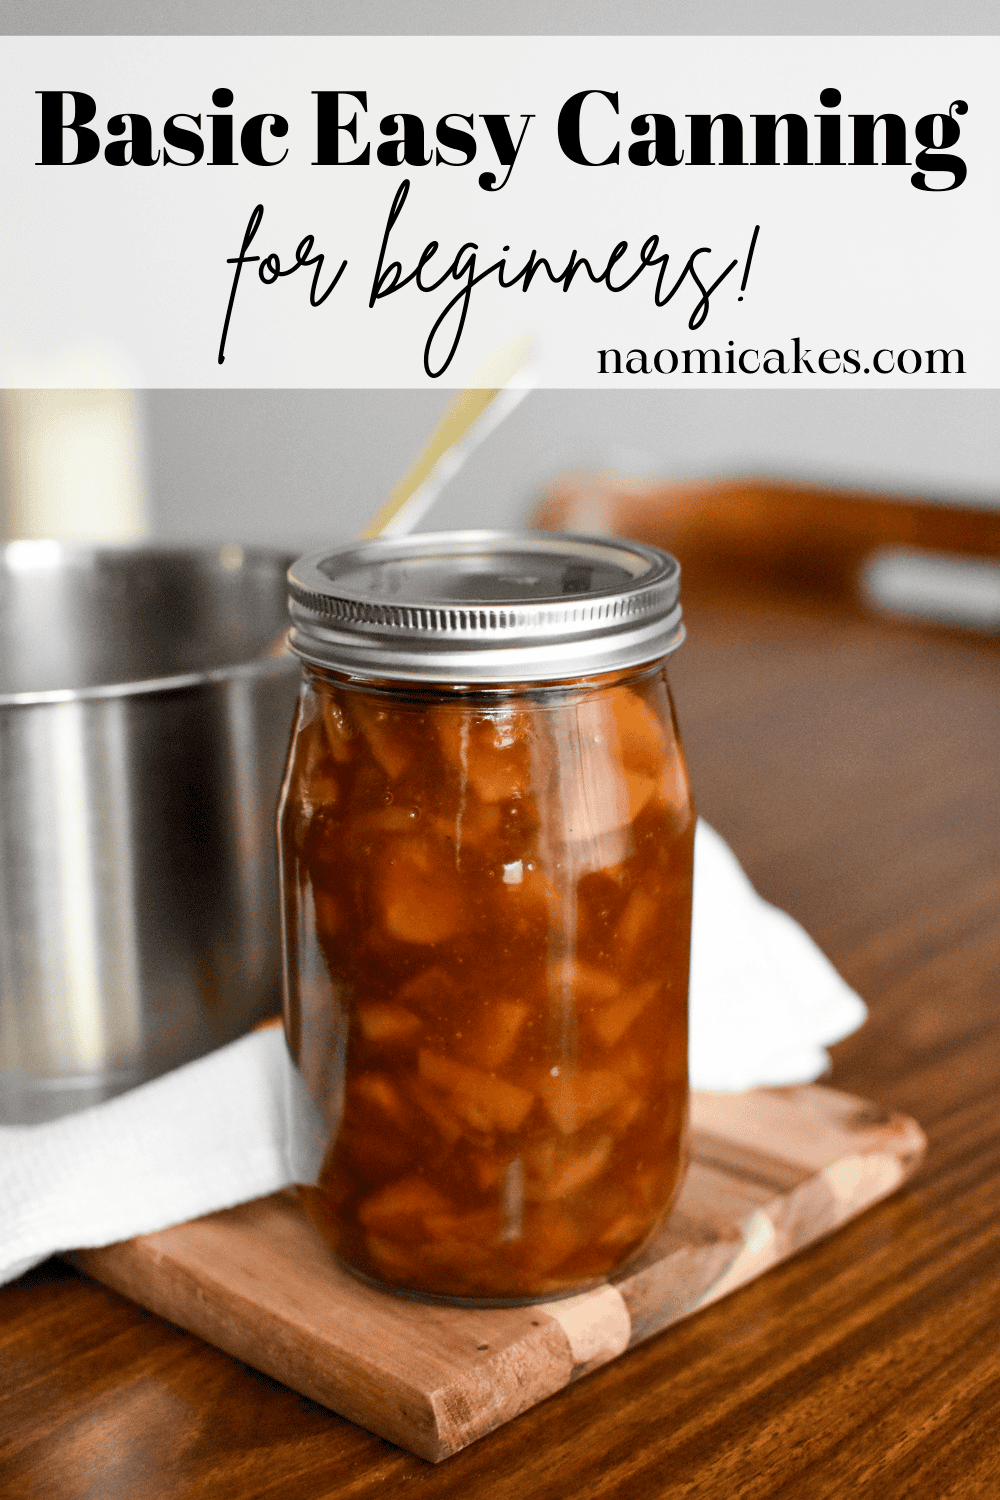
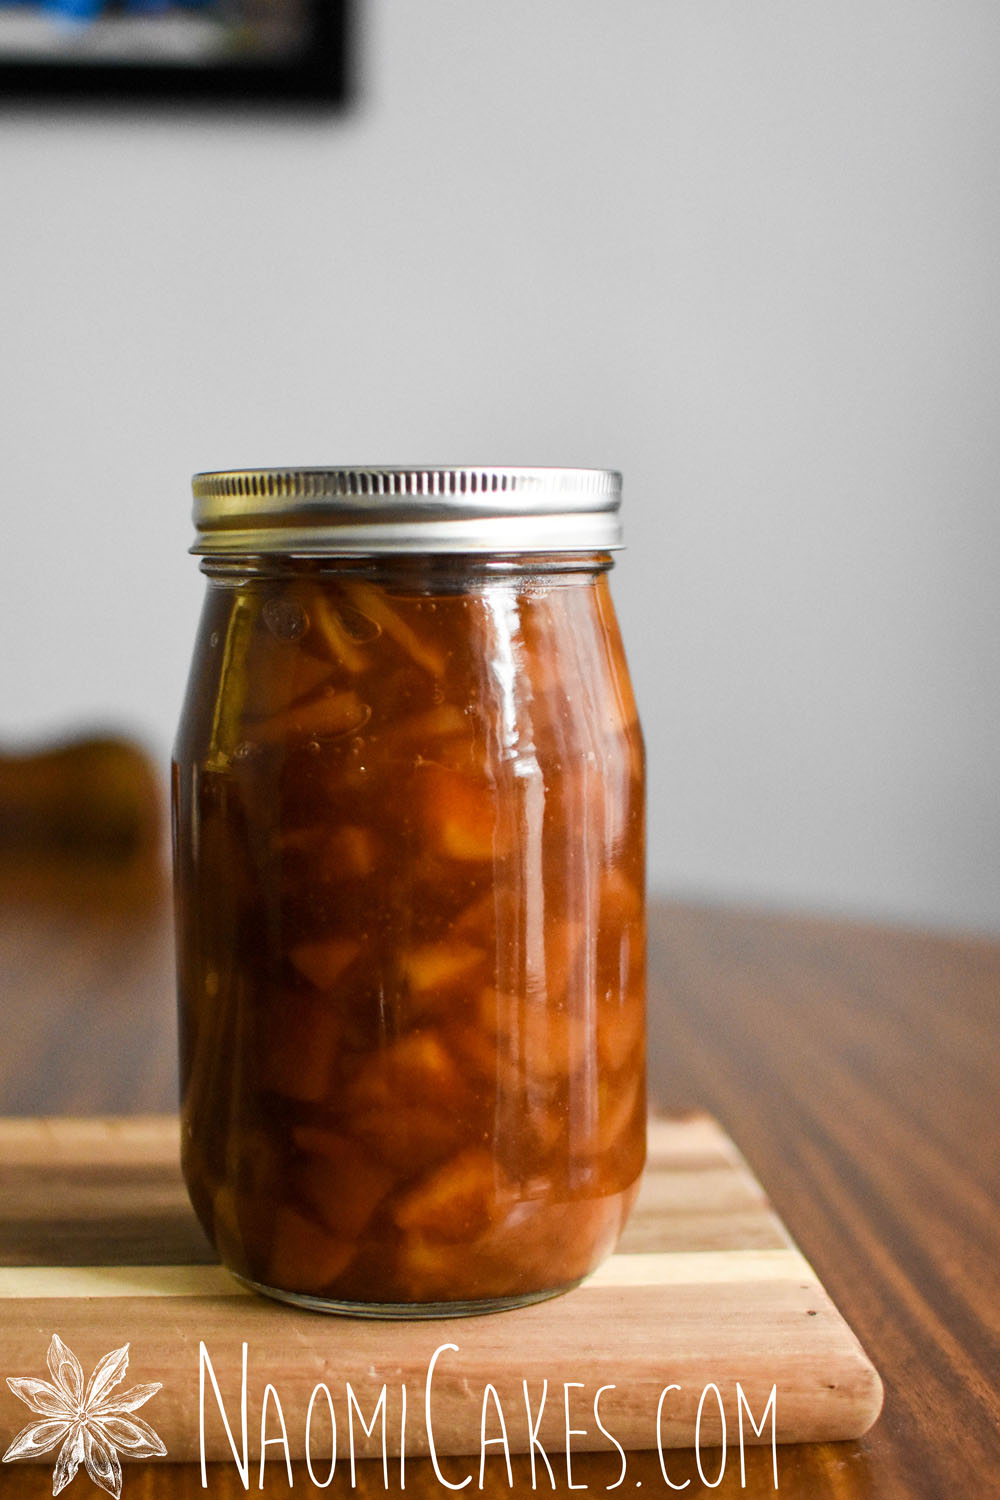
Basic Canning Method – Hot Liquids [Tutorial]
Hey guys, it’s me again! Today I’m going to teach you a basic canning method for hot liquids. Since I posted my Apple Pie Filling last week, I thought you might appreciate knowing how to can it, and other things like it!
Use this tutorial for homemade pie fillings, jams, jellies, sauces, or tomatoes. It’s a great way to preserve food without using up fridge and freezer space!
An Important Note:
Low acid foods may require a long hot water bath to keep their seal, such as meat stock or low acid vegetables. This method is best for canning hot fruit or high acid vegetables, such as tomatoes. I do not recommend this method for anything containing meat or beans; those recipes should be attempted with a long hot water bath or pressure canning method.
Two things to remember before we begin:
- Wash the jars before you use them, yes, even if they are already clean! This will prevent bacteria from forming in the jars as they sit in your pantry.
- Keep everything as HOT as possible until it’s safely in the jars, with the lids screwed on. If you don’t have the right heat, you may not be able to get a good seal on your jars, and then whatever is in them may go bad.
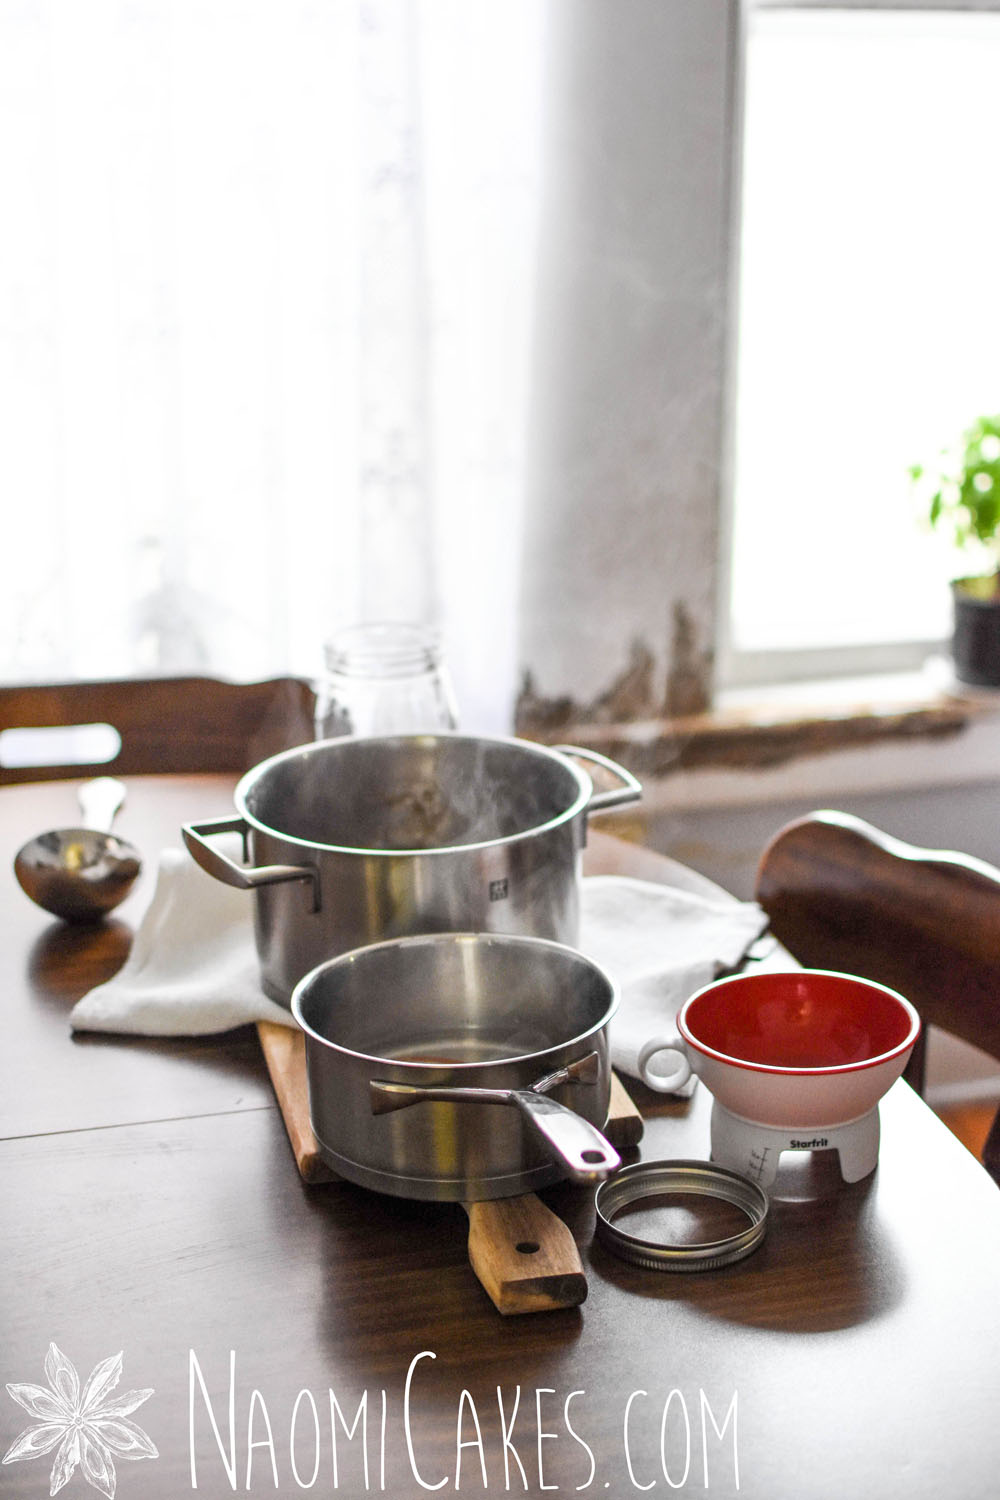
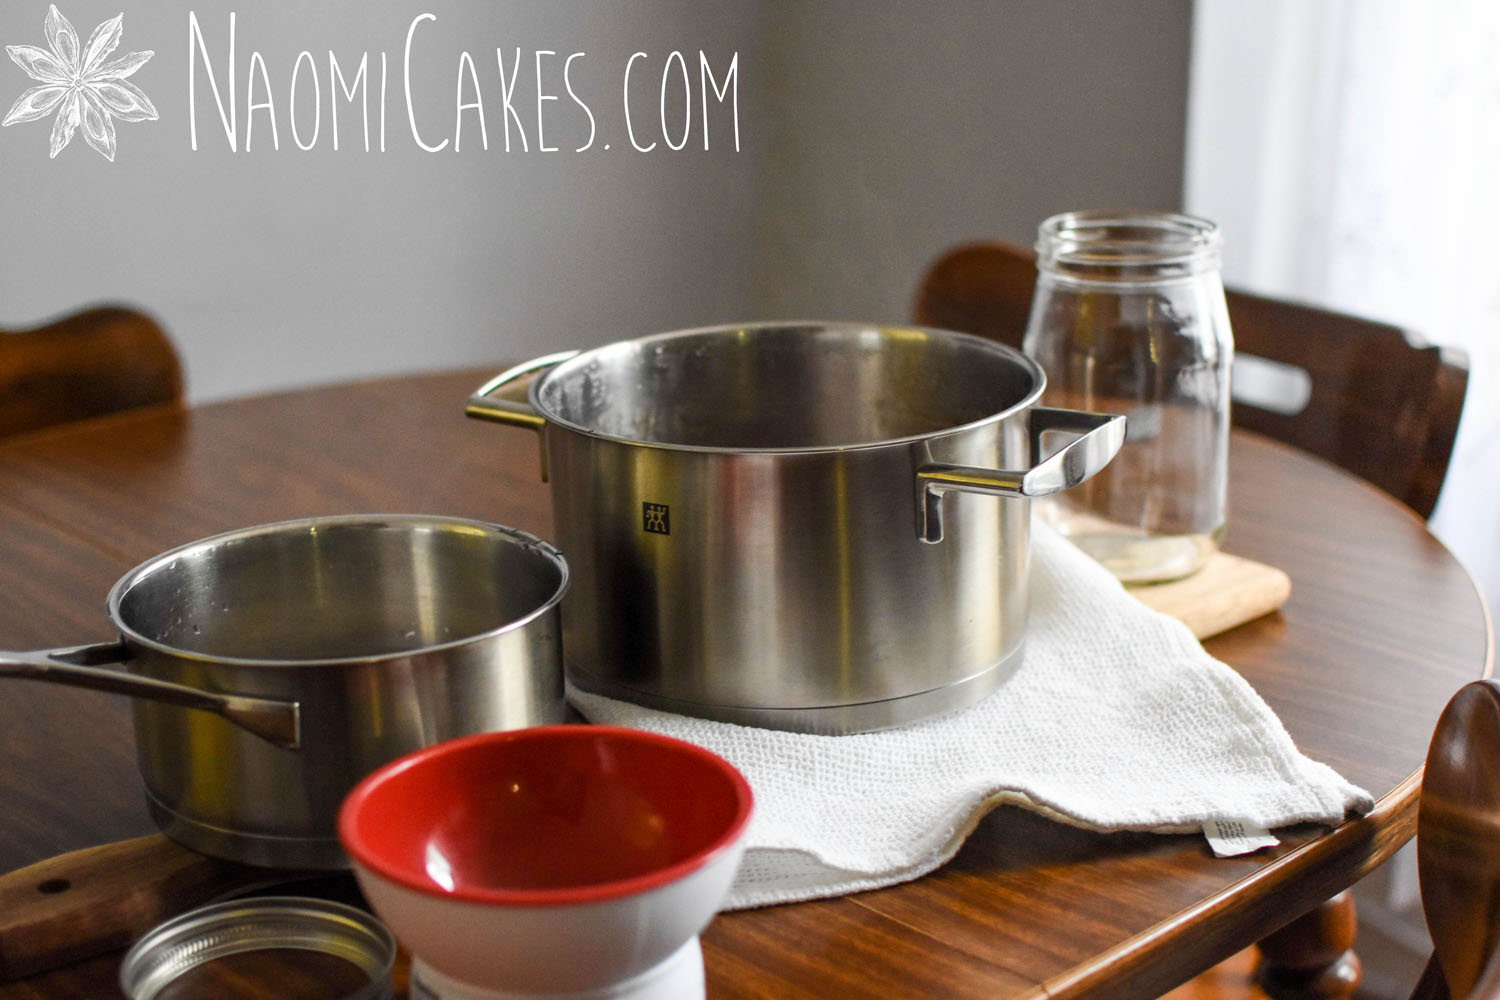
Here’s what you’ll need:
- A large pot for your food to be canned, whatever it may be
- A small pot, for your lids
- A cookie sheet
- Mason jars and lids (enough to fit the volume of liquid you have)
- Canning funnel
- Tongs
- Ladle
(+A standard working kitchen with an oven, etc.)
Step 1: Heat the Goods
Make or heat whatever it is you’re canning in the large pot. Whether it be apple butter, rhubarb sauce, pie filling, tomato sauce (no meat), etc– make sure it’s good and hot (gently boiling, preferably).
Disclaimer: I’ve never canned anything with meat in it before, because frankly, I’m too scared! Maybe it’s because years ago, my mom made chicken soup and canned it, but for some reason the seal released after a little while. So, I would tell you to exercise caution with meat products. I definitely want to try it someday, perhaps with my pasta meat sauce recipe… but for now… I’m good to stick with fruits and vegetables.
Step 2: Wash & Prep the Jars
Heat the oven to 200 degrees F. Then, wash those jars and lids! Again, even if they’re already clean, wash them really well with hot, soapy water to prevent bacteria from forming. Once the jars are clean, you can set them upside down on a clean cookie sheet, and set them into the oven to warm; they need to sit in the oven for at least 10 minutes before you use them.
Step 3: Boil the Lids
Mason jar lids come with a rubber seal part, and then a screw-on ring that holds it in place. Place all of the clean, flat rubber seals into a small pot with water. Bring the water to a boil, reduce to a simmer, and simmer the lids for 10 minutes.
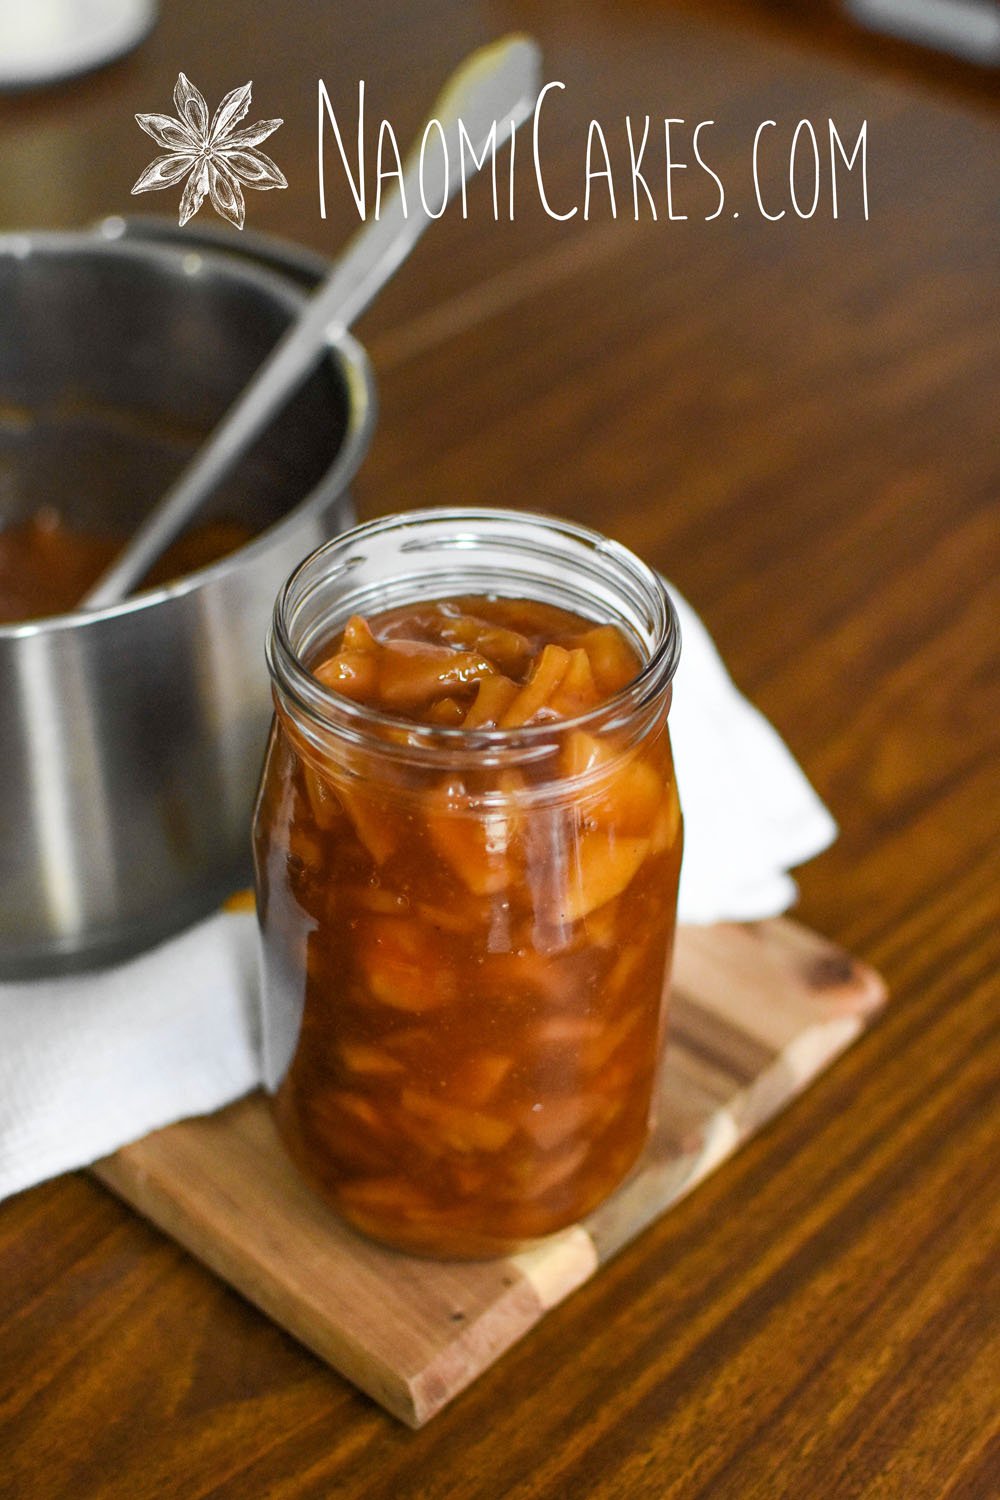
Step 4: Fill the Jars
Once your jars and lids have been heating for at least 10 minutes, you can begin your canning process.
-
- In my kitchen, I don’t have a lot of space by the stove to work, so I usually take everything to my dining room table, only returning to the stove if my product to be canned is cooling off too much. I do want to keep the jars hot, however, so I leave those in the oven until I need them – and then take one out at a time to fill it. A little bit of annoyance, but it’s ok.
- If you have room to work by your stove, do that – it will save you a few steps back and forth from the stovetop.
- The lids can be removed from the heat, but you should leave them in the hot water until you need to use them.
Place the canning funnel onto the mouth of a hot jar, and ladle your hot product into the jar until you have about 1cm of space left from the top (I slightly overfilled my jar in these pictures – which is ok, but sometimes it can prevent the jar from sealing properly).
The funnel should prevent anything from getting on the lip of the jar, but if you do spill anything on there, you’ll need to clean it with a clean washcloth before you place the lids on top.
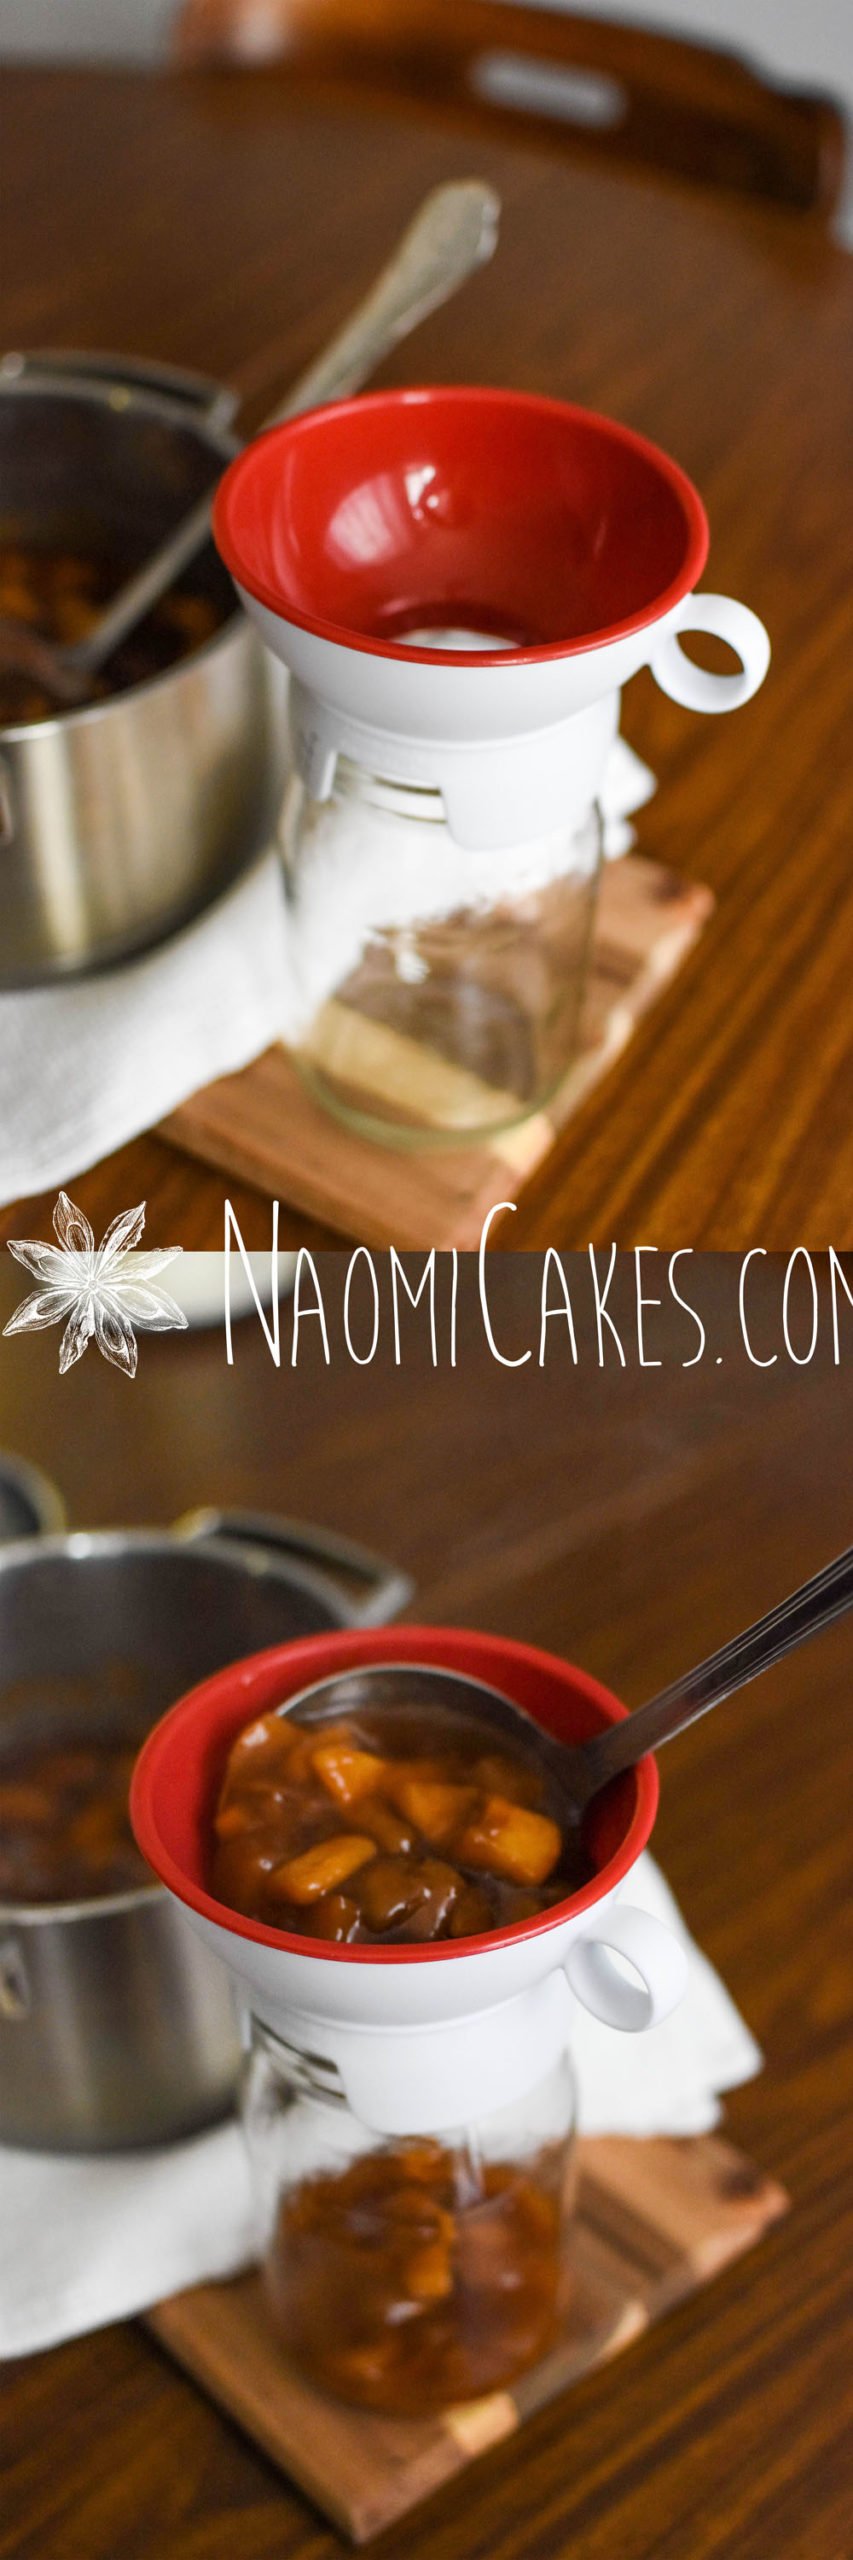
Step 5: Put the Lids in Place
Once your jar is filled, use your tongs to lift a hot lid onto the mouth of the jar, and immediately screw on the outer ring until just snug (not too tight). Set the jars aside to seal.
Oh, and be careful– it’s hot!
Repeat the filling process one jar at a time, putting the lids in place directly after filling each one. If you don’t have quite enough filling to fill a whole jar, it likely won’t seal properly; so, just set that one aside to cool, put it into your fridge, and aim to use it up soon.
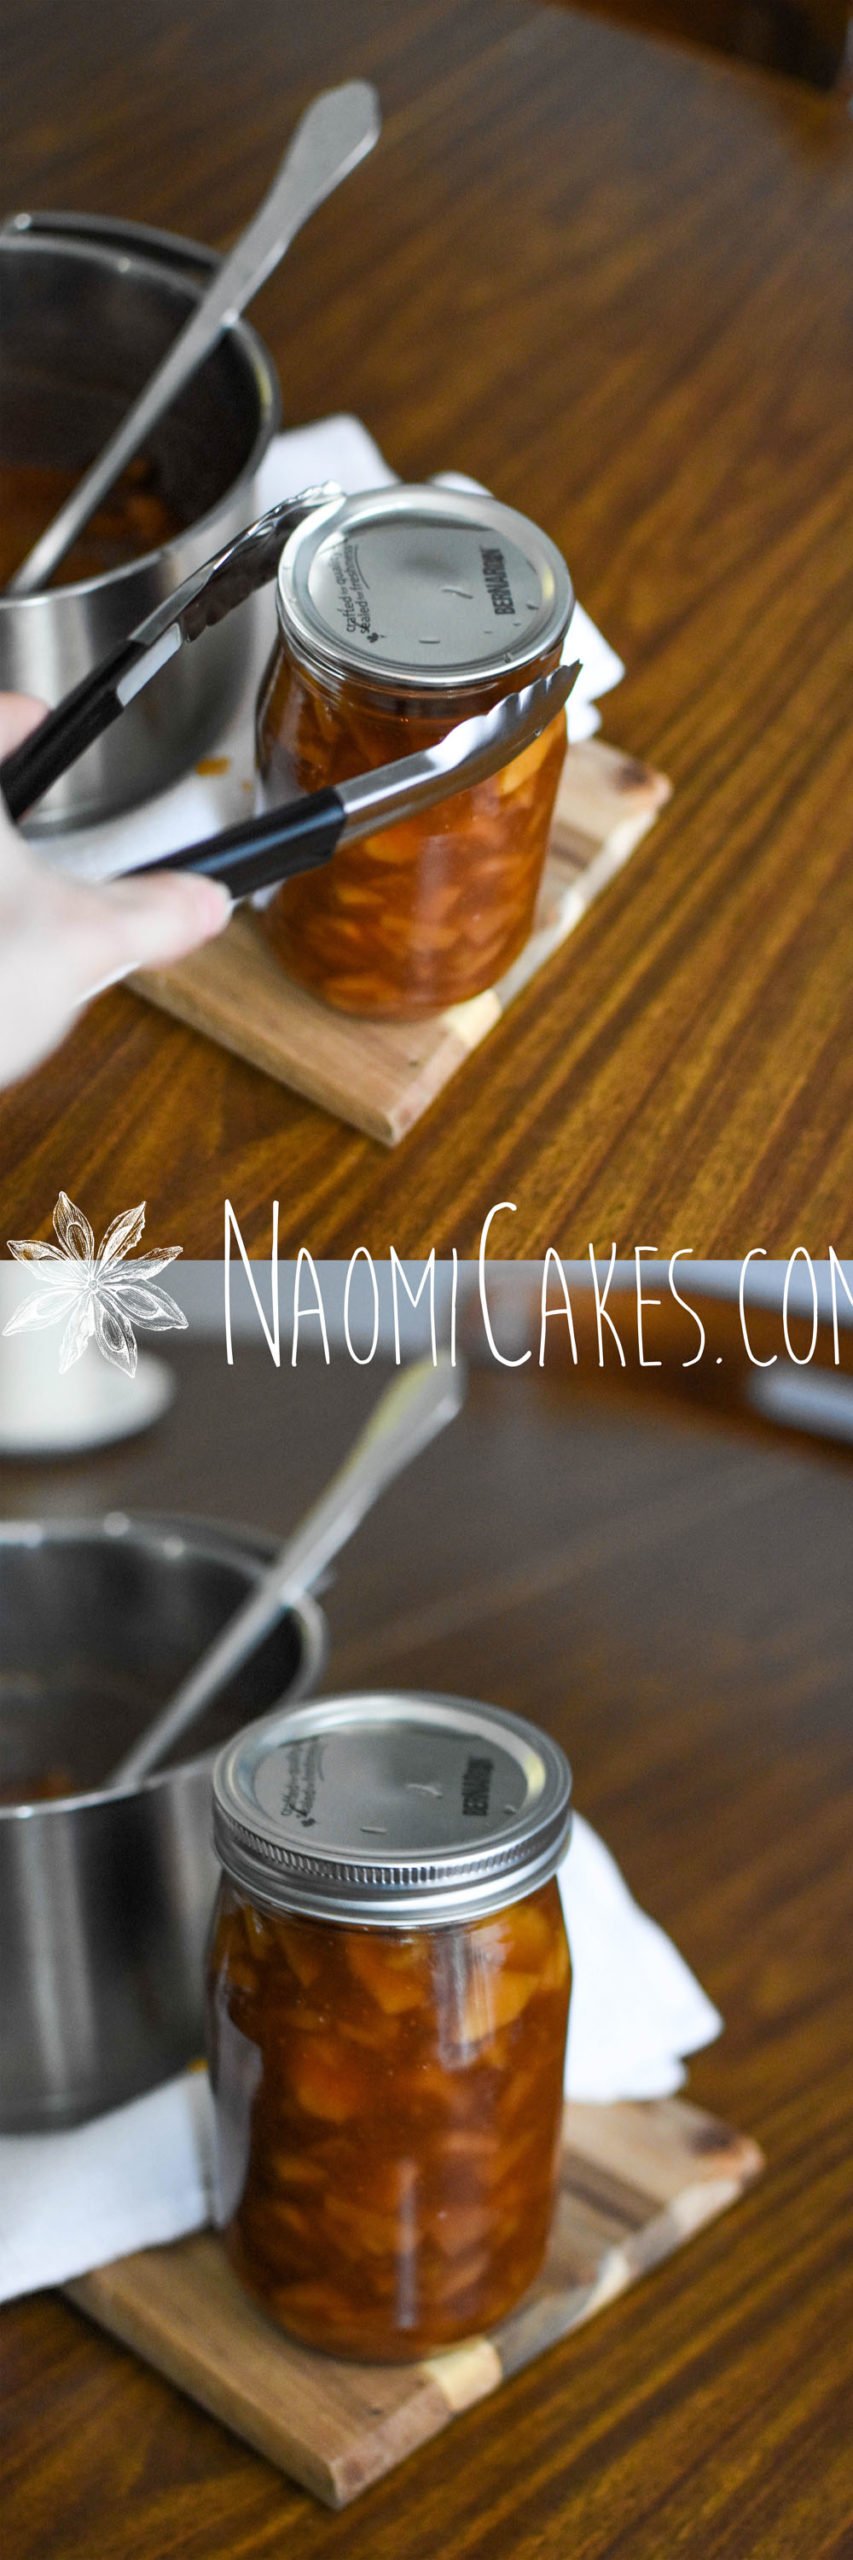
Step 6: Sealing the Jars
This part is the easiest. Once you’ve set your jars aside to seal, don’t touch them or move them until you hear the *pop!* sound of the jar sealing (disturbing the jars may prevent a good seal from happening).
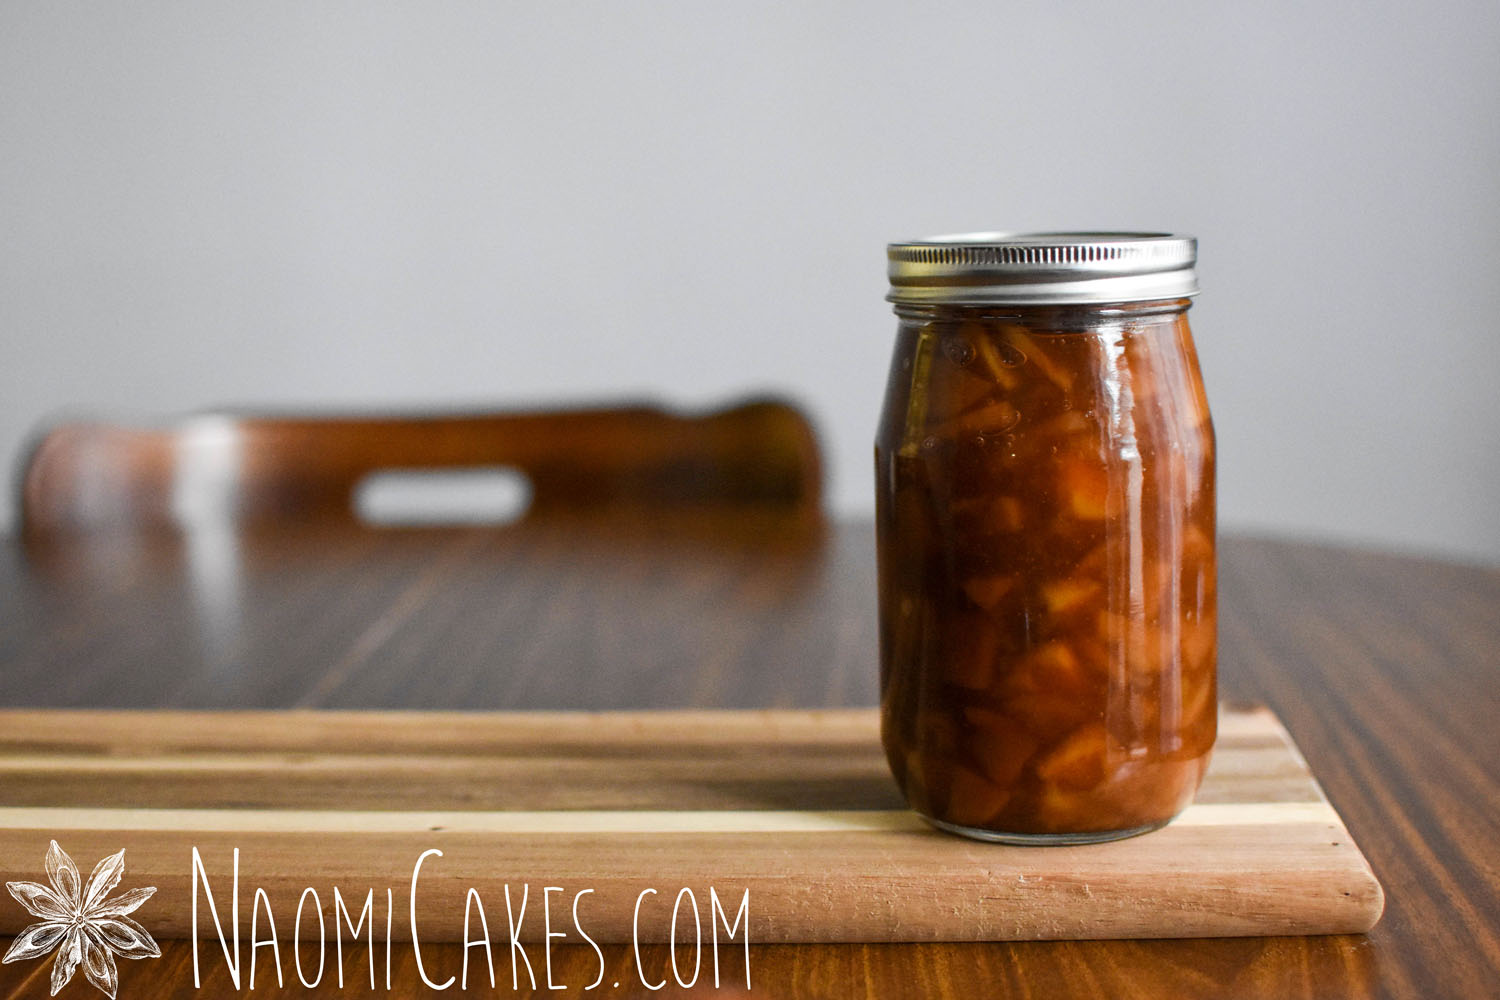
After about an hour, all of your jars should have sealed. To check if they have sealed or not, press down gently on the centre of the jar lid. If there is a seal, it will feel firm and securely in place. If it did not seal, it will press down like a button and likely make the popping sound at that point.
Jars that didn’t seal properly will need to be stored in the fridge until you can use them.

There you have it! Another skill gained. Great work!
If you try this method, feel free to tag me on Facebook @naomicakes or Instagram @naomicakesofficial! I would love to see what you’ve been up to.
Bye for now,
Naomi
This post contains affiliate links.
For years I have canned sauce with meatballs and only heated tops and jars and put hot sauce in jars! Never had any issues with it not being good! Inspite of being told I couldn’t do it! It works and everything is very hot!