
Not-Too-Sweet Gluten-Free Chocolate Truffle Cake [Recipe]
Ok my friends, today I want to share with you this simple gluten-free chocolate cake recipe that works well every time and can be decorated for any occasion. Oh, and did I mention: it doesn’t taste any different than a regular chocolate cake?
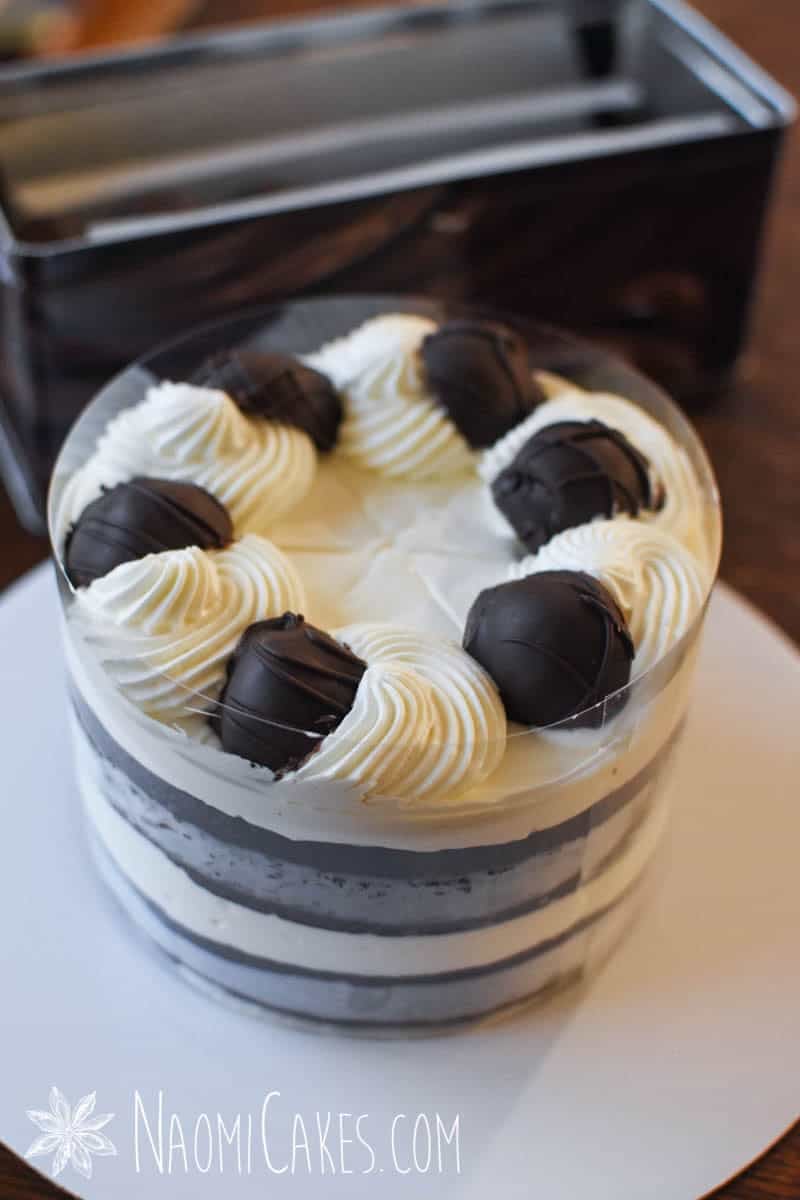
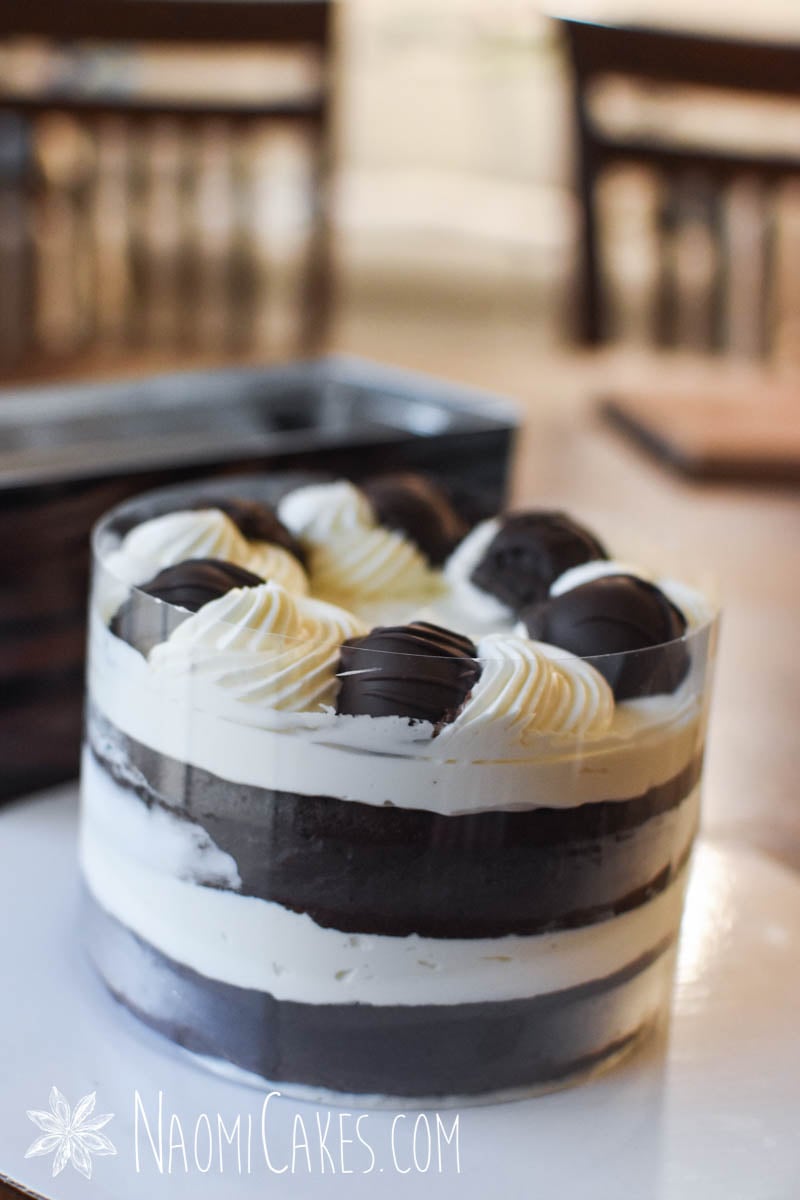
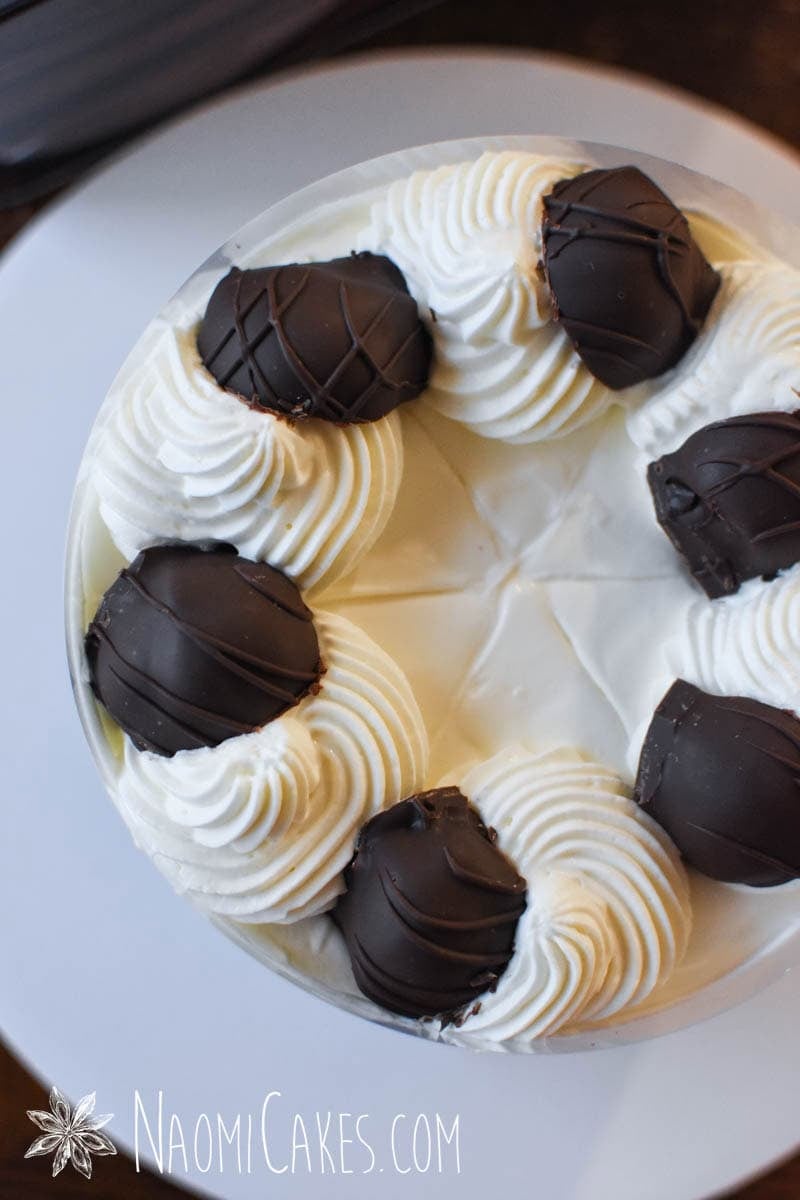
This particular cake is made with rich chocolate truffles and not-too-sweet cream, which in my opinion makes it the ultimate decadent treat.
Before you hit “Jump to Recipe”
Now, hold on one second before you hit that “Jump to Recipe” button: I want to mention right out the gate that this recipe is actually a combination of 3 different recipes: My gluten-free chocolate cake (in this post), my stabilized whipped cream, and my dark chocolate truffles. I’ll also recommend that you check out my tutorial for how to line cake pans with parchment paper to make sure this recipe turns out just how it should be!
To make this specific cake
If you want the breakdown on how to make this gluten-free chocolate truffle cake (as pictured), make sure you scroll past the recipe card for the step-by-step instructions for how to do it!
If, however, you just want a gluten-free chocolate cake recipe—then feel free to jump down and grab that recipe from the recipe card in this post.
Other frosting/topping options
Gluten-free frosting is actually super easy to make. Provided that your particular brand of icing sugar doesn’t have added gluten (you can check the ingredients for that), most frosting recipes will not have any ingredients that contain gluten in them.
Buttercream frosting recipes in North America are typically made with butter, milk, vanilla, and icing sugar (which is fine-ground sugar which sometimes contains cornstarch). For chocolate versions, the ingredient is usually cocoa powder or melted chocolate.
To be extra sure, do check ingredient labels (just because sometimes these things can surprise you)– but generally speaking, in their purest forms, none of those ingredients should contain any gluten at all.
The best kind of gluten-free flour to use
For most of my gluten-free baking, I lean toward using a 1:1 to gluten free flour blend such as Bob’s Red Mill brand. I have also purchased whatever 1:1 gluten-free flour blend is available at Costco (they stock different brands sometimes), and I have good success with those as well.
I would not recommend using any one starch as a substitute for the 1:1 flour blend, such as cornstarch or tapioca flour.
Baking the cakes ahead
This cake can easily be baked ahead, just as a regular chocolate cake would be. In fact, to save time, I often like to wrap my cakes in plastic after they cool (trimmed and ready to be decorated), wrap them securely in plastic, and freeze them.
On the day that I want to decorate them, I just pull my ready-baked cakes out of the freezer and decorate them.
How long will this cake last
Once this cake has been decorated, you can keep it in the fridge for 4-5 days, or even up to a week. The stabilized cream should last just fine so long as the cake is kept refrigerated.
Storage
As I mentioned above, this cake (undecorated) freezes really well. Store leftover decorated cake in the fridge for up to a week, or store undecorated cake layers in freezer bags, plastic wrap, or an airtight container until you want to use it. I recommend trimming the cake to have a flat top and split layers before you freeze it, for ease of use once you want to pull it out.
Cake layers stored in the freezer will last for several months.
Making a larger version of this cake
Double this recipe to make an 8 or 9-inch round version of this cake, and follow the directions as listed below.
You will need:
- Ingredients (see recipe card)
- 6-inch cake decorating pan
- Parchment paper
- Pencil or edible marker
- Medium mixing bowl or large mixing bowl
- Measuring cups and spoons
- Measuring pitcher
- Small-medium saucepan
- Large whisk or electric hand mixer
- Heat-Proof Spatula
- Toothpicks
- Cooling rack
To decorate the cake:
- Large serrated knife
- Serving platter
- Clear acetate (cake wrap)
- Scissors
- Clear Tape
- Piping bags
- Star tip
- 1/2-1 recipe Stabilized Whipped Cream
- 3-6 Easy Dark Chocolate Truffles
Gluten-Free Chocolate Cake
This fudgey, delicious homemade gluten free chocolate cake is simple to make and so delicious! Top this with your favorite gluten free frosting for a simple, delicious gluten-free treat. This recipe makes one 6-inch 2-layer cake.
Ingredients
- 1 c. 1:1 all-purpose gluten-free flour
- 1 c. sugar
- 1/2 tsp baking soda
- 1/4 tsp salt
- 1/2 c. butter
- 1/2 c. water
- 2-1/2 Tbsp cocoa powder
- 1 large egg
- 1/4 c. milk
- 1/4 tsp vinegar
- 1 tsp vanilla extract
Instructions
-
Grease and line one 6-inch cake pan (with straight sides) with parchment paper as per this tutorial. Set aside.
-
Preheat the oven to 325 degrees F.
-
In a medium-large mixing bowl, sift together the gluten-free flour, sugar, baking soda and salt. Make a well in the center and set aside.
-
In a small measuring pitcher, mix together the vinegar and milk; set aside.
-
In a small-medium saucepan, combine the butter, water, and cocoa powder. Place on the stove over medium heat and cook just until the butter is completely melted.
-
Pour the hot butter/chocolate mixture into the well of your gluten-free flour mixture and beat (by hand or with a an electric mixer) until smooth and well combined. Add the soured milk, egg, and vanilla, and beat until smooth.
-
Pour the batter into the prepared cake pan. Bake for 1 hour or until a toothpick inserted into the center of the cakes comes out clean.
-
Allow the cake to cool in the pan for 10 minutes before turning out onto a wire rack. Cool completely before decorating.
-
Trim the rounded top off of the cooled cake, and use a long serrated knife to split the cake into 2 equal layers. Frost with your desired gluten-free frosting or whipped cream.
Recipe Notes
To make this into a larger cake, you can double this recipe and bake the cake in an 8 or 9-inch cake pan.
How to Make Gluten-Free Chocolate Truffle Cake
Here’s the breakdown on how to turn the above gluten-free chocolate cake into a luxurious, simple, delicious chocolate truffle cake!
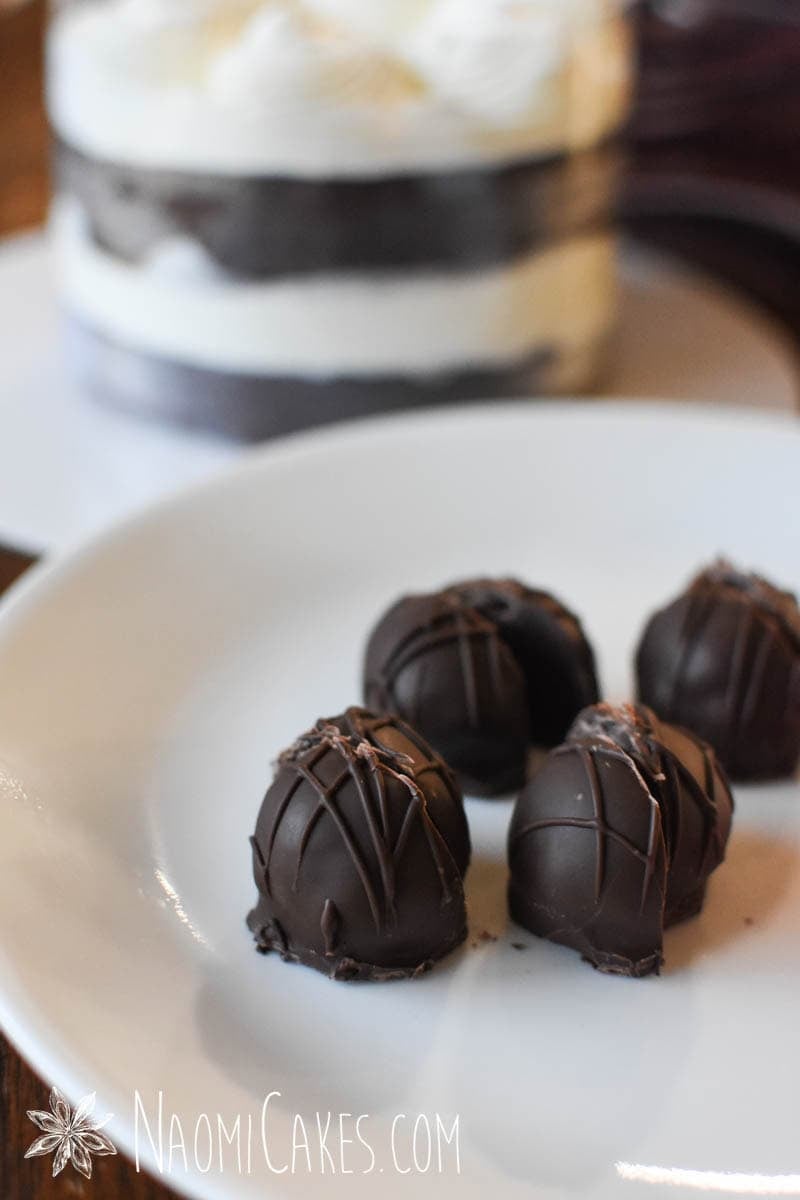
Make the truffles
First, make my Easy Dark Chocolate Truffles recipe. This recipe is so simple and has only 2 main ingredients! If you prefer, you could also decorate this cake with my Milk Chocolate or White Chocolate Truffles (both of which are also gluten-free recipes).
If you want to coat your truffles in chocolate (as I have in these pictures), here’s a great tutorial for how to do that!
Other options for decorating this cake
There are lots of gluten-free chocolate truffles out there, so if you prefer to buy your truffles rather than make them, just check the ingredients to make sure you’re clear, and go ahead and purchase your truffles pre-made.
Whether you make them homemade or buy them from the store, you will only need 3 truffles (or a few more, if desired) to decorate a small, 6-inch cake like the the one in this post.
Bake the cake
Line the pans
Grease and line one 6-inch cake pan (with straight sides) with parchment paper as per this tutorial. Set aside.
Prepare the cake batter
Preheat the oven to 325 degrees F.
In a medium-large mixing bowl, sift together the gluten-free flour, sugar, baking soda and salt. Make a well in the center and set aside.
In a small measuring pitcher, mix together the vinegar and milk; set aside.
In a small-medium saucepan, combine the butter, water, and cocoa powder. Place on the stove over medium heat and cook just until the butter is completely melted.
Pour the hot butter/chocolate mixture into the well of your gluten-free flour mixture and beat (by hand or with a an electric mixer) until smooth and well combined. Add the soured milk, egg, and vanilla, and beat until smooth.
Bake the cakes
Pour the batter into the prepared cake pan. Bake for 1 hour or until a toothpick inserted into the center of the cakes comes out clean.
Allow the cake to cool in the pan for 10 minutes before turning out onto a wire rack. Cool completely before decorating.
Trim the rounded top off of the cooled cake, and use the long serrated knife to split the cake into 2 equal layers. Frost with your desired gluten-free frosting or whipped cream.
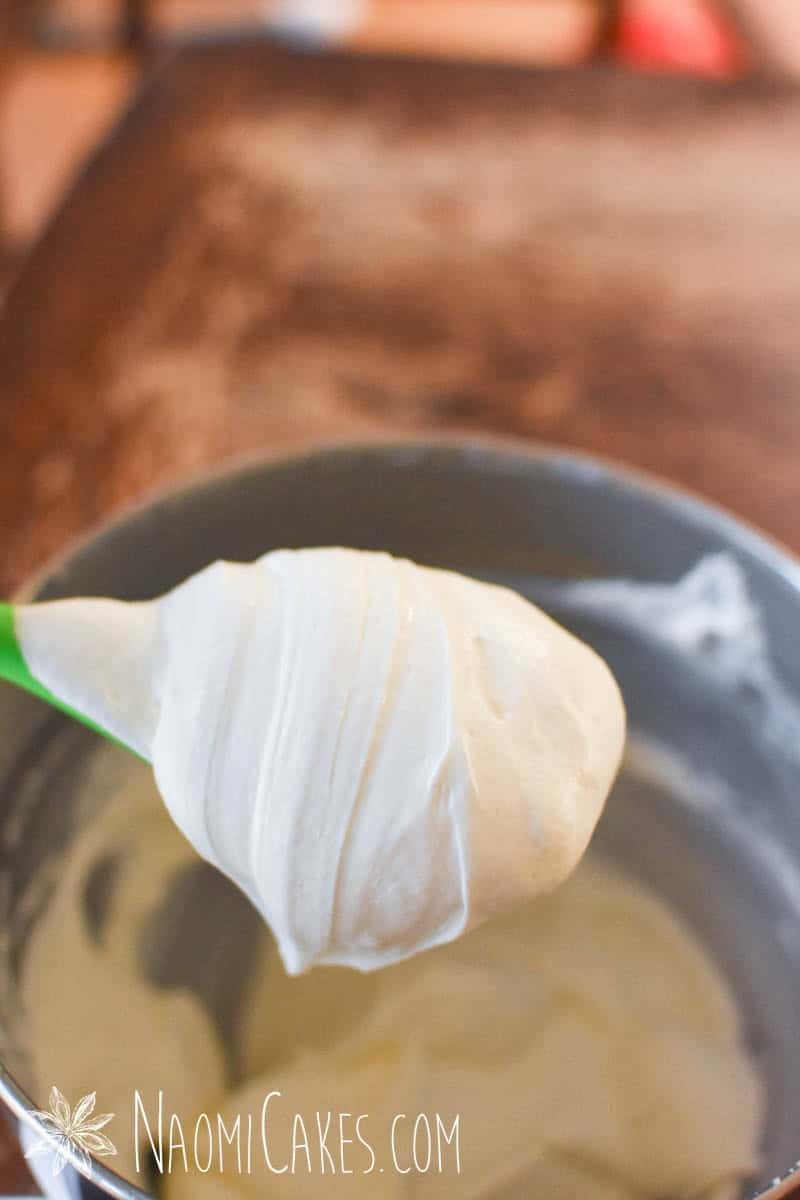
Prepare the cream
Once the cakes have been completely cooled, you can prepare your cream. Follow my recipe for Stabilized Whipped Cream*, and continue on to the next step (assembling the cake).
*You can make this cake with a 1/2 recipe of stabilized whipped cream, or go ahead and make a full batch to decorate it generously.
Assemble the cake
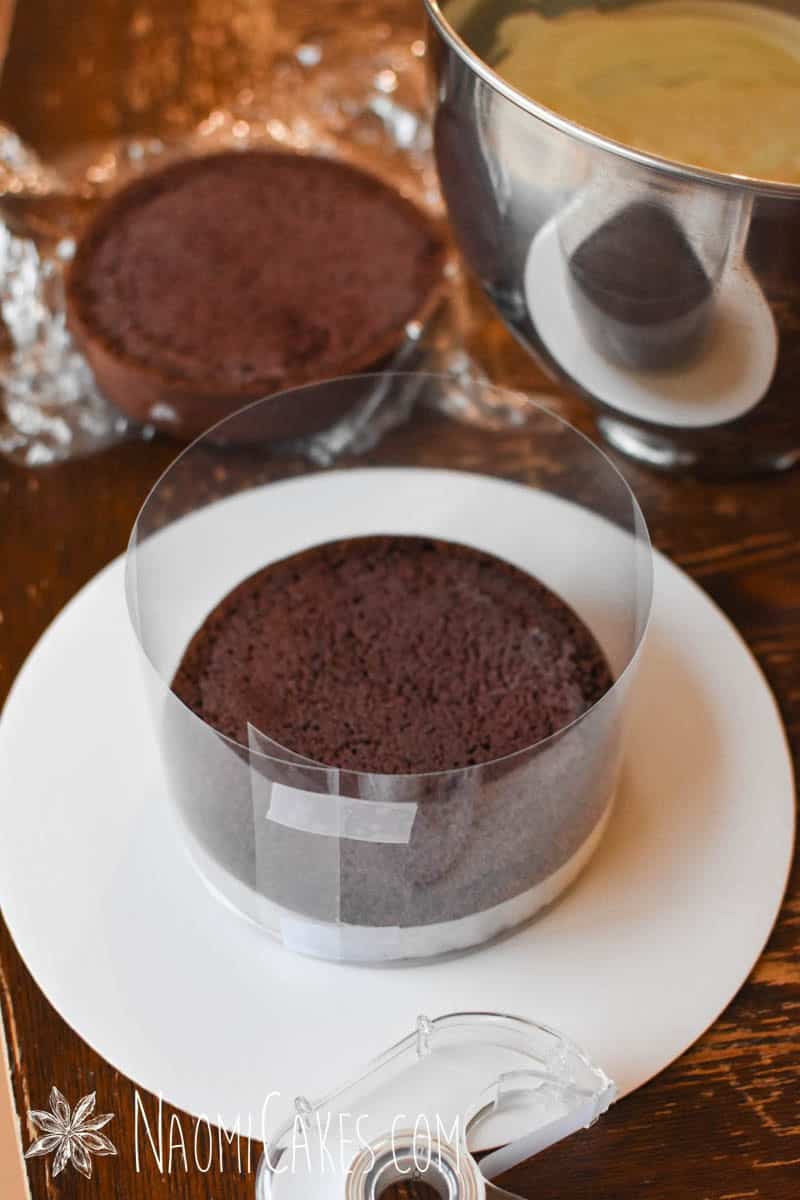
1 – Cut the cake wrap
Measure out enough cake wrap to wrap around the circumference of your 6″ cake pan with a slight overlap. Cut it to size with scissors.
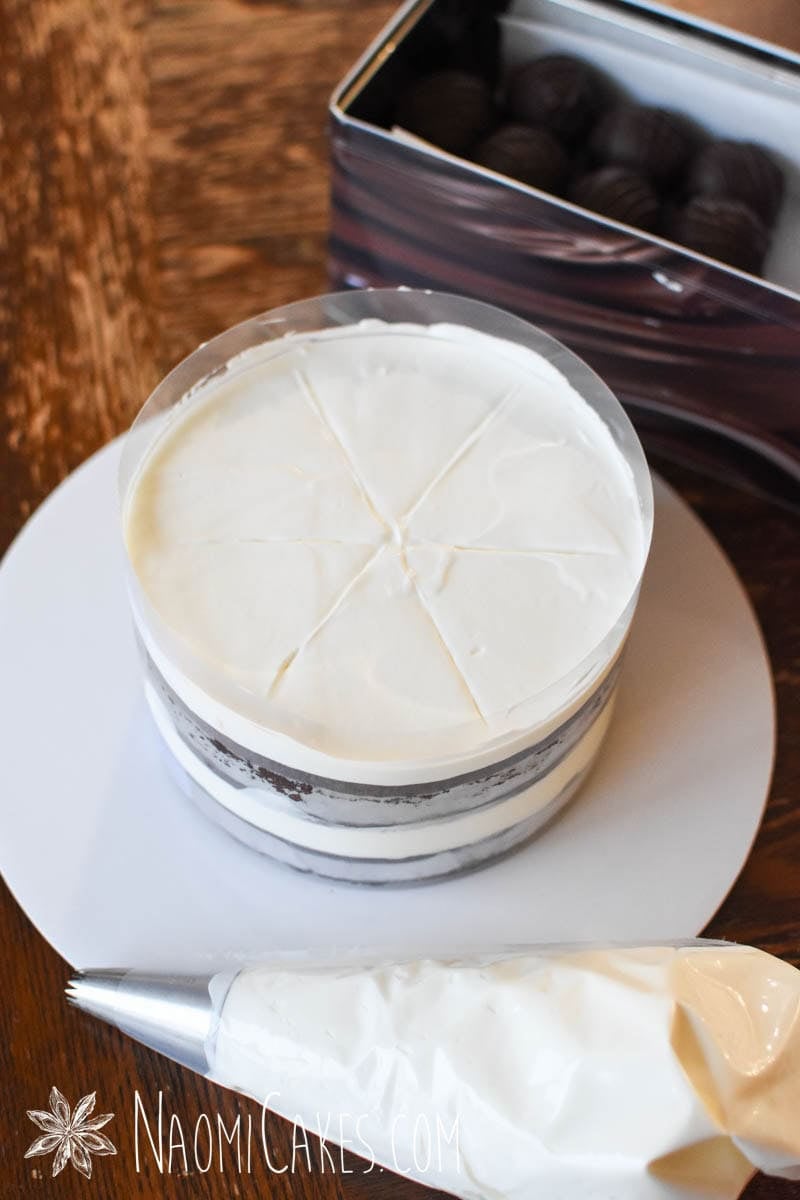
2 – Secure the wrap in place
Set one round of your cake onto a serving platter, and wrap the cake wrap around it, securing it in place at the bottom of the wrap with clear tape. Use a second piece of tape to secure the top in place as well.
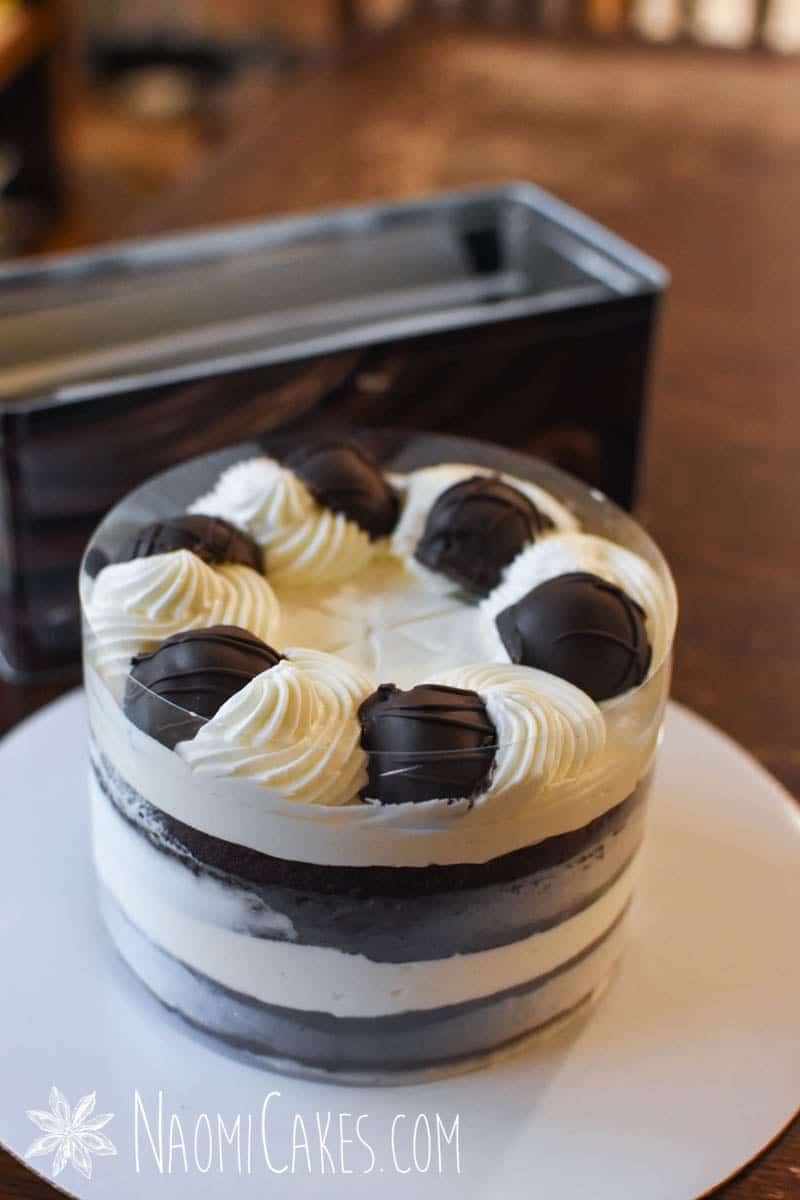
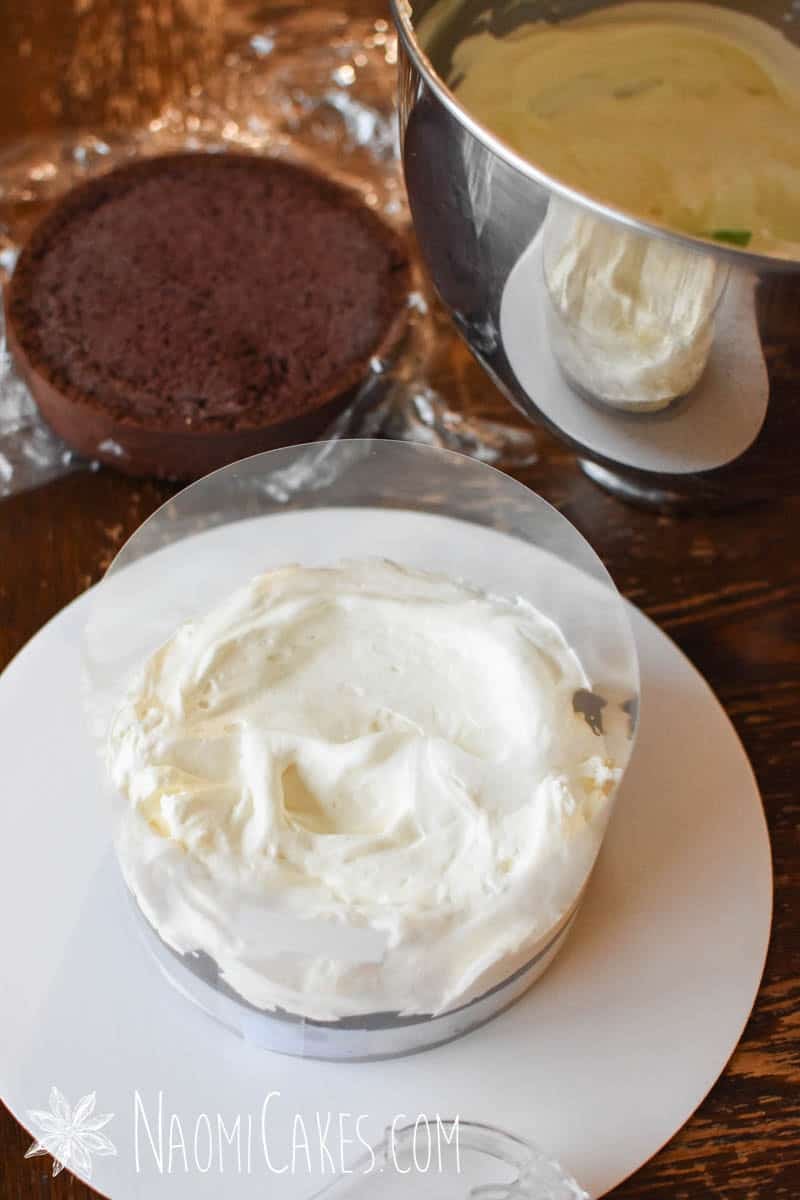
3 – Layer the cake with cream
Spoon enough stabilized cream onto the cake layer to cover it generously (use about 1/3 of the cream). Top with the second cake layer and press it down onto the cream layer firmly.
Top with another 1/3 of the cream, and smooth the top (if desired).

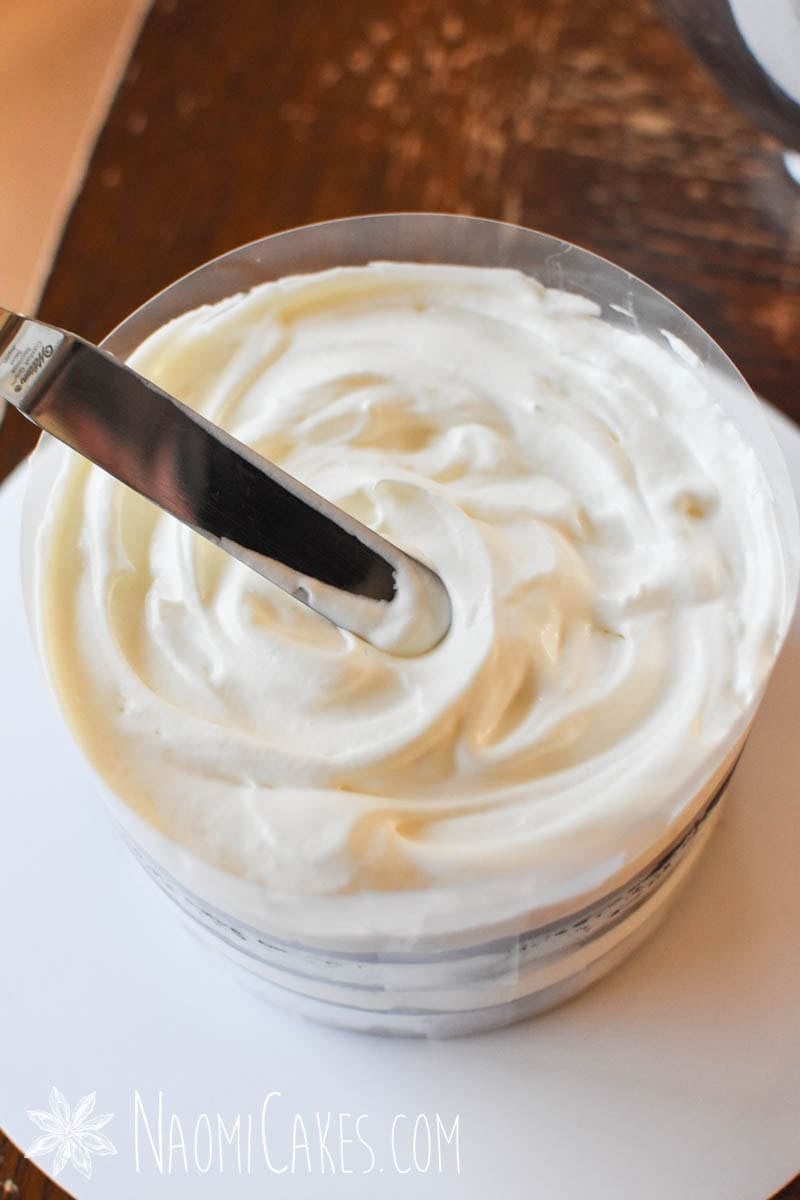

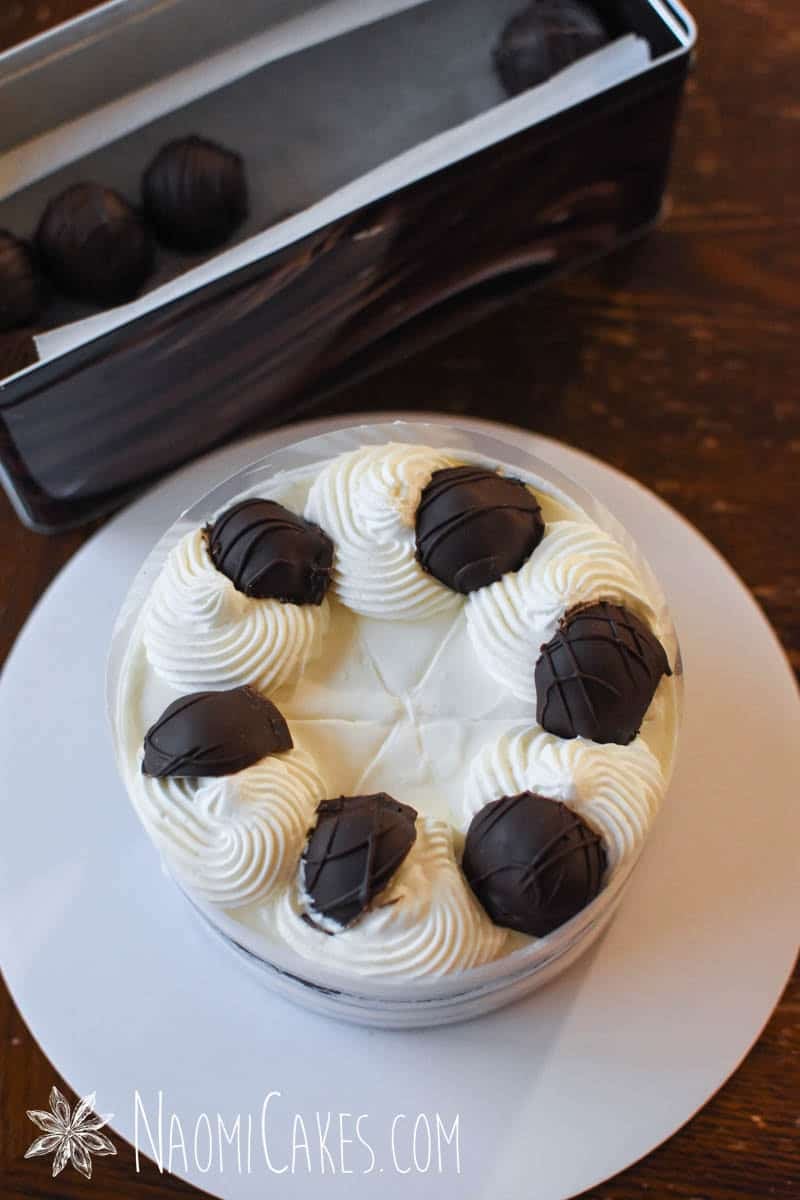
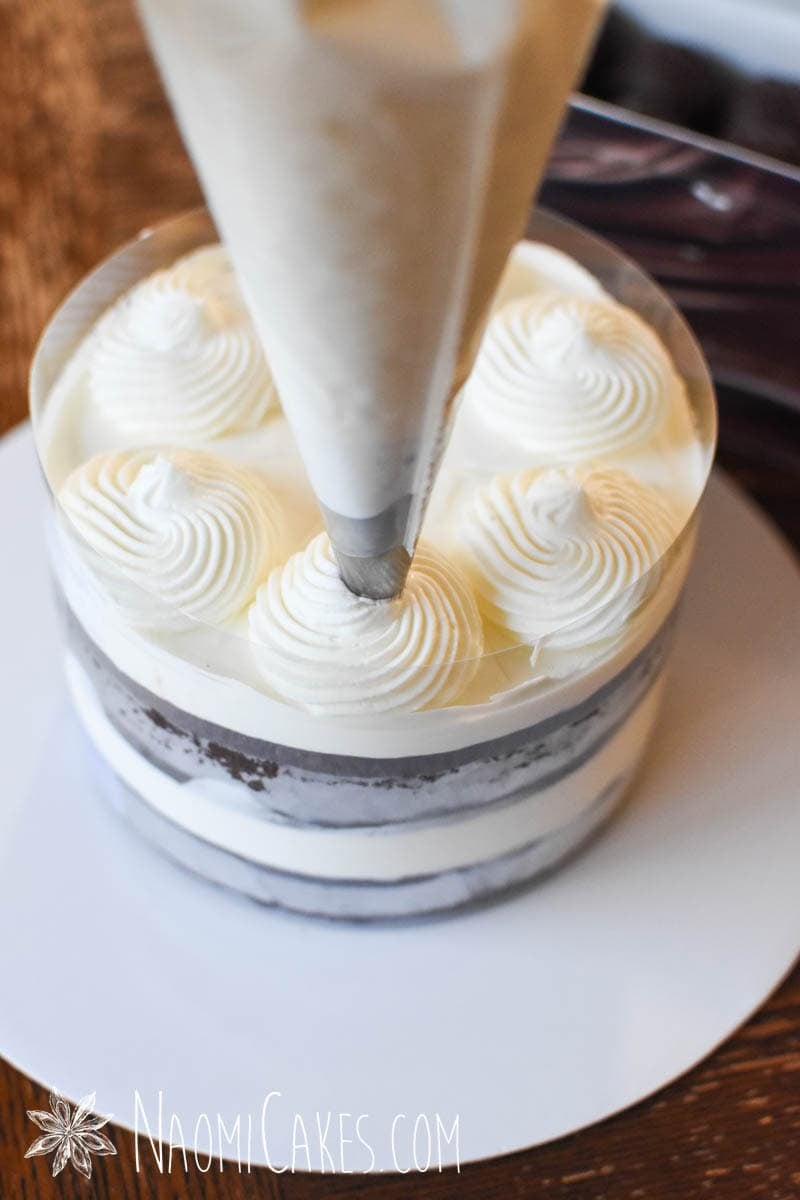
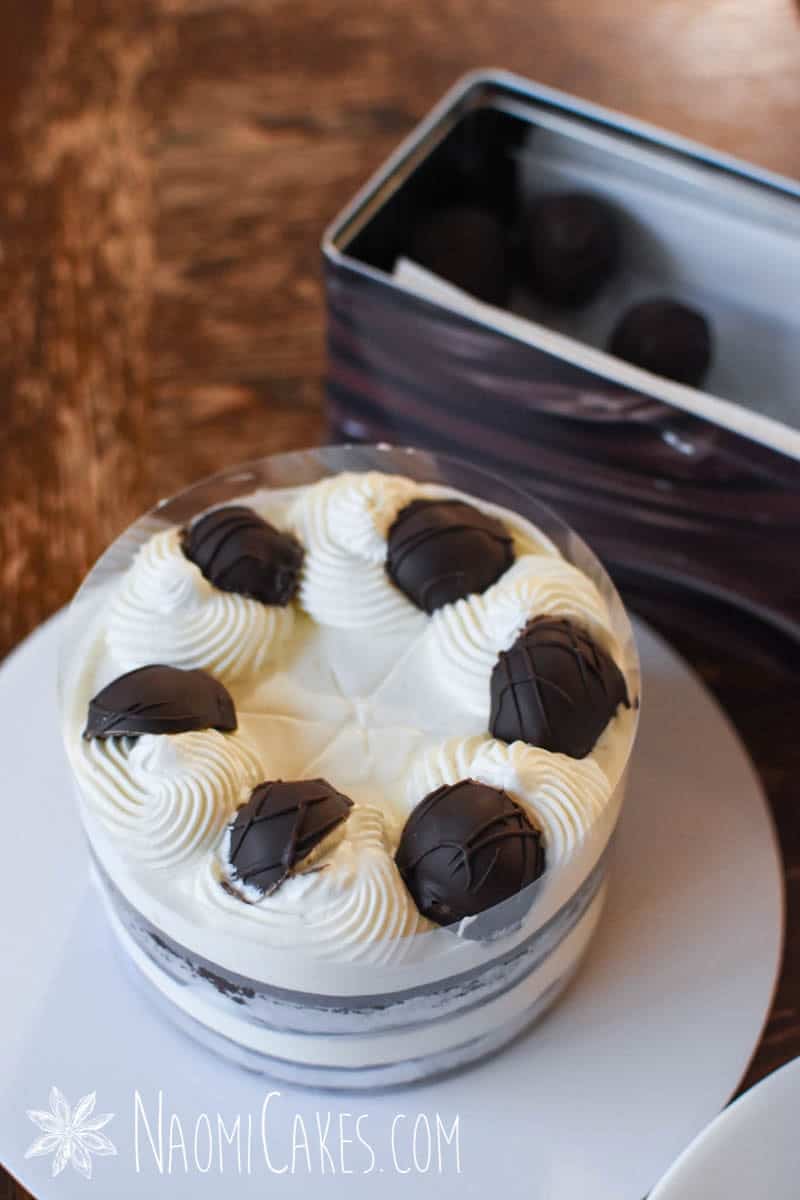
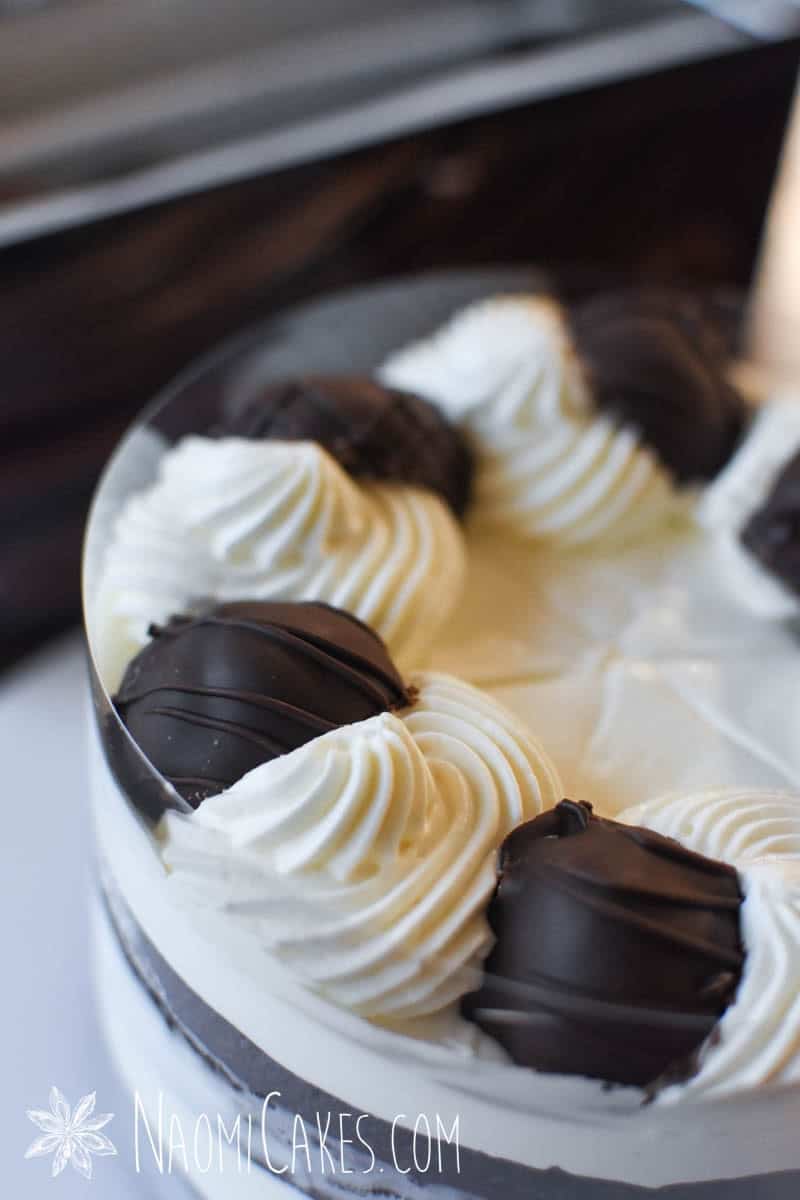
4 – Decorate with cream
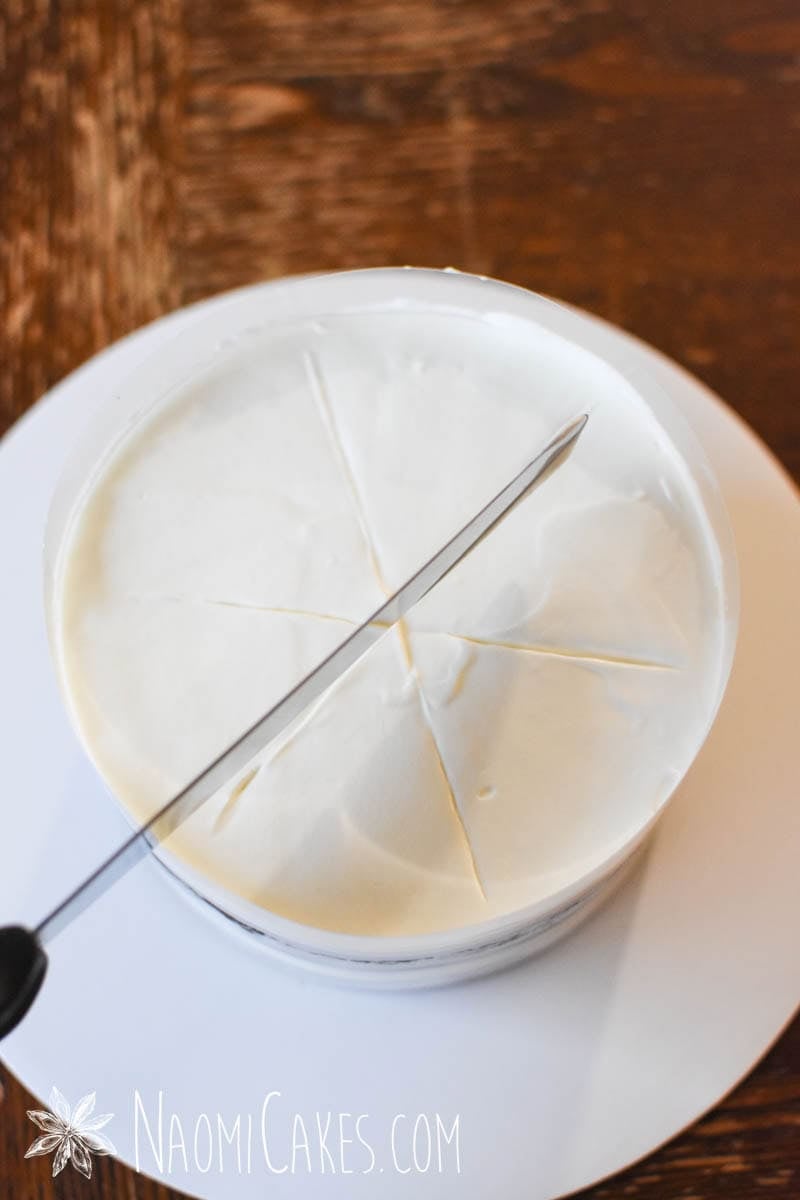
Mark slices (optional) with the back of a knife, and use a large piping bag fitted with a large star tip (such as tip #348) to decorate with the remaining cream.
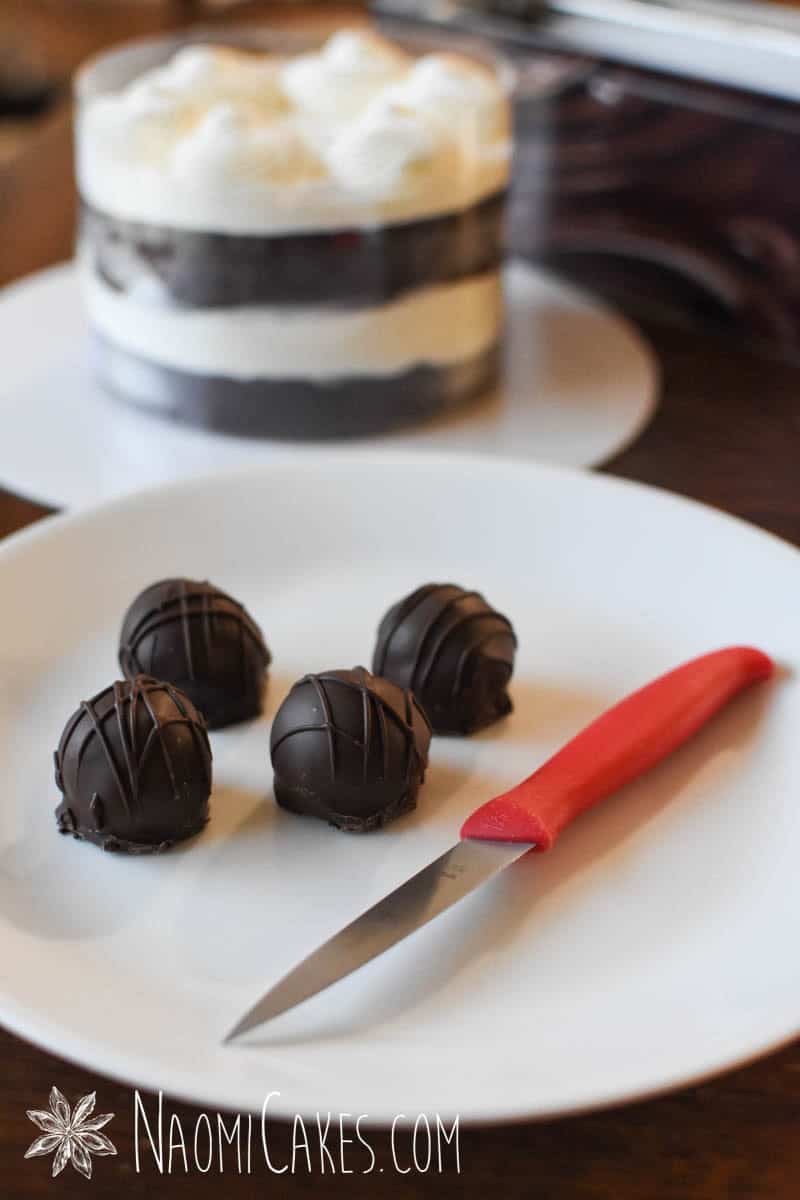
5 – Decorate with truffles
Slice your truffles in half, and place between swirls of cream on the top of the cake, or as desired.
6 – Refrigerate
Refrigerate until set (about 2 hours) before serving.
If you like this recipe, you may also like:
- Gluten-Free Jam Thumbprint Shortbread Cookies
- Easy Milk Chocolate Truffles
- Best Ever Homemade Fruit and Nut Granola
- Overnight Gluten-Free Breakfast Muesli with Yogurt
That’s all for today! If you make this recipe, feel free to tag me in your beautiful cake pictures on Instagram @naomicakesofficial. I love to see that my recipes are being enjoyed!
Bye for now,
Naomi
This post contains affiliate links.