
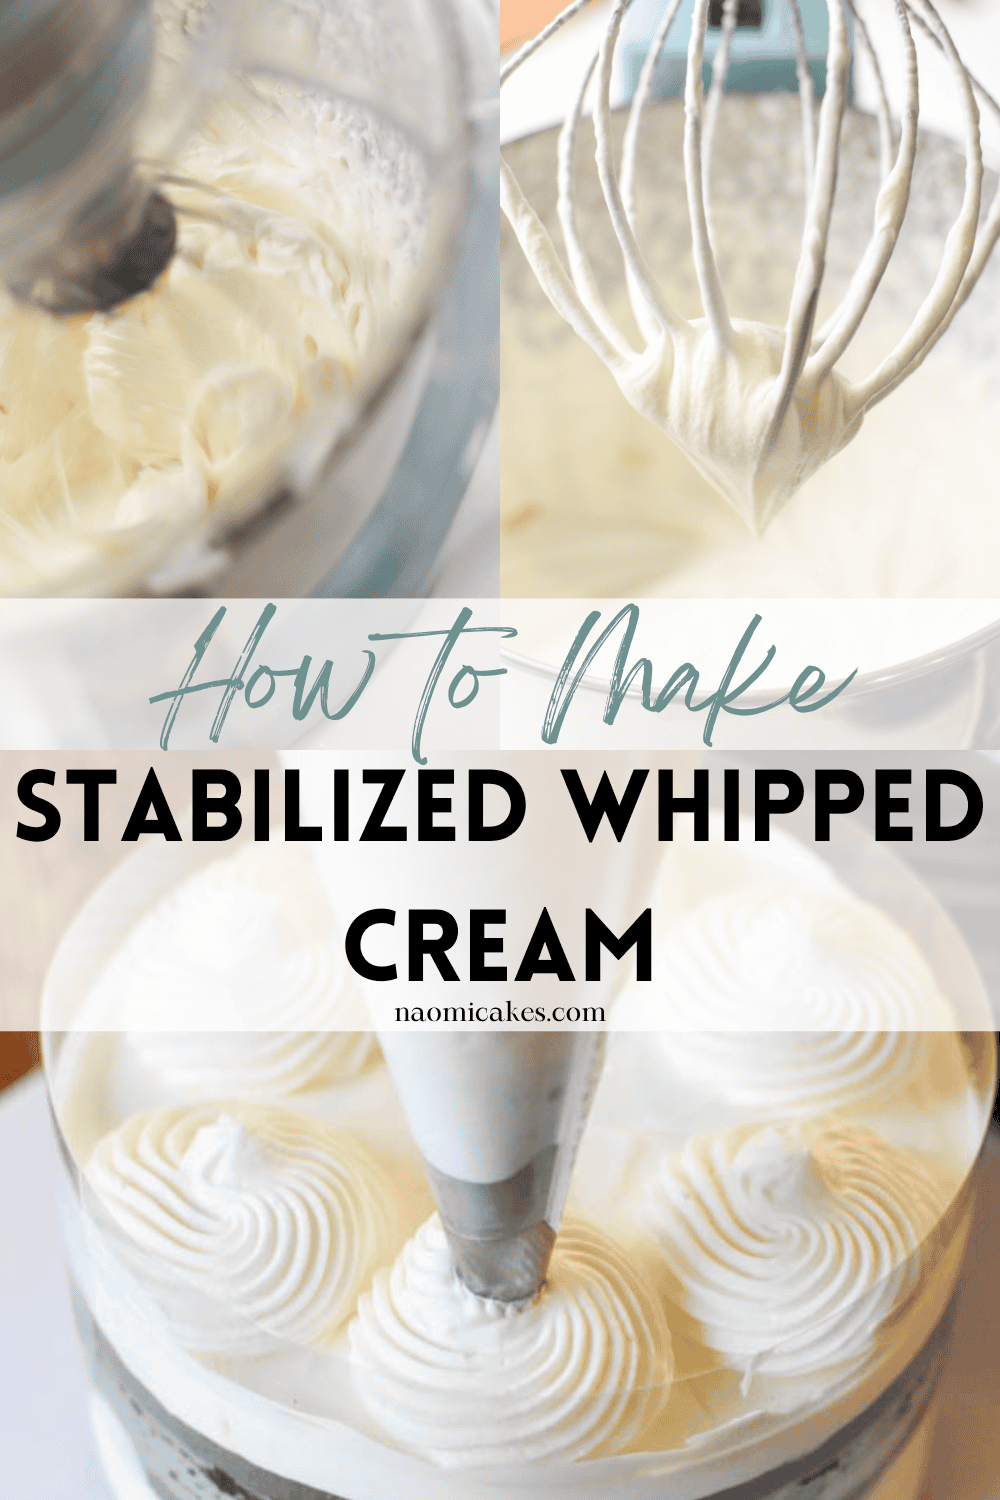
How to Make Stabilized Whipped Cream [Recipe & Tutorial]
If you don’t know how to do this already, here is an important recipe for your collection: stabilized whipped cream.
This is the magic method to make sure that your cakes and pastries with whipped cream can be made ahead of time – without melting, separating, and sliding off of your creation by the time you want to serve it. It’s simple, it’s sturdy, and it’s delicious.
Ready to see how it’s done? Read on!
What is stabilized whipped cream?
Stabilized whipped cream is heavy whipping cream that’s been beaten until stiff with an agent that can prevent it from breaking down and melting. Adding a stabilizer to your whipped cream is how you can make cakes, pastries and other desserts without the cream melting or separating after just a few hours.
It’s also the stuff that you need if you want to use whipped cream between the layers of a cake, but you don’t want it to squeeze out from the centre, making a huge mess, every time you slice it.
Heavy cream vs. heavy whipping cream
I’ve had a lot pf people ask me this question: What’s the difference between heavy cream and heavy whipping cream? The answer is quite simply, nothing! Those are two names for the same thing. Heavy (whipping) cream is a high milk fat cream (usually 35%) that can be whipped until stiff.
What’s the difference between stabilized whipped cream and mousse?
Stabilized whipped cream (as I mentioned above) is heavy cream that has something added to it to keep it from melting. Mousse, on the other hand, is cream that has been stabilized with the addition of some other dessert base that has some structure to it, such as chocolate cream or lemon curd.
How to fix runny whipped cream (can you re-whip cream after it’s already been done?)
While this question isn’t specifically related to making stabilized whipped cream, I thought it would be worth answering in this post. Yes, you can absolutely re-whip cream that you’ve already made, provided that it doesn’t have a stabilizer already added to it. You can even re-whip cream that’s had vanilla or sugar added to it; just beat it as if it were brand new until those beautiful stiff peaks form again.
Ways to use stabilized whipped cream
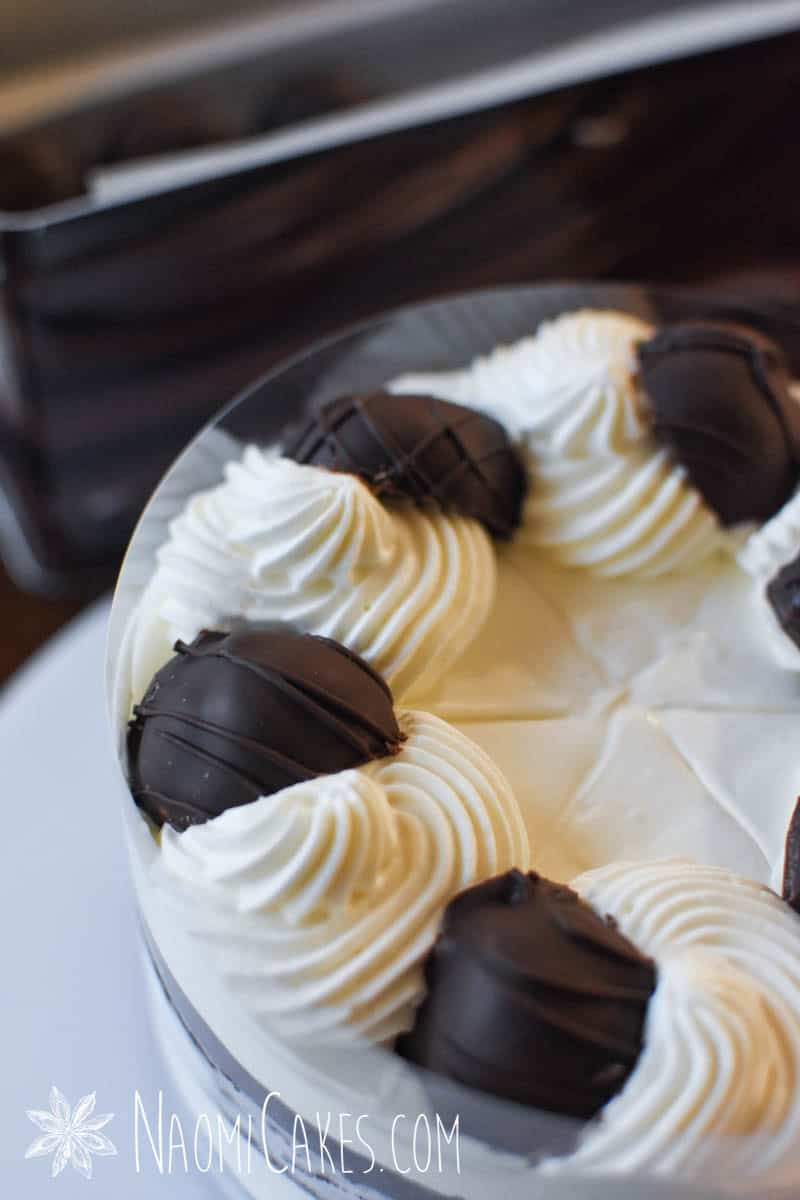
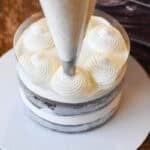
My favourite way to use stabilized whipped cream is in making cakes, such as Black Forest Cake, Strawberry Shortcake, or Raspberry Sponge Cake. I also love to use it as a substitute for icing on other cakes and cupcakes, or as a delicious top layer on a homemade mousse cake.
Alternative ways to make stabilized whipped cream
Making cream into mousse is a great way to stabilize it and a delicious way to eat it! You can also use a cream stabilizer mix, such as this one. In this tutorial, however, I’m going to teach you the way that I usually do it (with gelatine).
Can you make stabilized whipped cream without gelatine?
Yes! In fact, the mix that I linked above is not made with gelatine, and I’ve heard that you can make your own stabilized whipped cream with cream of tartar or cornstarch (although in this post I won’t be going into the method for those options).
Do’s and Don’ts: tips for making stabilized whipped cream with gelatine
- Do not allow the gelatine to set before you use it.
I always feel like I want the gelatine to cool before I add it to the cream – but the longer it sits, the more likely it is to begin to set, which will put little jellies into your cream! Make sure you use the gelatine quickly, shortly after removing it from the heat. - Don’t scrape the inside of the gelatine cup.
When pouring gelatine into your cream, do not scrape out the inside of the cup. The mixture cools against the sides of the cup as you pour it out, and again, will add little unflavoured jellies to your cream if you try to get those last bits out. (Also, tip: soak that cup in water immediately for easy cleaning later!) - Use a splash guard or tea towel on your stand mixer.
If you are using a stand mixer, this is key. It will prevent cream from splattering all over you and your kitchen as you work! A tea towel draped over the top of an electric mixer does a great job catching those bits of splattered cream. - Do not allow the cream to set before you use it.
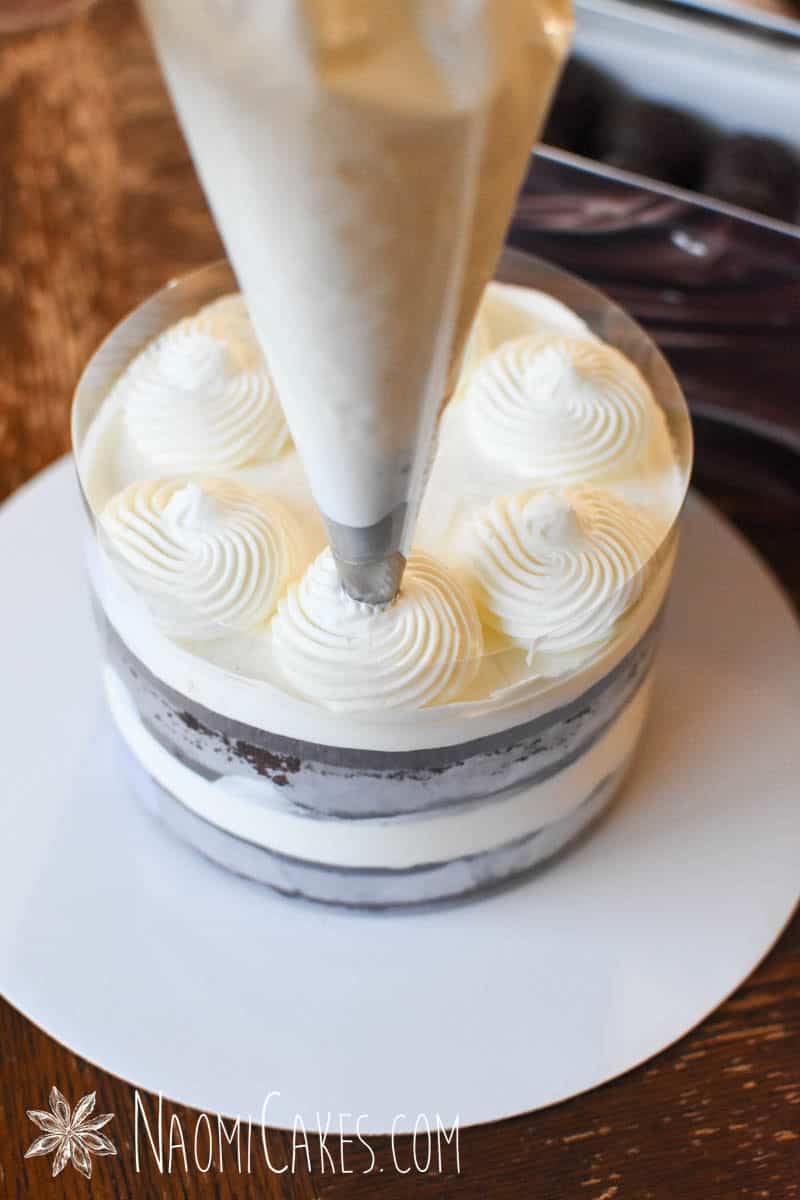
If you allow the stabilized cream to set before you use it (sitting out too long, or setting in the fridge), you will find that the cream won’t spread well, and you will get little air bubbles in your piped cream. I find that you get the most beautiful, smooth texture for your cream if you use it within 20 minutes of making it. - For cut desserts, allow the cream to set completely before serving.
This will make your desserts picture-perfect! Two hours in the fridge is the minimum for making perfect, lasting desserts that hold up nice and stable.
You will need:
- Ingredients (see recipe card, including unflavoured gelatine)
- Mixing bowl
- Measuring cups and spoons
- Electric mixer or Stand mixer with splash guard (optional)
- Spatula
- Small pot
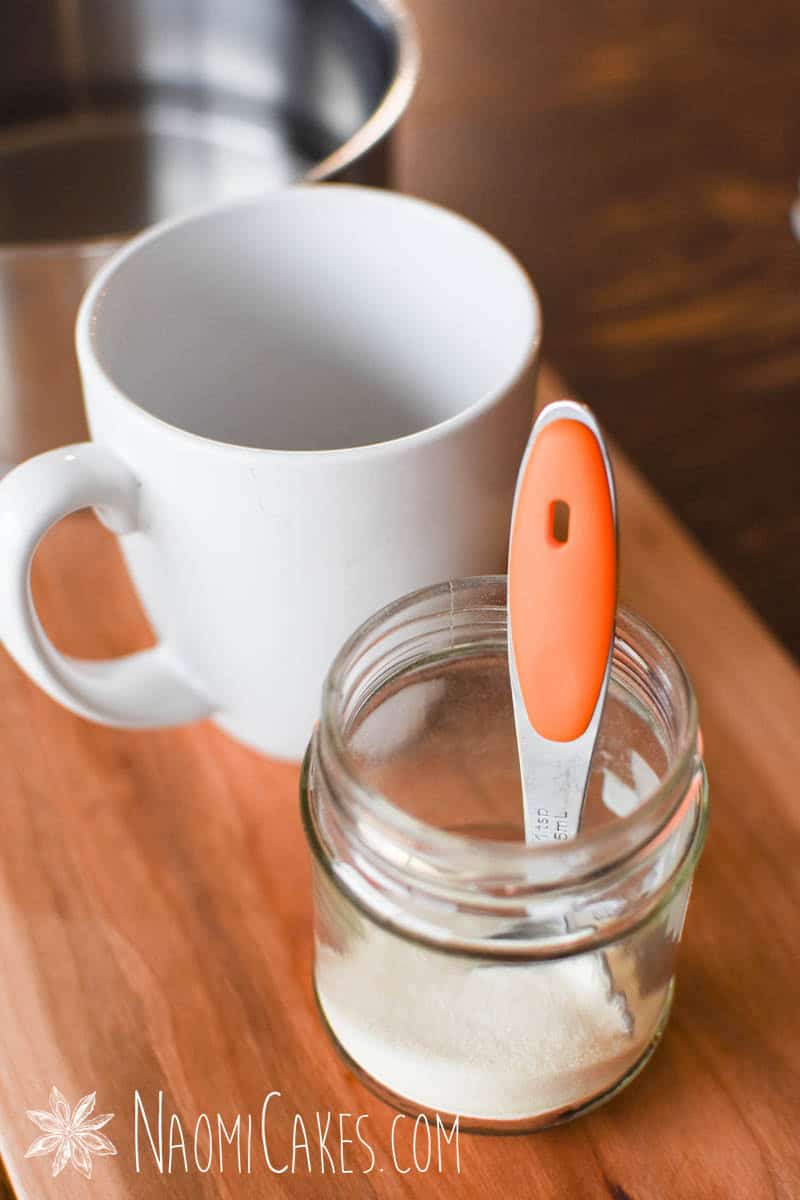
- Heat proof glass cup
- Piping bags for piping, optional
- Large star tip for piping, optional
- Angled spatula for spreading, optional
Stabilized Whipped Cream
My favourite way to make stabilized whipped cream for cakes and pastries!
Ingredients
- 2 cups heavy whipping cream (35% cream)
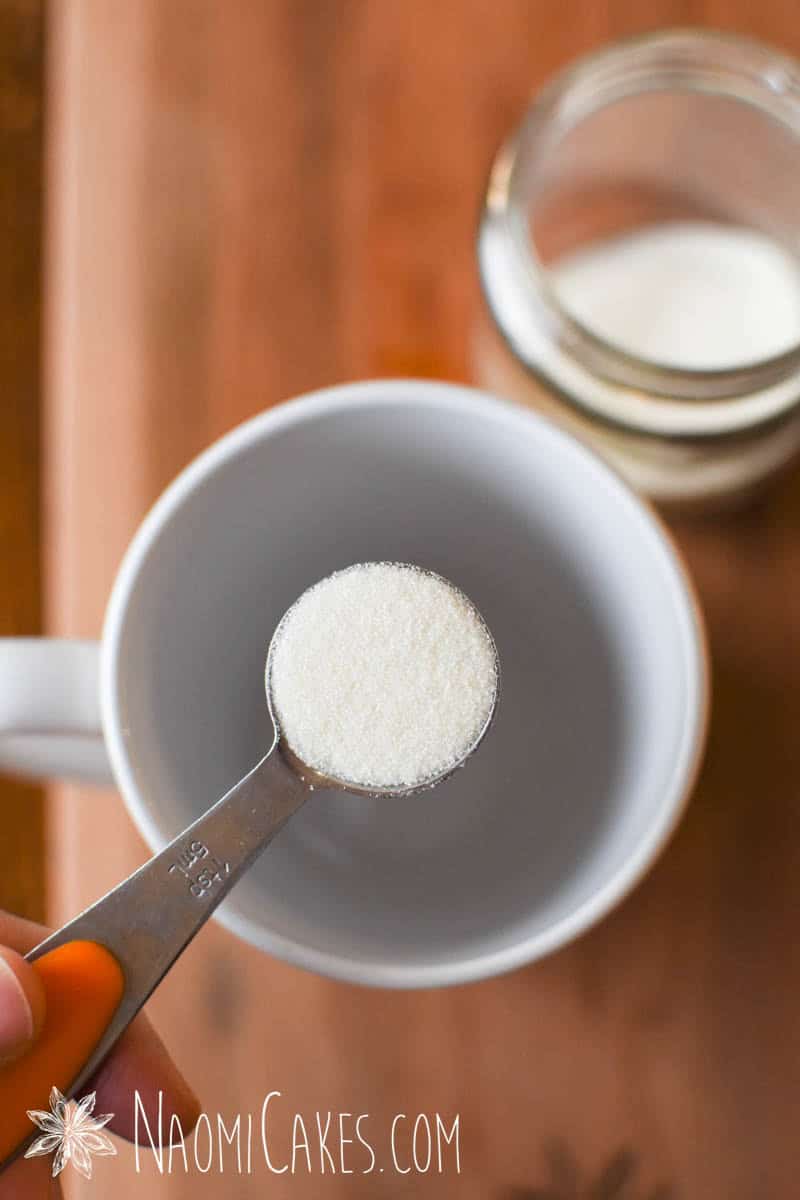
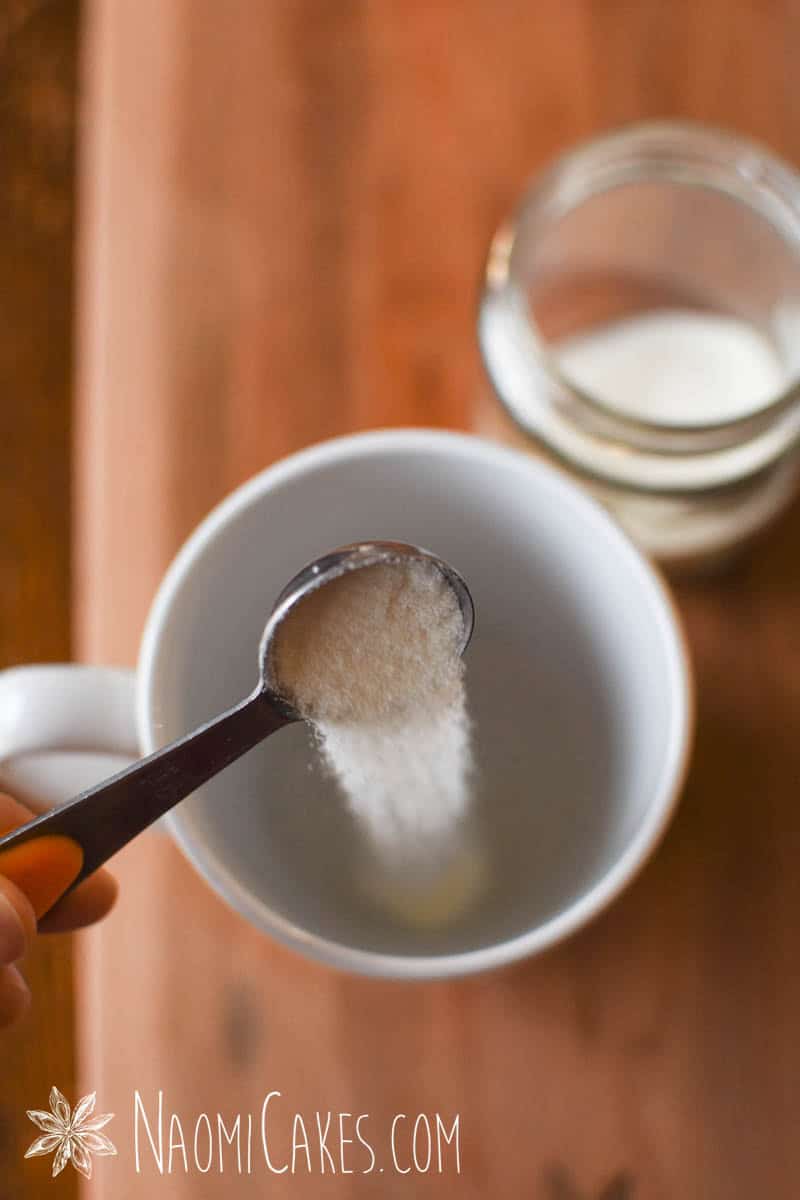
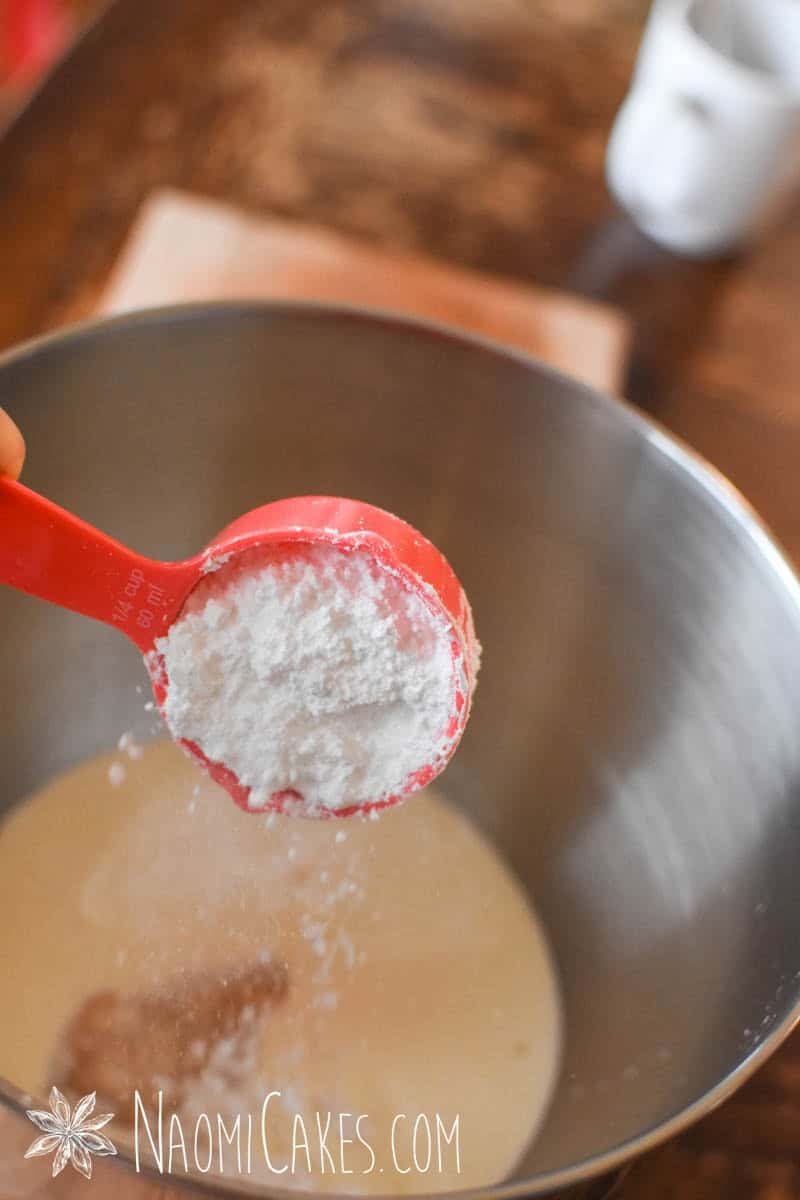
- 1/4 cup icing (confectioner's) sugar optional
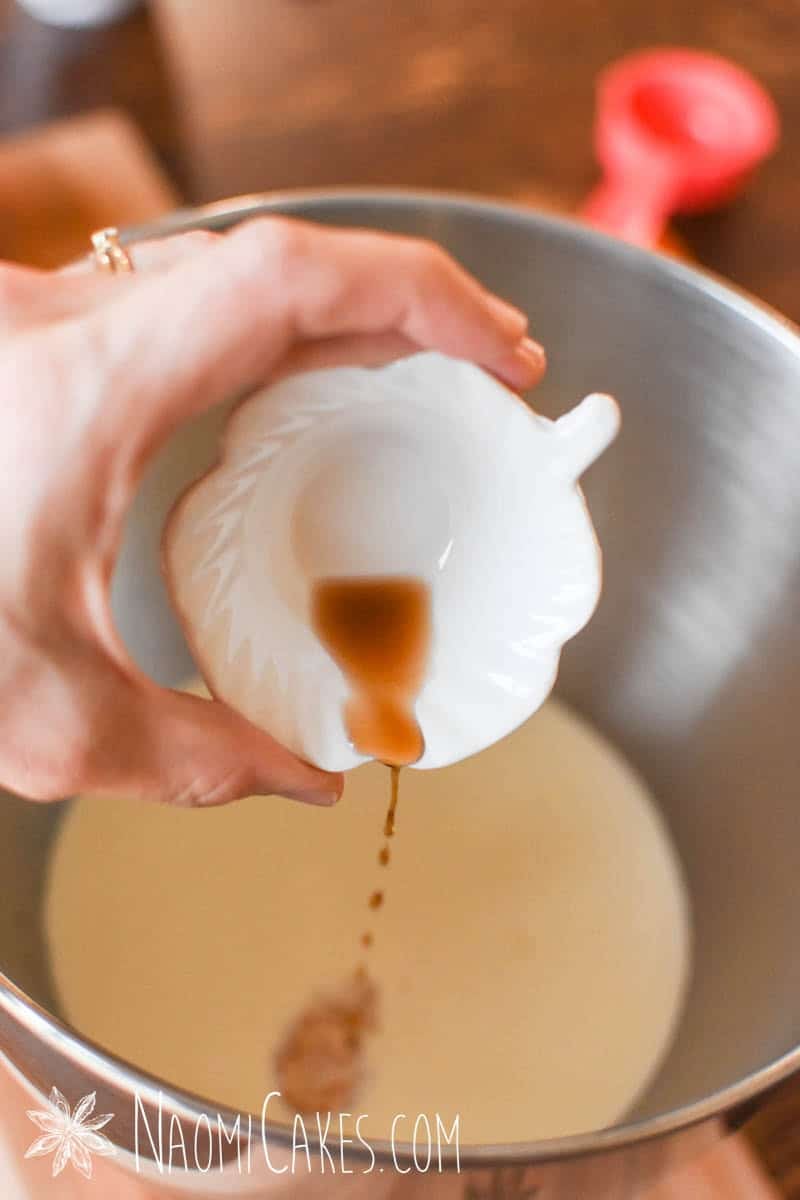
- 1 tsp vanilla
- 2 tsp unflavoured gelatine
- 3 Tbsp cold water
Instructions
-
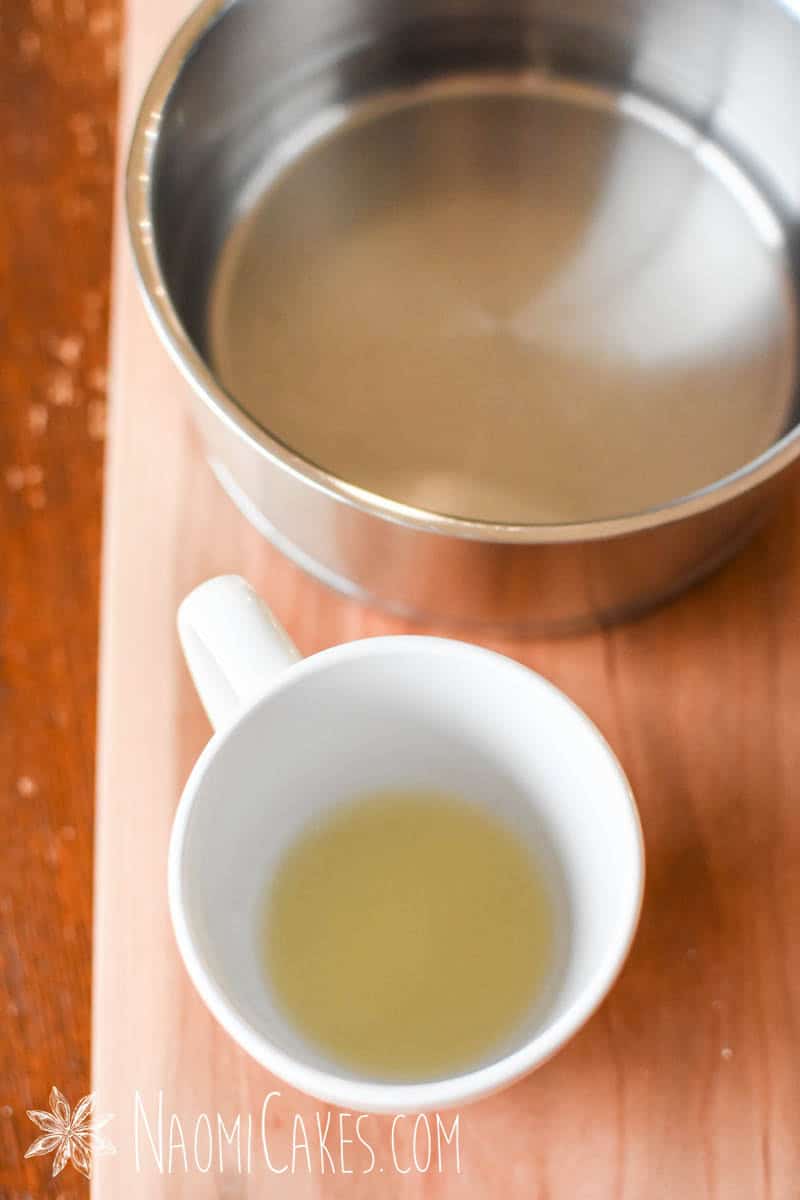
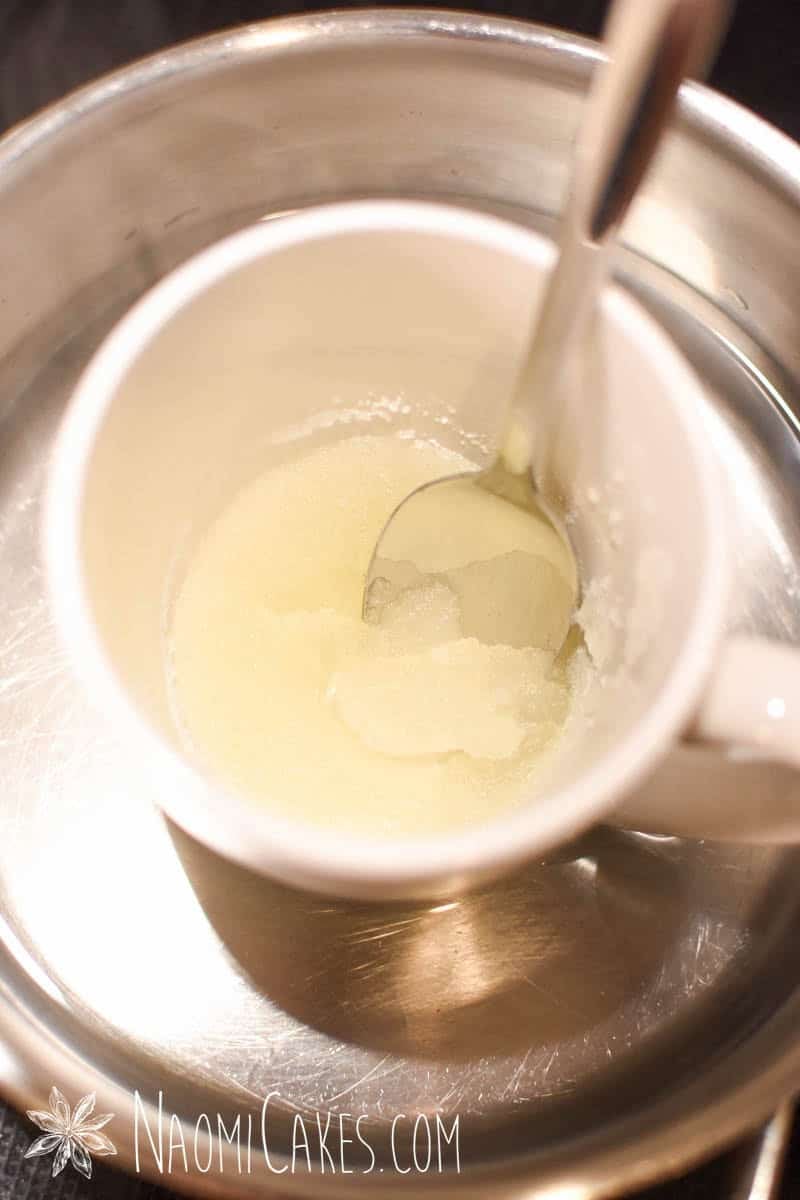
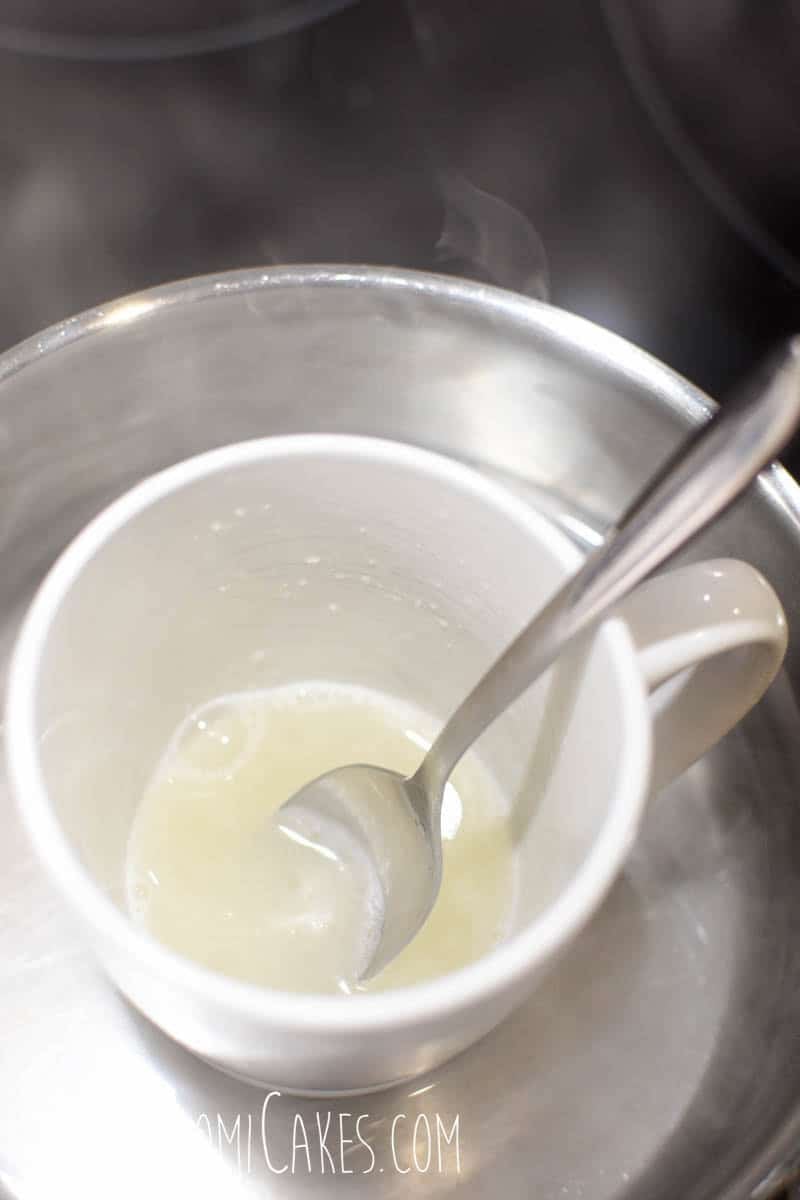
In a heat-proof cup or mug, measure out the cold water. Sprinkle the gelatine over top and allow it to become absorbed (softened) by the water.
-
Put about 1-2 inches of water into the base of a small saucepan and bring it to a boil.
-
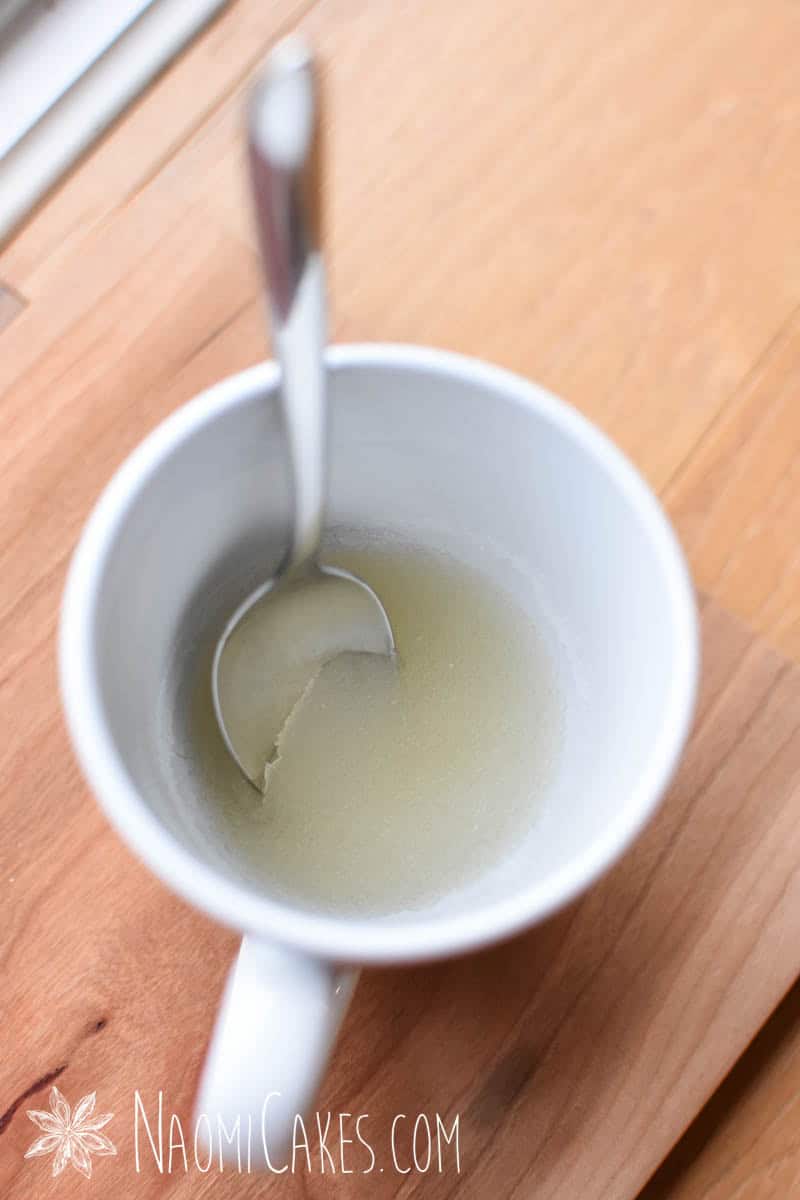
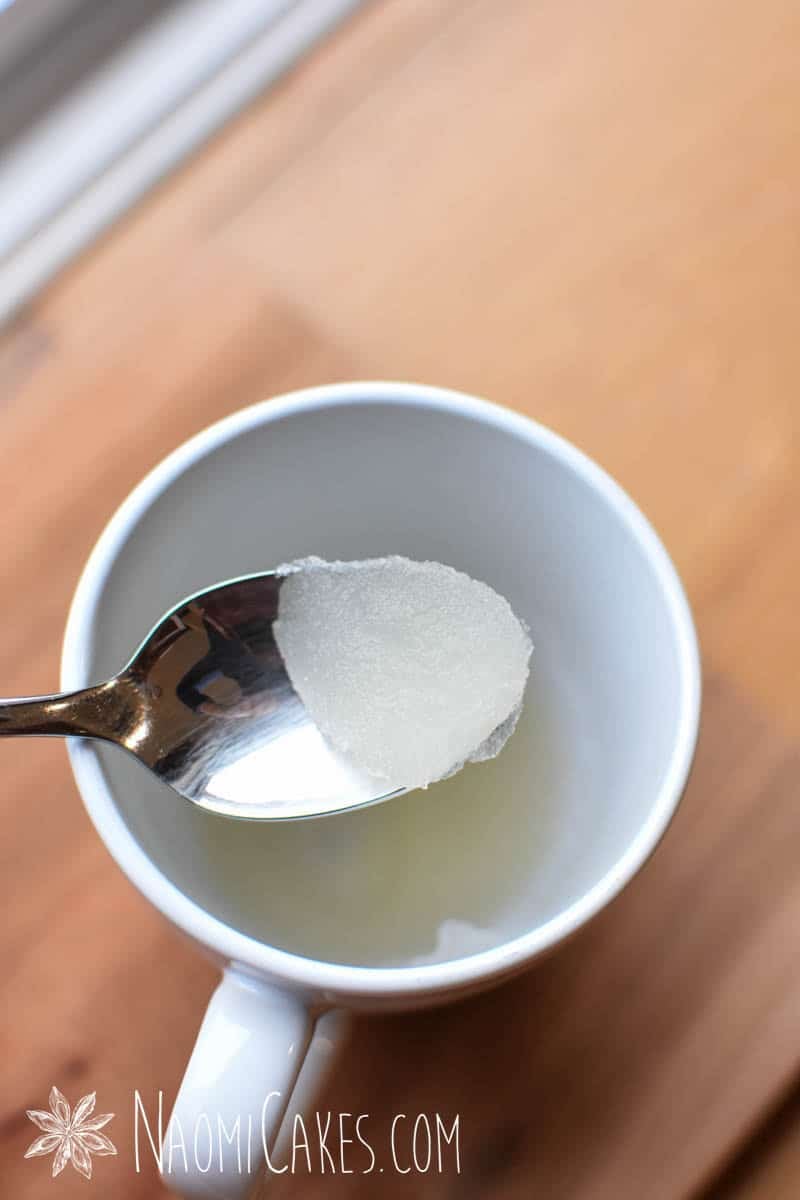
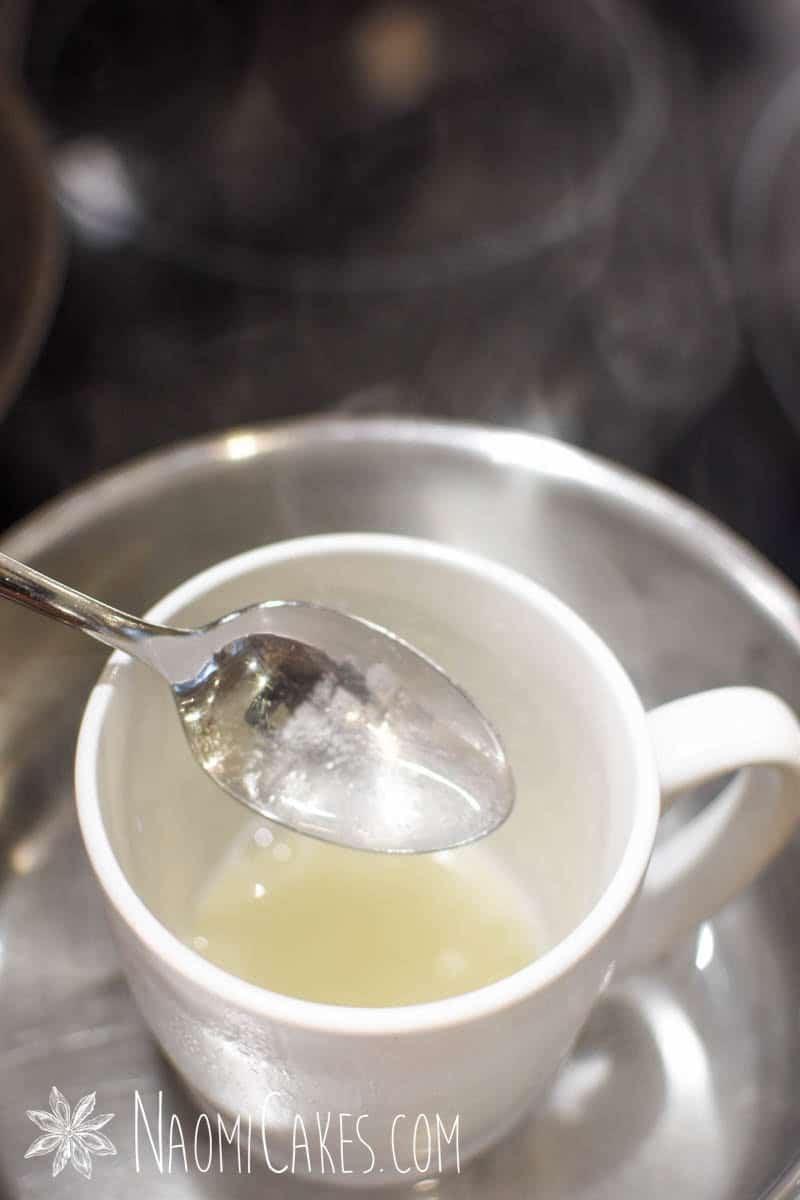
Reduce the water to a simmer, and set the cup inside. Stir the gelatine inside the cup occasionally, until it is dissolved and you can no longer see any crystals on the face of your spoon. Remove the cup from the pot of simmering water.
-
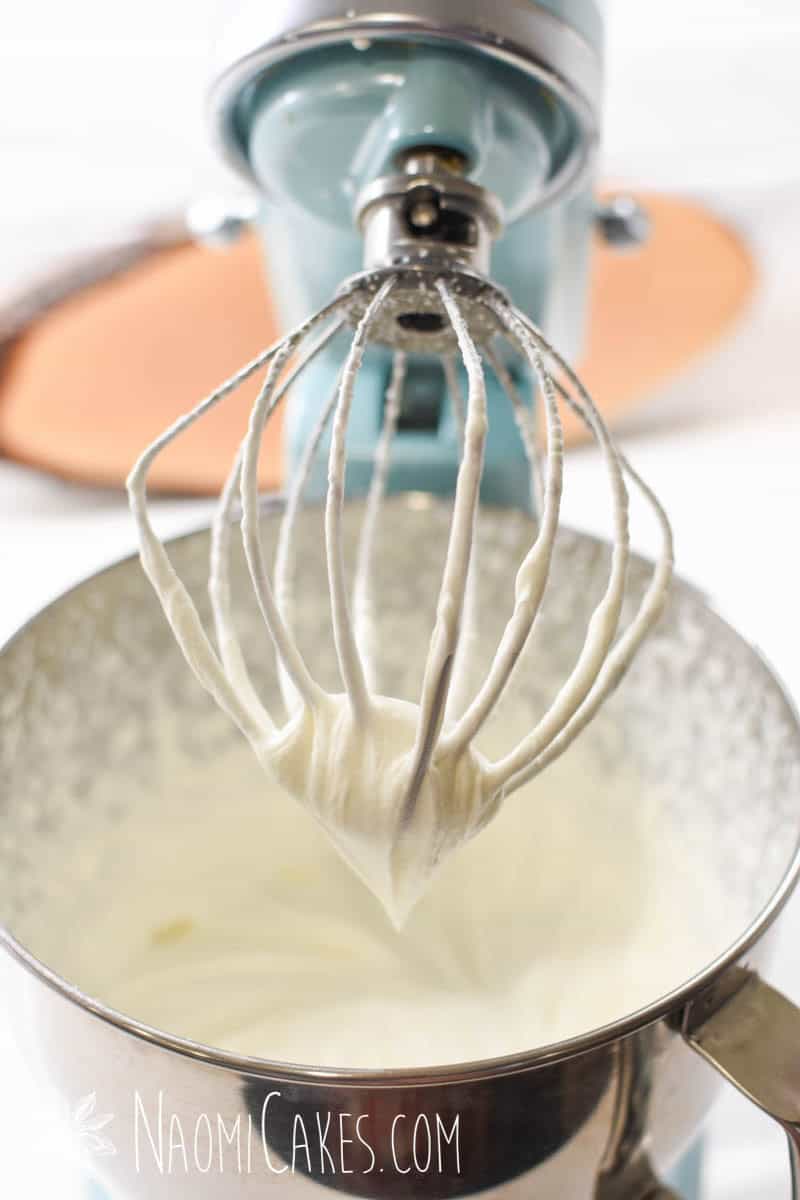
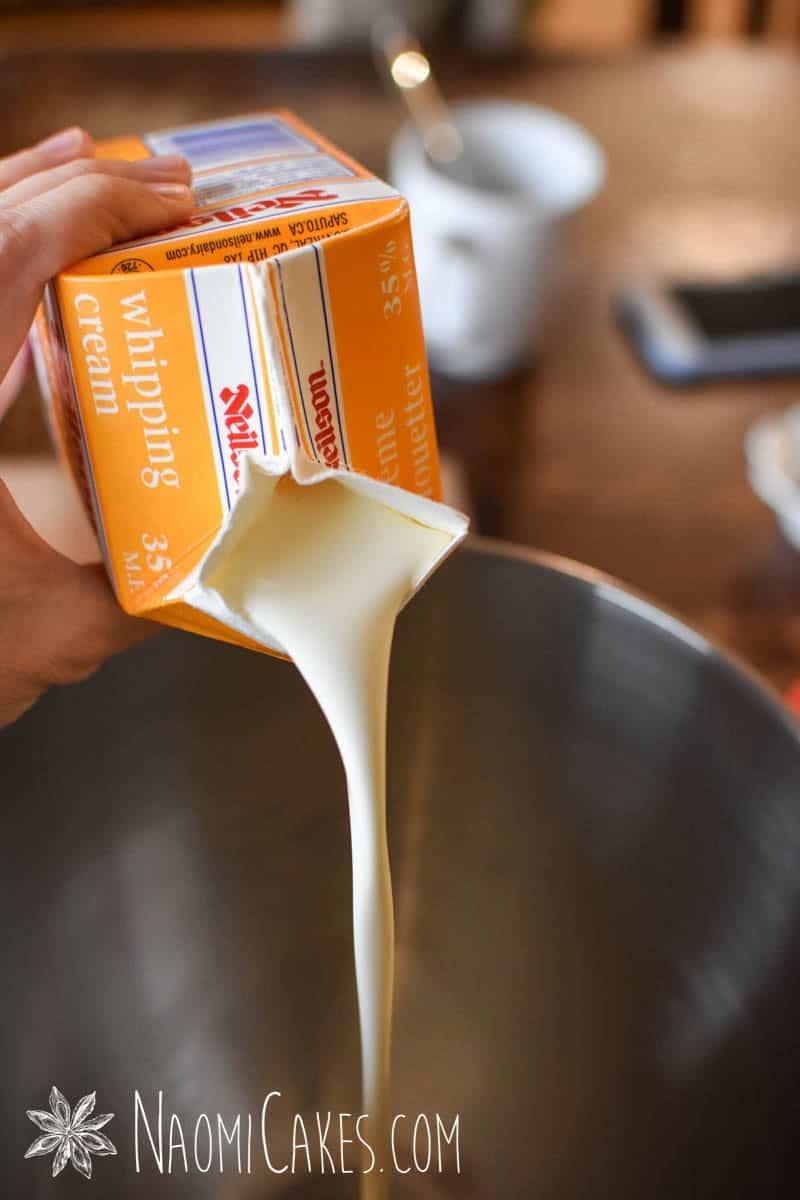
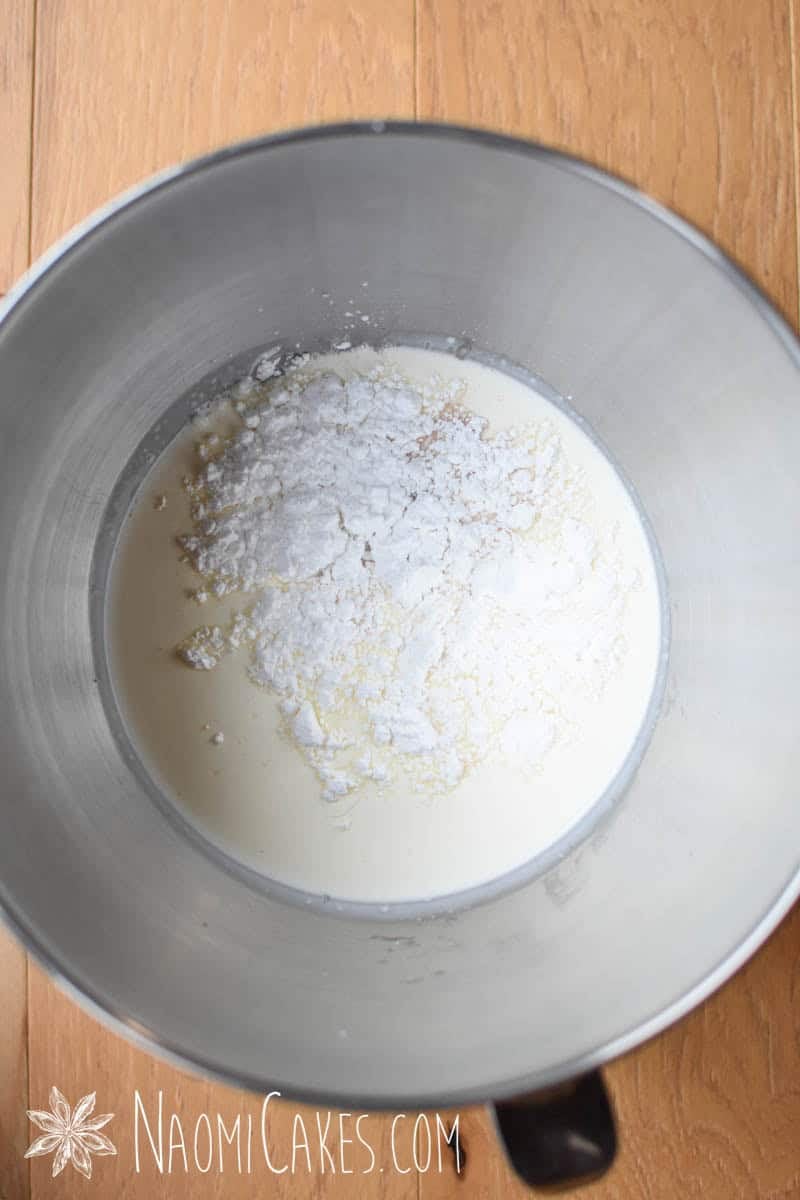
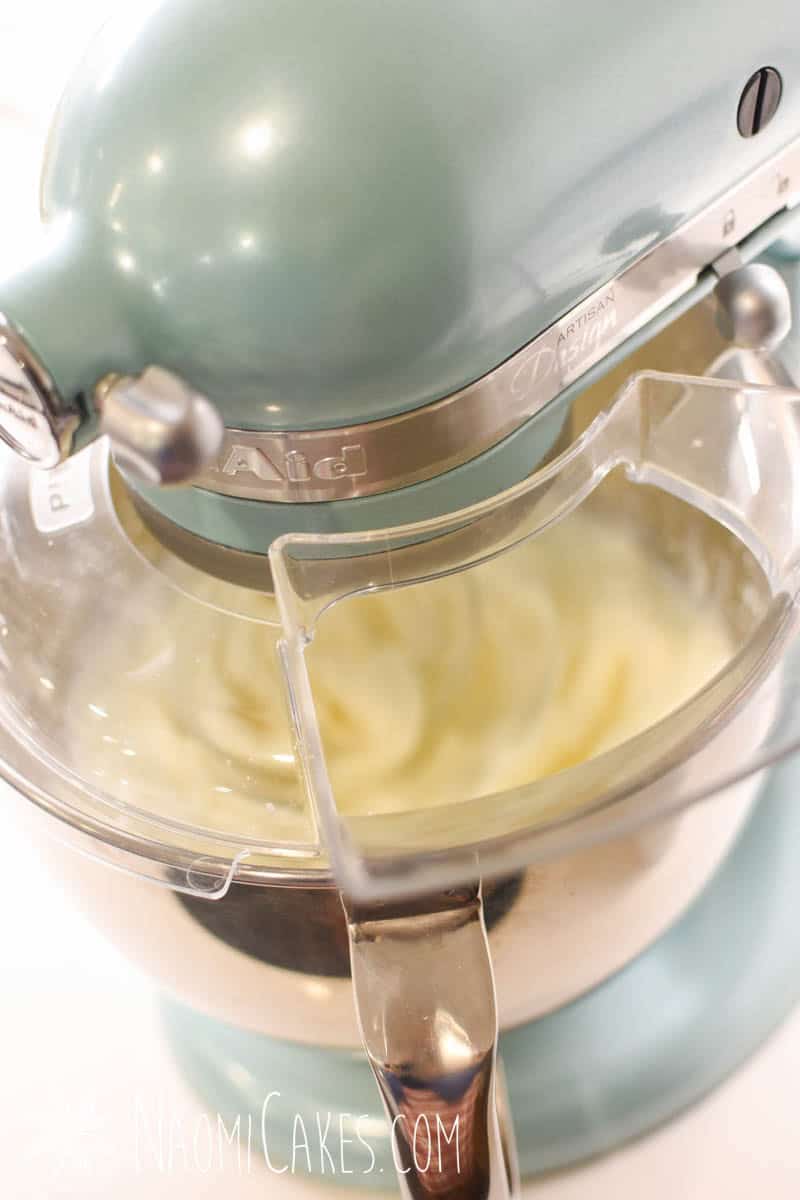
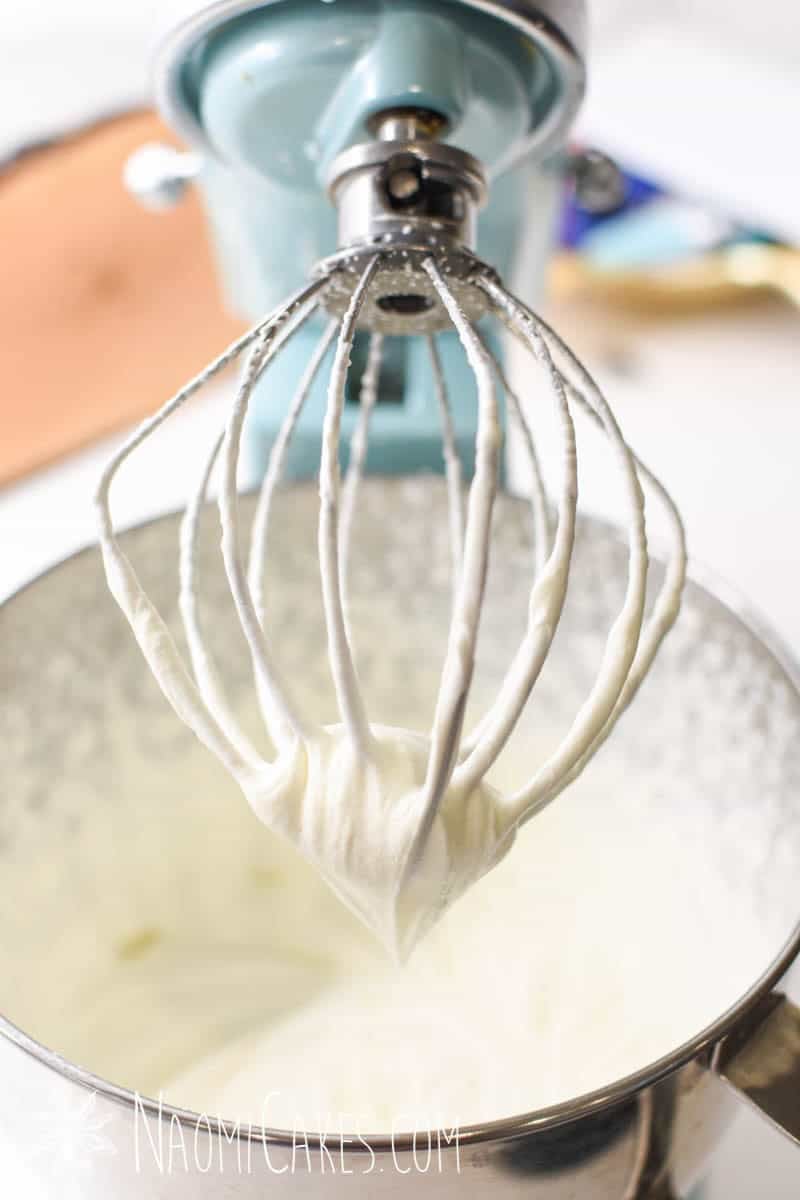
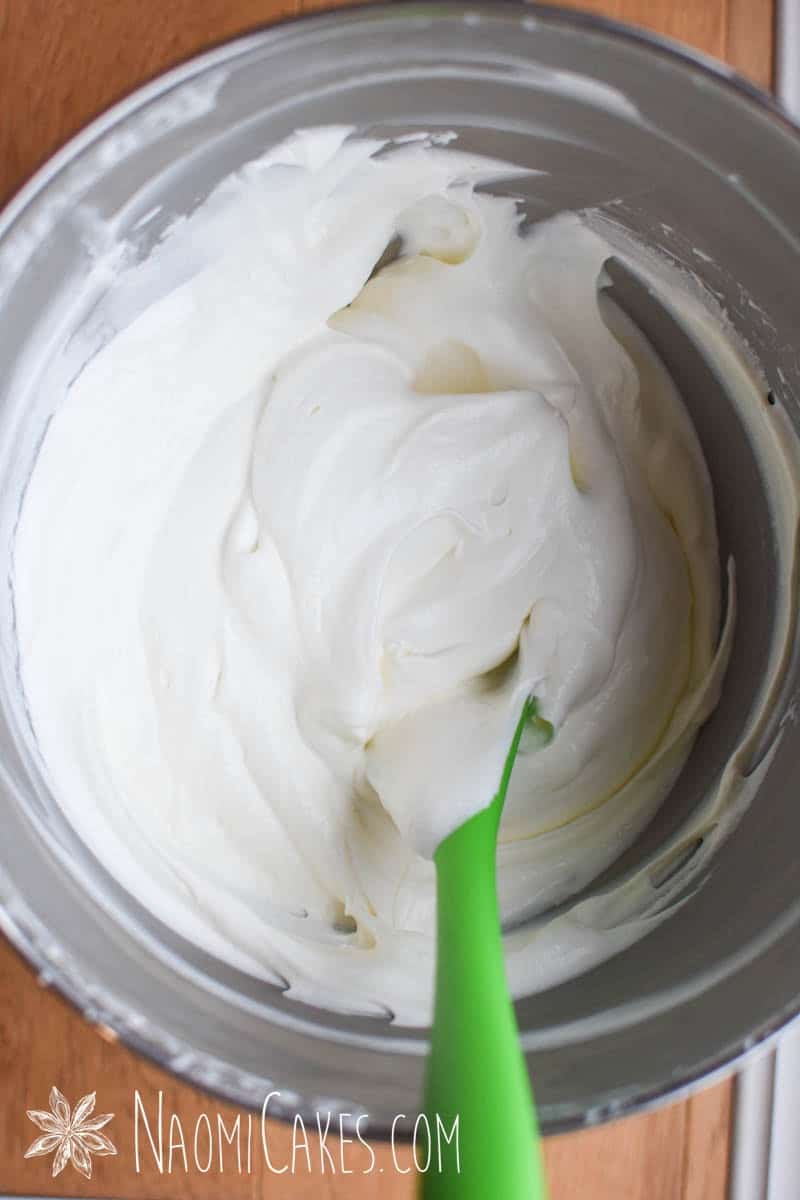
In a large mixing bowl or the bowl of an electric stand mixer, combine the cream, sugar, and vanilla. Beat on high speed until the mixture just begins to thicken.
-
Continue beating the cream on low, and slowly pour in the gelatine mixture. Only use what pours out freely; do not scrape the sides of the cup.
-
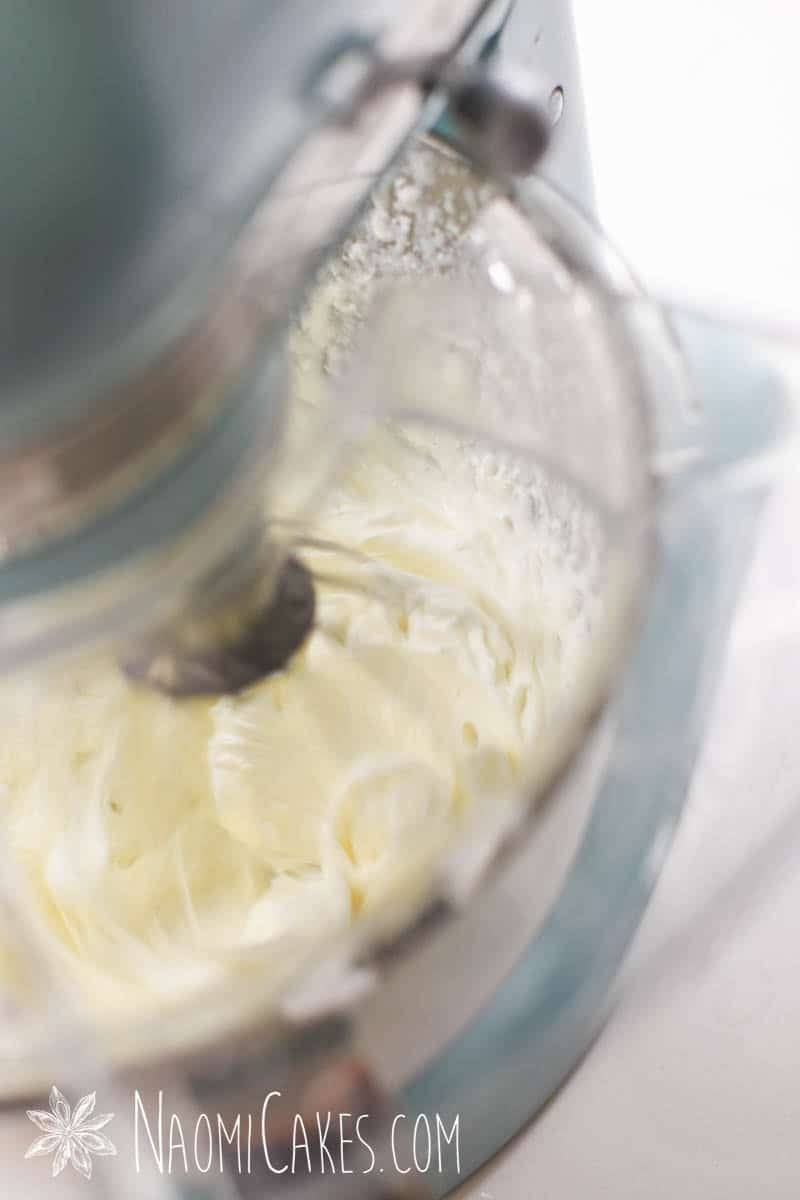
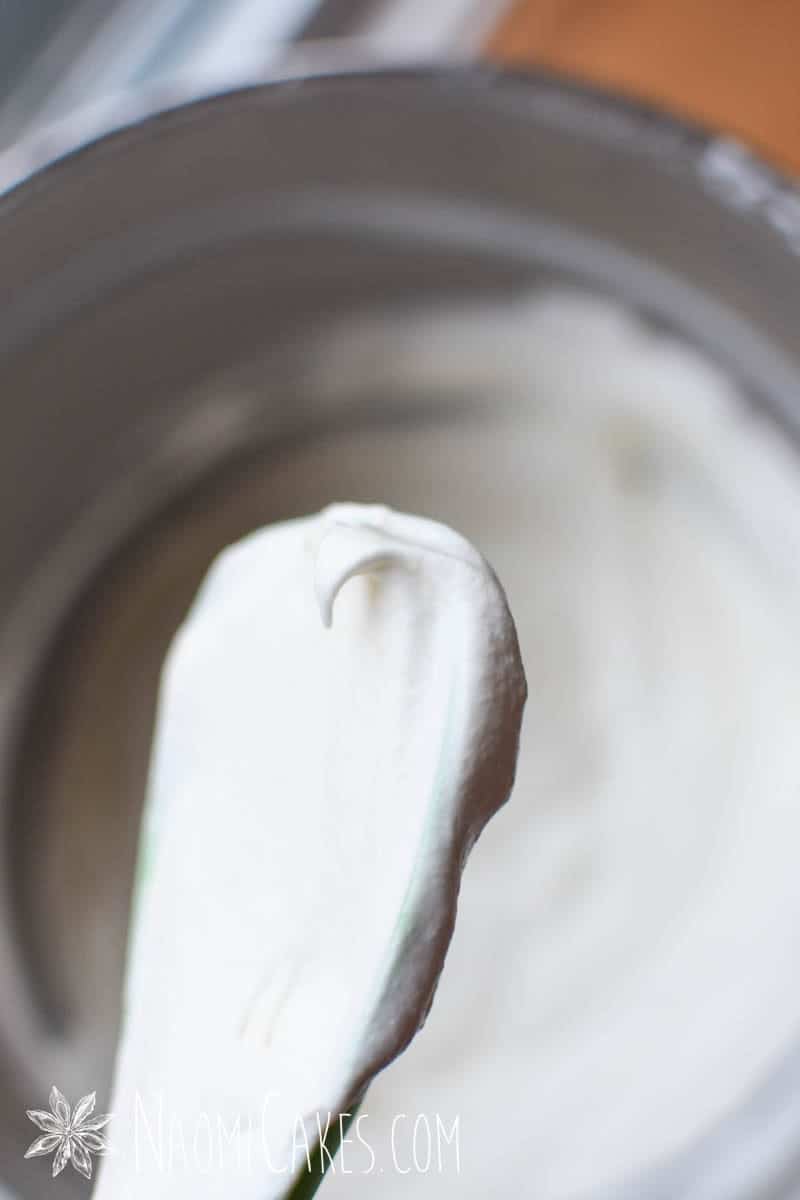
Increase the speed to high again and beat until stiff peaks form. Use immediately.
Recipe Notes
I often like to make this recipe with no sugar at all to go on top of already-sweet desserts!

If you like this recipe, you may also like:
- Raspberry Sponge Cake
- Authentic Black Forest Cake
- Lemon Berry Mousse Cake
- Cream Cheese Filling
- Apple Pie Filling
That’s all for today! If you like this recipe, let me know in the comments below, or as always – feel free to tag me in your gorgeous cream-covered creation pictures on Instagram @naomicakesofficial.
Bye for now,
Naomi
This post contains affiliate links.