When I was in my early twenties, I had the privilege of eating a slice of the most glorious black forest cake at a hotel restaurant in Germany’s Black Forest. I wish I could remember the name of the place! That cake left such an impression on me that I have wanted to recreate it ever since.
Today, I’m happy to report: I’ve managed to get my hands on a very similar recipe. Which, by the way, I get to share with you!
What is black forest cake?
Growing up in North America, my experience of “Black forest cake” was nothing like the real thing. In my experience, it was usually a basic chocolate cake with cherry pie filling, sweetened whipped cream, and chocolate shavings on top.
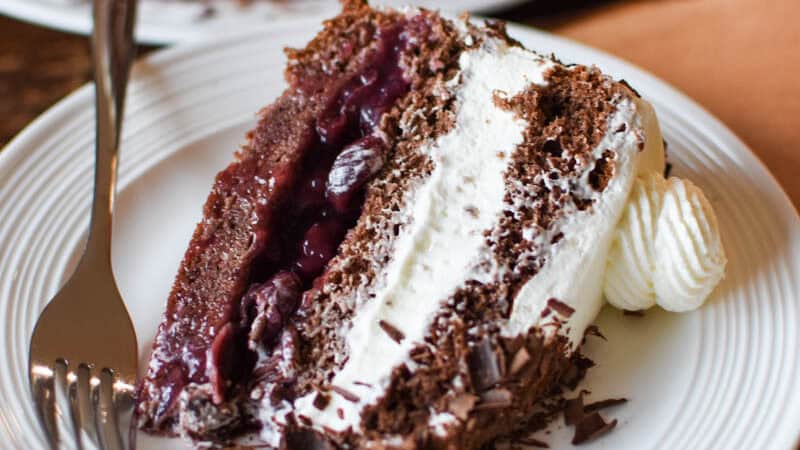
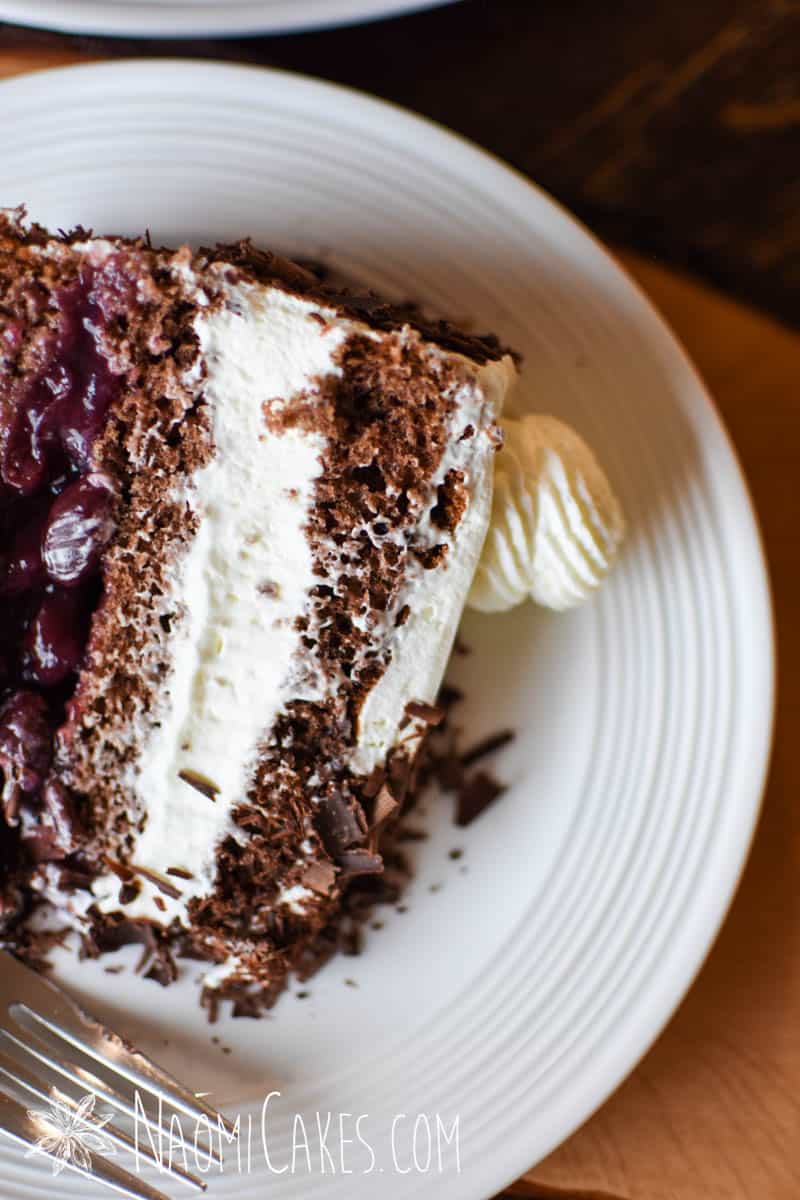
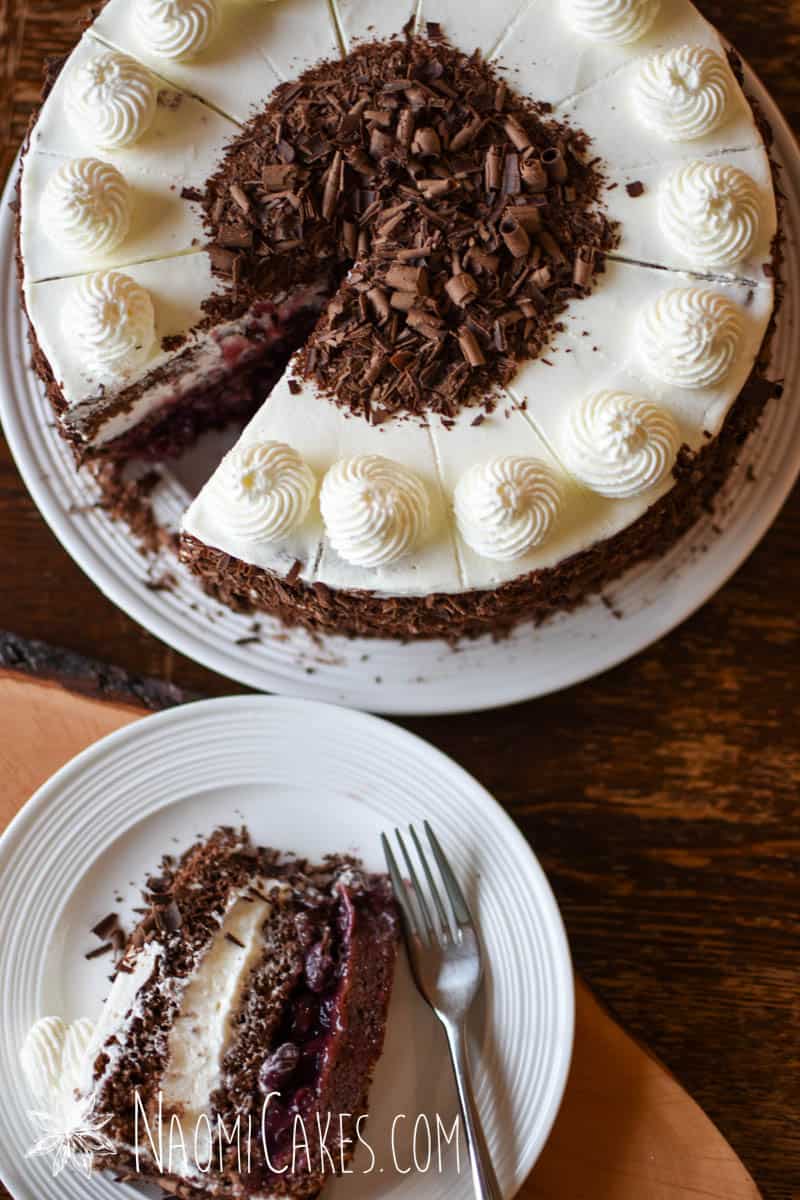
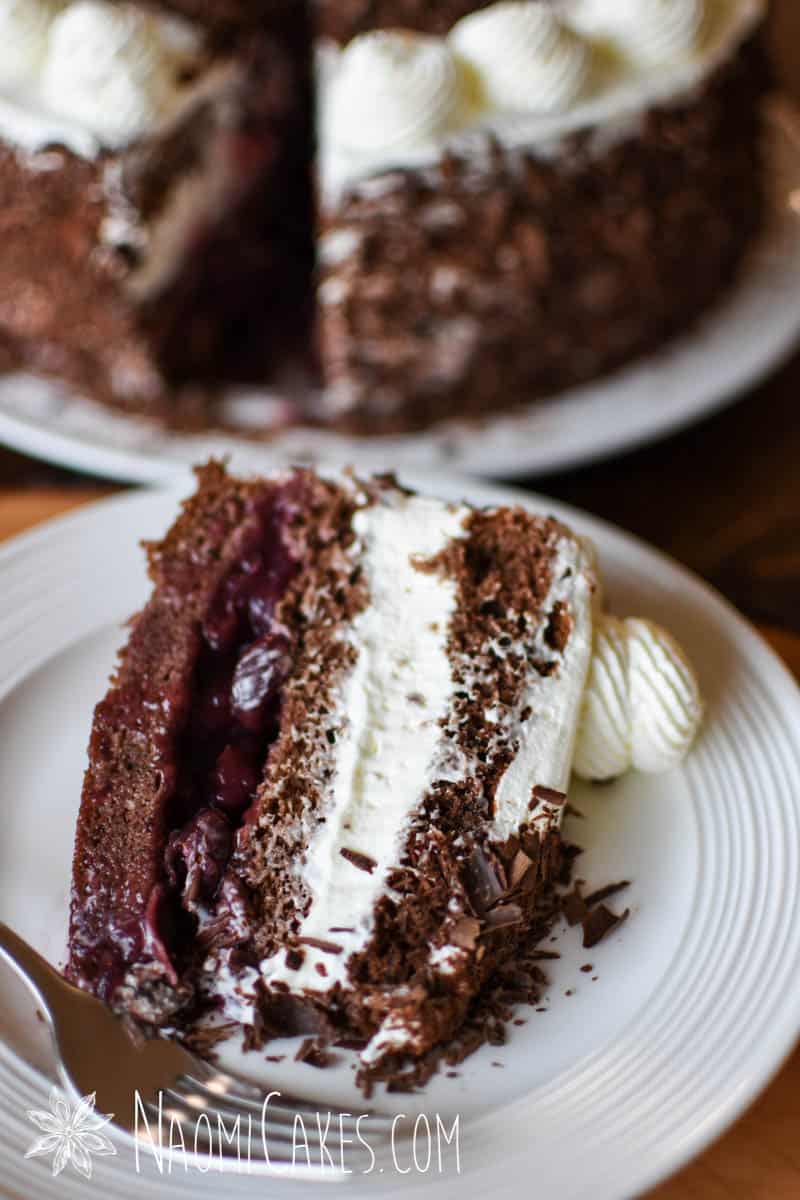
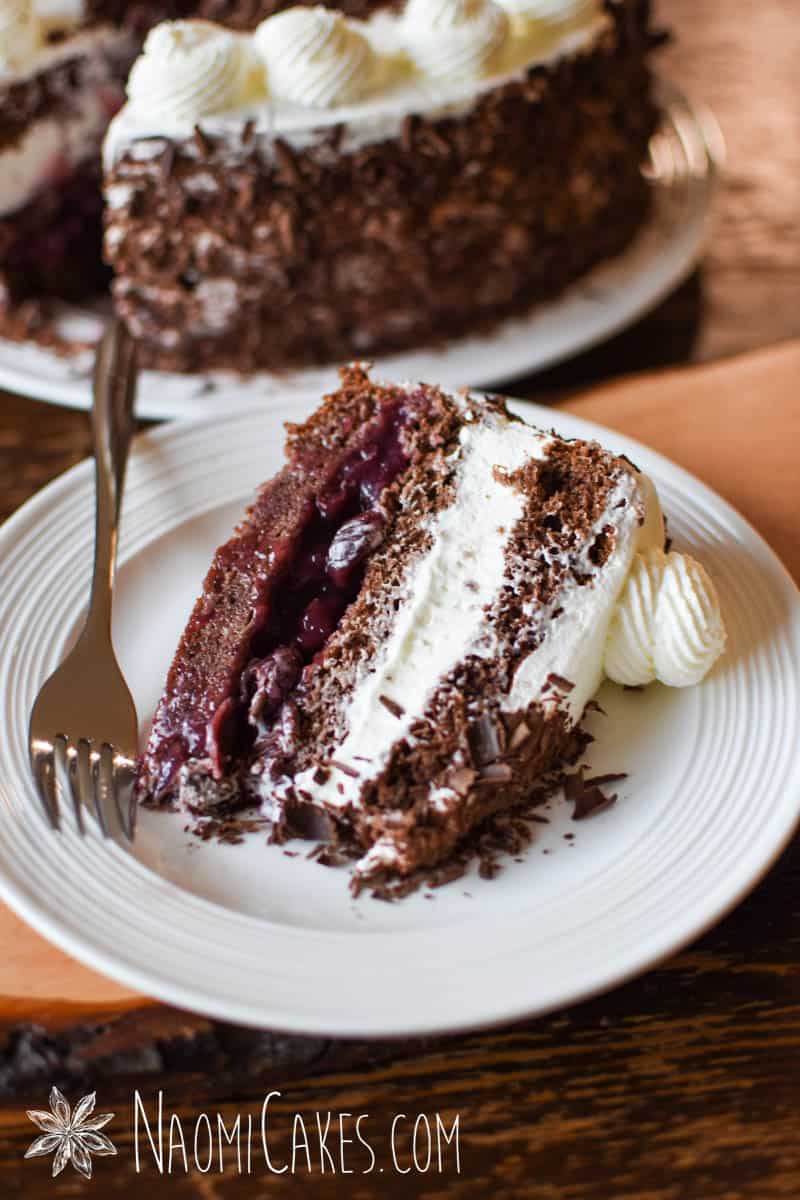
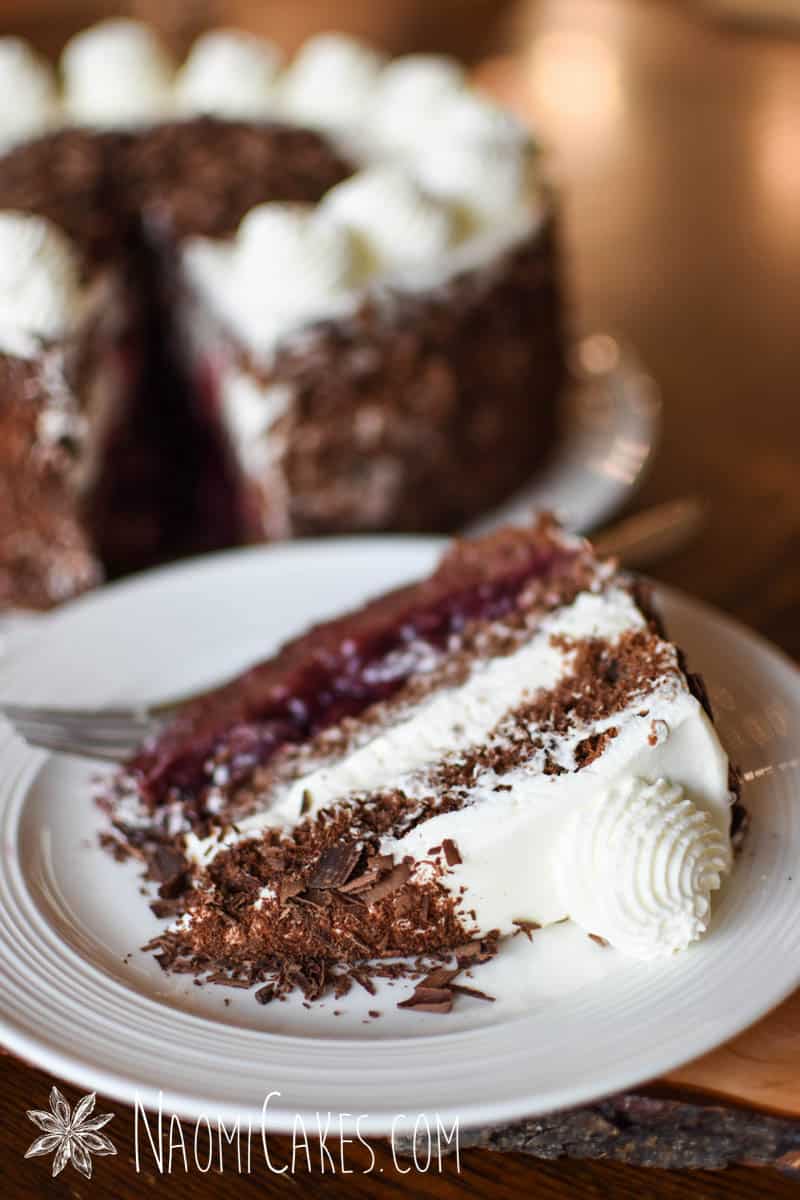
Traditional black forest cake, on the other hand, is a much different experience. It is made with a delicious chocolate sponge cake, sour cherries, cherry brandy, and real cream. The outside is decorated with dark chocolate shavings.
Why the name, “Black forest”?
At first I assumed that the dark coloured chocolate layers might have something to do with the name of this cake; but no! I’ve now learned that the name of this cake comes from its place of origin: Germany’s beautiful Black Forest.
How to make authentic black forest cake
The process of making a black forest cake is actually pretty simple. I’ll include a basic overview here:
- First, you bake the sponge cake. This particular recipe makes a really large, tall one, which gets split into 3 layers.
- Once the cake has been baked, it is layered into a pan or plastic collar. The cake is then layered with sour cherry filling and stabilized whipped cream, with a layer of cake in between the two fillings.
- After that, the cake is finished with real chocolate shavings to decorate the outside of the cake.
Is black forest cake easy to make?
Yes! While there are several components to making this cake (which makes for a long recipe card!), the actual work of putting this cake together is quite simple and honestly a lot of fun!
What is the alcohol in traditional black forest cake?
Kirschwasser is the correct alcohol to use for this recipe (or in English, Cherry Brandy or Kirsch). Since I prefer to make this cake without, however, this recipe is alcohol-free (with a note of how to add it at the bottom if you would like to do so).
How far in advance can you make a Black Forest Cake?
This cake is best made the day before you want to serve it. For these pictures, we had limited time, so I sliced and served the cake on the day it was made. We also enjoyed the leftovers for several days afterward; so yes. I would say you can make it a few days ahead of time, but for optimal freshness and beauty, I recommend making it the day before you want to serve it.
How to decorate a black forest cake
I would say that there are 3 main components to decorating a traditional black forest cake: cream, chocolate, and cherries.
You may notice that my cake in this post doesn’t have cherries on top. That is largely because, my opportunity to learn to make this cake came in the fall, and cherries were hard to come by!
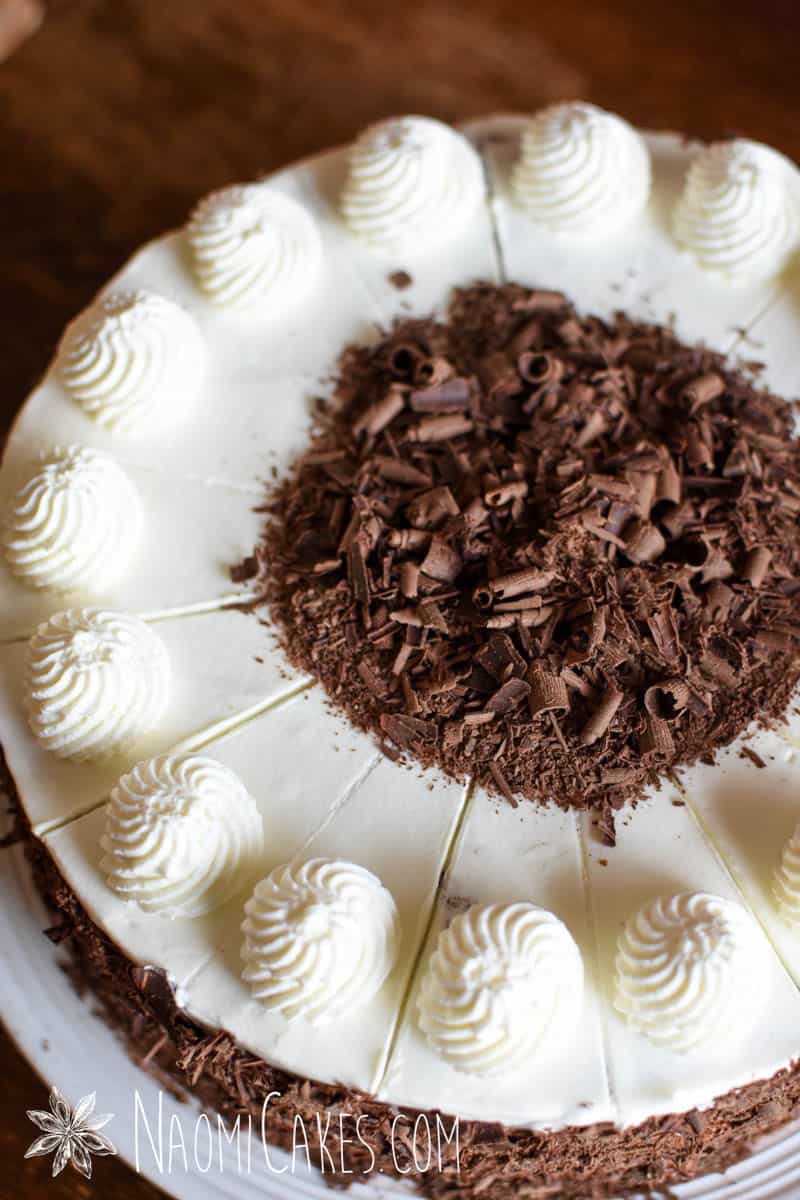
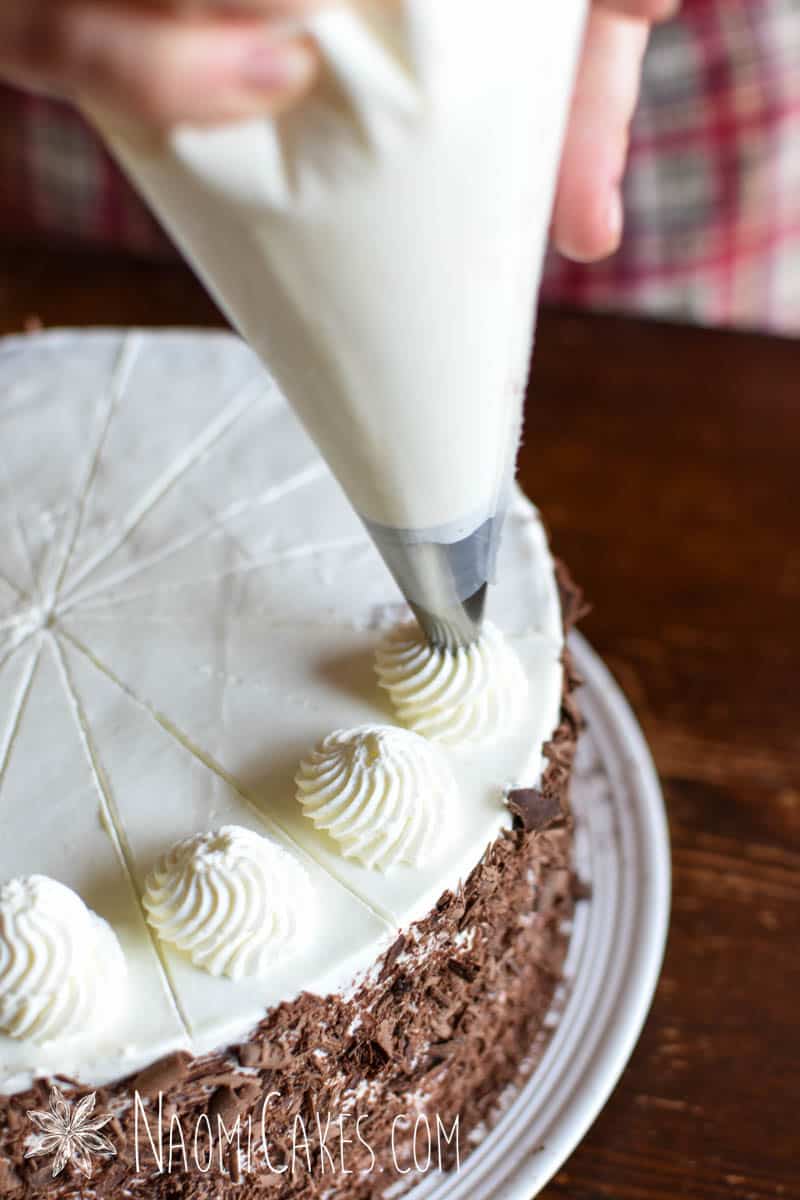
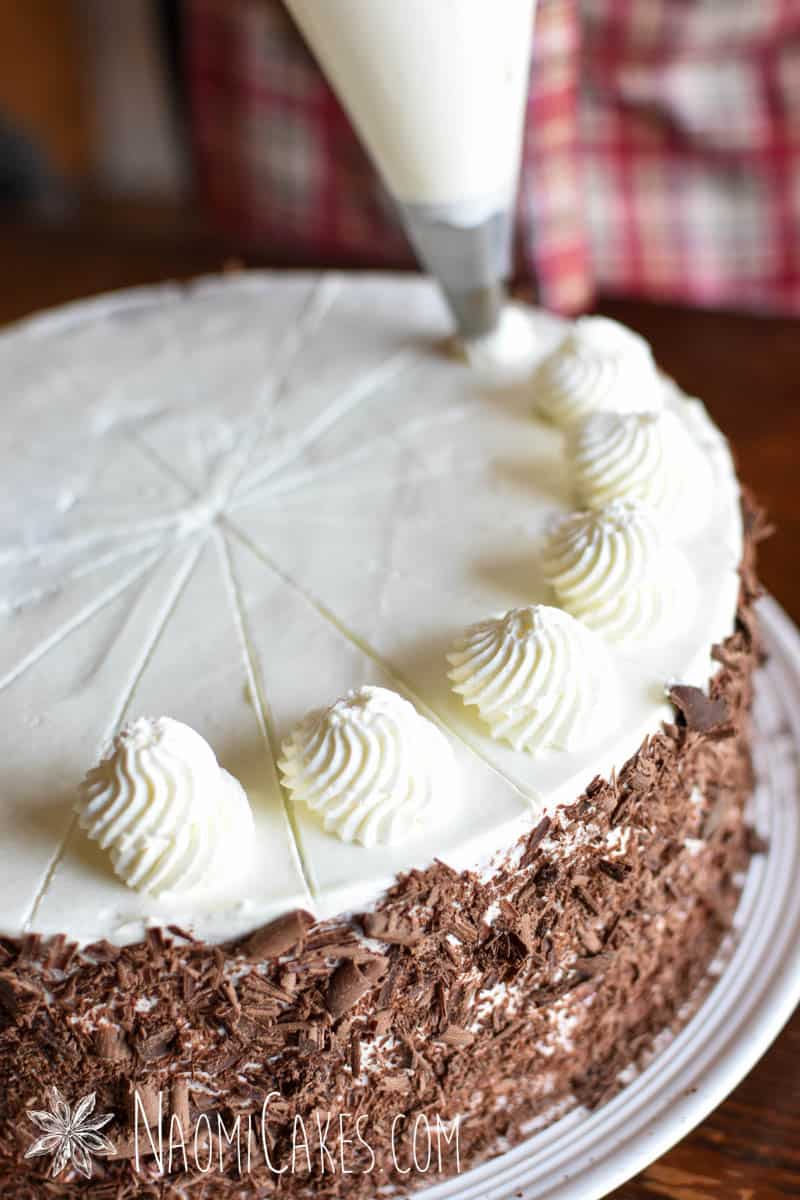
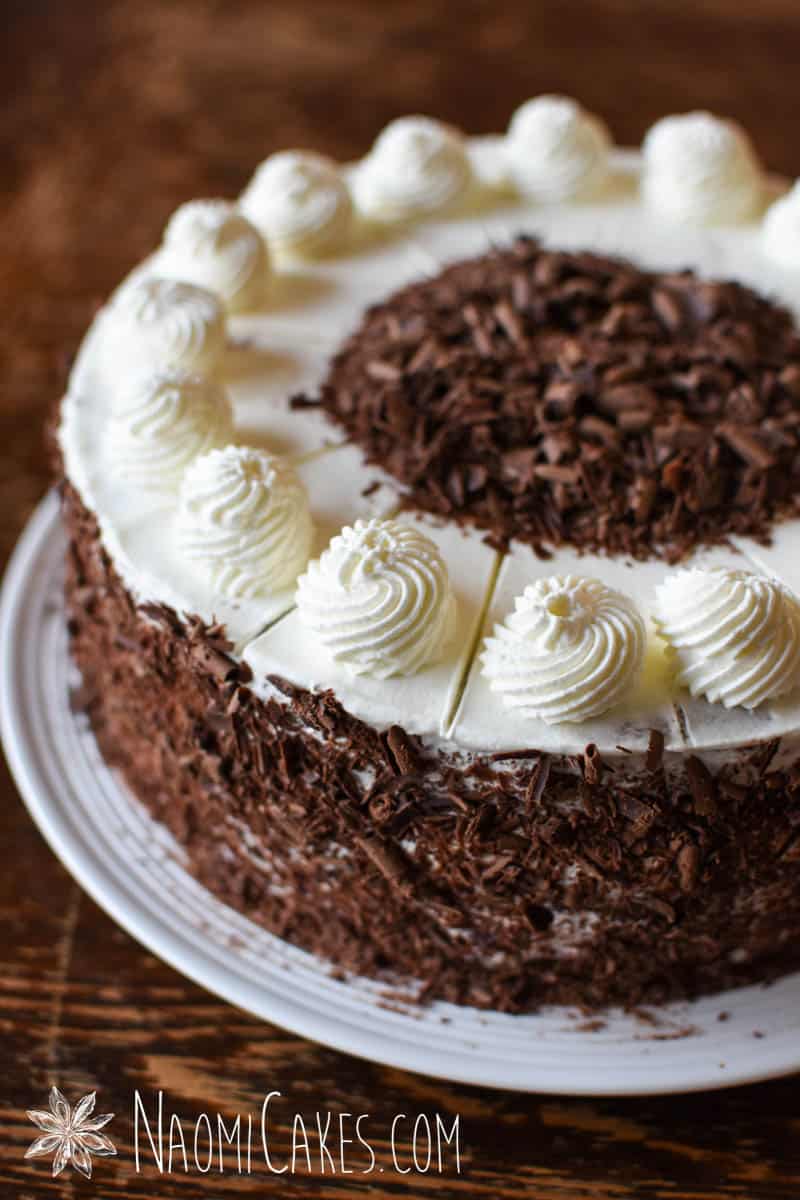
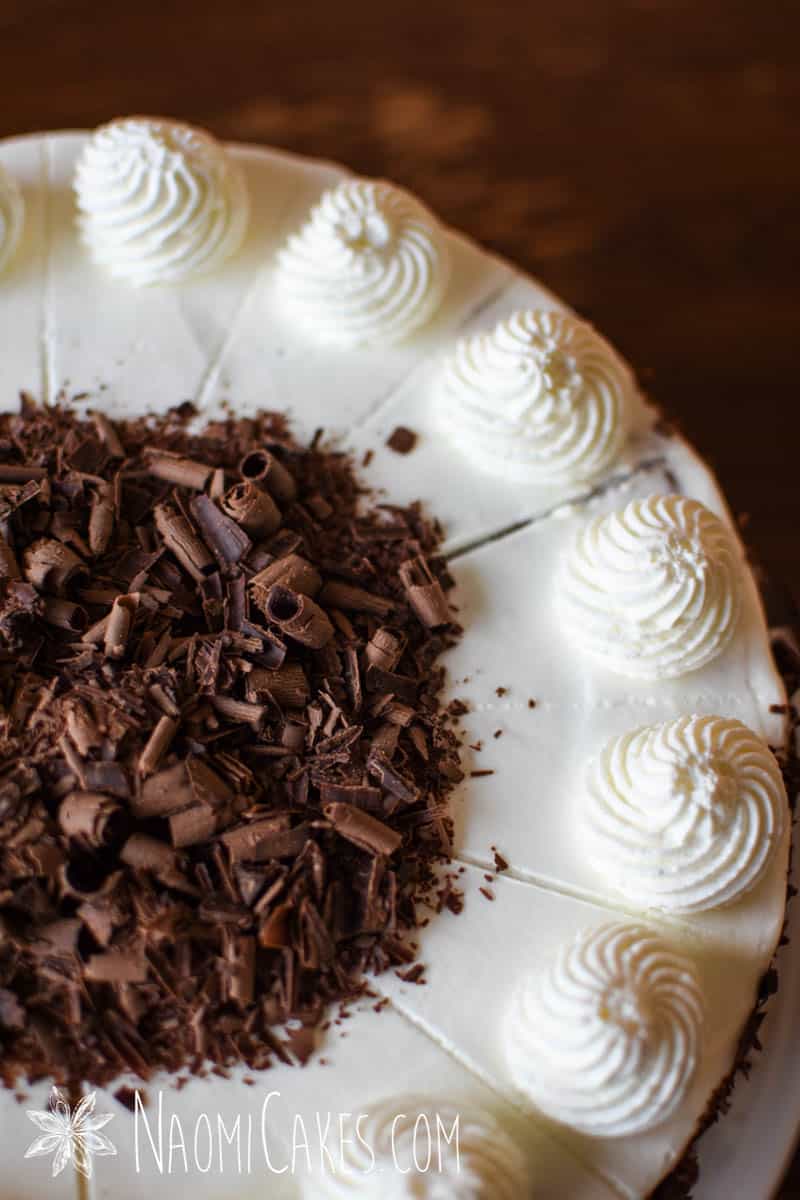
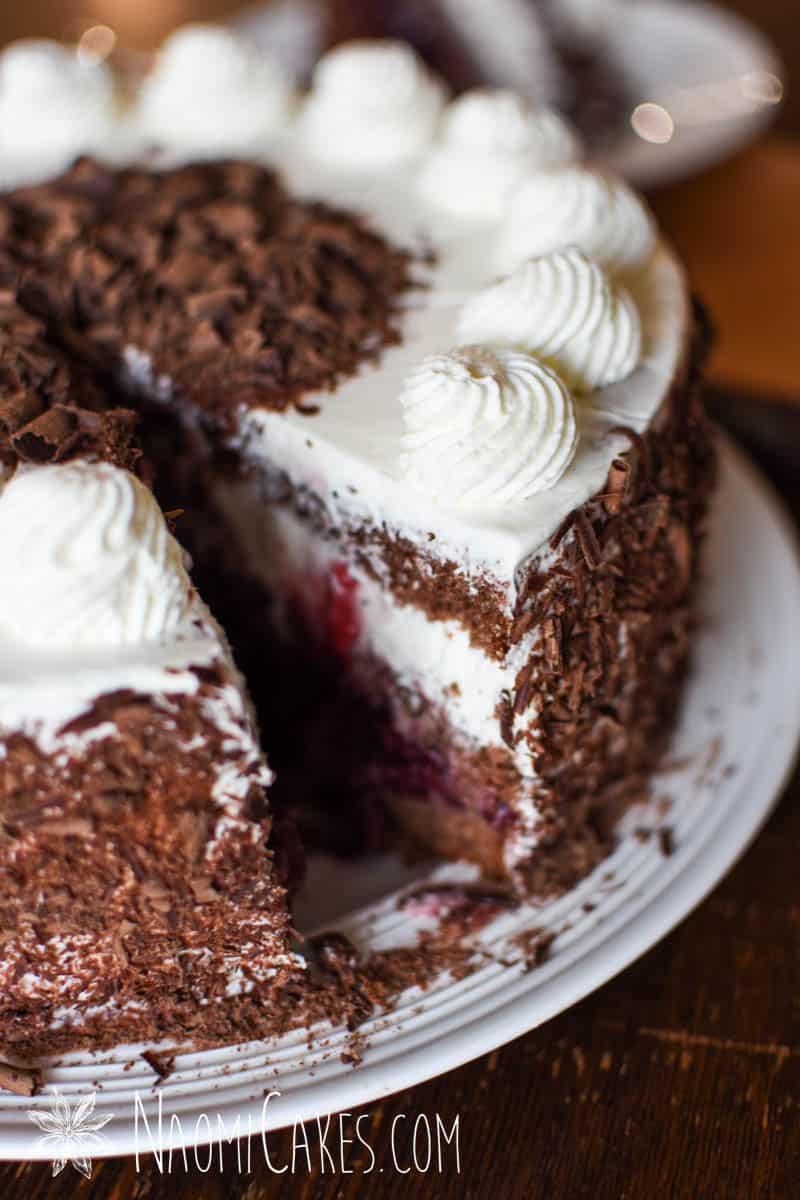
To decorate a traditional black forest cake, you should cover the entire cake with real cream. Then, the sides should be covered in real chocolate shavings, and the top should be decorated with swirls of whipped cream, real cherries (if you have them), and more chocolate shavings.

How to make this cake low sugar/less sweet
One of the things I love most about this recipe is that the sugar content is much lower than most cakes. The cake itself is a light and not-too-sweet sponge cake, and the cream can be whipped with absolutely no sugar at all (this is my preference). Even the cherry filling, made with sour cherries, has much less sugar than most cherry fillings out there.
I absolutely love that this cake can be made with so little sugar, and yet it still comes out as the decadent, delicious treat that it is!
About this specific recipe
I got this recipe from a German friend named Hanna, who is a trained pastry chef. Hanna was recently visiting with some other friends in Canada, who coincidentally, happen to live very near me.
While she was visiting, we were able to reconnect, and I managed to convince her to teach me to make this cake. Thankfully, she was not only generous enough to say yes, but she also agreed to let me share this recipe with all of you!
An important thank you:
Since my friend was so generous to teach me how to make this cake, I want to add this little note:
Here’s a tremendous thank-you to Hanna, who made the cake in these pictures and showed me how the magic of this traditional German cake happens. I can’t wait to make it again!
Thank you for your beautiful contribution to my blog, and for investing this wonderful skill into me!
You will need:
- Ingredients (see recipe card)
- Mixing bowls
- Measuring cups and spoons (or a kitchen scale)
- Electric mixer or stand mixer
- Spatula
- Parchment paper
- Pencil or edible marker
- Scissors
- 10″ round cake pan or springform cake pan
- Cooling rack
- Medium heavy bottomed saucepan
- Whisk
- Heat-proof mug
- Long, serrated knife
- 4″ tall clear acetate cake wrap or a 10″ springform pan collar
- Piping bags or ziploc bags
- Large star piping tip
- Angled spatula or other knife for spreading cream
- Vegetable peeler
- 12″ serving plate
German Black Forest Cake
An alcohol free version of a traditional German Black Forest Cake! This recipe makes a large, 10" round cake for 16 generous sized servings.
Ingredients
For the cake
- 8 large eggs
- 1 cup (212g) sugar
- 1 cup (162g) flour
- 4 Tbsp (37g) cocoa
- 1/4 cup (60g/ml) oil
- 1/4 cup (60g/ml) milk
For the cherry filling
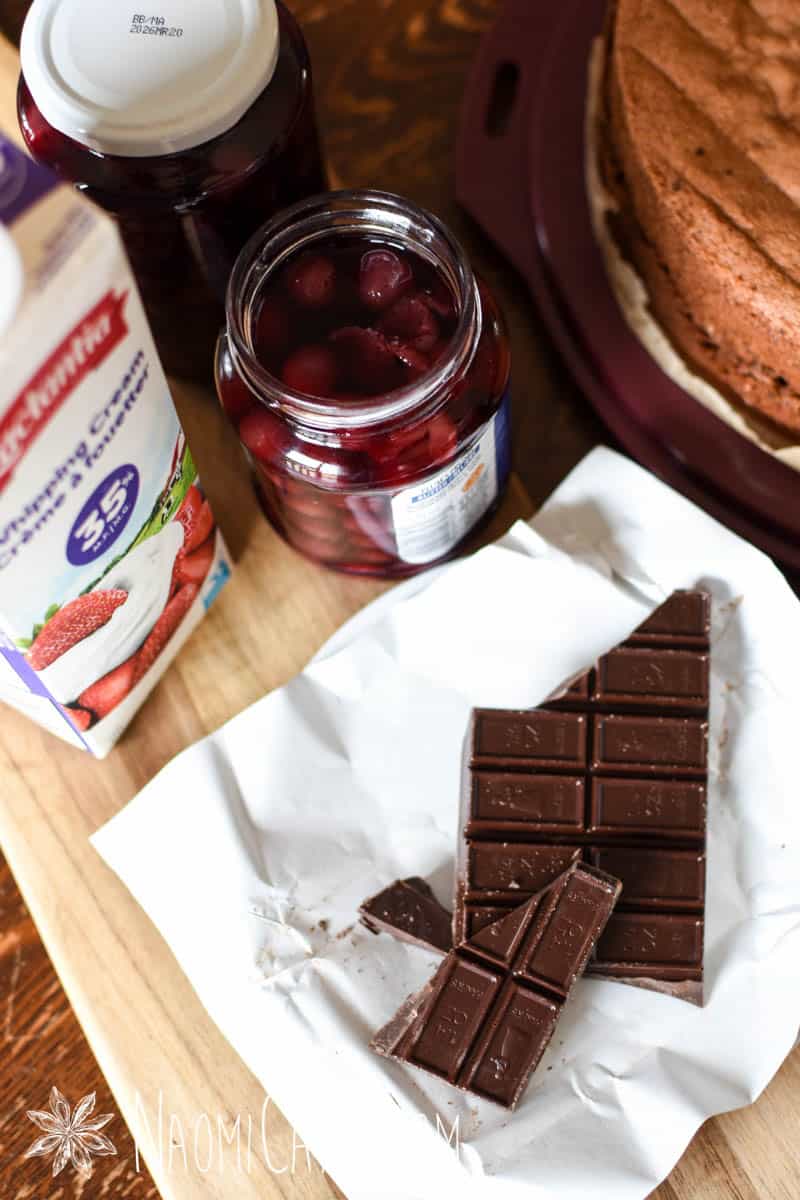
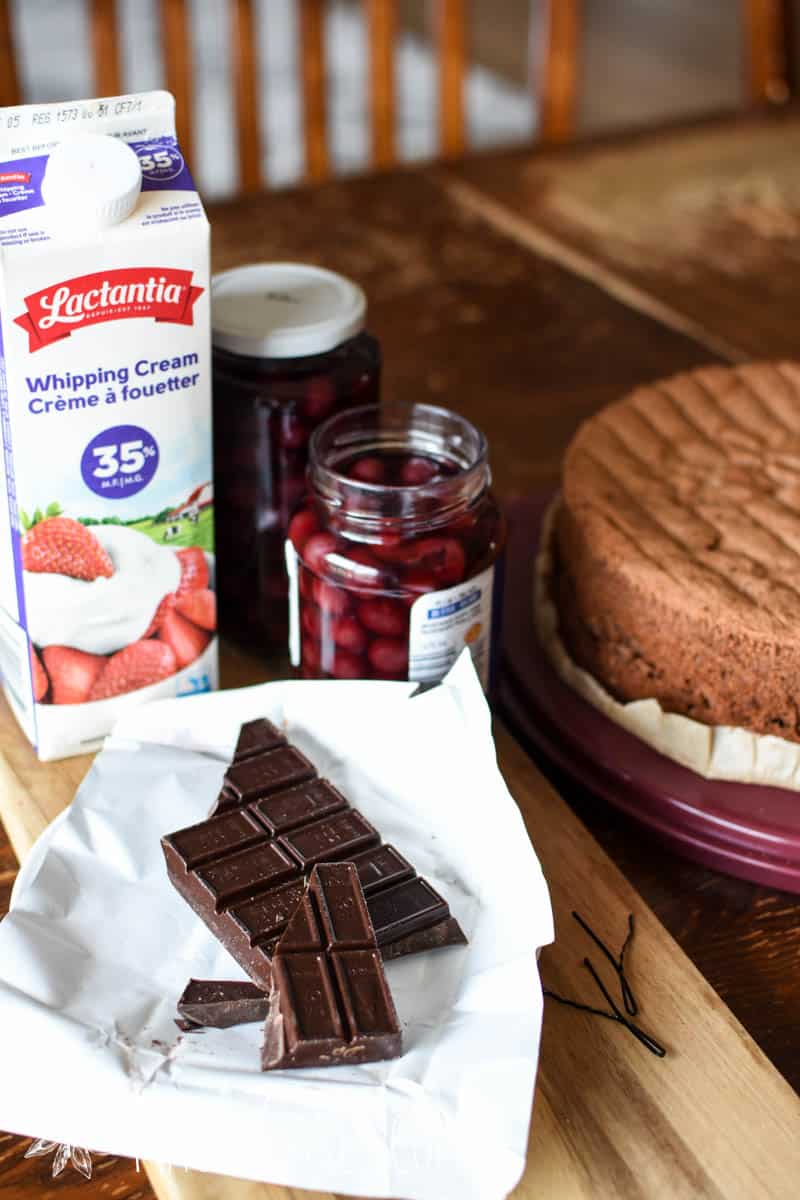
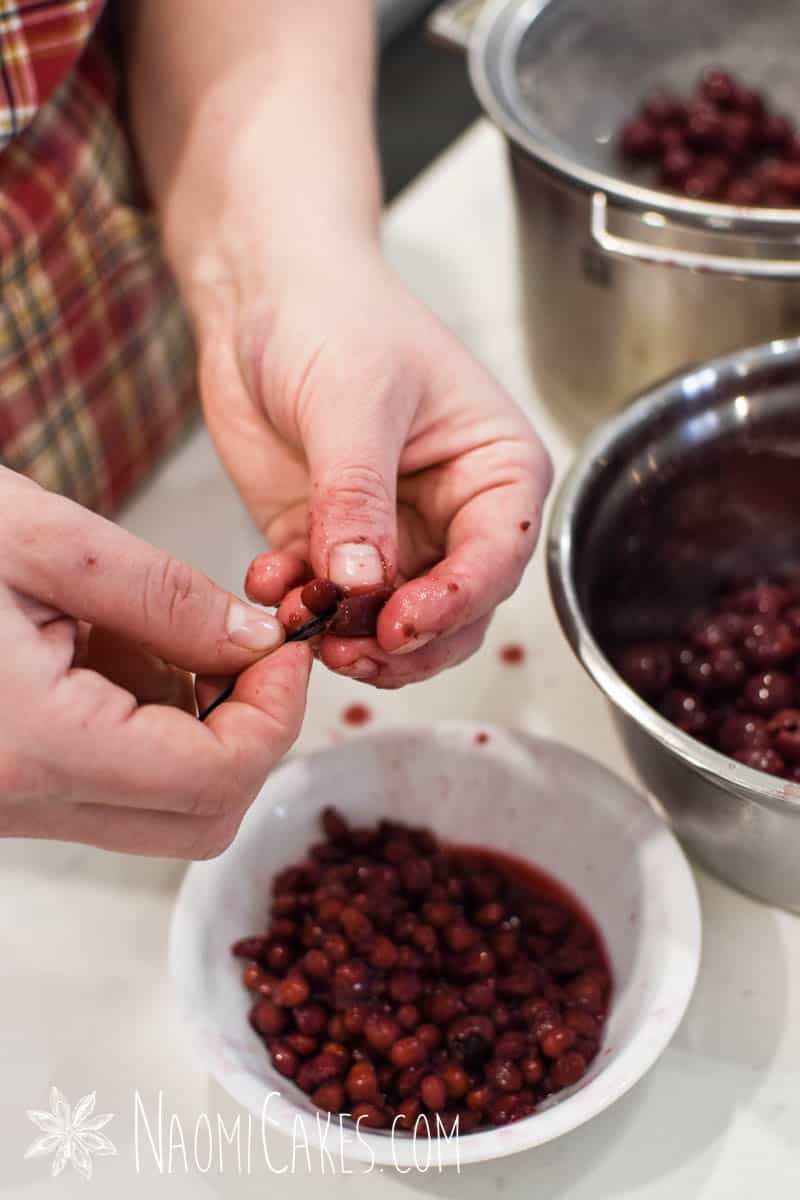
- 2 cups (500ml) pitted sour cherries (I used canned cherries and the liquid from the jars)
- 2 cups (500ml) sour cherry juice
- 1/4 cup (50g) sugar
- 1/4 tsp (1.25ml) cinnamon
- 3 Tbsp (45ml) cornstarch mixed with 3 Tbsp water
For the cream
- 3 cups (750ml) heavy whipping cream (35% cream)
- 2 Tbsp (30ml) icing sugar (optional)
- 1 Tbsp (15ml) gelatine
- 1/4 cup (60ml) cold water
To decorate
- 4 oz (112g) dark chocolate bar (I used Baker's semi sweet chocolate)
- 16 large whole cherries (optional)
Instructions
Bake the cake
-
Line a 10" (25cm) cake pan with parchment paper, with a collar that extends at least 1-2 inches (2-4cm) above the height of the tin.* Preheat the oven to 325 degrees F (160 degrees C).
*You can just line the base of the pan, without a collar, if you are using a cake with sides that are at least 3 inches (6cm) tall.
-
In a large mixing bowl or the bowl of an electric mixer, whisk together the eggs and sugar. Beat on high speed until the mixture is a very light, pale yellow colour and about 3x-5x it's original volume (about 5 minutes).
-
Sift together the flour and cocoa in a separate bowl; set aside.
-
When the egg and sugar mixture is done, add the oil and milk (without stirring), and then fold in the flour and cocoa until just combined and all of the ingredients are well incorporated (the mixture should resemble a fluffy chocolate mousse).
Note: Over-mixing the batter will reduce the volume/fluffiness of the cake, and under mixing will prevent all of the ingredients from binding together properly. For best results, use a large spatula to fold the ingredients together until well incorporated.
-
Scrape the batter into your prepared tin and smooth the top. Bake for 45 minutes or until a toothpick inserted into the centre comes out clean.
-
Allow the cake to rest in the pan for 10 minutes, and then turn it out onto a wire rack to cool completely. Or, if baked in a springform pan, remove the collar and allow the cake to cool upright.
Make the cherry filling
-
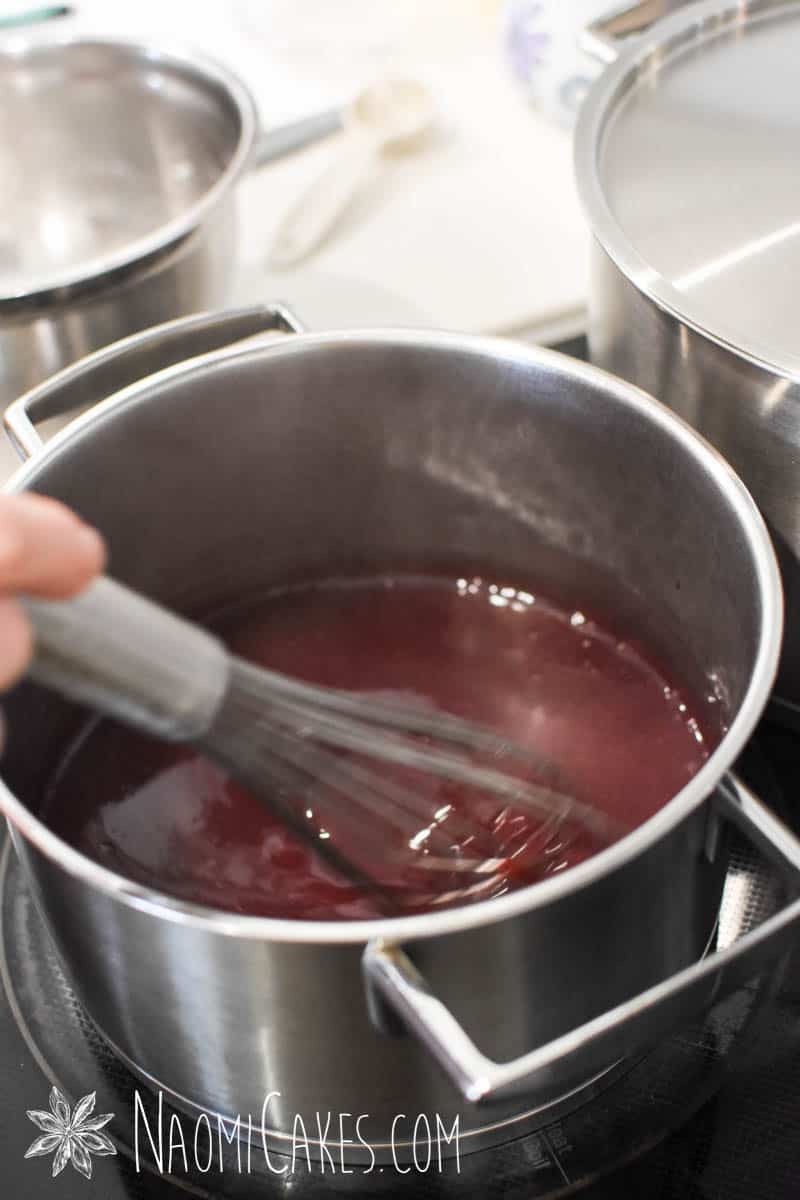
Pour the cherry juice into a medium heavy bottomed saucepan, and bring it to a boil.
-
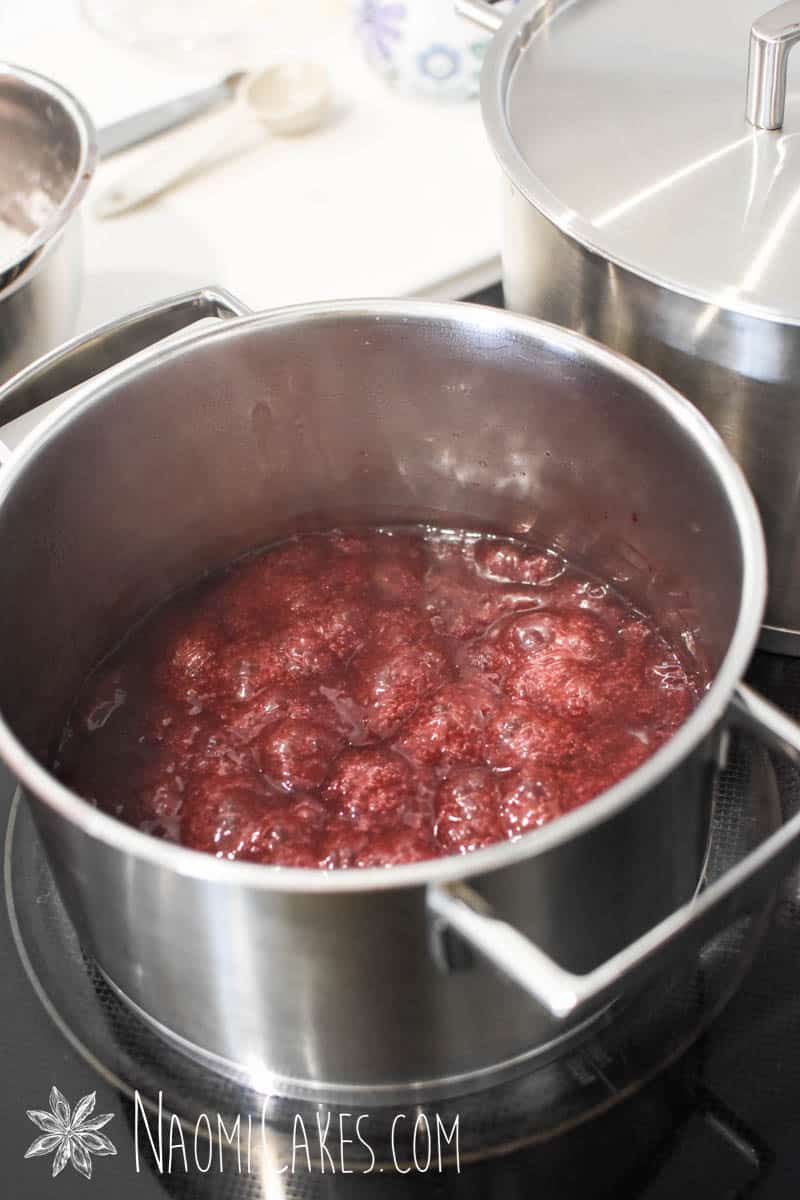
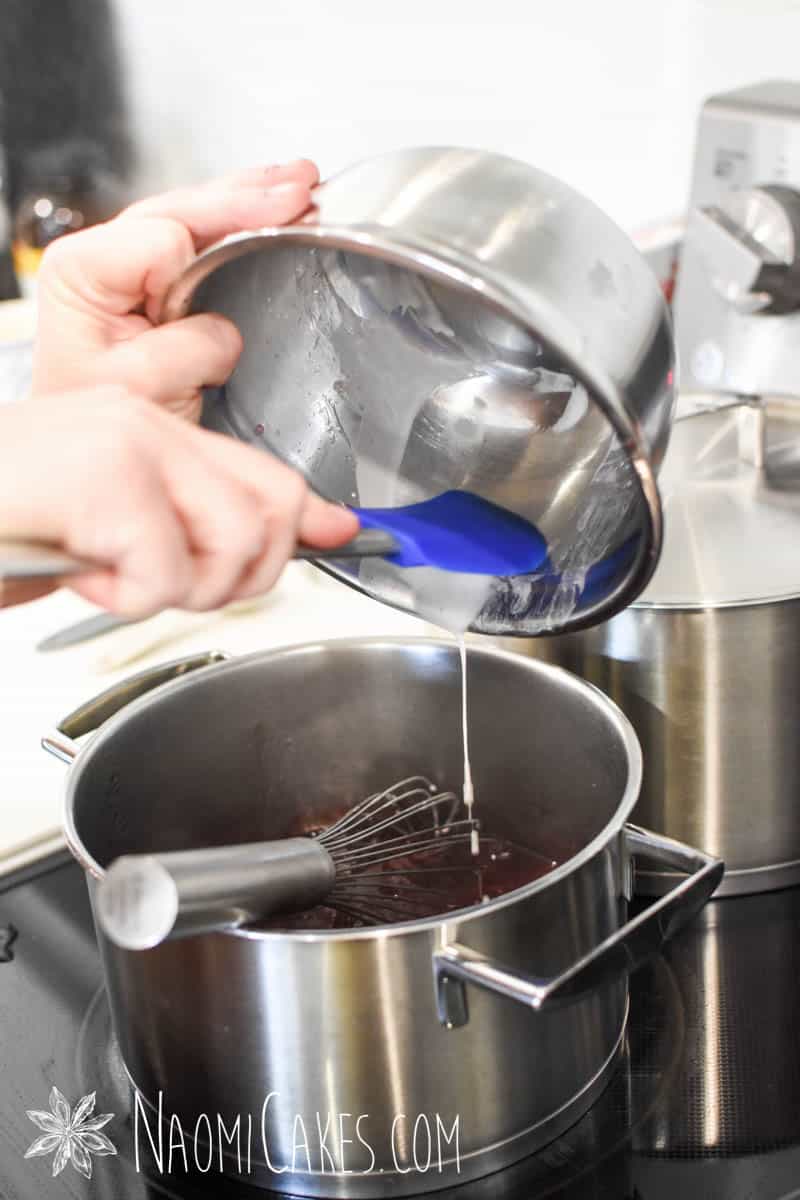
Whisk in the sugar until dissolved, add the cinnamon, and then slowly pour in the cornstarch/water mixture.
-
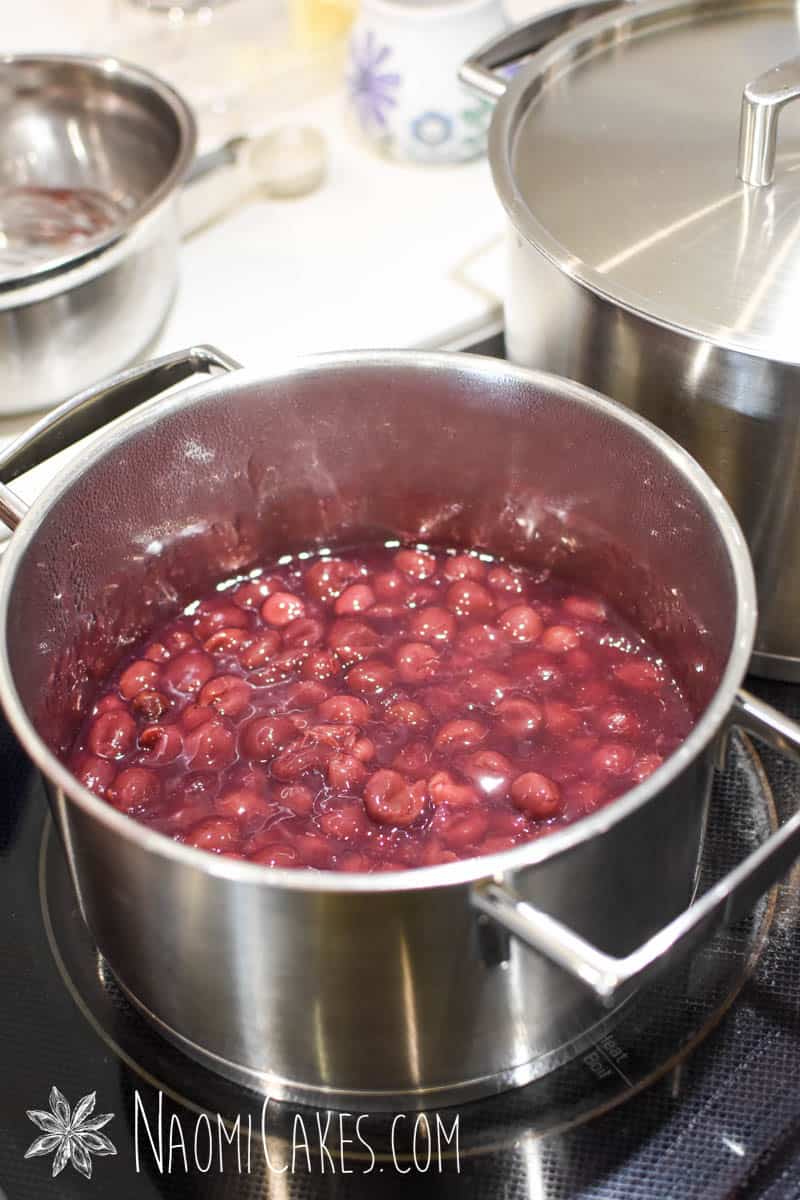
Cook until thick and bubbly, and stir in the whole sour cherries. Continue to cook the cherries a minute more, or until the mixture is well combined and bubbly.
Whip the cream (start this at Step 3 of the assembly process)
-
In a large mixing bowl or the bowl of the electric mixer, combine the whipping cream and sugar (if desired).
-
Meanwhile, in a heat-proof mug, sprinkle the gelatine over 1/4 cup of cold water until softened. Place the cup into a small pan of simmering water, and stir occasionally until the gelatine has dissolved, and there are no more visible grains on your stirring spoon.
-
Beat the cream until it just begins to thicken, and slowly pour in the warm gelatine mixture (do not scrape out the cup; use only what pours into the cream easily).
-
Beat the cream until stiff peaks form. Set aside.
Prepare the decorations
-
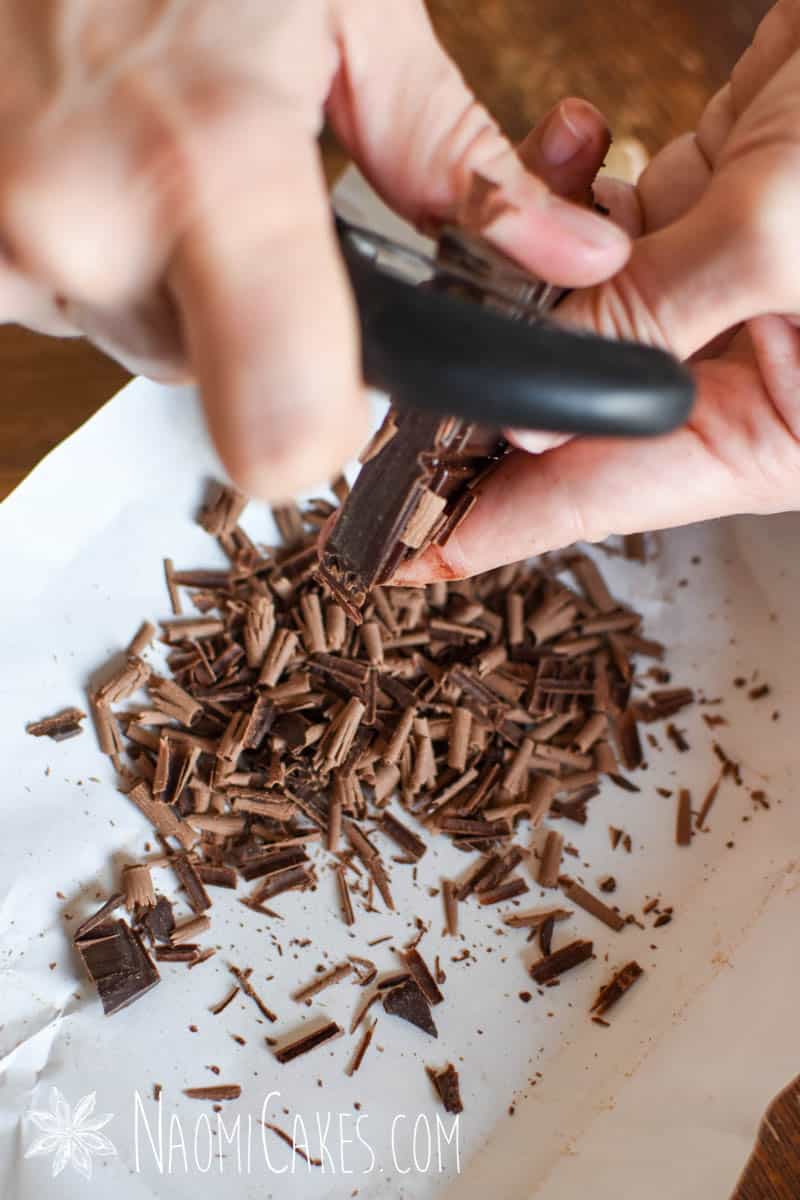
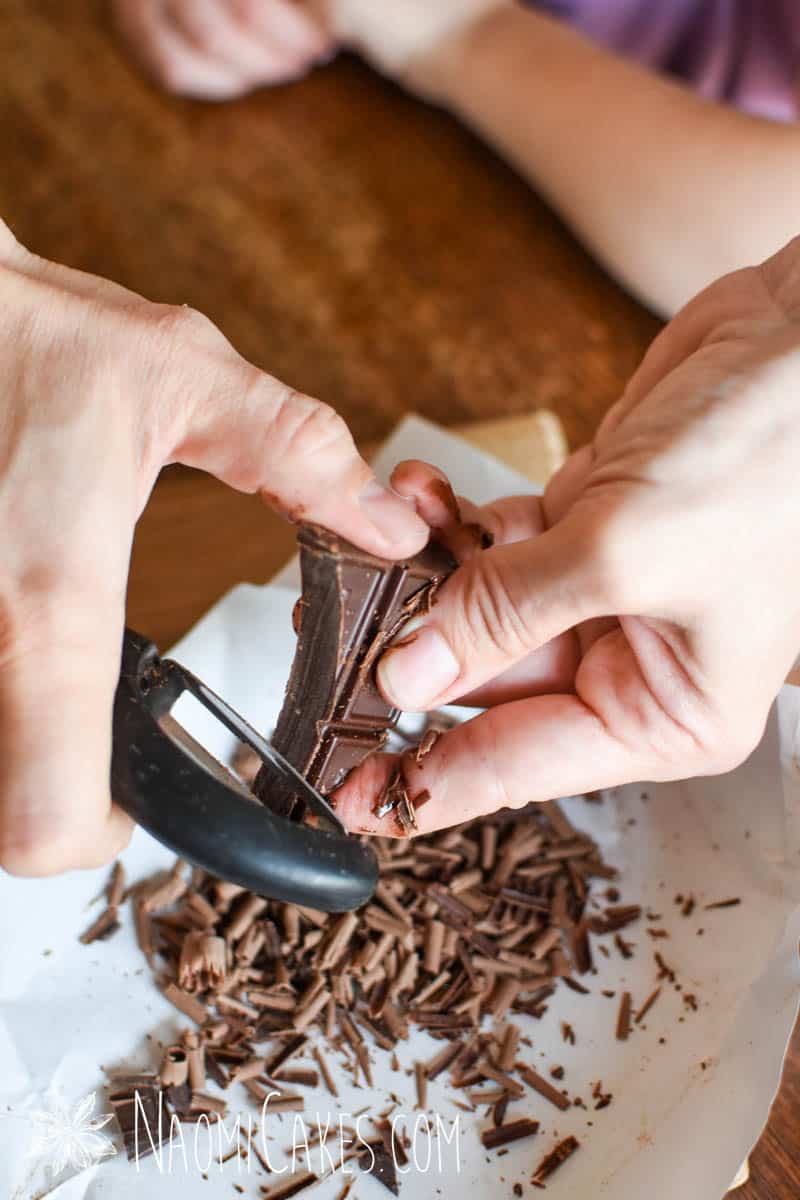
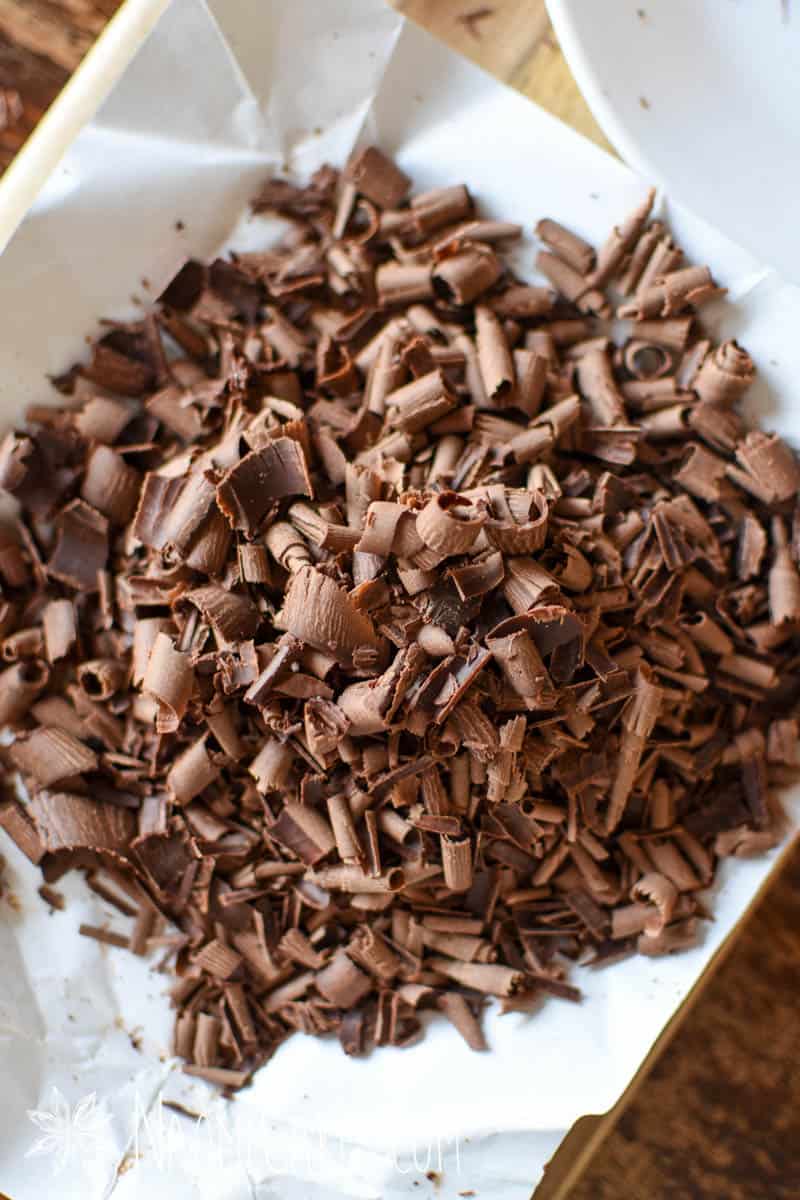
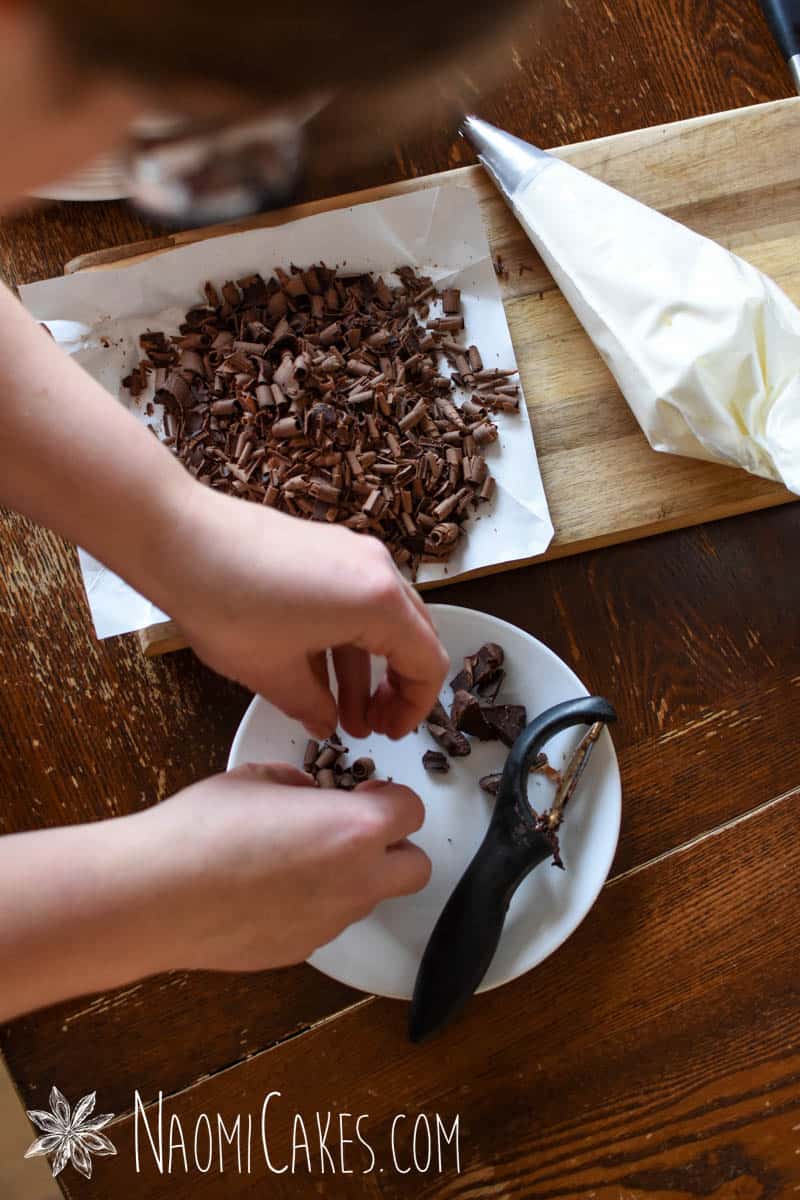
Using a vegetable peeler, shave the chocolate bar into small shavings and curls. Separate the best looking curls for the top. Set the chocolate aside (in the refrigerator is ideal).
-
Wash the cherries if you plan to use them. Set aside.
Assemble the cake
-
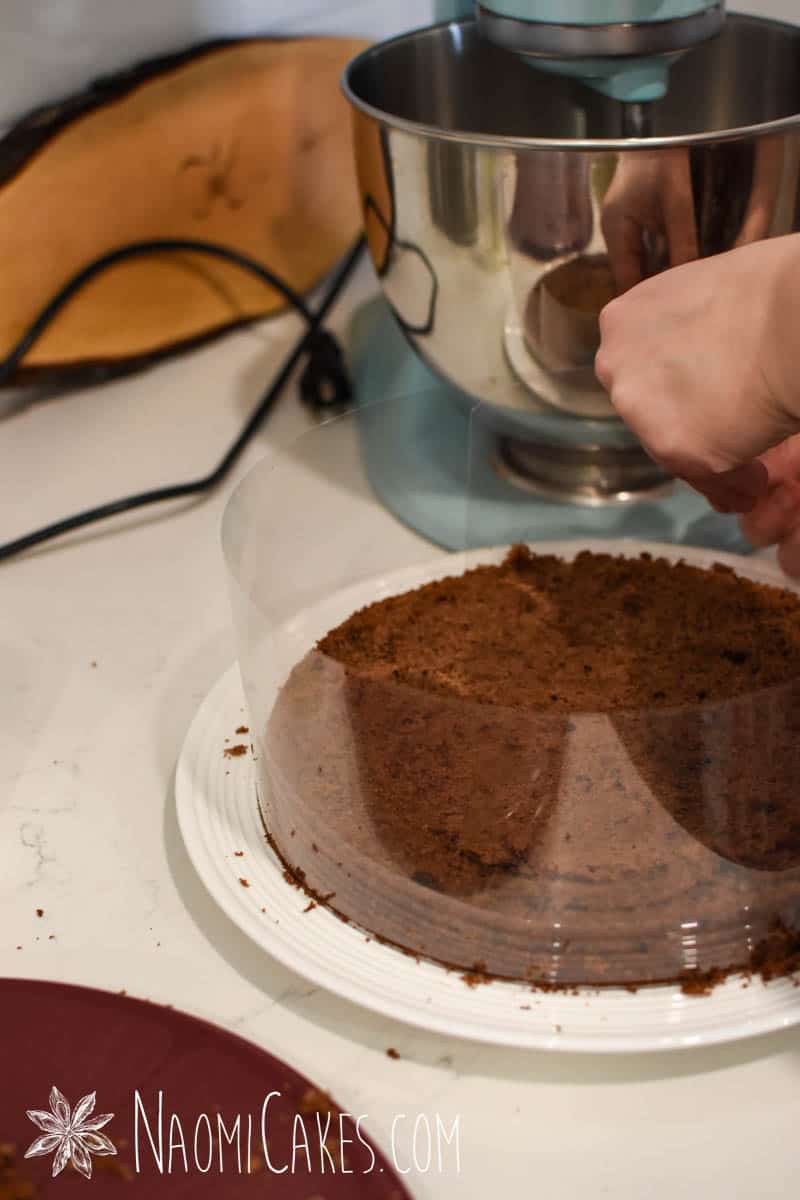
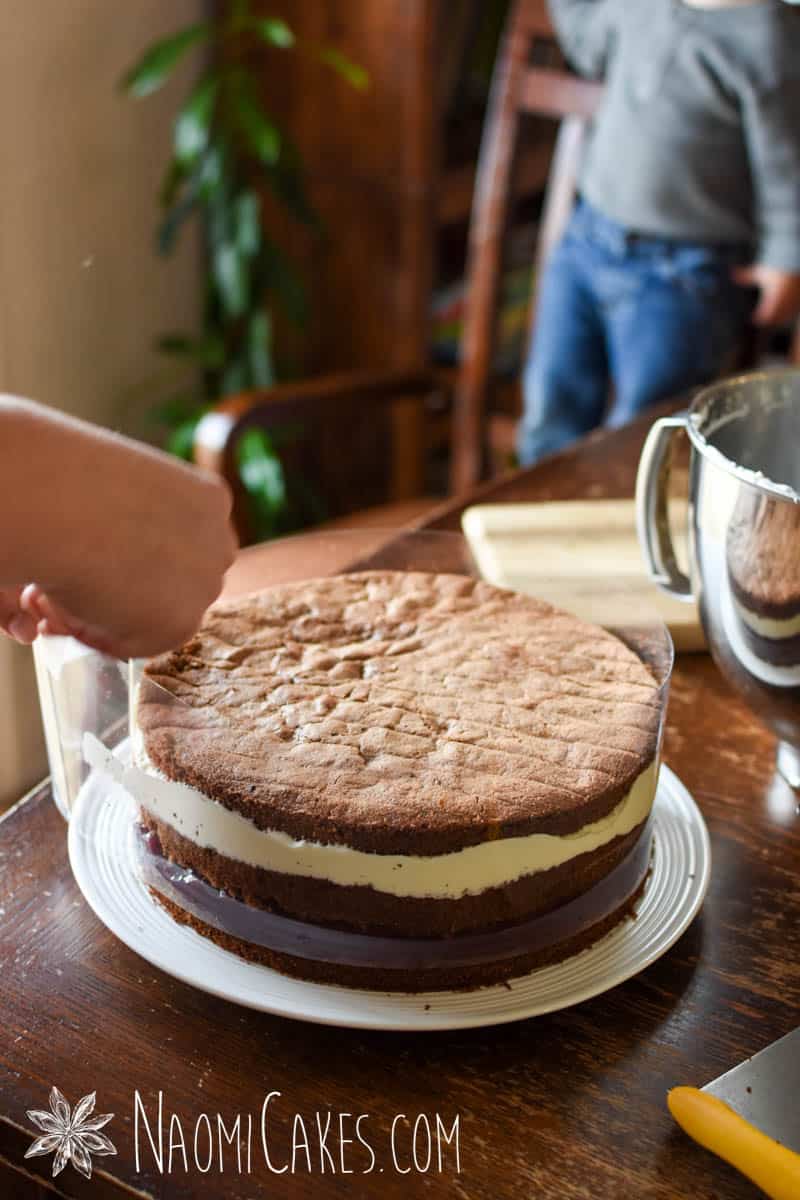
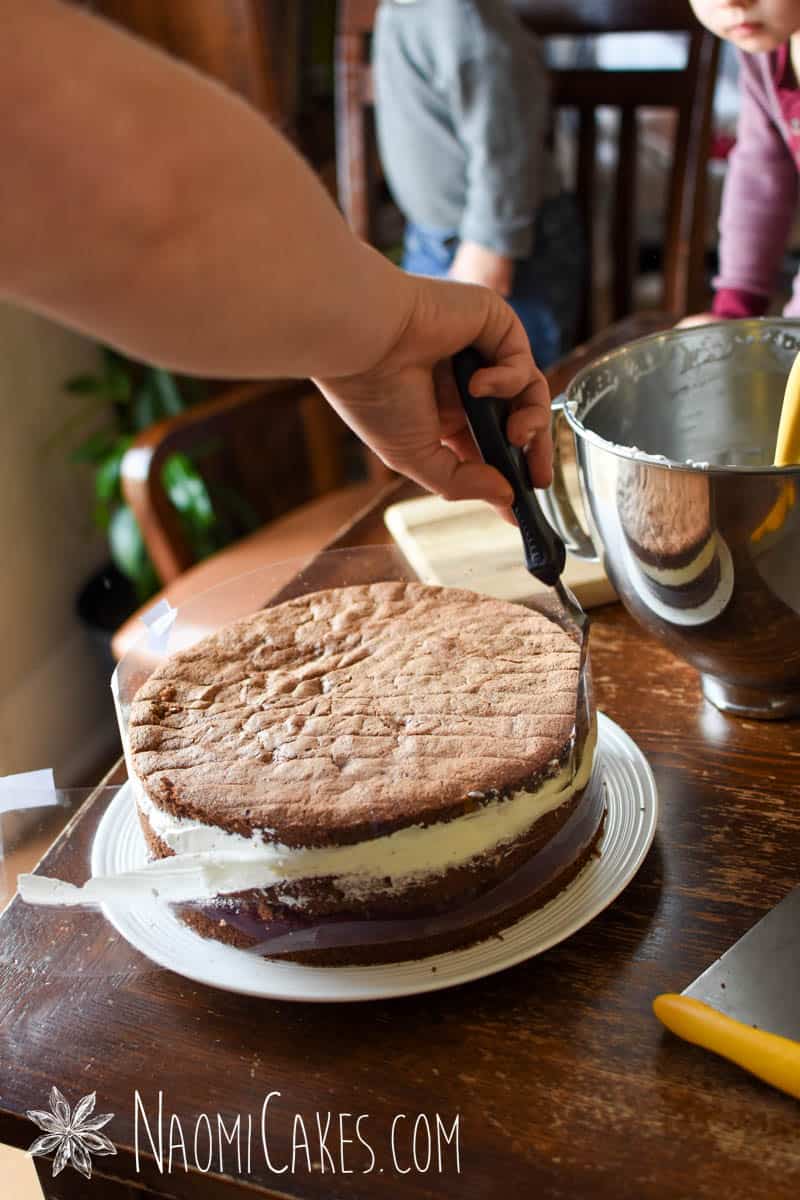
Using a long, serrated knife, divide the cake into 3 equal sized layers. Place one layer on a large serving plate, and wrap a collar of clear acetate around the outside, securing it into place with scotch tape. (Alternatively, you can assemble the cake inside the collar of a 10" (25cm) springform pan, provided that the cake hasn't shrunk too much.)
-
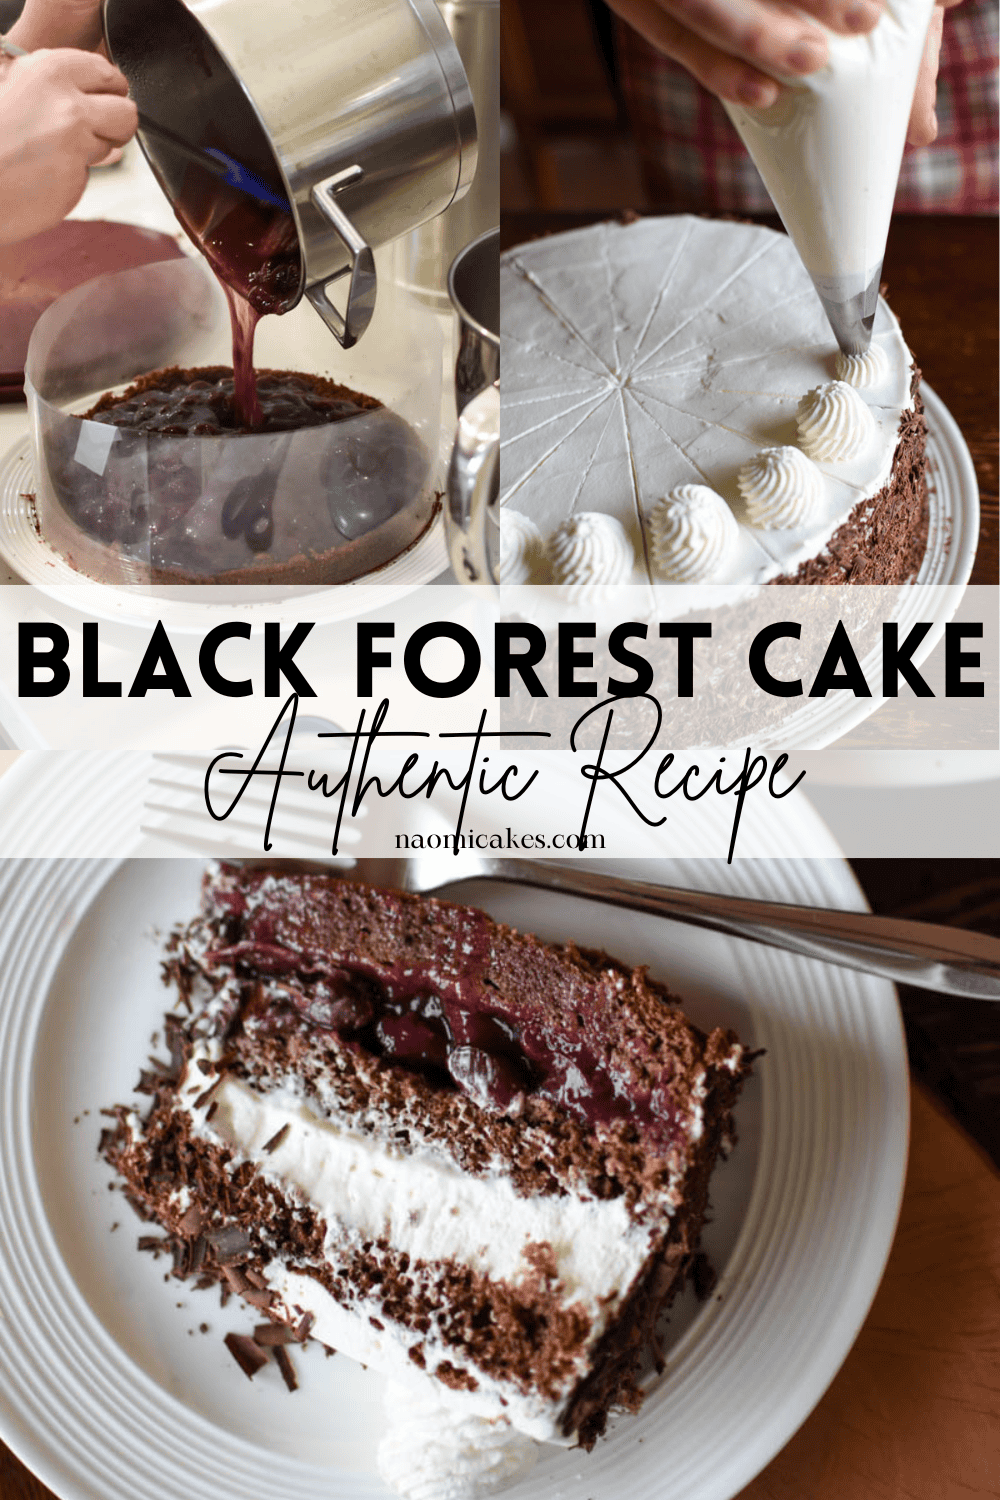
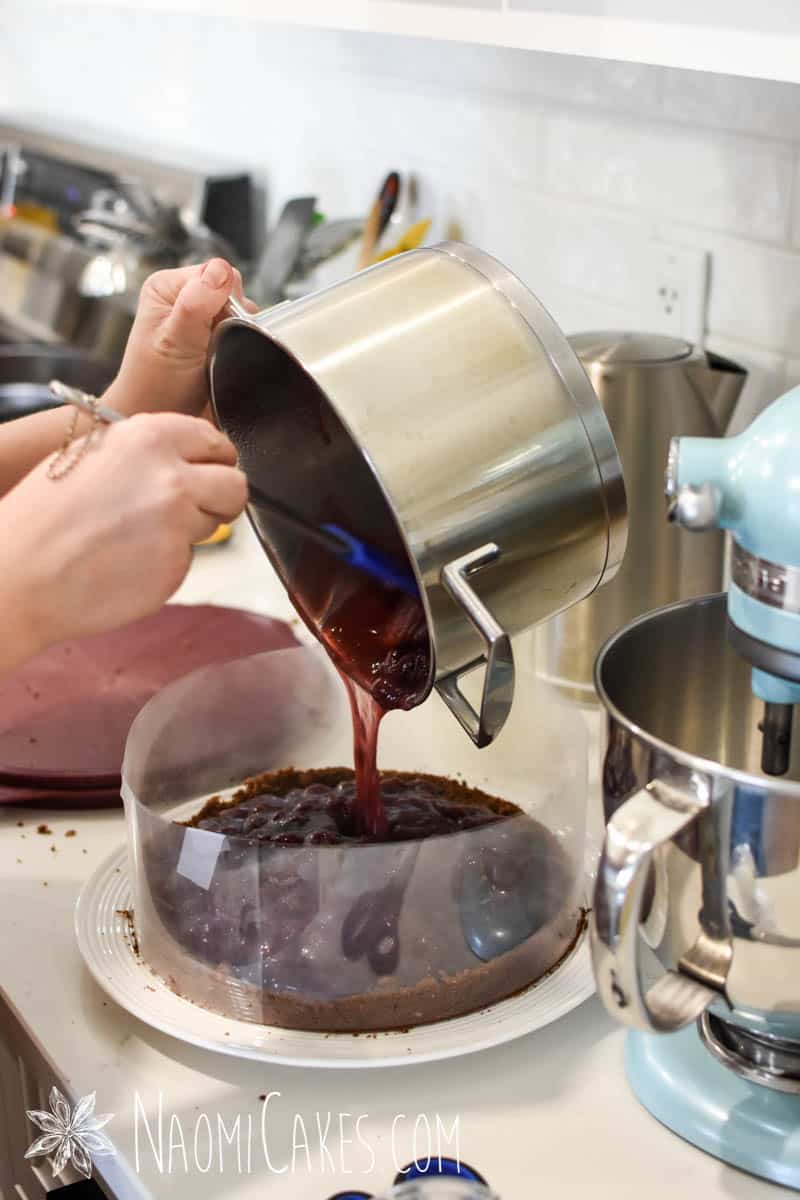
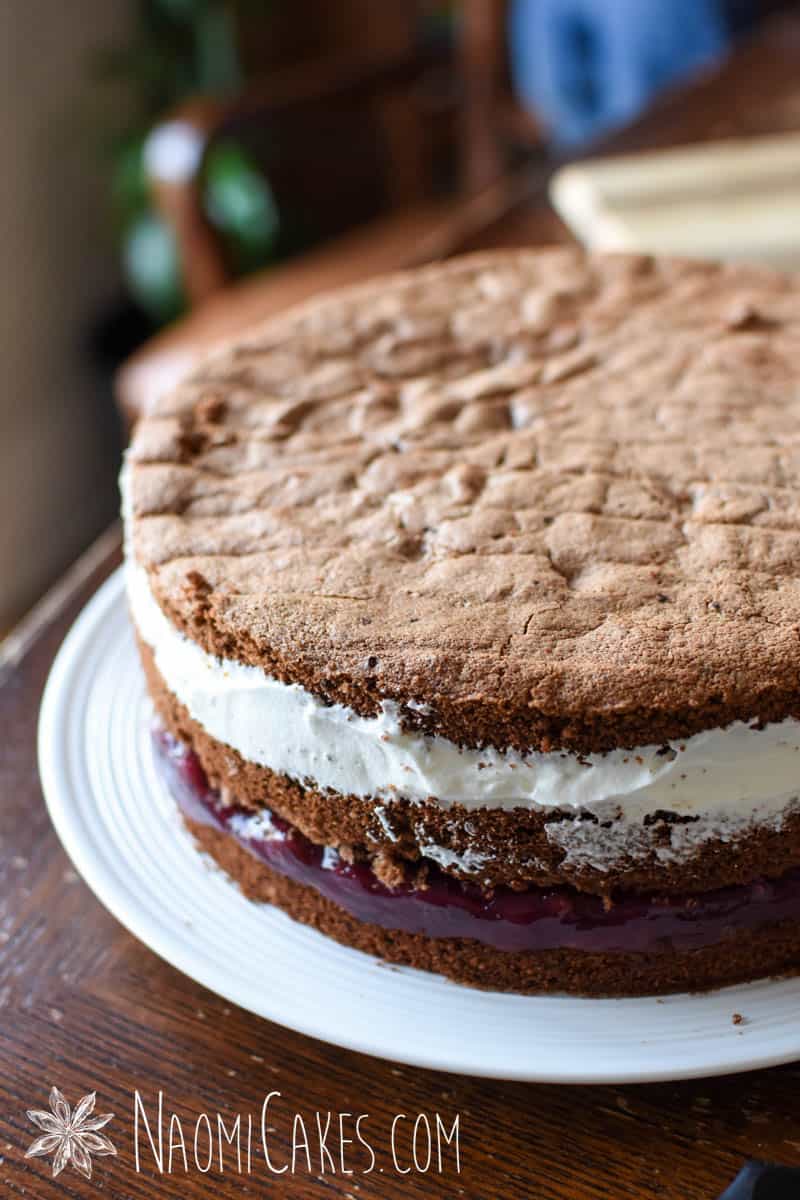
Pour the warm (or hot) cherry mixture over the bottom layer of cake, spreading the cherries evenly right to the edge, against the collar. Place a second layer of cake on top, and set the cake in the fridge to cool for at least 1 hour (or until the cherries are no longer warm).
-
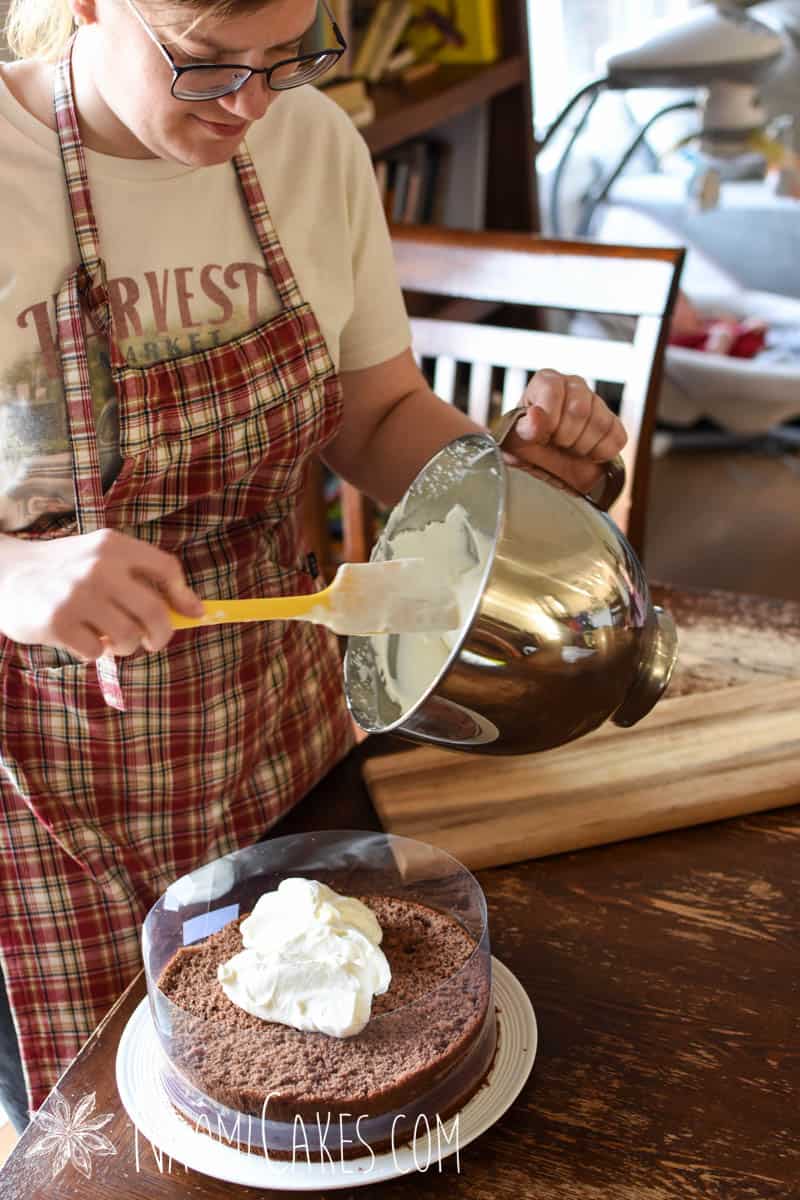
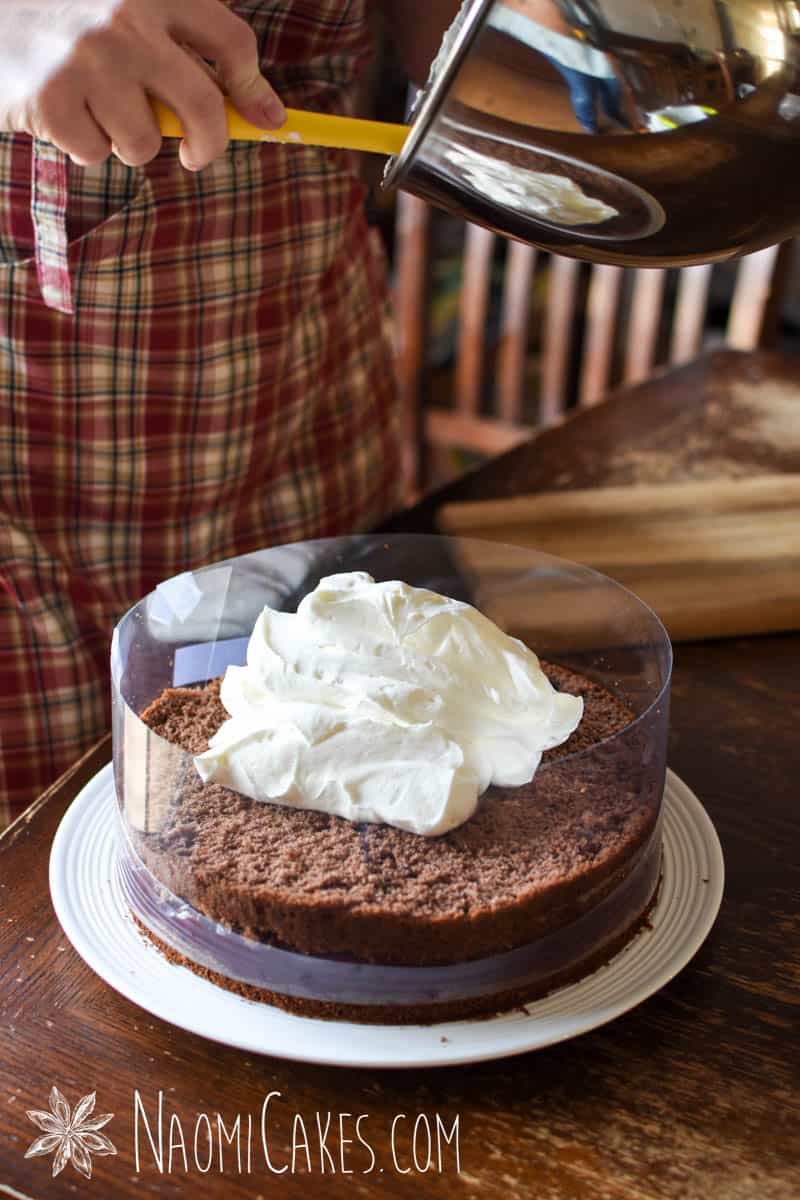
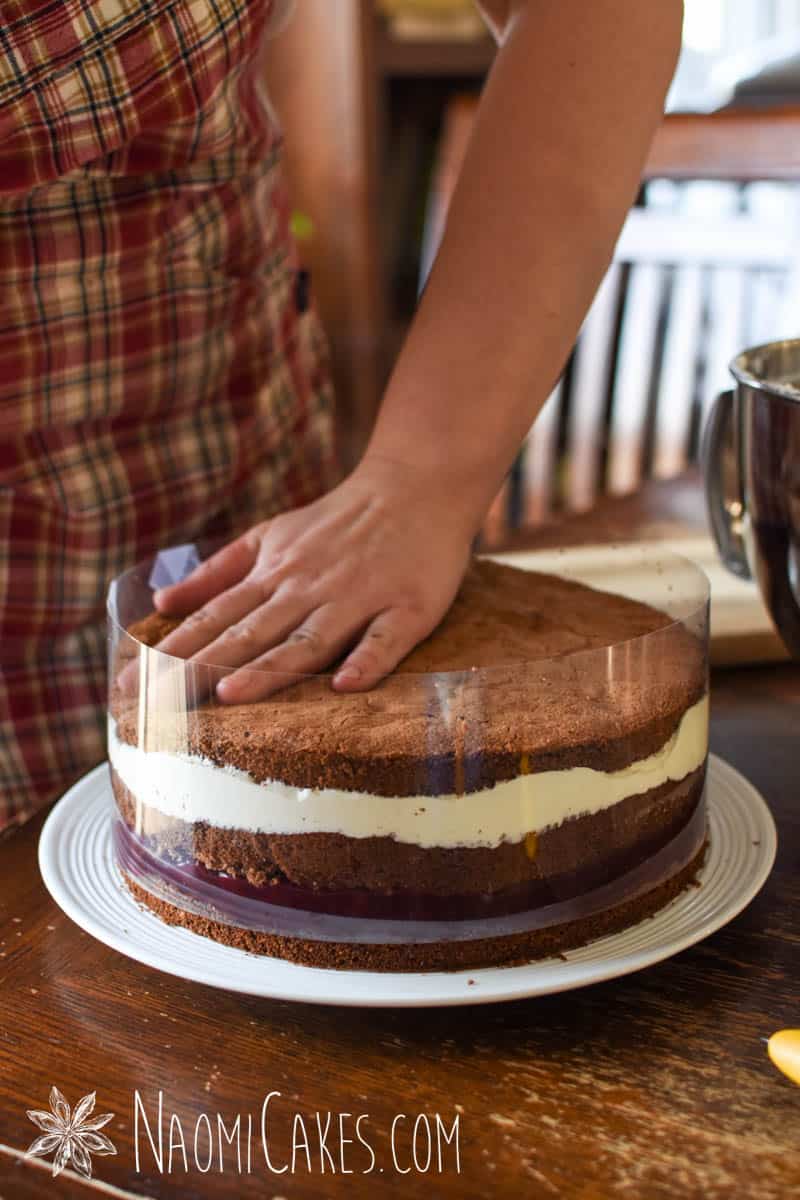
Once the cherries are cool, whip the cream according to directions above. Scrape about 1/2 of the whipped cream onto the cake. Spread the cream evenly over the middle layer of cake, and top with the final layer of cake. Carefully run a knife around the inside of the collar or pan, and gently remove it.
-
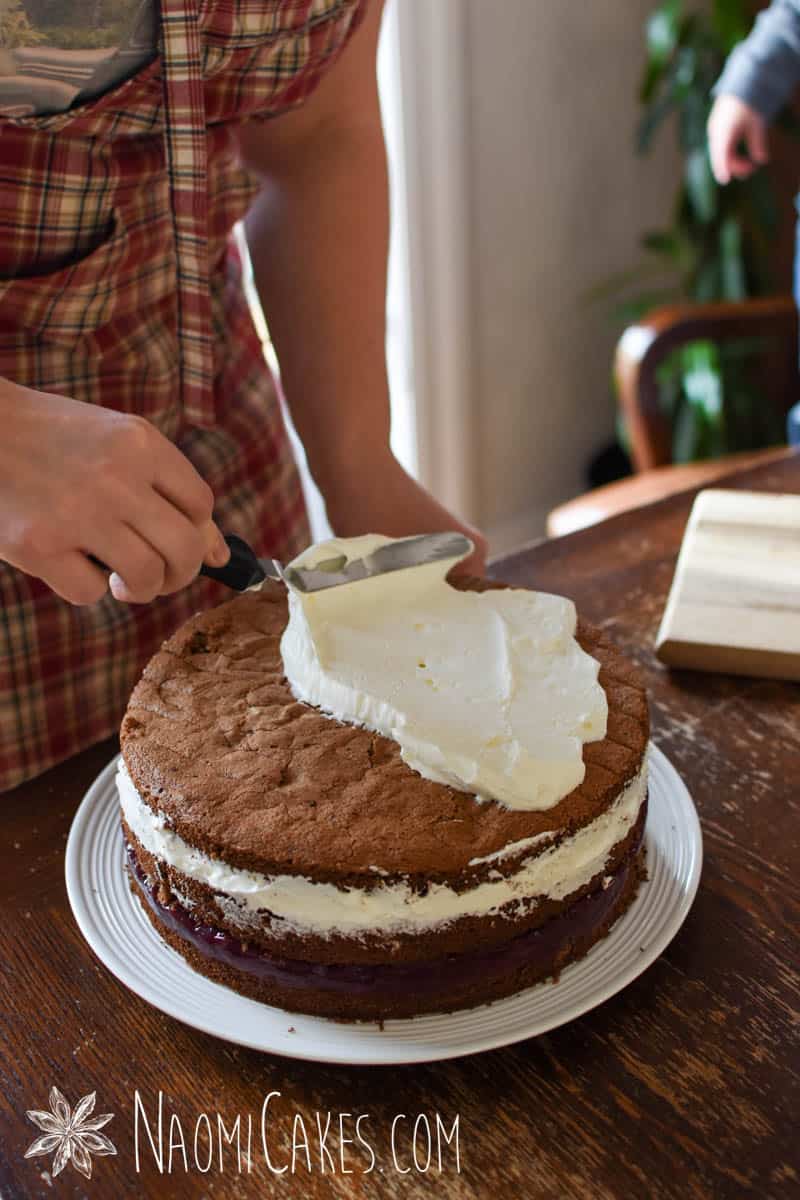
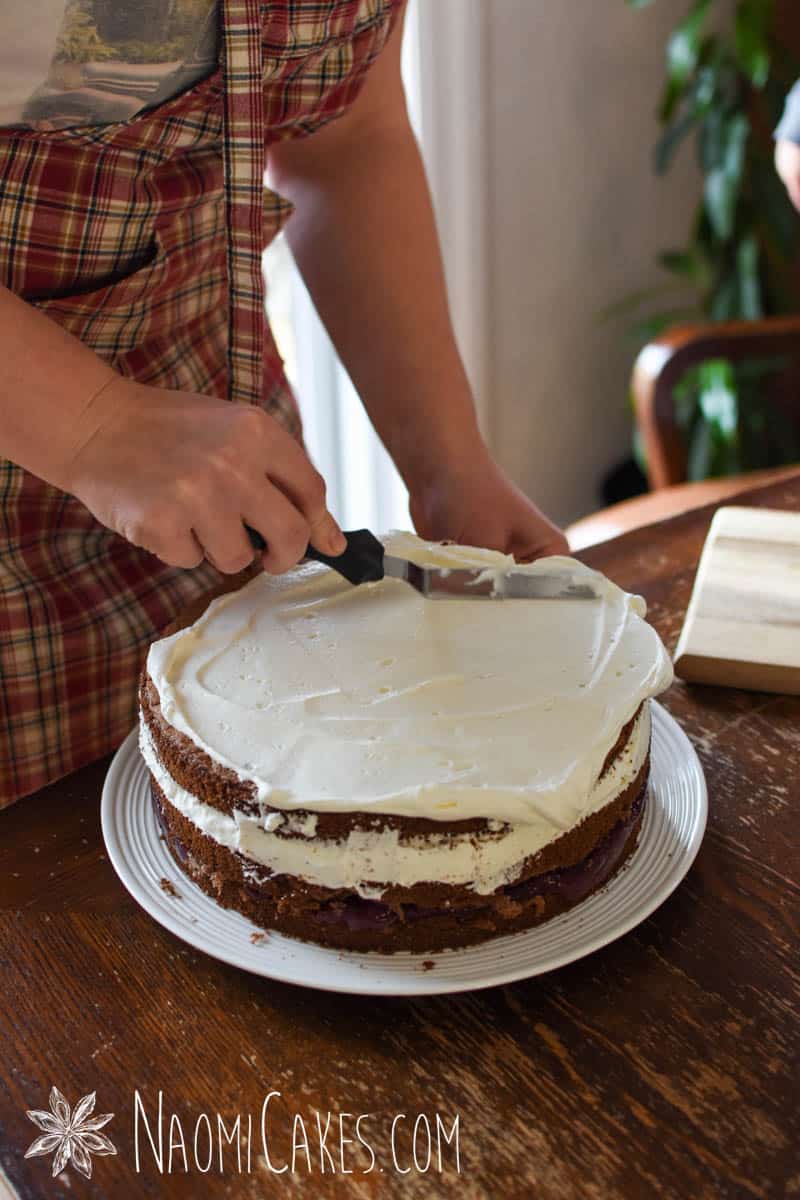
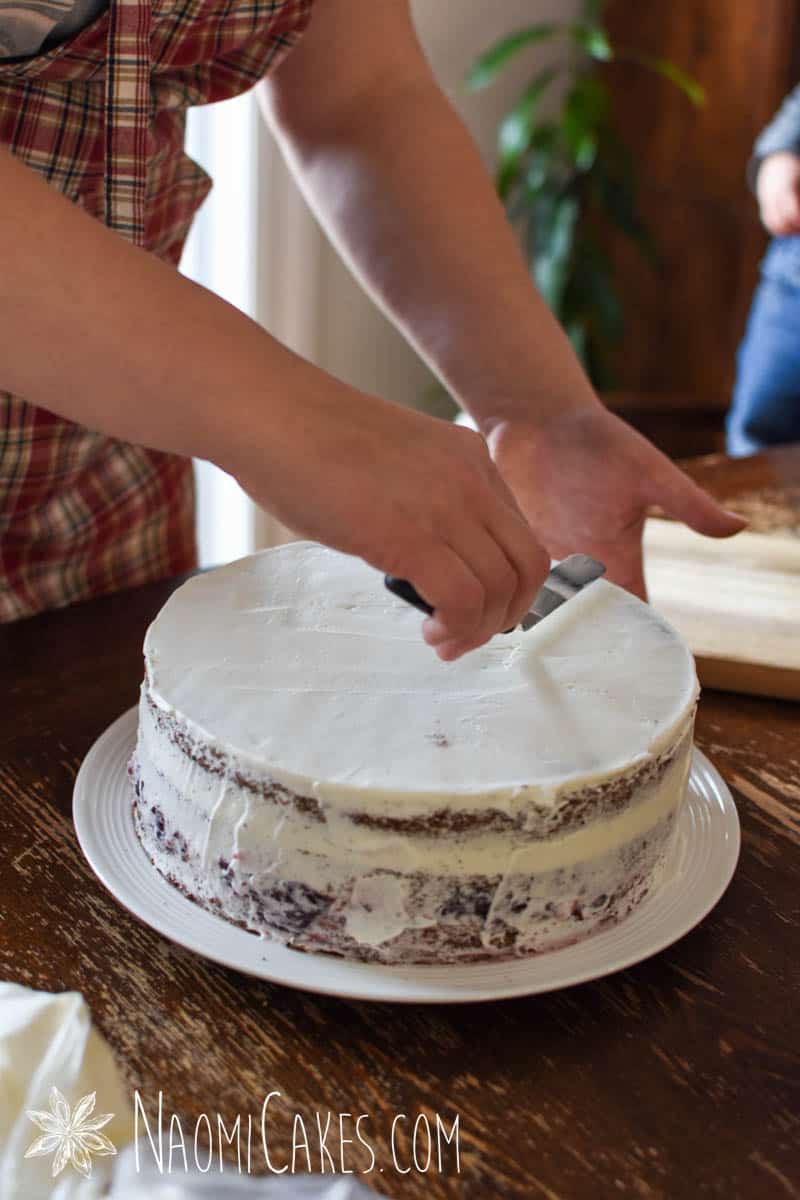
Spread a thin layer of cream on the top of the cake and around the edges (thick enough on the top to look white, thin enough on the sides just to make it sticky for the chocolate shavings).
-
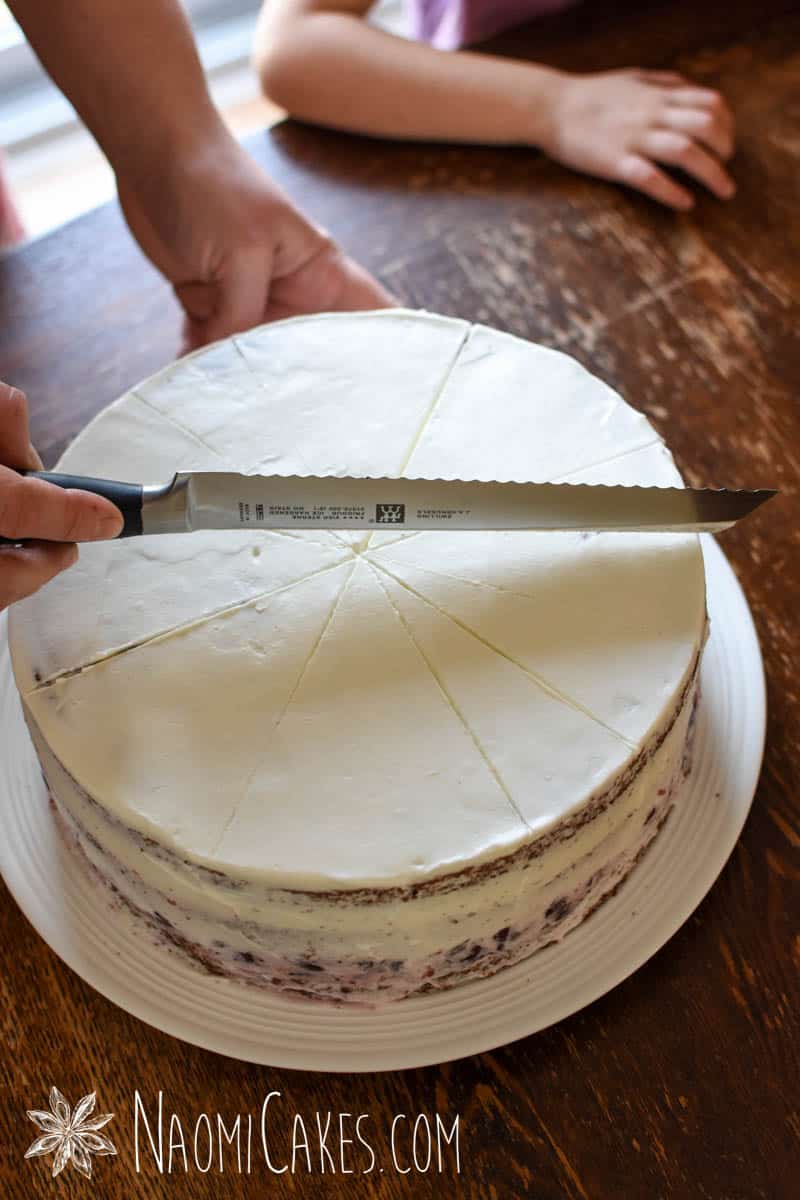
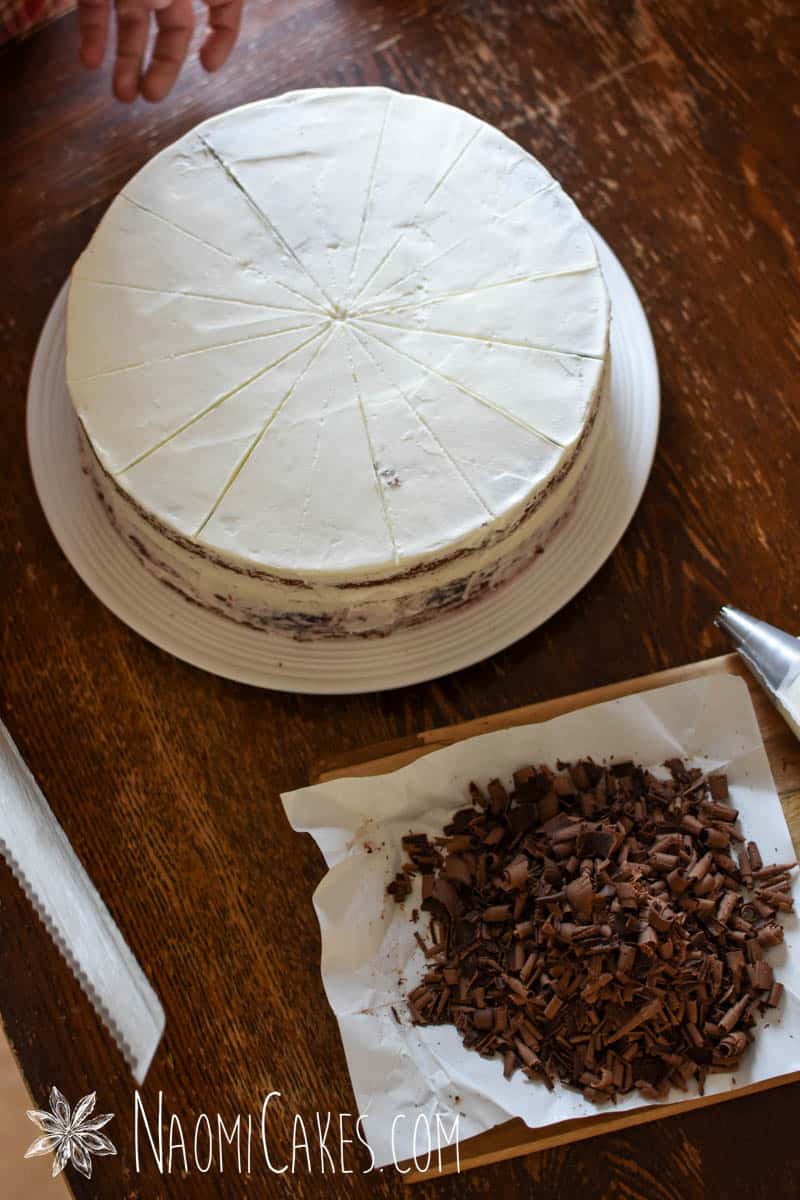
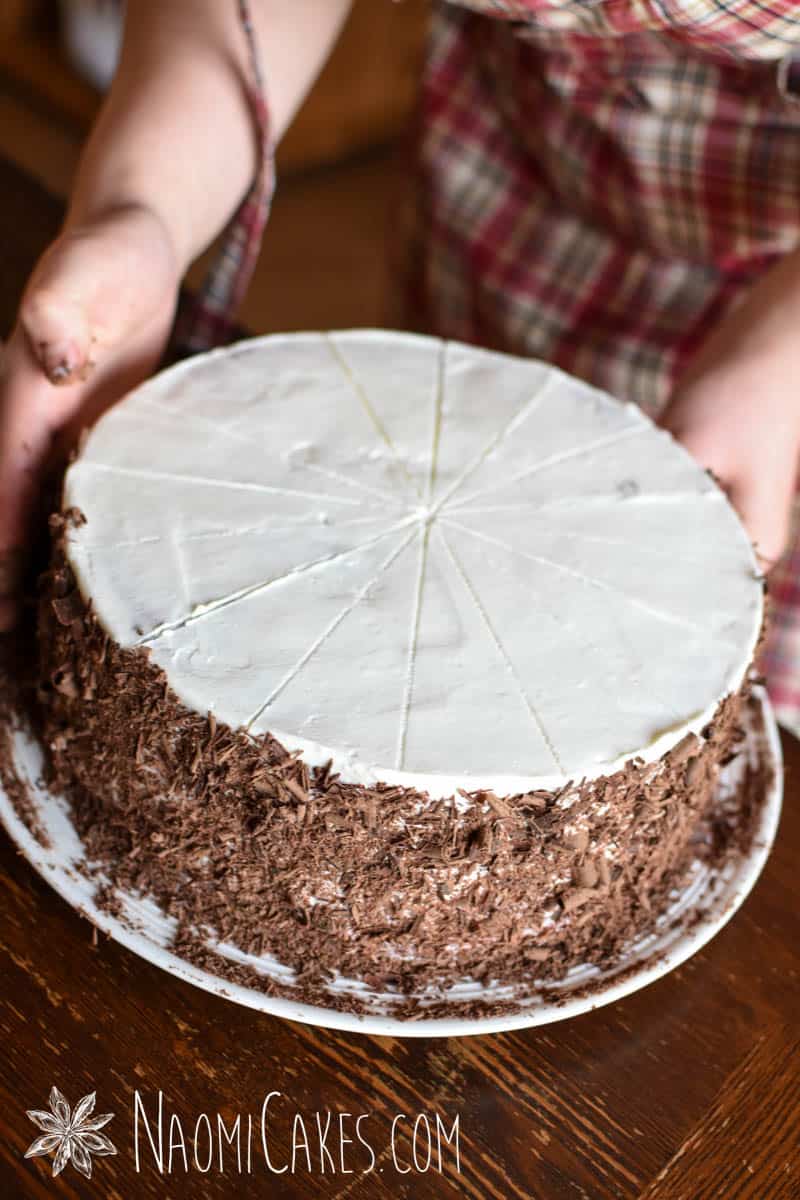
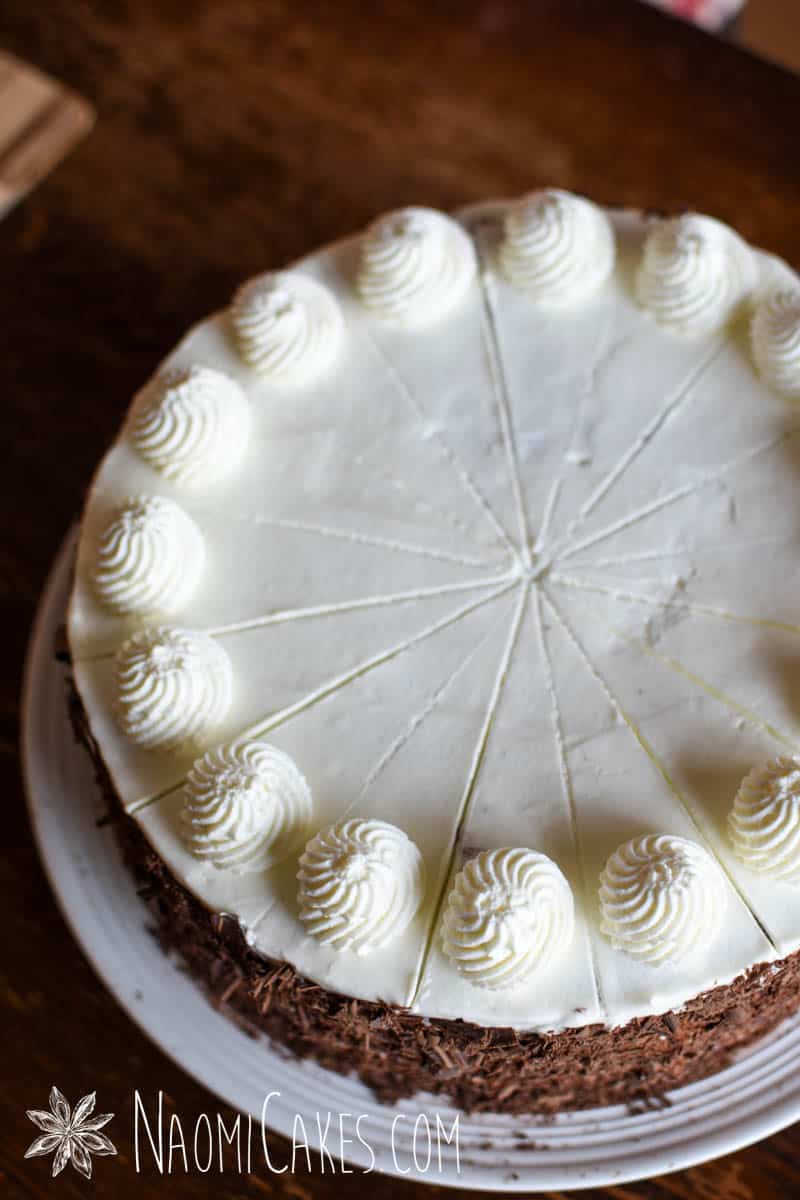
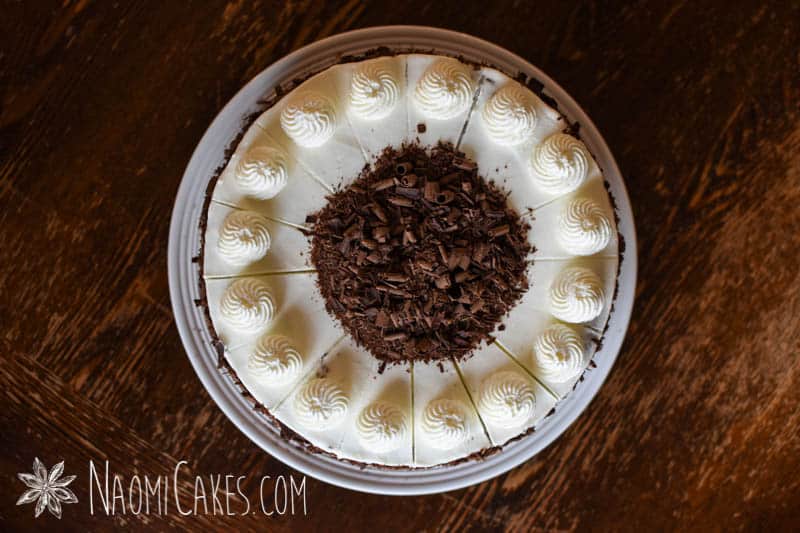
Score the top of the cake into 16 wedge slices with the back of a sharp knife.
-
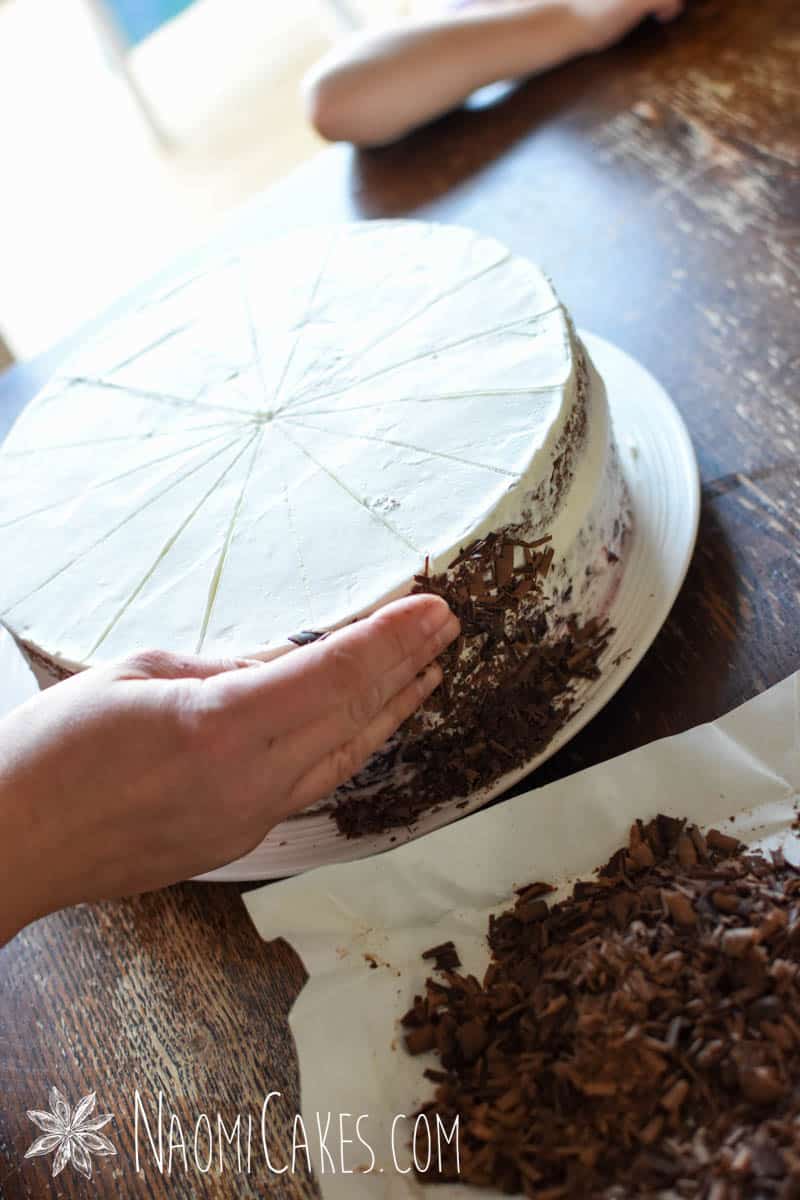
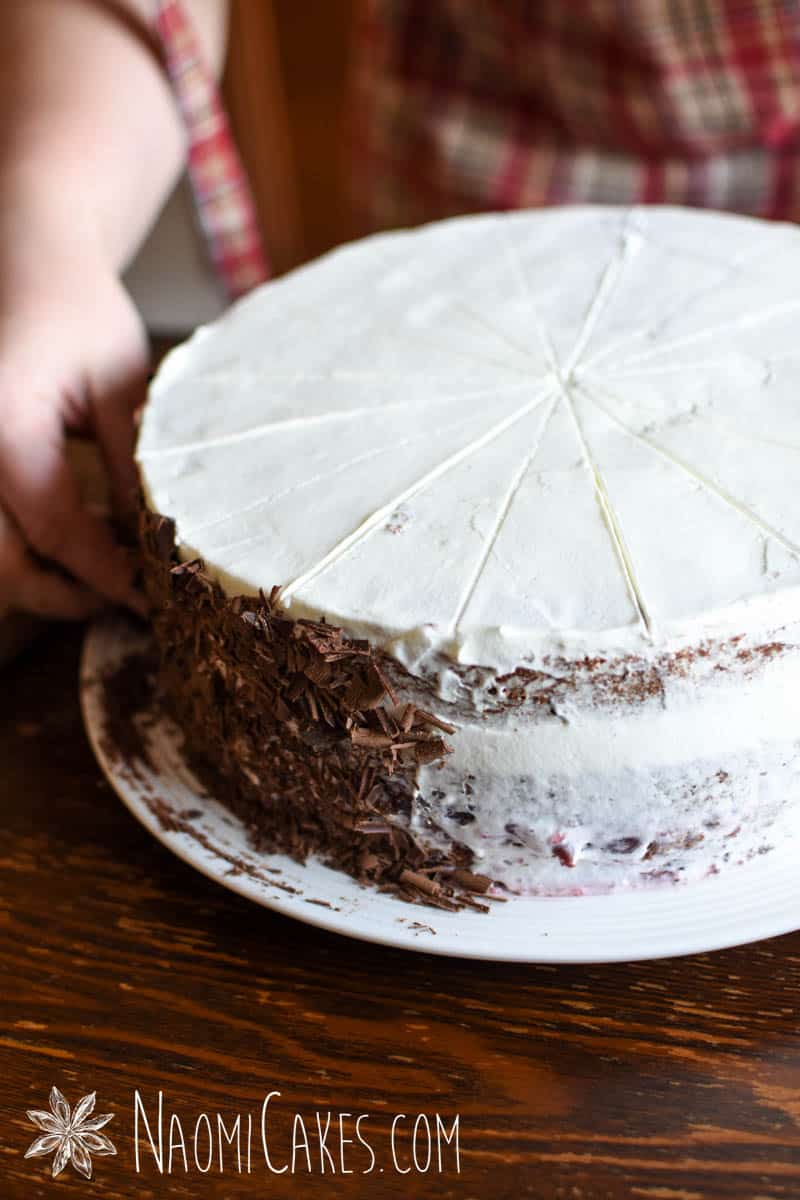
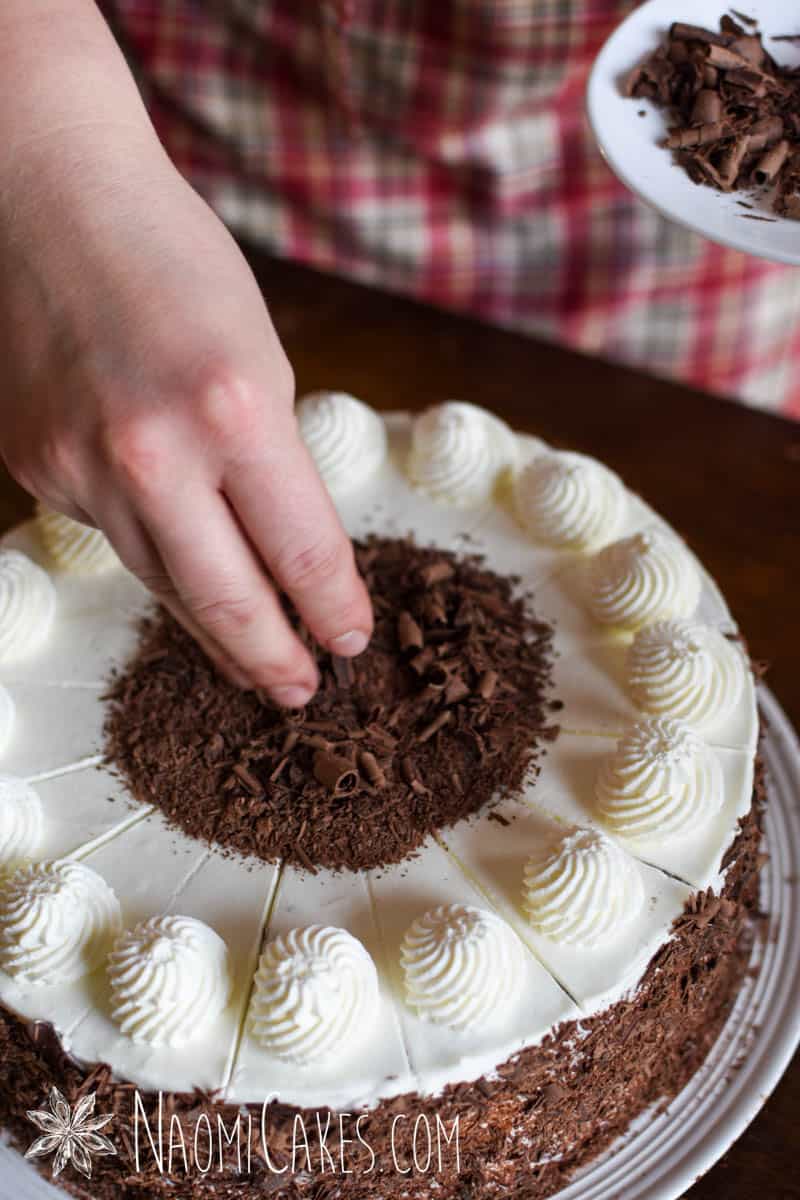
Using your hand, gently press the chocolate shavings against the sides of the cake so that they stick to the cream. Once you are done, brush the excess off of the plate/work surface into a container to use for the top.
-
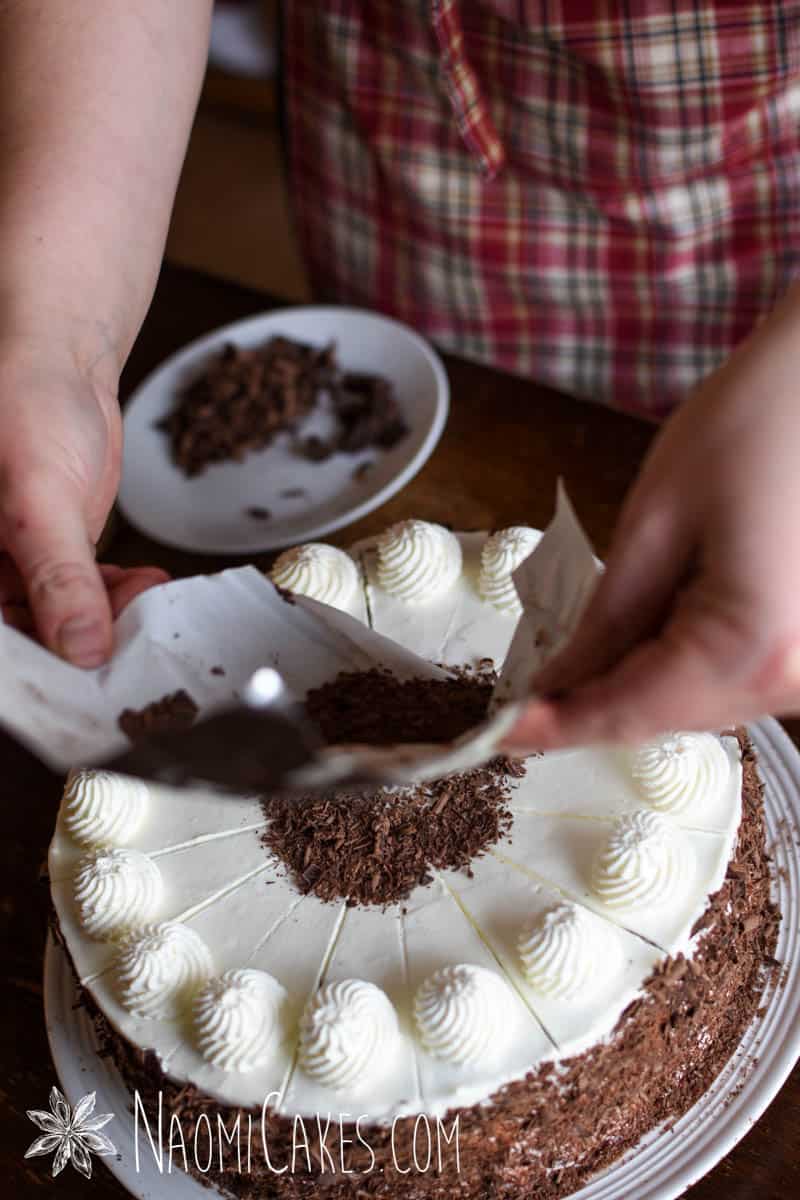
Pour the reserved chocolate shavings into the centre of the top of the cake, putting the best looking curls in the middle. The chocolate should cover about a 4-inch (10cm) diameter in the centre.
-
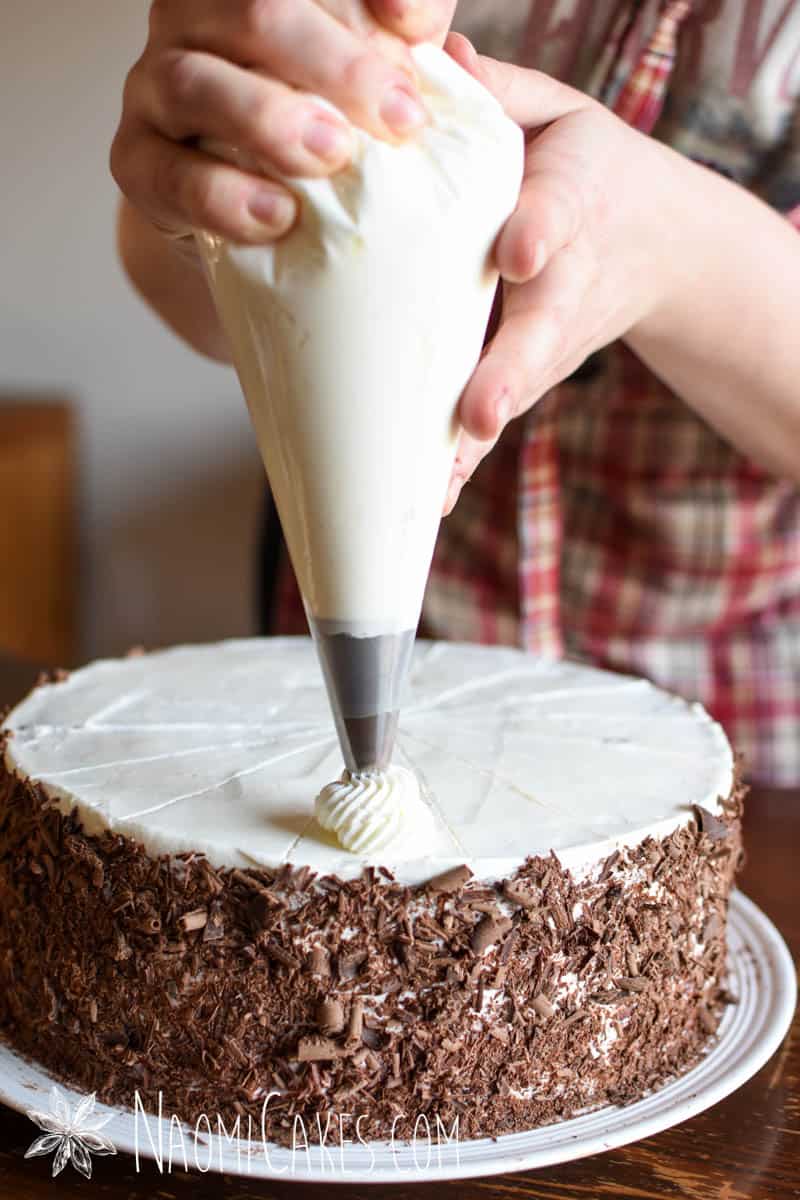
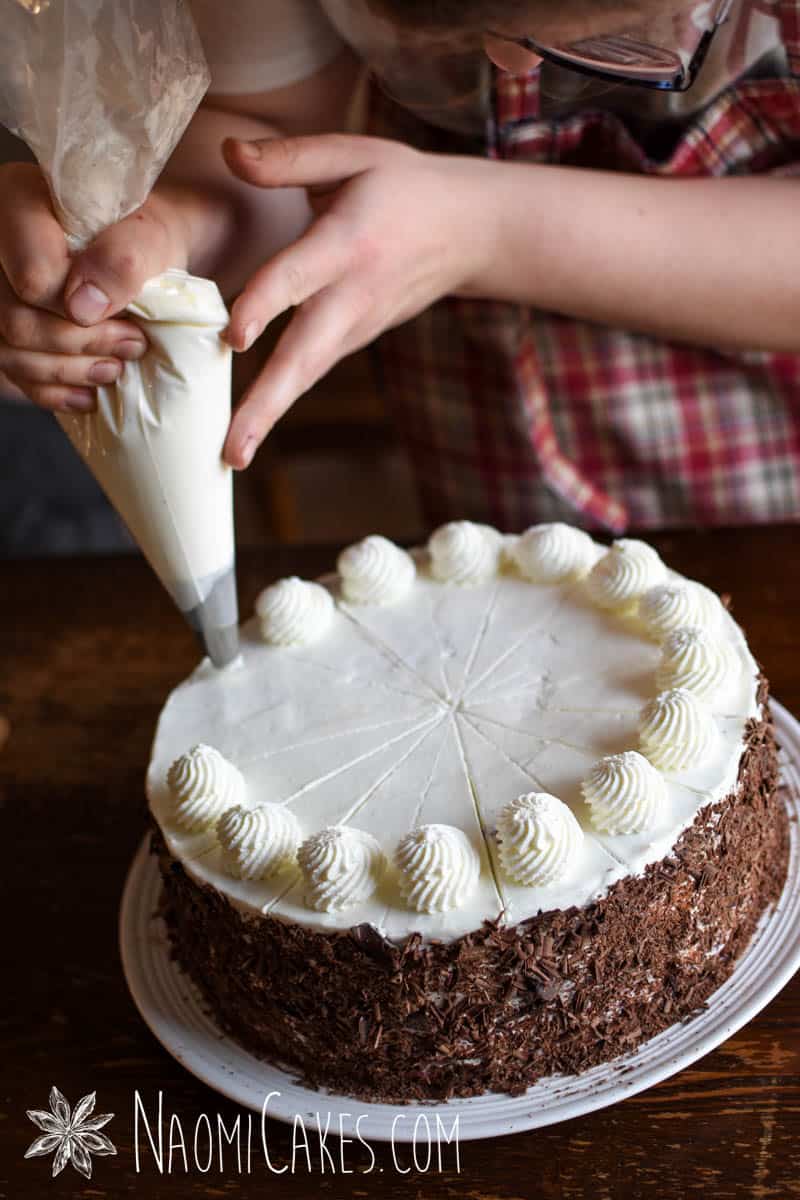
Scrape the remaining cream into a piping bag fitted with a large star tip (I used tip #864). Pipe little rosettes onto the edge of each marked slice, and top with a fresh cherry (if desired).
-
Refrigerate until serving (a minimum of 2 hours is ideal to make the cake easier to slice).
Recipe Notes
Traditional black forest cake is made with cherry brandy (Kirsch). For this recipe, if you wanted to add the alcohol, add a splash of cherry brandy (1-2 Tbsp) to the cherry mixture when you add the whole sour cherries (step 3 of the cherry making process).



A few more recipes you may like:
- Easy Homemade Cheesecake
- Chocolate Hazelnut Cookies
- Dark Chocolate Buttercream
- Miniature Cherry Turnovers
That’s all for today! If you make this cake, let me know what you think in the comments, or feel free to tag me in your photos on Instagram @naomicakesofficial. I always love to see what you guys are making!
Thanks for reading, and I’ll be back soon!
Naomi
This post contains affiliate links.

