If you’ve been looking for a simple, time-efficient, dependable bagel recipe to make at home… I believe you have found it! This Montreal style bagel recipe is so simple (and fast!) to make, and I think you’re going to love it.
I’ve now single handedly made well over 1,000 of these bagels, so although I’m no bagel “Expert” (what makes a bagel expert, anyway?), I think you could say this recipe is “Tried and true.” And, as opposed to the 12-24 hour process that many require, these bagels are delicious and can be fresh from your oven in the span of 2 hours total. Yup, you read that correctly – 2 hours TOTAL!
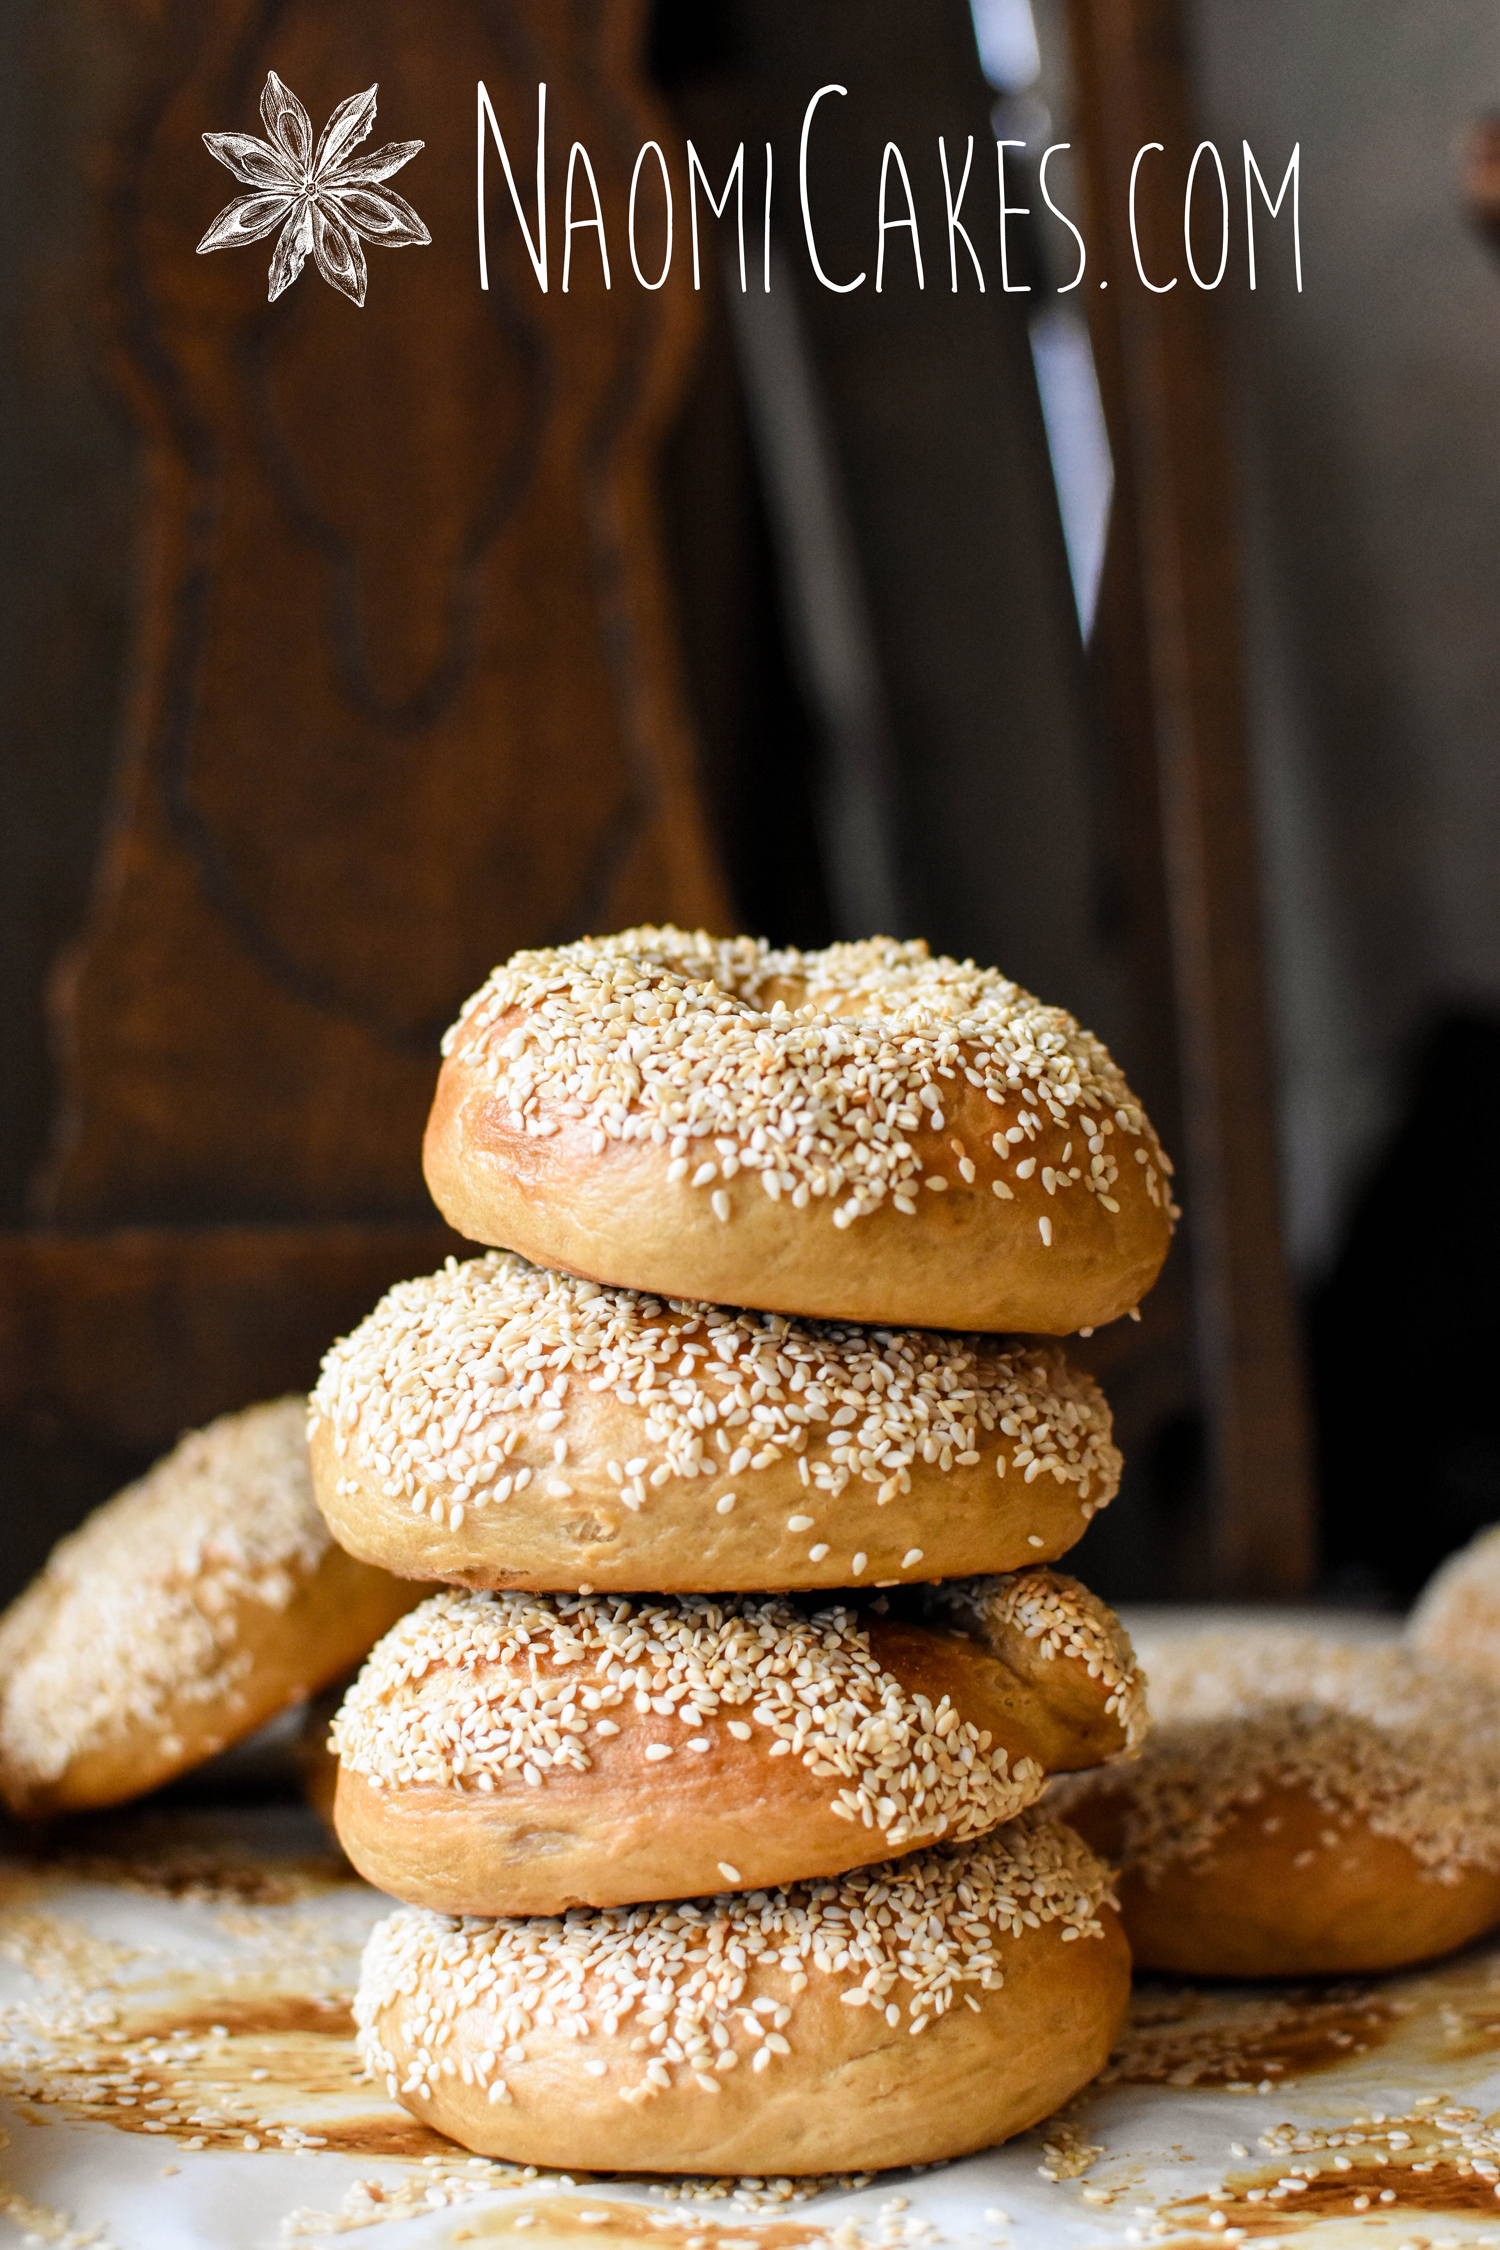
Based on the famous Montreal bagel
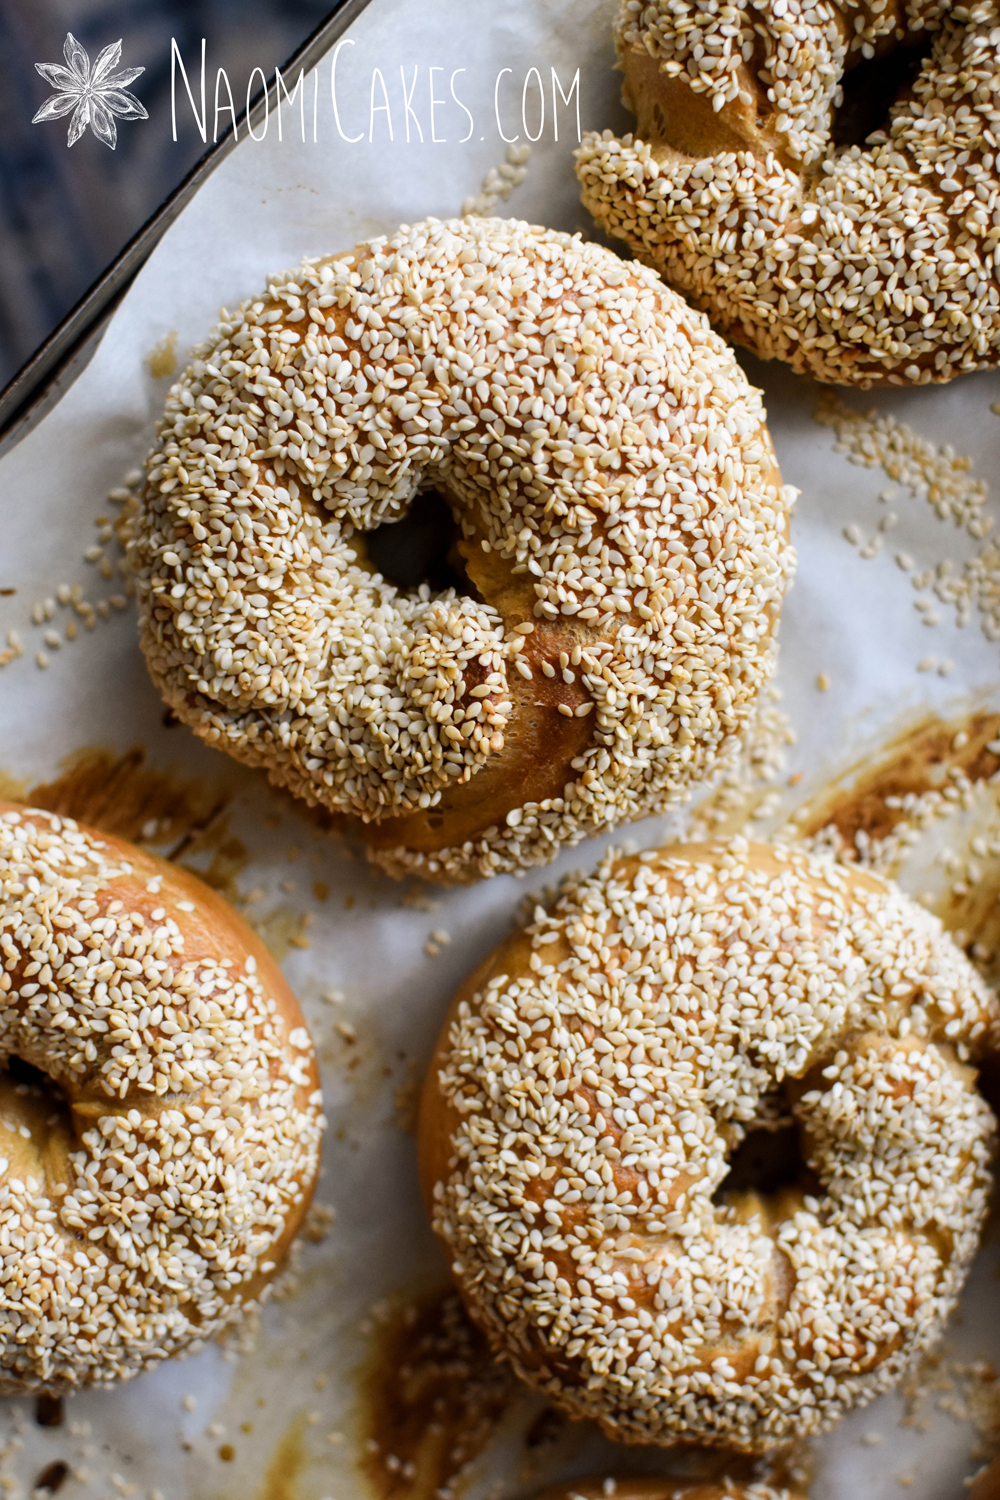
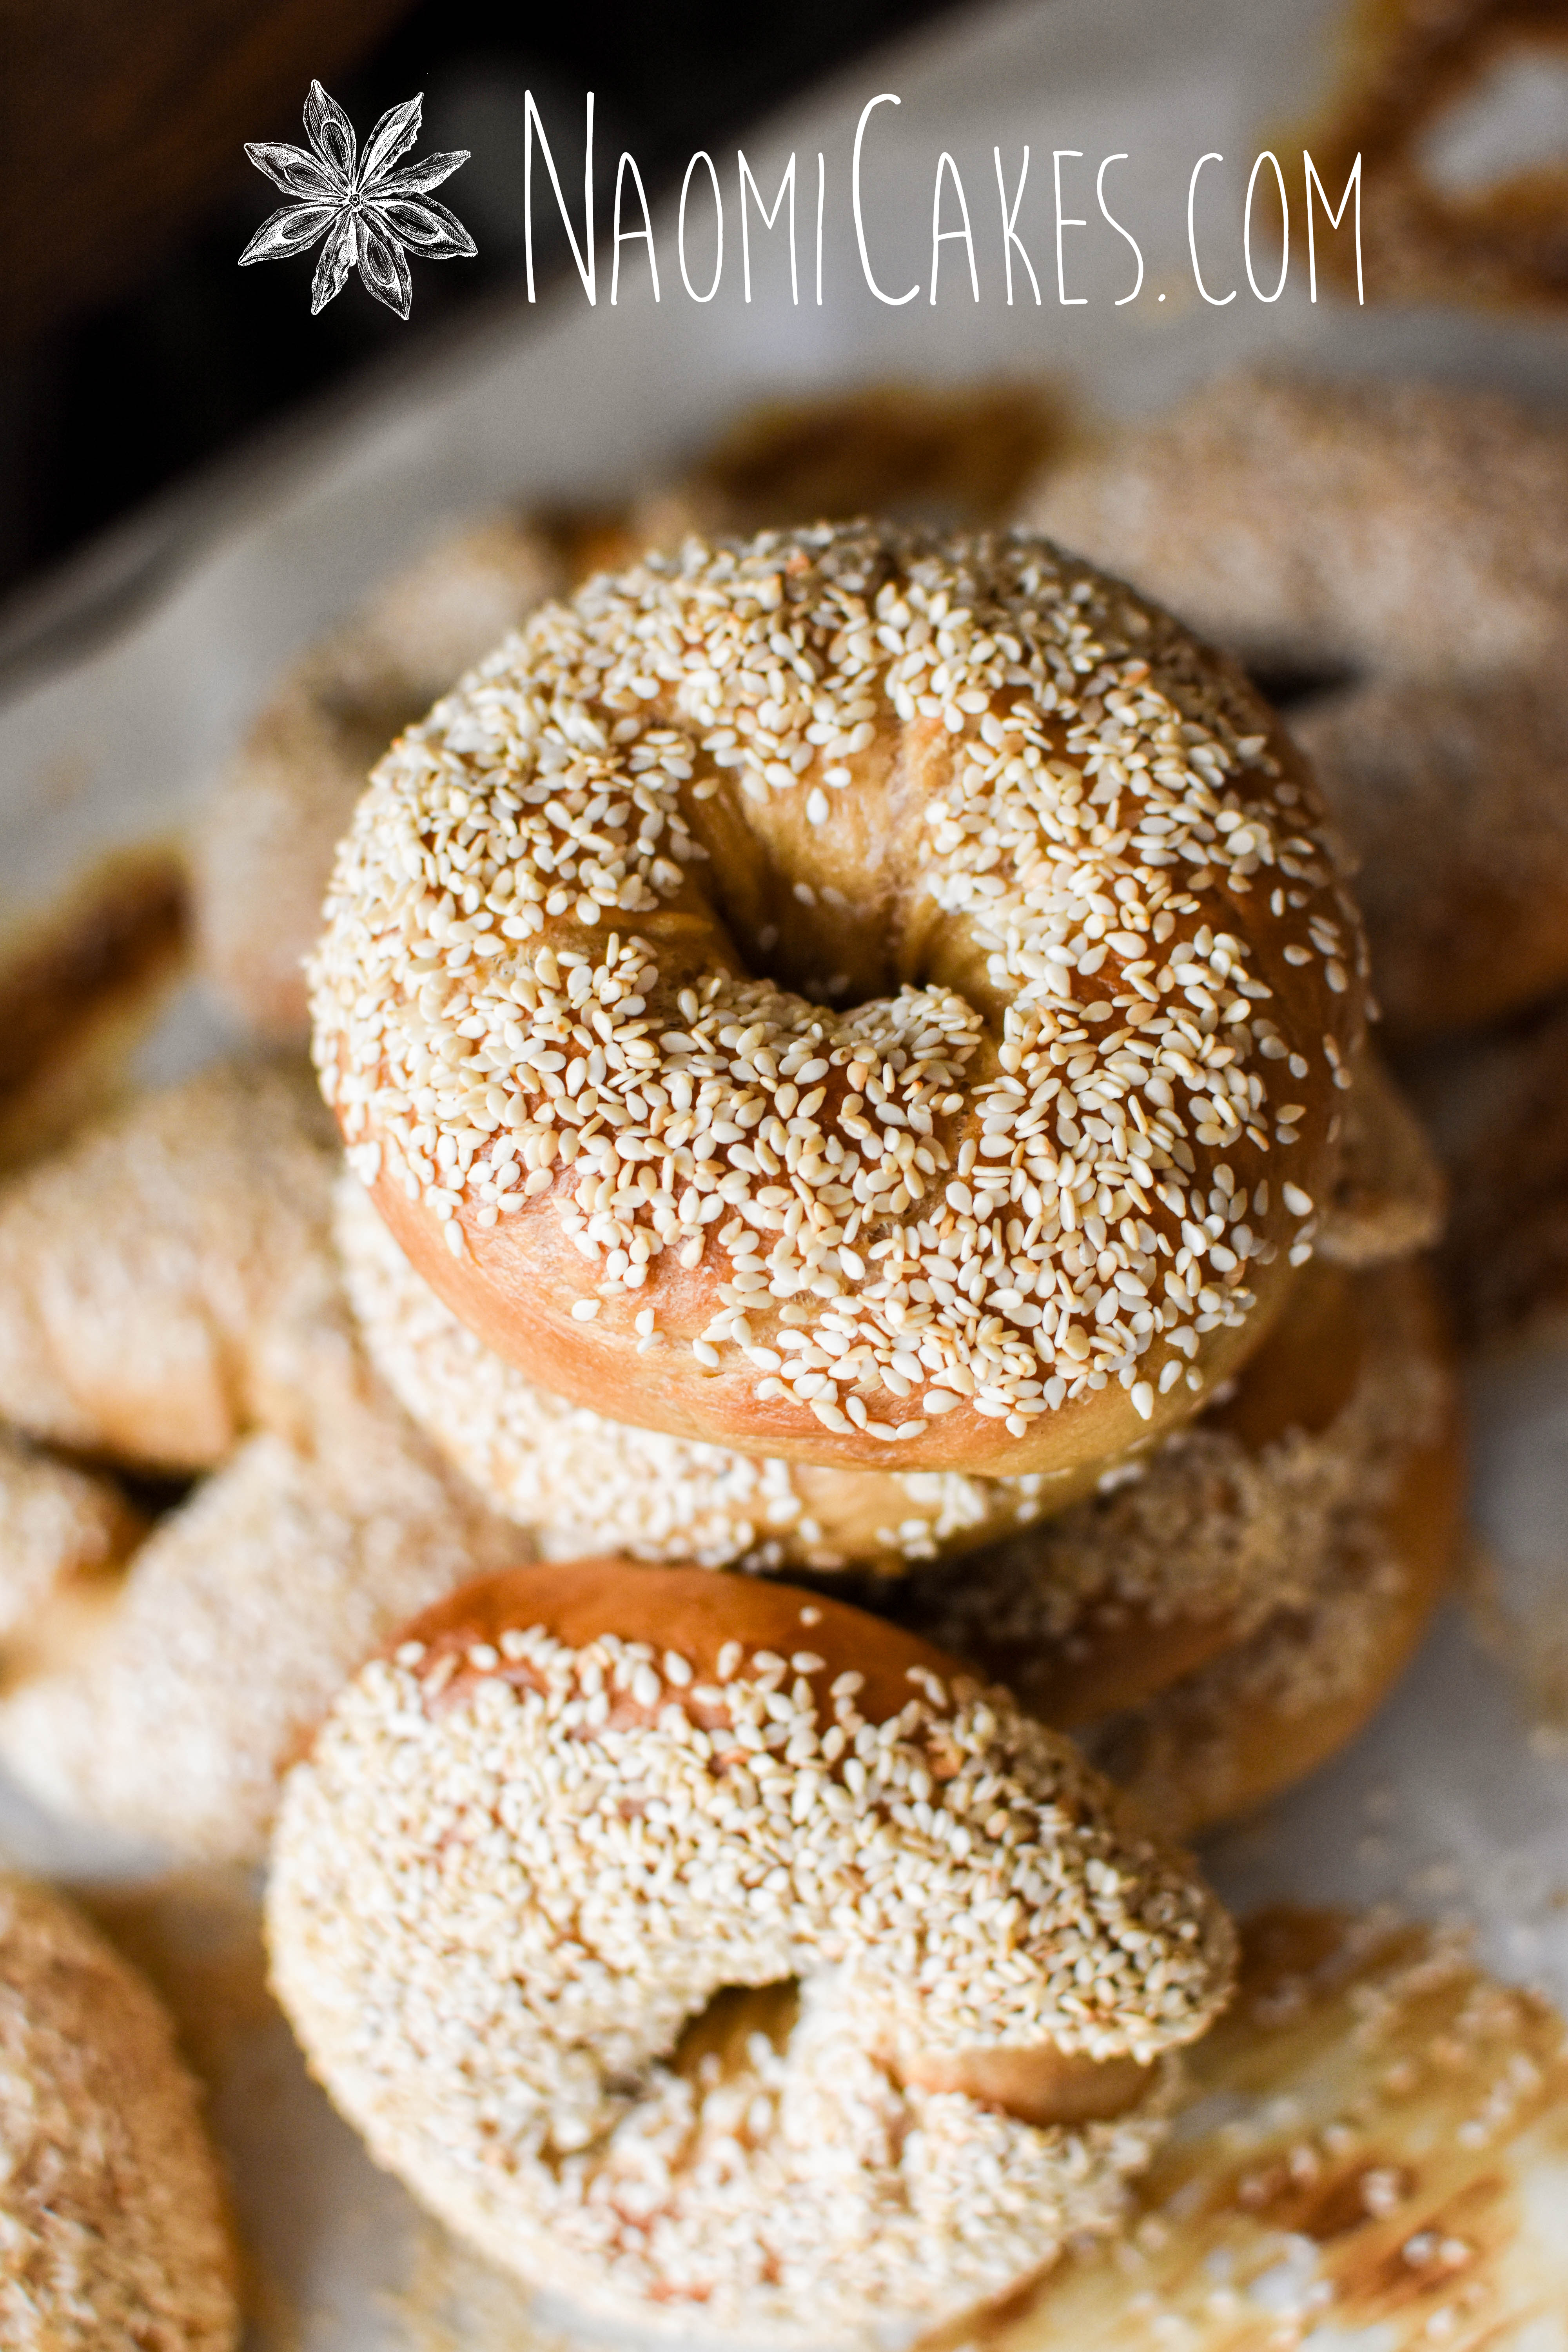
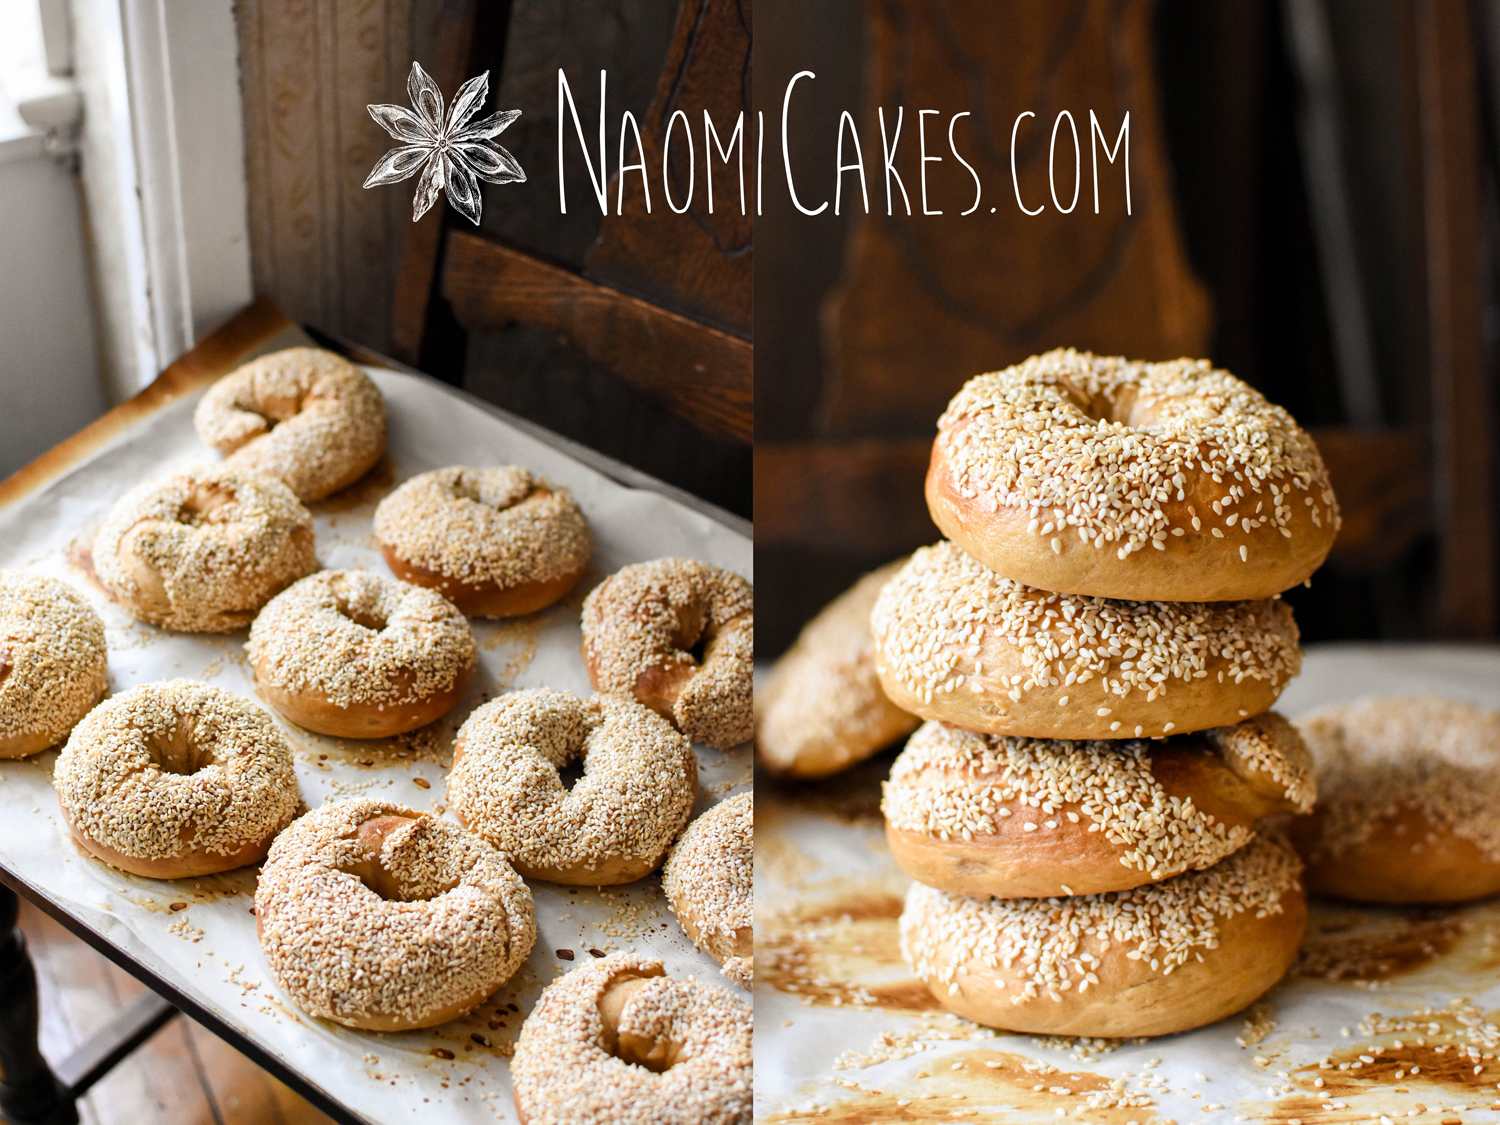
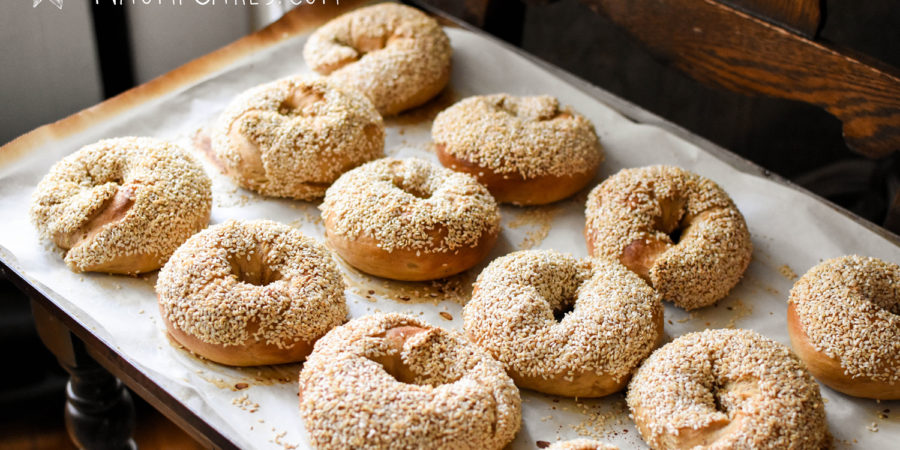
I created this recipe to be based on the famous Montreal-style bagel, which is a chewy, slightly sweet, sesame covered bagel with a honey-gloss sheen on the crust.
Typically the Montreal bagels have a larger hole in the middle than mine, and they are made with barley malt syrup (a typical ingredient in any bagel recipe). However, I have adapted this recipe to suit my taste and readily-available ingredients.
What’s the difference between this recipe and traditional Montreal bagels?
There are 4 main differences between this recipe and the traditional Montreal style bagel. I’ll list them for you here:
- This recipe makes larger bagels with a smaller hole (better for making sandwiches)
- These bagels are made with honey and molasses instead of barley malt syrup
- You can use a normal oven rather than a wood fired oven for these bagels
- These bagels can be made with all-purpose flour instead of strictly using bread flour (which is what you would normally use to make bagels)
What’s the difference between Montreal bagels and New York bagels?
As I mentioned before, Montreal bagels are usually a little smaller, with a larger hole in the centre. They are usually boiled in honey water and baked in a wood fired oven.
New York bagels, on the other hand, are often very large and puffy, with a small (sometimes almost invisible) hole in the centre. They are made with barley malt syrup in the dough and in the water for boiling them before they are baked.
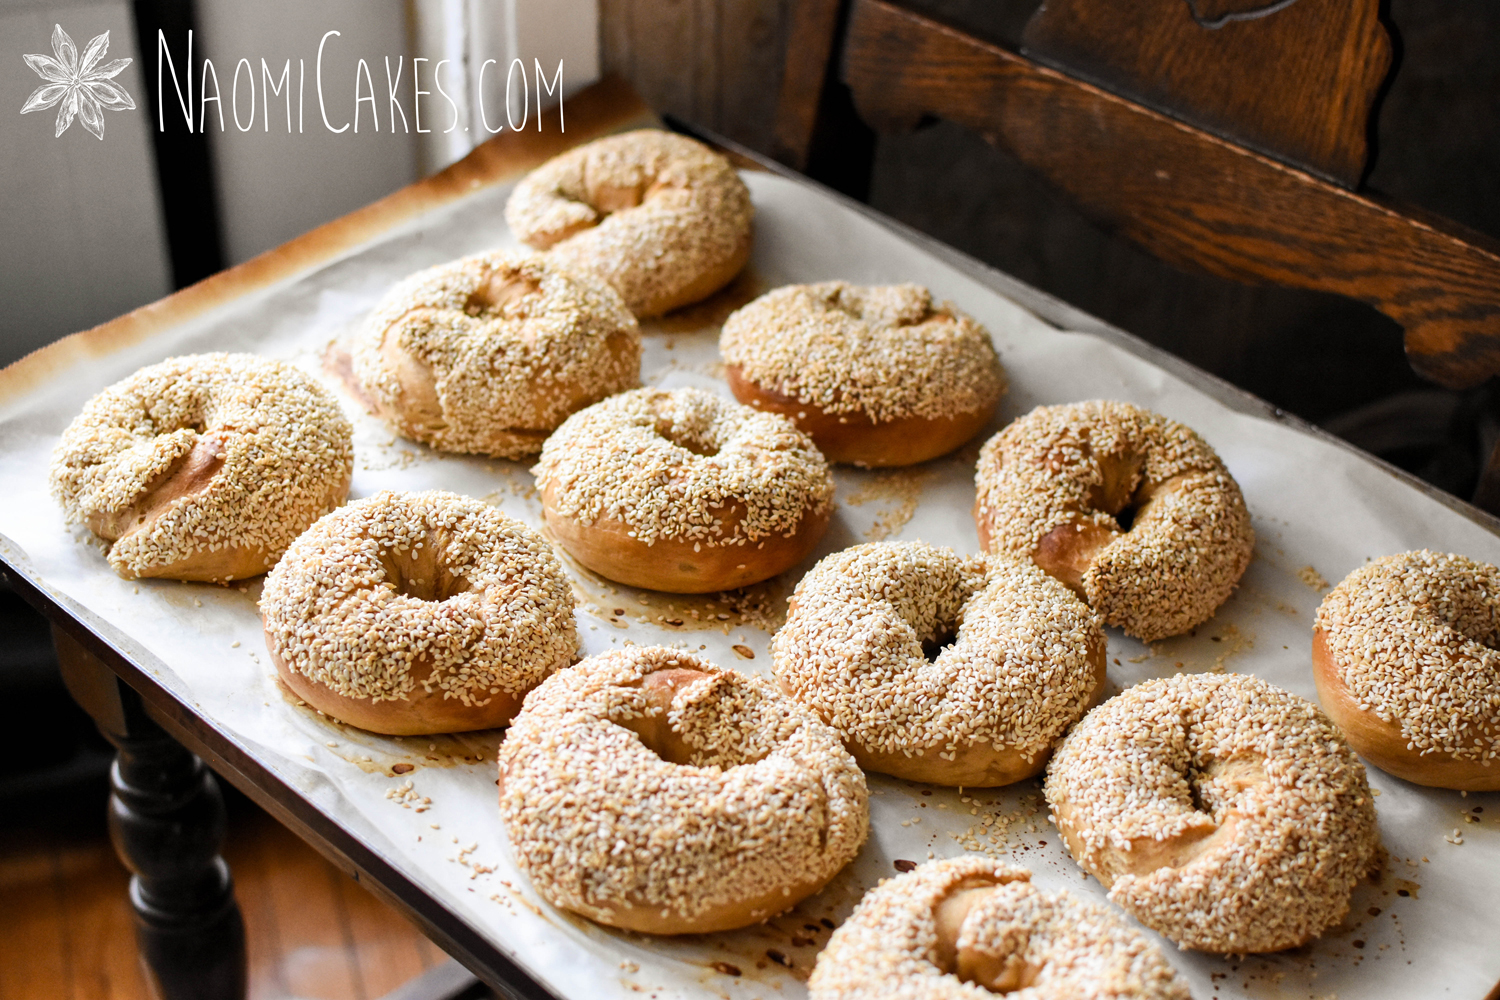
The best kind of flour for making Montreal bagels
I have used both regular bread flour and all purpose flour for this recipe, and the bagels come out delicious either way. So, of those two options – feel free to use either one!
Making sure the bagels turn out right
I have one thing to note before you dive into this project. That is, I recommend trying not to multi-task while you’re making Montreal bagels.
During the first rise, then sure – clean something, check your Facebook, write a poem, or whatever you would be likely to spend the time doing. After you shape the bagels, however, there’s plenty to keep you busy until they come out of the oven… so leave yourself some time in your schedule to make sure you can give them the attention that they need.
How to serve Montreal bagels
The best way to eat Montreal bagels is to grab one when they come out of the oven, fresh and warm. Then, dress it up, however you like it!
Personally I also love to go ahead and toast one of the bagels right away, and then I like to get myself a bunch of good cream cheese to go on it.
However you serve it, have yourself a little party when all is said and done. I think you’ll definitely have earned it!
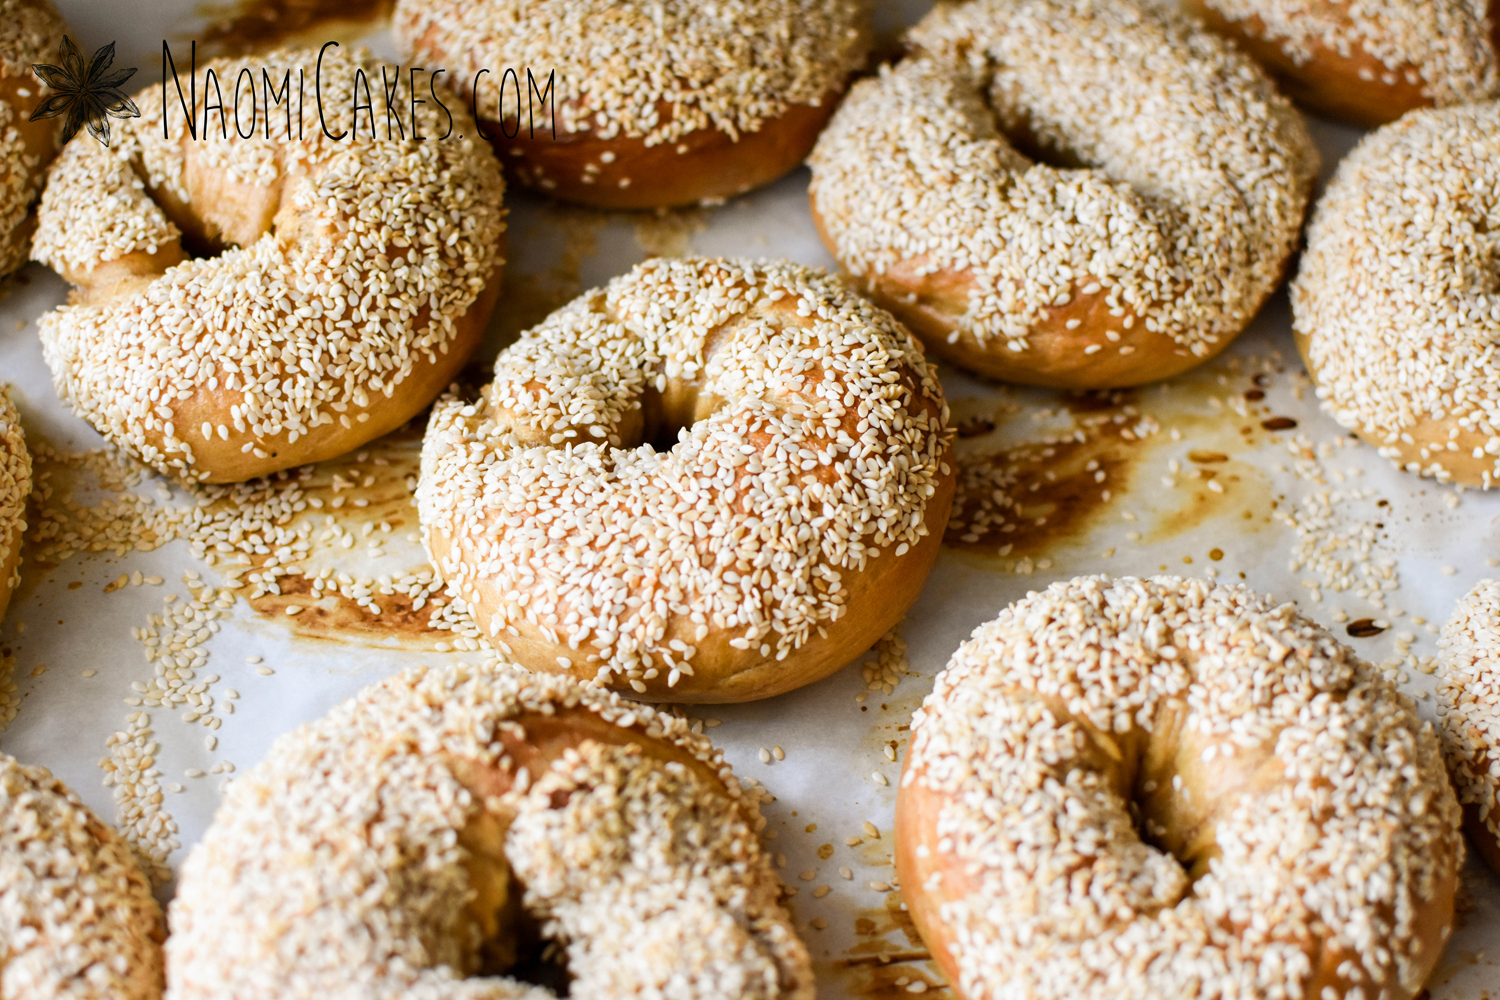
To make Montreal bagels, you will need:
- Ingredients (see recipe card)
- Mixing bowls
- Stand mixer (optional)
- Measuring cups and spoons
- Glass measuring pitcher
- Stirring spoon
- Sharp knife
- Large pot
- Round slotted spoon/Cooking skimmer
- 2 Forks
- Kitchen timer
- Baking sheets
- Parchment paper
- Cooling rack
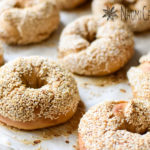
Montreal Style Bagels
An easy way to make Montreal style bagels at home… without special ingredients.
Ingredients
- 1-1/2 cups lukewarm water
- 1/2 Tbsp sugar
- 1 Tbsp dry active yeast
- 2 Tbsp oil olive oil or vegetable oil
- 2 Tbsp liquid honey
- 1-1/2 tsp molasses fancy/table molasses or blackstrap – table molasses is my preference
- 3/4 tsp salt
- 1 egg beaten
- 5 cups all-purpose or bread flour
- 1 cup raw sesame seeds
Poaching Syrup:
- 1/2 cup liquid honey
- 16 cups water (16 cups = 1 gallon)
Instructions
-
In a large mixing bowl, combine the lukewarm water with sugar and yeast, and stir to dissolve (there may be small clumps that don’t blend in very well – this is okay). Allow this mixture to rest about 10 minutes, or until slightly risen and bubbly.
-
Add the oil, honey, molasses, salt, and beaten egg; stir to combine. Stir in the flour, and knead on a lightly floured work surface until smooth and elastic, about 3-5 minutes. Place the dough back into the bowl, cover with plastic, and allow to rise 1 hour or until doubled.
Note: To test if the dough is risen enough, stick your finger into the dough – if an indentation remains without shrinking back where your finger was, it is ready to use.
-
While the dough is rising, combine the water and honey for the poaching syrup in a large pot and bring to a boil. Reduce heat to a simmer, just to keep it hot, until ready to use.
-
When the dough has risen enough, punch it down to remove any air bubbles. Turn it out onto a clean work surface. Divide the dough into 12 evenly divided portions (each should weigh about 100 grams).
-
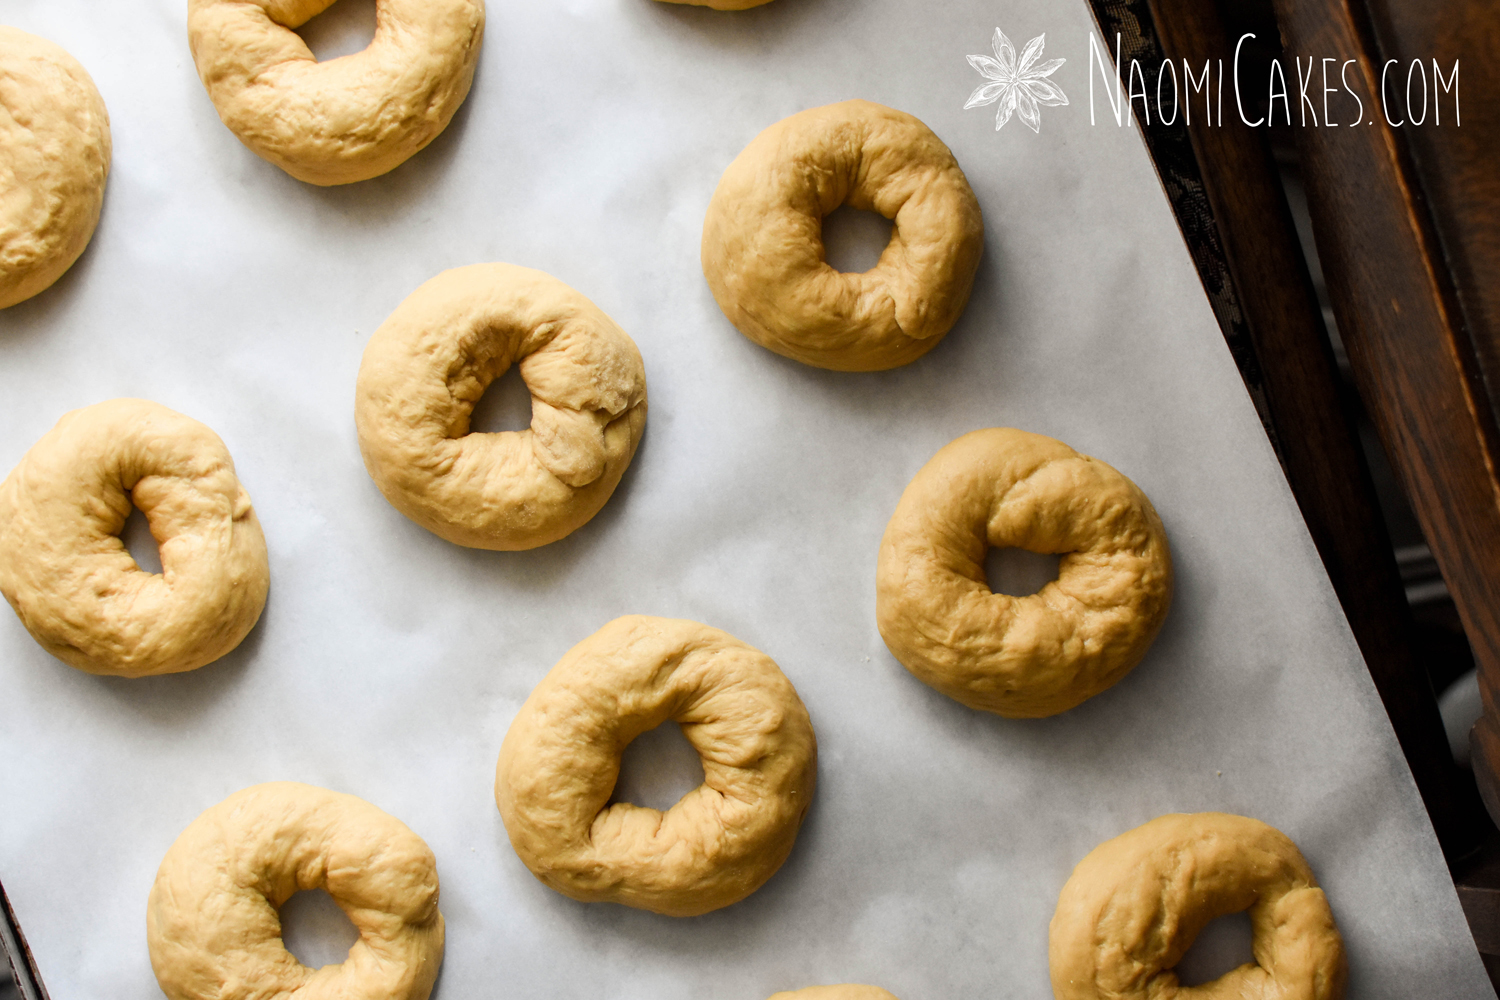
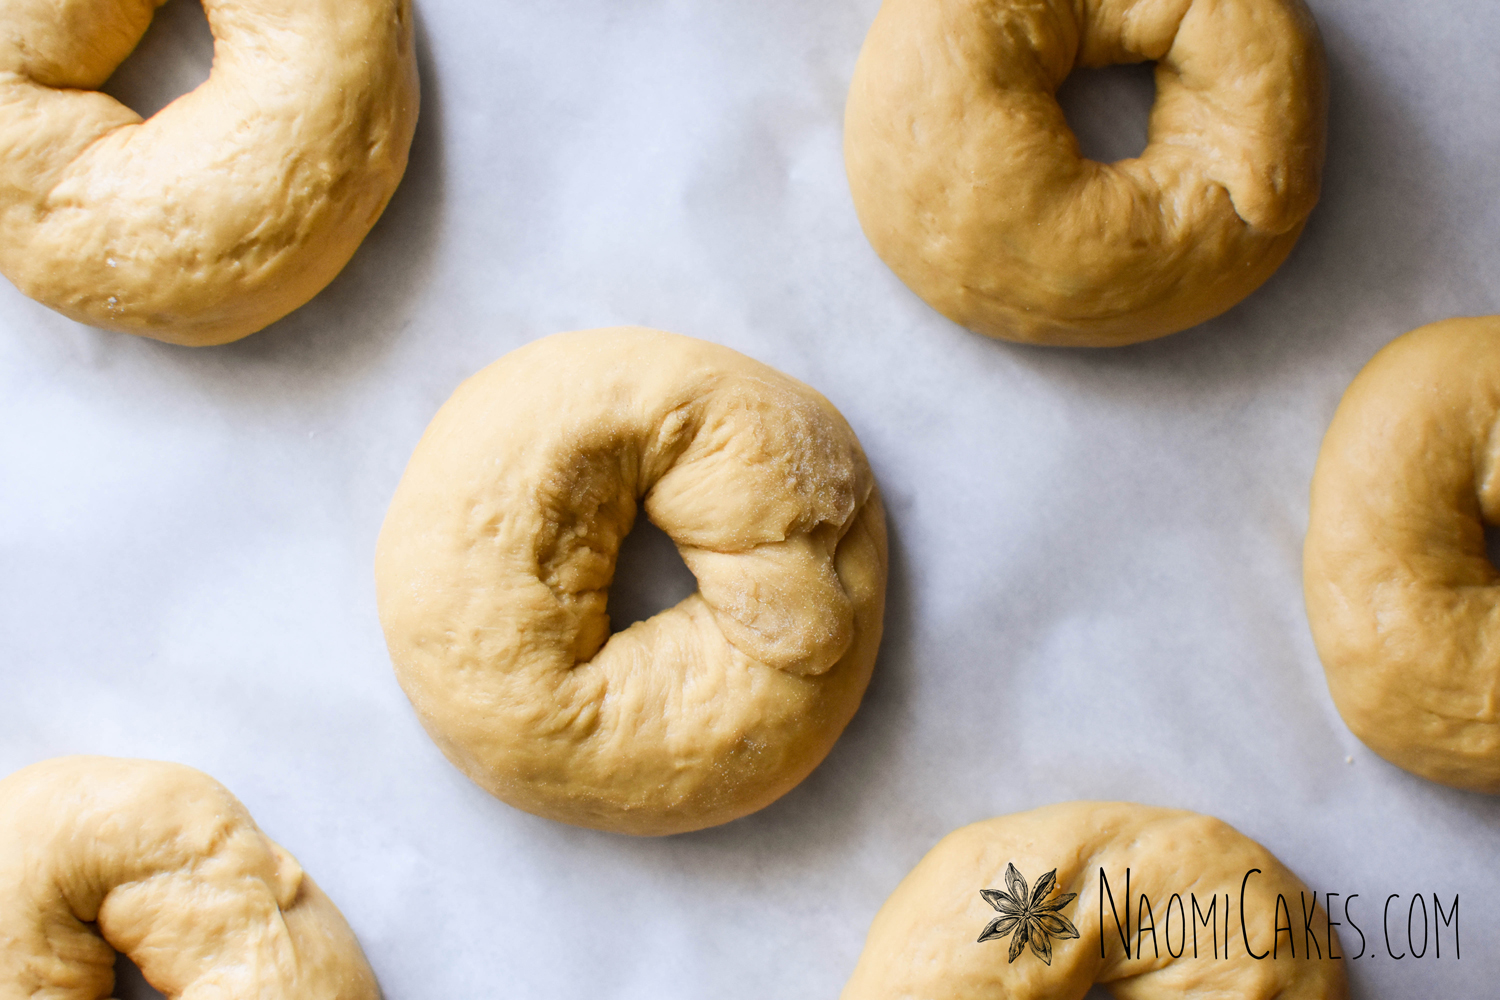
Roll each portion of dough into a long rope, about 12 inches long. Bring the ends together with about a 1-inch overlap, pinching the ends together firmly to seal. Roll over the pinched portion of dough a couple of times, with your hand in the hole of the bagel, to make the seam a little smoother and more uniform. Set the finished bagel onto a parchment lined baking sheet, and repeat with the other bagels until all 12 have been shaped. The holes in the centre of the just-shaped bagels should be large enough to fit a golf ball inside snugly.
Note: If the dough is sticky, you can use a little flour on the work surface to prevent sticking. Also, I like to make my bagel holes a little smaller, so I usually roll them with 3 fingers in the hole – Using your whole hand makes the hole a little larger, which is actually more typical of a Montreal style bagel.
-
Bring the poaching syrup back to a boil, preheat the oven to 425 degrees Fahrenheit, and allow the bagels to rest 10-20 minutes, or until about 1-1/2 times their original size. They won’t look very much larger – just slightly more puffy.
-
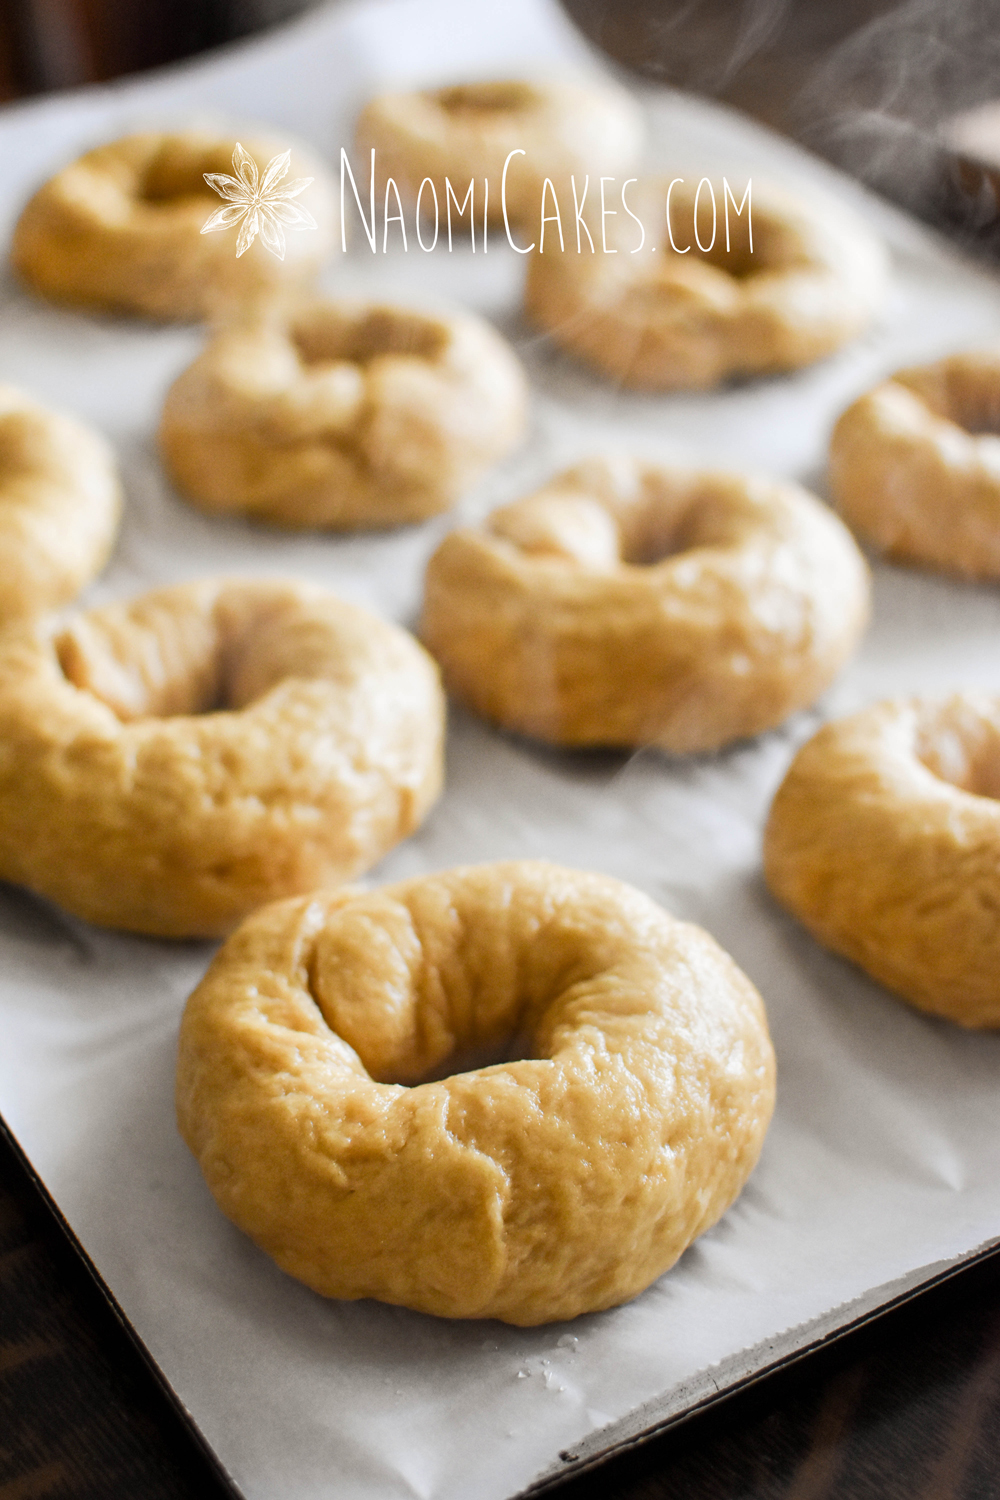
Drop 3-5 bagels into the boiling poaching syrup (depending on the size of your pot – you want them to have room to expand without overlapping each other), and allow them to poach 1 minute on each side, but not longer. If anything, take the bagels out slightly before they reach the 1 minute mark per side. Lift the bagels out of the water using a slotted spoon or fork, allowing them to drip slightly before setting them onto a parchment-lined baking sheet. The bagels should double in size during this step.
-
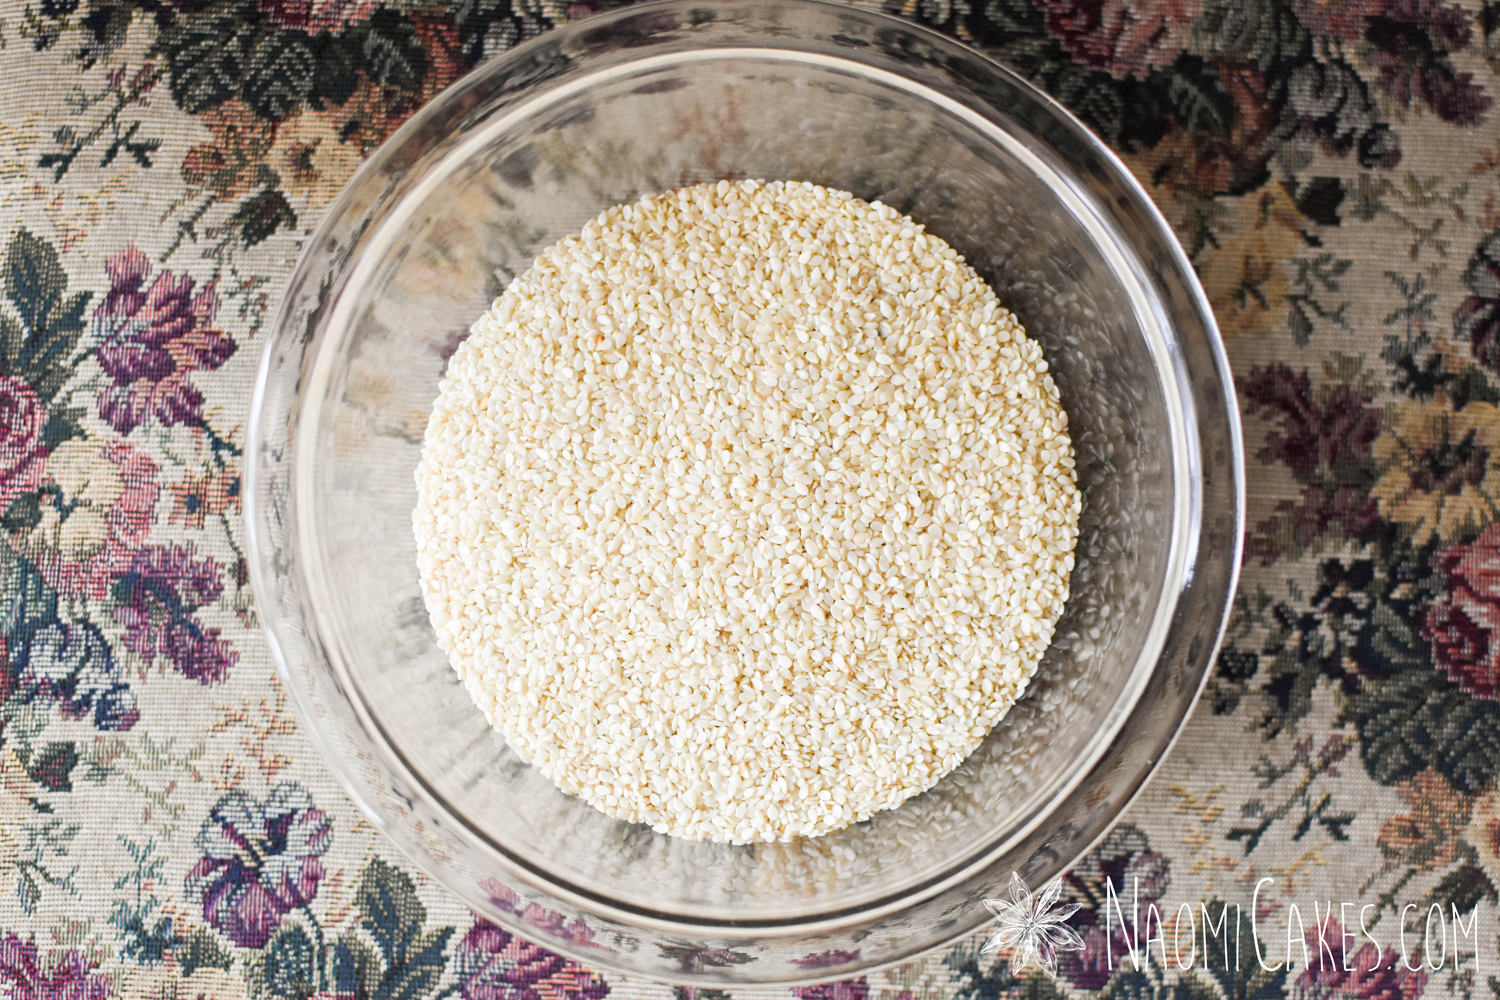
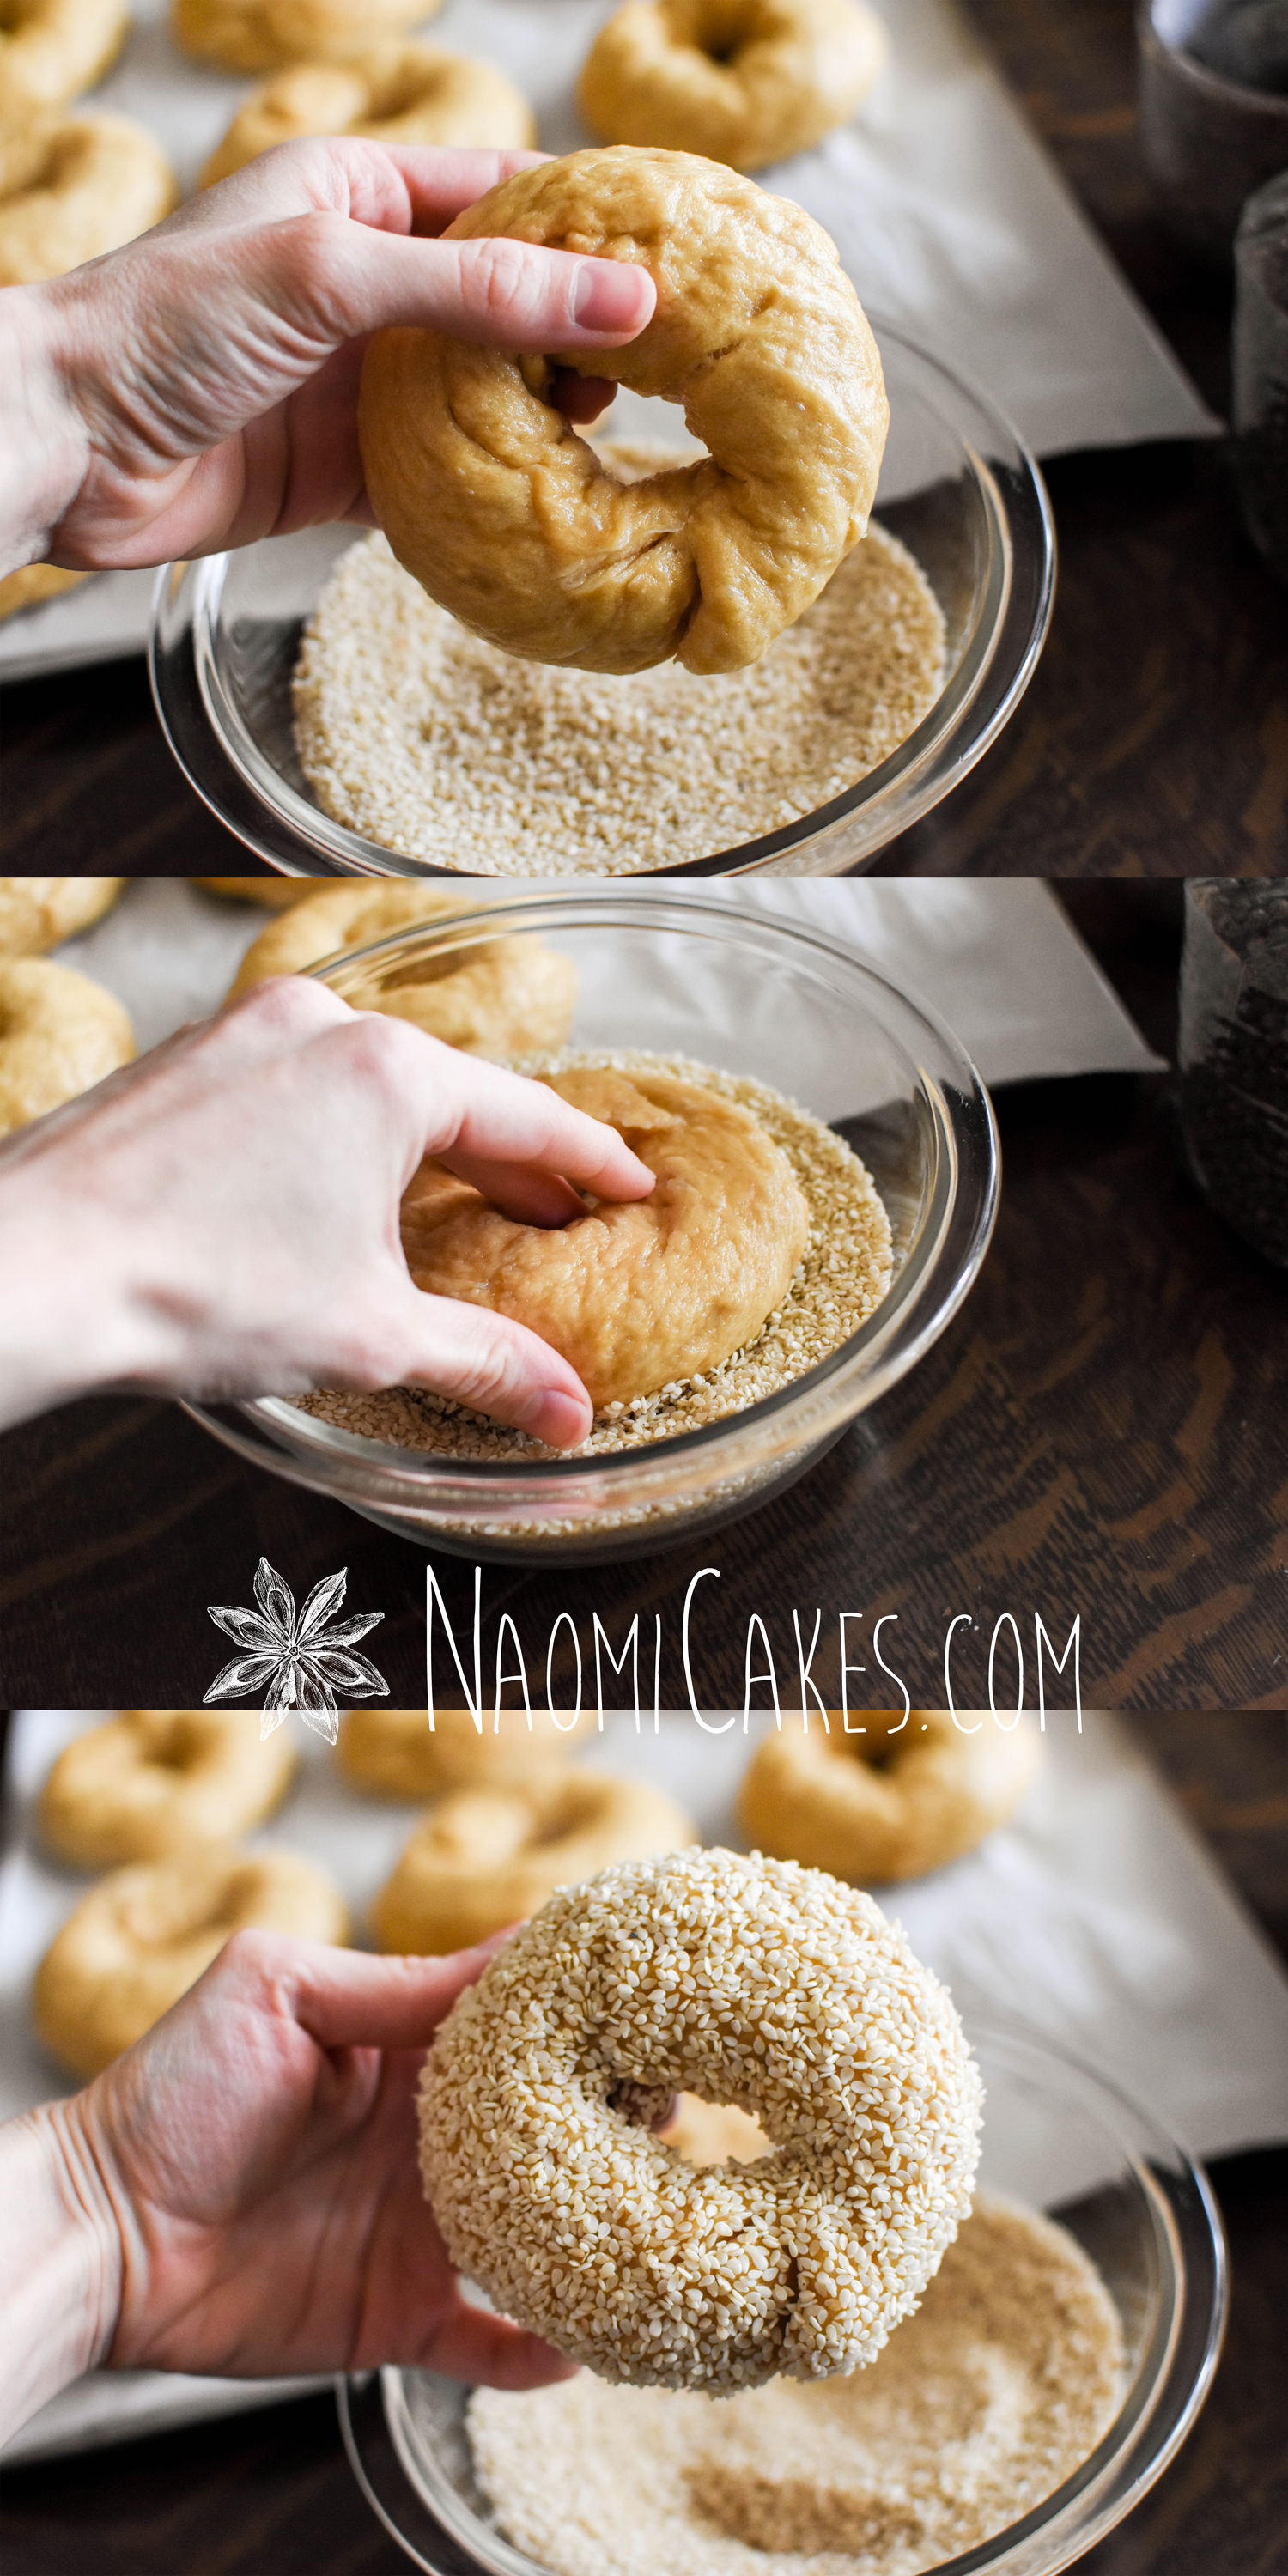
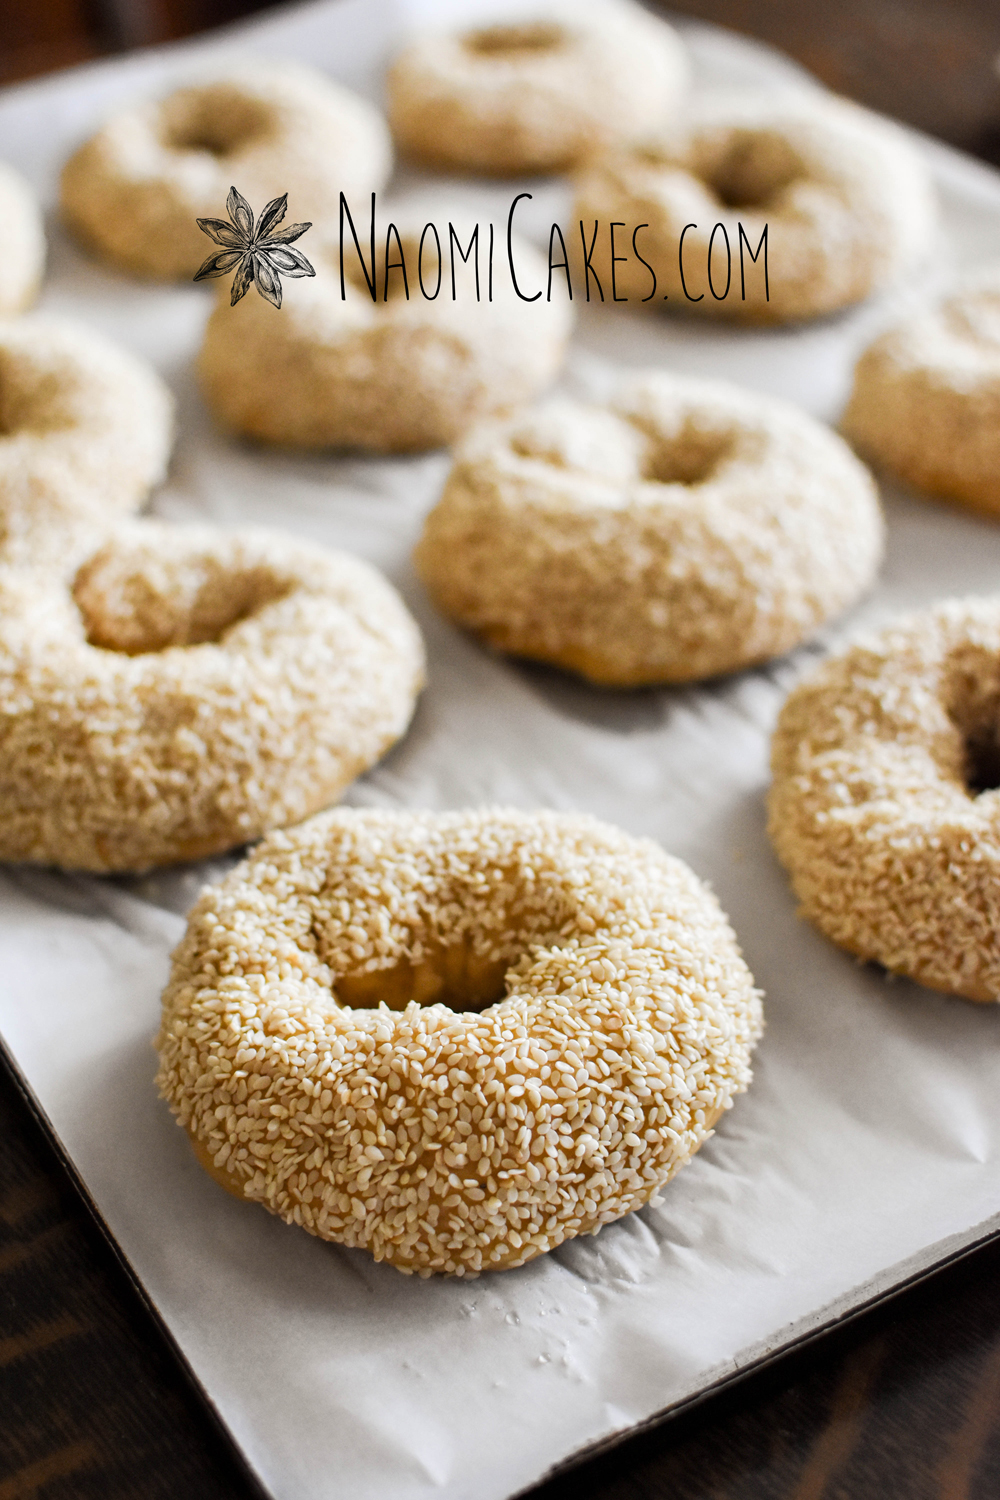
Allow the bagels to cool slightly, and then re-attach the ends of any bagels that broke open during the poaching process. Using your hands, dip the bagels upside down into a bowl of sesame seeds to cover the tops. Place the seeded bagels back onto the parchment lined baking sheet. (The dough should be a sticky, spongy texture at this step.)
-
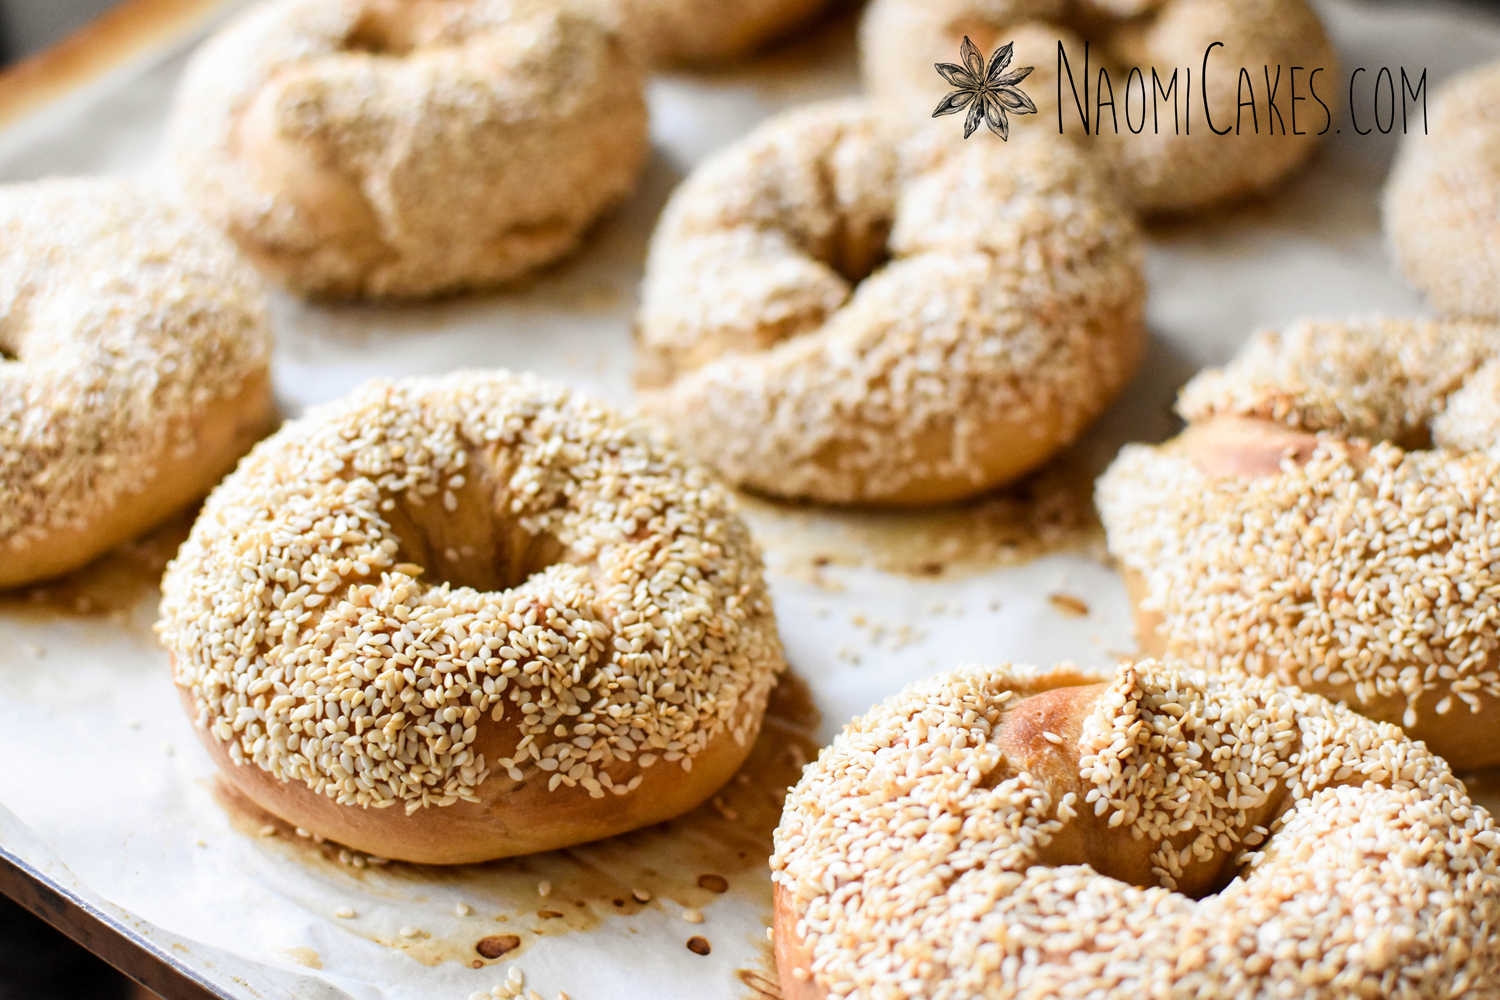
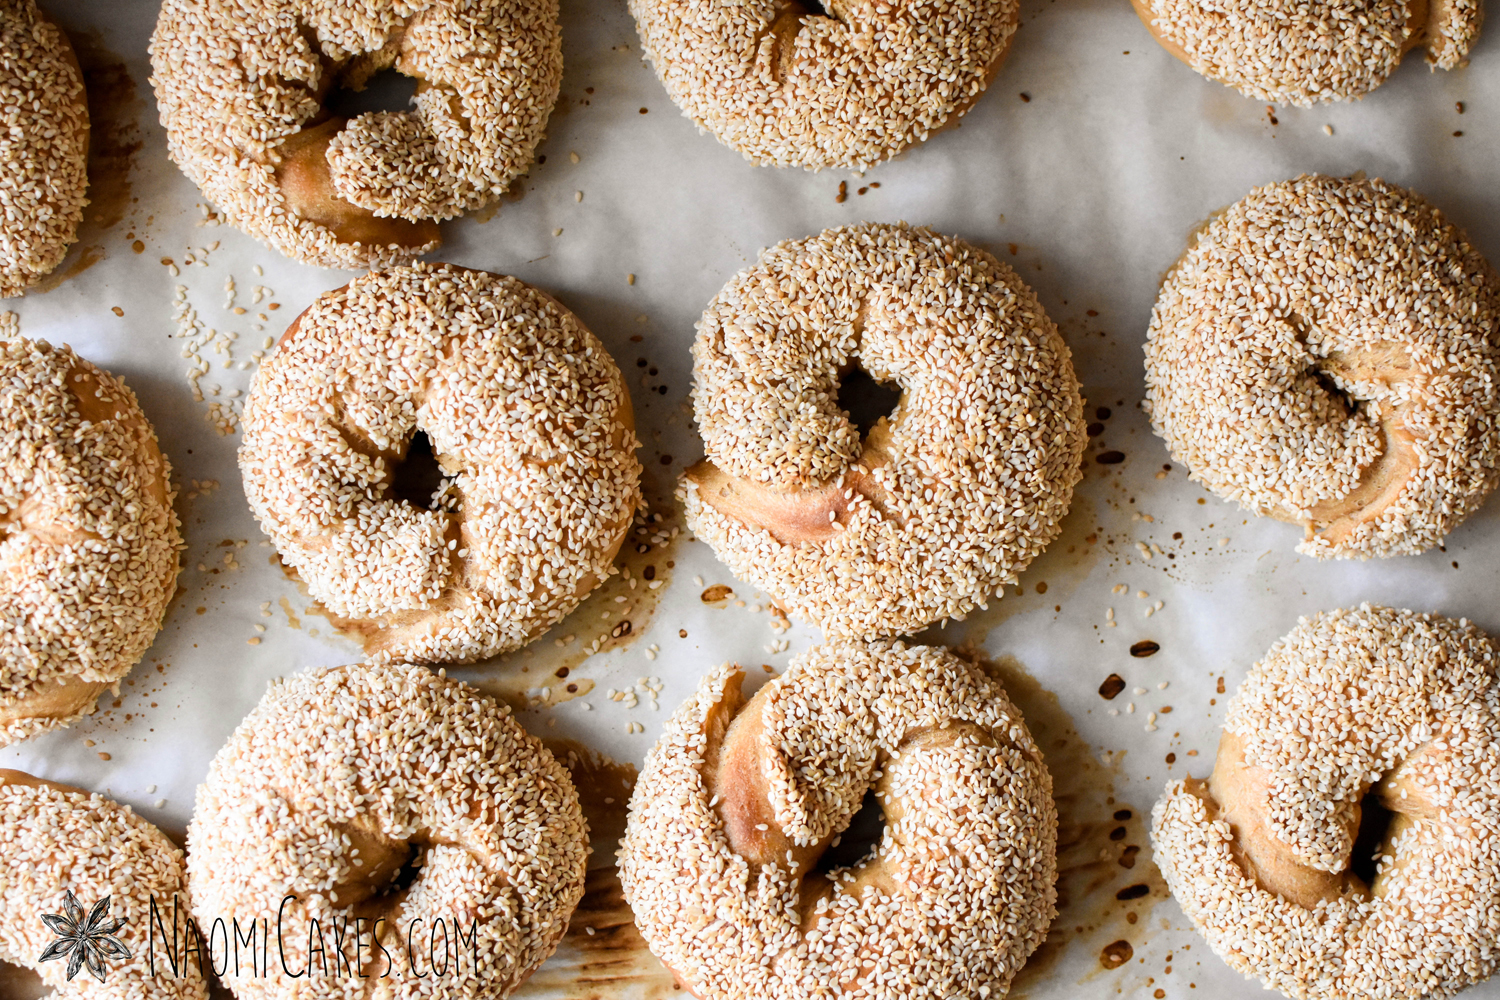
Bake at 425 degrees Fahrenheit for 12-15 minutes or until golden brown. Cool on wire racks.
Recipe Notes
1 cup flour = 140 grams in this recipe.
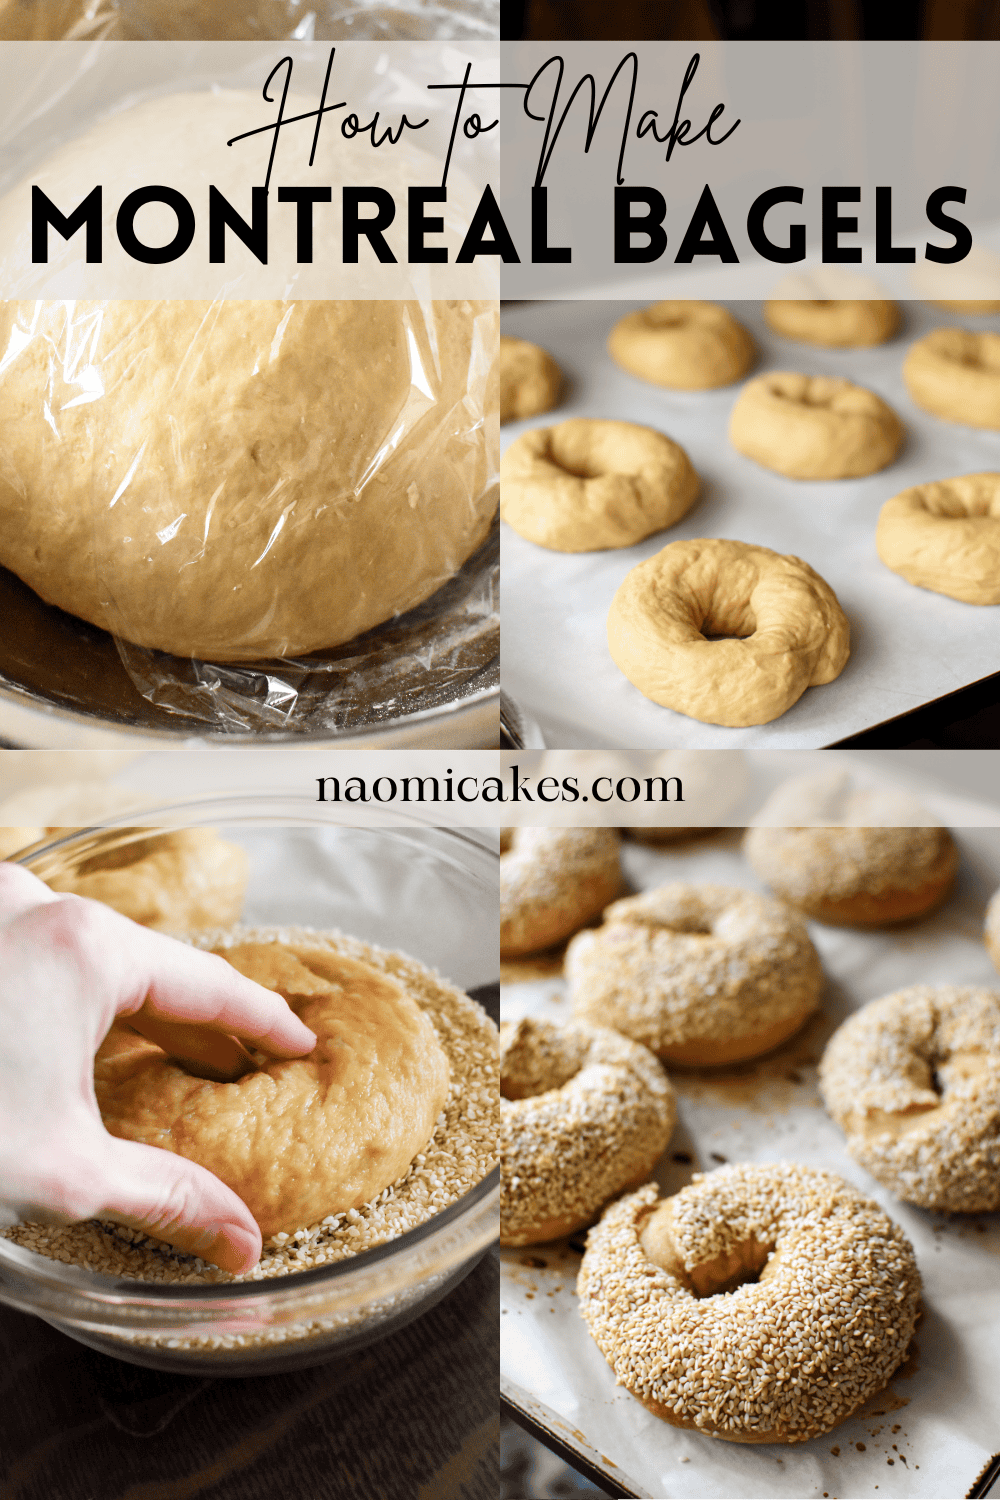
1 & 2 – Proof the yeast & mix the wet ingredients
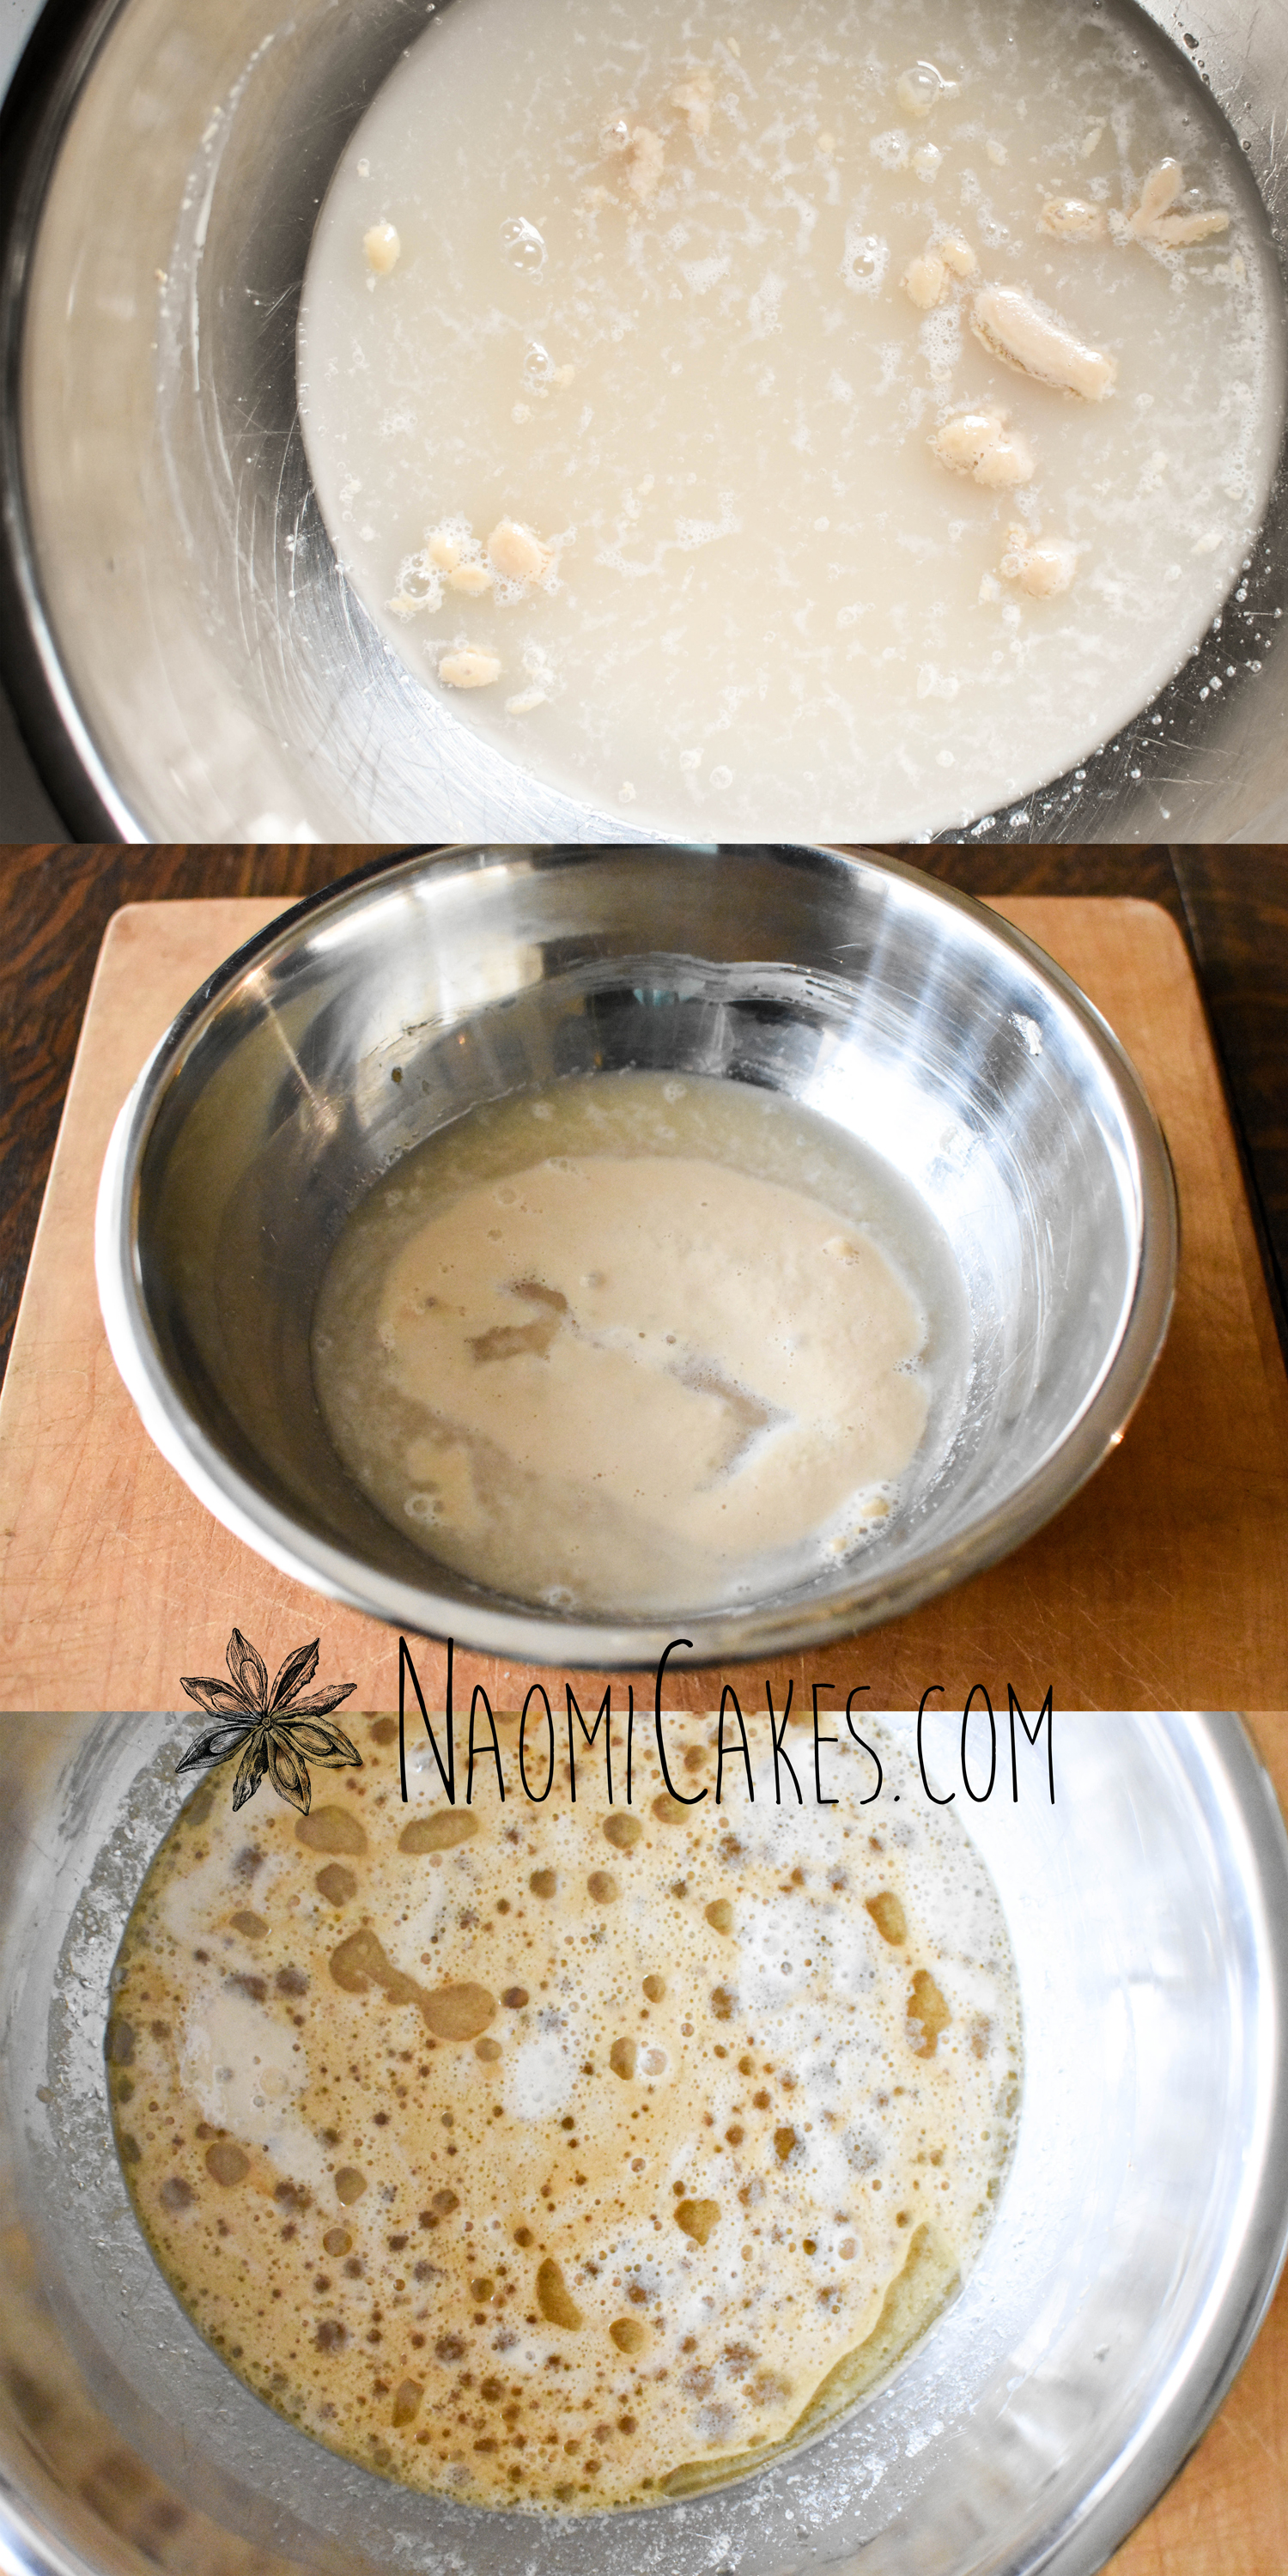
2 – Add the flour, make the dough, and let it rise
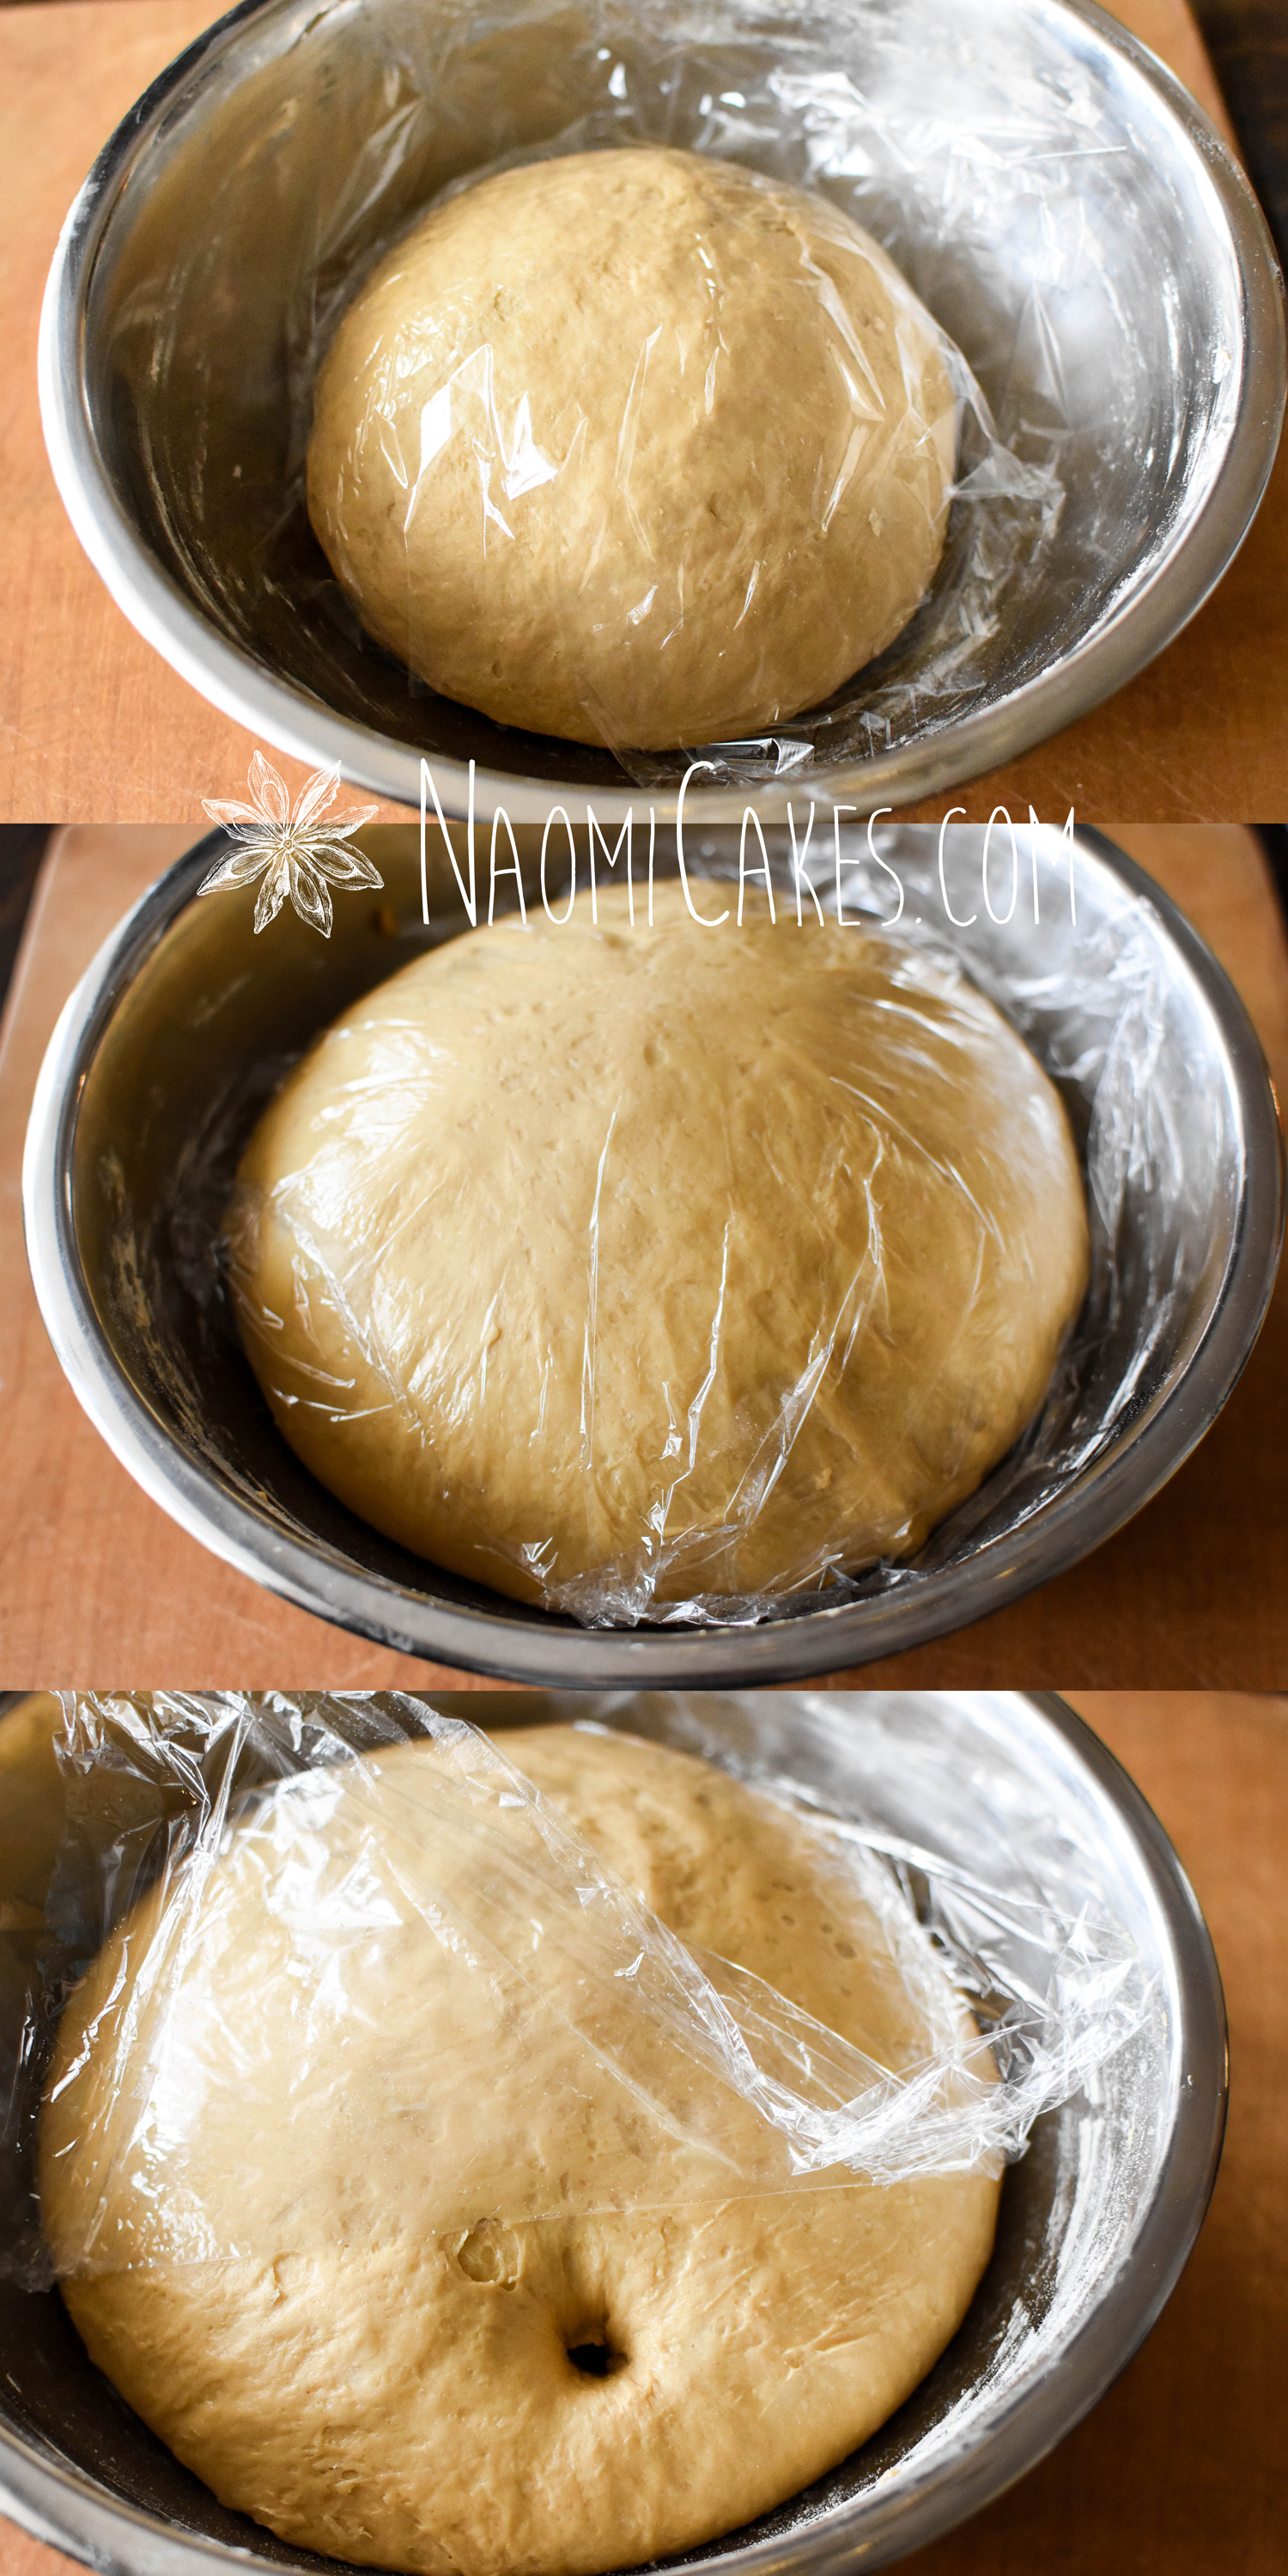
5 & 6 – Shape the bagels & and allow them to rest
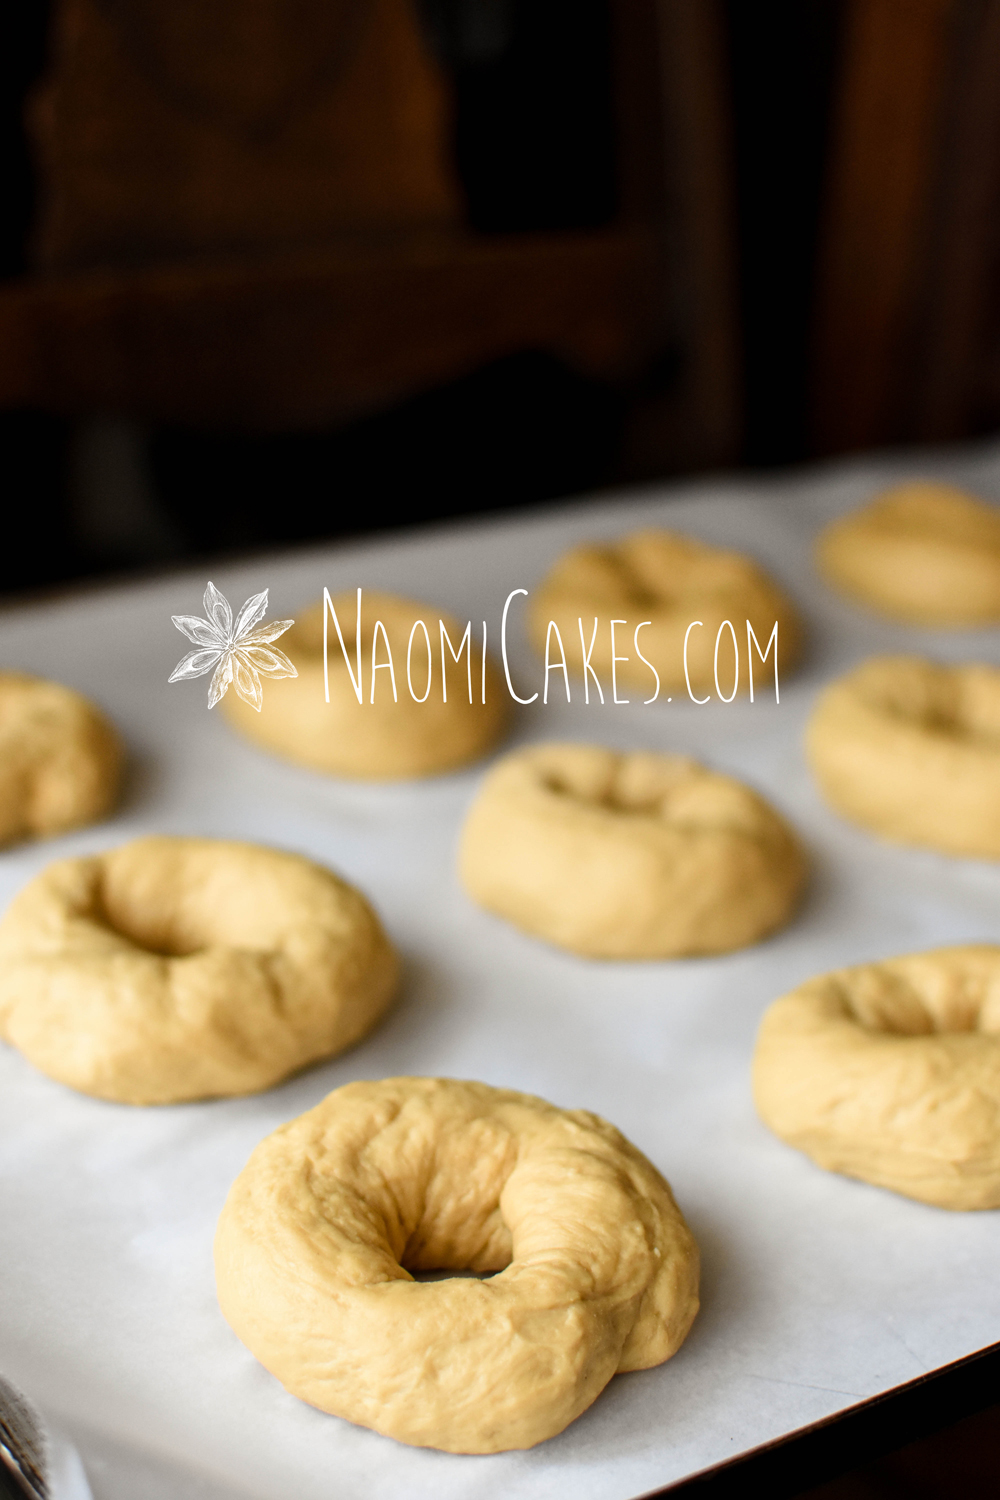
7 & 8 – Boil the bagels and dip them in sesame seeds
9 – Bake the bagels
More delicious bagel recipes:
I would love to hear how these turn out if you make them! Let me know in the comments, and as always, feel free to tag me in your photos on Instagram @naomicakesofficial.
Thanks for stopping in,
NaomiSaveSavSaveSav
This post contains affiliate links

I love bagels, this is a great recipe, most do take 12-24 hours to make like you said, I can handle 2 hours!!! love all the images with the step by step instructions, great post and recipe
I love bagels! Thanks for sharing! I will definitely need to try these!
Delish! Thank You I have been wanting a go to bagel recipe for quite a while and this one is easyish, and oh so yum! First try…many more to follow. ❤️
I’m so glad you enjoyed this recipe! Thank you for the comment!
[…] got my hands on some barley malt syrup (ordered off of Amazon), which I want to try in the Montreal Bagel recipe of mine, just to see how it differs from my honey/molasses substitute. We’ll see […]
[…] recent weeks, I’ve shared my recipes for Montreal Style Bagels and then Everything Bagels with you- both simple, easy-to-make-at-home, delicious bagel […]
[…] if you want to see a few more photos of what this process will look like. You can also check out my Montreal Style or Everything Bagels for more photos still, if you need as much visual aid as possible. (I’m […]
[…] in cheese and chili flakes. Also, as I’ve noted in the cheese version, my recipes for Montreal Bagels, Everything Bagels, and Asiago Black Pepper Bagels all have excellent photos of the process – […]
[…] of how the process of making these bagels should look, I would recommend checking out my recipe for Montreal Bagels (which has more step by step pictures), my recipe for Everything Bagels, or my recipe for Asiago […]
[…] pretty simple to follow (and relatively quick to make), and you can always check out my posts for Montreal Style Bagels or Everything Bagels, which should give you a pretty good visual on what the process looks […]
[…] 175 grams in weight. That is a SUBSTANTIAL difference! To break it down, that means that if I make my basic bagel recipe expecting to get five 110 gram cups, measuring by volume could give me up to 325 grams MORE flour […]
[…] Easy Whole Wheat Bread. Or, maybe you just need bagels in your life, in which case you should try Montreal Style Bagels. These simple recipes are worth every second of effort, and your budget (and your family) will […]
[…] like to see more step-by-step pictures of the bagel making process, you can head on over to my Montreal Bagel Recipe, my Everything Bagel Recipe, or my Asiago Black Pepper Bagel Recipe… All of which have […]