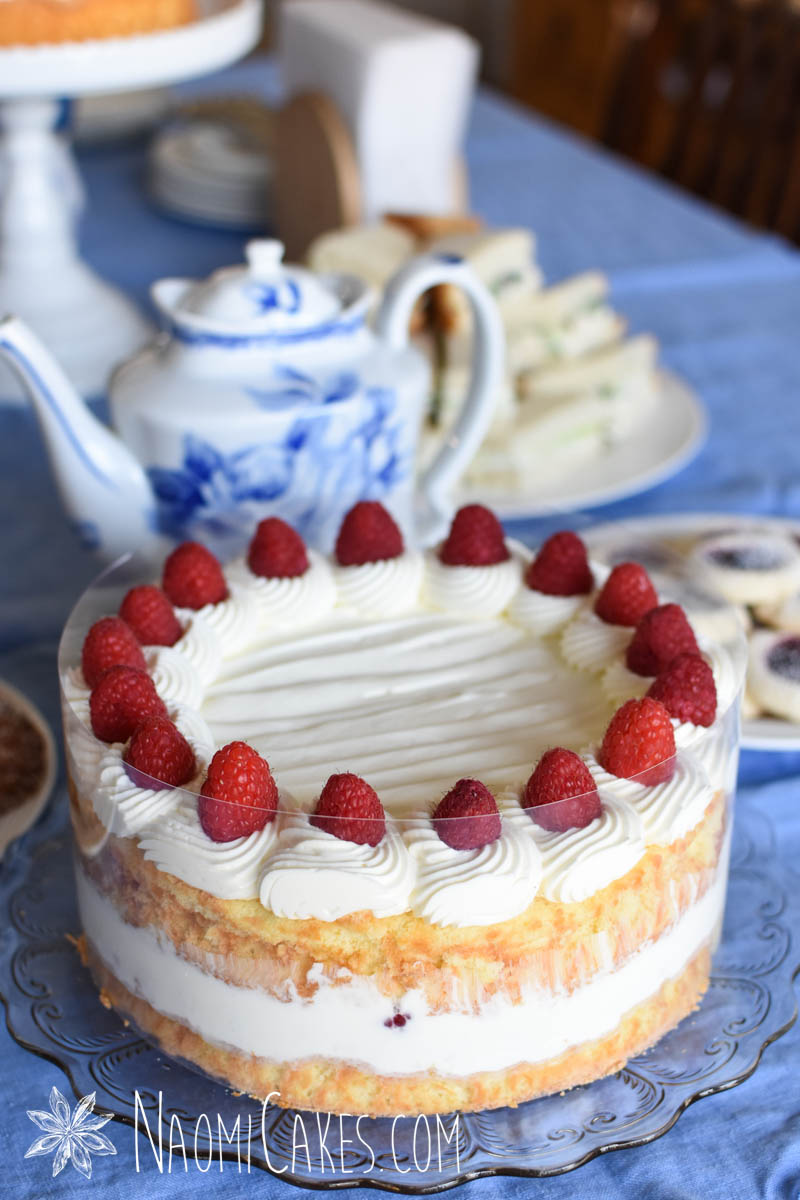
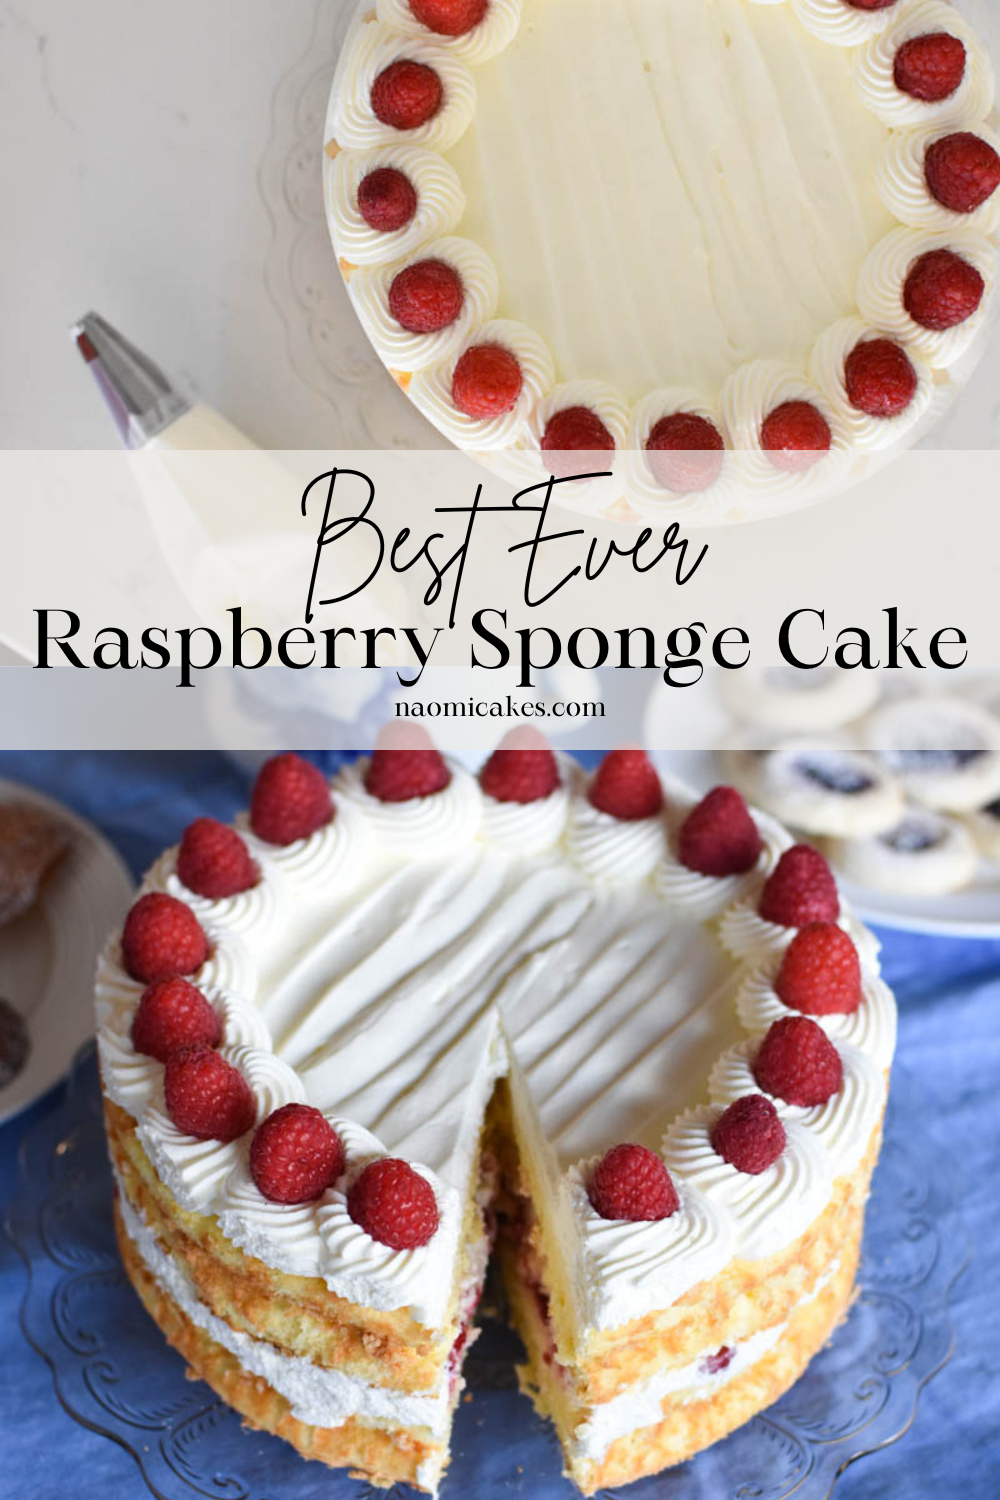
Alright everyone, today I’m going to share my recipe for this Raspberry Sponge Cake, which is one of those not-too-sweet, totally fresh and delightful, reminds-you-of spring kinds of cakes. Pretty much, I say it’s a Raspberry Shortcake with a twist of lemon. And yes, I promise you: This cake is every bit as good as it sounds.
What is Raspberry Shortcake?
This recipe for Raspberry Shortcake is essentially the raspberry version of Strawberry Shortcake, which can come in a variety of different packages. The way I usually make it is with a sponge cake, unsweetened cream, and loads of fresh berries.
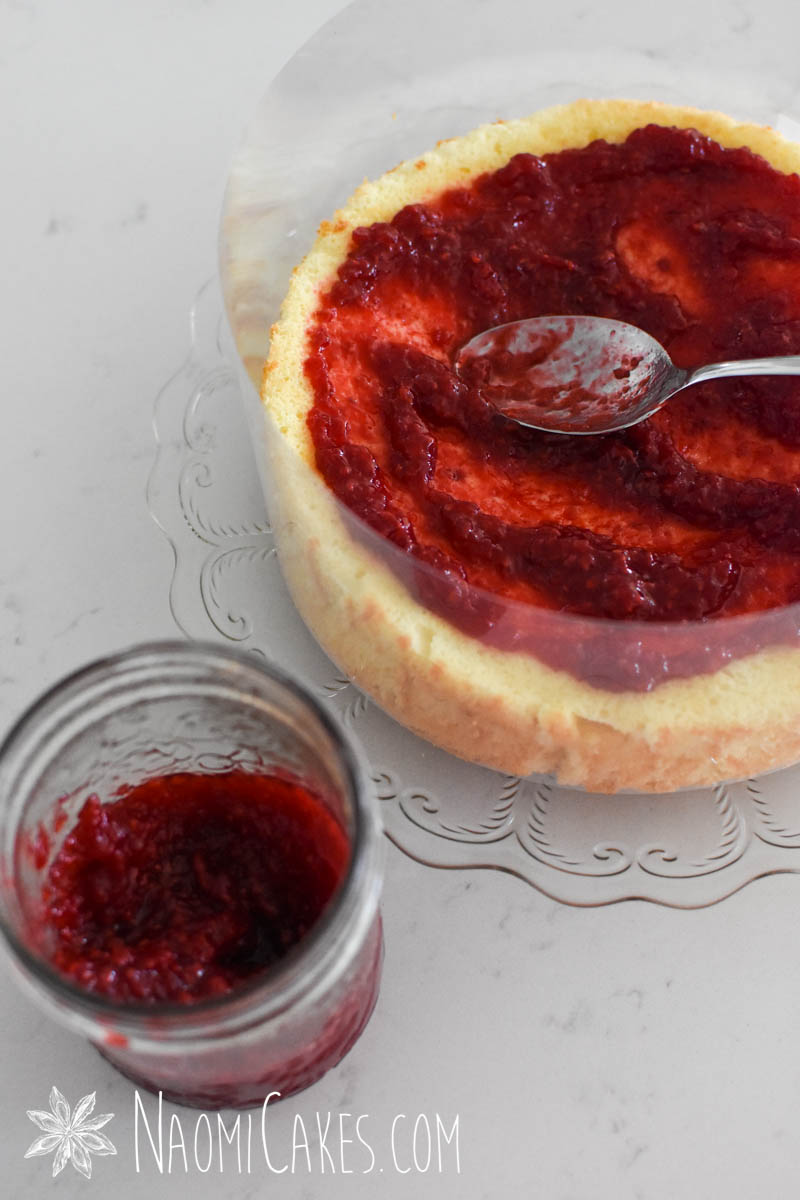
I made this cake with almost exactly that method, except that I did add a bit of my own raspberry sauce to the centre, just to sweeten it up a bit without adding tons of sugar.
What is the difference between a sponge cake and regular cake?
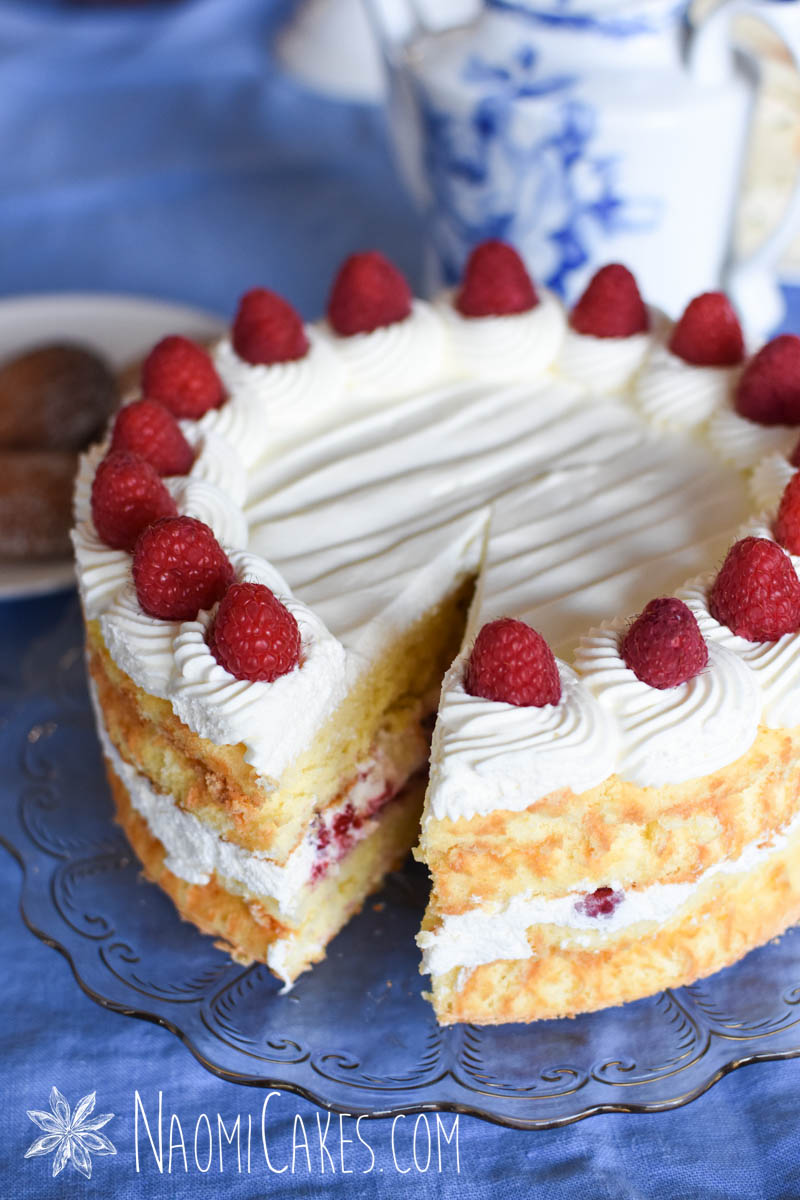
Sponge cakes can come in a variety of forms, but pretty much all of them are made with lots of eggs and minimal butter, yielding a very yellow cake with a spongey texture. Sponge cakes tend to be best served on the day they are made, since they can dry out pretty quickly.
Traditional cakes, on the other hand, often have fewer eggs, much more fat, and more sugar, yielding a denser cake with a moist crumb and longer shelf life.
Can this Raspberry Sponge Cake be made in advance?
Yes! While sponge cakes are usually best served the day they are made (I usually prefer to do that for this recipe if I can), I have sometimes needed to get the work done in advance, and I find that the cake just as delicious the next day. Since this cake is made with sponge cakes and fresh fruit, both of which have short shelf lives, I would not recommend making this more than one day in advance.
Do I need any special tools to make this beautiful cake?
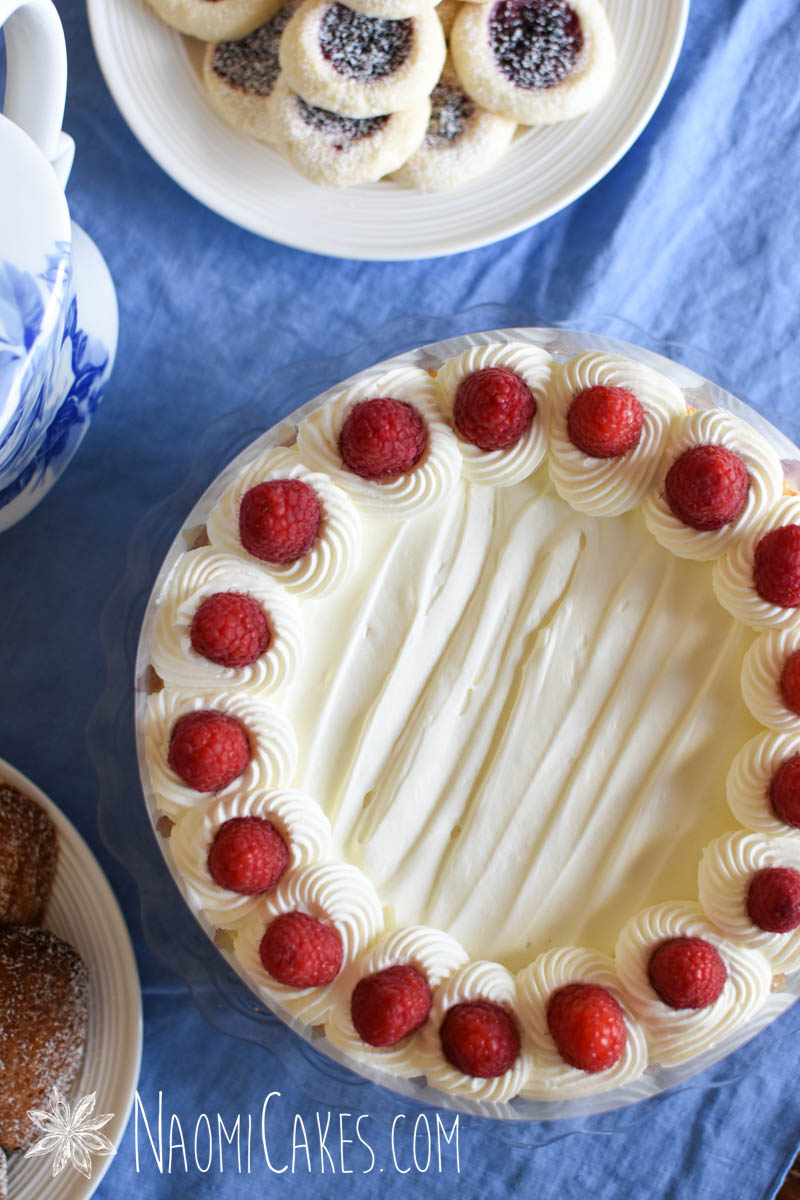
No! In fact, although I have used clear acetate to wrap my cake in this recipe, you can certainly make it without that. Also, as regards the piped swirls of cream on top, you can skip that as well. Just decorate the cake with fresh fruit and spread the cream to the edges instead of piping the border. So, simply put, no: You don’t need anything fancy to make this cake!
Can I substitute other kinds of fruit in this recipe?
Absolutely, although I would stick with fresh fruits only, nothing frozen or canned. The reason for this is to keep excess liquid down, preventing the cake from becoming soggy or losing its structure.
Can this cake be made gluten free?
Yes! I actually made two cakes when I made this one, a gluten free version and a regular. They were both spectacular, and… I’ll be honest, in some ways the gluten free version came out better! Just substitute 1:1 gluten free flour in this recipe for the all-purpose flour, and there you go. Gluten free!
How my Raspberry Sponge Cake is made
This sponge cake is one of the very simplest cakes on earth to make. The method is pretty much just that you separate the egg white and yolks, mix the yolks with sugar and your other ingredients, and then you fold in the beaten egg white (which gives the cake its structure), and then you bake it. That’s literally it! Scroll down for the recipe to check out the full breakdown of how it’s made.
You will need:
- Ingredients (see the recipe card)
- Mixing bowls
- Measuring cups and spoons
- Electric mixer or Stand mixer
- Spatulas
- Small pot
- Heat proof glass cup
- 8-inch or 9-inch cake pans
- Parchment paper
- Piping bags
- Large star tip for piping
- Angled spatula (optional)
- Clear acetate cake wrap (optional)
- Clear tape
- Serving platter or cake pedestal

Raspberry Sponge Cake
This delicious summer sponge cake is simple to make, and oh-so beautiful to add to any dessert spread. Make this cake the morning of the day you plan to serve it, or the night before.
Ingredients
- 8 large eggs separated
- 1-1/2 cups sugar
- 1 cup all purpose flour
- 1 pinch salt
- 1/2 lemon grated rind and juice
- 1-1/2 tsp unflavoured gelatine
- 2 Tbsp cold water
- 1-1/2 cups heavy whipping cream
- 1/4 cup raspberry sauce or jam see recipe notes
- 2 cups raspberries washed and chopped
Instructions
-
Lightly grease and line the bottom of two 8" or 9"in round cake pans with parchment paper.
To line the pans with parchment paper: Trace the base of the pans with pencil on the paper, cut the circles out with scissors, and then stick them to the bottom of the greased pans.
-
Preheat the oven to 350 degrees F.
-
Beat the egg yolks until light; add the sugar and beat until lemon coloured.
-
Add the flour, salt, and grated rind and juice of the lemon.
-
Beat the egg whites until stiff peaks form. Fold into the batter gently, until just incorporated. Divide the batter into prepared pans.
-
Bake for 20-25 minutes or until just starting to become golden and the cake springs back when lightly touched. (You can also stick a toothpick in and test it that way if you prefer - it should come out of a fully baked cake clean.)
-
When the cakes are done, run a sharp knife around the edges to loosen the cake from the sides of the pan. Allow the cakes to rest in the pan for 10 minutes, then turn them out onto wire racks (removing the parchment from the underside) to finish cooling completely.
-
While the cakes are cooling, wash the raspberries; set aside.
-
In a heatproof cup/mug, sprinkle the gelatine over the 2 Tbsp. cold water. Bring a bit of water to a boil in a small saucepan, and then set the cup into the water on the stove. Stir the mixture until completely dissolved and no longer grainy looking. Remove from the heat and set aside.
-
In a large mixing bowl or the bowl of an electric mixer, beat the cream until soft peaks form. Reduce the speed to low, and gradually add the gelatine mixture (do not scrape out the cup - only add what pours in easily, and soak the cup to be washed later). Once the gelatine has been added, increase the mixing speed, and whip until stiff peaks form.
-
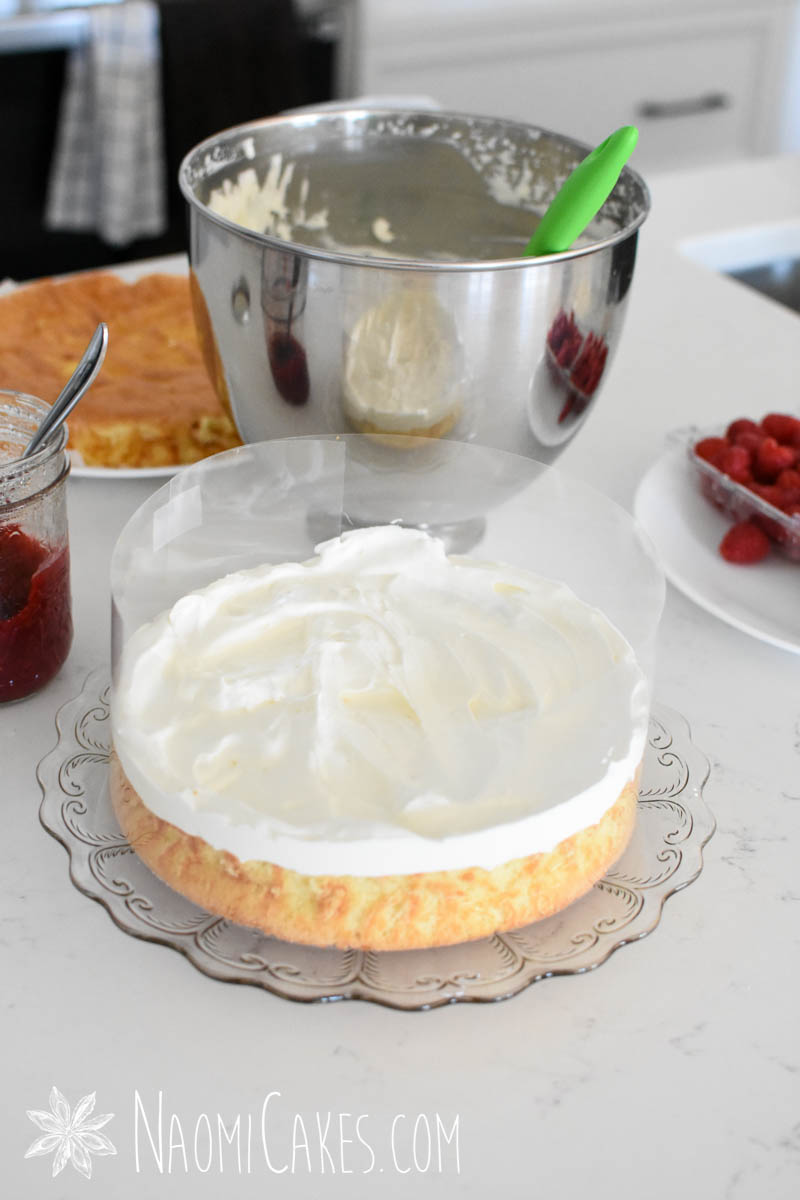
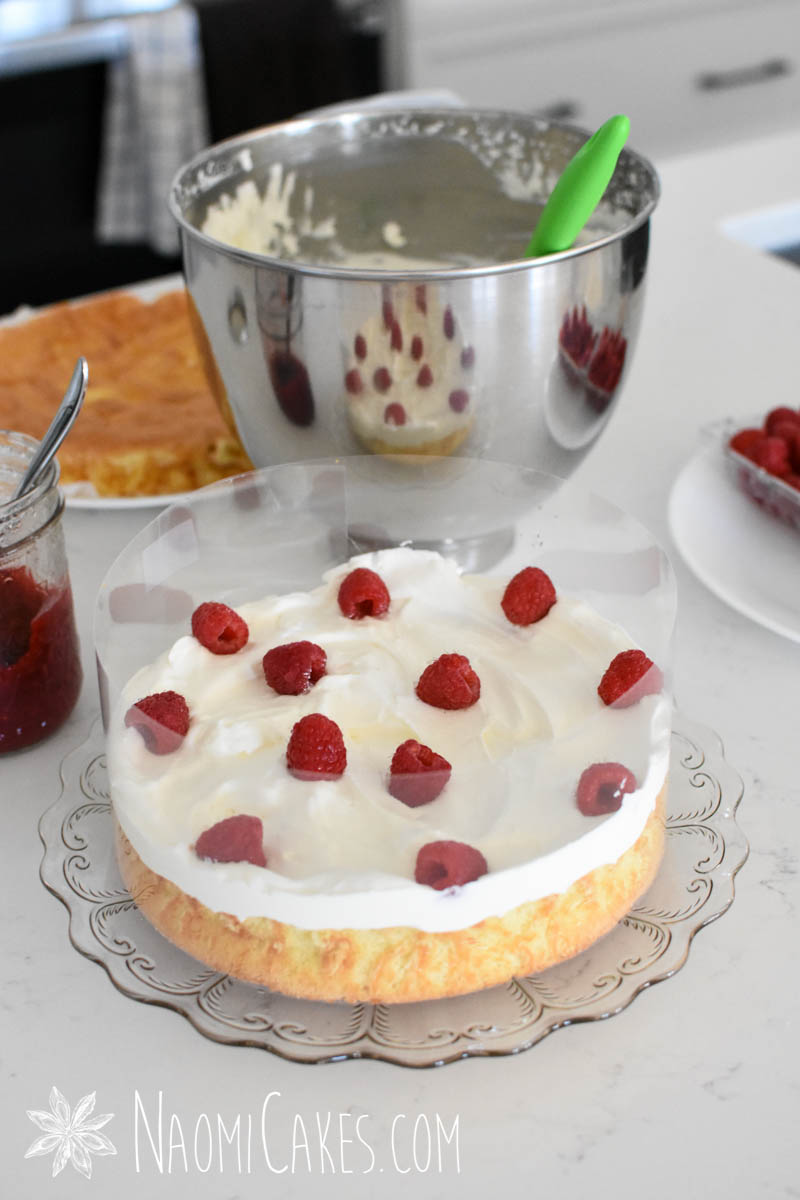
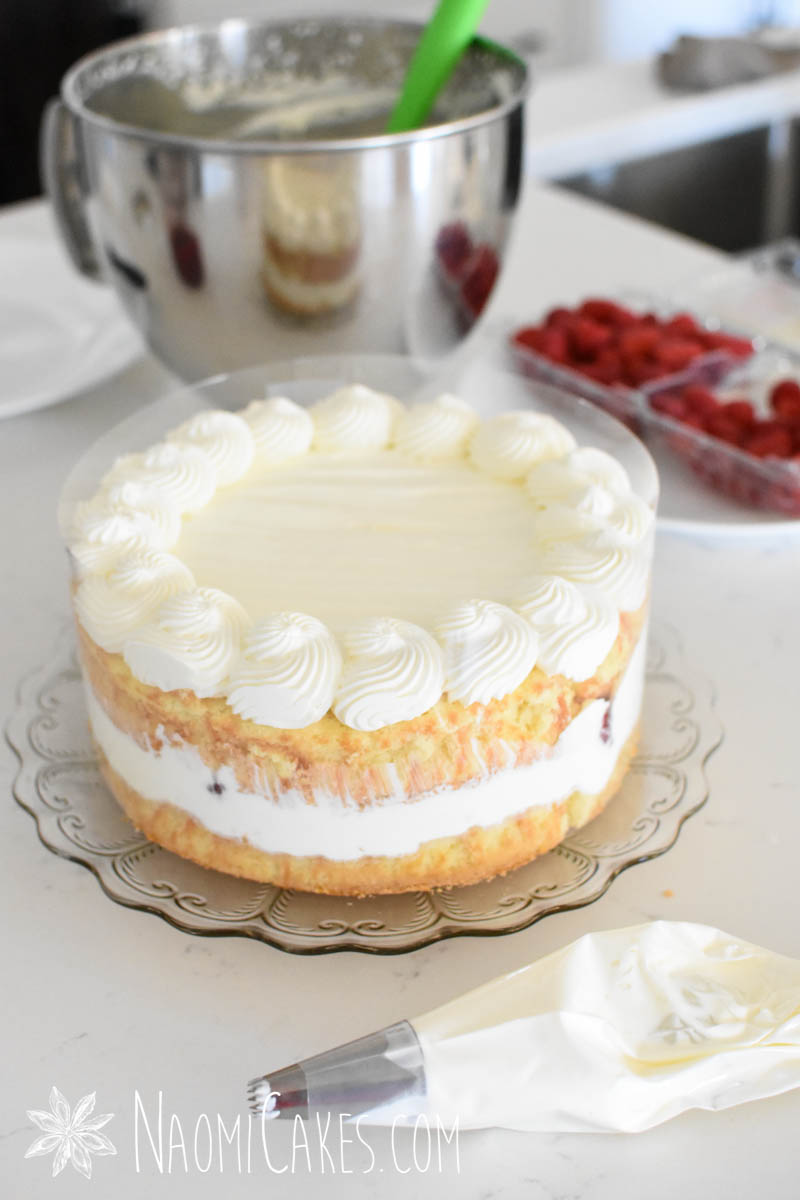
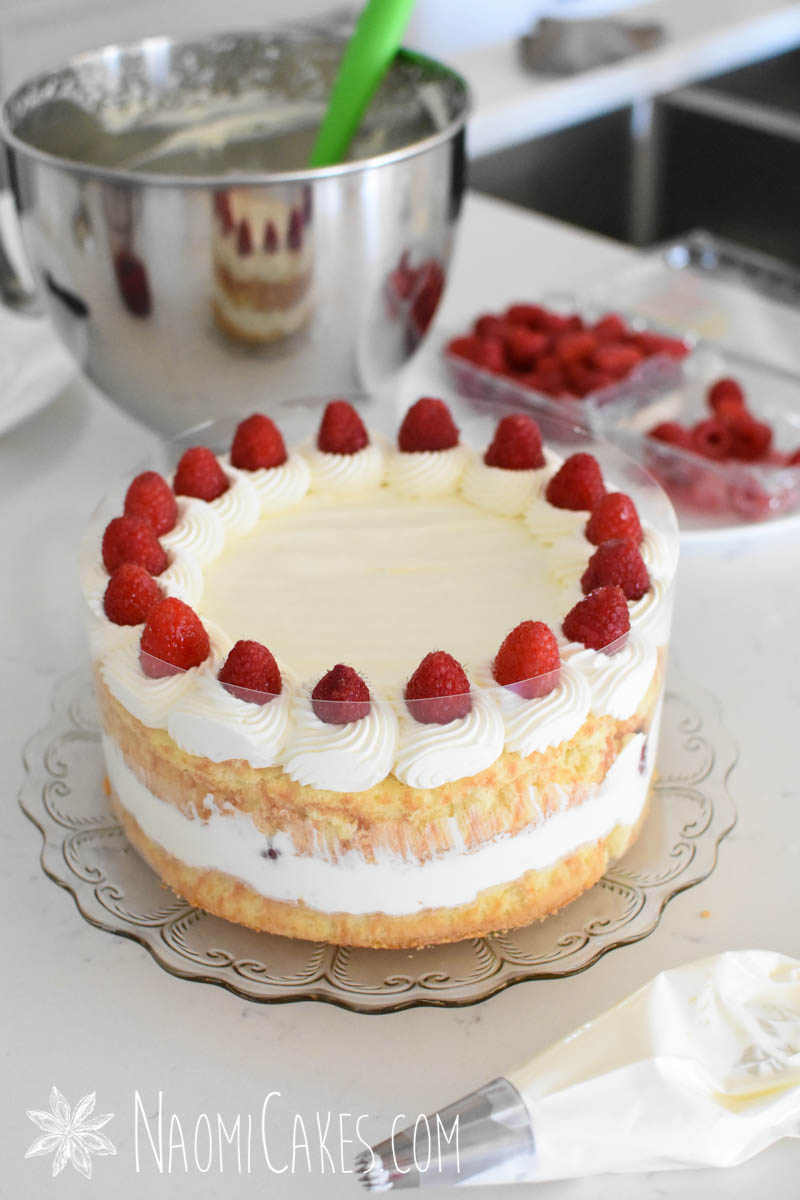
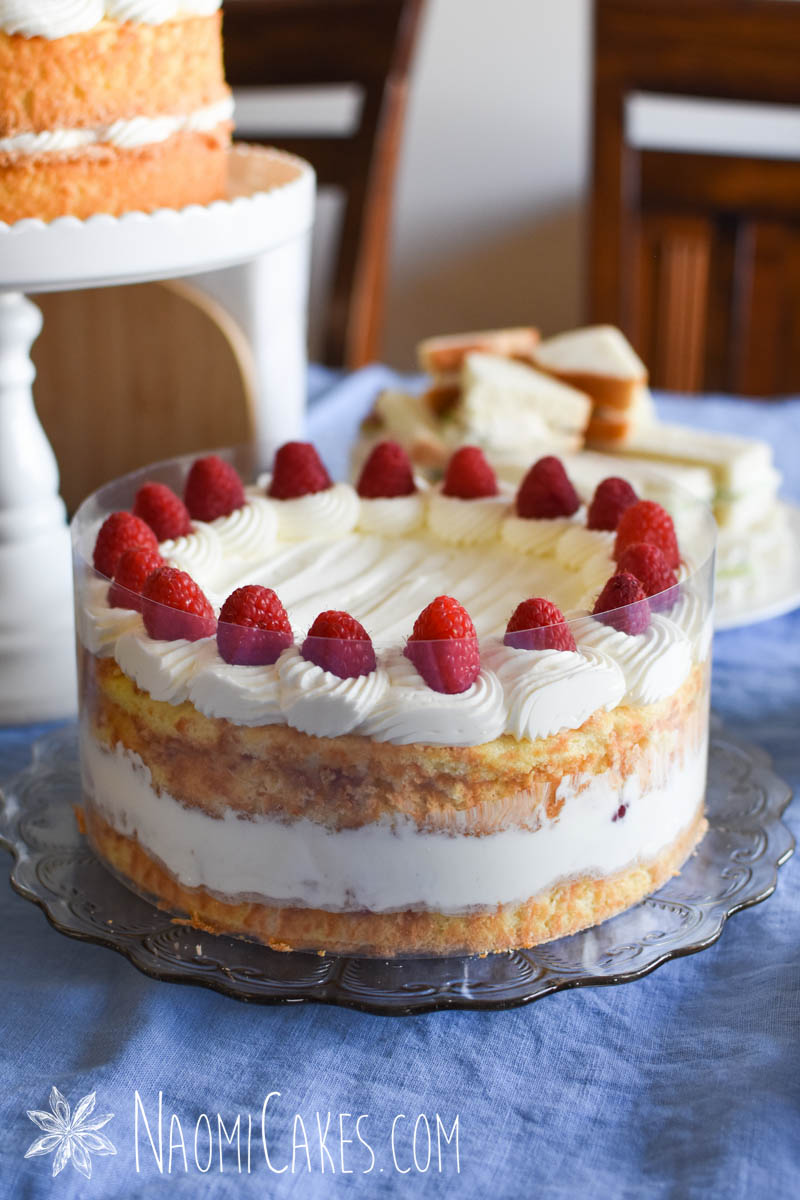
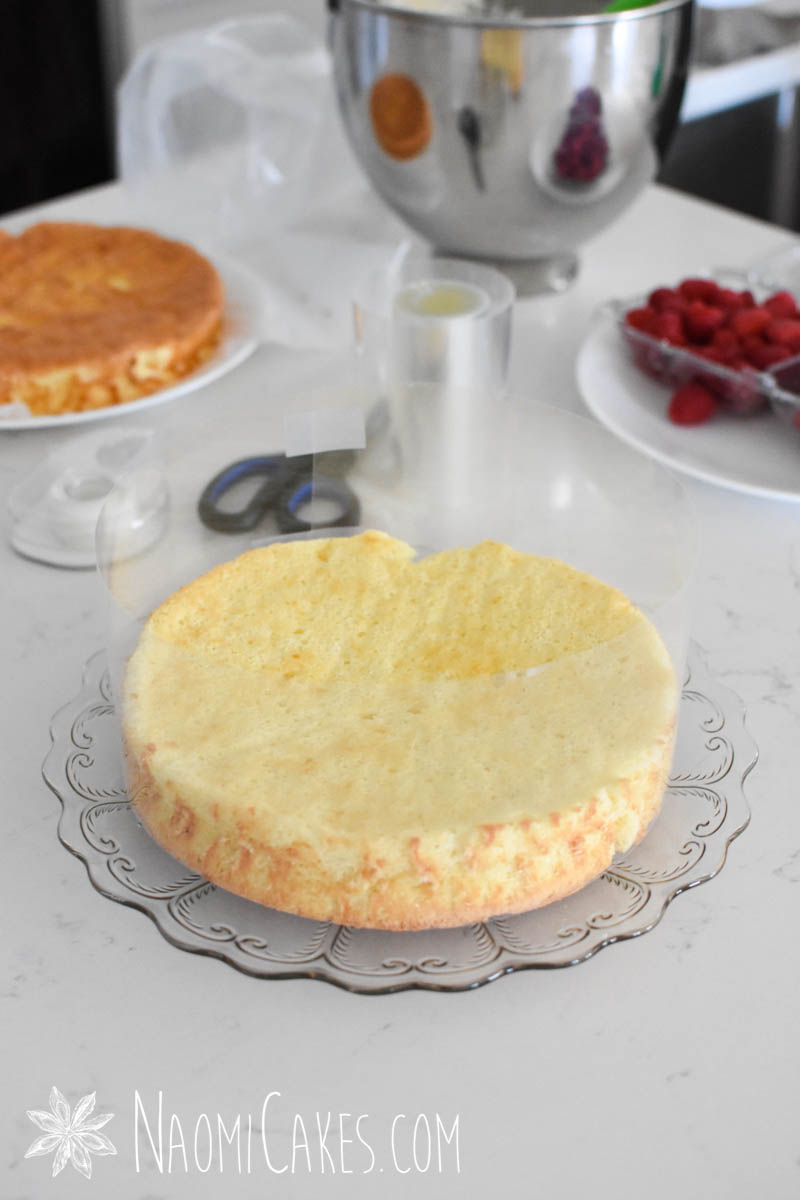
Set one round of the cake on a serving plate. Wrap the cake with an acetate cake collar (optional), and tape the collar with clear tape to secure it in place. Spread the cake with the raspberry sauce, then with about 1/3 of the whipping cream. Dot with raspberries and place the other half of the cake on top, fitting it neatly inside the collar and pressing it down lightly to cause a little bit of the cream to spill into the edge of the collar. (If you are not using a collar, you will not need to press down on the top layer of cake).
-
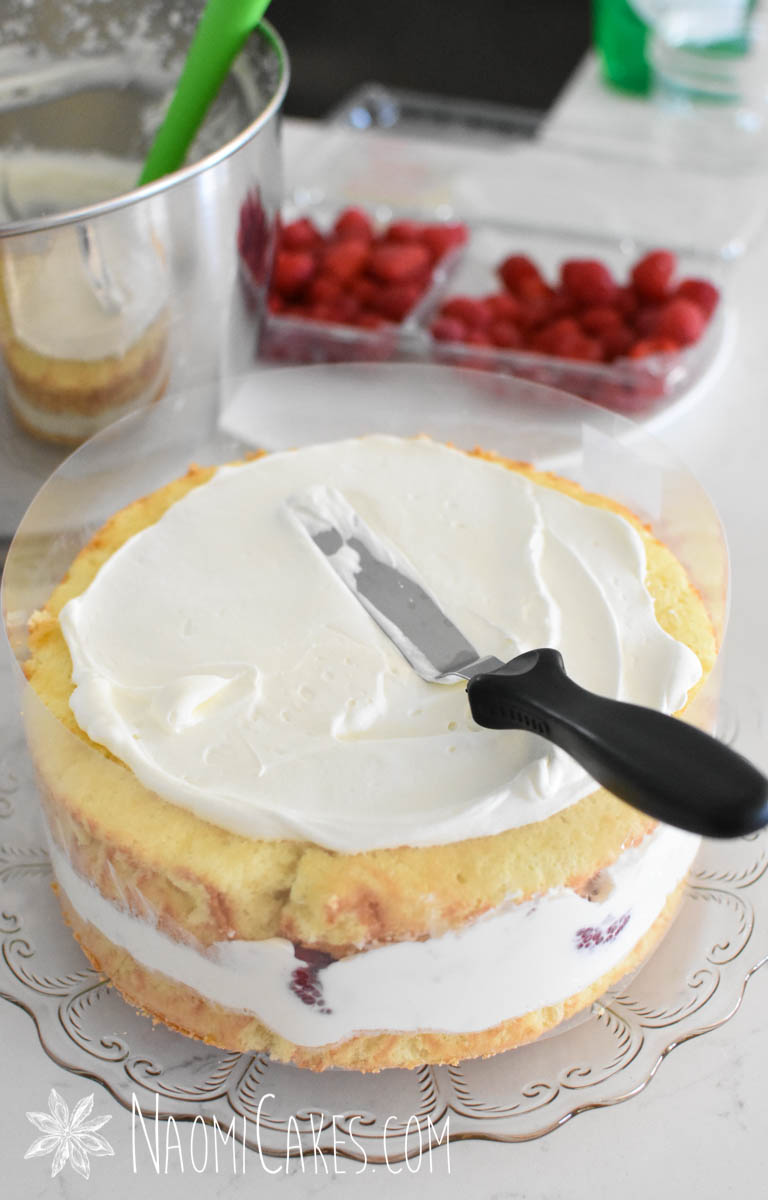
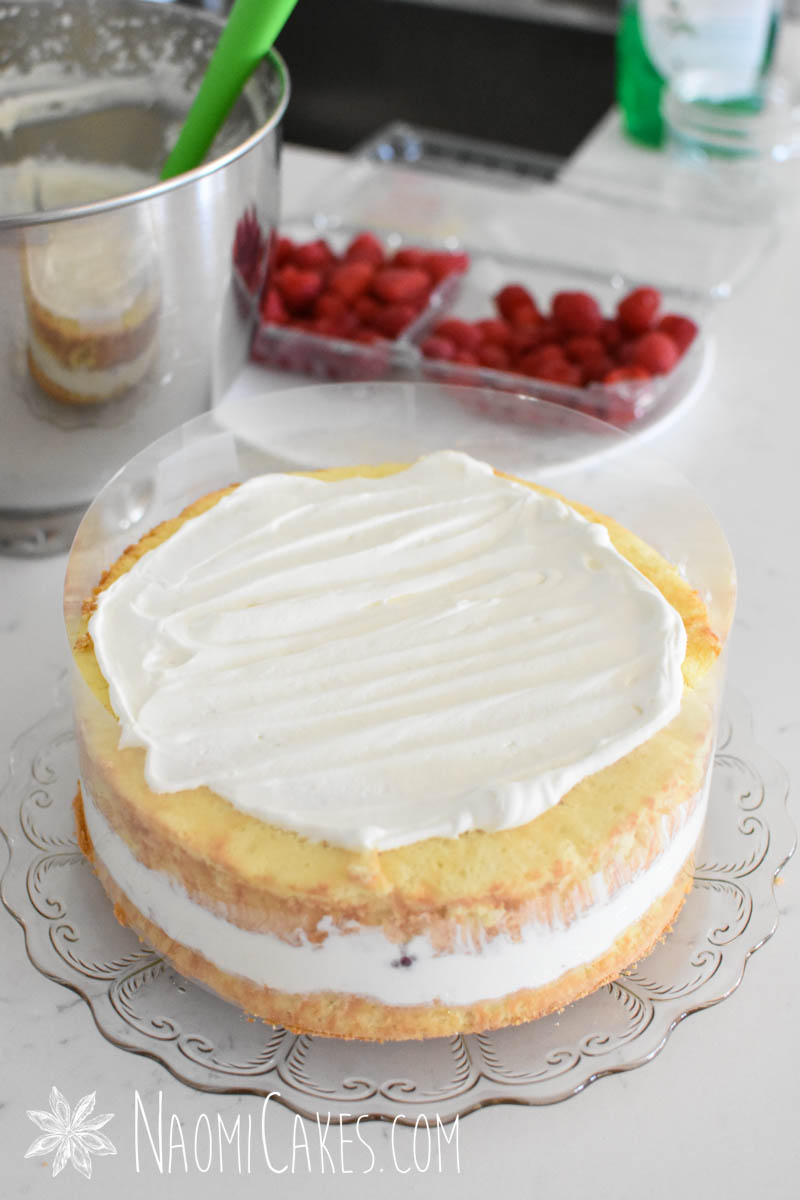
Spread another 1/3 of the cream onto the top of the cake, not quite to the edges. Cover the middle section with cream.
-
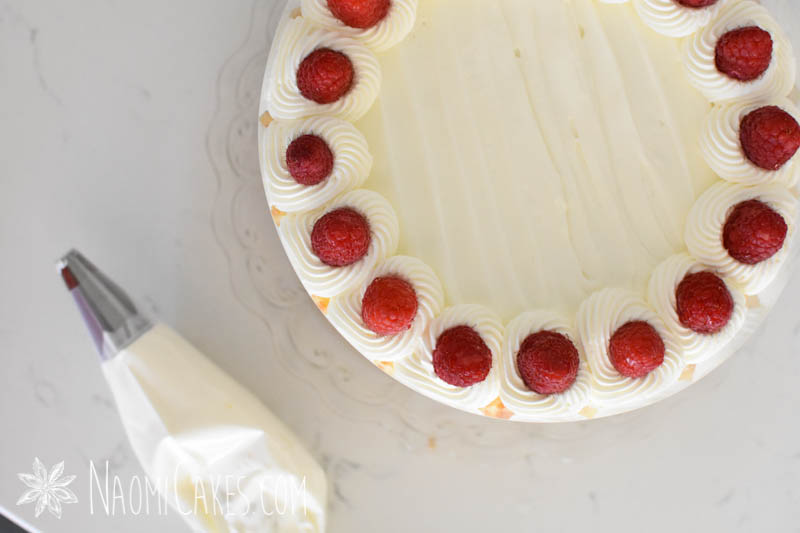
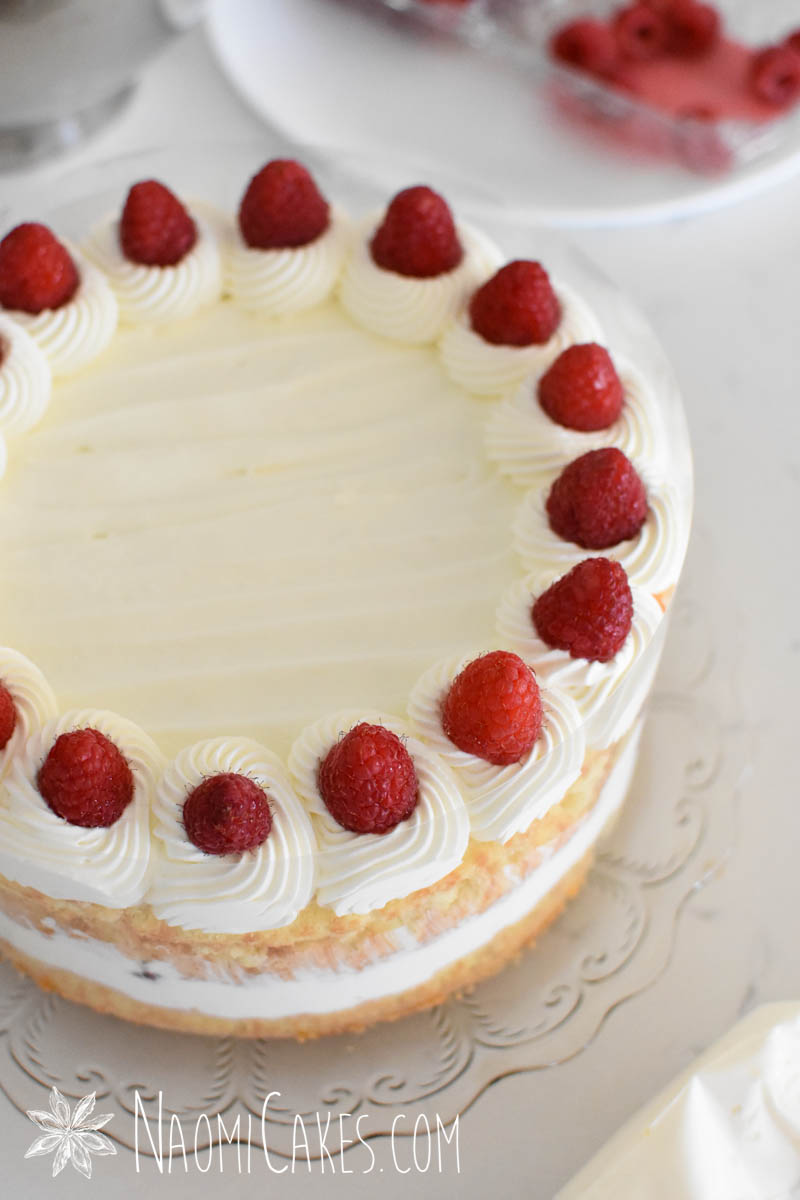
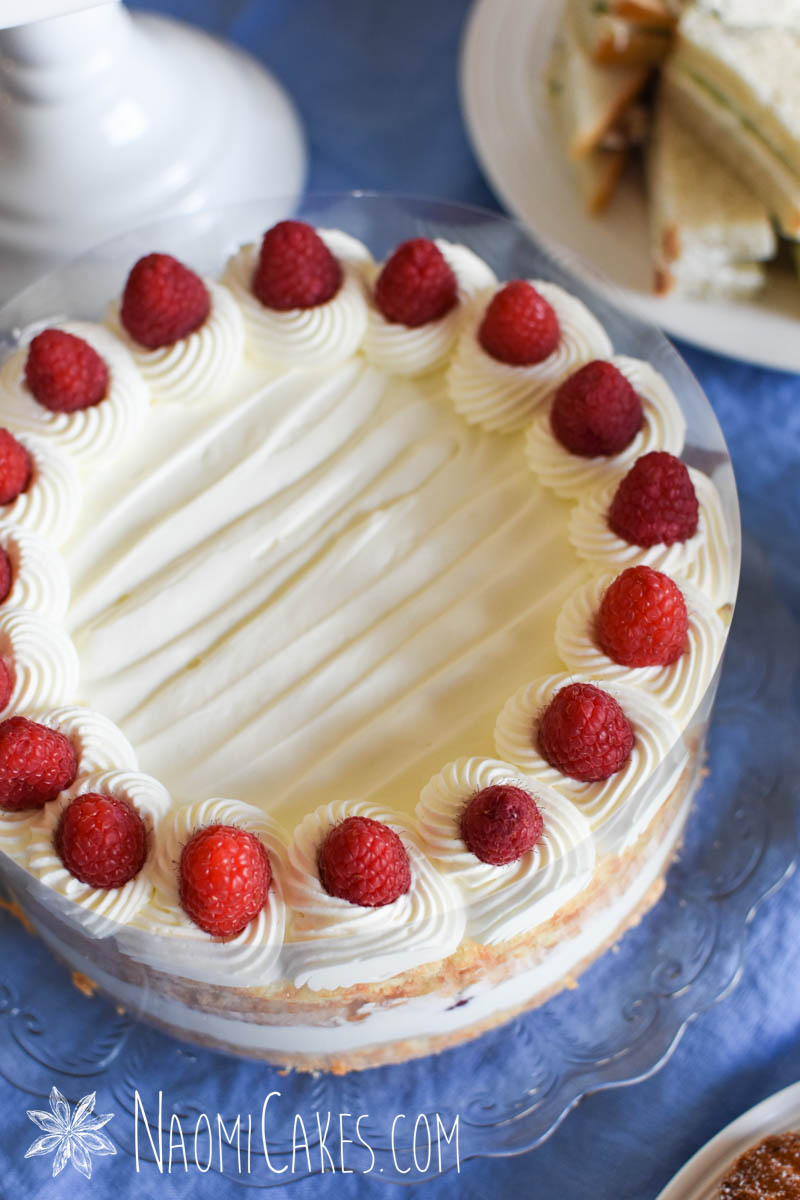
Using a large piping bag fitted with a star tip, pipe the remaining 1/3 of the cream around the edge of the cake in little rosettes. Place an upside down raspberry onto each rosette. Chill until serving, at least 2 hours. This cake is best served the day it is made or the day after, to allow it to set.
Recipe Notes
Click Here for my homemade raspberry sauce recipe!

How to cut a layered sponge cake
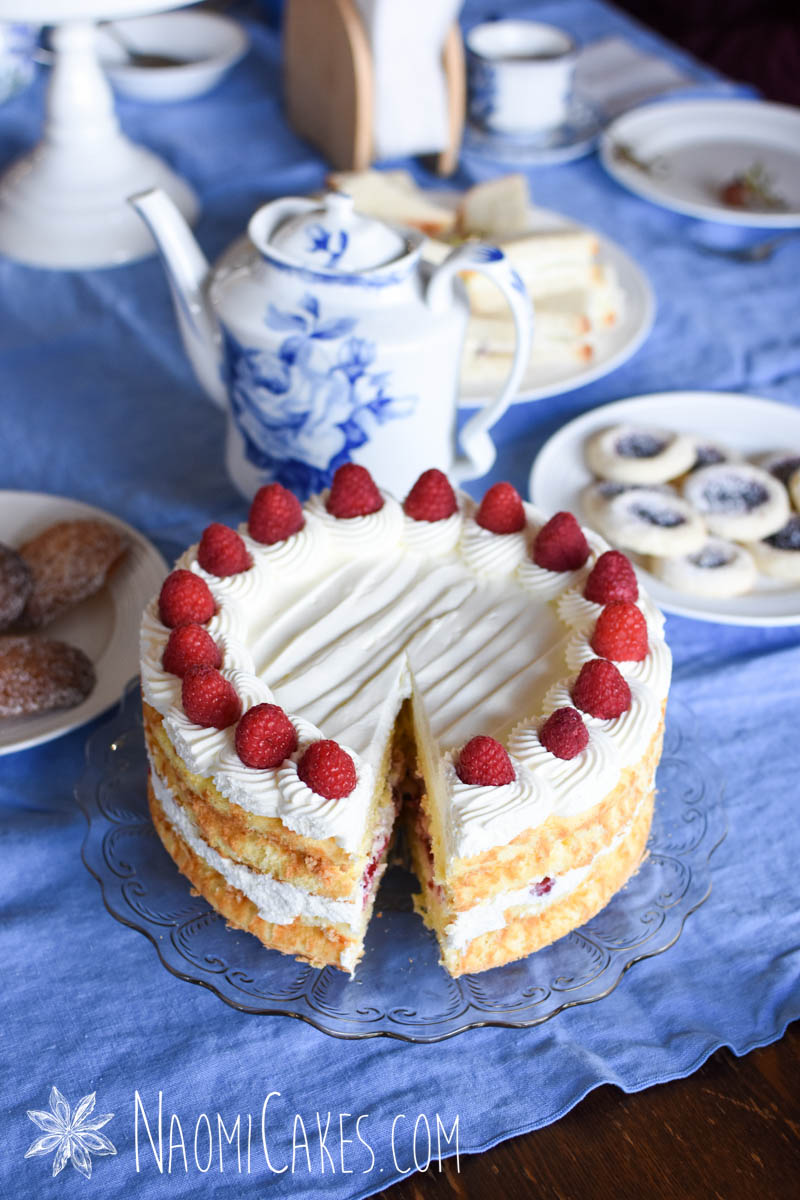
The best way to cut a sponge cake is honestly (in my opinion) with a long, serrated knife. First, remove the plastic collar, and discard. Gently saw the knife in and out of the cake for each cut, and you’ll find that this cake cuts smoothly and easily.
When to serve Raspberry Sponge Cake
I love to make these cakes for birthdays, tea parties, or just about any other special occasion. Since they are best made close to the time I’m serving them, I wouldn’t recommend making this cake for a wedding or other large occasion, unless you can put it into the hands of someone who isn’t doing all sorts of other projects close to that day.
I hope this recipe and my notes have been helpful! As always, thanks for stopping in, and if you make this cake, let me know in the comments!
Or, of course, please don’t forget: it’s always one of my favourite things when you tag me in your photos on Instagram @naomicakesofficial. I love to see your beautiful work!
Bye for now,
Naomi
This post contains affiliate links.

Enjoyed this very much…good job! – Hypatia