
Easy Pie Pastry [Recipe]
In the world of recipes, great pastry seems to be one of those things that is hard to come by. Yet, when you do find a great one, it is one of those things that you must keep, treasure, and memorize in order that it might never escape your grasp again. Behind every great pie is a perfect pastry, and that’s exactly what I’m going to offer you today!
Today I’m going to teach you how to make my favourite pastry recipe by hand, quickly and easily. Ready to get started?
Where this pie pastry recipe came from
This recipe is the one I learned how to make from my mom, and it’s my all-time favourite. It’s flaky, it’s delicious, it’s simple, and it pairs perfectly with just about any pie, both savoury and sweet.
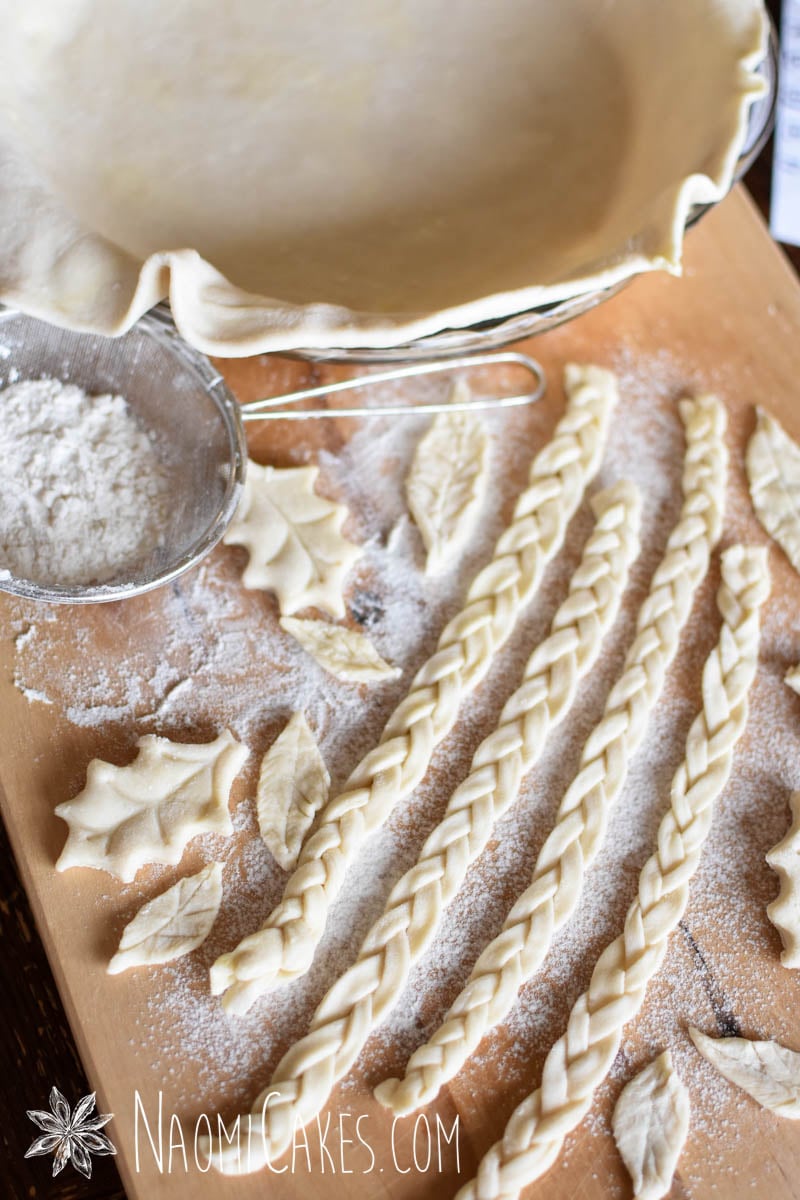
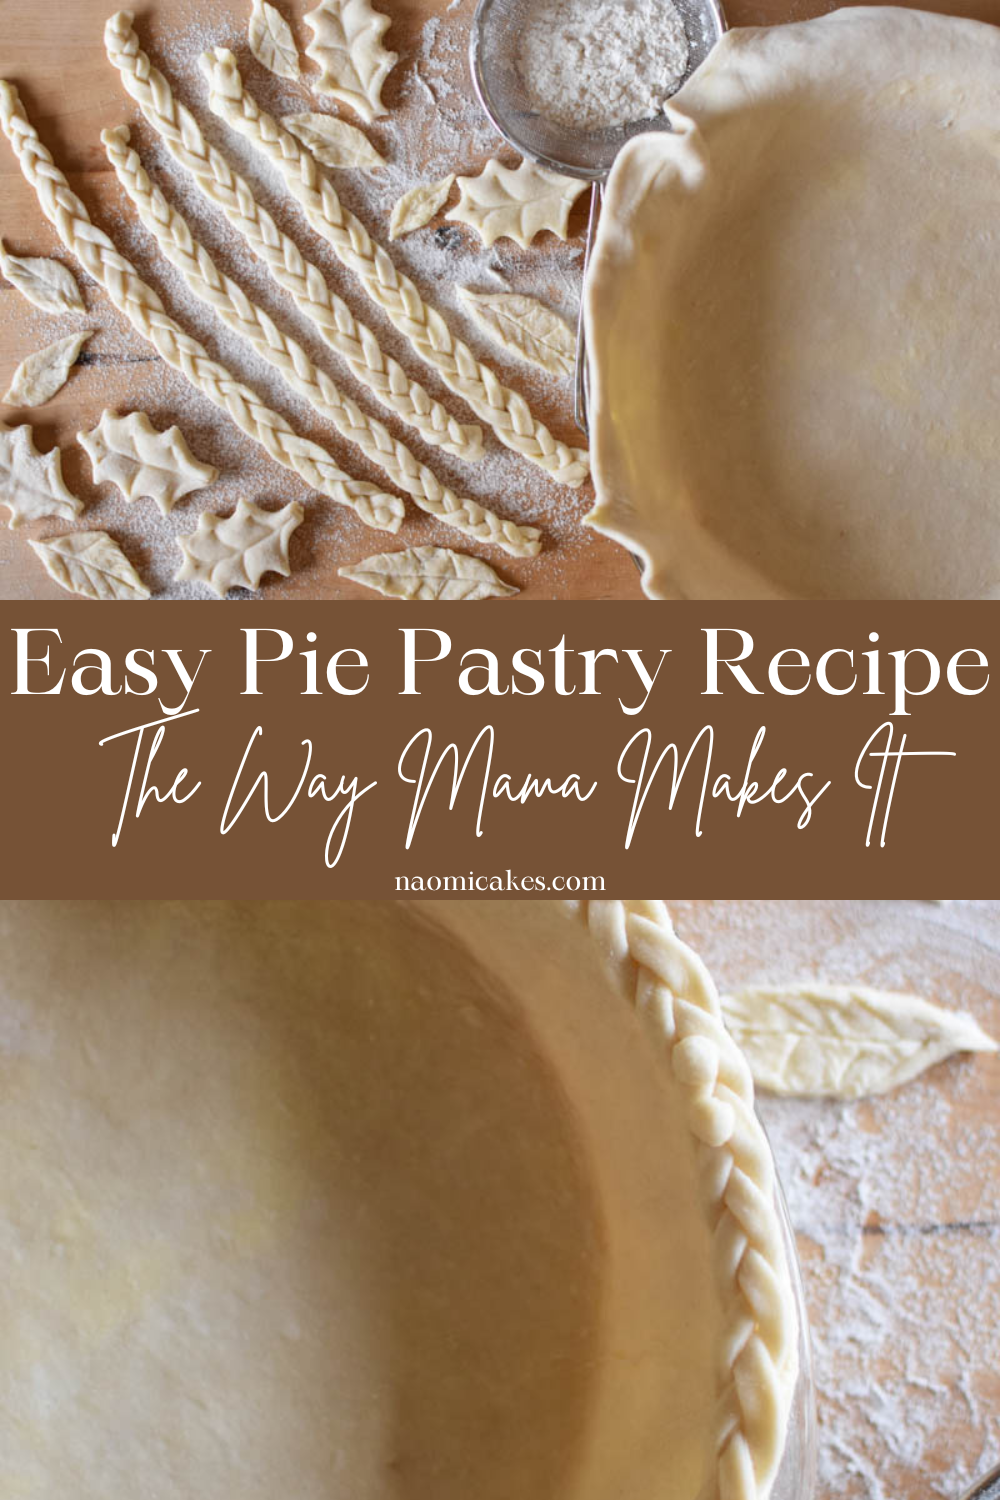
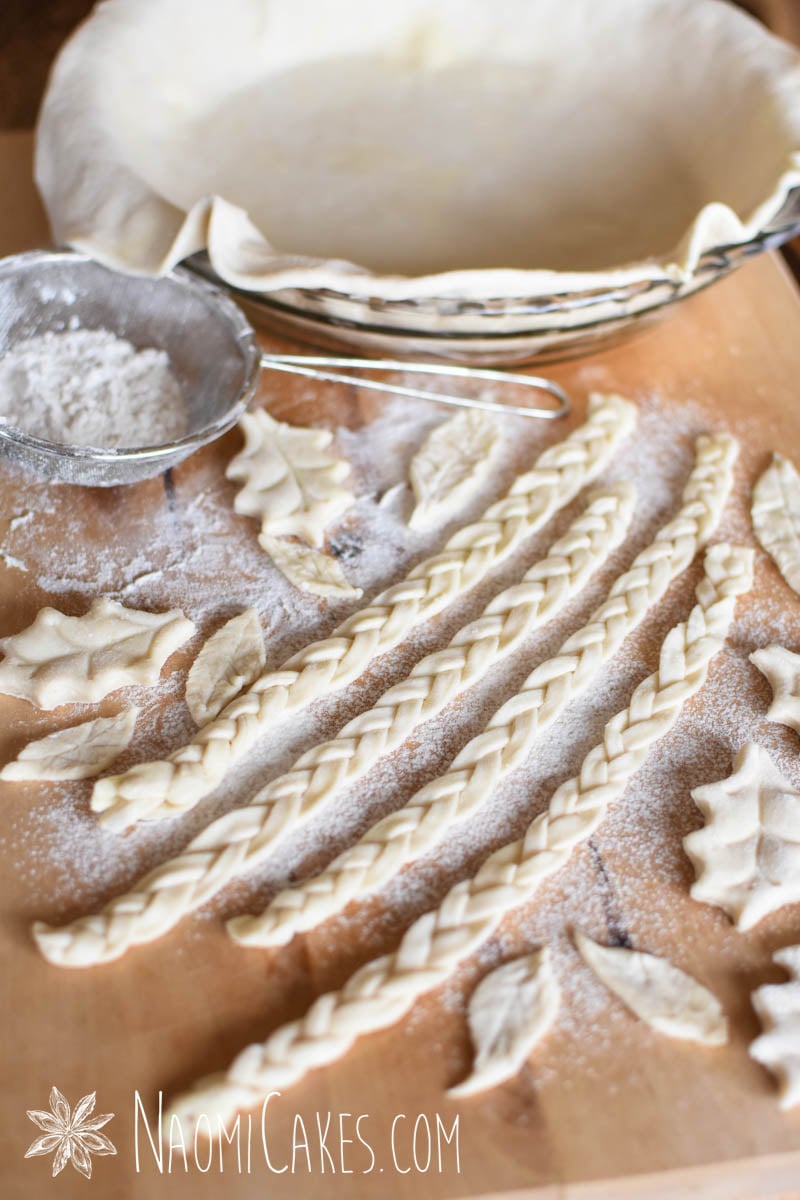
On making braided and pretty patterned crusts
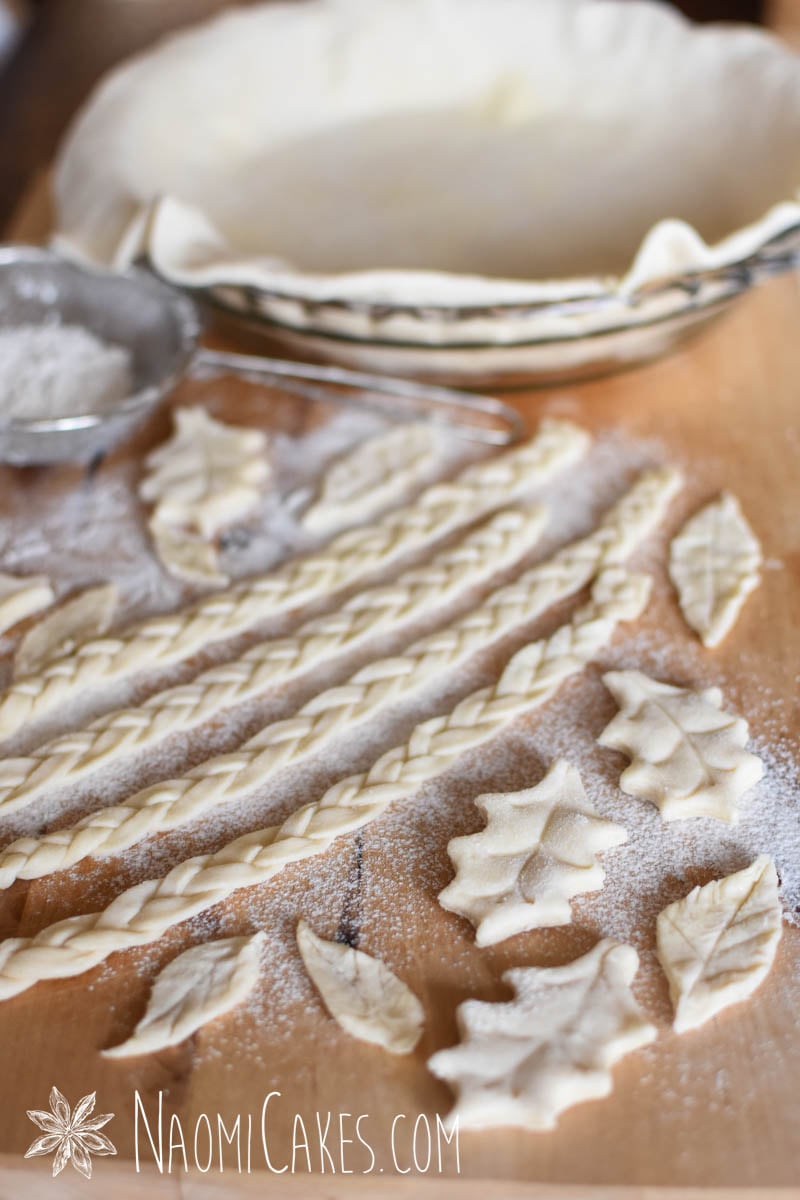
For the pictures in this post, I decided to make this pastry look pretty (because pretty pictures make me happy) with braids and little leaves and such; but I’ll be honest, this recipe does not bake super well into all kinds of fancy patterns. The reason for this is that the fat pockets throughout the dough can be quite large, making for an extra flaky end result… but also, those fat pockets can cause the dough to shrink in certain sections as the fat melts at high heat, which can really mess up the look of a delicately decorated pie. So, use this pastry for lattice pies, simple designs and certainly for simple fluted edges; but I do not recommend using it for anything more fancy looking than that!
Tips for making great pastry
- Follow the recipe!
This one goes without saying, but usually recipes are the way that they are for a reason! You will notice on mine that I have recommended not mixing the types of fat you use (such as using half butter, half shortening). The reason for this is that different fats have different textures and temperatures at which they melt, making it difficult to evenly distribute the two different types of fat throughout the dough when you make it. - Do not overwork the dough
If you over work your pastry dough, you can cause the fat to become worked in too much, creating a much more doughy finished product (like a sugar cookie, minus the sugar) rather than that beautiful, flaky finished product that you’re going for. - Use cold fat
I recommend using cold fat in your recipe because again, it will prevent the fat from becoming worked in with the flour too much, and it will enable your pastry to preserve those beautiful pockets of fat throughout to create those delicious, flaky layers. - Use cold water or ice water
Again, keeping the temperature cold will prevent the fat from melting and mixing with the dough too much. Temperature is key for making great pastry! - Roll the dough with a chilled marble rolling pin
This step is not necessary, but I have found it to change my pastry game significantly, and I’m SO happy to have this wonderful tool in my kitchen! The chilled marble keeps the pastry temperature down, and the weight of the rolling pin makes the whole process fast and easy. - Let the dough rest
If you give your pastry time to rest before you bake it, the gluten will relax and the pastry will become less likely to shrink. That said, your dough will also roll out more smoothly if it has been resting for at least 5 minutes from the time you mix it up to the time you roll it out.
My favourite tools for making and working with pastry:
- Mixing bowls
- Measuring cups and spoons
- Glass measuring pitcher
- Pastry cutter
- Bench scraper
- Sharp paring knives (for trimming)
- Small sieve
- Marble rolling pin
- Glass pyrex pie plates

Easy Pie Pastry
This is my family's favourite go-to pastry recipe. It's unsweetened, flaky, delicious and simple to make; the perfect base to every sweet or savoury pie. This recipe makes enough pastry for about 2-3 pies.
Ingredients
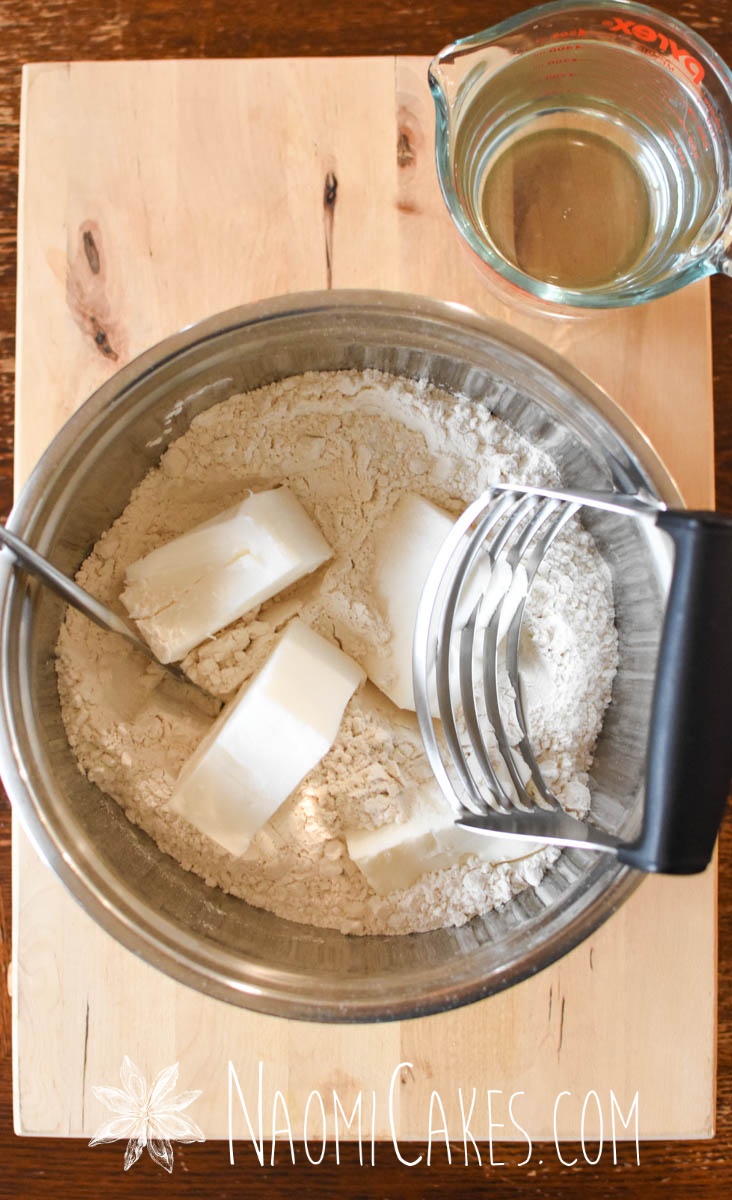
- 5 c. all-purpose flour
- generous pinch of salt
- 2 c. shortening, lard or butter (one type, don't mix different kinds)
- 2 c. cold water very cold – many recipes call for ice water
Instructions
-
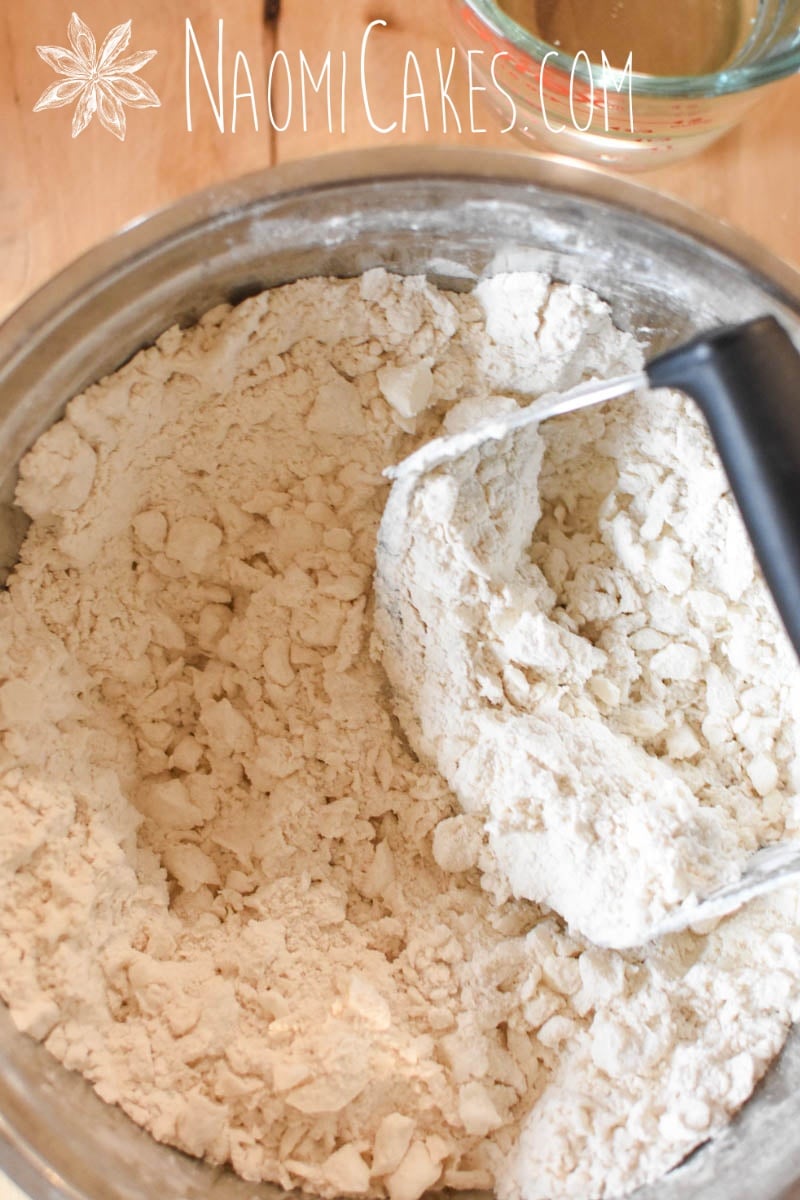
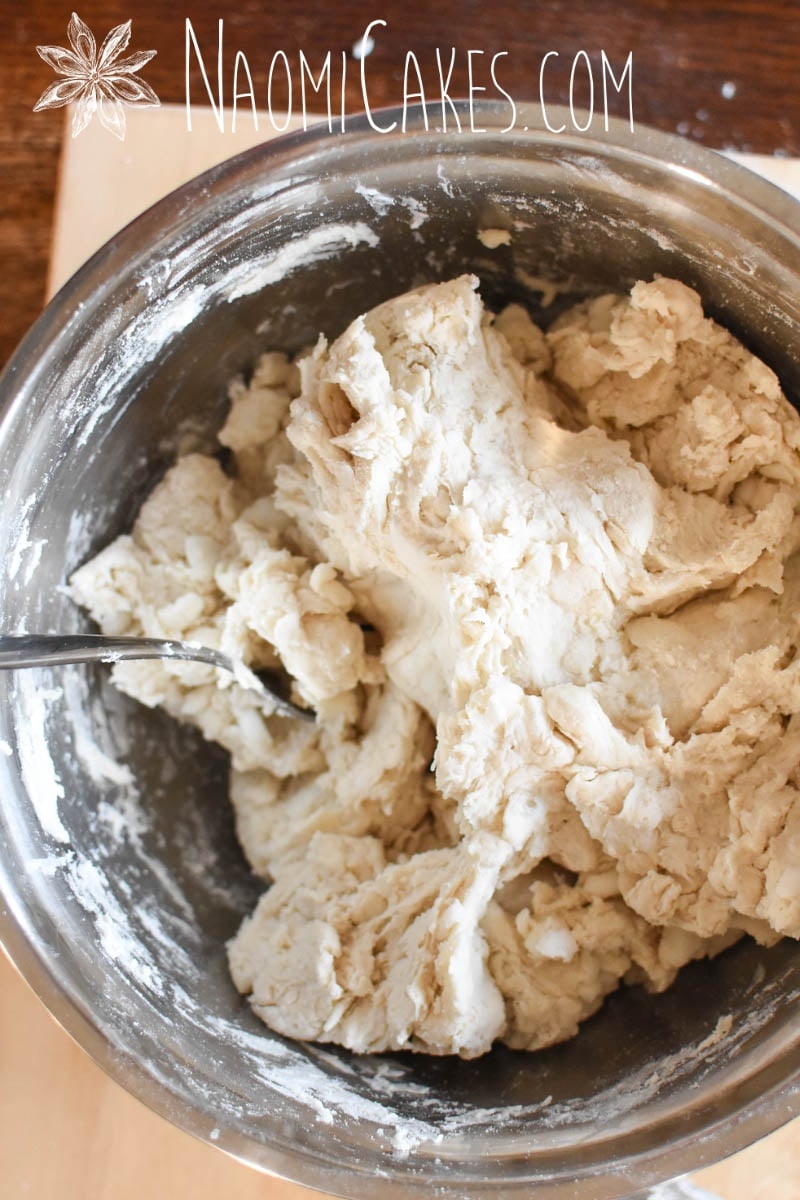
In a large mixing bowl, combine the flour and salt. Cut in the shortening until it resembles pea-sized pieces, as shown in the picture below:
-
Using a fork, make a little well in the side of the pastry and pour in the water. Use the fork to blend the flour mixture and water together, until it comes together in a soft, shaggy dough (DO NOT OVER MIX*).
-
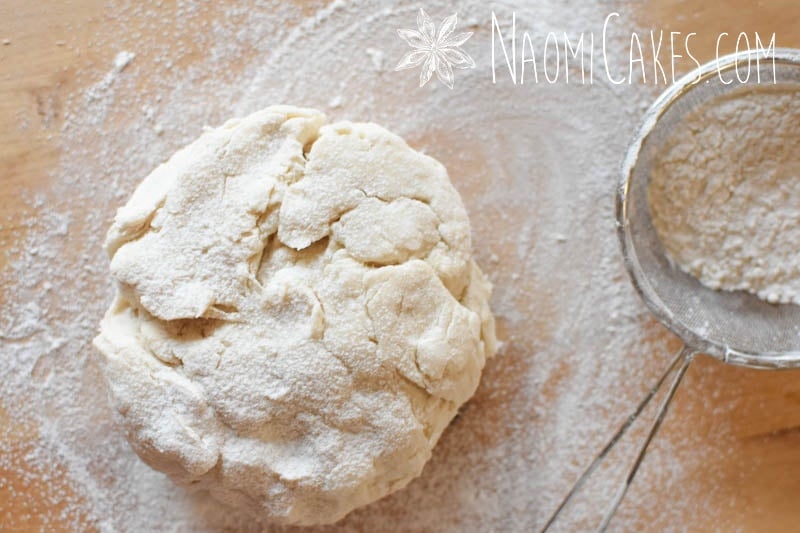
Cover with plastic if you plan to use the pastry right away, or wrap it up (ziplock bags are awesome) and put in the fridge or freezer for later use. If you aren't planning to freeze it, you will want to use the pastry within 2 days of making it.
Recipe Notes
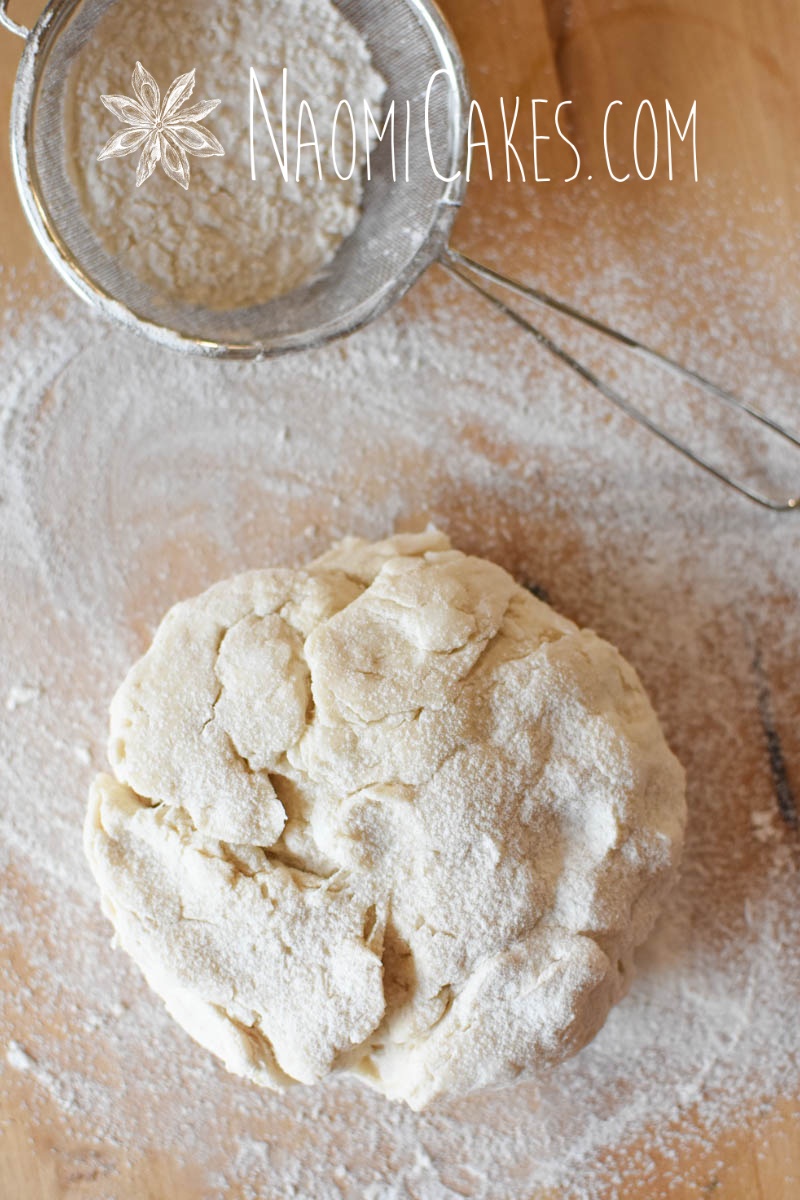
Do not over-work the dough:
Mixing it too much will cause the little bits of shortening to blend evenly into the dough, making the pastry less flaky and more doughy. The idea is that you want to keep those little fat pockets intact throughout the dough – this way, when you roll them out, they separate the dough into layers and then bake the pastry into crisp, delicious flakiness.
How to handle pie crust without breaking it
Roll your pastry into a large 10-12″ circle on a well-floured board. Fold the pastry in half, gently pick it up, and lay it into 1/2 of your pie plate. Gently unfold the dough, and then use a sharp knife or a pair of kitchen shears to trim the edges away. Press the scraps together, cover, and set them aside.
How to make a fluted edge pie crust
Roll your pastry into a large 10-12″ circle and lay it into your pie plate as directed above. Position one hand inside of the pie plate, and use your thumb and index finger to crimp the edge of the pastry against the thumb of your other hand on the outside of the pie plate. Repeat all the way around the pie plate, dusting your fingertips with with flour to prevent sticking as needed.
How to make a simple edge pie crust
Roll your pastry into a large 10-12″ circle and lay it into your pie plate as directed above. Crimp the edges with the edge of a fork dusted with flour all the way around the perimeter of the pie plate.
How to make a braided edge pie crust
This is a trick section of this post! As I mentioned above, this recipe won’t work well for a braided edge (although I did make braids for the pictures here, just because it’s pretty!).
If you want to make a braided pie crust, look for a recipe that works the fat in a little more (perhaps one that you can make in a food processor or stand mixer). Then roll the dough out as directed above, make some nice thin braids with your pastry, and lay the braids onto the edge of the crust which has been moistened with a bit of water or egg white. Allow the crust to rest at least 10 minutes before you bake it.
Some great ways to use this pie pastry recipe:
- Chicken Pot Pie
- Apple Rhubarb Pie
- Miniature Cherry Pies
- Miniature Lemon Meringue Pies
- Lemon Blueberry Tarts
- Blueberry Pie (Filling recipe)
- Apple Pie (Filling recipe)
- What to Do with Leftover Pie Pastry
As always, if you make this recipe I’d love to hear what you think! Drop me a note in the comments, or go ahead and tag me in your pictures on Instagram @naomicakesofficial. I can’t wait to see what beautiful pies you create!
–Naomi
This post contains affiliate links.
This recipe looks similar to the one I've used, but I'm always looking for ways to improve my pastries. I can't wait to try it and who wouldn't take to advice of a professional, right? Thanks, Naomi.