
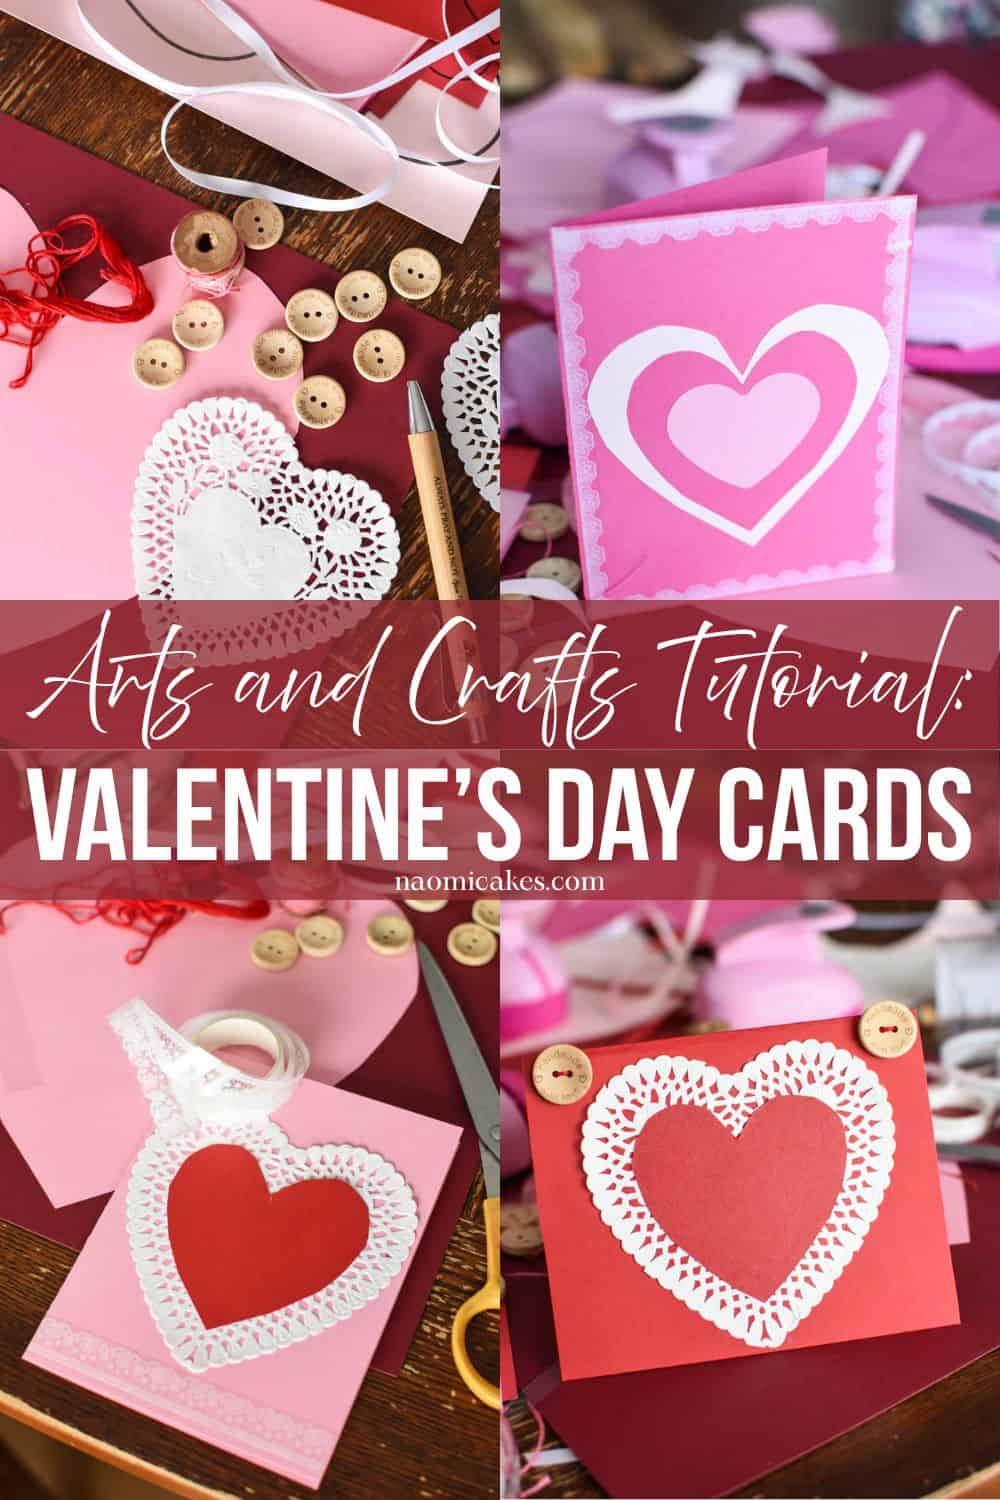
Homemade Valentine’s Day Cards [Arts and Crafts Tutorial]
Ok guys, today I have a fun family arts and crafts project for you: making homemade Valentine’s Day cards!
This post is meant to be an inspiration for turning blank cards (from beautiful paper) into handmade greeting cards that say “I love you” before they have any words on them at all.
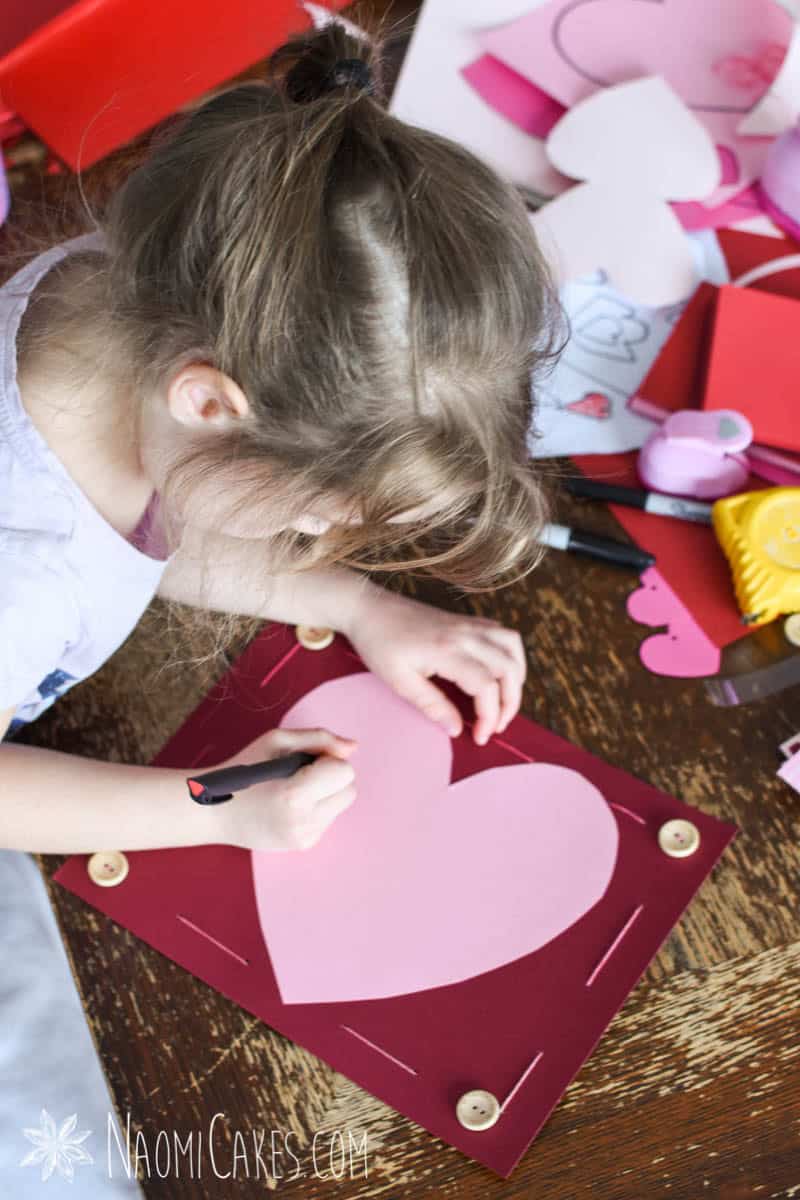
This is one of those Valentine’s Day crafts that will keep the kids busy, keep you inspired, and make winter days a little more fun for everyone. All you need is a few simple supplies, a family member or two (or in my case, four), and a couple of free hours to fill with something creative.
In this post:
- Making Valentine’s Day special for the whole family
- The easy way to make a Valentine card
- Tips for making homemade cards with kids
- How to Make Handmade Valentines
- You will need
- Printable Tutorial
- Other great accents and supplies
- If you like this tutorial, you may also like
Making Valentine’s Day special for the whole family
As a kid, I remember that my mom always took special care to make Valentine’s Day more than just a day for couples in love. Rather, it was a day to show your family that you love them, and an opportunity to create special memories in the dead of winter.
Now, raising my own family, I am trying to carry on her enthusiasm for making every day count and make special moments out of little things by making hot chocolate after we play in the snow, sugar cookies and homemade cards for Valentines, and tea parties for days when we can’t get outside. Ordinary things can be special if you make them special; and that’s what this post is all about!
The easy way to make a Valentine card
If you’re thinking that this tutorial is for the experts with all of the cool supplies, you can think again! I am no crafting expert; I just like to do it for fun, and to bring my people into my joy of it as much as I can.
While I will offer a list of supplies (and another list of supply ideas) that you can get to make these cards more fun, all you really need is some paper (or ideally, card stock), scissors, a pen, and a little creativity. You can make a simple heart cutout by folding a piece of paper in half and cutting the half-heart, rather than printing heart templates or cutting out heart shaped stamps. Don’t worry about spending lots of money to make this happen; do it according to your means, and make it special by doing it with the people you love.
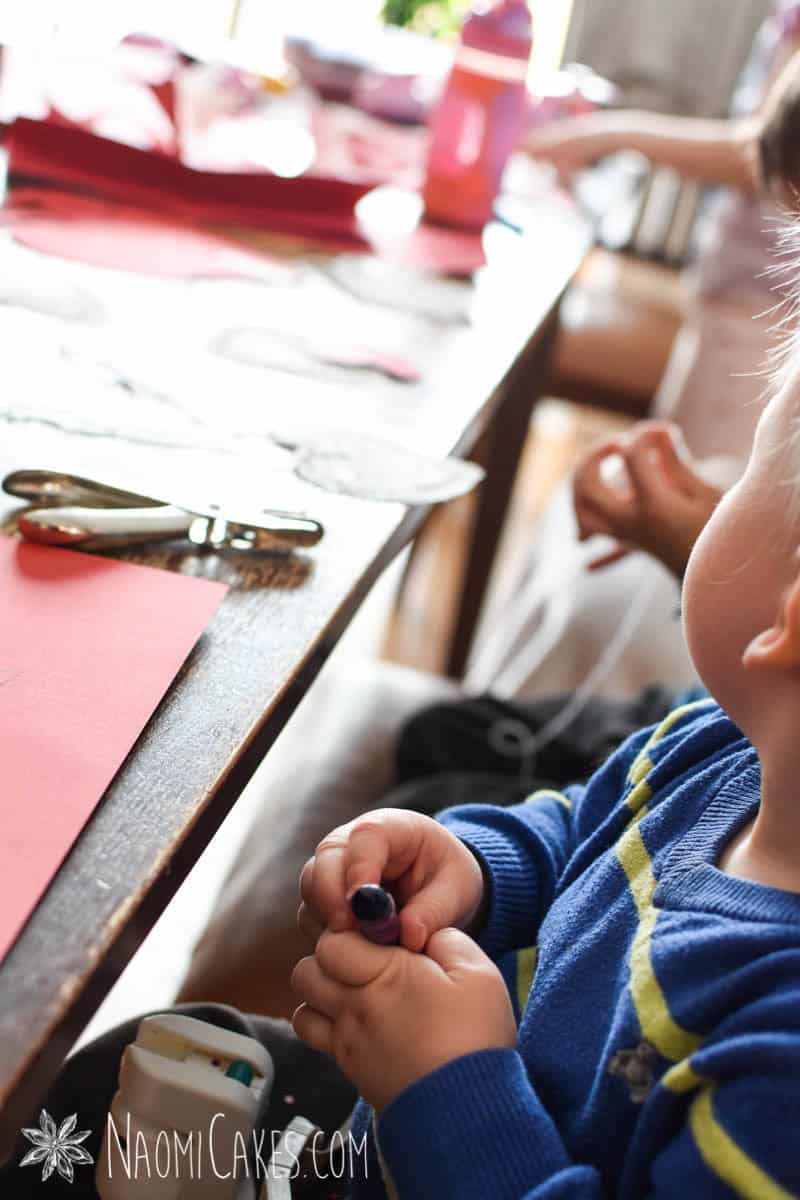
Tips for making homemade cards with kids
If you have older kids, these tips might not apply as much; however, making these cards with 4 kids 5 and under did teach me a little bit of wisdom that I can pass on to you here. Here are my best ideas for two different ways of hosting your family for a fun crafting adventure. (If you know of a better way, let me know in the comments!)
An orderly mess
If you’re the type to get overwhelmed by mess, there are a few things you can do to keep the chaos to a minimum.
1 – Pre-cut your heart shapes
Honestly, one of the most chaotic parts of letting crafts happen with kids is the scissors and the mess they bring. Kids love cutting paper, and let me tell you—trying to get them to cut specific shapes for specific reasons (especially when the kids are very young) can be a challenge!
To avoid the scraps, hearts made into confetti, and other stories – go ahead and get the cutting done before everyone comes to the table. You can use my free heart template for making these cards with uniform, perfect heart shapes.
2 – Measure and cut ribbon and string ahead of time
Another area of cutting that can get out of hand is string and ribbons. It’s amazing how many yards of long, tangled strands can get jumbled together in one crafting session… or chopped into lengths so small that they can no longer serve any purpose.
To avoid ribbon waste, you can cut pre-measured lengths of ribbon ahead of time (about 12″ for most of these cards), and put the spools of extra string or ribbon out of reach unless you need them again.
3 – Choose your craft design in advance
Honestly, I love letting kids run wild with their creativity and let their designs surprise you. That said, some kids prefer to have a template figured out for them, and directions to follow.
To keep mess at a minimum, and to make the craft easier for certain temperaments, you can choose your card design ahead of time and coach the child through the process of making their specific design.
4 – Set up orderly stations for each child
Setting a pile of supplies in front of a kid can be overwhelming. If you set their place at the table with a certain number of supplies to work with, however, you might find the whole process a little more orderly and clean.
A chaotic creativity zone
If you’re more like me, however, and you find the “lay it out and let it happen method” perfectly reasonable (at times—and maybe even kinda fun), then making these cards is easy. Just print your templates, lay out your supplies, buckle the baby into a high chair (far away from scissors), and let the magic happen!
I’ll be honest, both methods of organizing (or lack thereof) appeal to me at different times. Different days and different kids can make me choose a particular route of planning over the other. One way gives you a cleaner home and more sanity, while the other way (letting the kids try their hand at cutting out shapes) can help them develop fine motor skills and have a little more fun.
Regardless of how you do it, enjoy the process; this is about having fun and making memories together!
How to Make Handmade Valentines
Here’s a step-by-step tutorial on how to make a Valentine’s Day Card out of basic card stock, and then how to turn them into something personal and beautiful with just a few accents.
1 – Make the cards
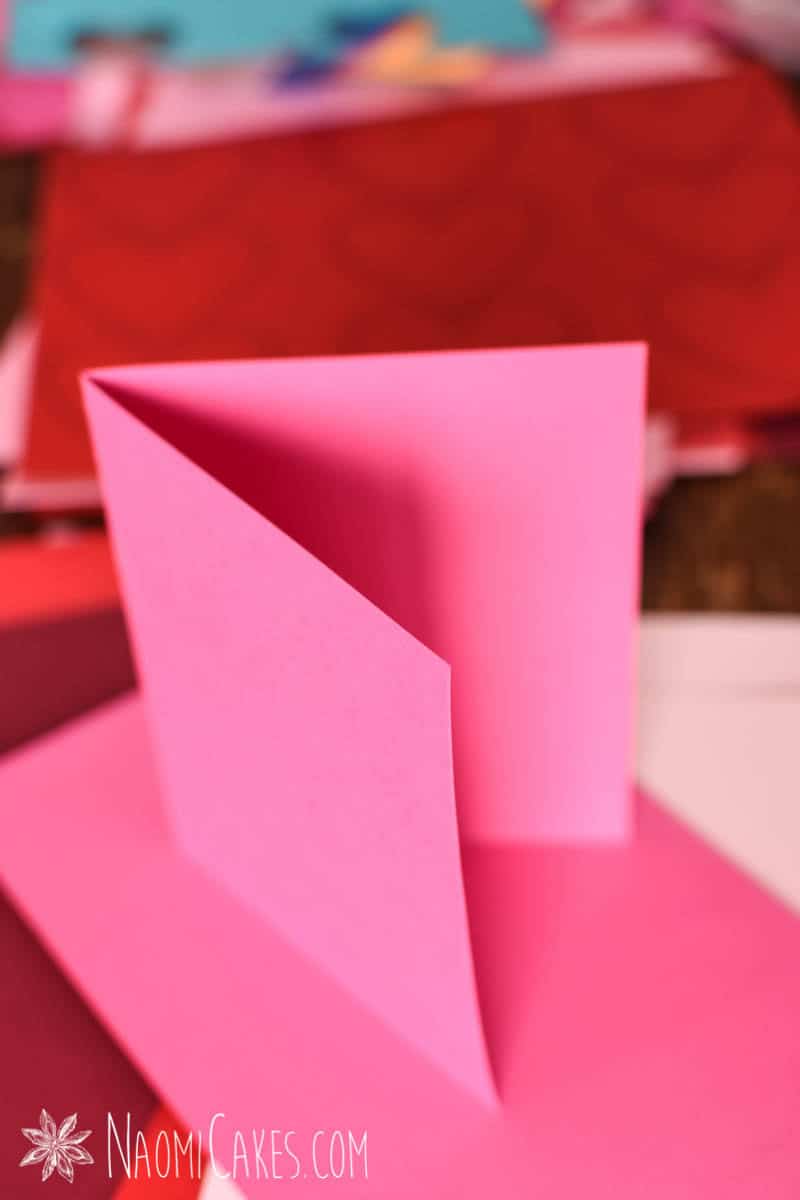
Take a piece of card stock and lay it out in front of you horizontally. Measure across the width of the paper and make two little tick marks at the halfway point at two different heights on the paper (I used US Letter sized paper, so I made my 1/2 way marks at 5.5″).
Use the two marks to line up a ruler, and draw a straight line halfway down the page to make 2 equal sections. Cut the paper in half down the line, and fold each section in half to make your blank cards.
2 – Assemble the cards
For this section, obviously, you can do whatever you want to make your cards unique and most like you. There is no perfect way to do this! If you want some specific tips and inspiration, however, here is how I made each of the cards in this post (in bullet point form; check out the pictures to get a good visual). You can check out a list of what you will need to make cards like mine Here.
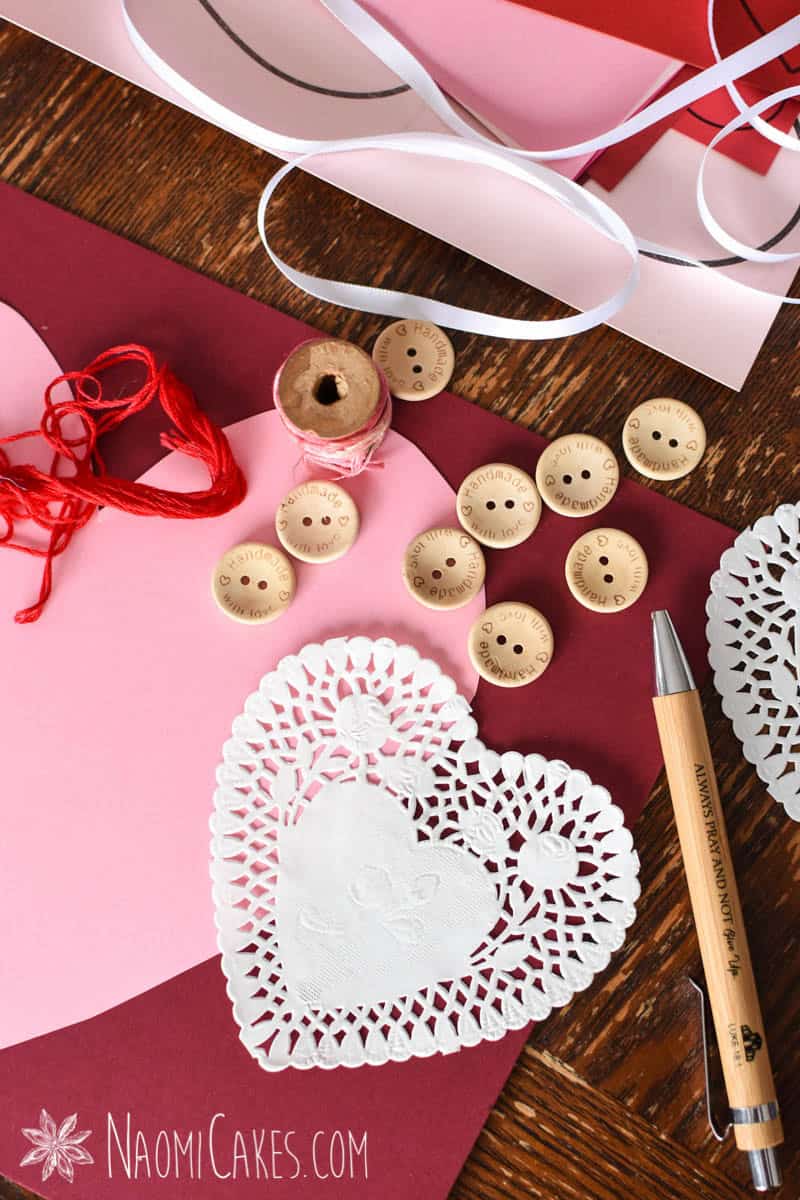
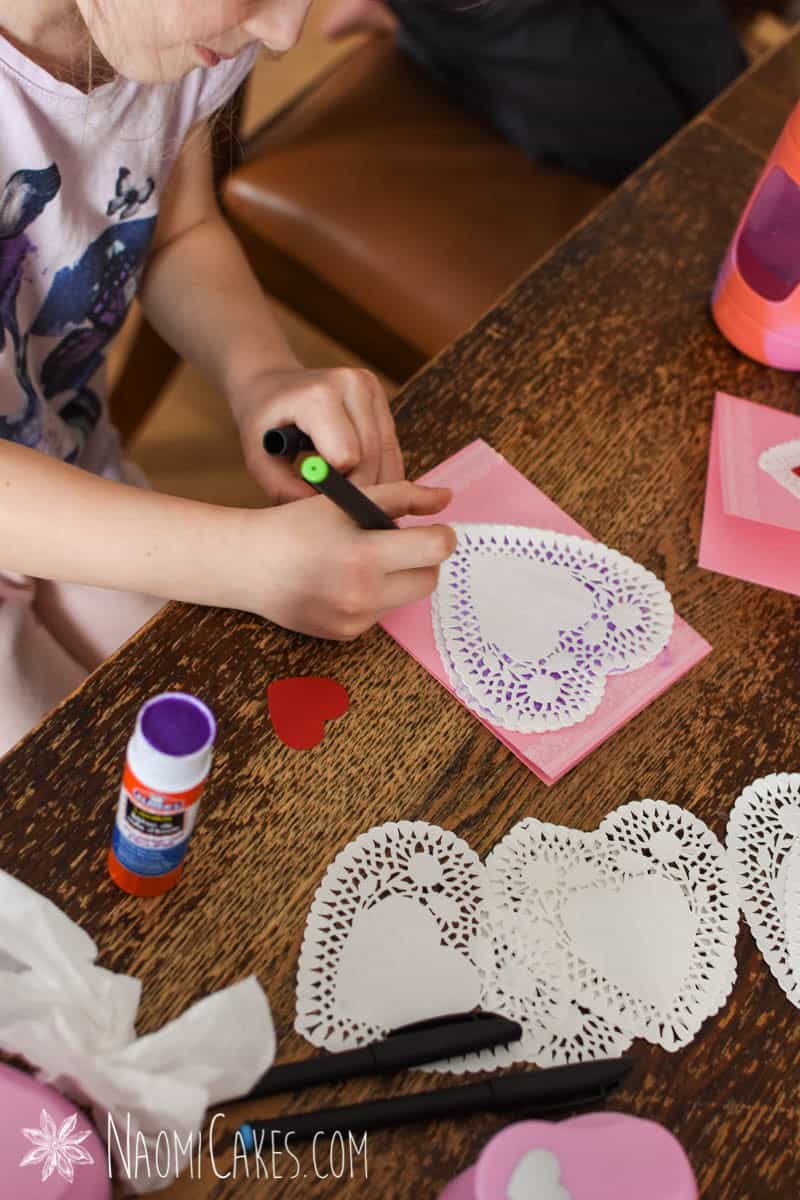
For all of these designs, I used a simple glue stick to attach hearts and doilies to the cards.
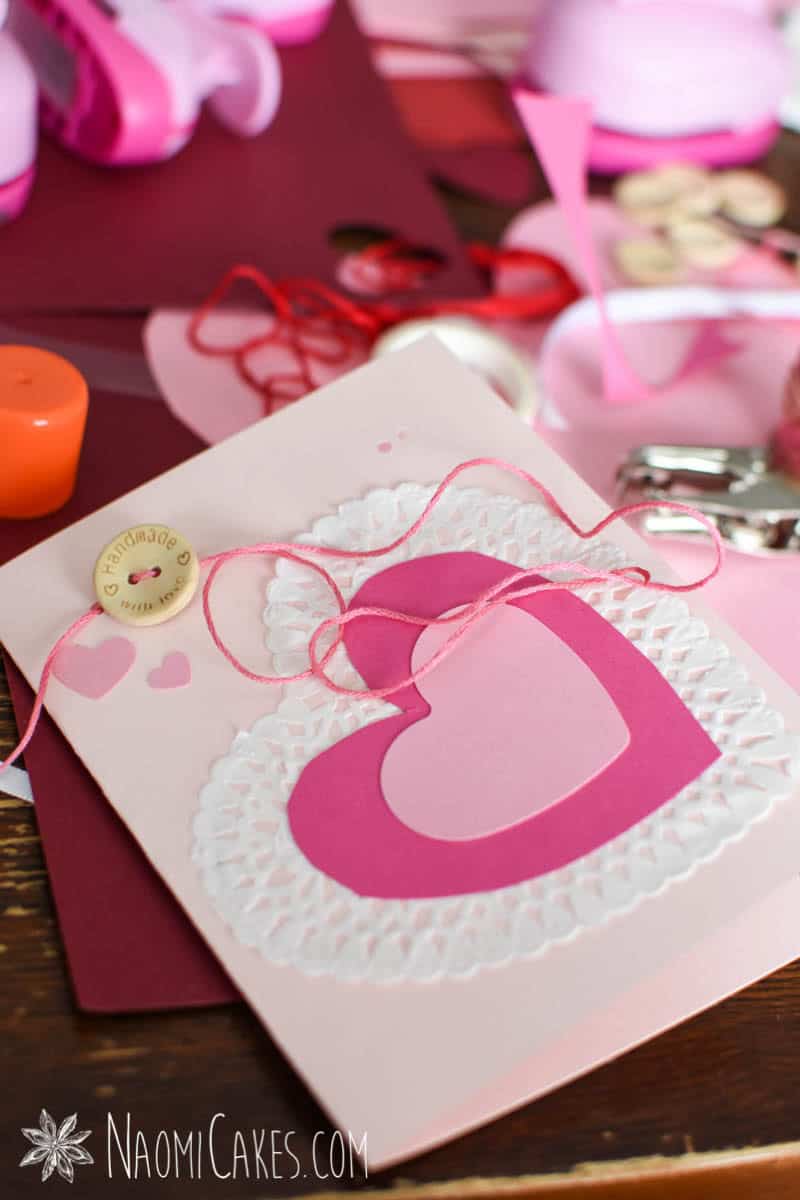
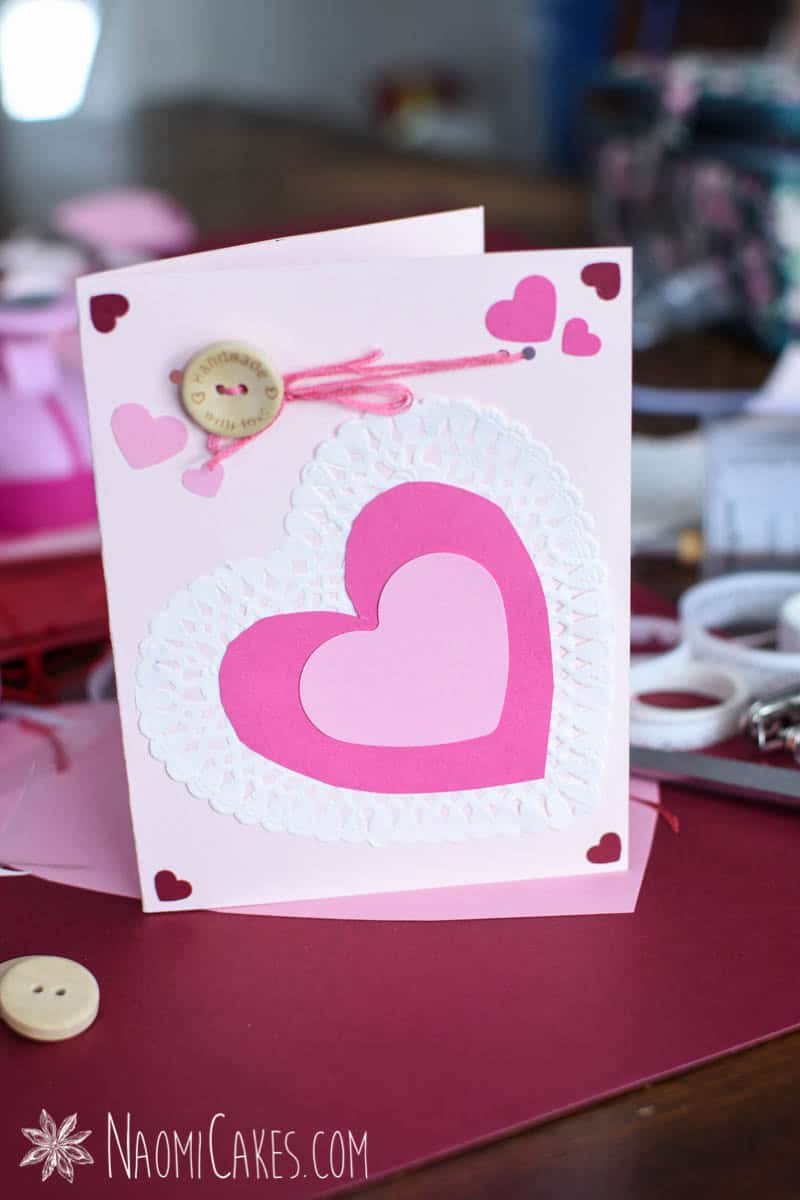
Pale pink card:
- Vertical orientation
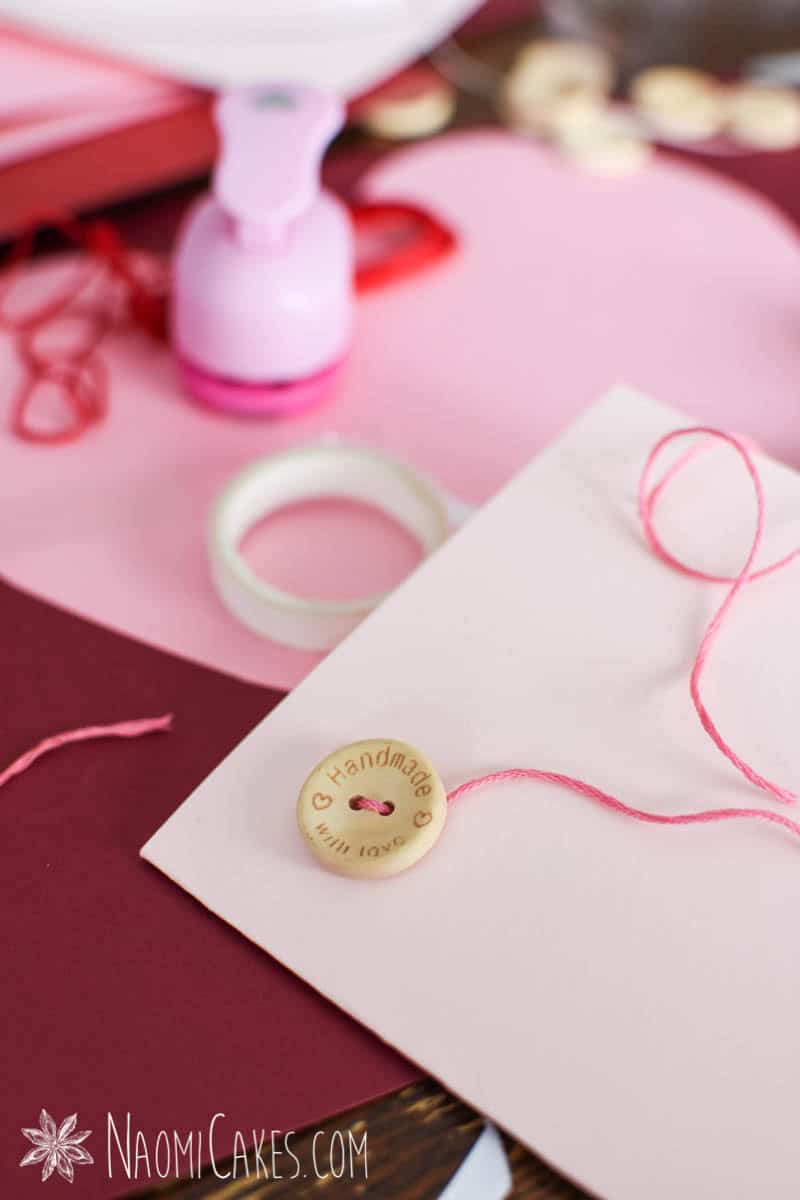
- Small holes punched into the top of the card, about 3″ apart from each other
- Pink embroidery thread strung from one hole to the next, with a button threaded onto it
- Loop the thread a couple of times, and tie in the front next to the button
- Angled heart doily
- Bright pink small-medium heart cutout (from the printable outline)
- Soft pink 2″ heart stamp
- Burgundy mini corner heart stamps
- Additional hearts in soft and bright pink card stock (from the smallest heart stamps)
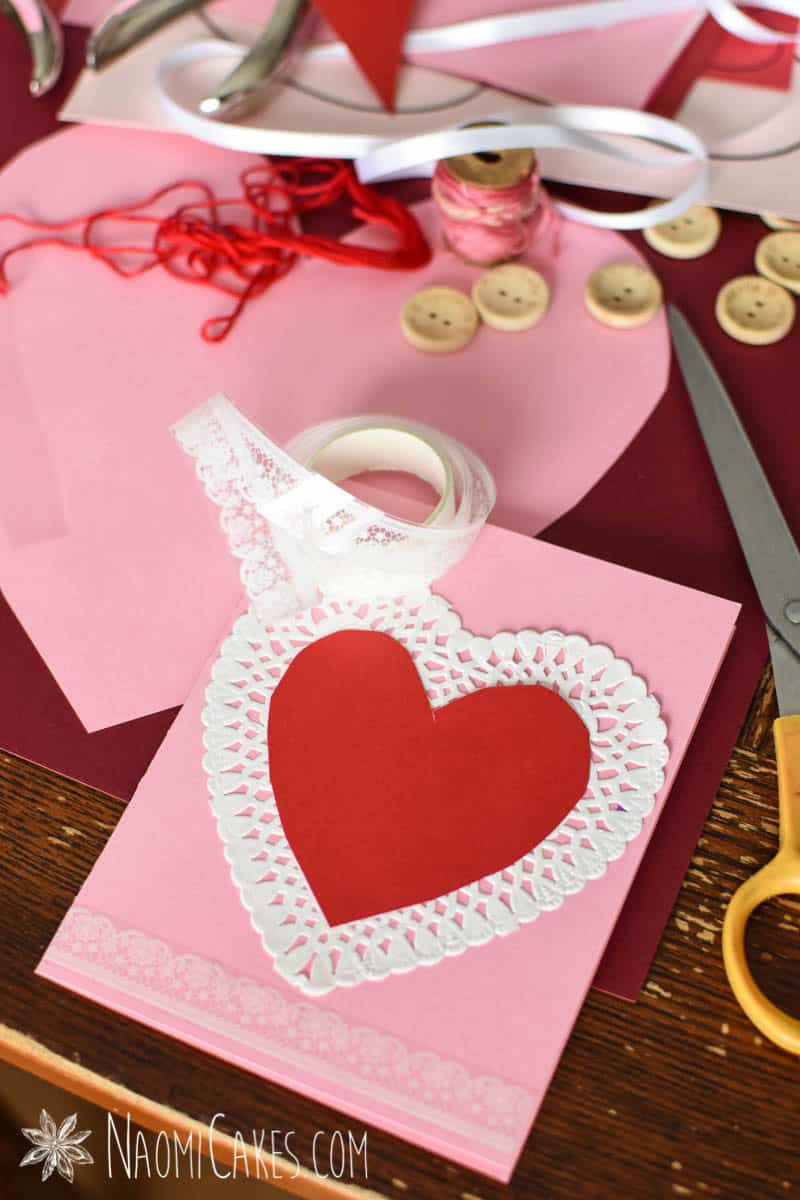
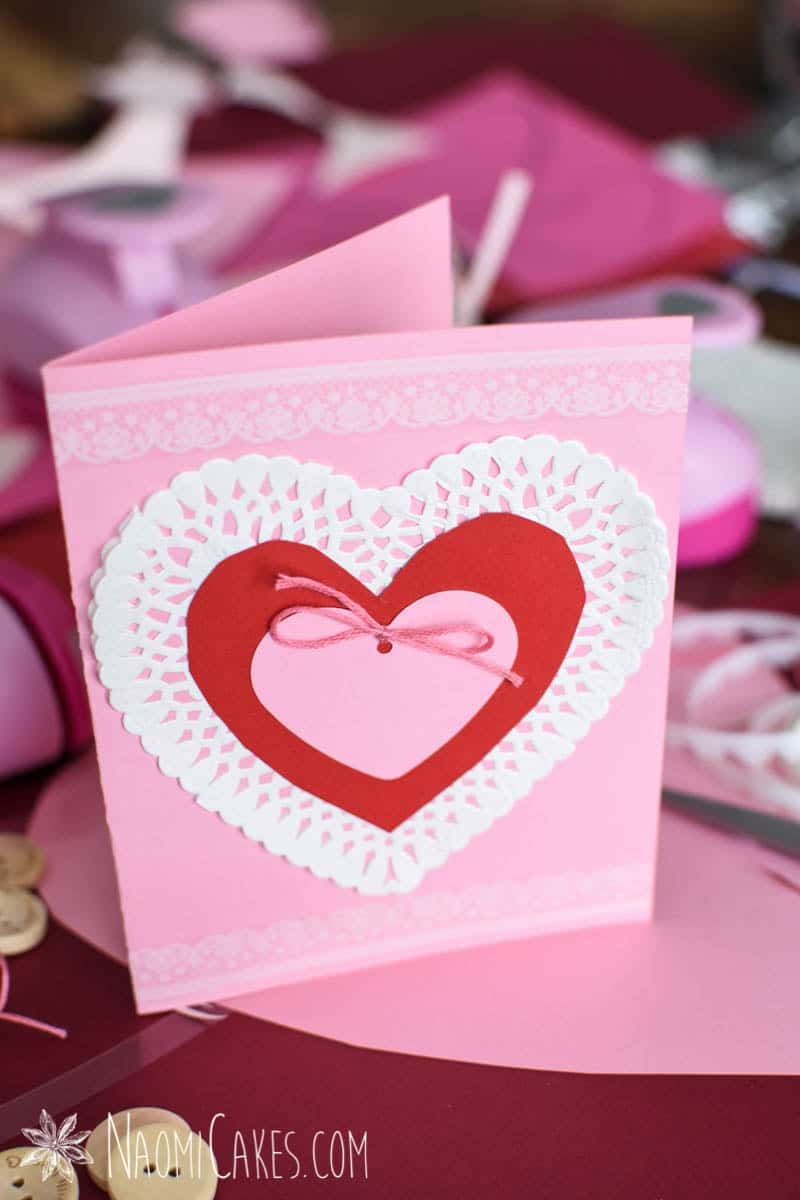
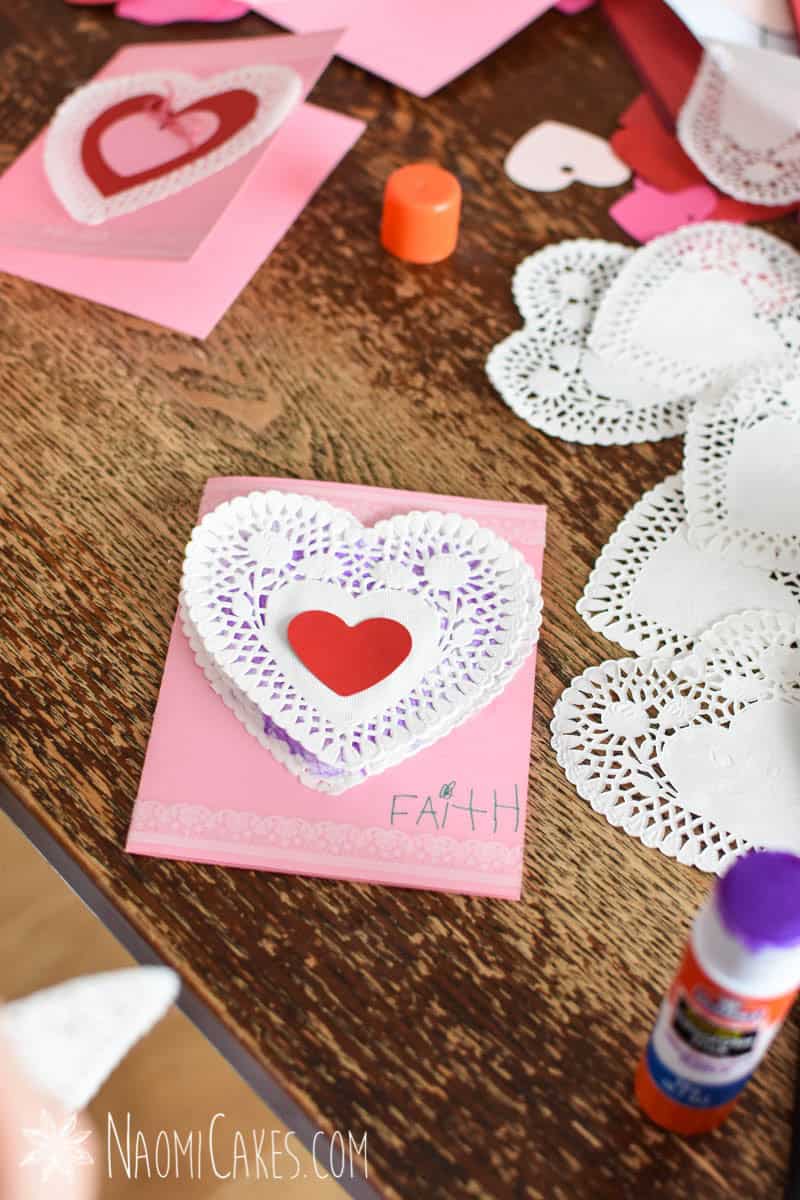
Soft pink card:
- Vertical orientation
- Heart doily
- Red small-medium heart cutout (from the printable outline)
- 2″ large heart cutout from the stamp with soft pink paper
- Small hole punch in the 2″ heart
- Pink bow tied into the heart stamp
- Lace sticker border (top and bottom of the front of the card)
Bright pink card:
- Vertical orientation
- Thin pink lace sticker border all the way around the front of the card
- Medium pale pink heart cutout (from the printable outline, trimmed if necessary to fit the front perfectly)
- Small-medium bright pink heart cutout (from the printable outline)
- 2″ heart stamp in soft pink

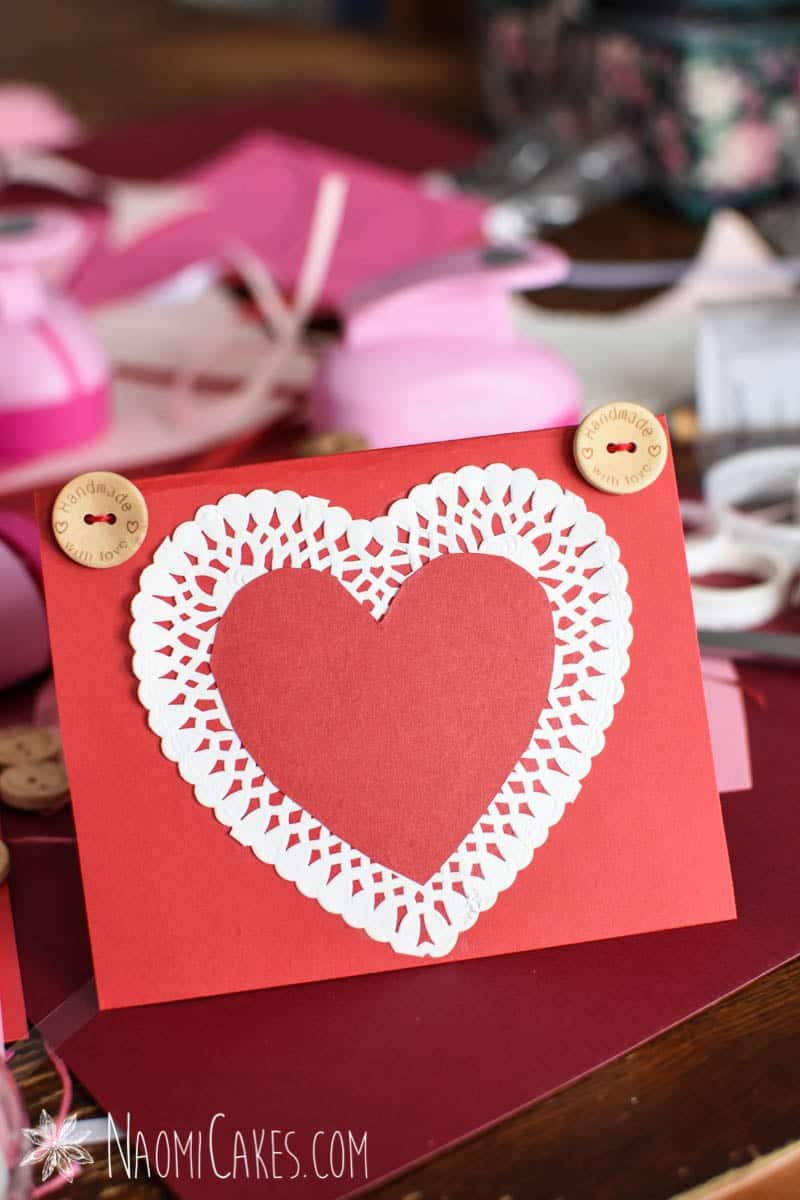
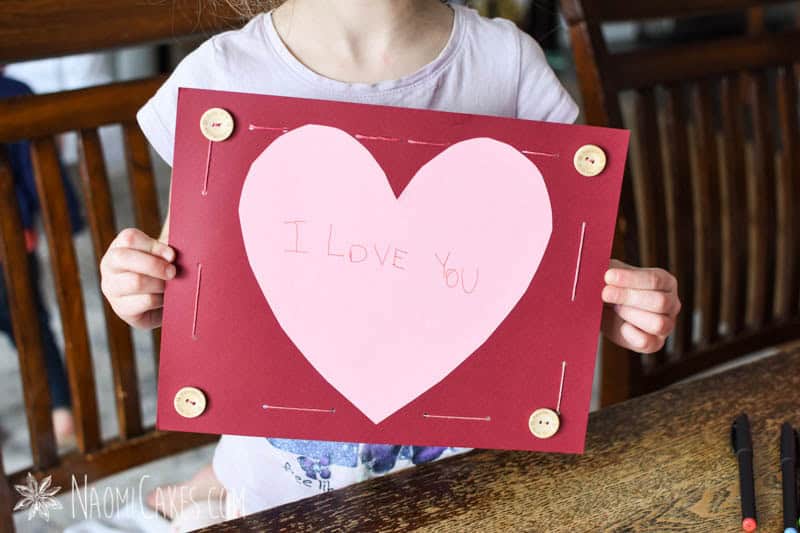
Bright red card:
- Horizontal orientation
- 2 side by side small hole punches on the top corners of the card, to attach the buttons
- 2 “Handmade with love” buttons tied onto the front with red embroidery thread (tied in a knot on the inside of the card)
- White 4″ heart doily
- Dark red small-medium heart cutout (from the printable outline)
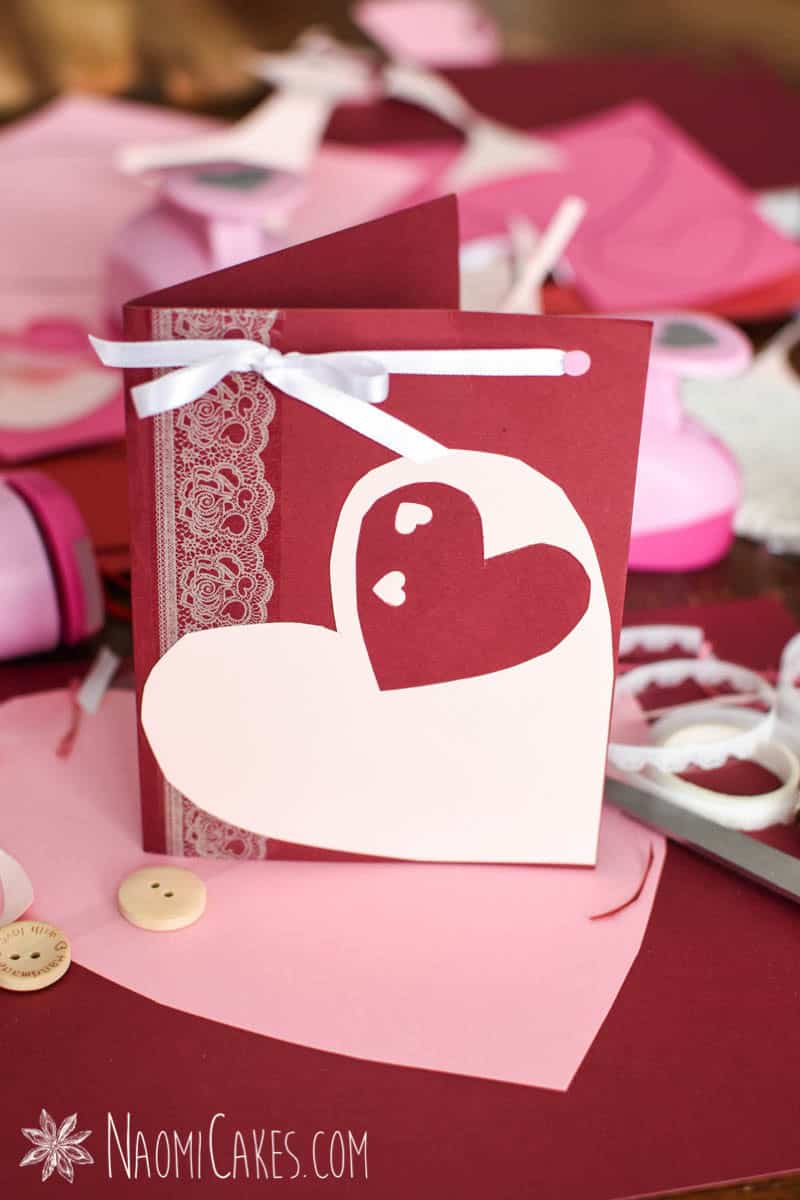
Dark red (burgundy) card:
- Vertical orientation
- Thick brown lace border sticker down the binding of the card
- Medium pale pink heart cutout (from the printable outline)
- Small burgundy heart cutout (from the printable outline) with 2 small heart stamps cut out of it
- 2 holes punched into the top of the card, about 3″ apart
- White ribbon strung from one hole to the next, tied in the front in a bow over the lace edging
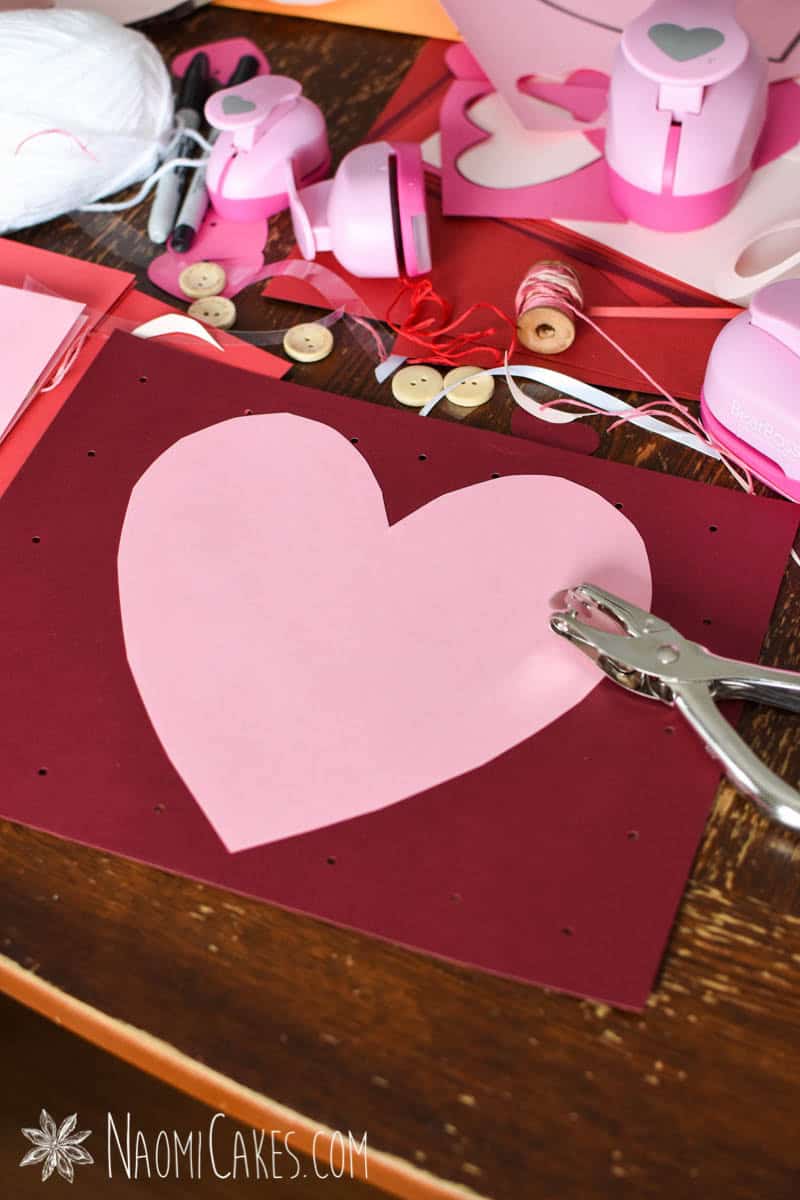
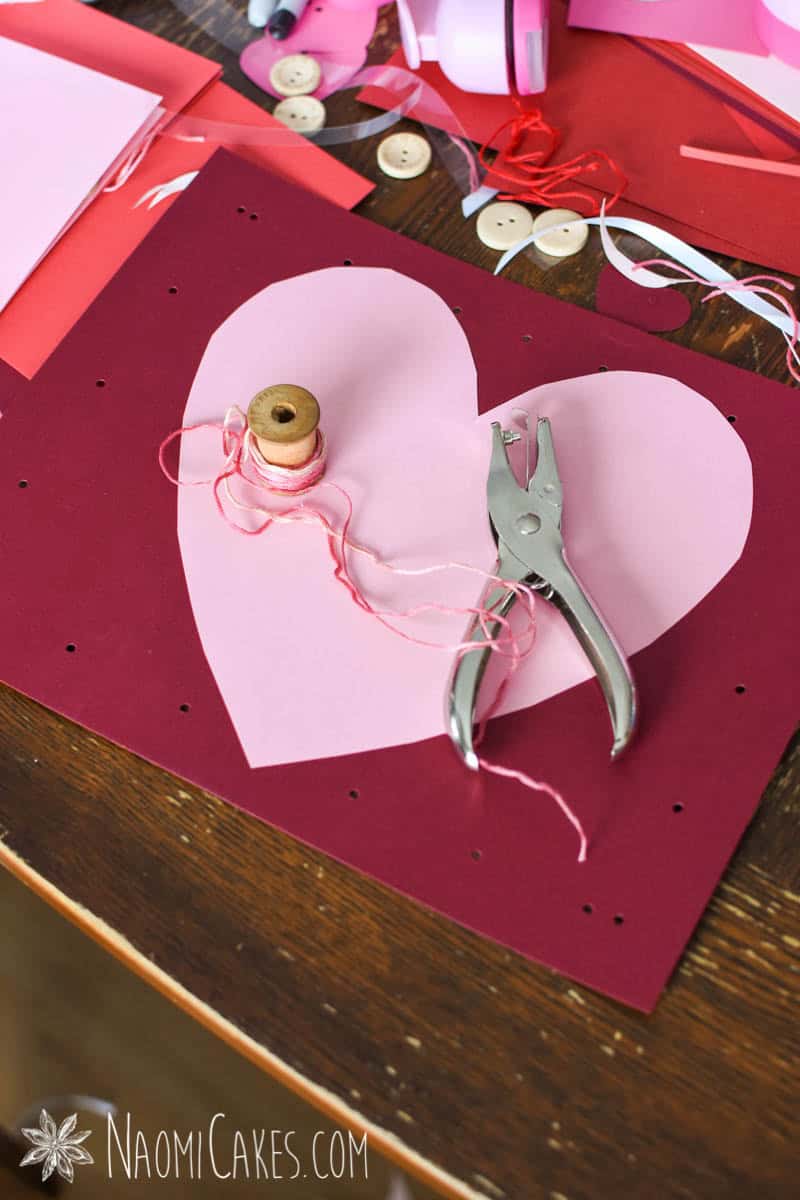
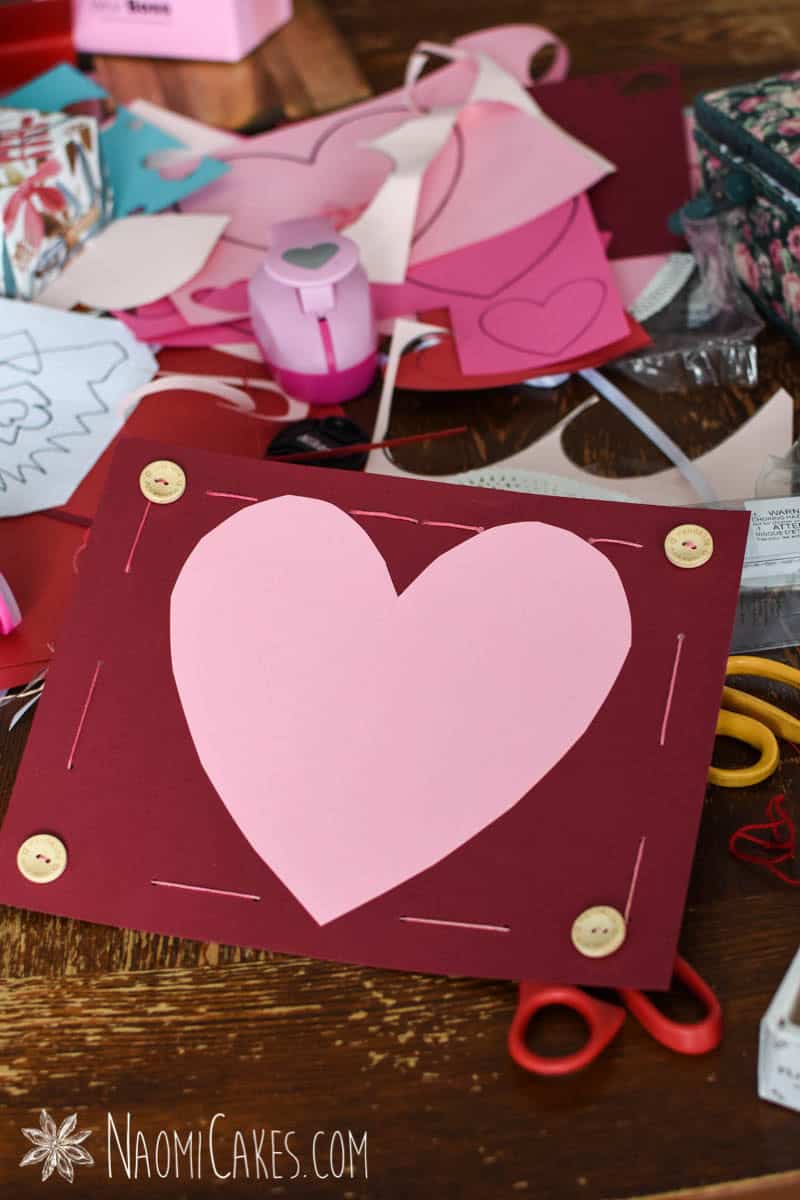
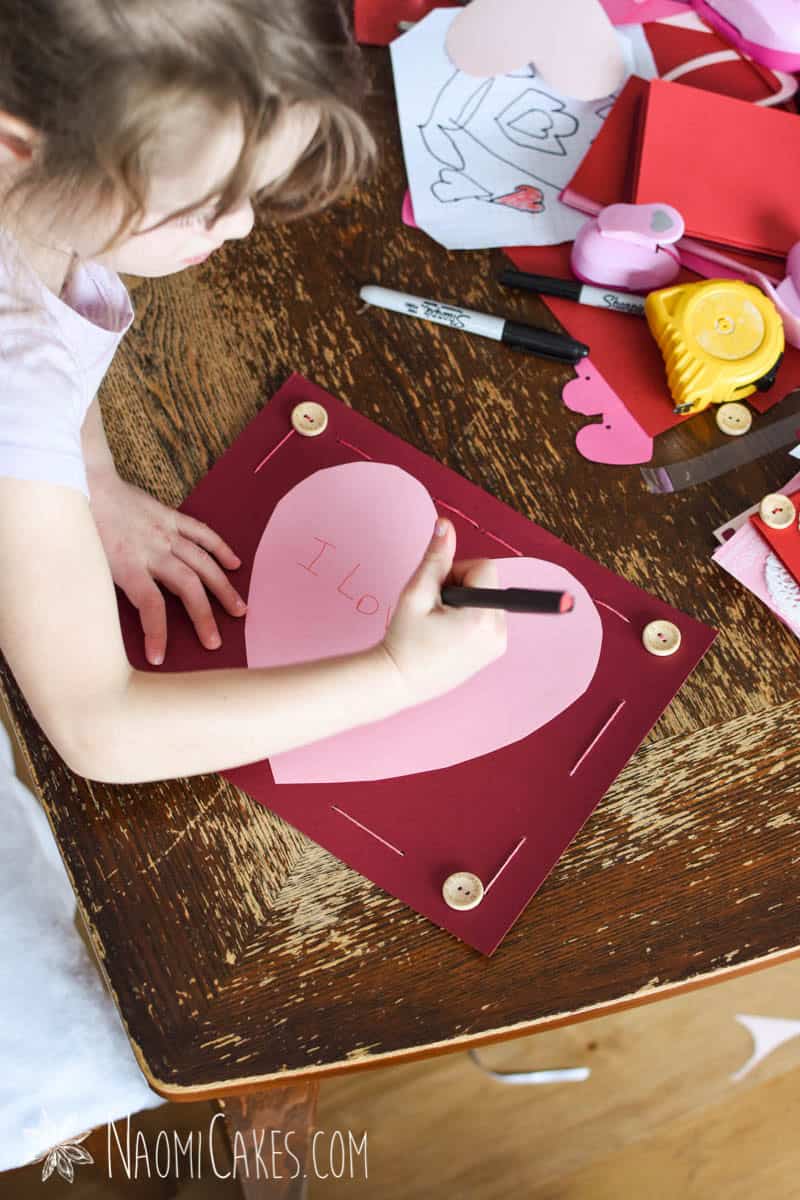
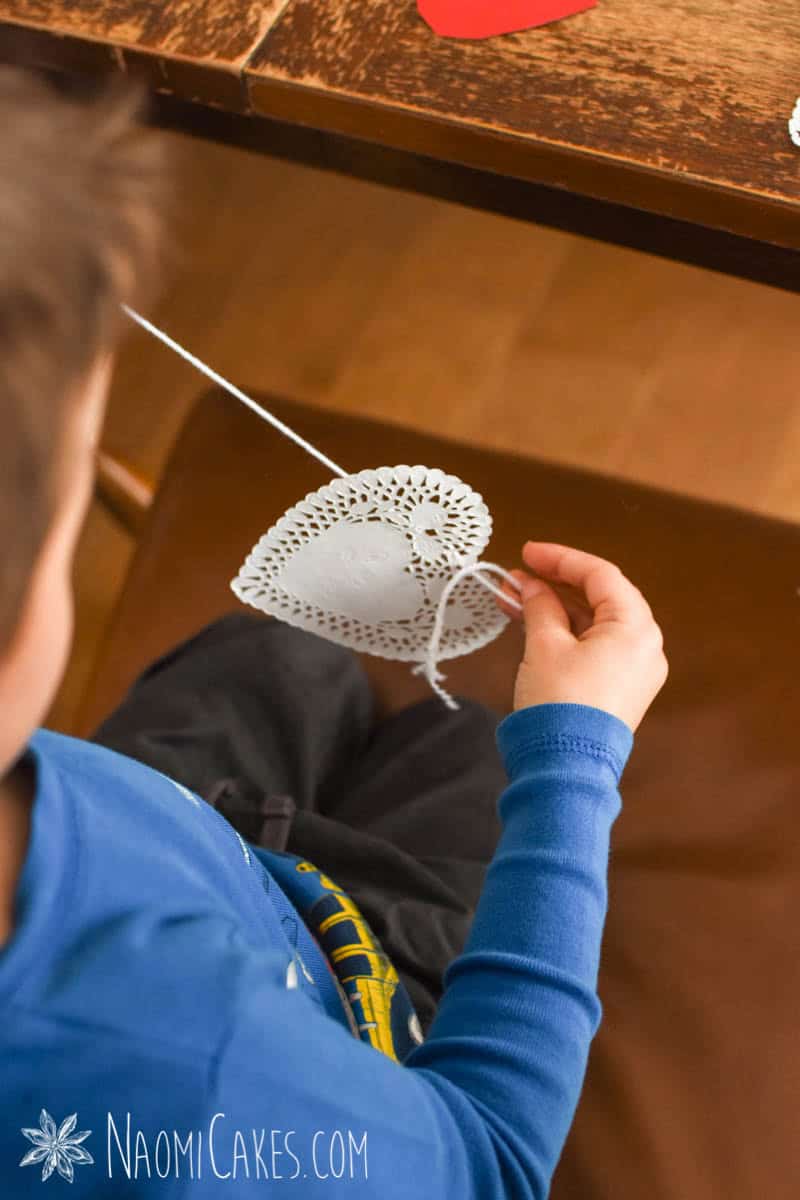
Dark red (burgundy) heart with buttons:
- Vertical full-page orientation (do not cut the paper)
- Large heart cutout (from the printable outline)
- Small hole punches around the perimeter
- Pink embroidery thread sewn around the edges, with buttons threaded on at the corners
3 – Write your messages
Once the basic design has been finished, you can write simple words or messages on the cover and interior of your cards. I intended, for this tutorial, to use these adorable little type-writer style stamps I have for individual letters to write “love” or other simple words on the fronts, but… I was making cards with 4 little kids ages 5 and under… so, that might explain why that didn’t happen?
There are different techniques you could use for creating lettering on your cards, like using full-word stamps or a Cricut machine to cut out perfectly stencilled words and patterns.
4 – Enclose in envelopes (optional)
If you’re planning to mail your cards, get some standard invitation sized envelopes to fit these cards nicely, or a large manilla envelope to hold the full page size.
Personally, I’m going for a slightly bigger size to make sure that I can fit loads of adoring cards for grandparents into one envelope!
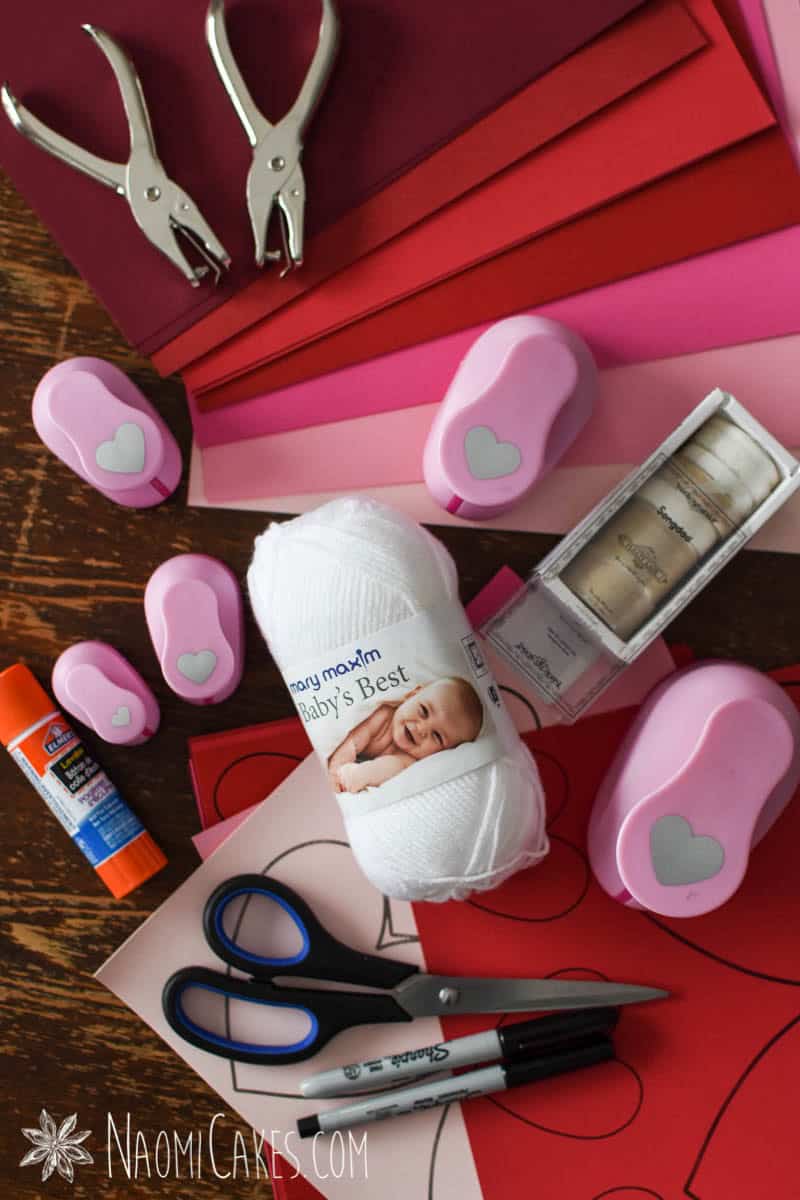
You will need:
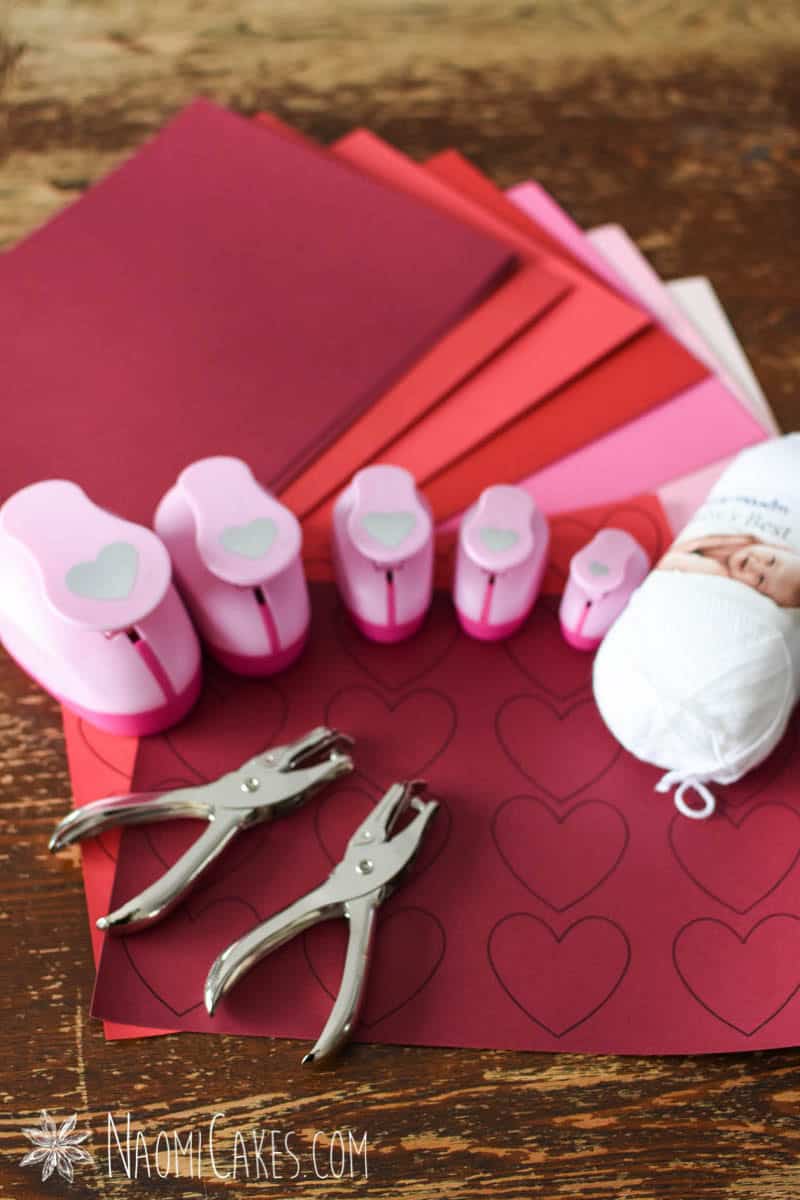
Again, you only really need paper, scissors, and a pen to make a lovely heart Valentine’s card; but here is a list of what I’ve used in this tutorial!
- 92lb colored card stock (I used an assorted pack including different shades of red paper and pink paper)
- Invitation envelopes (optional)
- Printable heart template
- Heart shape stamps
- Hole punch
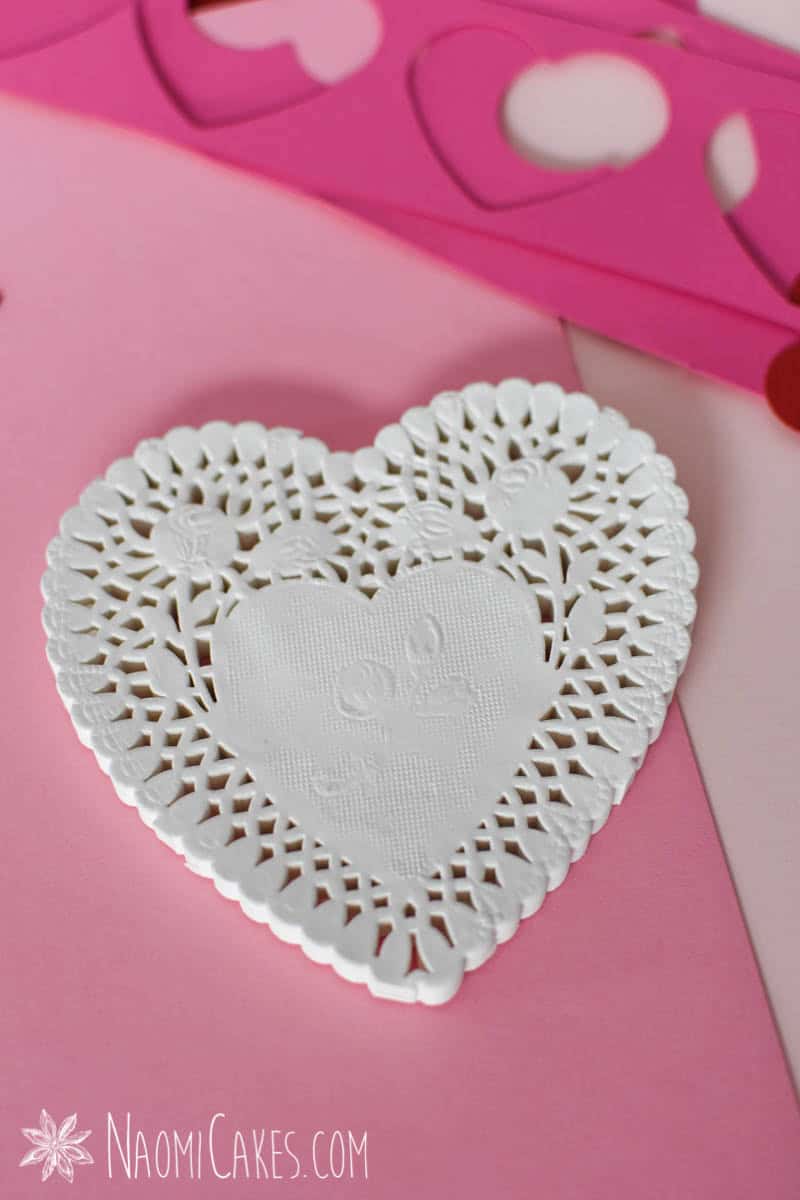
- 4″ heart doilies (white)
- White ribbon
- White yarn
- Embroidery thread
- “Handmade with Love” buttons
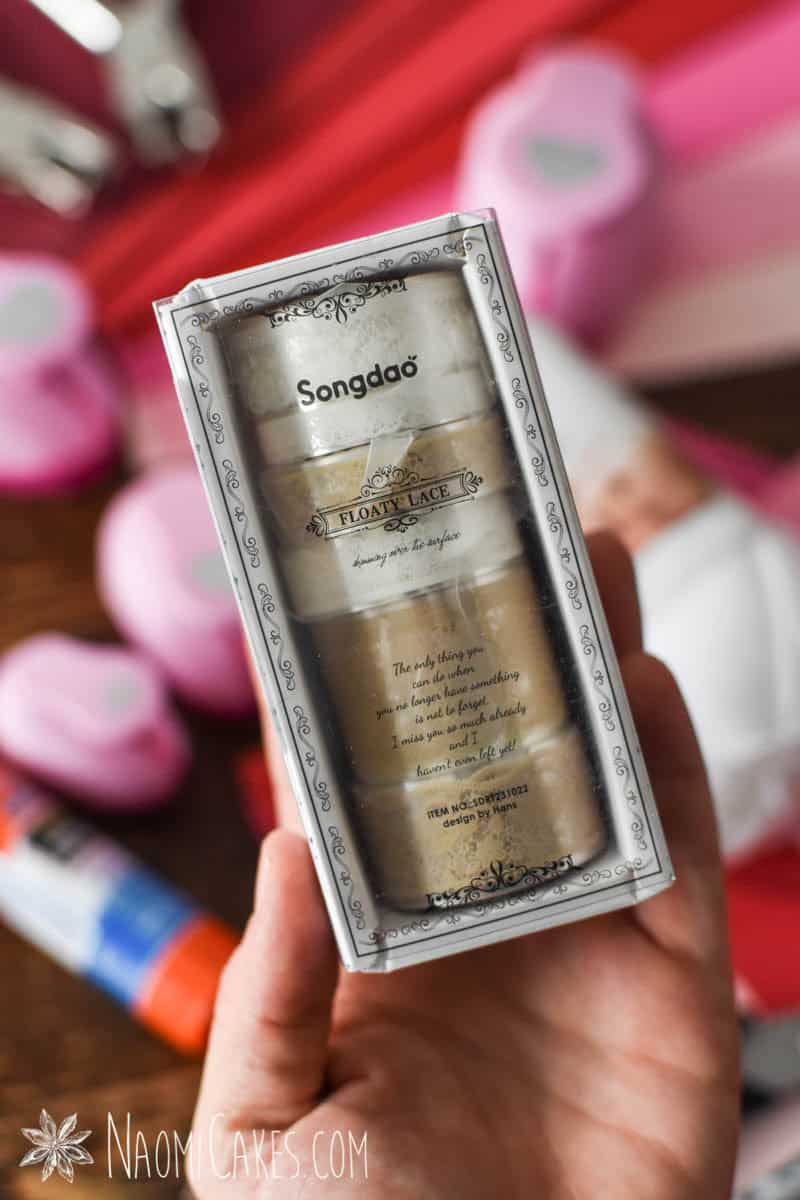
- Lace border stickers
- Glue sticks
- Scissors (safety scissors for children)
- Pens or markers, for writing messages
Printable Tutorial:

How to Make Handmade Valentines
Ingredients
- 92 lb colored cardstock I used an assorted pack including different shades of red paper and pink paper
- Invitation envelopes optional
- Printable heart template
- Heart shape stamps
- Hole punch
- 4" heart doilies white
- Ribbon
- White yarn
- Embroidery thread
- Handmade with love buttons
- Lace border stickers
- Glue sticks
- Scissors safety scissors for children
- Pens or markers for writing messages
Instructions
1 – Make the cards
-
Take a piece of cardstock and lay it out in front of you horizontally. Measure across the width of the paper and make two little tick marks at the halfway point at two different heights on the paper (I used US Letter sized paper, so I made my 1/2 way marks at 5.5").
-
Use the two marks to line up a ruler, and draw a straight line halfway down the page to make 2 equal sections. Cut the paper in half down the line, and fold each section in half to make your blank cards.
2 – Assemble the cards
-
For this section, obviously, you can do whatever you want to make your cards unique and most like you. There is no perfect way to do this!
-
If you want some specific tips and inspiration, here is how I made each of the cards in this post (in bullet point/list form):
**For all of these designs, I used a simple glue stick to attach hearts and doilies.**
Pale pink card:
-
Vertical orientation
-
Small holes punched into the top of the card, about 3″ apart from each other
-
Pink embroidery thread strung from one hole to the next, with a button threaded onto it
-
Loop the thread a couple of times, and tie in the front next to the button
-
Angled heart doily
-
Bright pink small-medium heart cutout (from the printable outline)
-
Soft pink 2″ heart stamp
-
Burgundy mini corner heart stamps
-
Additional hearts in soft and bright pink cardstock (from the smallest heart stamps)
Soft pink card:
-
Vertical orientation
-
Heart doily
-
Red small-medium heart cutout (from the printable outline)
-
2″ large heart cutout from the stamp with soft pink paper
-
Small hole punch in the 2″ heart
-
Pink bow tied into the heart stamp
-
Lace sticker border (top and bottom of the front of the card)
Bright pink card:
-
Vertical orientation
-
Thin pink lace sticker border all the way around the front of the card
-
Medium pale pink heart cutout (from the printable outline, trimmed if necessary to fit the front perfectly)
-
Small-medium bright pink heart cutout (from the printable outline)
-
2″ heart stamp in soft pink
Bright red card:
-
Horizontal orientation
-
2 side by side small hole punches on the top corners of the card, to attach the buttons
-
2 “Handmade with love” buttons tied onto the front with red embroidery thread (tied in a knot on the inside of the card)
-
White 4″ heart doily
-
Dark red small-medium heart cutout (from the printable outline)
Dark red (burgundy) card:
-
Vertical orientation
-
Thick brown lace border sticker down the binding of the card
-
Medium pale pink heart cutout (from the printable outline)
-
Small burgundy heart cutout (from the printable outline) with 2 small heart stamps cut out of it
-
2 holes punched into the top of the card, about 3″ apart
-
White ribbon strung from one hole to the next, tied in the front in a bow over the lace edging
Dark red (burgundy) heart with buttons:
-
Vertical full-page orientation (do not cut the paper)
-
Large heart cutout (from the printable outline)
-
Small hole punches around the perimeter
-
Pink embroidery thread sewn around the edges, with buttons threaded on at the corners
3 – Write your messages
-
Once the basic design has been finished, you can write simple words or messages on the cover and interior of your cards.
4 – Enclose in envelopes (optional)
-
If you're planning to mail your cards, get some standard invitation sized envelopes to fit the cut cards nicely, or a large manilla envelope to hold the full page card.
Other great accents and supplies (for inspiration):
- Scrapbook paper
- Stickers
- Colorful buttons
- Sticker frames/borders
- Double-sided tape
- Tissue paper
- Letter stamps
- Heart stamps
- Valentine’s stamps
- Construction paper
- Small white pompoms or red/pink pompoms
- Decorative edge craft scissors
- Cricut machine (for perfectly cut shapes and words)
- Wax seals
- …and so much more!

If you like this tutorial, you may also like:
- Valentine’s Sugar Cookies
- Valentine’s Chocolate Sugar Cookies
- Valentine’s Craft for Kids: Cupcake Valentines
- Easy Milk Chocolate Truffles
That’s all for today! I hope you enjoyed this tutorial and that you find lots of inspiration in it for making Valentine’s Day fun for your family. If you make cards with this post as inspiration, I’d love to hear about it in the comments, or you can tag me in your photos on Instagram @naomicakesofficial!
Bye for now,
Naomi
This post contains affiliate links.