
How to Make Fondant Ruffles for Cakes [Tutorial]
This simple tutorial will teach you how to make fondant ruffles for cakes without a garret frill cutter. All you need is a few simple ingredients and tools! The world of cake decorating can seem like a bottomless pit of opportunities to spend money (and it is!). However, with a little creativity, it doesn’t have to be so expensive. Here’s an easy tutorial to show you how to make fondant ruffles without purchasing any special cutters for the task.
How to use fondant ruffles for cakes
Fondant ruffles are a great addition to your cake decorating arsenal for making so many different beautiful accents. I have most often used them to trim the edges of cakes for all kinds of occasions. You can use them for wedding cakes, ruffled fondant blankets, ruffle swags/clusters, and fondant pillow cake edging (just to name a few!).
I’ll include some photos for inspiration later in this post so that you can see what’s possible with this beautiful, edible decoration!
Making fondant ruffles with a garret frill cutter
Fondant ruffles are made by rolling out fondant (or in this case, a mixture of fondant and gum paste) until it is quite thin. Next, ruffle pieces are cut with a tool called a garrett frill cutter (which is basically a cookie-cutter tool in the shape of a curved strip with a scalloped edge). Once each long strip of fondant has been cut, the edges of each piece are thinned and frilled with a cell stick, ball tool, or frill tool. The pieces are then attached to the side of the cake (or the top, however you plan to use them) with a little bit of edible glue, water, alcohol, or clear vanilla for fondant cakes, or just with a bit of frosting for buttercream cakes.
How to make fondant ruffles without a special cutter
This tutorial is the easiest way to make ruffles, since you don’t have to purchase a special frill cutter in order to make get the ruffle effect. All you need is a few basic frilling tools, a knife, a rolling pin, and a couple of other simple things (which, if you’ve done any work with fondant in the past, are likely things you already have).
My method (shown with step-by-step pictures below) is simply this:
- Cut out several curved fondant strips from a thinly rolled out piece of fondant and gum paste, mixed together. The gum paste will give the fondant more structure and allow the ruffles to dry more firmly (making them more durable).
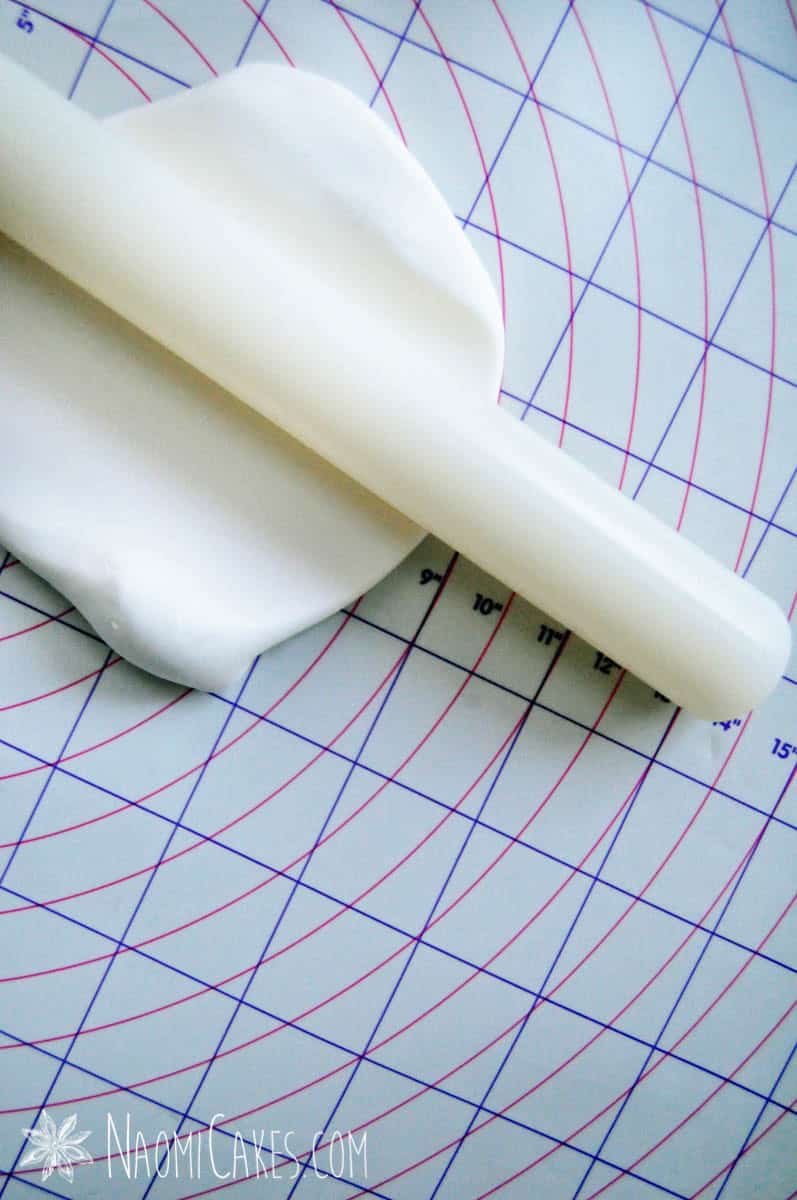
- Roll the fondant into a thin disc (about 1/8″ thick).
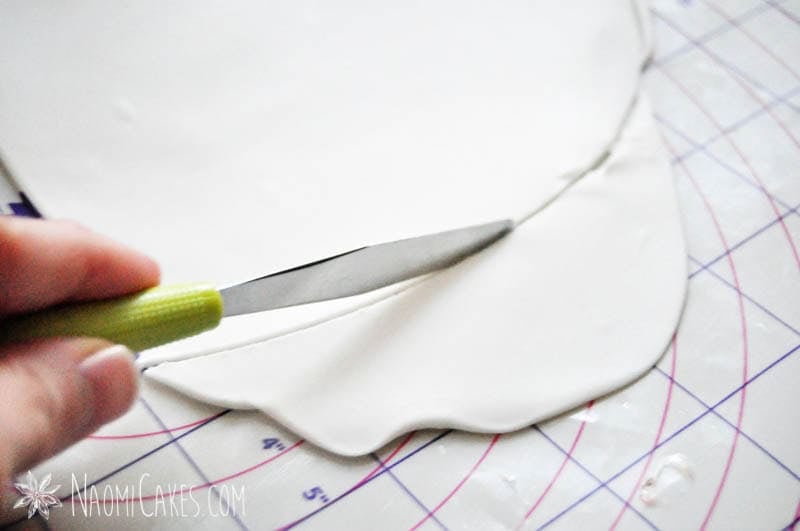
- Cut a half circle into the fondant shape with a knife or small spatula.
- 1″ strips into the half circle, making a “Rainbow” of fondant strips.
- Use your fingertips to gently pull out the edges of each strip to make your own scalloped edge.
- Frill the edges with a cell stick, frill tool, or ball tool (according to the tutorial directions below).
- Use as desired to decorate your beautiful cakes!

The best kind of fondant to use
Having made cakes for many years, I’ve tried many different kinds of fondant; and well, I have to say that my favourite (hands down) is the Massa Grischuna fondant from Albert Uster. It tastes and smells amazing, has incredible workability, and comes in many different colors.
That said, if this is a hobby project and you don’t need a 13-lb tub of fondant, you can go ahead and pick up some ready-made fondant. You can get this from your local arts and crafts store (such as Michael’s or Hobby Lobby).
Other fondants I’ve used:
- Wilton: A pack of Wilton brand fondant will work well, but I’ll caution you. While this brand has great workability, I can’t say that it’s anything I’d recommend in the taste department. There is a bit of a chemical smell/taste that I really do not enjoy.
- Satin Ice: I’ve also used Satin Ice, and I find the workability almost as good as Wilton, and the taste much better.
- Homemade: Another option would be to make your own fondant, although I’ll warn you: if you haven’t worked with fondant much in the past, making your own (and getting it to the right consistency) can get pretty tricky.
Choosing the best gum paste
Once again, my favourite gum paste comes from Albert Uster; however, it only comes in a large bucket which will last the average person a very long time! That said, you can pick up ready-made small tubs of gumpaste at your local arts and crafts store. Once again, I love the workability of Wilton brand; however, the smell/taste is a little bit off-putting to me.
If you’re feeling adventurous, you can also make your own gumpaste; however, once again, I would not recommend doing that unless you have enough experience to know what the consistency of gumpaste should be.
Some inspiration
Whether you’re making a wedding cake, a baby shower cake, or a cake just for fun, I hope I can offer you some inspiration for how to use your fondant ruffles! Here are some cakes I’ve made using this method for creating fondant ruffles.
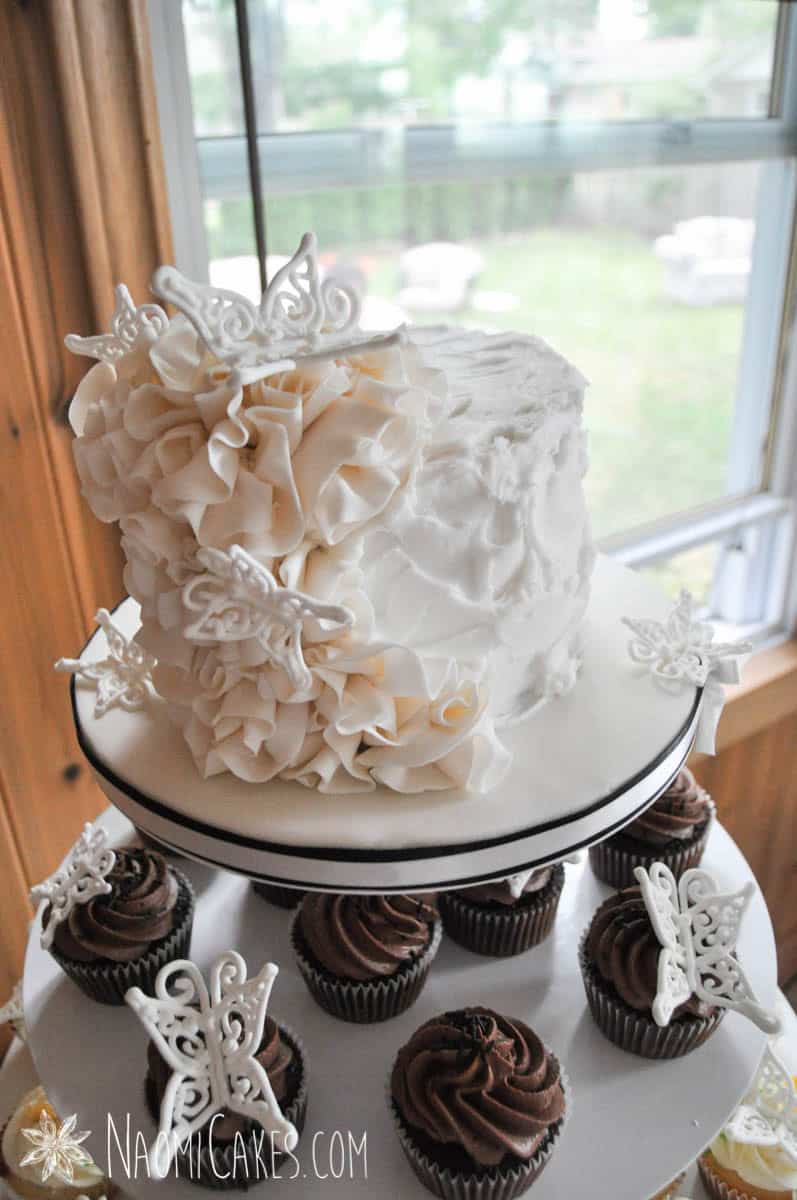
Ruffled Wedding Cake:


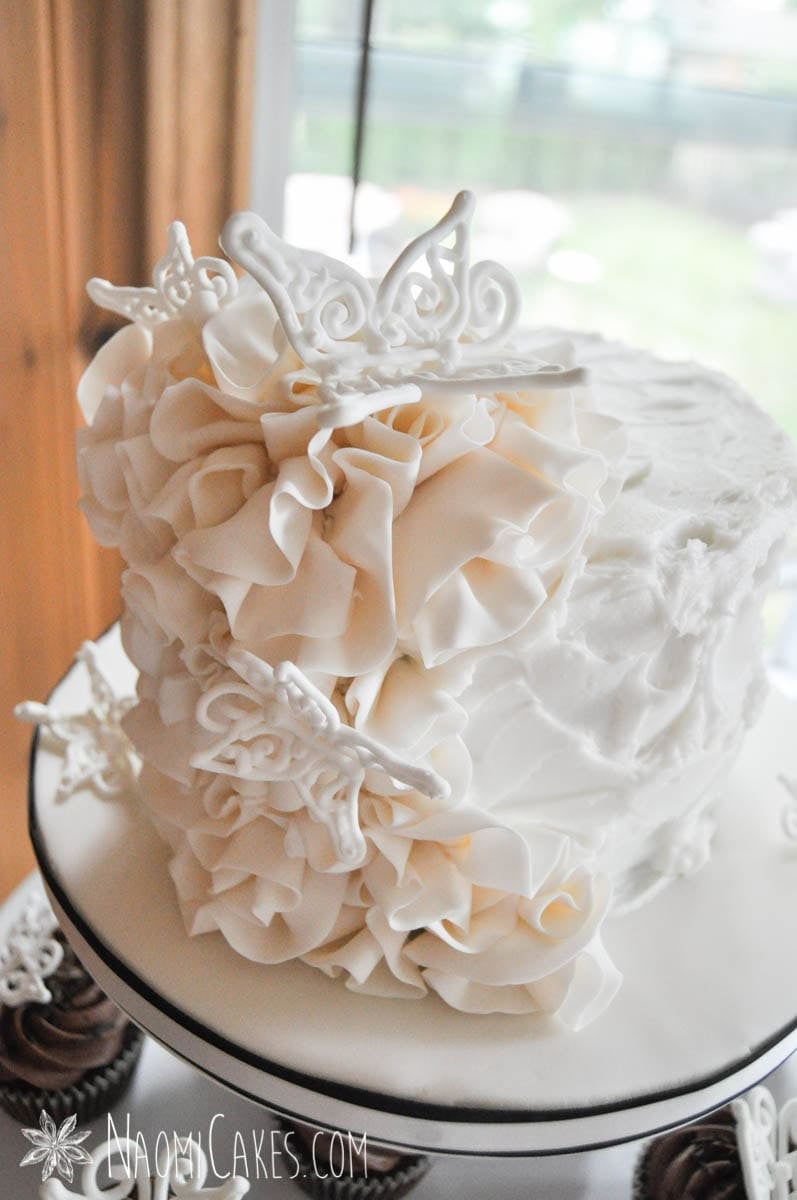
Butterflies and Ruffles Cake:


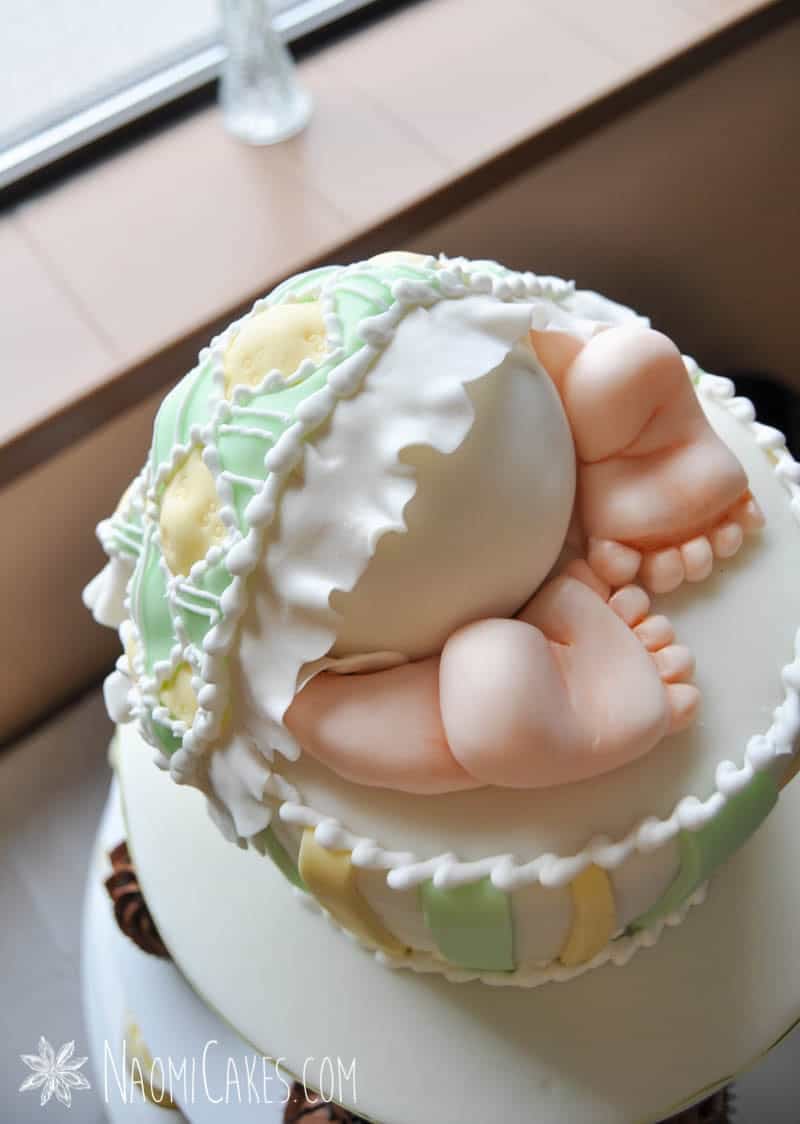
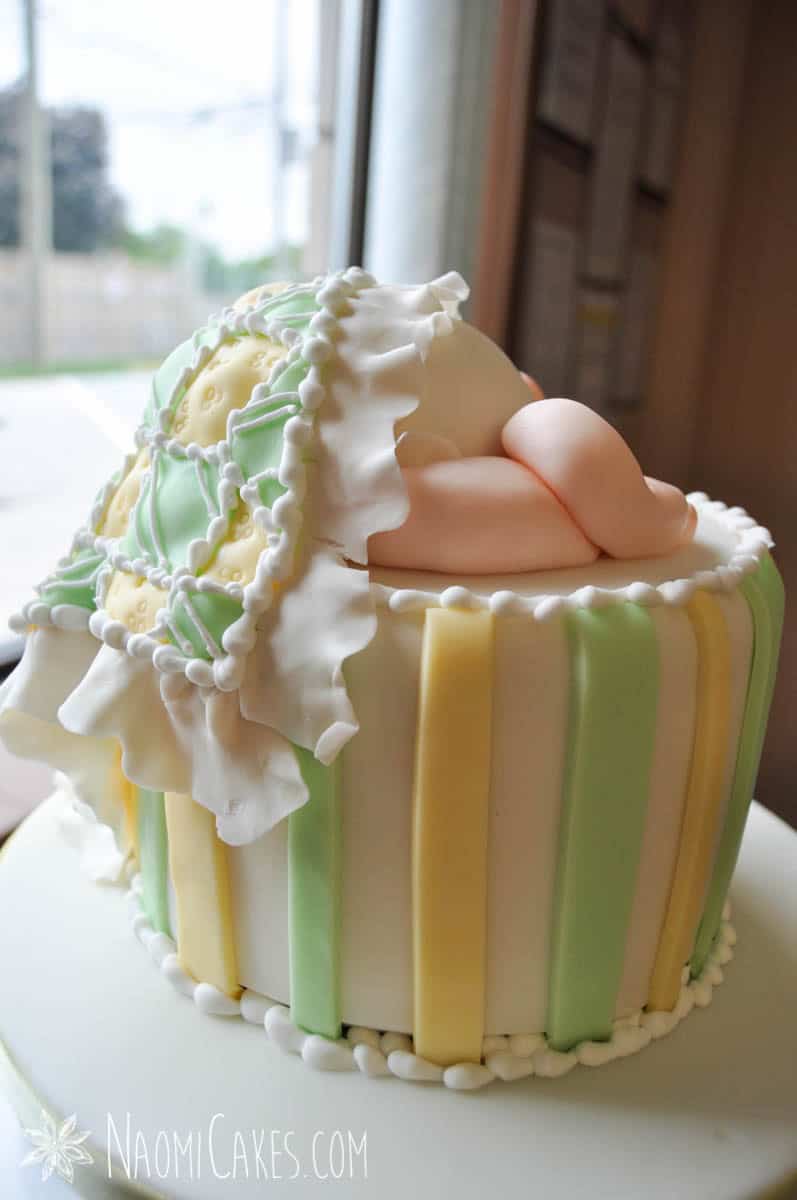
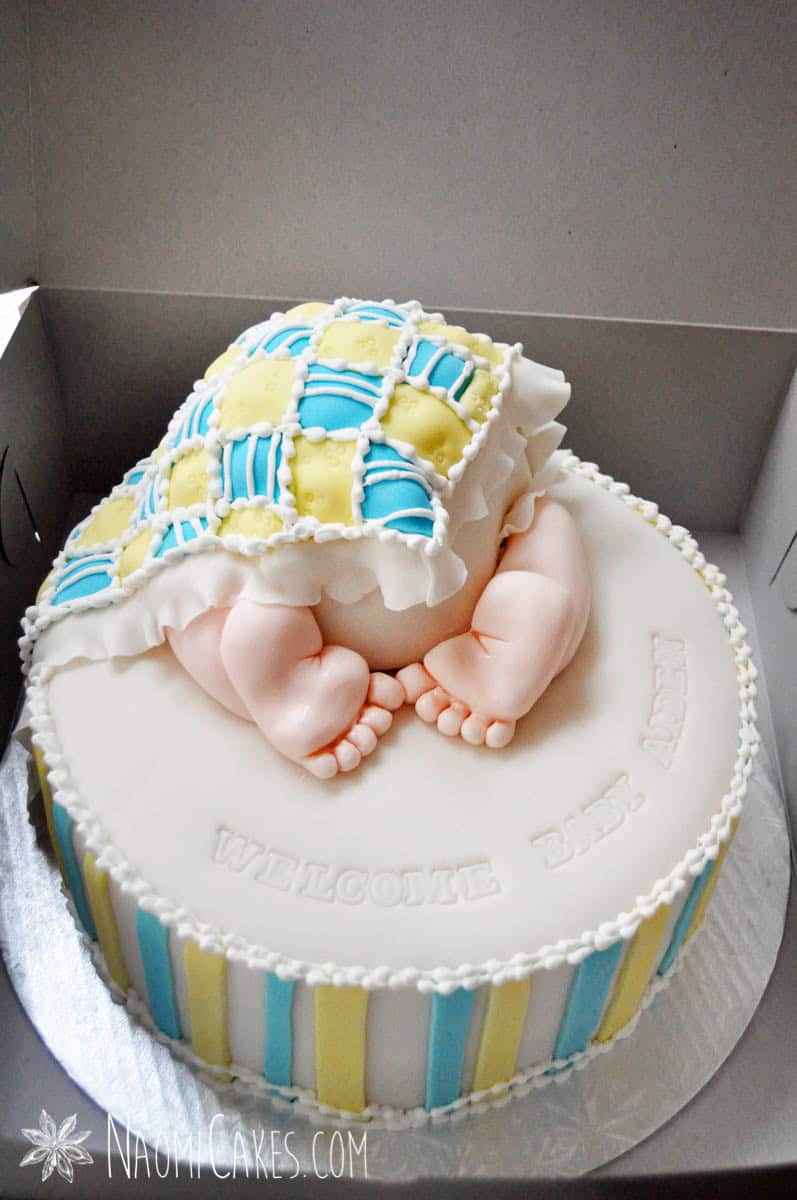
Sleeping Baby Cake with Fondant Quilt:


Sleeping Baby Cake (In Blue):
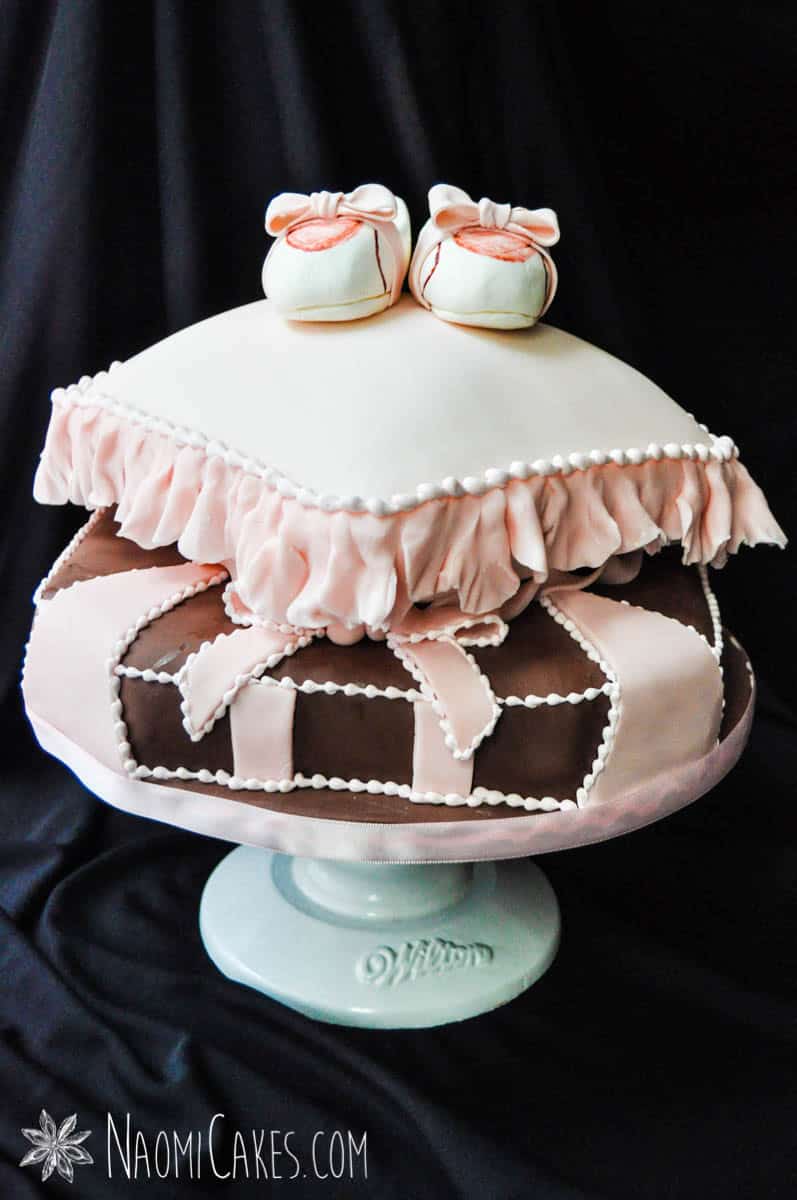
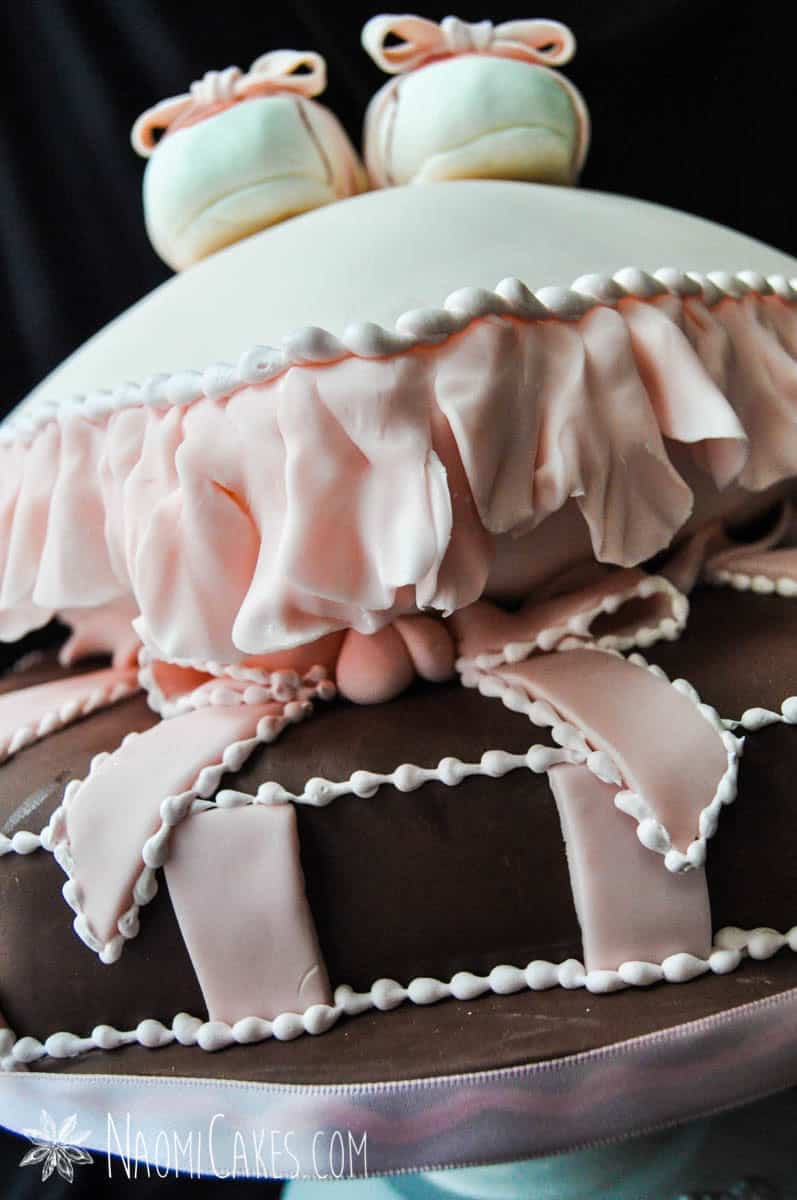
Pink Baby Pillow Cake:
You will need:
- Equal amounts of fondant and gum paste (I’m using a golf ball size amount of each for this tutorial)
- Cell stick
- Frill tool (optional)
- Small spatula or knife
- Rolling pin
- Foam mat
- Corn starch
- Shortening
- Plastic wrap

How to Make Fondant Ruffles (without a garrett frill cutter)
Here's is the easiest way to make fondant ruffles without a special cutter!
Ingredients
- 1 golf ball sized piece cake decorating fondant
- 1 golf ball sized piece gum paste
- 2 Tbsp cornstarch
- 2 Tbsp shortening
Instructions
-
To start out, knead the fondant and gum paste together on surface lightly greased with shortening until the mixture is smooth and pliable.
-
Roll the fondant out into a thin disc (about 1/8" thick), and using a knife or spatula, cut a half circle shape around the edge of the disc. Repeat, cutting about 1" in from your first cut until you have a "Rainbow" of half circle cut out strips of fondant.
Keep the half circle strips that you're not using covered with plastic wrap while you work; they will dry out quickly.
-
Lay one strip of fondant out on a foam mat that is lightly dusted with cornstarch.
-
Using your fingers, stretch the fondant out gently to make a little scalloped edge along the whole strip. Next, using a cell stick or frill tool (you can also use a ball tool for this if you want), frill the scalloped edge of the strip of fondant by pressing the tool against the edge of the fondant and rocking the tool gently back and forth, or with a ball tool, gently sliding it along the scalloped edge.
-
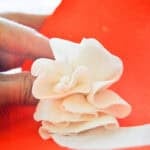
Tip: I like to pull the fondant back in a circle with one hand, as shown below, as I frill the edges with the other. This stretches the frills out, keeps them from getting wrinkled together while you work, and helps to keep the size and shape of the frills consistent when you're finished.
-
Use the frilled fondant pieces as you make them, to prevent them drying out and breaking when you try to mold them against the sides of the cake. You can stick fondant ruffles to a fondant decorated cake with edible glue (a pea-sized amount of gum paste dissolved in 1 Tbsp water), water, clear vanilla, or clear alcohol (such as vodka).
To make ruffle clusters or swags:
-
Take a strip of ruffled fondant, and bunch it together, pinching it at the base to hold it together (as shown in the pictures on this post). Fold it to look how you want it, and place it on the cake immediately. Cluster more strips of ruffles and add them to the first bunch, building it up in the shape you want on the cake, placing them tightly together so that they look like one large, continuous bunch of frills.
-
Tip: If you are having trouble keeping certain folds to stay how you arrange them, insert a toothpick into the cake to hold up the ruffle how you want it. Leave the toothpicks in until the fondant drys (usually overnight).
Tools
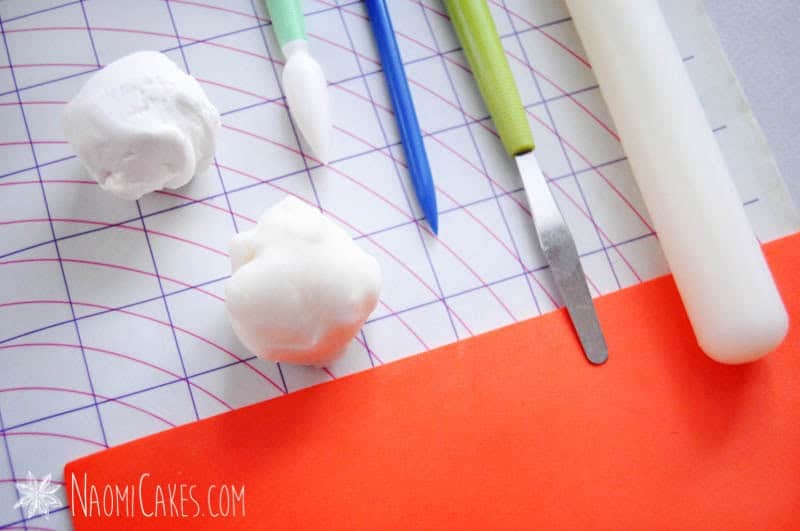
Left to right: Gum paste, fondant, frill tool, cell stick, small spatula, rolling pin, foam mat (orange, at the bottom of the picture). This picture was taken on a fondant rolling mat.
Rolling the fondant
Knead the fondant and gum paste together until pliable. Then roll into a thin disc.
Cut into a half circle:
Use your spatula to cut a half circle into the fondant disc.
Making “rainbow” strips:
Cut 1-inch strips into the disc to create “rainbow stripes.”

Make the scalloped edge:
Working over a mat dusted with cornstarch, use your fingertips to gently stretch a scalloped edge onto the long strip of fondant.


Frill the edges:
Use the cell stick, frill tool, or ball tool to create frilled edges by gentle thinning the fondant along the scalloped edge.


(Curve the fondant strip as you thin the edges)


Make fondant swags by bunching the ruffles, or fasten them on the cake in long strips:


If you like this tutorial, you may also like:
- Gum Paste Roses [Tutorial]
- Gum Paste Rose Leaves
- Royal Icing [Recipe]
- Dark Chocolate Buttercream [Recipe]
If you like this tutorial, make sure to leave me a comment below or tag me in your beautiful cake pictures on instagram @naomicakesofficial! I love to see what you guys are creating.
Thanks for being here! Back next week,
Naomi
This post contains affiliate links.
Wow!
How long did it take you to make that?
It took me about 1/2 hour to do the little swag for the tutorial, and a *bit* longer to make the cake. 😉 Thanks for the comment!
thank you for sharing.
I was going to say I will try this but what I actually mean is I'll add it to my do try list x
I lover this, I am making a wedding cake in Sept, my first, and I was going to cover the middle, but after seeing this I thunk I will do ruffles instead!!!
Love your ruffles!! How do you store your ruffle cake? Do you put it into the refrig, or just leave it out?? And what's the best way to transport a large, completely ruffled wedding cake??
Definitely let it sit out in a cool, dry place. I always loosely cover cakes like this with some kind of light-weight cover, like wax paper.
I prefer to transport cakes in heavy-duty (shallow) plastic bins whenever I can, with a rubber mat underneath to keep it from slipping. If your cake is tiered, make sure you have plenty of support dowels!
Hello! LOVE this cake– I was just curious… i would be afraid that the ruffle would be too heavy and pull off the cake (where its not attached to fondant for support- this actually happened with a side fondant piece i did just this week; it was attached to fondant and STILL pulled from the side), Any suggestions??
I would recommend trying to make the ruffles more shallow (cut the strips of fondant a little thinner) and try not to roll it too thick. This will reduce the weight of the ruffles and keep them sitting closer to the cake.
Also, make sure you use a nice, stiff buttercream (this is a good recipe – http://naomi-sugarspice.blogspot.ca/2012/05/cake-decorating-part-2-frosting-cake.html). This will keep them a little more secure as well.
Note: I recommend frosting the cake frozen, since a stiffer buttercream can damage a soft cake.
Hope this helps! All the best to you.
Hi, I was thrilled when I discovered your blog, am making my brothers wedding cake an I want to try out something new, out here in Nigeria, West Africa, we normally make our fondants cos imported ones are really expensive. You mentioned mixing the same potion of fondant and gum paste, please may I have a good recipe for making gum paste.
Thanks
Arit
Hi Arit!
Unfortunately I don't have a recipe I could give you for gum paste (I buy mine pre-made), but I can recommend that a fairly easy-to-find brand for premade gum paste is Wilton. If you do not have Wilton products available to you where you are, I would look up a supplier, either online or at a craft store, for “Gum tragacanth” or “Tylose powder,” which is a key ingredient in gum paste, and it is likely that a supplier of this product may also give you a recipe for gum paste with the purchase of it.
Other than that, I will recommend the book “The Essential Guide to Cake Decorating,” by Whitecap Books, as a great source for fondant and gum paste recipes, as well as just a great all-around guide to getting started in cake decorating.
All the best to you! Now I'll need to try making some of these things on my own, just so that I can share the recipes with my readers! Since this is time sensitive though, I wanted to make sure I gave you some kind of answer before it's too late!
Thanks for the comment!
–Naomi
Thank you for the reply,I went out to the shops an found wilton gum paste and the shop owners wife is a baker so she gave me her own home made recipe for gum paste, it actually included gum tragacant. So am going to start practicing with it .thank you so much for the advice.
Fantastic! Wilton gum paste has great workability, and it's a great place to start. All the best!
Sooooo beautiful!!! Thank you for sharing this amazing tutorial xx
Fondant Frills are not only beautiful but fun to make.
This is a lifesaver! I'm actually doing a wedding cake next week with these ruffles and had NO idea how to go about doing them. How would I attach the ruffles to the cake? With piping gel?
Candice –
You can attach them to buttercream just by sticking them on (adding a bit more icing if needed) and using toothpicks hold them in place until they dry. Since it's a fondant/gum paste mixture, it will dry into its own sturdy structure.
If you're attaching them to fondant, you can use clear piping gel, gum glue (throw a bit of gum paste in water and let it sit until it dissolves and makes a sticky, gel mixture), or you could (carefully) use royal icing to attach them. If you do use royal icing for this, just be careful to cover up the icing with ruffles well (icing blobs pouring out the side will take away from the neatness of your finish).
All the best! Glad you liked this tutorial. 🙂
–Naomi
Thanks for the help