
Valentine’s Craft Idea: Heart Window Garland [Tutorial]
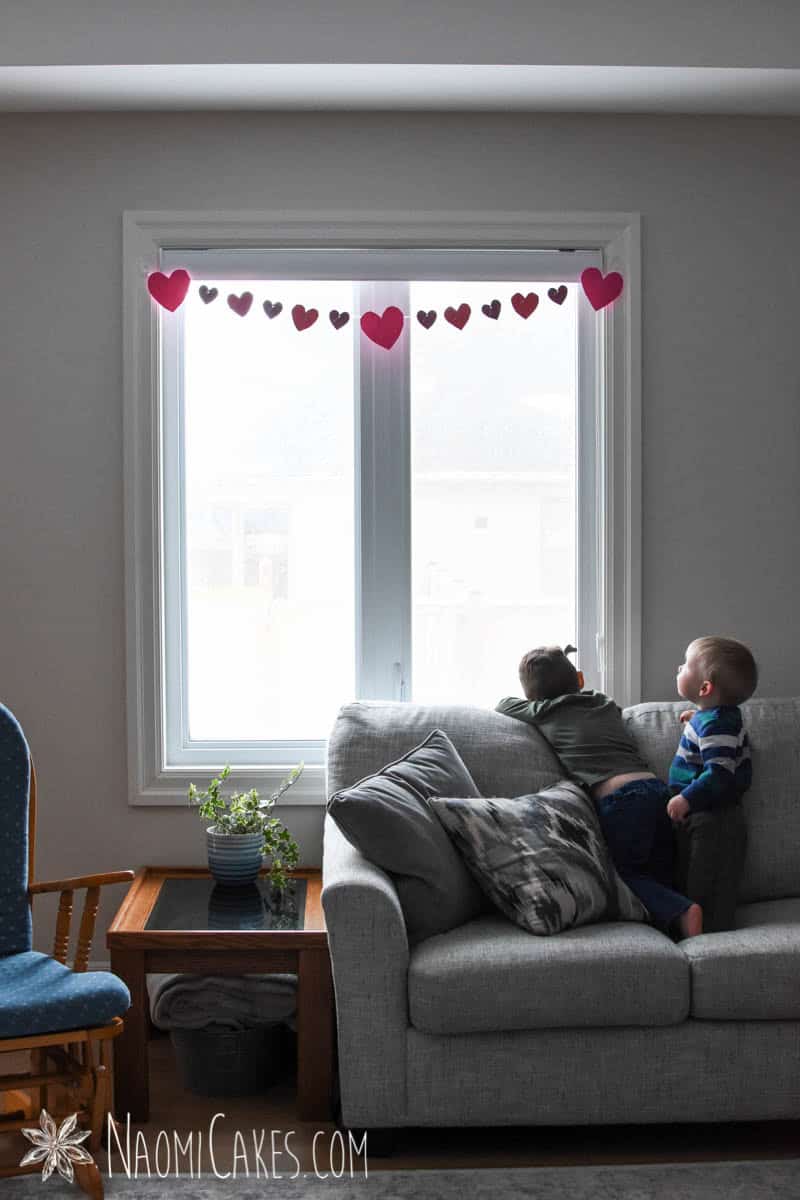
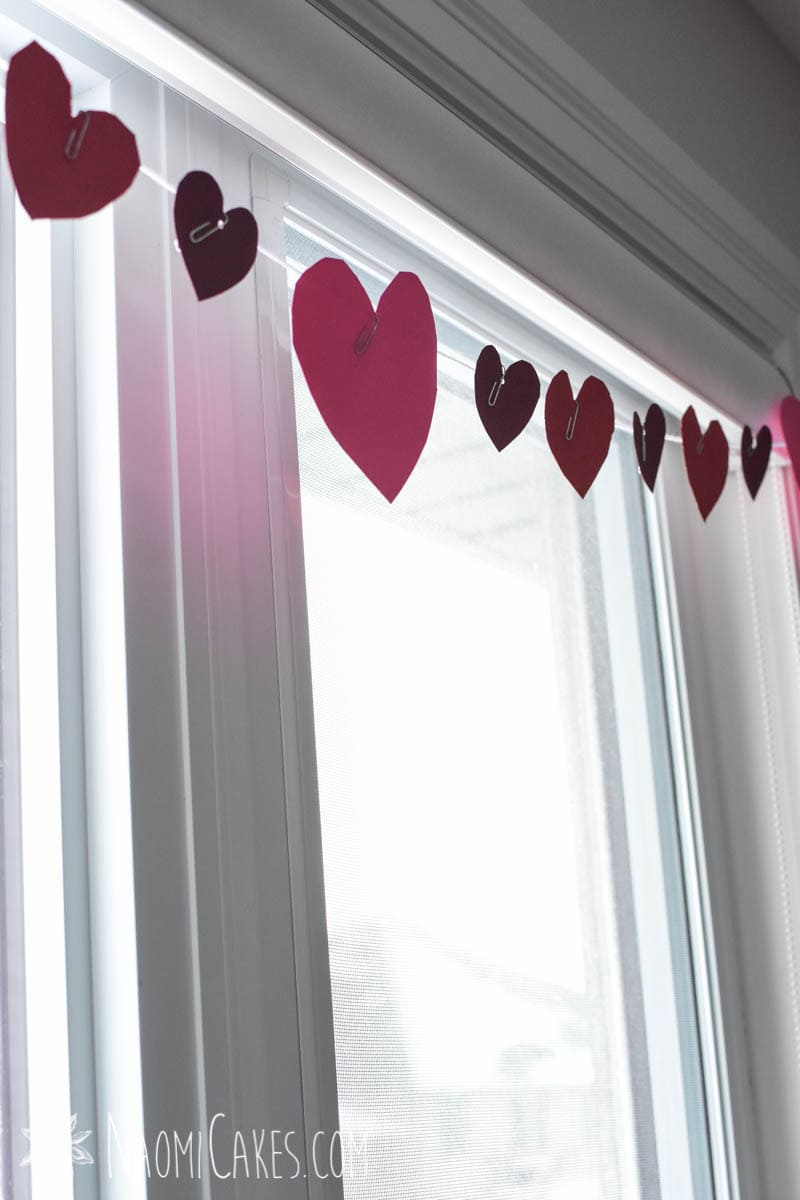
Today I want to show you guys how to make this adorable paper craft which has been bringing me delight for many days now: a Valentine’s heart paper window garland!
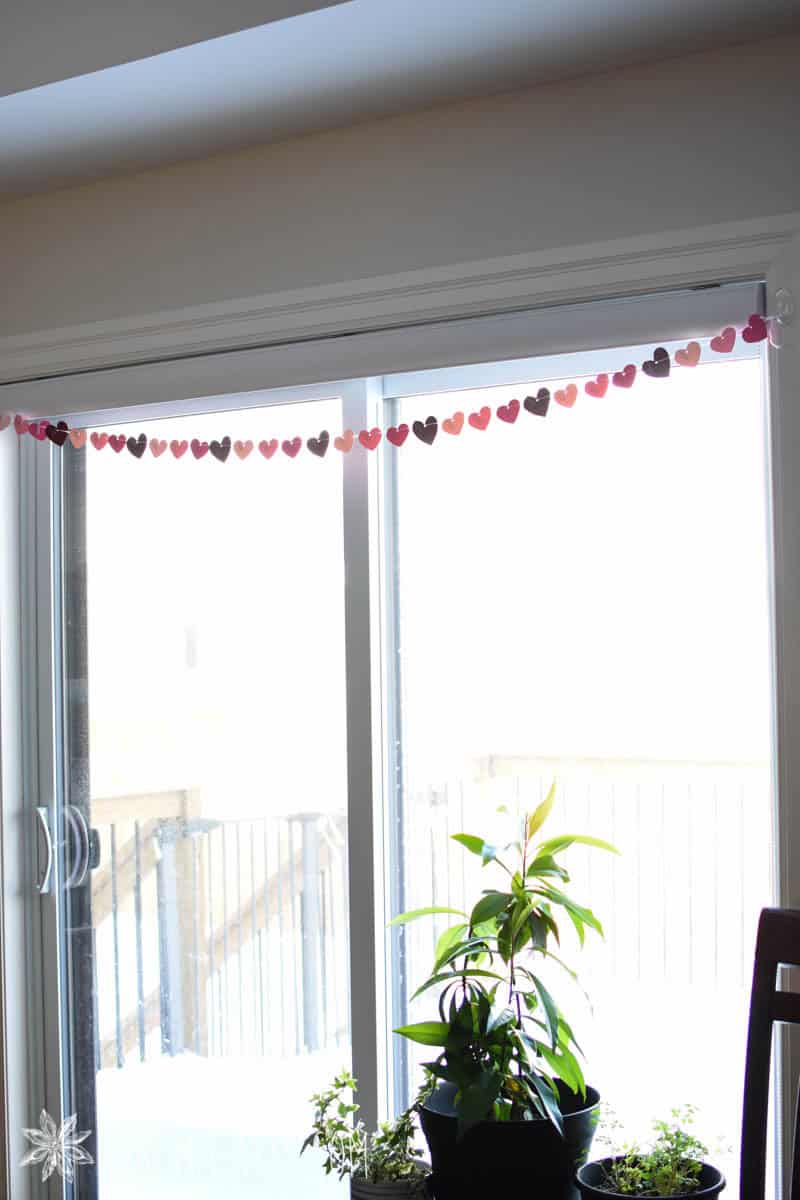
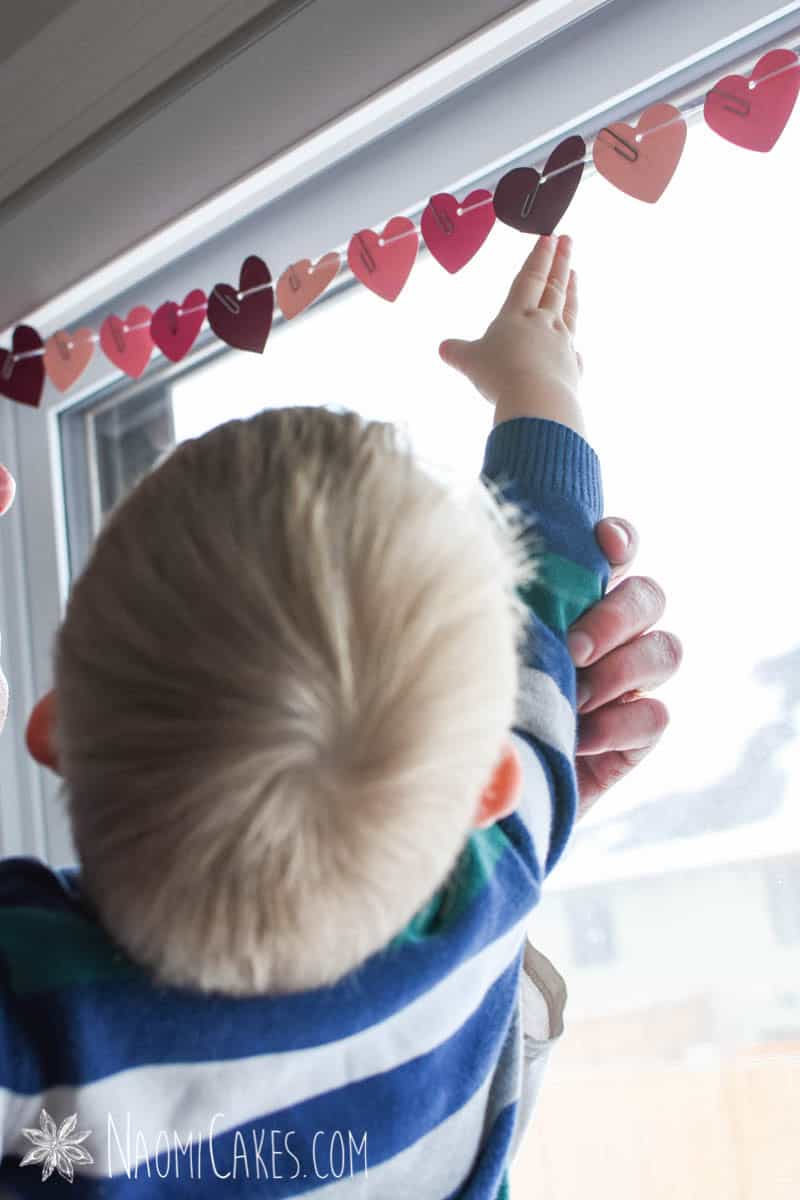
These charming little paper hearts can be strung from your windows with minimal effort, making your home bright and cheerful for Valentine’s Day. Plus, this simple heart garland can be made with kids! It’s the perfect family activity for a cold winter day.


Homemade Valentine’s decorations
I have to say, putting up a few well-placed Valentine’s Day decorations is one of my favorite things to do in February. After Christmas is over and the the winter just starts to feel long, a little bit of bright colored beauty is just what I need to pick up my mood.
Personally, I find paper crafts to be one of the best things to make on those days where you need to stay in. Just make yourself a cup of tea, gather your family around you, and have a good time together.
Making fun memories
If you’re looking for ways to create more fun memories for your family, this is one of those activities as well. Making crafted Valentine’s Day decor is fun, inexpensive, and easy!
My mom always tried to make Valentine’s Day a little bit special for us, and I’ll always remember that I appreciated that. It was never extravagant, expensive, or over-the-top in any way; in fact, as I kid I don’t even remember being aware that this special day was coming at all! Rather, I remember being surprised on the day-of with an activity or a treat to commemorate the holiday, and that was always so much fun.
Tips for making this craft with kids
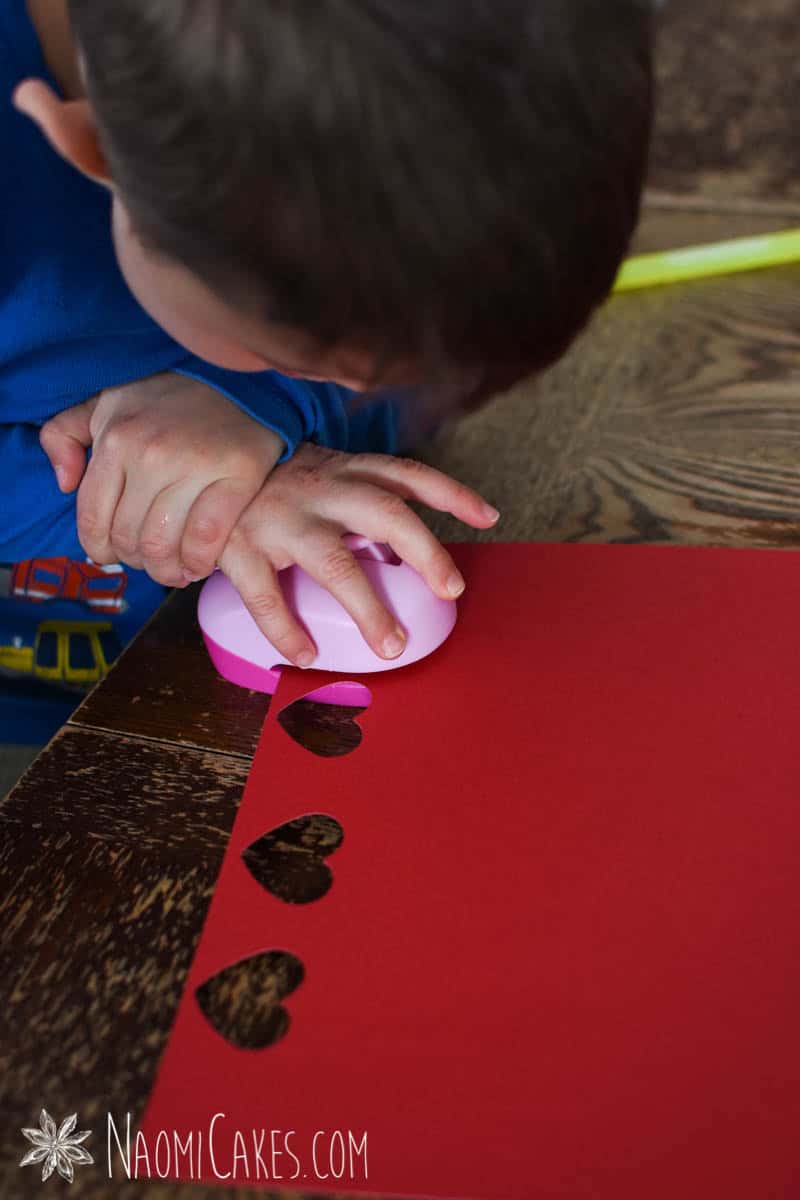
This Valentine’s Day garland is a really simple craft to make with kids that honestly doesn’t require much prep work. Just make sure that the kids are old enough to use scissors, or at least operate a heart shaped stamp (linked below).
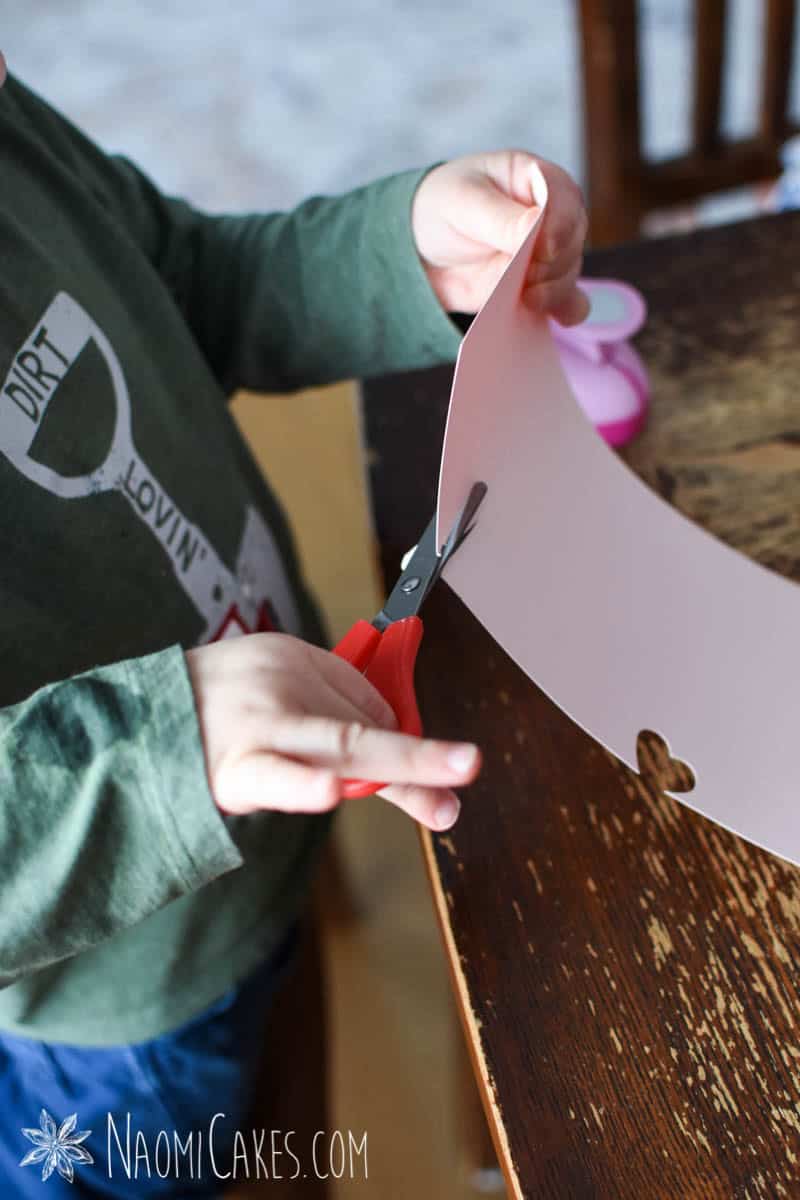
To make this process a little bit less messy and more streamlined, I do recommend having at least one stamp, pair or scissors, or something for each kid involved to do. Unless they’re much older, you will have to do the hanging of these hearts on your own. That will mean that the main task available for kids to help with is the cutting.
What kind of paper to use
For this tutorial, I am using 92-lb colored card stock. However, you don’t have to use any particular type! You can easily use construction paper, scrapbook paper, or even just basic white paper, colored in with crayons, to make your paper hearts.

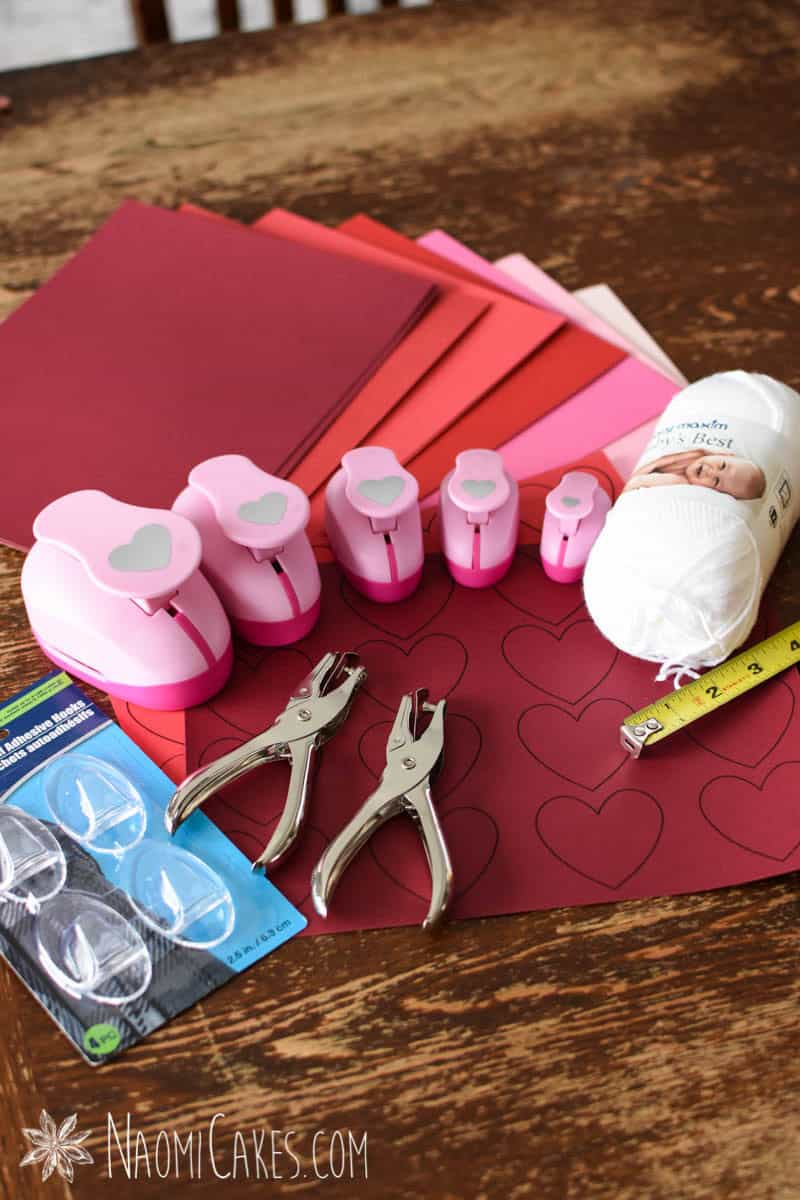
You will need:
- 92lb colored card stock (I used an assorted pack including different shades of red paper and pink card stock)
- Printable heart template
- Heart shape stamps
- Hole punch (optional)
- White yarn
- Clear sticky wall hooks
- Scissors (safety scissors for children)
- Paper clips (optional)
- Measuring tape

How to make a Paper Heart Window Garland for Valentine’s Day:
Ingredients
- 3-5 colors 92-lb colored card stock I used an assorted pack including different shades of red paper and pink card stock
- 1 printable heart template (printed as many times as you need, on different colors)
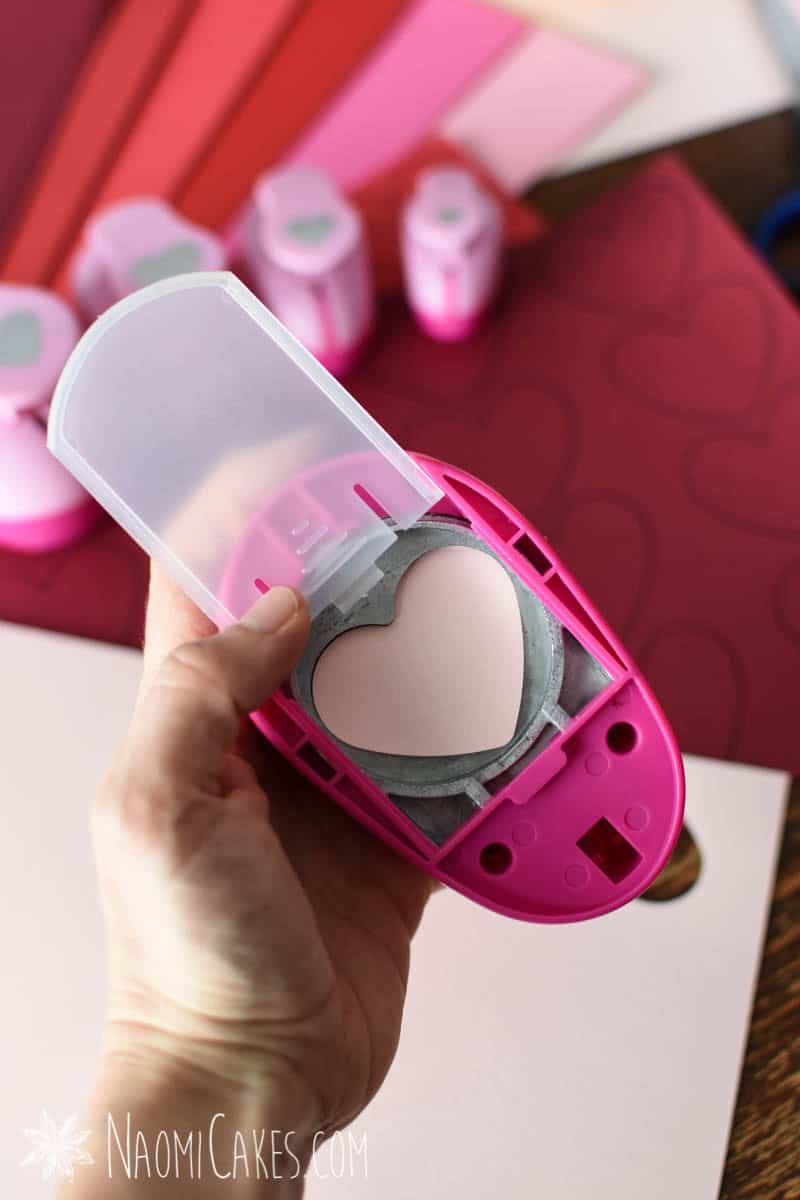
- 1 set Heart shape stamps
- 1 small Hole punch optional
- 1 spool White yarn
- 2 Clear sticky wall hooks (2 per window)
- 1 pair Scissors safety scissors for children
- 1 set Paper clips optional
- 1 Measuring tape
Instructions
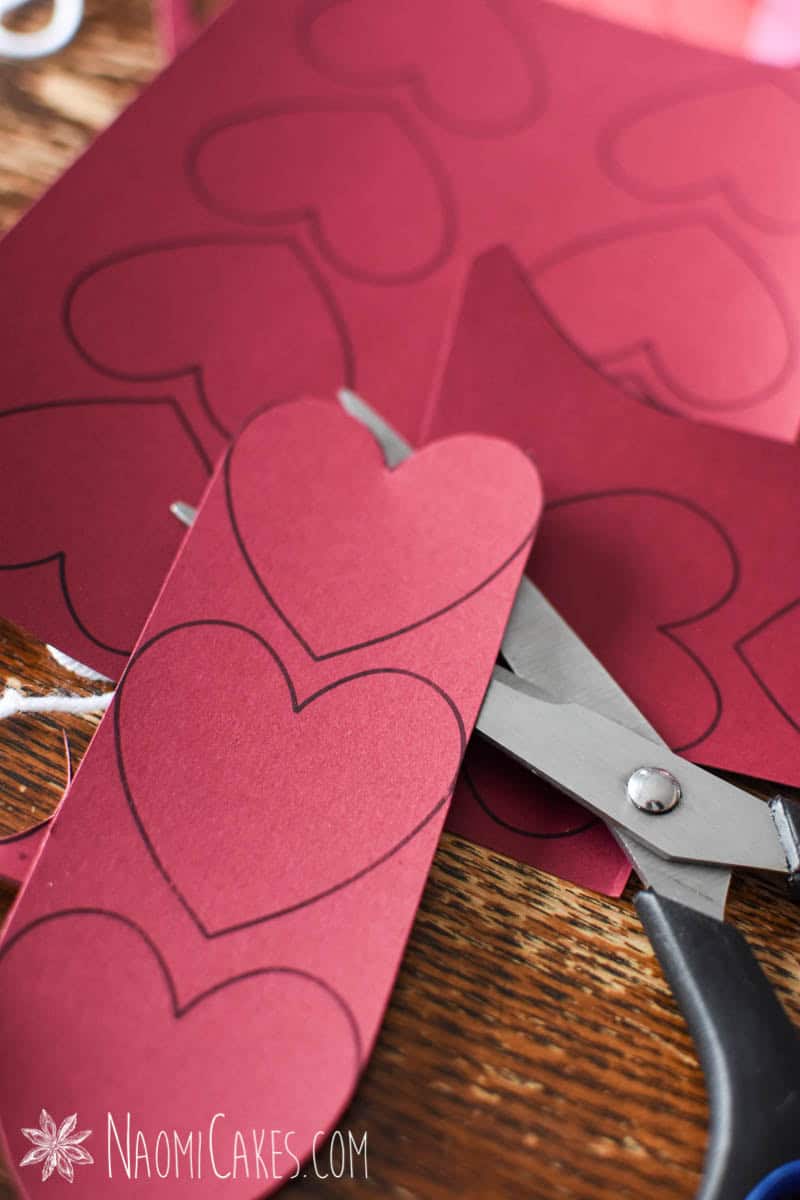
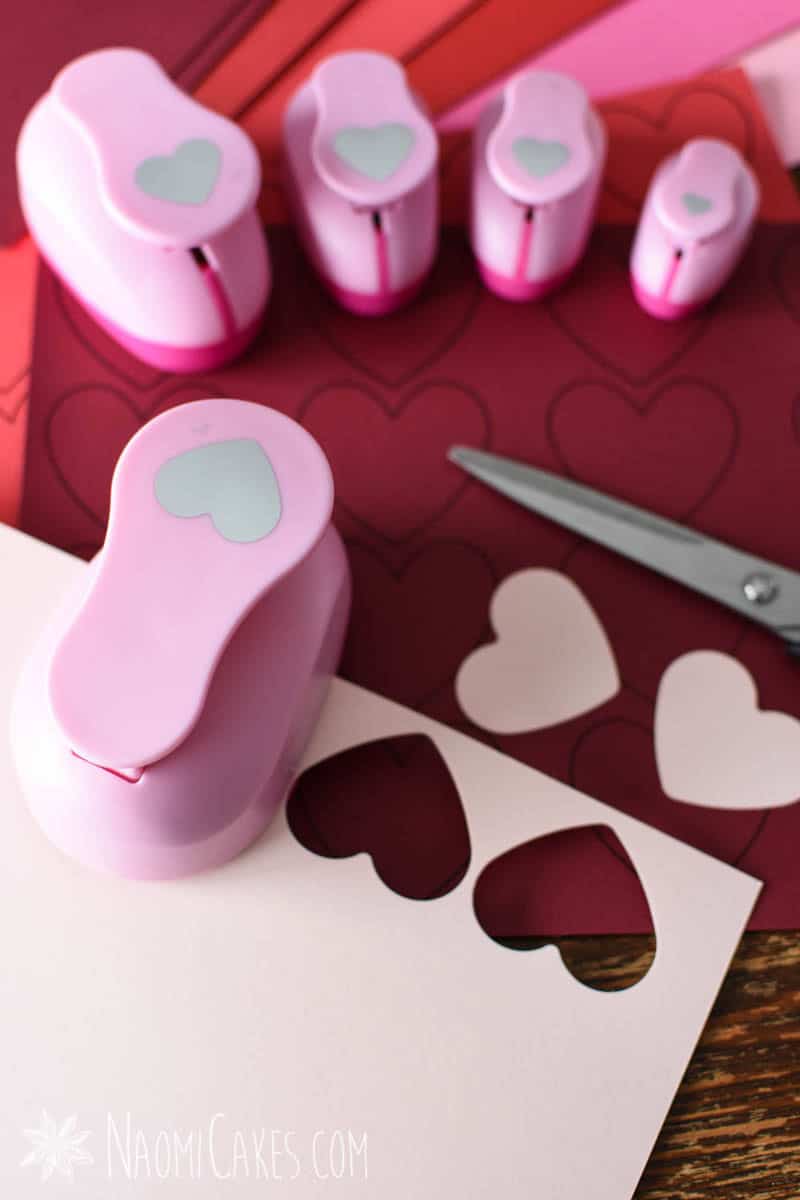
Cut the hearts
-
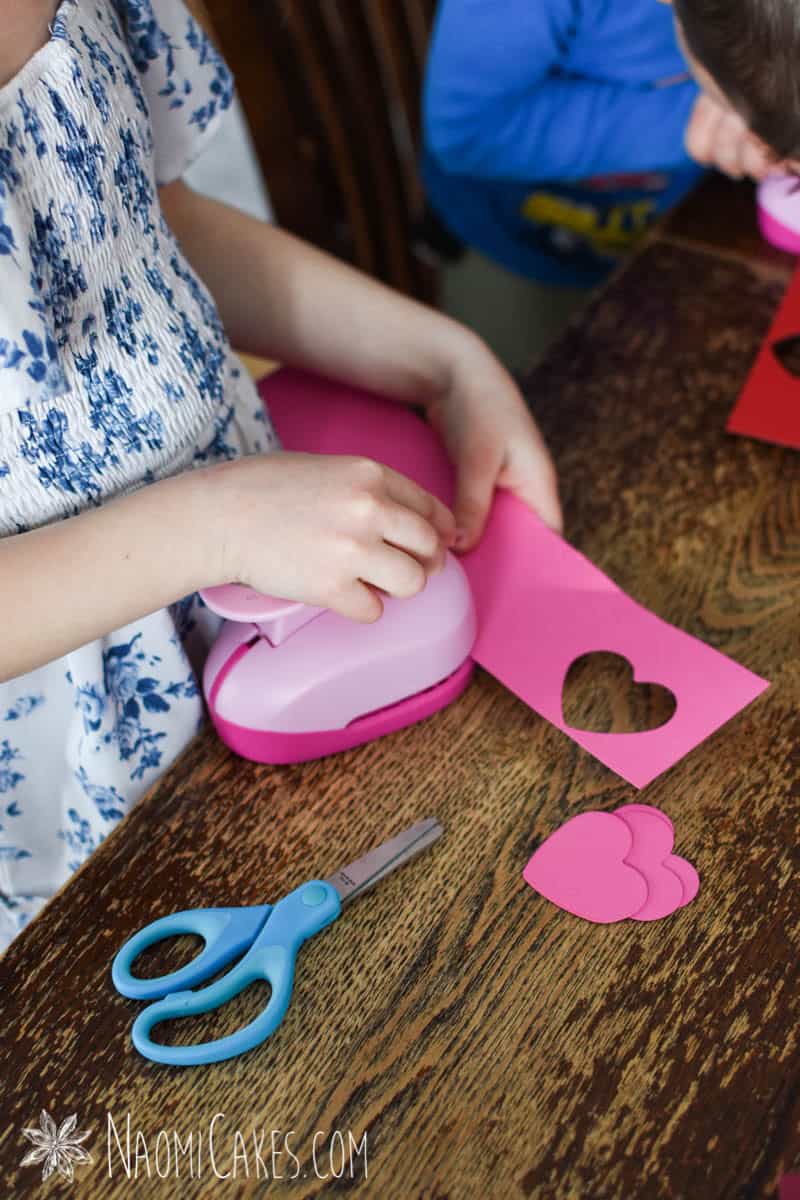
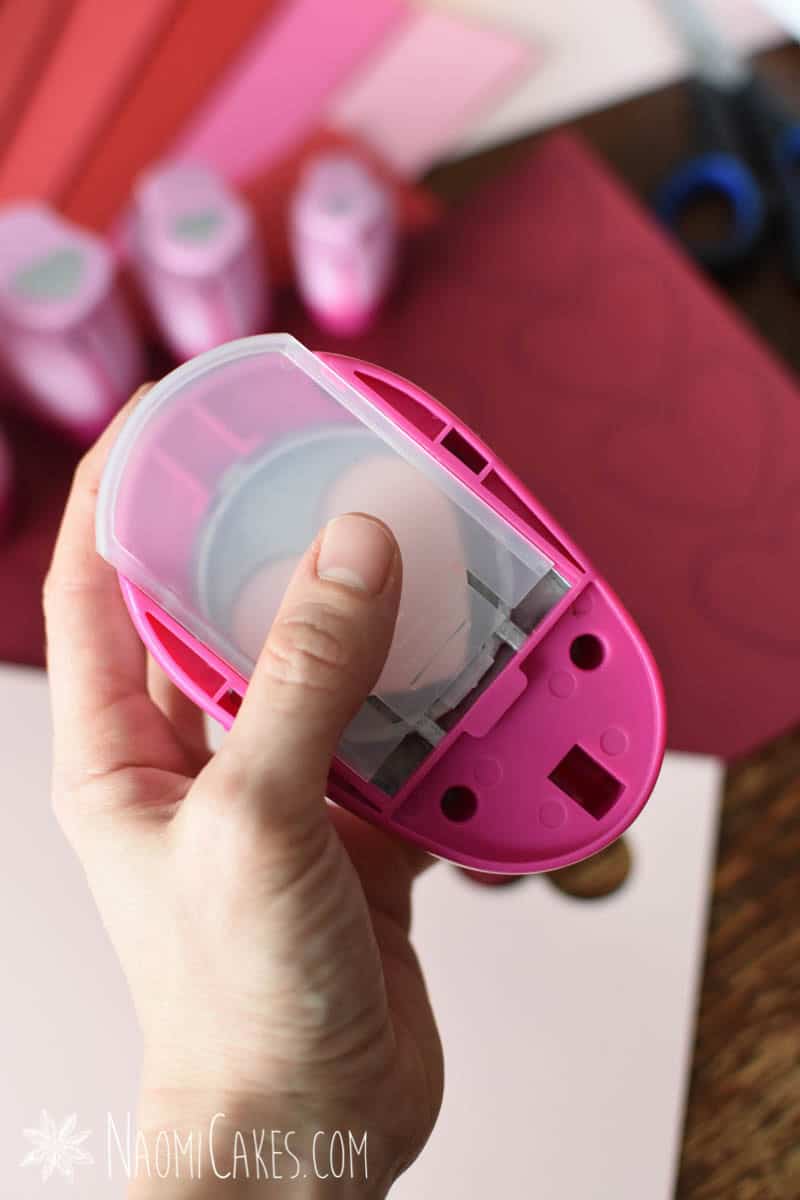
To make the hearts for your garland, you can use heart shaped stamp cutters, or go ahead and use my free printable template. I used about 32 2-inch hearts to string across a 6-ft glass door, or about 13 small and larger hearts to string across a 4-ft window. Cut out a bunch of hearts, and set them aside.
-
Note: The template used for this tutorial has nice clear, thick lines, making it easier for children to cut along the lines and get some pretty nicely shaped hearts.
Measure the window
-
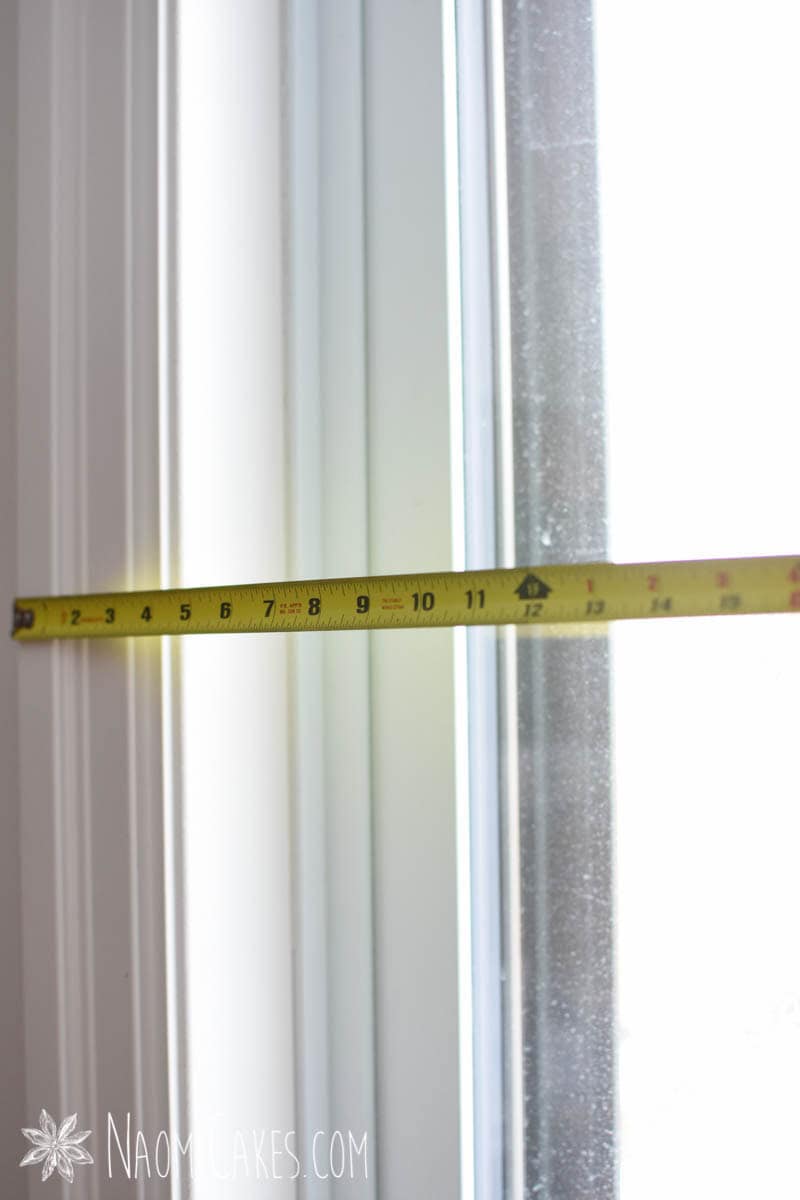
Use a measuring tape to measure the length of your window or door where you want to hang the garland. Write the measurement down so that you don’t forget!
Place the hooks
-
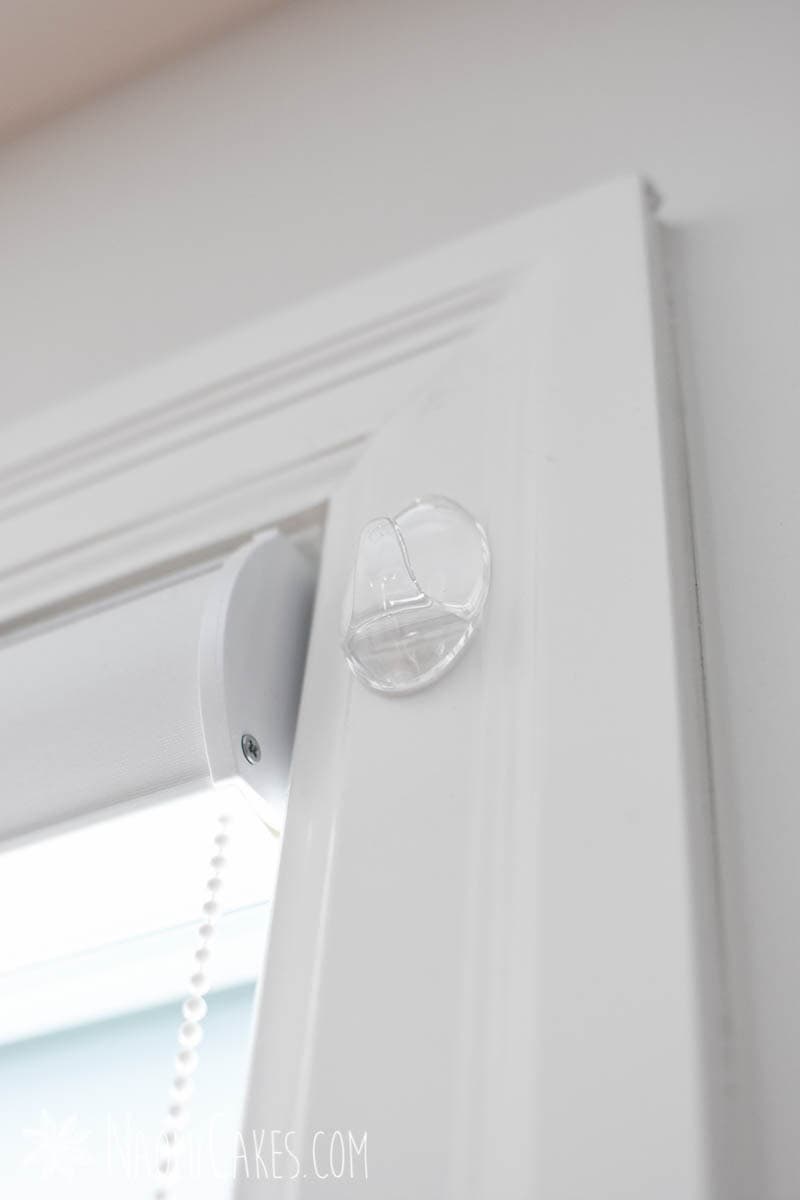
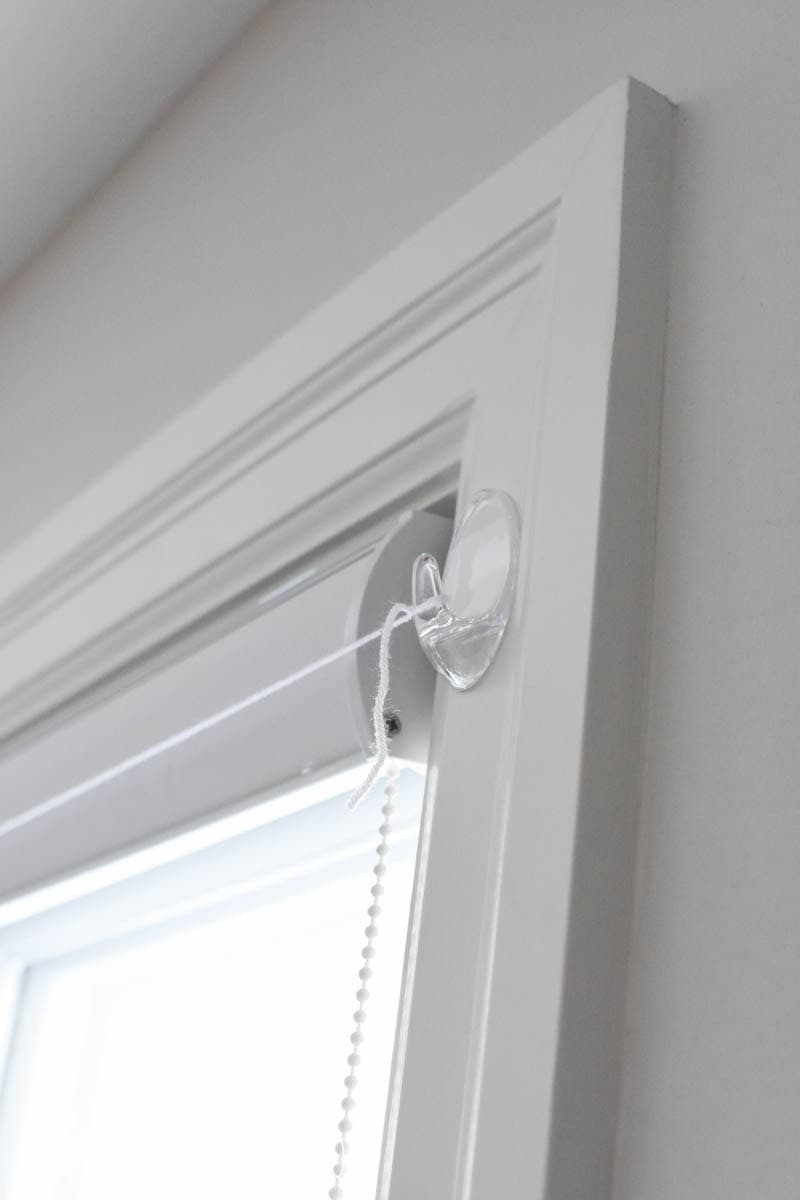
On either end of the window or door frame, stick some small clear wall hooks into place, to hold the garland in place. Make sure to measure approximately how far down the hook will stick on either side of the window, so that the string for the garland will hang in a straight line across.
Cut and tie the yarn
-
Measure a length of yarn to the length of your window or door frame + an additional 6 to 10-inches (to give yourself some length to tie). Tie the yarn straight across the length of the window, fastening it securely in place on the hooks.
Clip the hearts
-
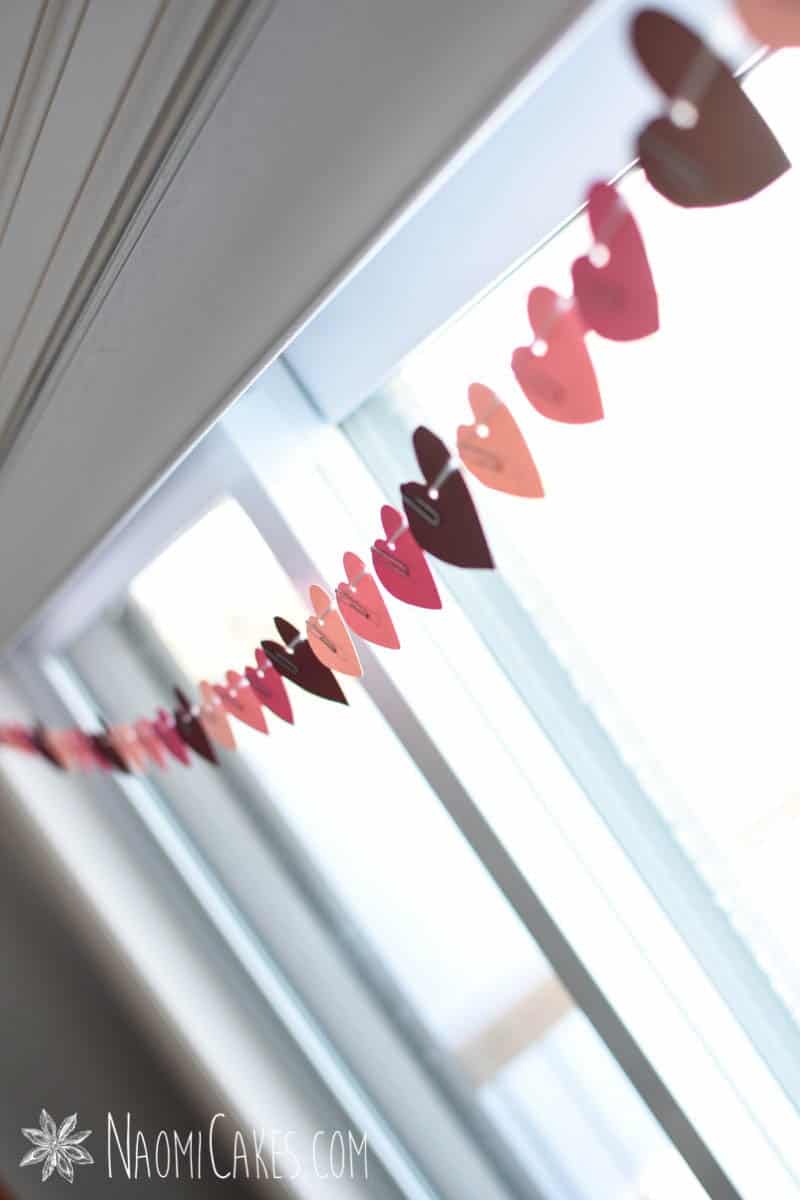
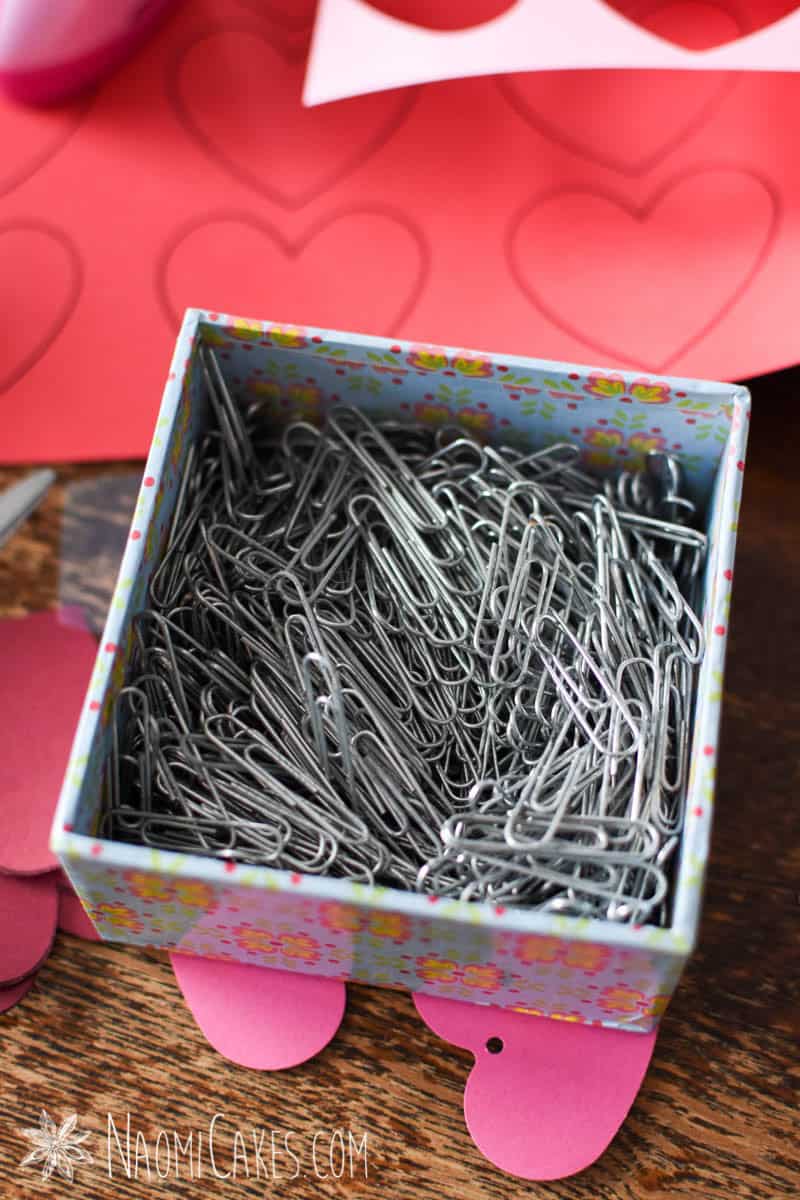
Use the paper clips to clip the hearts, fairly close together, across the length of the yarn. The weight of the paper will naturally cause the yarn to bow downward, making a perfect garland shape.
Alternatively:
-
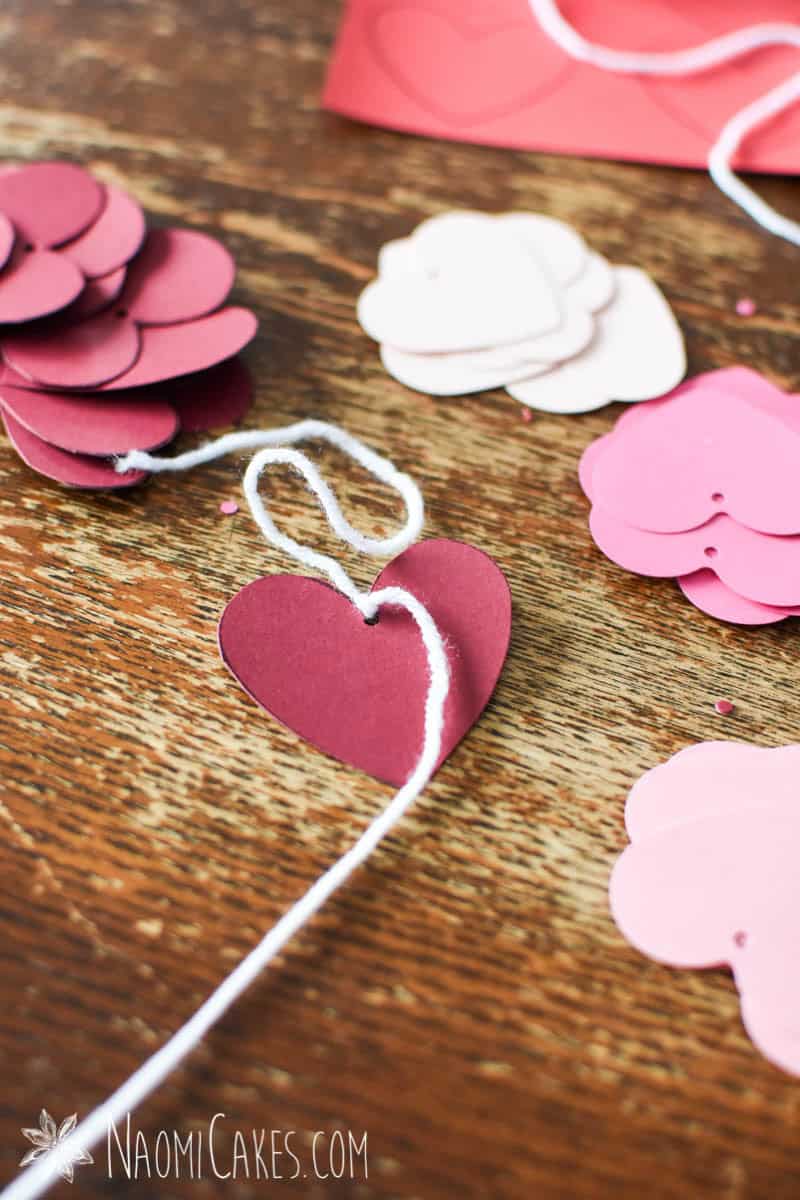
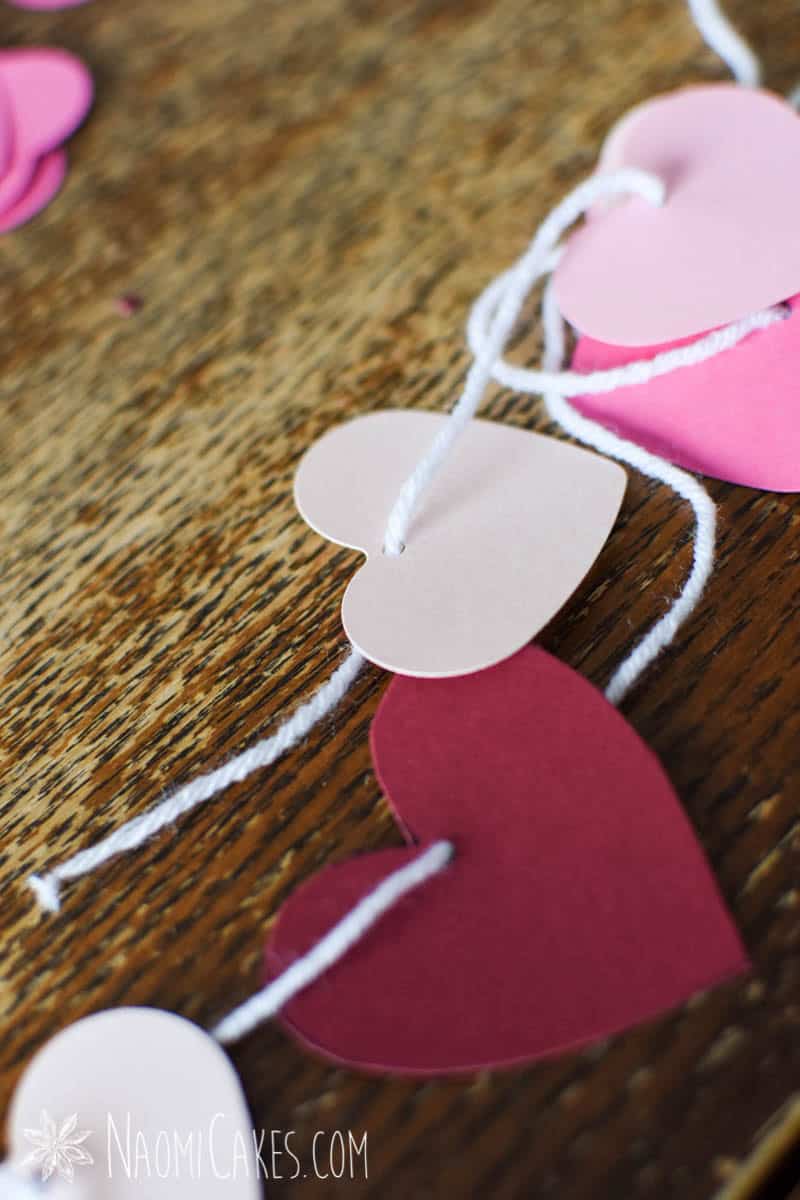
You can tie the hearts on instead of clipping them, but this process will take much longer that way! To do this, use a hole punch to thread the hearts onto the yarn (as I did for many of my hearts in these pictures), and tie them into place at your desired intervals.
Recipe Notes
You can get the printable heart template Here.
How to make a Paper Heart Window Garland for Valentine’s Day:
Here’s the basic instructions for how to make this adorable paper heart garland for Valentine’s Day! Use any colors you like, and attach the hearts however you decide makes the most sense for you.
Cut the hearts
To make the hearts for your garland, you can use heart shaped stamp cutters, or go ahead and use my free printable template. I used about 32 2-inch hearts to string across a 6-ft glass door, or about 13 small and larger hearts to string across a 4-ft window. Cut out a bunch of hearts, and set them aside.
Note: The template used for this tutorial has nice clear, thick lines, making it easier for children to cut along the lines and get some pretty nicely shaped hearts.
Measure the window
Use a measuring tape to measure the length of your window or door where you want to hang the garland. Write the measurement down so that you don’t forget!
Place the hooks
On either end of the window or door frame, stick some small clear wall hooks into place, to hold the garland in place. Make sure to measure approximately how far down the hook will stick on either side of the window, so that the string for the garland will hang in a straight line across.
Cut and tie the yarn
Measure a length of yarn to the length of your window or door frame + an additional 6 to 10-inches (to give yourself some length to tie). Tie the yarn straight across the length of the window, fastening it securely in place on the hooks.
Clip the hearts
Use the paper clips to clip the hearts, fairly close together, across the length of the yarn. The weight of the paper will naturally cause the yarn to bow downward, making a perfect garland shape.
Alternatively:
You can tie the hearts on instead of clipping them, but this process will take much longer that way! To do this, use a hole punch to thread the hearts onto the yarn (as I did for many of my hearts in these pictures), and tie them into place at your desired intervals.


If you like this tutorial, you may also like:
- Homemade Valentine’s Day Cards
- Valentines Day Craft for Kids: Cupcake Valentines
- Easy White Chocolate Truffles
- Valentine’s Day Sugar Cookies
I hope you love this tutorial! Let me know in the comments how you decided to hang yours, and where! I’d love to hear about it. Also, if you took some pictures – feel free to tag me on Instagram @naomicakesofficial; I’d love to see your beautiful new window decor!
Back soon,
Naomi
This post contains affiliate links.