
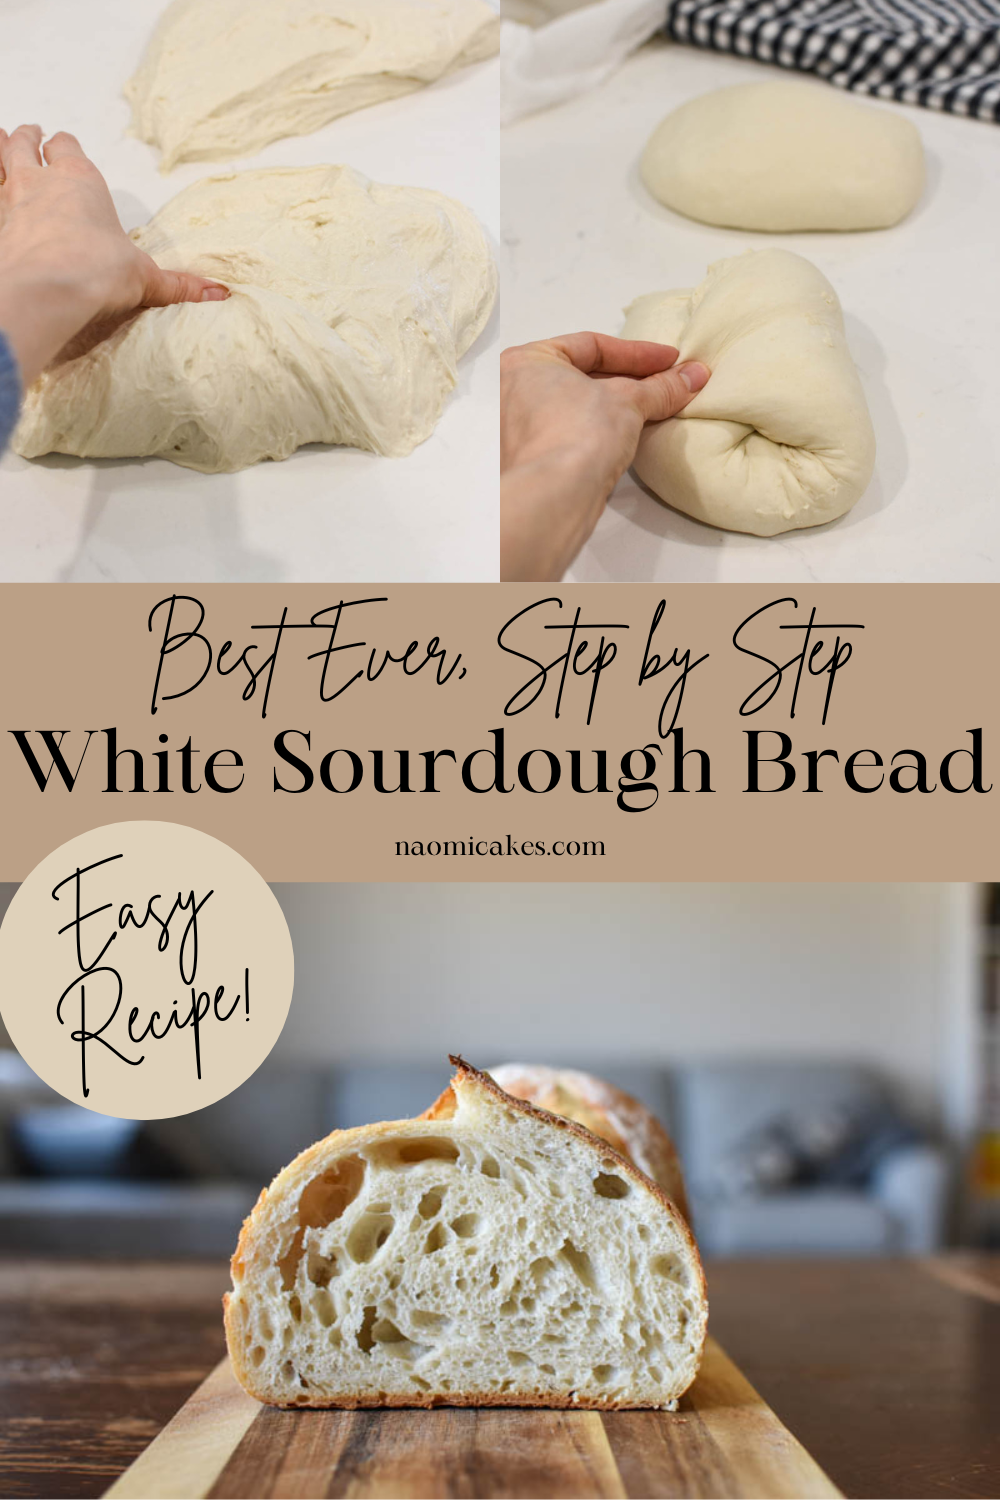
Easy No-Knead White Sourdough Bread [Recipe]
Ok guys, today’s the day! It’s been years in the learning for me, but I’ve finally landed on my favourite recipe for sourdough bread. Also, since it’s my own recipe… I get to share it with you!
In the process of learning to make sourdough bread, I’ve probably done it all.
- I’ve started failed sourdough starters,
- Tried lots of recipes,
- Made flat as a pancake loaves (that were totally embarrassing, to be honest),
- Made beautiful loaves (without knowing why)
- Made loaves that dry out quickly,
- Made loaves that were sticky after being fully-baked,
- And…. Who knows what else!
Regardless of what I’ve been through, however, I have continued to try. And, like most people who stick with it, I’ve come to love the process of making sourdough bread from scratch.
Today I want to share what I’ve learned with you, and as the cherry on top: The recipe that keeps serving me well, over and over again! Also, which is coincidentally, SO easy to make. First, we’ll start with the basics.

What is sourdough bread?
Sourdough bread is what comes out of the age-old process of making bread that involves using a wild, fermented yeast. In our modern day, we have gotten used to speed, using instant or dry active yeast to proof our breads. That is how I learned to make bread initially, and that is how I’ve usually sought to teach other people in the past (see my Easy French Bread recipe).
While I love making traditional yeast breads, I have found that the process of making sourdough and the taste of the final result is one of the most rewarding, interesting, and delicious experiences I’ve ever had.
What is wild yeast?
Wild yeast is yeast that is cultivated through a natural source. In the case of bread, it is usually caught from the air in the fermentation process that occurs by mixing flour and water and allowing it to rest at room temperature for a period of time. The bubbly, fermented mixture that comes from this process of “Catching wild yeast” is most often called “Sourdough starter.”
You can learn how to make your own Sourdough Starter here – And yes, this is a necessary component of making sourdough bread!
Is sourdough bread good for you?
Well, I suppose that depends on who is asking! If you have celiac disease, sourdough bread is typically made with wheat, which means that for you it would not be a good idea. There are gluten free sourdough breads out there, but I have yet to venture that direction. Check back at a later date if you’re looking for that!
The benefits of sourdough bread (and there are some great ones!) come from the fermentation process that takes place during the dough’s long resting times, which not only allow the bread rise, develop incredible flavour, and make the magic of this process possible – They also, in a sense, “Pre-digest” the harder components of the wheat for us to digest, which makes the bread easier for your body to process, and yes, much better for you. (source)
What is the process of making sourdough bread?
Sourdough bread is made by mixing flour, water, salt and leaven (the sourdough starter) together, and then working to develop the gluten in the dough to give it lots of structure. The structure of gluten is developed when the flour gets wet and then periodically stretched and folded over itself… Like the layers of a croissant, the strength and durability of your dough multiplies each time you stretch and fold the dough.
Is sourdough bread easy to make?
Yes, and no. It IS easy to make – but if you’ve never made sourdough bread, and you have worked with yeast dough in the past, it’s a little bit like learning another language. The process is longer and requires more care. This can be frustratingly difficult to get the hang of; but, once you do, I promise, it will make all of your effort well worth it! Also, the feeling you get from a beautifully baked loaf of sourdough bread is unmatched– there are few things that have given me a greater sense of satisfaction than that!
Where can I get a good sourdough starter?
Personally, I have always liked to make my own. You can check out My Tutorial Here, or if you prefer to make your life a little simpler, you can purchase a starter culture online instead. Or, if you have a friend who bakes sourdough bread, just ask for a little bit from them. Every time you use it, you will need to “Feed” it – which will cause it to multiply, and then sharing it becomes pretty easy to do.
Alternatively, sometimes local bakeries will be willing to sell some to you, so you could always inquire there!
Is the stretch and fold process necessary for sourdough bread? What does it do?
I remember hearing about “stretch and fold” and not really understanding what the point of that was. Having a bit more experience at this point, I get it now– and yes, it is necessary for great bread.
Stretching and folding the dough is what gives the gluten in the wheat the maximum ability to develop to its greatest potential, which is how you can get those nice, tall loaves with beautiful oven spring. I’ve heard this process described as “Building strength into the dough,” which is in my opinion, a perfect way to describe it.
Some recipes that I have tried (and really liked!) just knead the dough for a long time to develop that strength, which does work. I have found, however, that the stretch and fold process is much easier to do, and it tends to yield a much faster, better result than just kneading the dough (or letting it go in the bread mixer) for a long time.
Is a pre-shape necessary for sourdough bread?
In my experience, no. Pre-shaping your bread just gives it a little more opportunity to build strength and structure into the individual loaves you are making. If I was making a huge batch of bread, I might prioritize a pre-shape more, but for small batches of 1-2 loaves I have sometimes skipped this step and found that my bread still turns out beautifully.
Tips for making great sourdough bread
1. Make sure your starter is active– or more importantly, healthy.
When you feed your starter the night before, you should find that it has doubled or tripled in volume by the next morning. This means your starter is active, and more than that, it’s really healthy! I have found that I can even bake with dormant (non-active) starter right out of my fridge and get a great loaf of bread… if the starter has been fed somewhat recently and it was rising really well when I last fed it (indicating that the starter is very healthy).
2. Follow the recipe, and bake by weight if you can.
Baking by weight was always really intimidating to me when I was younger, simply because I wasn’t used to it. However, I have found that the results are far more accurate. For example, just from my own experimenting, 1 cup of flour can range anywhere from 100g-170g (almost double the amount!) That said, you might have a great recipe for bread, but if I tell you 1 cup and you make those cups way more dense (heavy) than I did, your bread will be much more dry and difficult to handle. If you don’t have one already, I highly recommend getting yourself a baking scale if you want to get into the world of sourdough bread. It will save you a lot of headaches!
3. Better to over-flour than under-flour your basket liner or tea towel.
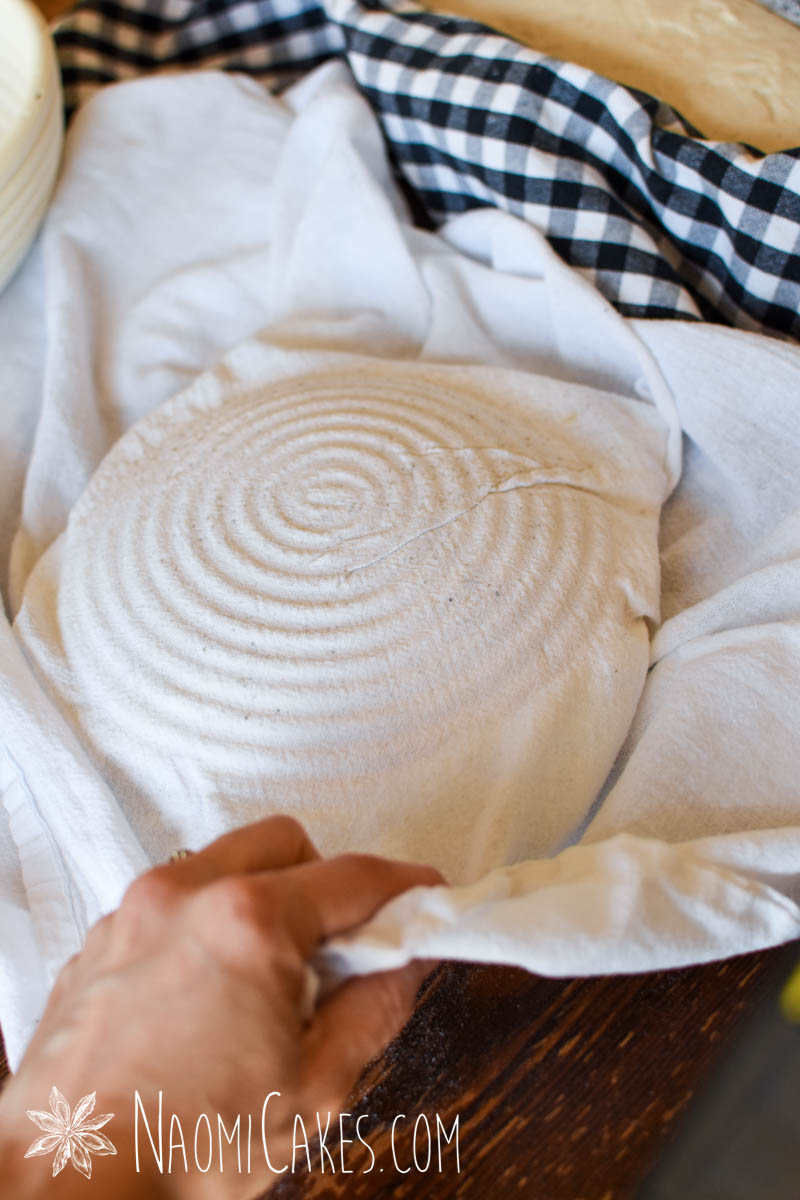
Obviously you don’t want to go crazy on this, but one of the most discouraging things is finding that your bread is stuck to the basket or tea towel when you go to bake it. If you have too much flour, you can always brush some away… But if you don’t have enough, your loaves might just be ruined. I just use a miniature sieve to dust my towels, and I find that they come out beautifully.
4. Bake your bread in a covered baking dish or dutch oven (ie, bake the bread with steam).
This is essential for beautifully risen sourdough bread. The steam created inside of a closed dish allows the bread to rise longer before the crust sets, giving it maximum opportunity to expand. If you don’t have a dutch oven, you can set a pan with sides (such as a 9×13 inch baking dish) into the oven underneath your bread pan, and fill it with boiling water right before baking your bread. This will create steam in the oven, which will yield a similar effect. My favourite pan to fill with boiling water is a cast iron frying pan.
5. Cool the bread completely before cutting it.
Ok, so I have a little bit of a double standard here. I have definitely cut into hot loaves because I’m too eager to try them! So if you do, no judgment. Also, for one or two slices, that’s ok. The problem with cutting into hot, fresh bread is that the crumb will get sort of gummy and stick together. For best results, allow the bread to cool completely (or mostly completely) before you dig in.

How to start making sourdough bread as a beginner
Start. Follow directions. Watch videos. Invite a friend to join. Just get started, and you’ll be amazed at how interesting (and fun!) the process can be!
How to plan your time making sourdough bread
I usually make my bread by feeding my starter the night before, mixing the dough the next morning, finishing the dough by that afternoon, and baking it from the fridge the following day.
That said, if I want bread to be fresh for Saturday morning, I need to feed my starter Thursday night, make my dough Friday morning, and then the loaves will be ready to bake on Saturday morning. It’s the best way to start the day – with fresh, beautiful loaves!
Can I make substitutions in this recipe?
Yes! You can try using a variety of flours, but I wouldn’t recommend going with anything gluten free for this recipe. Try whole wheat flour or rye flour mixed with the white, or try adding nuts or seeds.
What is the best flour to use for sourdough bread?
You’ve maybe heard people recommend “Strong flour” for sourdough, which is usually a type of bread flour. This will give you the best ability to develop good gluten structure in the dough.
For my breads, I have chosen to use all purpose flour, since that’s what is most readily available to me. I have found that it works very well for my purposes.
Why this recipe is my favourite
Before I made this kind of bread, I used to make one that had a lot less water in it, making a much stiffer dough. I liked that one because it was most like the yeast bread doughs I was used to working with in the past, and I was able to score beautiful patterns on it without the dough being too wet to handle or score. (You can check out a tutorial with that recipe in my Instagram highlights.)
The problem with that recipe is that I found, it needed to proof for a period of time before I could put the loaves in the fridge (it never seemed to rise much in the cold fridge temperature), making it much easier to accidentally over-proof my bread.
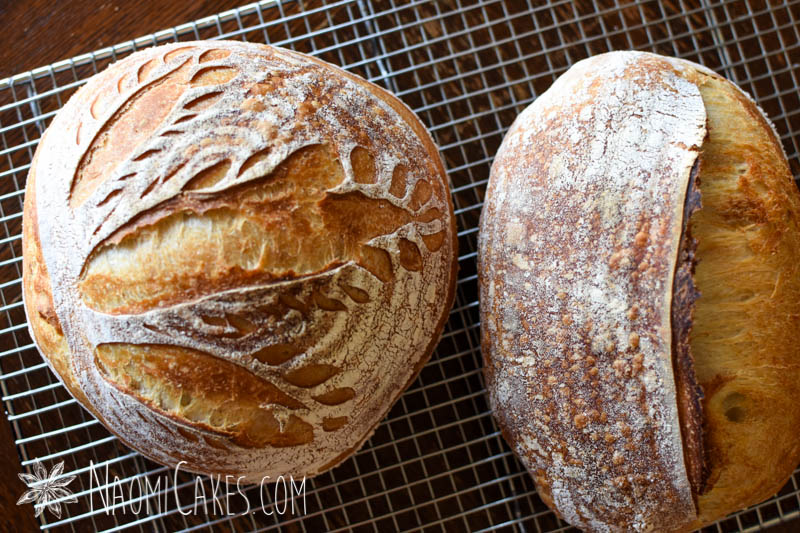
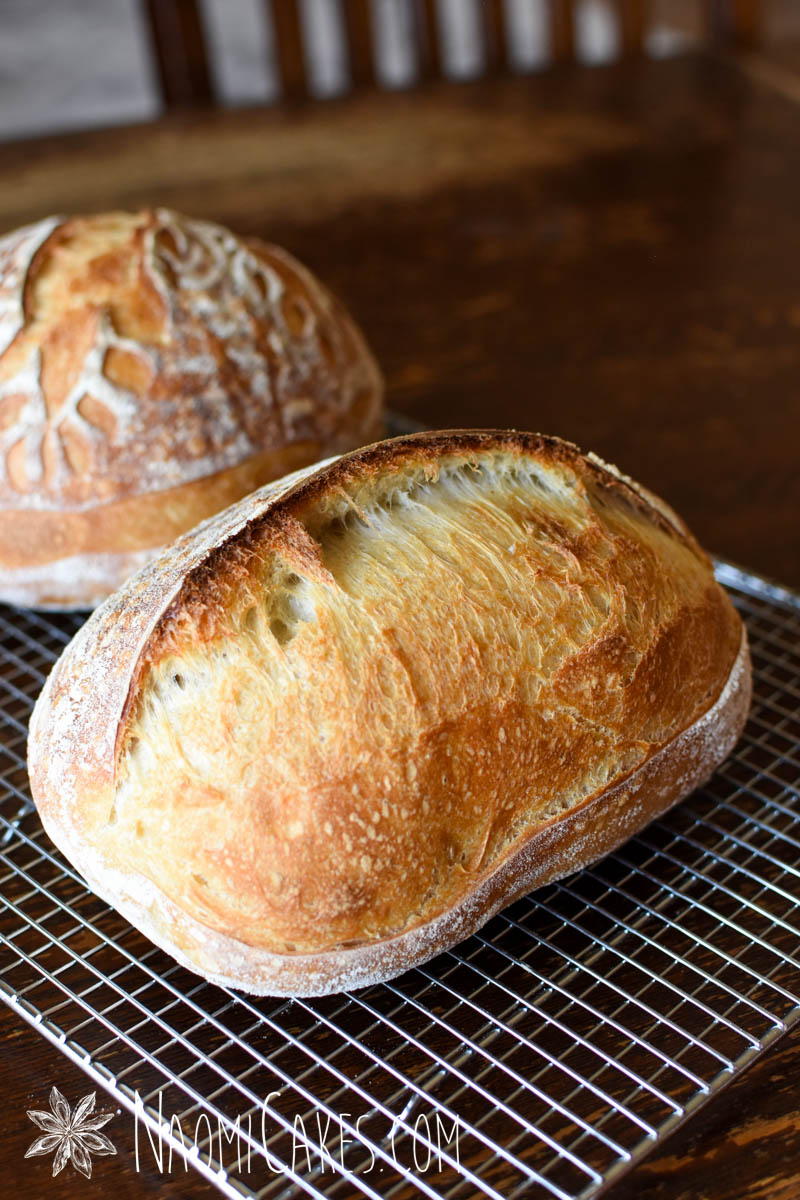
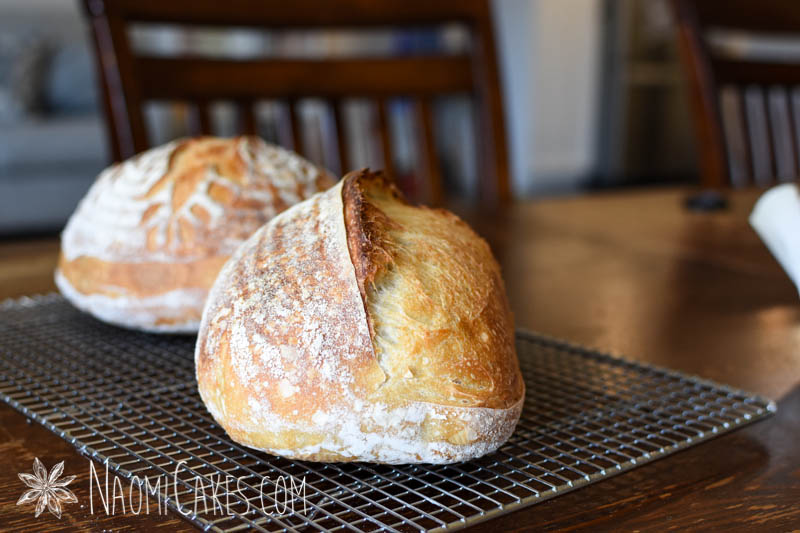
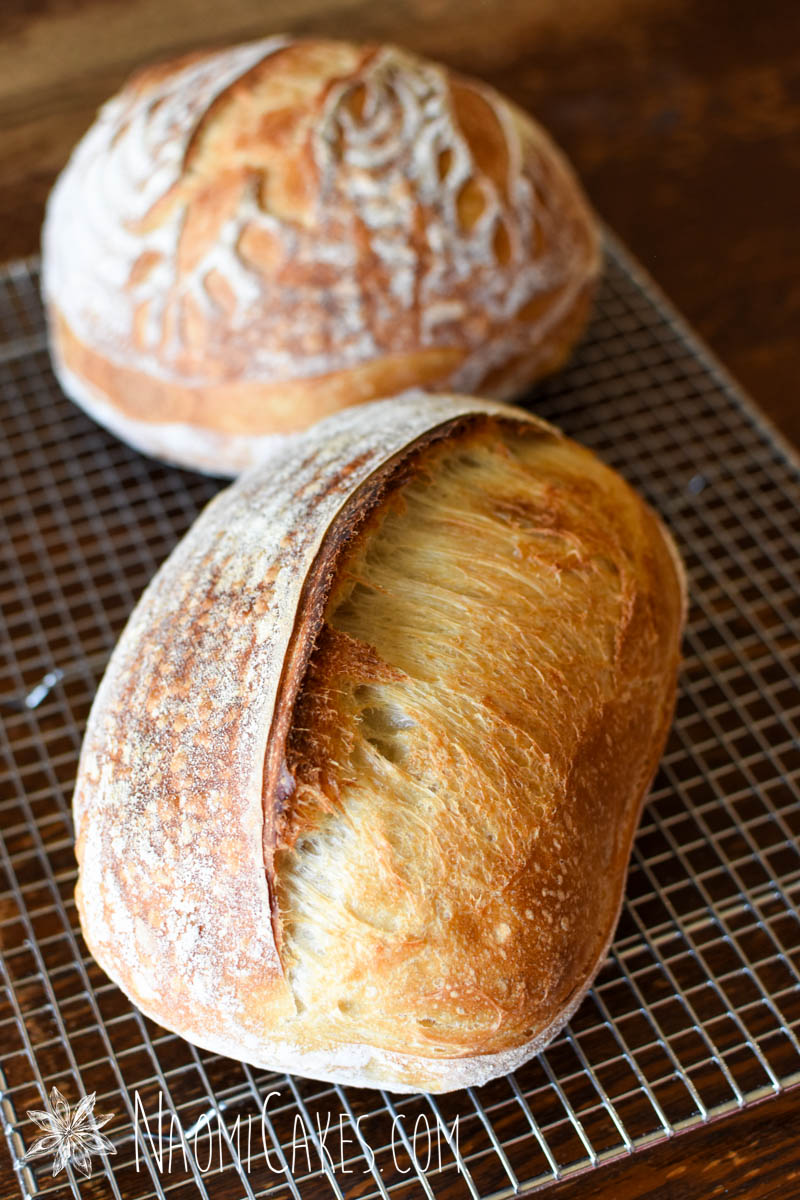
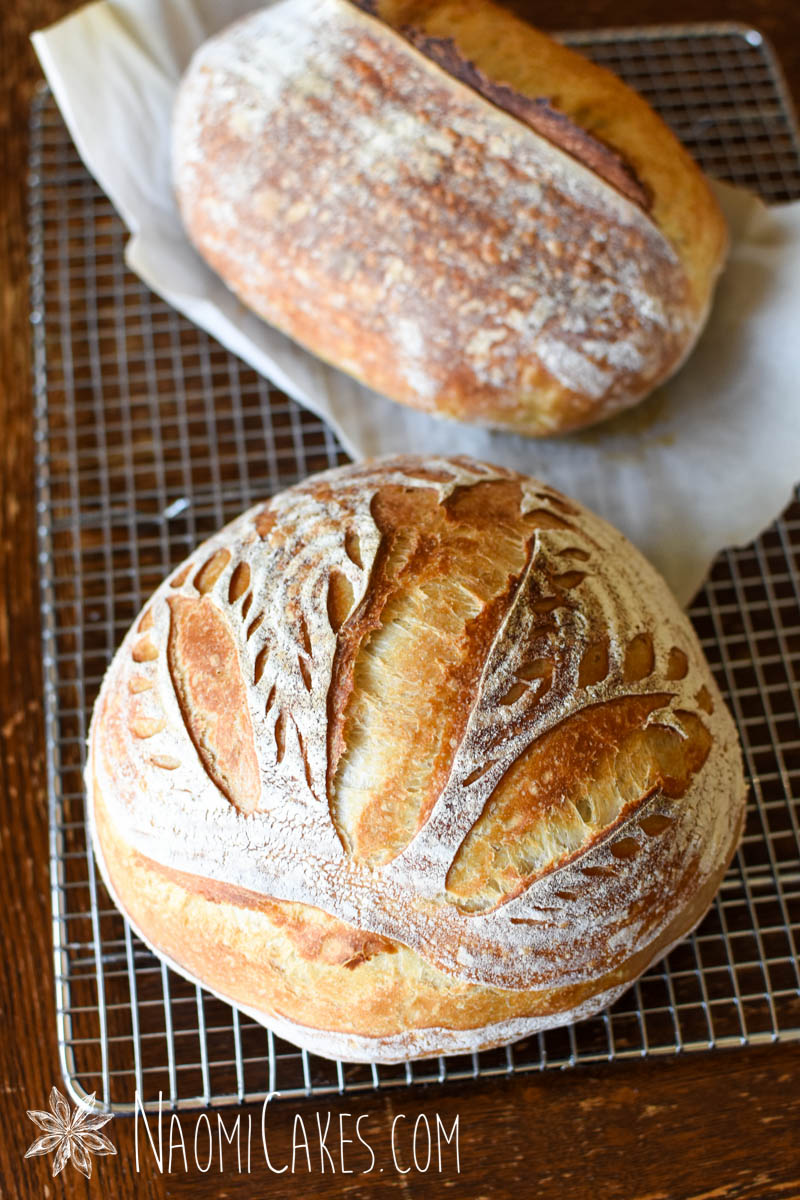
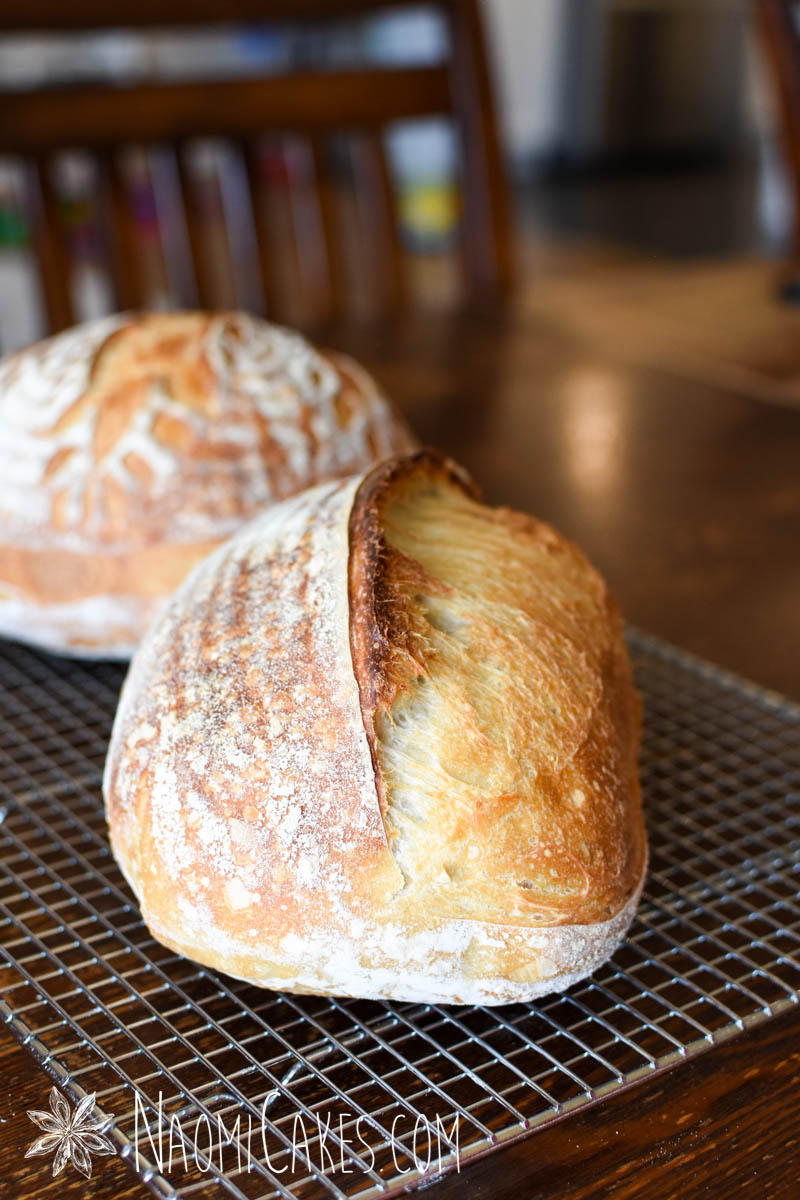
This recipe I love because it strikes the perfect balance between dough that is soft enough to rise well in the fridge and stiff enough to hold up well for scoring patterns and designs. The bread itself is always soft on the inside and crusty on the outside, giving me excellent oven spring and loads of joy. It’s everything I wanted my sourdough bread to be!
Breaking it down: how to make this no-knead white sourdough bread recipe
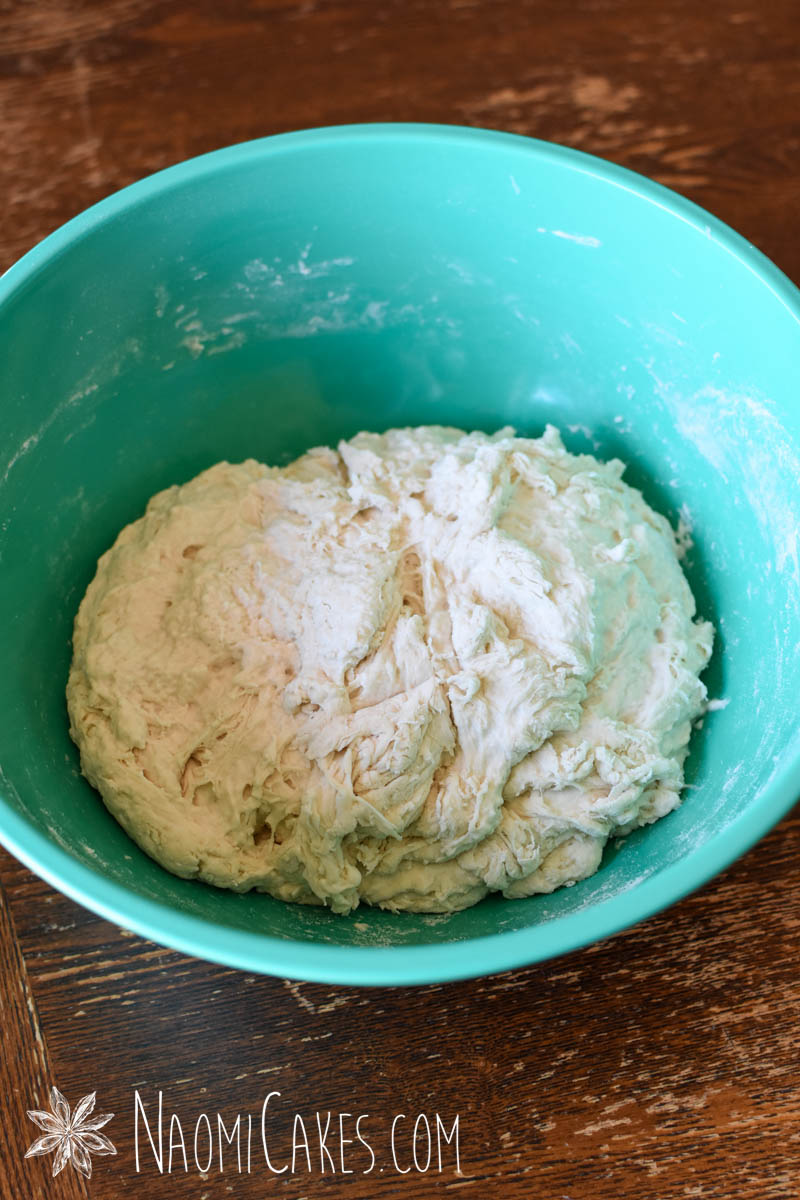
This process is explained fully in the recipe itself, and then it is shown in detail by photos underneath the recipe card (below). However, to give you an overview, I want to outline the steps here for you in simple form so that you can get an idea of how to make this recipe in advance. This is a higher hydration dough than commercial yeast dough (it makes a fairly sticky dough at first, since it’s made with a generous amount of water). That said, it’s not a very high hydration sourdough (many sourdough recipes are much more sticky), making it very beginner friendly.
1 – Make the dough
- In a large bowl, mix together the white flour, water, salt, and active sourdough starter just until the dry flour is all absorbed. You can do this with a stand mixer with a dough hook, a wooden spoon or your hands, but you don’t need to knead it. Allow this mixture to rest for 20-30 minutes.
- Stretch and fold the dough (step by step pictures below), and then let the dough rest for another 30 minutes.
- Repeat this process with 2 more sets of stretch and folds, until the dough is smooth and holds its shape well.
2 – Proof the dough
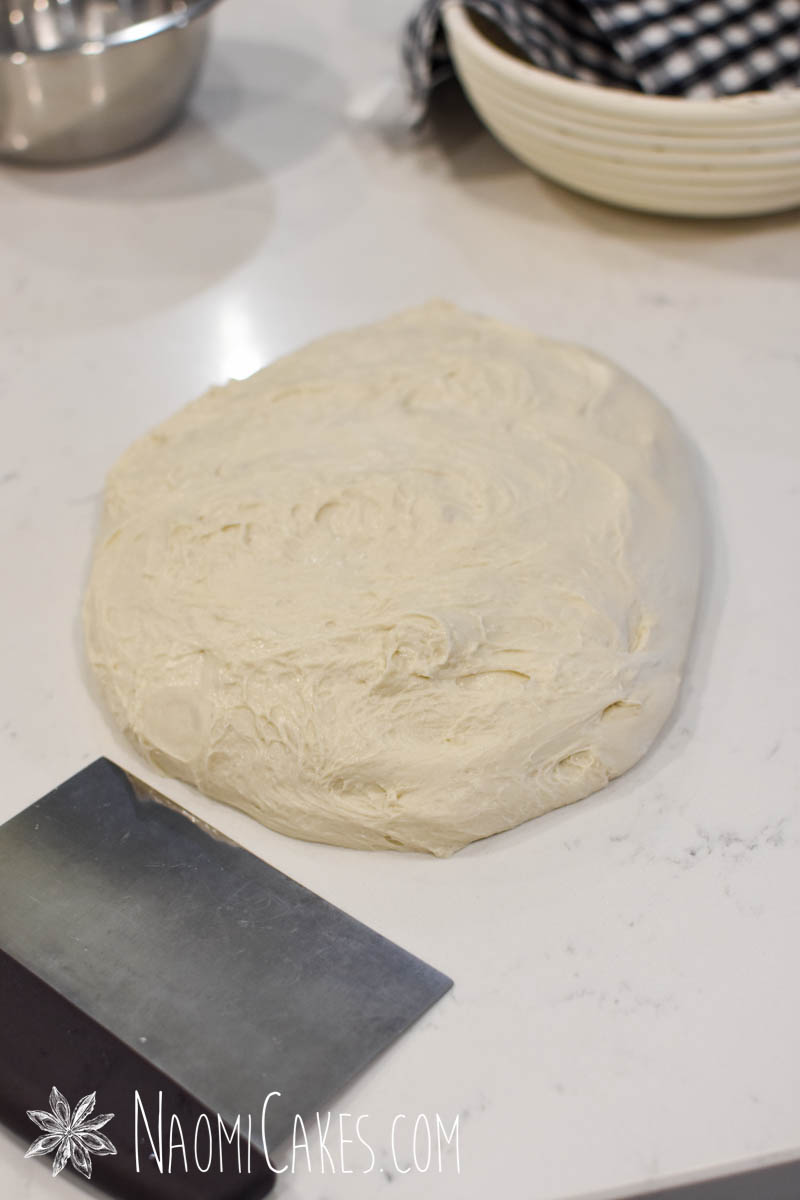
- Let the dough rise, covered, in a warm place for the bulk fermentation phase (the first rise). This should take about 3 hours, depending on the temperature of your dough.
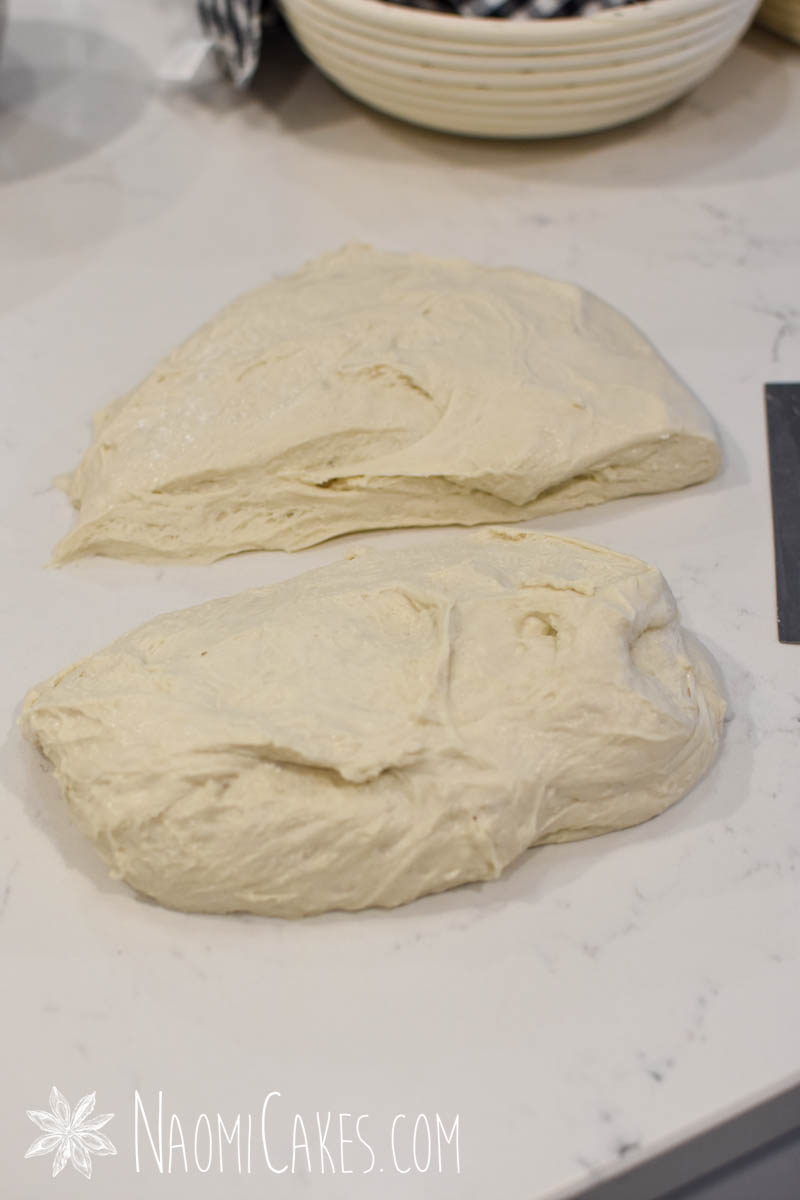
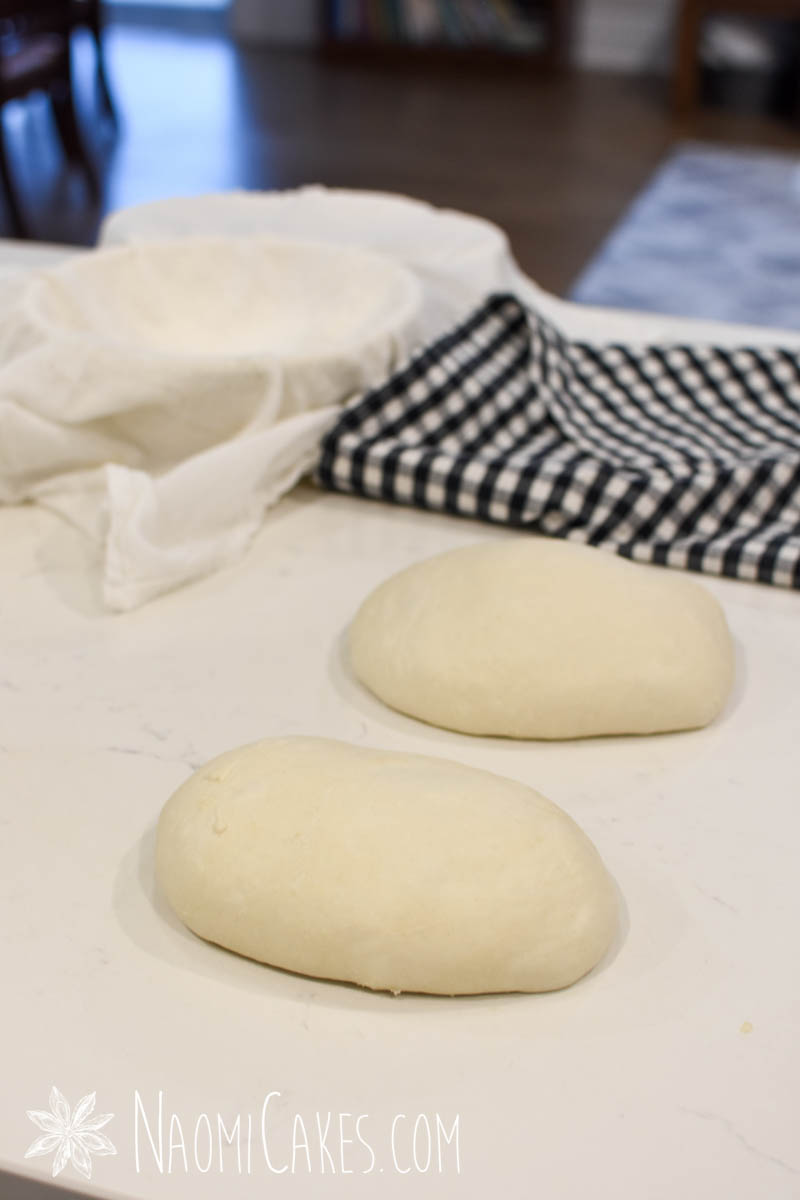
- Turn out onto a work surface, divide the bread dough into 2 portions, and roughly shape each portion into a loaf shape. Cover, and allow to rest 20-30 minutes more (optional).
- Shape each loaf by stretching the edges into the centre, and turn into a floured and lined banneton basket for the second rise.
- Refrigerate overnight.
3 – Bake the bread
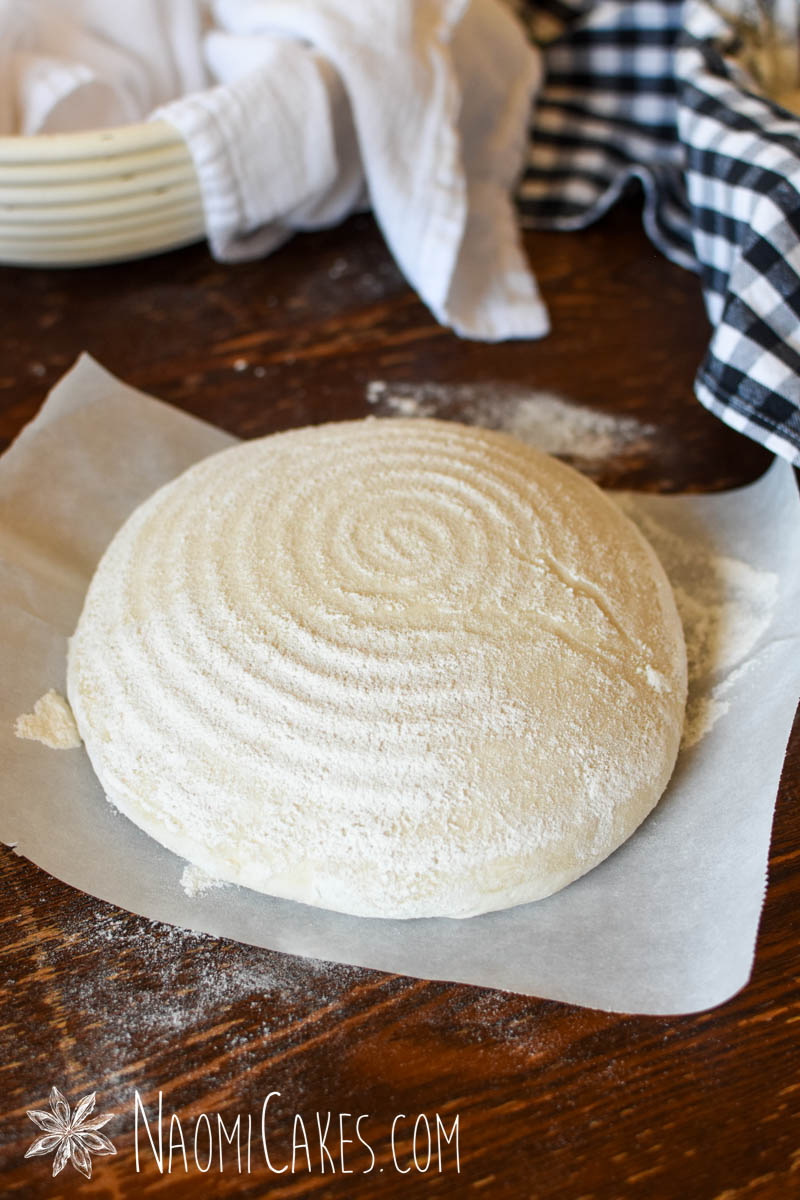
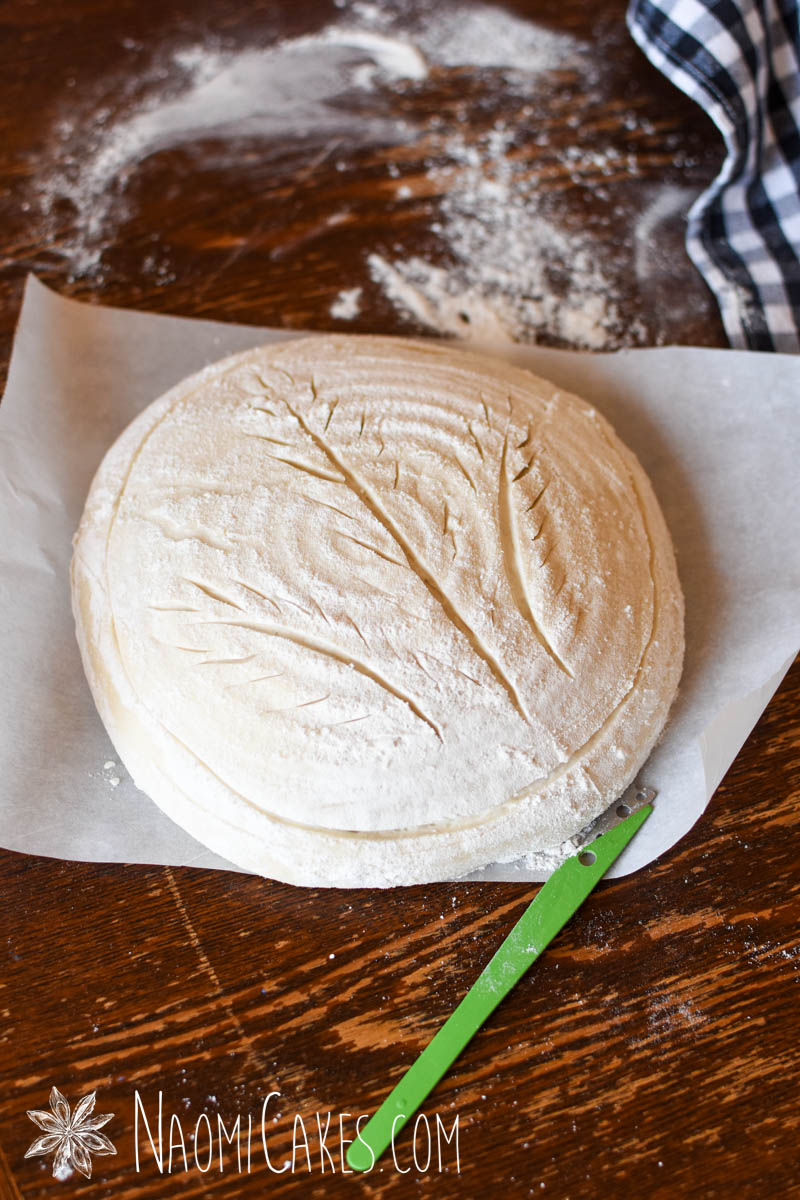
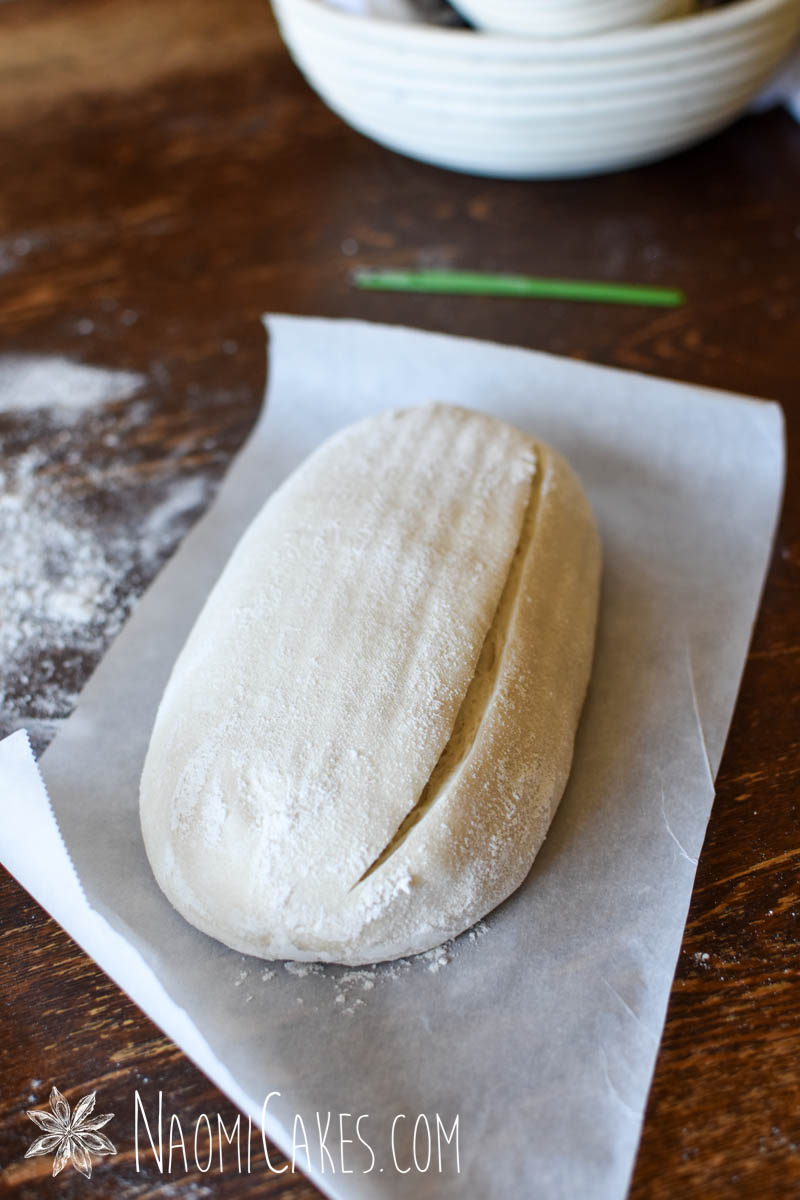
- Turn onto parchment paper and score with a sharp razor blade on the top of the loaf. Bake in a covered pre-heated dutch oven at high heat for 35 minutes. Remove the lid, and bake 10 minutes more (until golden brown).
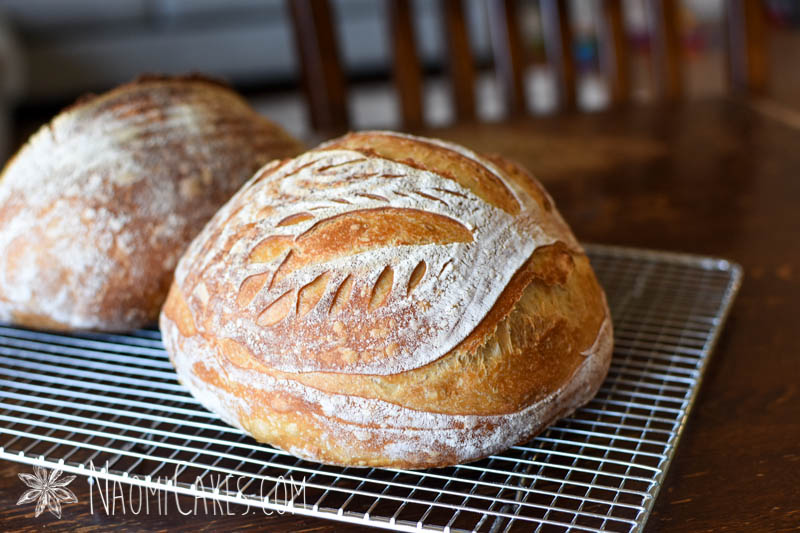
- Cool on wire racks completely before serving.
What you will need:
- Ingredients (see recipe card)
- Mixing bowl
- Measuring cups and spoons OR a kitchen scale
- Stirring spoon
- Bench scraper
- 2 round or oval banneton baskets or 2, 7″ bowls with tea towels
- Plastic wrap (optional)
- Parchment paper
- Scoring tool (or a sharp knife)
- Dutch oven (or baking sheets and a pan with sides to create steam in the oven)
Note: This sourdough kit includes many of the supplies listed above.
Easy White Sourdough Bread
This recipe came to be after trying various ratios for sourdough bread. I landed on these amounts because I have found it to consistently produce a dough that soft-enough to rise well, yet also firm enough to score beautifully and handle well. No knead, no fuss, and so delicious – this bread is a winner every time!
Ingredients
- 5-1/2 cups (800g) all purpose flour +up to 1/4 cup of flour if the dough is very wet, but not more than that.
- 2-1/3 cups (575g) water
- 1 Tbsp (15g) salt
- 1-1/4 cups (200g) active sourdough starter
Instructions
-
In a large mixing bowl, combine all of the ingredients until a soft, shaggy dough forms (make sure all of the dry flour gets incorporated into the dough). Cover with a tea towel and allow this to rest 20-30 minutes.
-
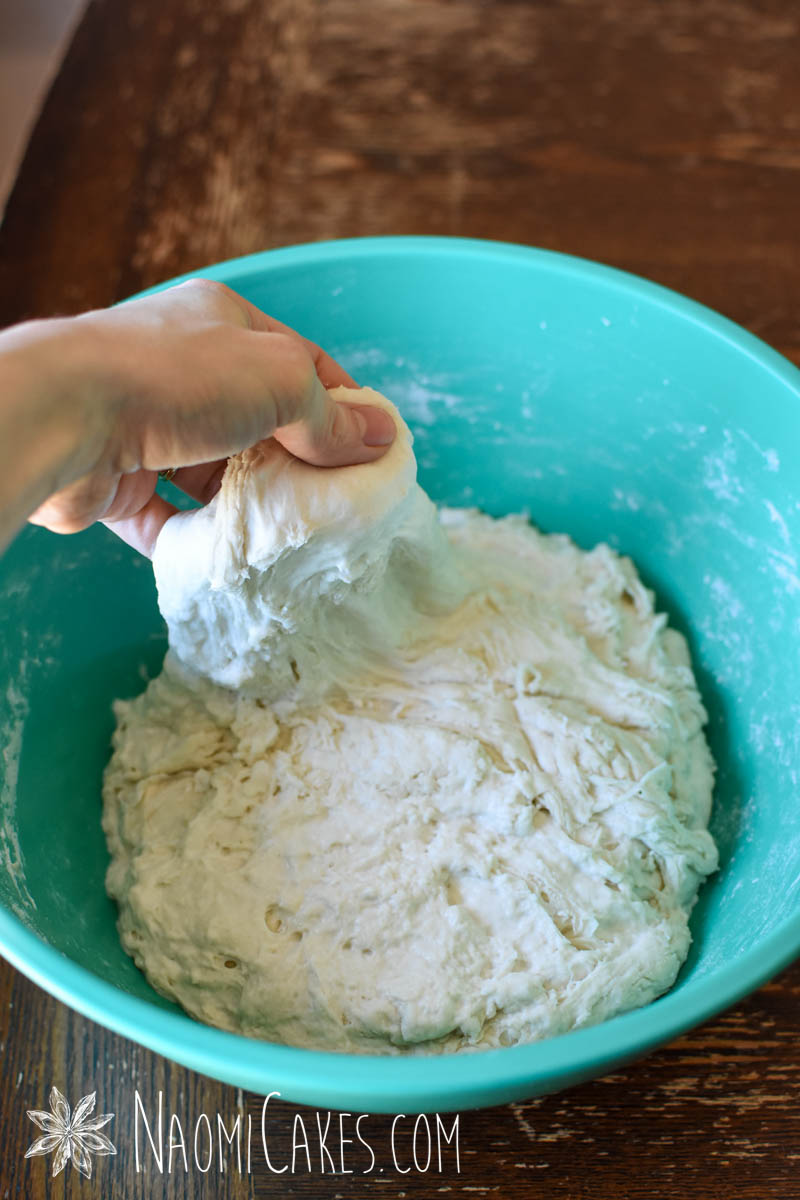
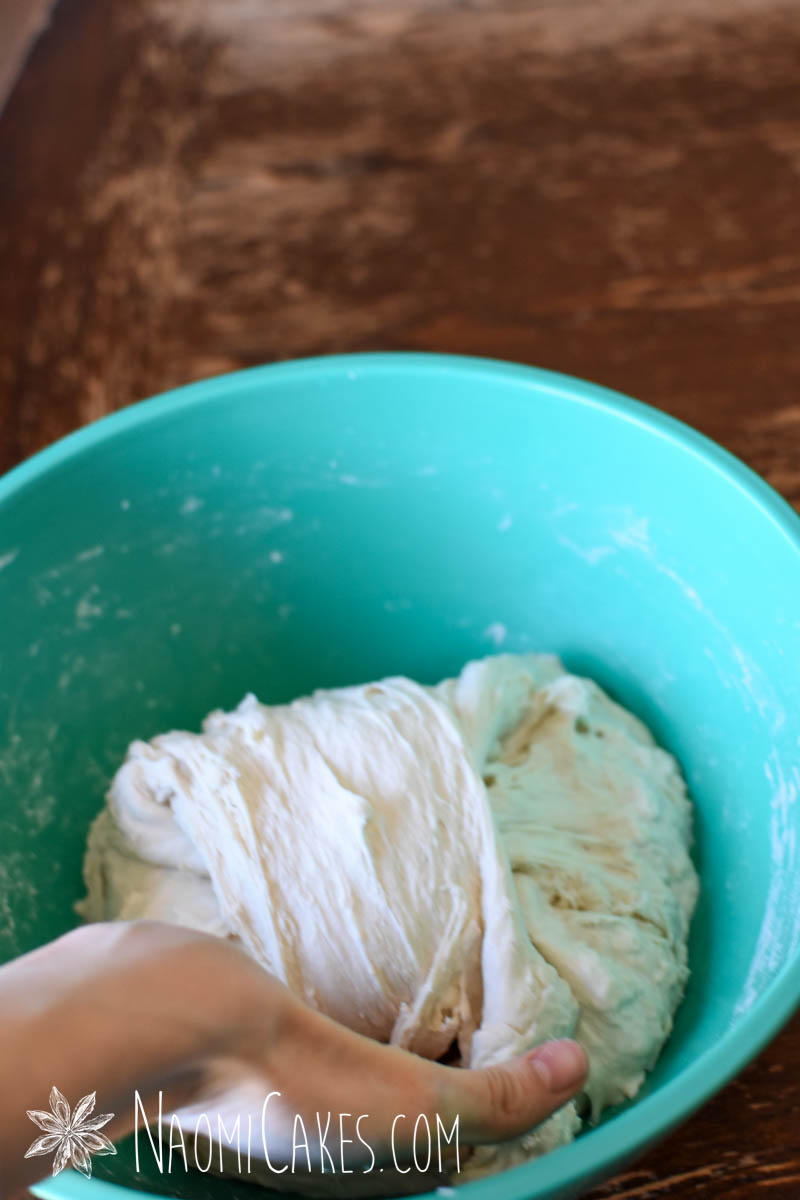
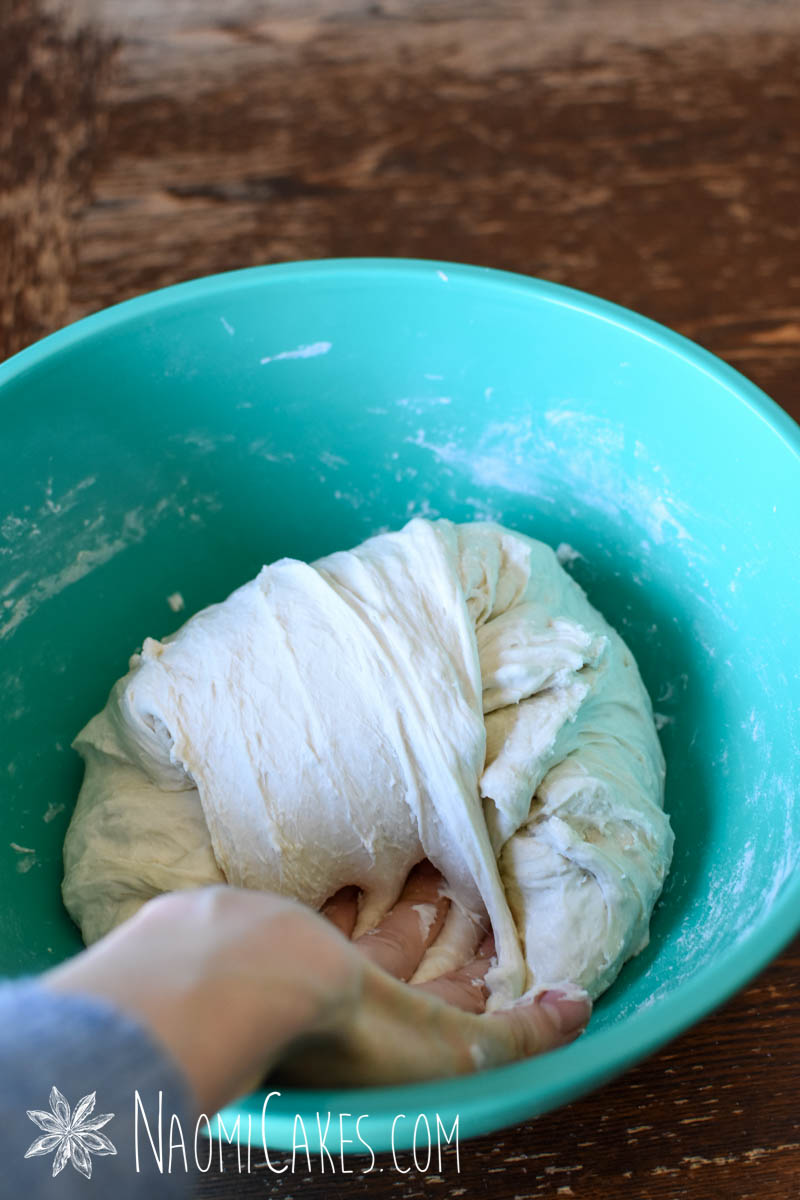
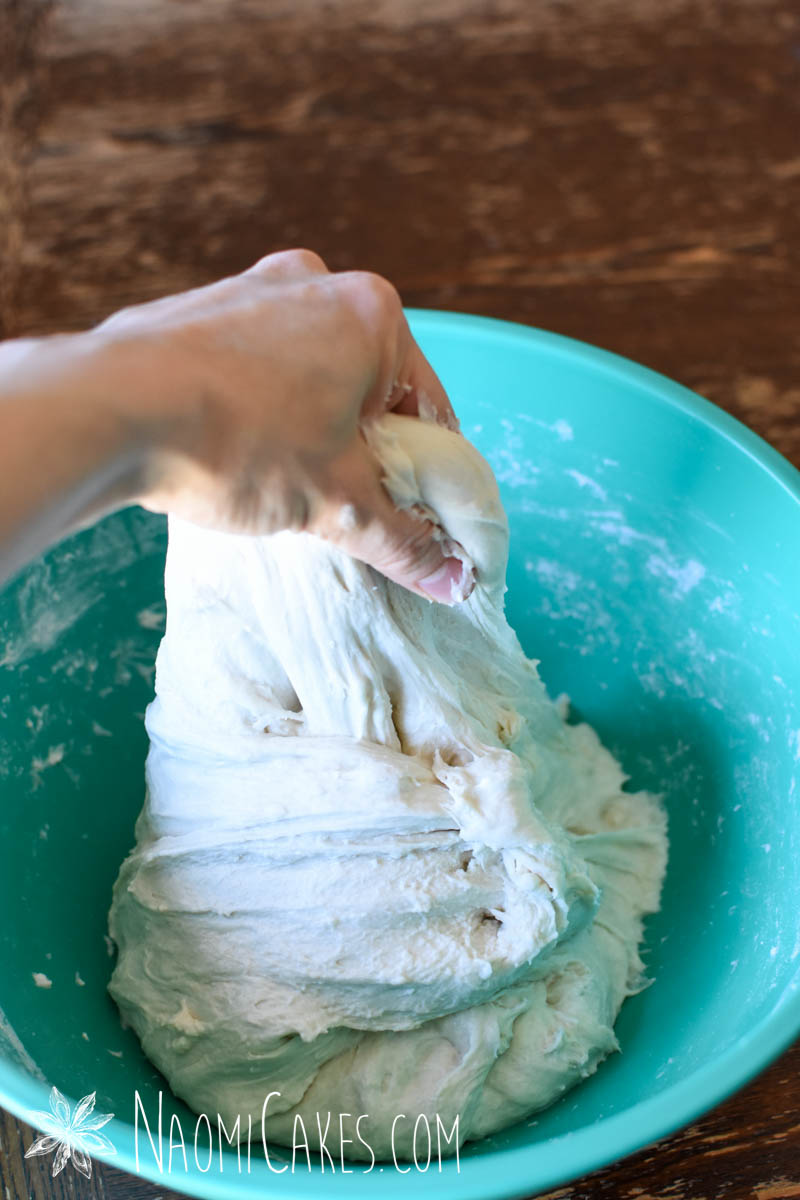
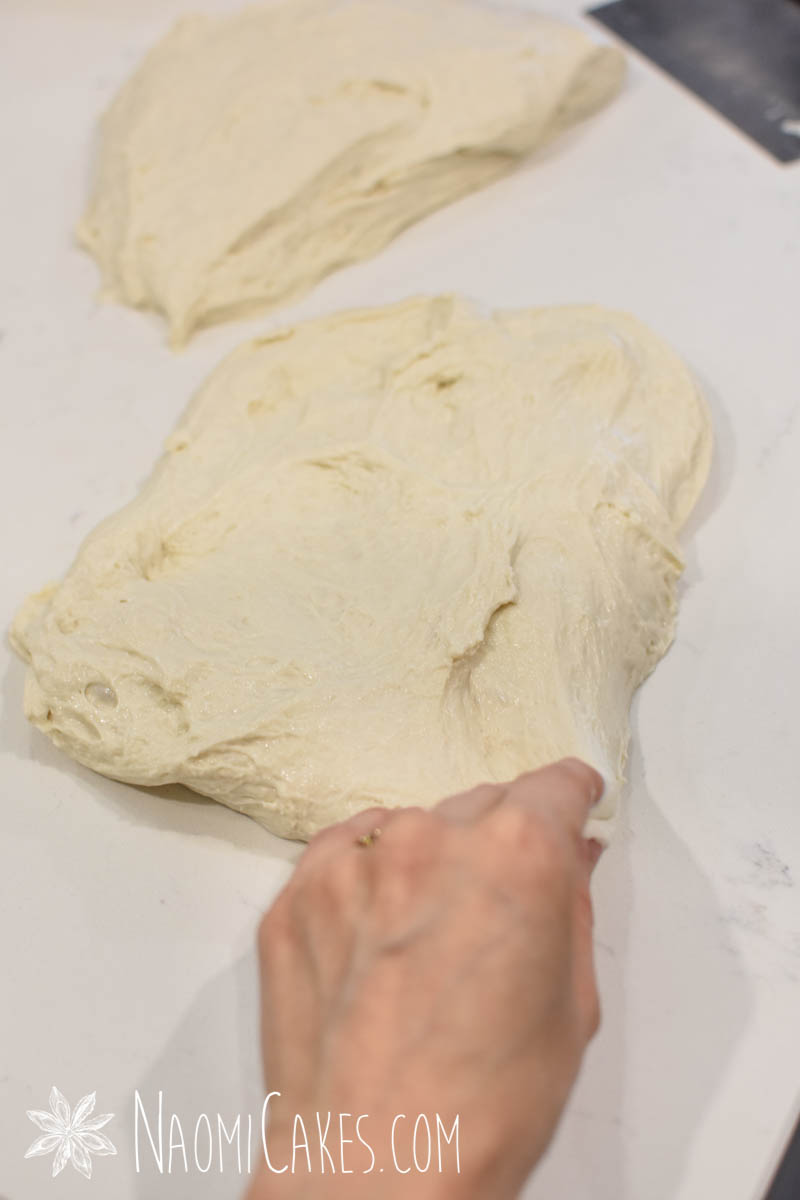
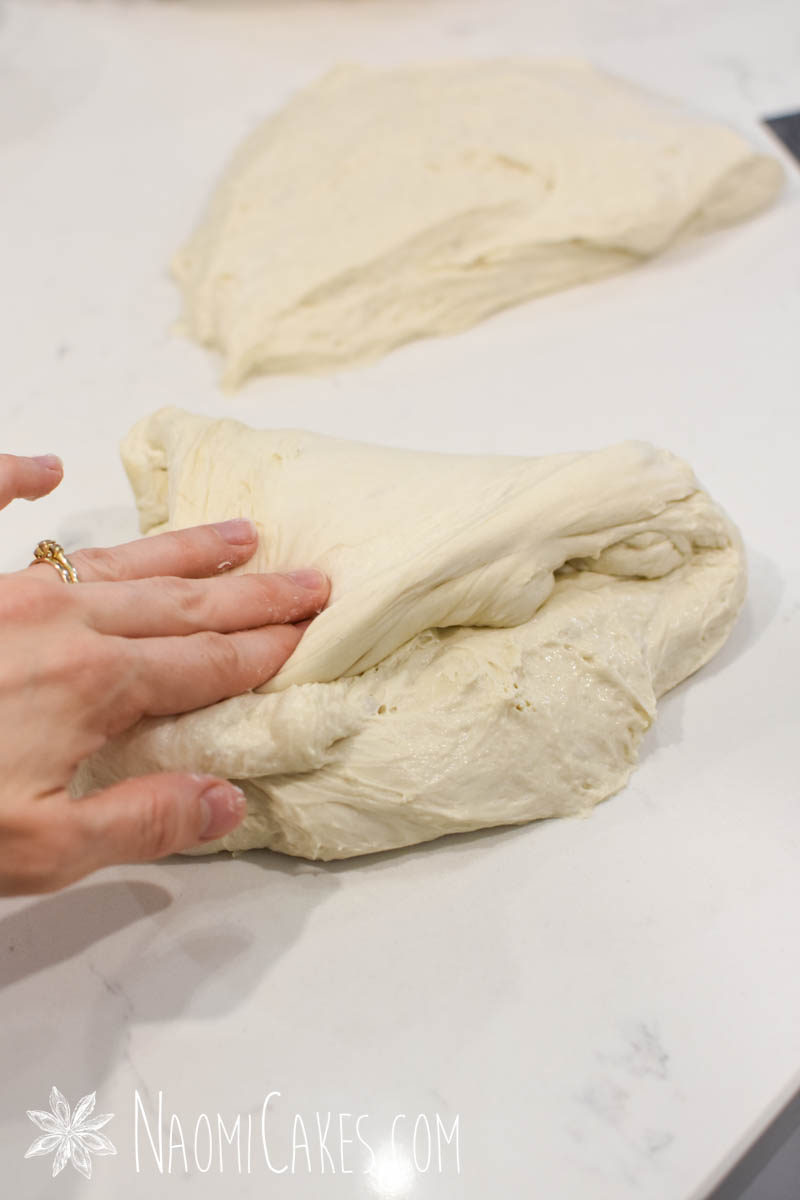
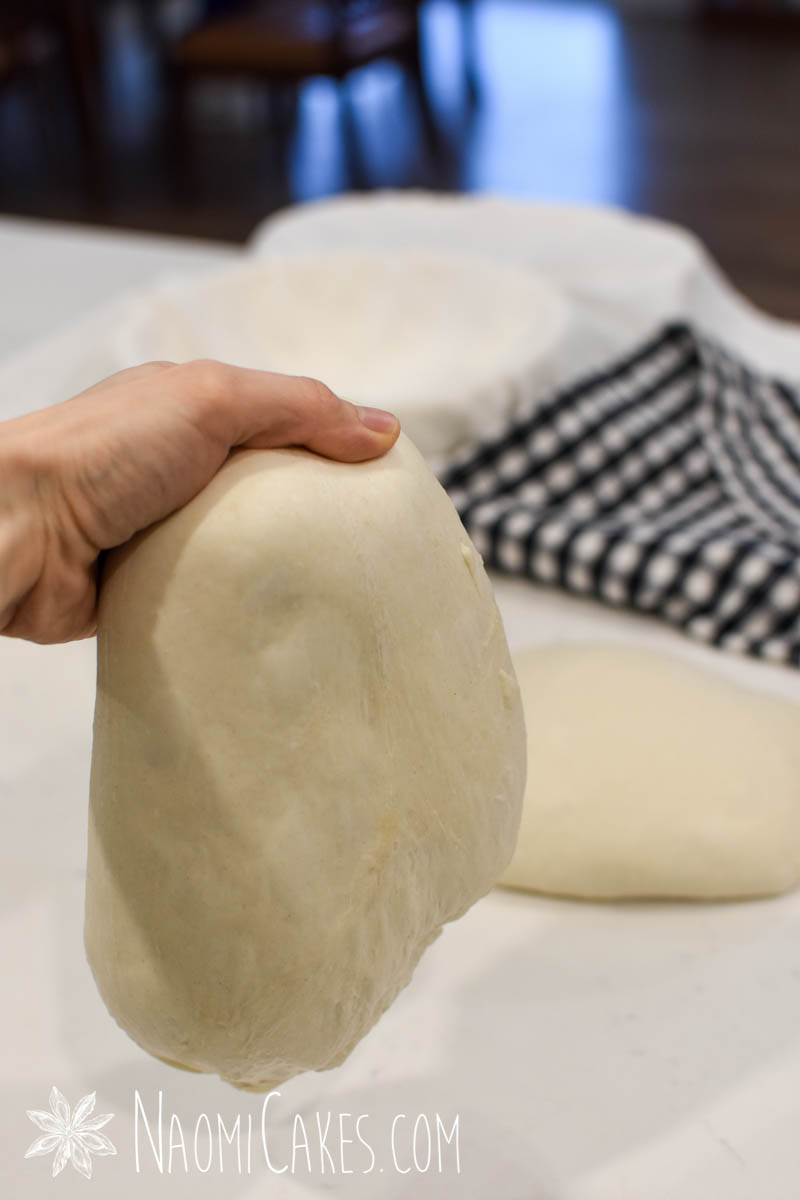
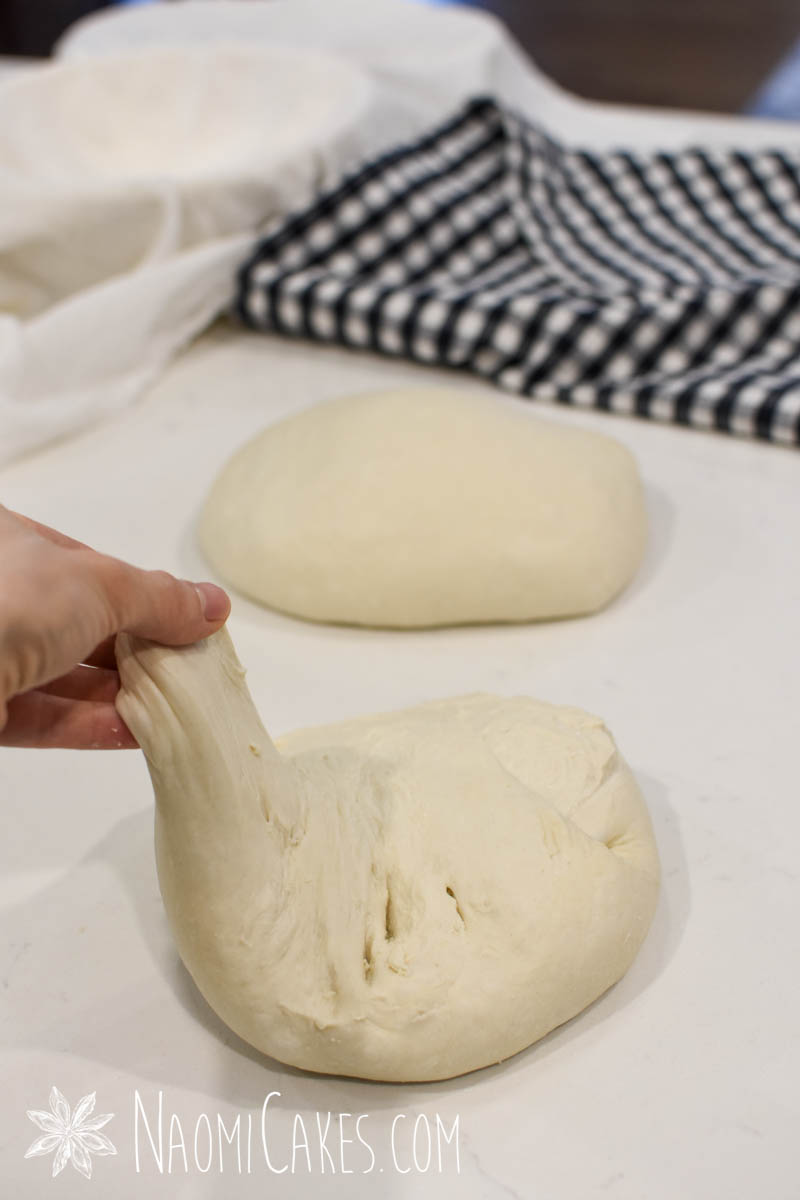
Stick your hand under the dough, grab a handful, and pull it up as high as you can without breaking it. Fold the stretched dough down over the top of the whole amount. Repeat this process from different sides of the dough 4-5 times, or until the dough isn't "loose" anymore and it begins to feel stronger, or "taut". Cover, and allow this to rest 30 minutes.
-
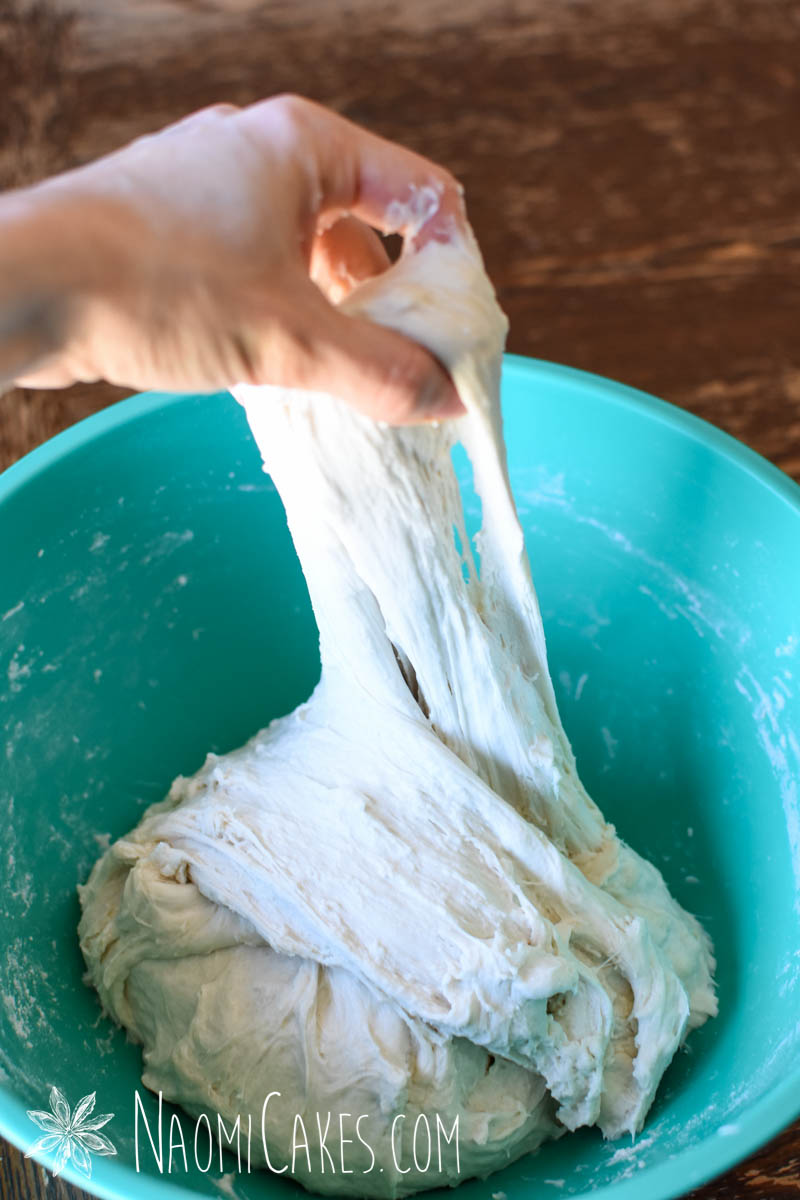
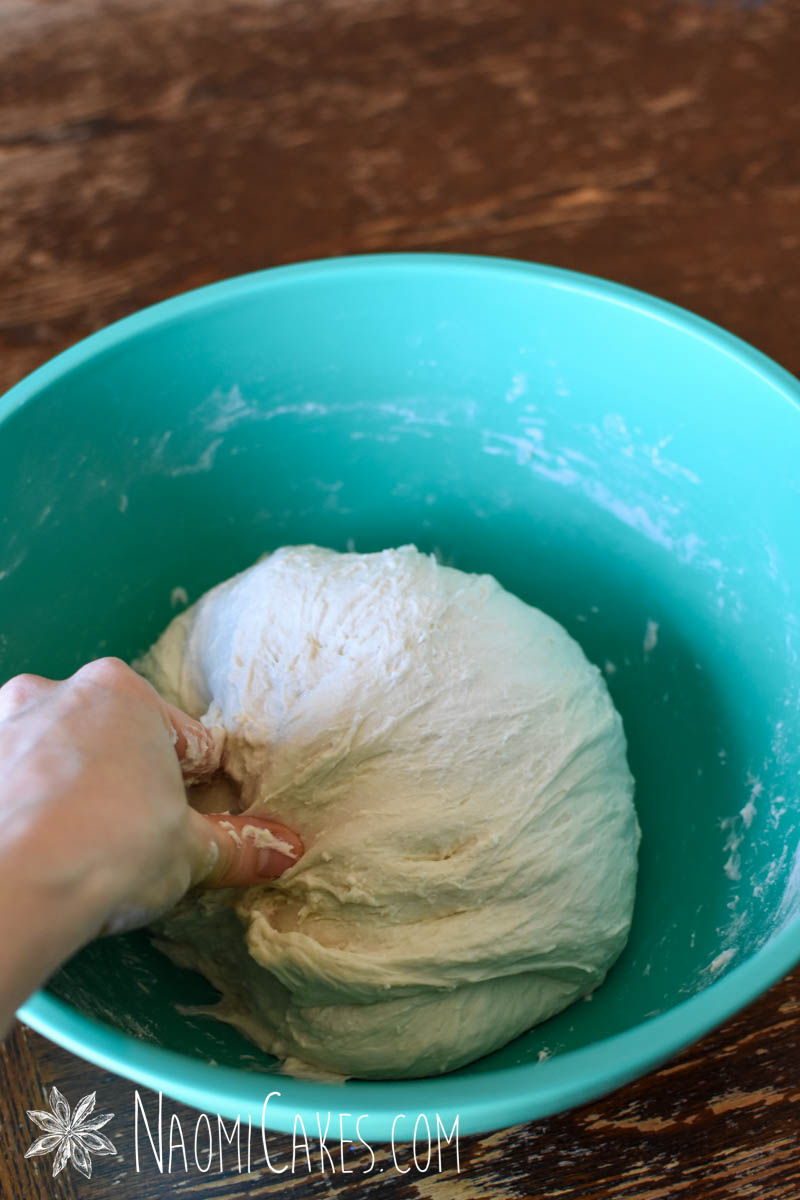
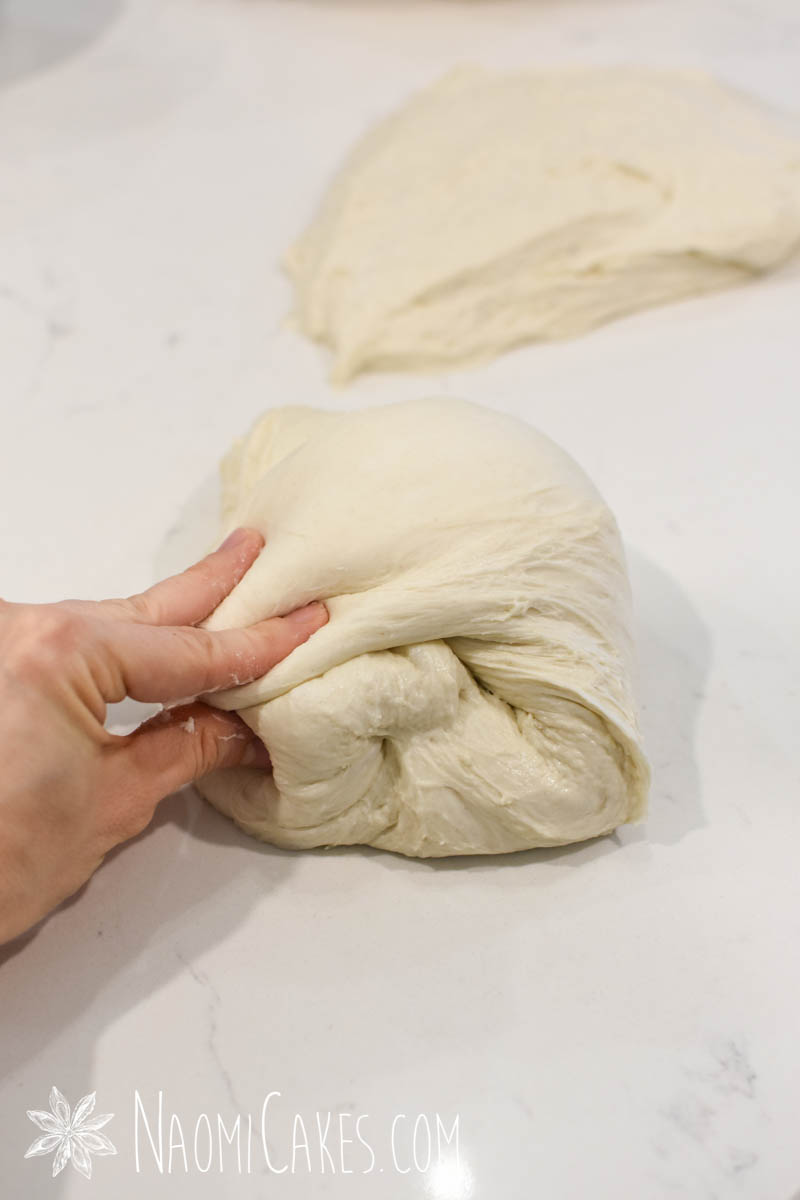
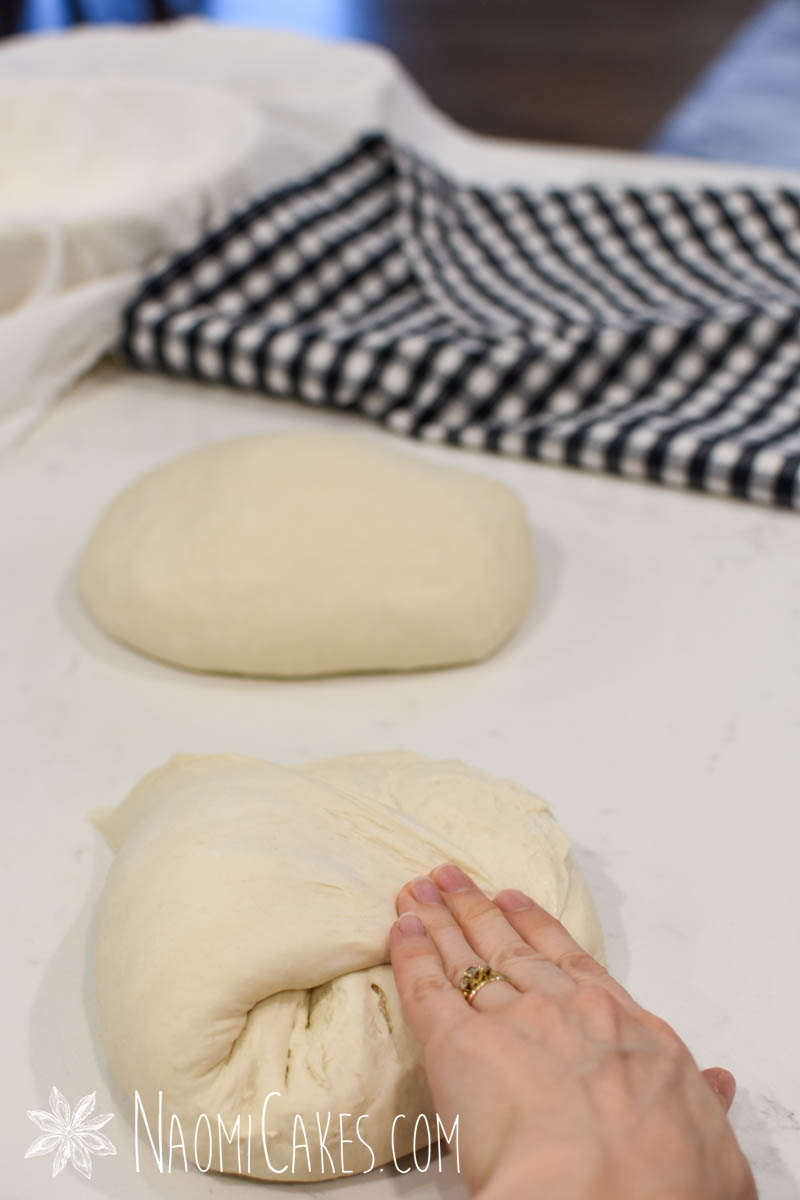
Repeat the stretch and fold process, folding 3-4 times, or until the dough begins to feel stronger (harder to stretch) again. Cover, and allow to rest another 30 minutes.
-
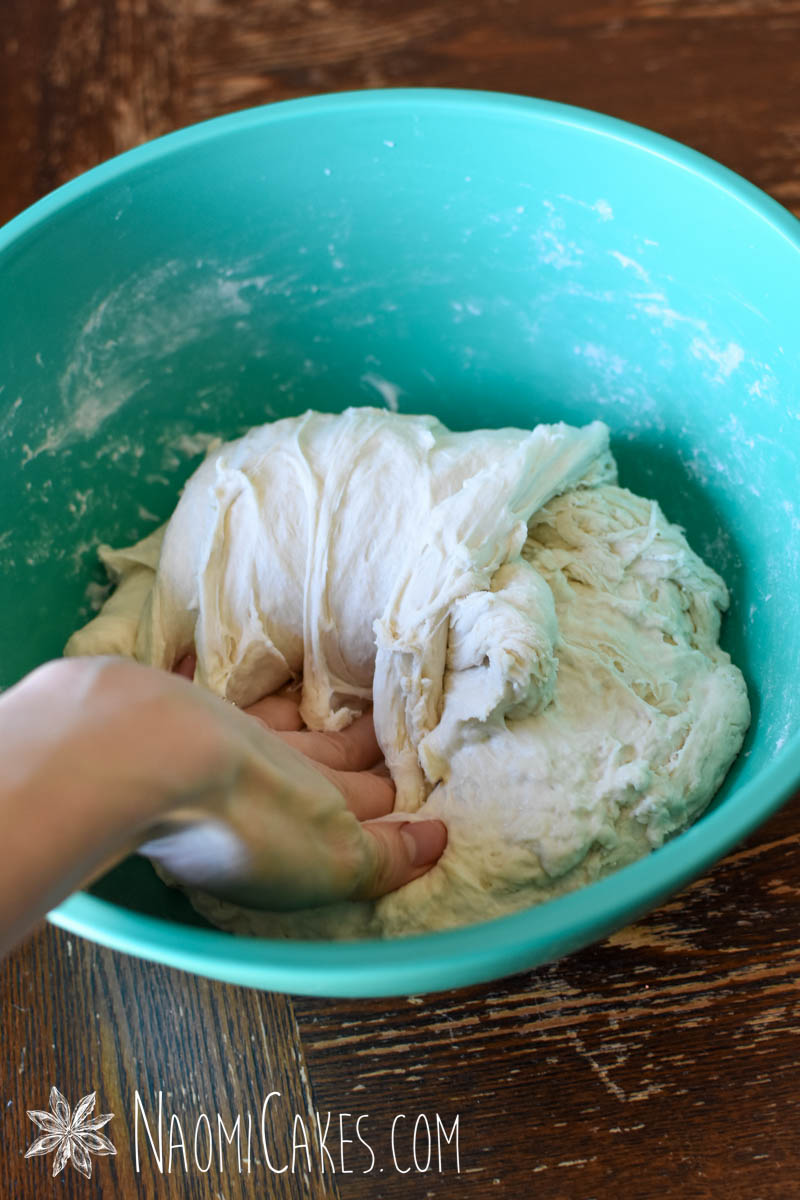
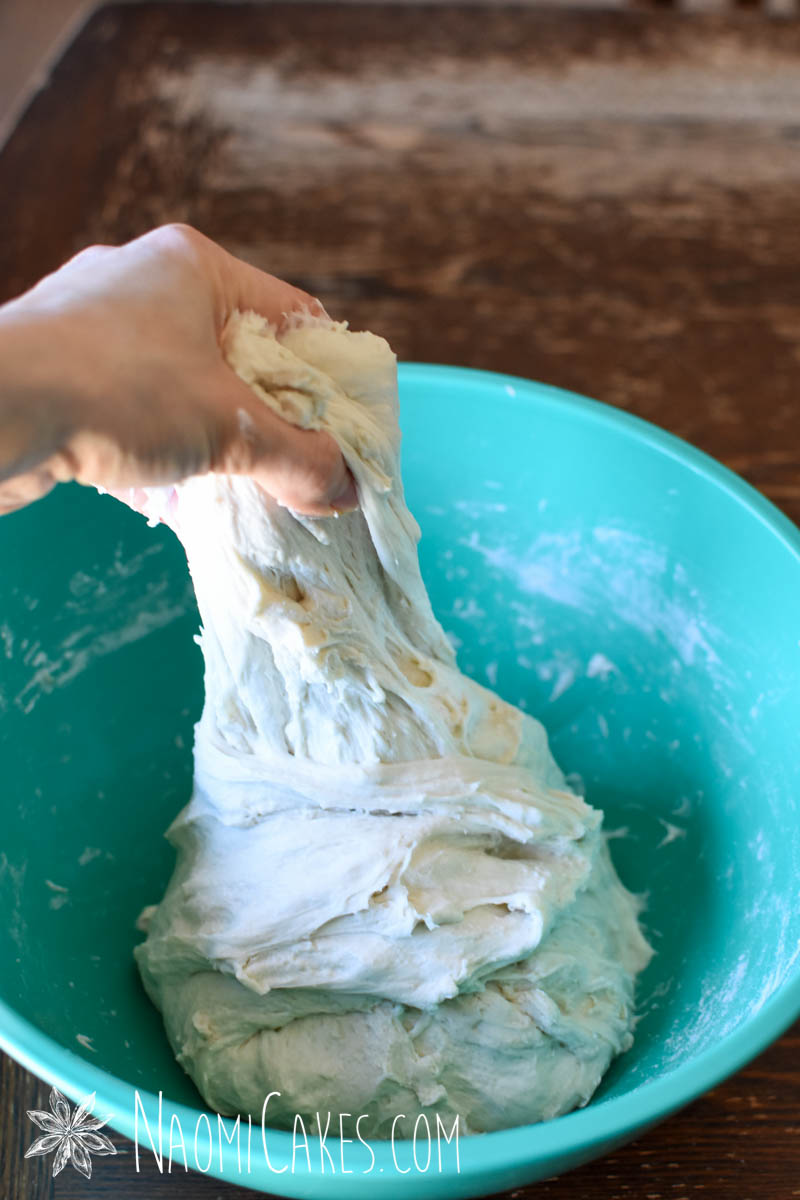
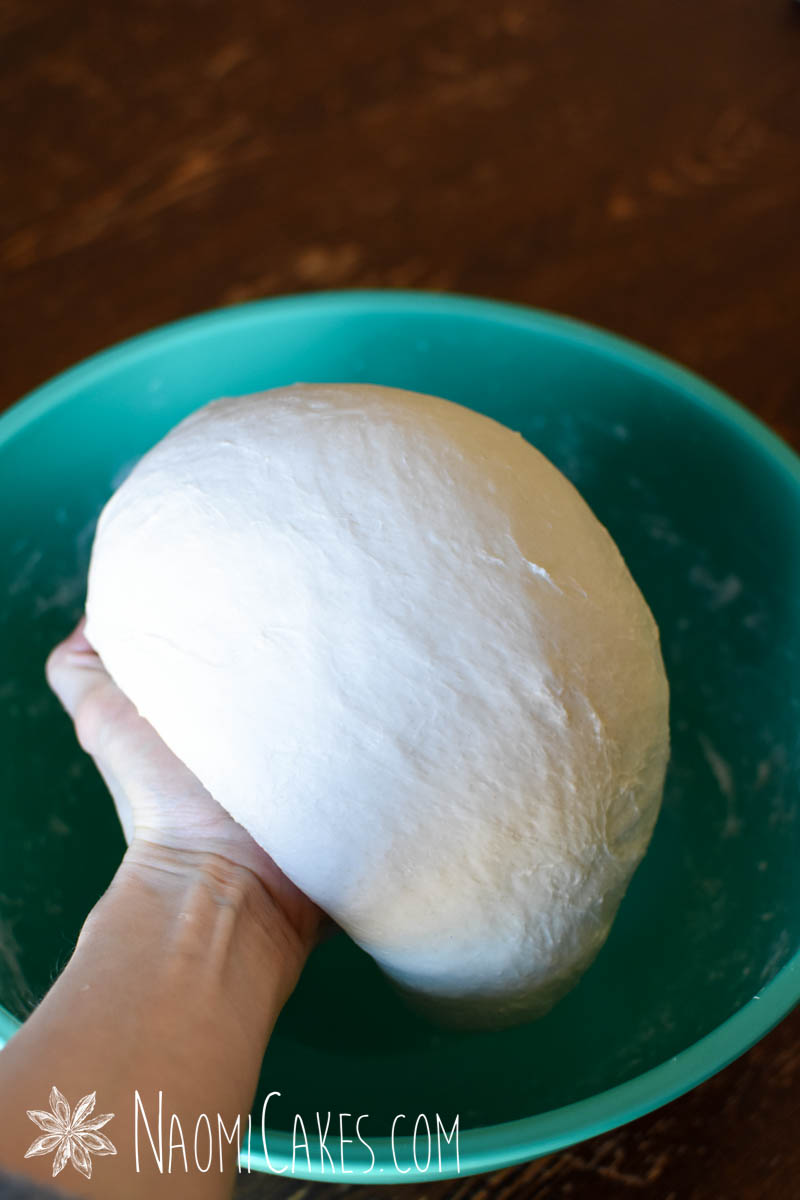
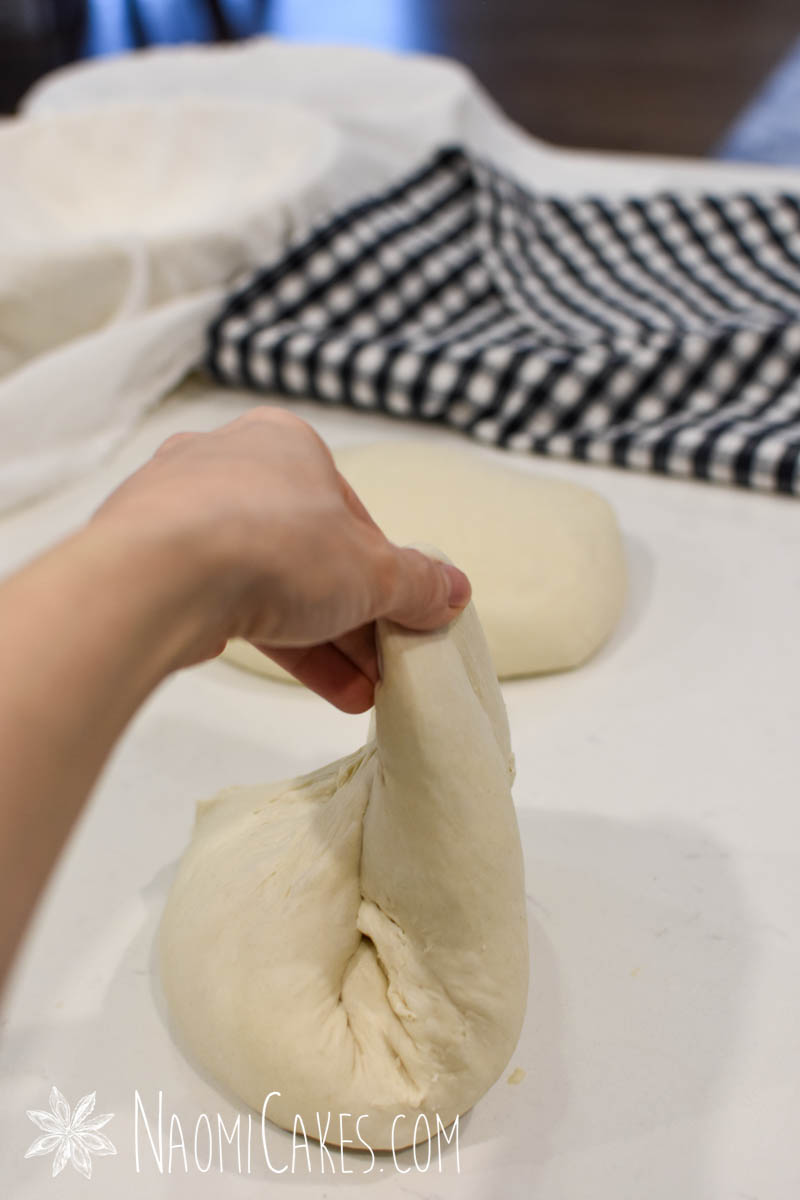
Repeat the stretch and fold process one final time, again folding 3-4 times, or until the dough feels taut and smooth. Cover, and allow to rest 3-6 hours or until the dough is doubled or nearly doubled in bulk.
For the pre-shape (optional):
-
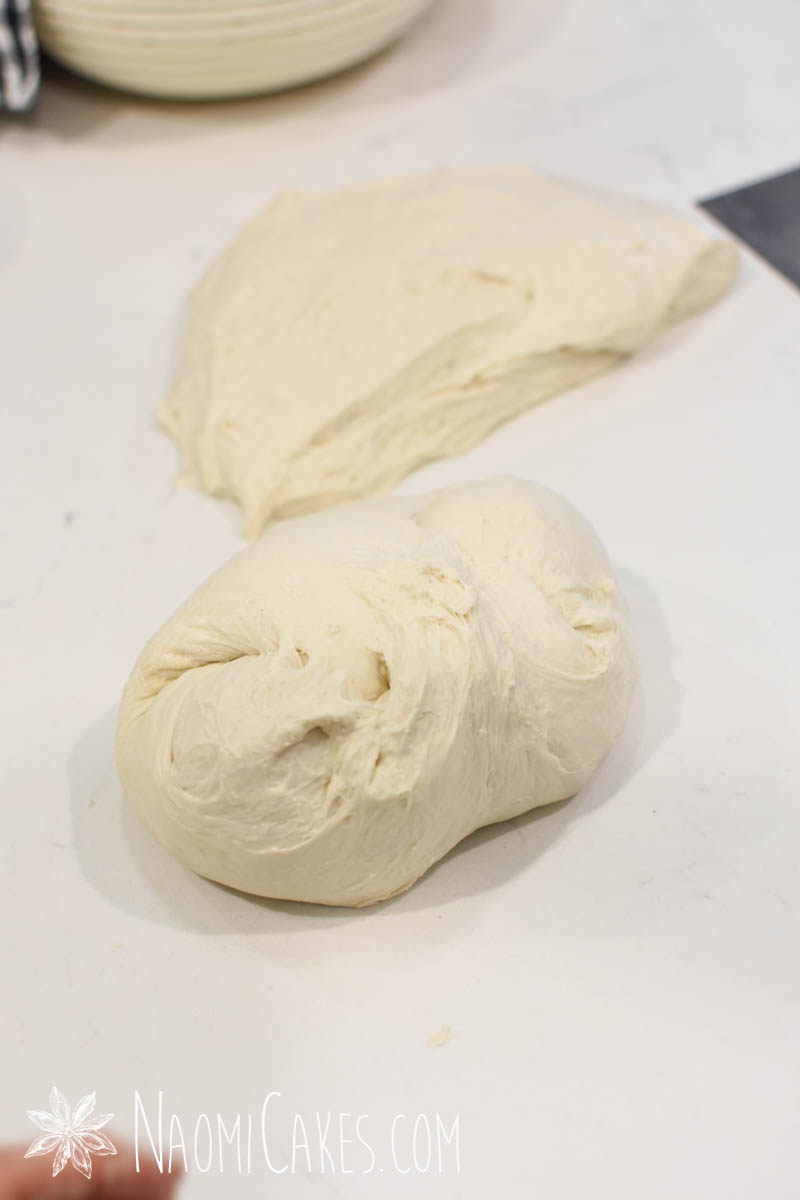
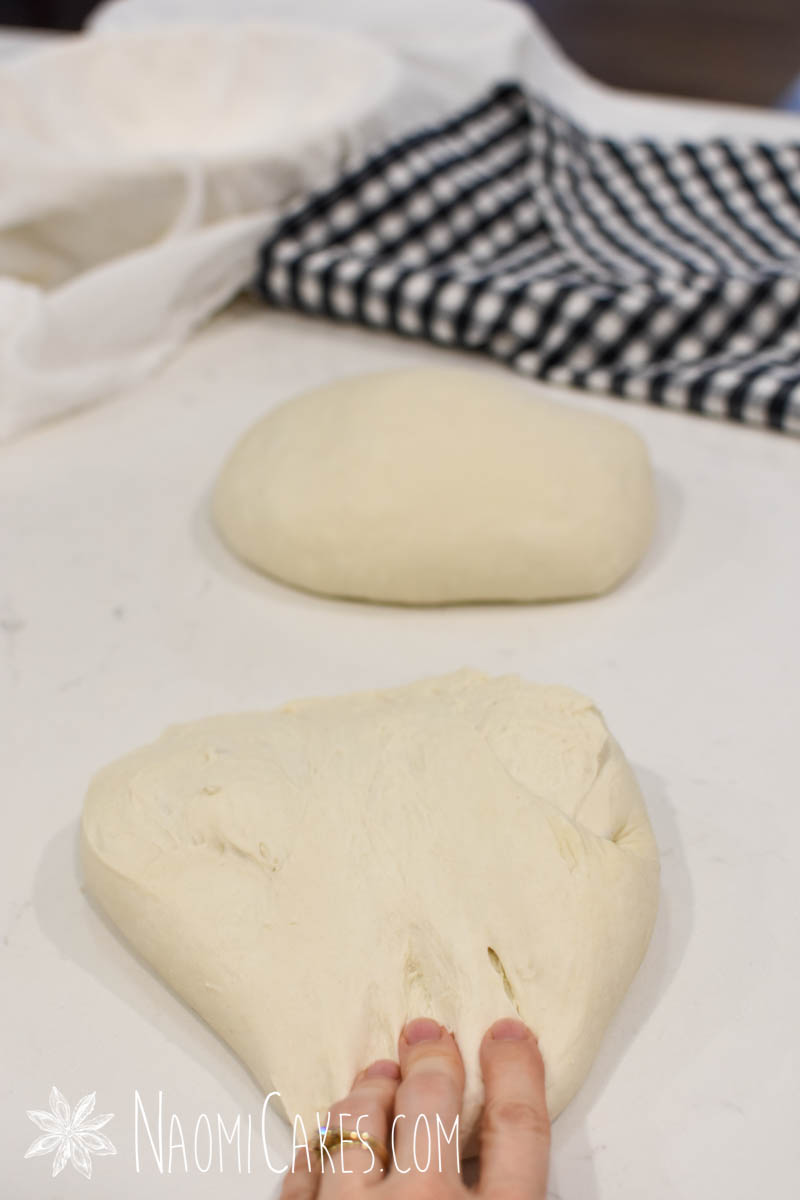
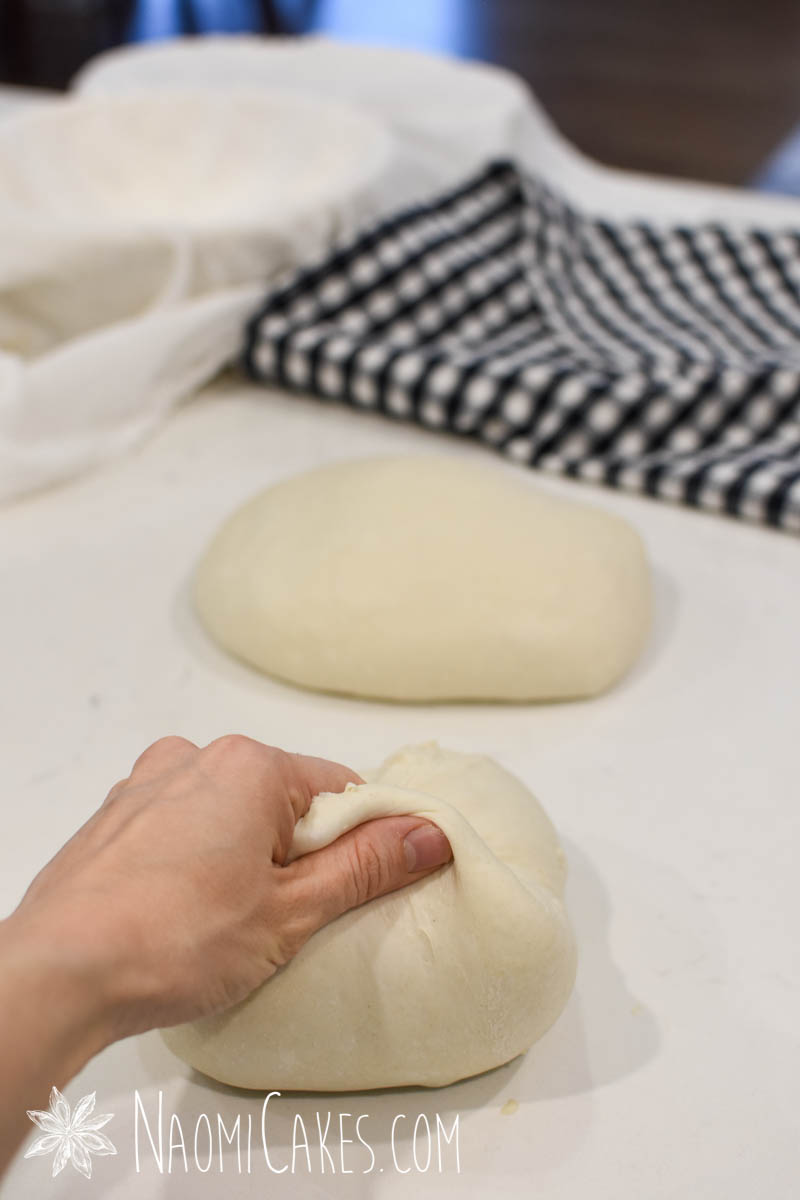
Turn the dough out onto a clean, unfloured work surface. Divide it into 2 equal portions, and stretch one piece of the dough out into a square. Pull the corners of the the square into the centre, and then repeat "stretching and folding" the edges into the centre (from each corner, about 3-4 more times) until the dough comes together into a smooth ball. Turn upside down, and repeat with the other section of dough. Cover, and allow these to rest 30 minutes.
-
If you choose to skip the pre-shape, you can place your shaped loaves smooth-side down into flour-dusted banneton baskets or bowls at this point.
Shape the dough:
-
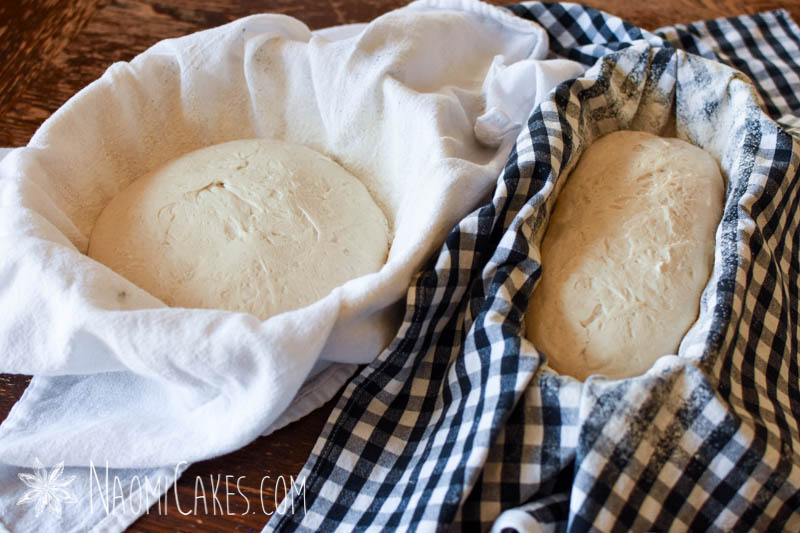
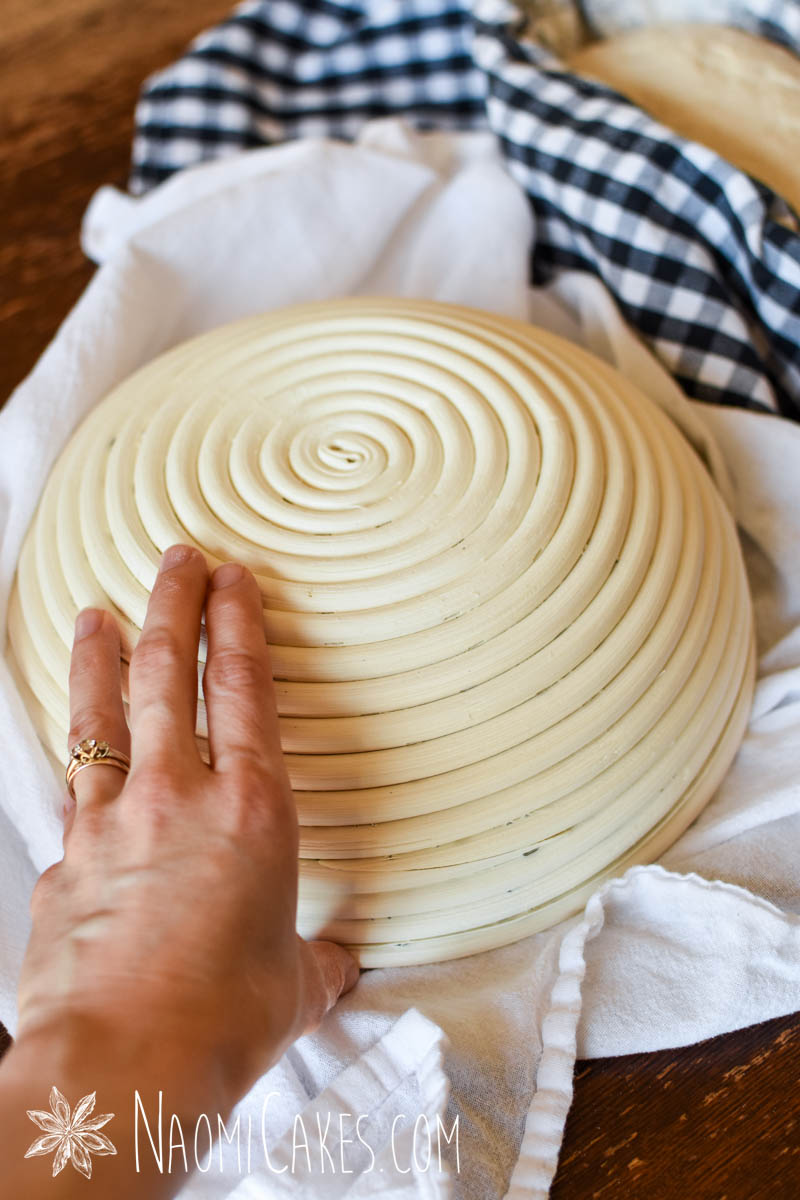
Pull each pre-shaped loaf into a square again, and stretch and fold the corners into the centre again. Roll the dough into a loaf shape, and put it smooth side down into a lightly floured banneton basket or bowl* lined with a tea towel. Cover the tops with a bit of plastic wrap (optional), fold the towel over top, and place the loaves immediately into the refrigerator. Allow to rest in the fridge until the next morning.
Bake the bread:
-
The next morning, place a dutch oven into a cold oven, and preheat to 450 degrees F. Set the timer for 15 minutes.
-
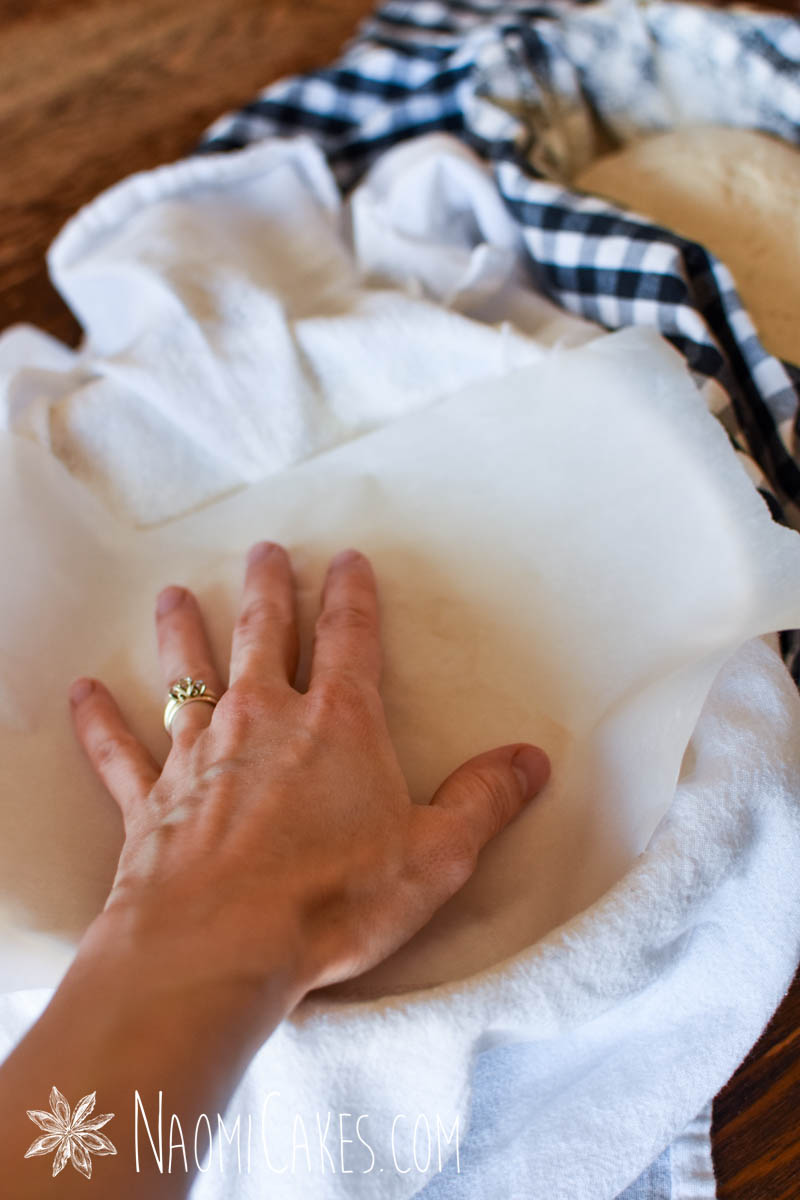
Uncover the bread and remove the plastic wrap. Turn out onto a sheet of parchment paper, and score with a sharp knife or razor blade as desired.
-
Once the dutch oven has been in the oven heating for 15 minutes, take it from the oven, remove the lid, and lift the bread into the hot dutch oven by the parchment paper sheet. Cover, and return to the oven for 35 minutes.
-
Remove the lid from the dutch oven, and allow the bread to bake 10 minutes more, just to brown it. Repeat with the second loaf, or save it for the next day to bake it fresh. Cool fresh bread on a wire rack. For best results, cool the bread completely before slicing into it.
Recipe Notes
*To use a bowl instead of a basket, the perfect size for these loaves is a bowl that measures about 7 inches across the top and about 4 inches deep.
The first stretch and fold:

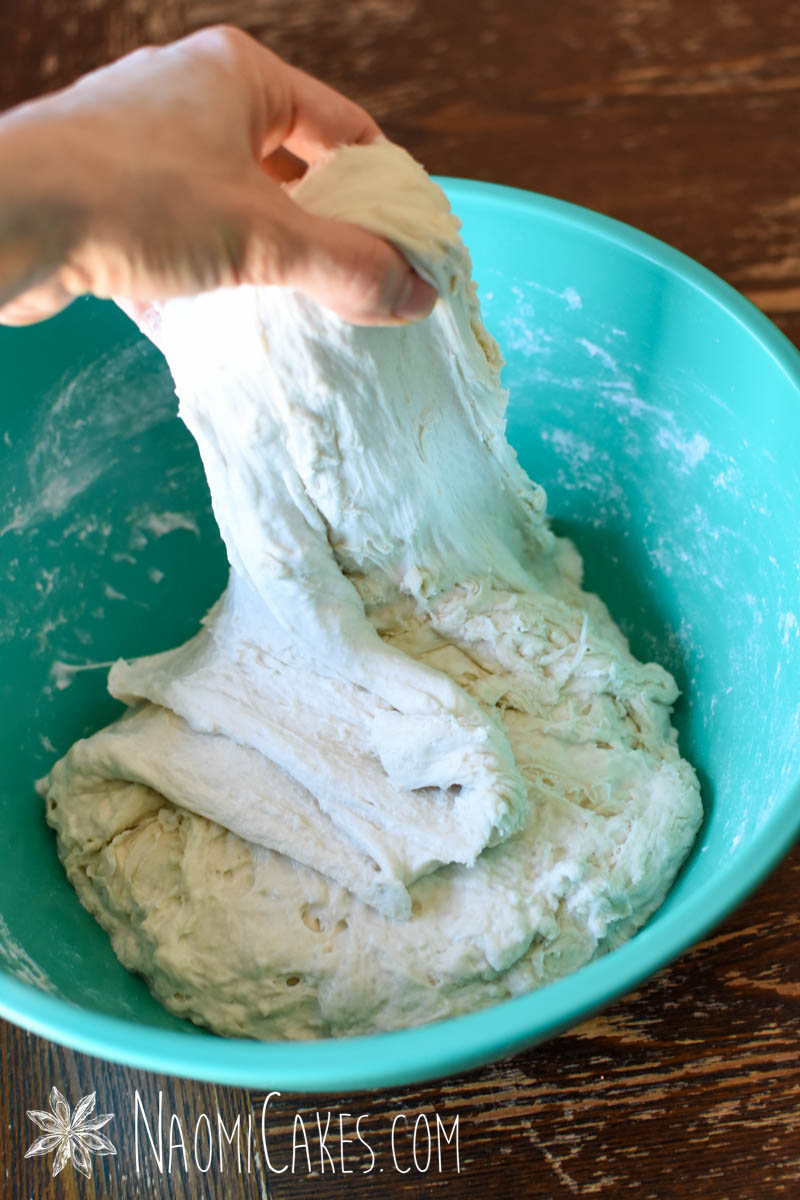
The second stretch and fold
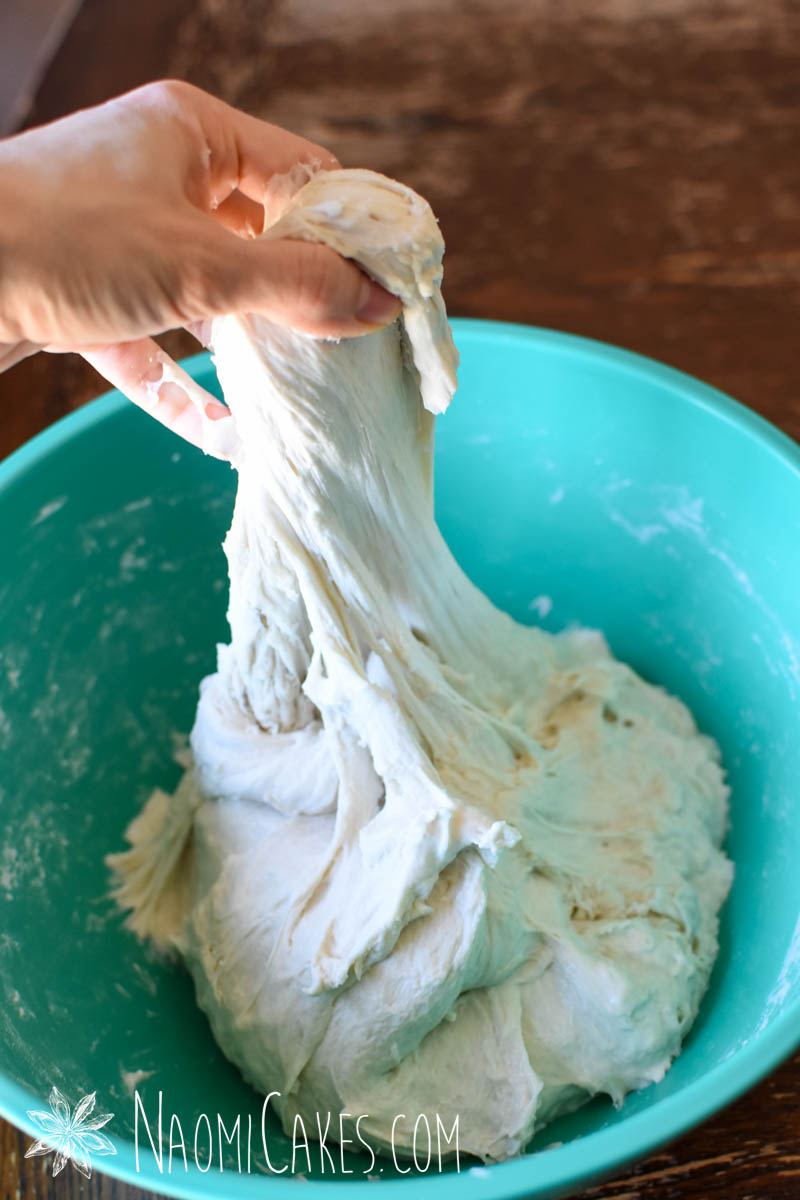

The third stretch and fold
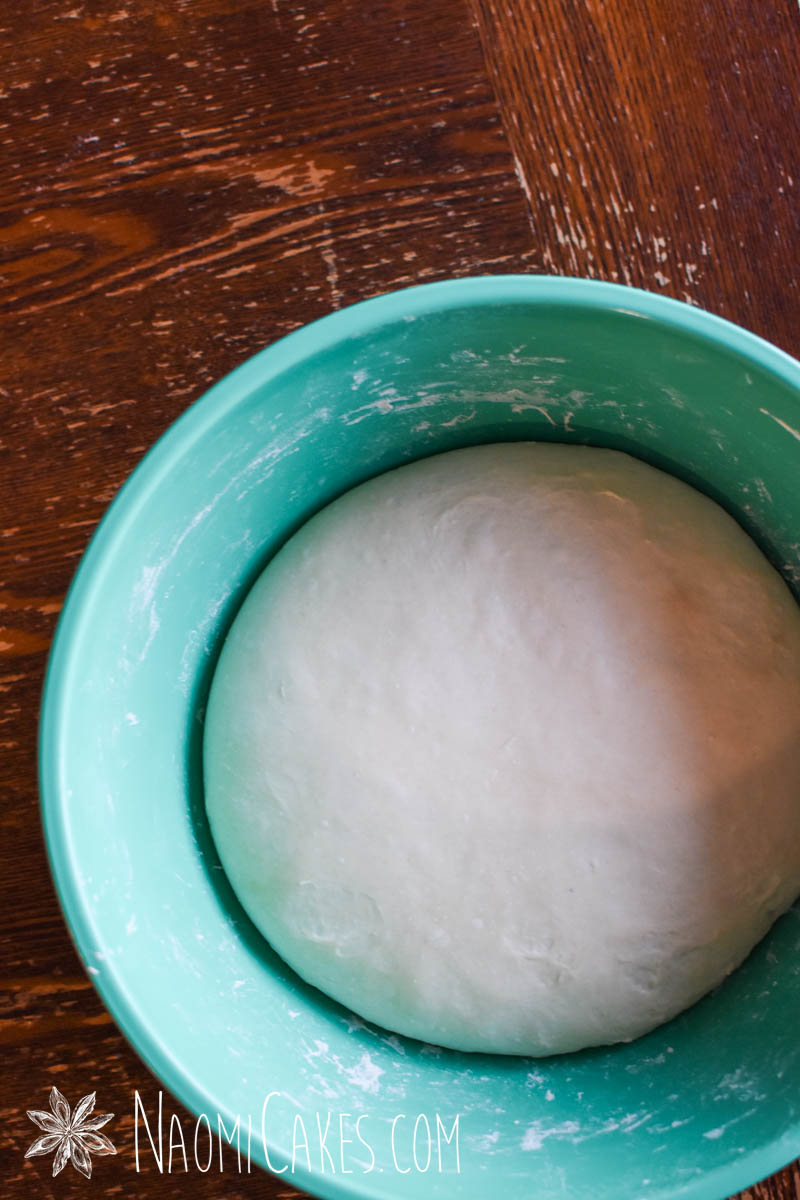
Bulk rise
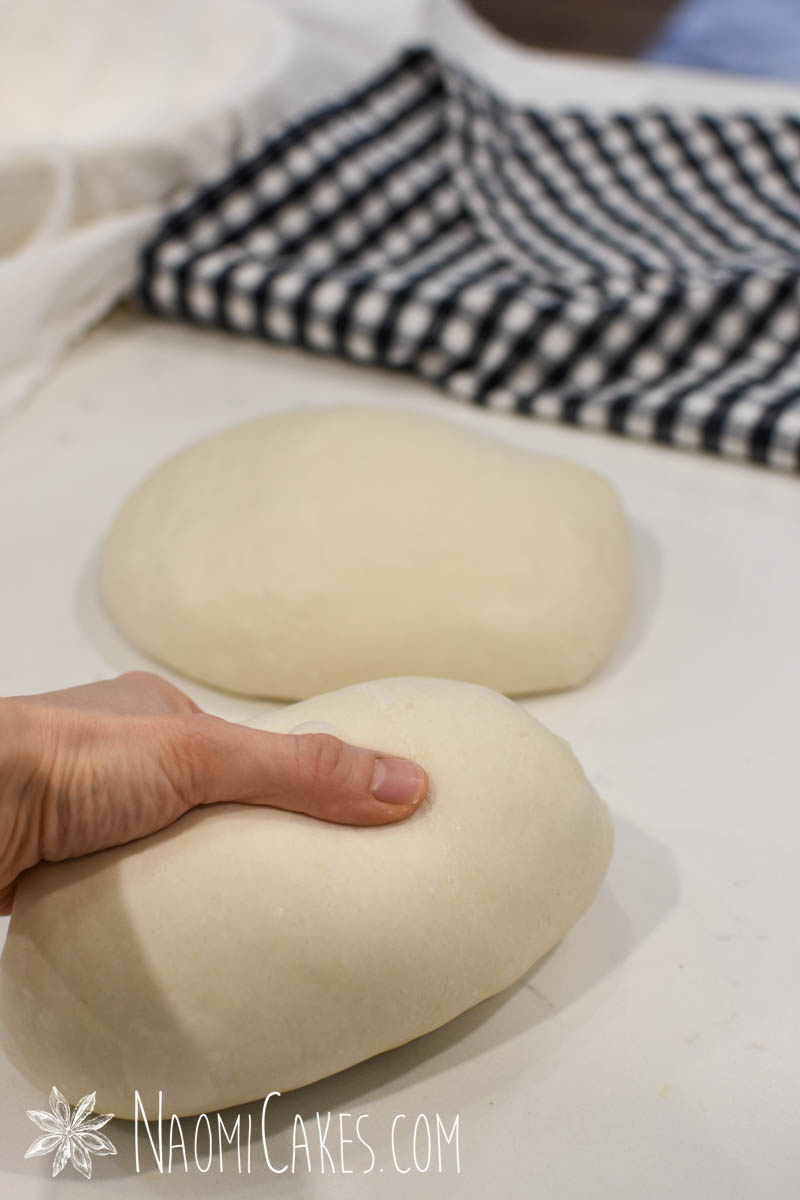
Pre-shape the dough

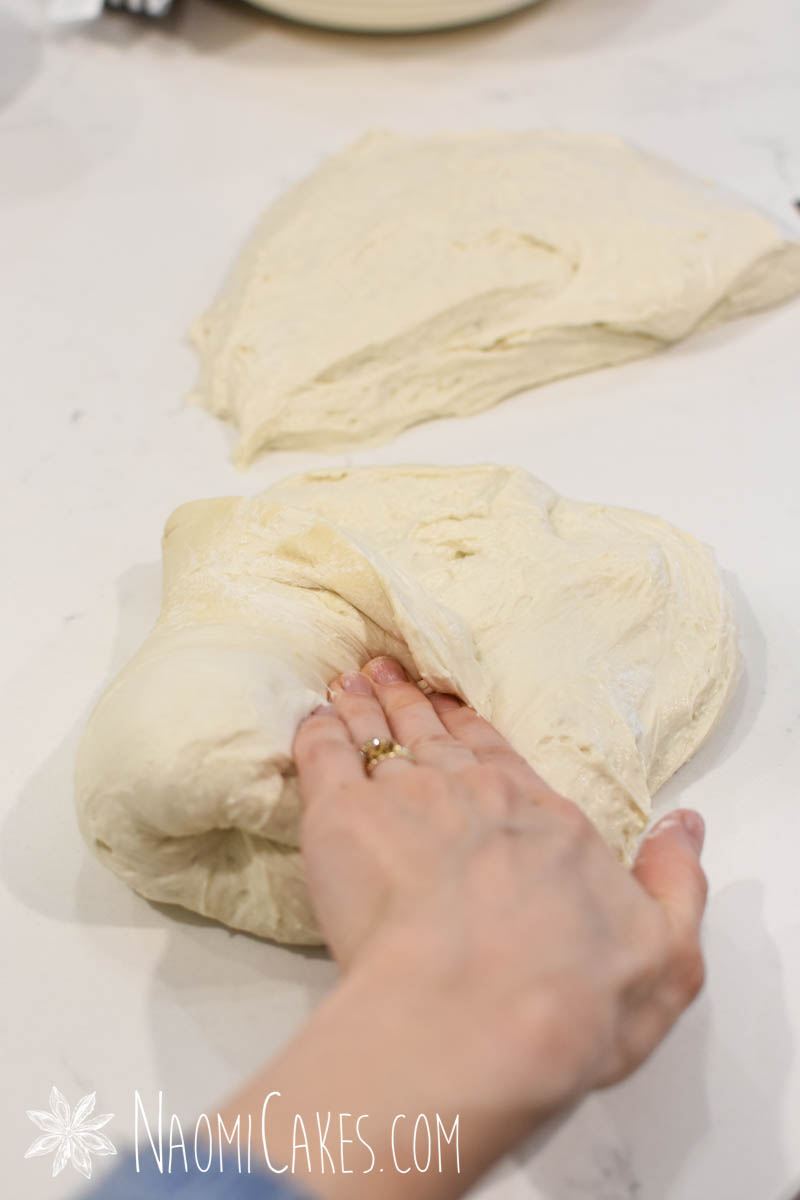
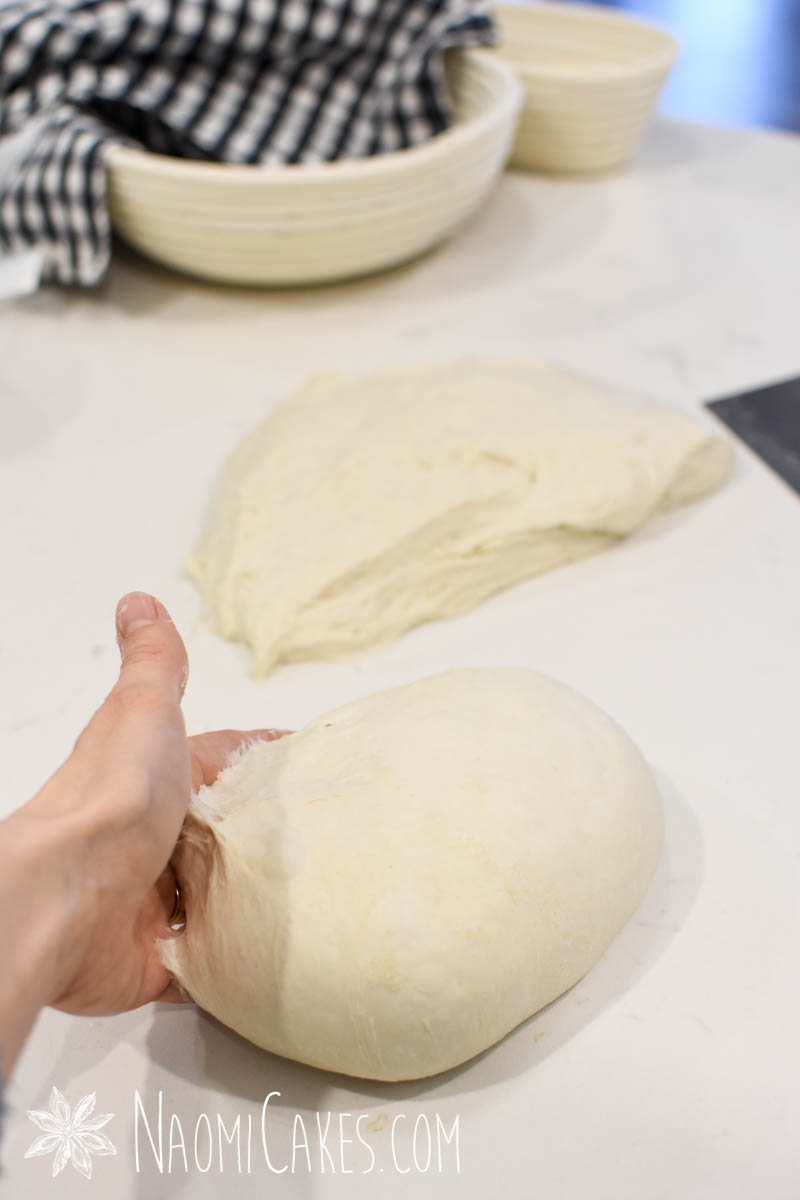
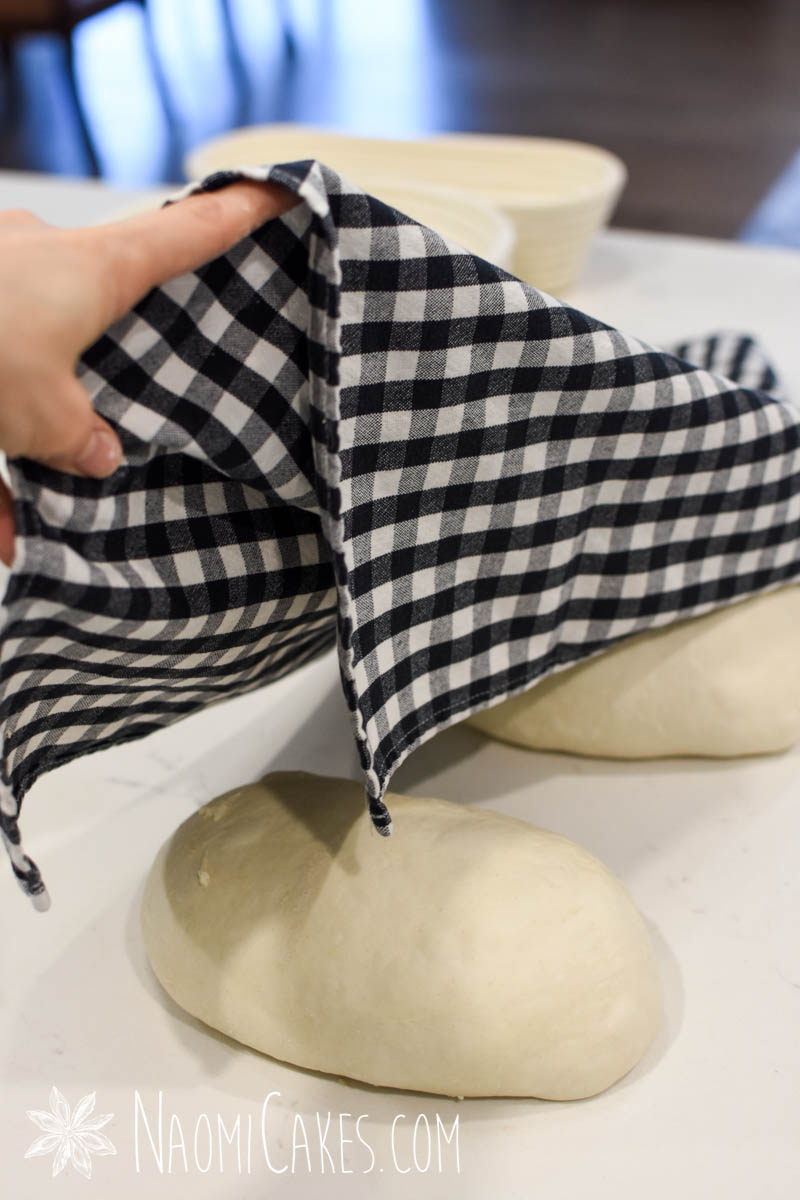
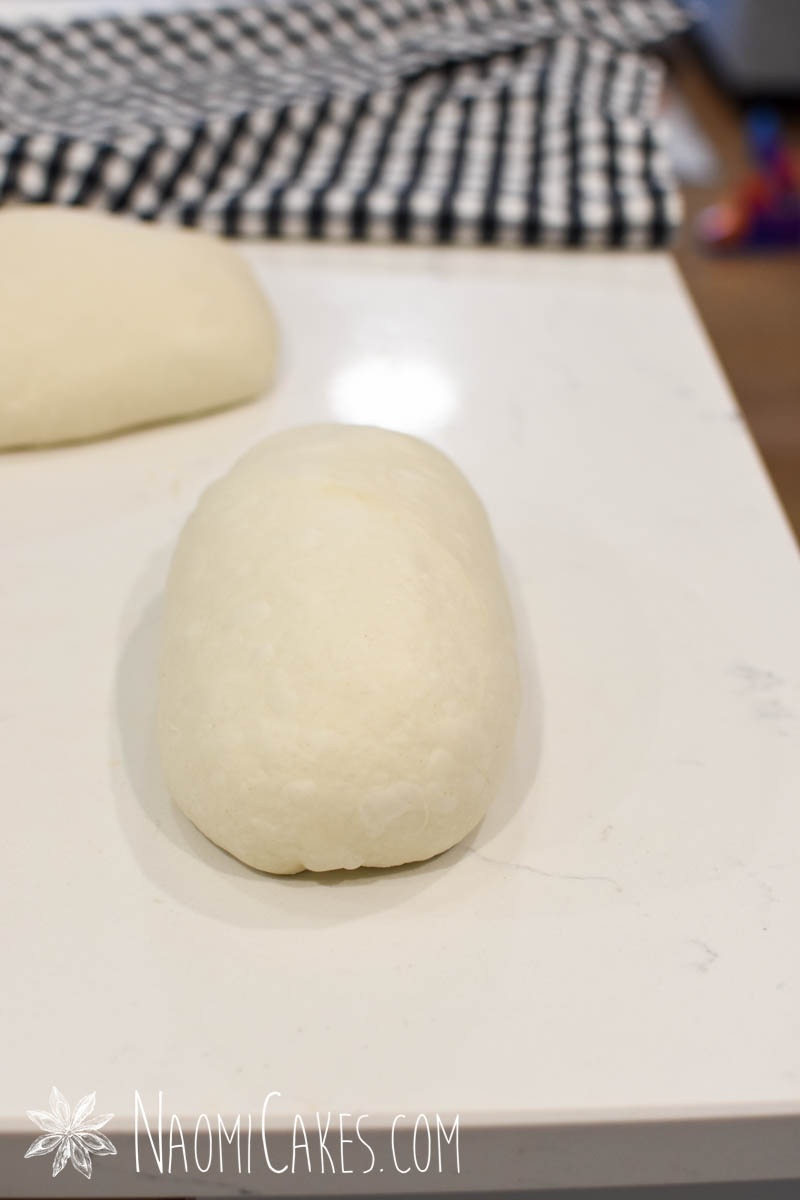
Shape the dough

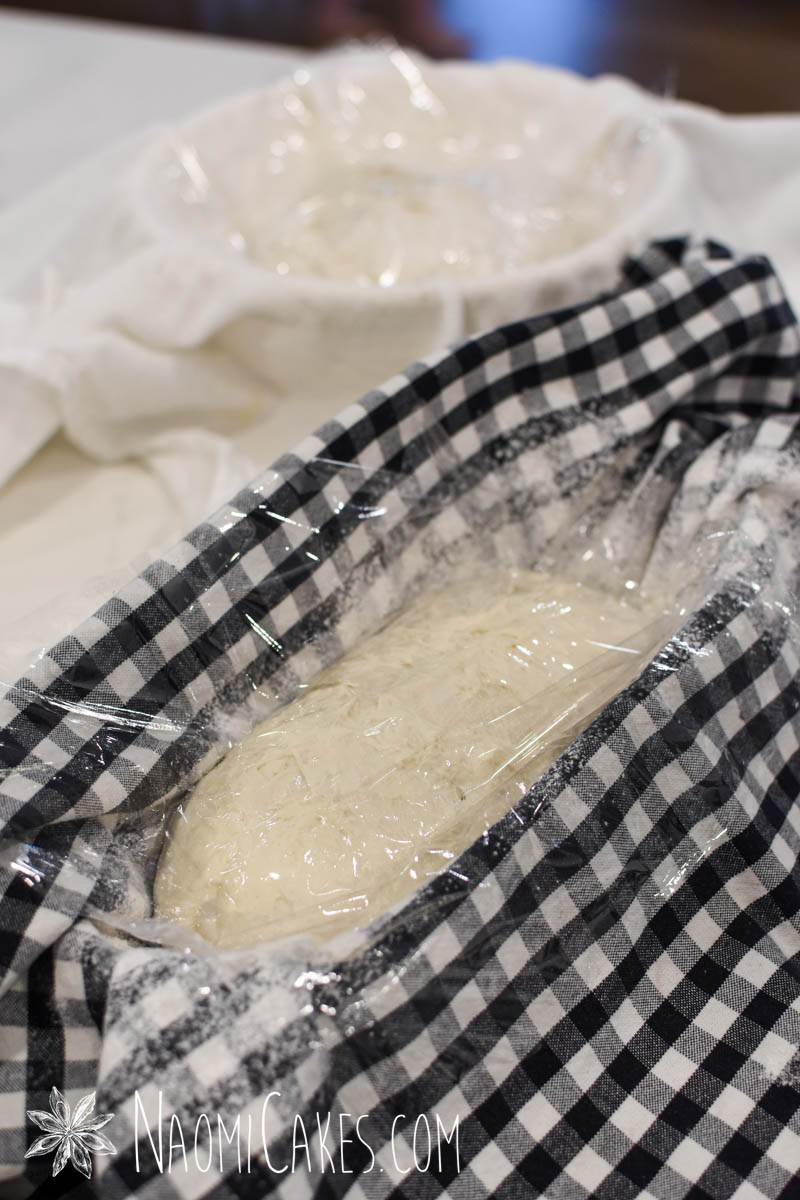
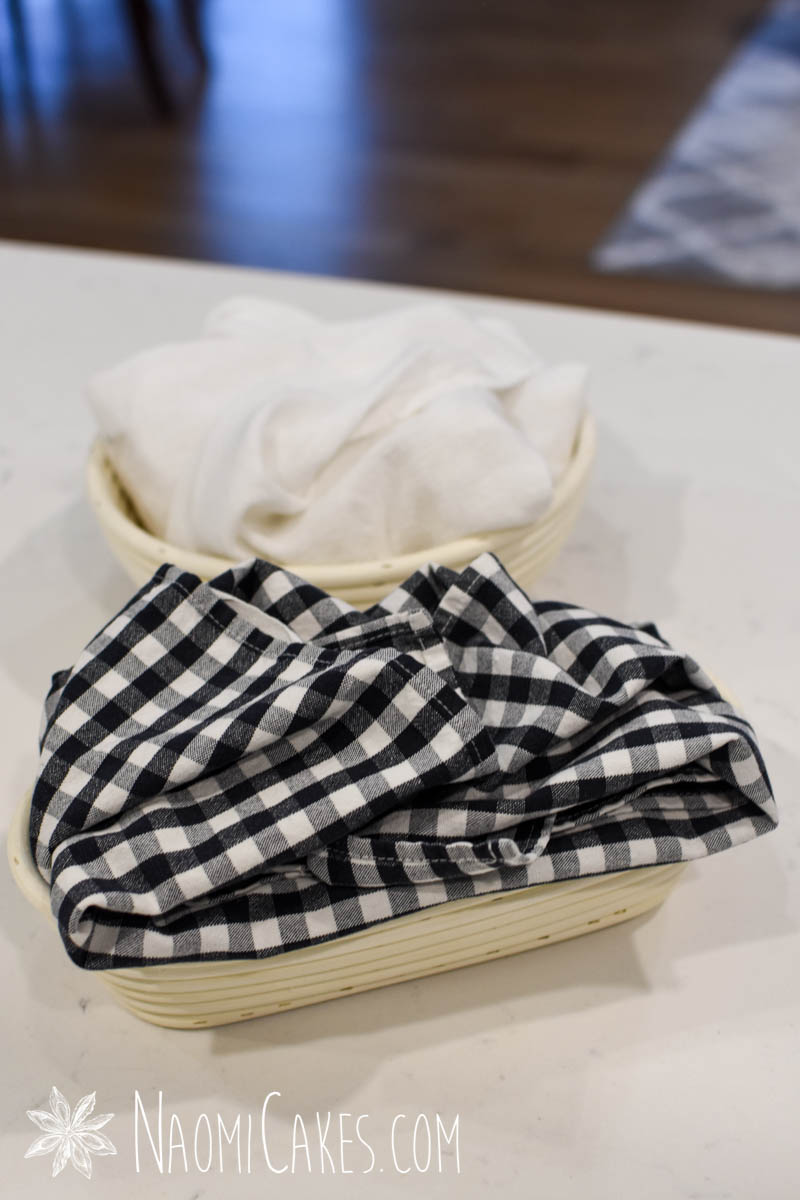
Place it into baskets or bowls to rise overnight
Baking the bread


And that, my friends, is all there is to it. Seems like a lot, but when it’s all said and done – It’s actually not. Sourdough bread can fit into the margins of your day, and it comes out with the most magical results.
If you make this bread, as always, please tag me in your photos on Instagram @naomicakesofficial – I would love to see your great bread!
Bye for now,
Naomi
This post contains affiliate links.
Can this recipe be halved. I’m a beginner and would like to bake one at a time until I get some experience. Thank you.
Yes, absolutely! Thanks for your comment!
This form resets before I can submit my question!!!!
Hey Kim, so sorry to hear about that! I’m not sure what the issue is; feel free to reach out to naomi@naomicakes.com; I’d be happy to help you if I can!