
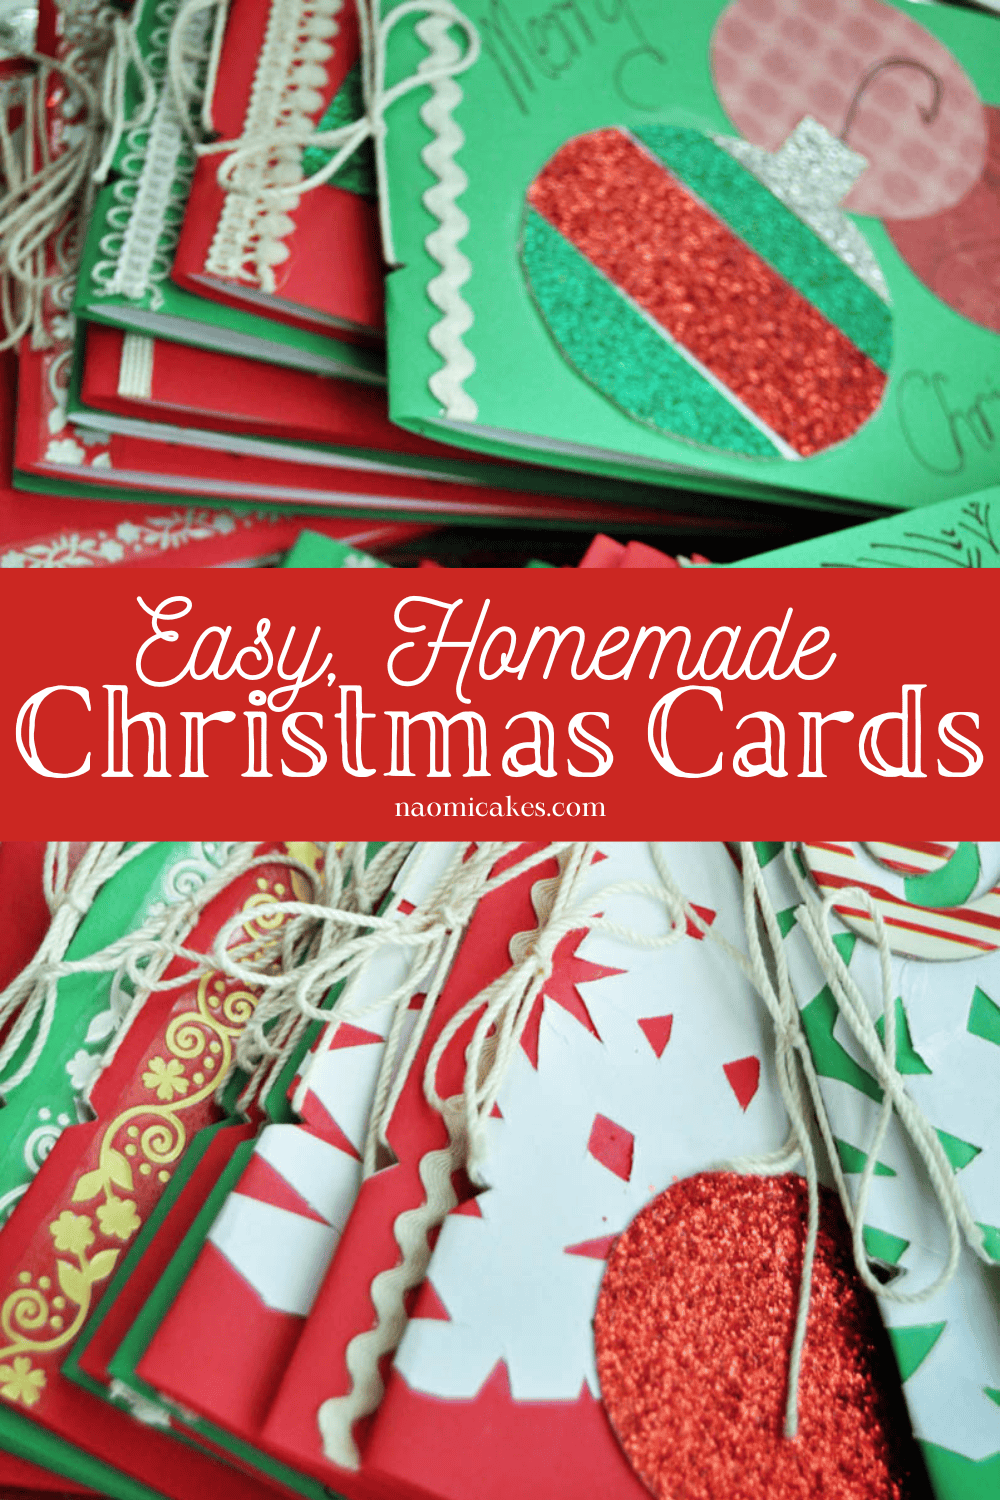
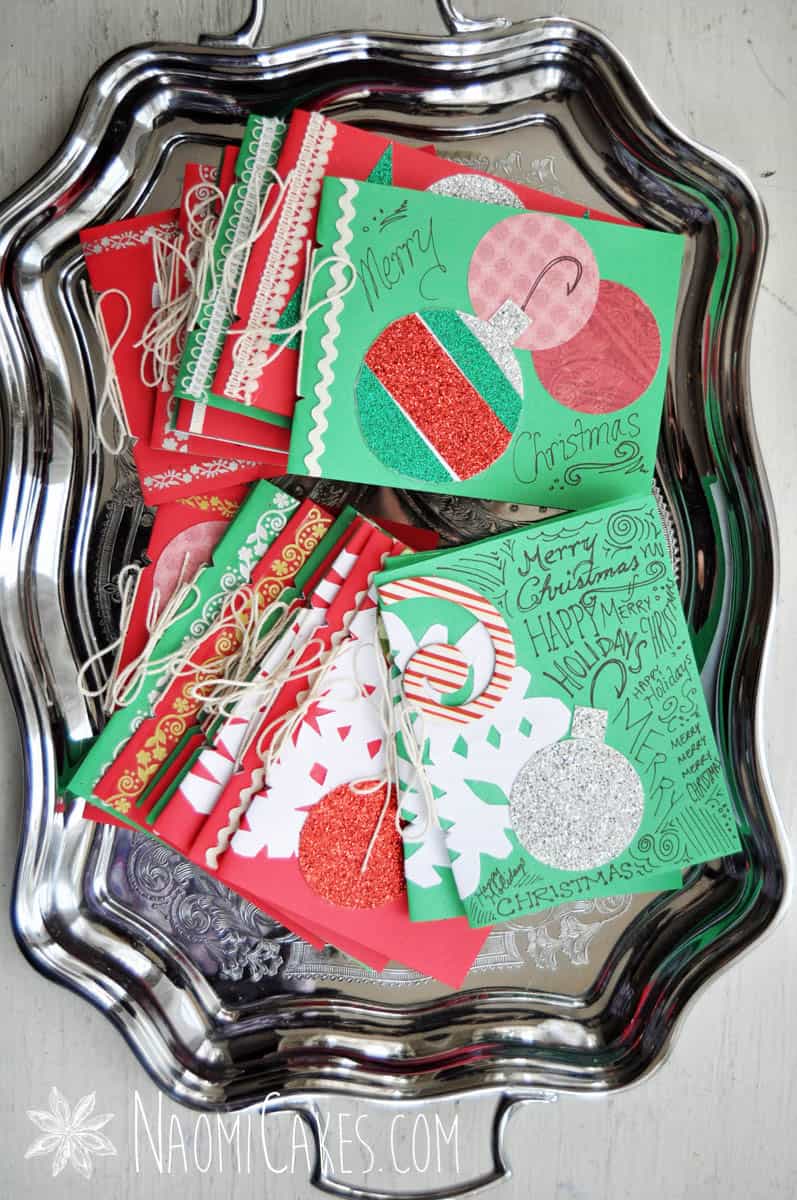
Homemade Christmas Cards [Tutorial]
Ok guys, it’s time to make some homemade Christmas cards. Christmas is around the corner, and it’s always at this time of year that my inner crafter gets all excited and wants to make something beautiful.
This is a great craft to make with kids, and it’s also a great tutorial for anyone who loves crafting but wasn’t born a calligraphy quill in their hand (like me).
Channeling your inner crafter
Oftentimes you see tutorials on Pinterest (or elsewhere on the internet), and the caption reads something like “How to fold a perfect 3 dimensional swan in 5 seconds!”
Those people have mad paper skills.
Or, you see those pictures of “Easy homemade thank-you cards” that look like they were created by angels.
Those people, also, have mad paper skills.
So let me just tell you before we get into this, I am not one of those people. As I mentioned before, I wasn’t born with a calligraphy quill in my hand!
If you can relate, I’ll just tell you that you’re in great company here, and we can tackle this project together because we want to and because it’s fun.
A simple homemade Christmas card design
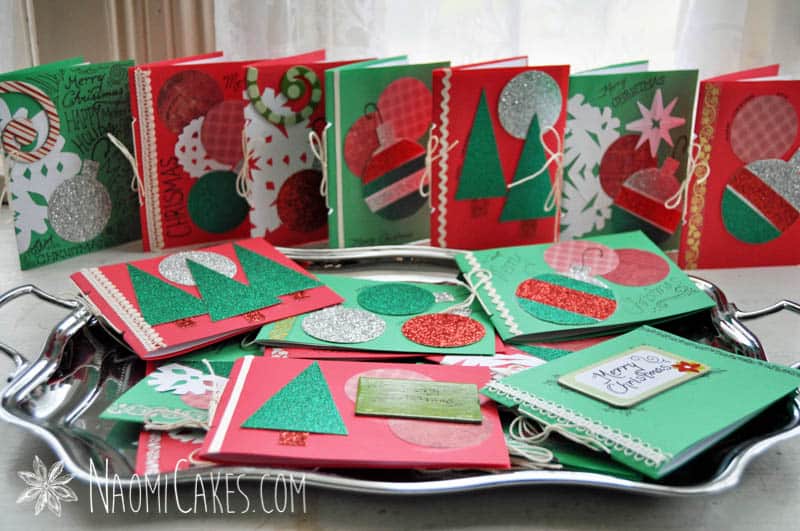
This Christmas card design is very simple: It’s basically just an outer jacket of coloured paper, strung together with a white insert for writing notes and messages. The outside of the cards can be decorated however you want.
This specific tutorial is meant to function as a way to inspire you to make something beautiful: either by following my own method, or using my base card idea to make something new on your own!
Making inexpensive Christmas cards
The two main things I love about this tutorial are the following:
- These cards are super easy to make
- They are inexpensive to make. Most of the supplies below can be picked up at your local dollar store or Walmart – and you don’t even have to get them all to make these beautiful!
Here’s what I used:
- 2″ circle punch
- Scissors
- Fine point black sharpie
- Pencil
- Ruler
- Glue stick
- Red card stock (8.5″x11″)
- Green card stock (8.5″x11″)
- White card stock (8.5″x11″)
- Patterned red scrapbook paper
- Red, green, and silver glitter paper
- Small drinking glass
- 16-oz. size round container (such as a clean, empty sour cream or cottage cheese container)
- Lace, gold, and silver border stickers
- Extra decorative additions (I used thin cardboard Christmas punch-outs with sticky stuff on the back (from the Dollar Store). You can use any stickers, or use stamps to make your own)
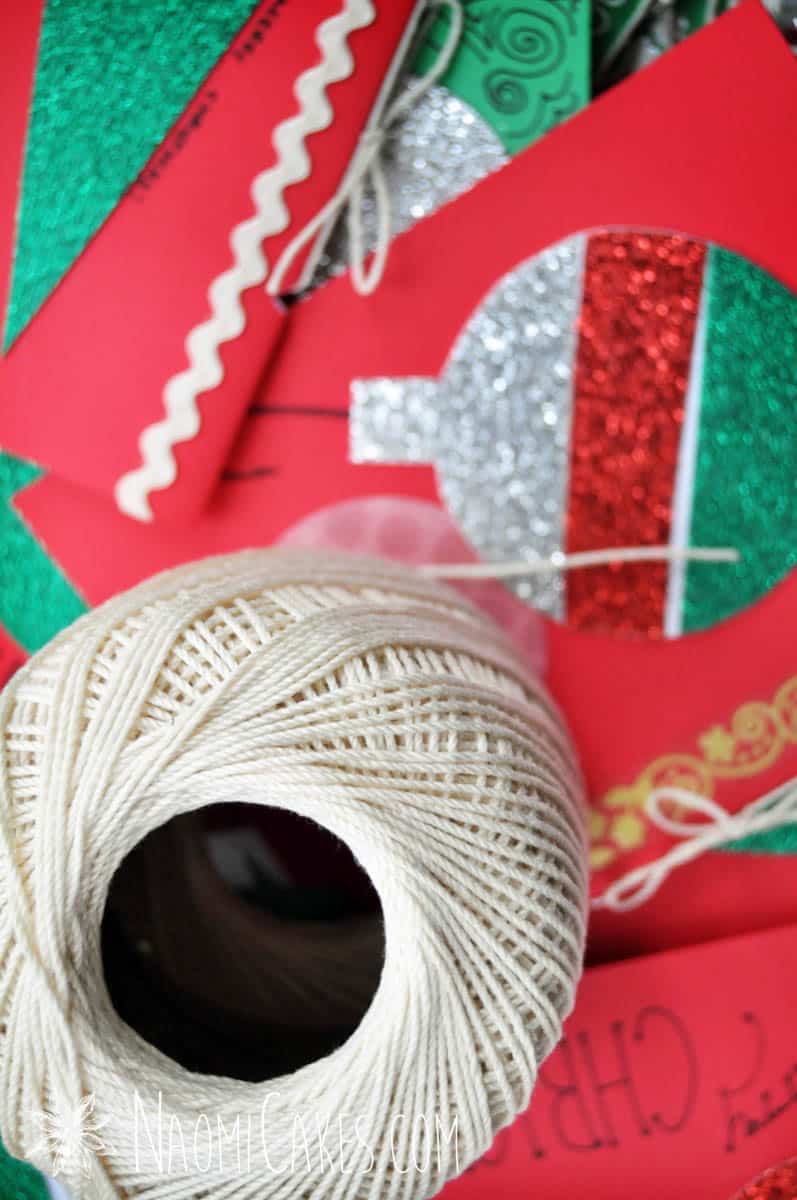
- Soft, thin string (such as butcher’s twine)
- White invitation envelopes (4-3/4″ x 5-3/4″)
Other great decoration ideas:
- Buttons or Christmas buttons
- Postage stamp stickers
- Ribbon
- Gift tag punch
- Washi tape
- Christmas stamps and gold ink
- Gold foil candy wrappers
Printable Tutorial:

How to Make Homemade Christmas Cards
A simple tutorial for beginner crafters and kids.
Ingredients
- 1 2" circle punch
- 1 pair Scissors
- 1 fine point black sharpie
- 1 pencil
- 1 ruler
- 1 glue stick
- 1 piece red card stock 8.5"x11"
- 1 piece green card stock 8.5"x11"
- 3 pieces white card stock 8.5″x11″
- 1 large piece patterned red scrapbook paper
- 3 pieces glitter paper I used red, green, and silver
- 1 small drinking glass
- 1 16-oz. round container such as a clean, empty sour cream or cottage cheese container
- border stickers I used lace, gold, and silver
- extra decorative additions such as stickers, sticky-backed Christmas cutouts, etc
- 2 12-inch pieces soft, thin string
- 4 white envelopes (4-3/4" x 5-3/4" – invitation style)
Instructions
For the paper cutouts:
-
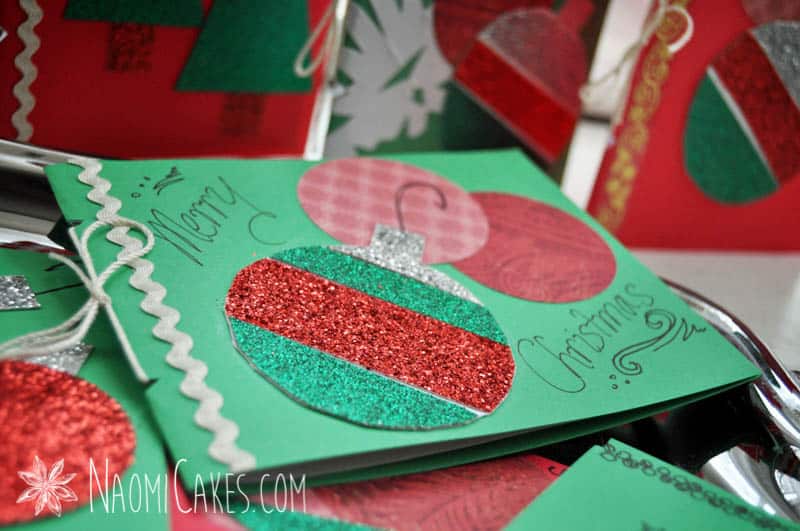
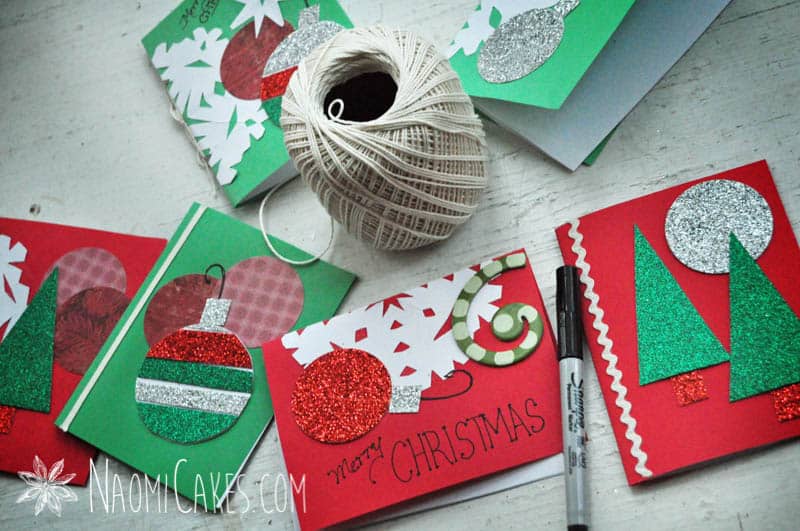
Using red patterned scrapbooking paper, cut out some circles with the circle punch. (I used these primarily as background colour, as pictured on the finished cards in this post.)
For the ornaments:
-
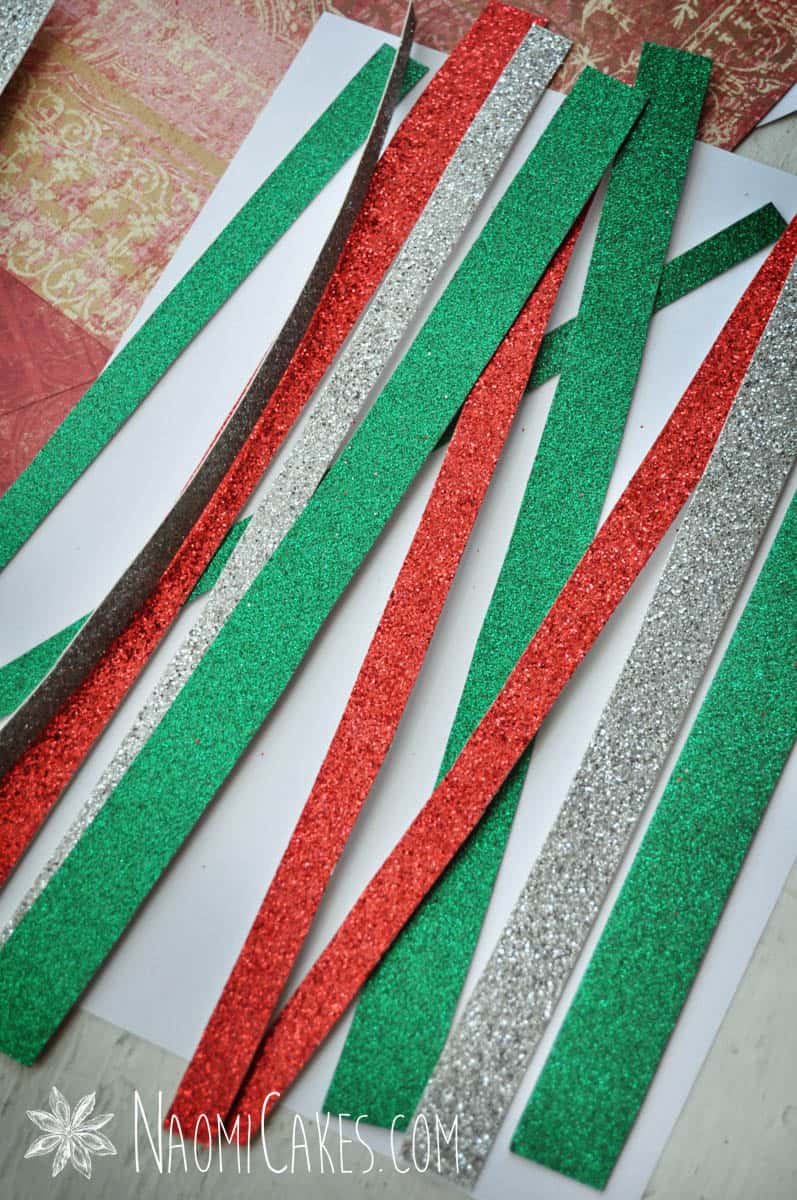
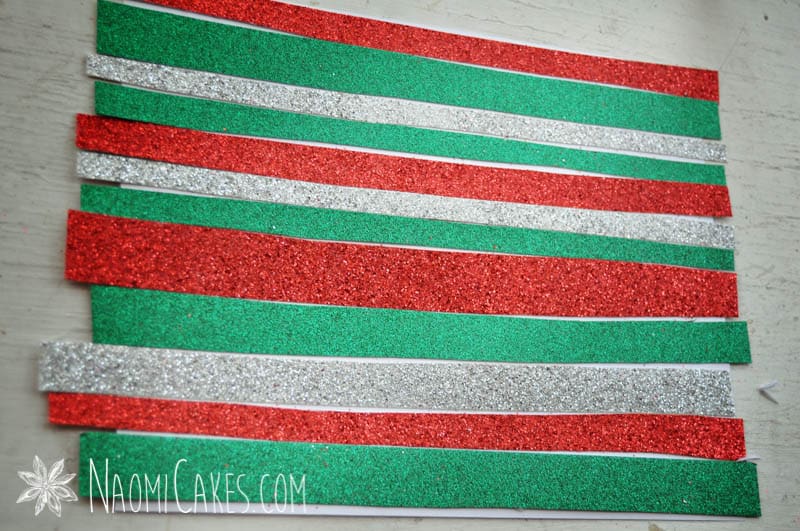
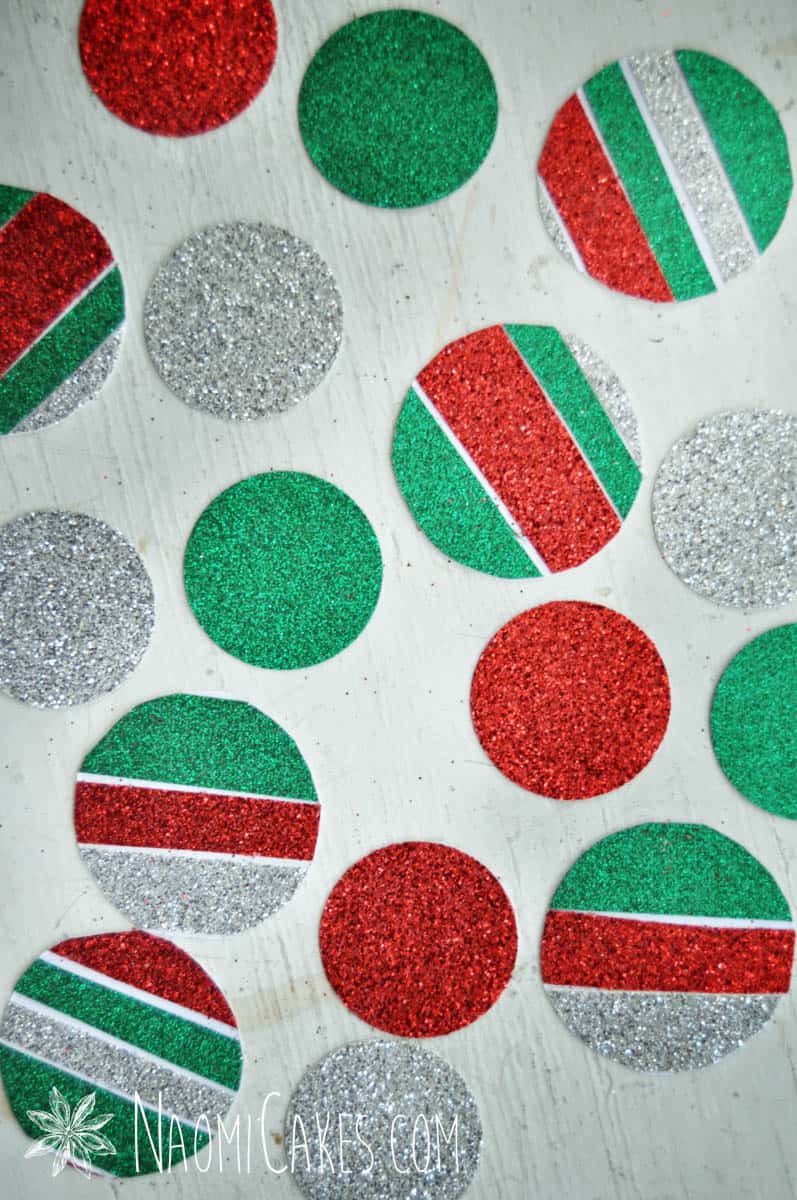
On the plain back of the red, silver, and green glitter paper, draw horizontal lines across the width of the paper (differently spaced to make random sizes). Cut out the strips.
-
Next, use a glue stick to make the entire surface of a sheet of the white card stock sticky, and then glued the coloured strips across it, showing a bit of white between some of the colours randomly. Allow the strips to dry for at least 1 minute.
-
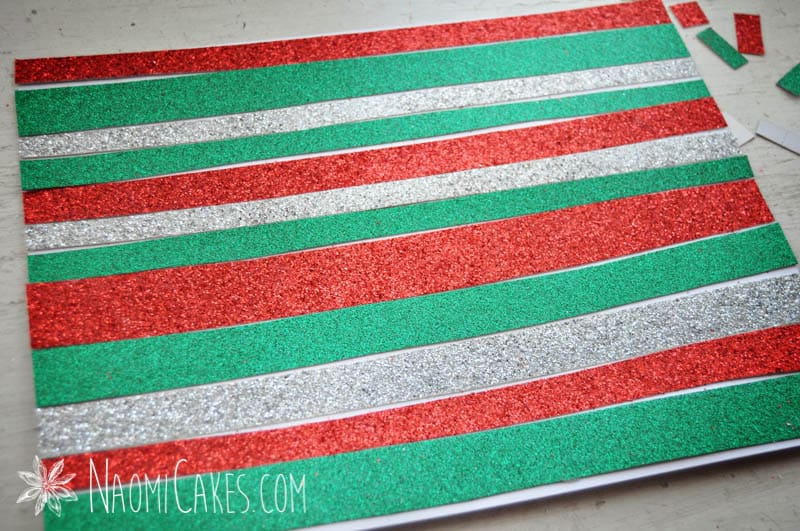
Trim the edges to be even with the sides of the paper.
-
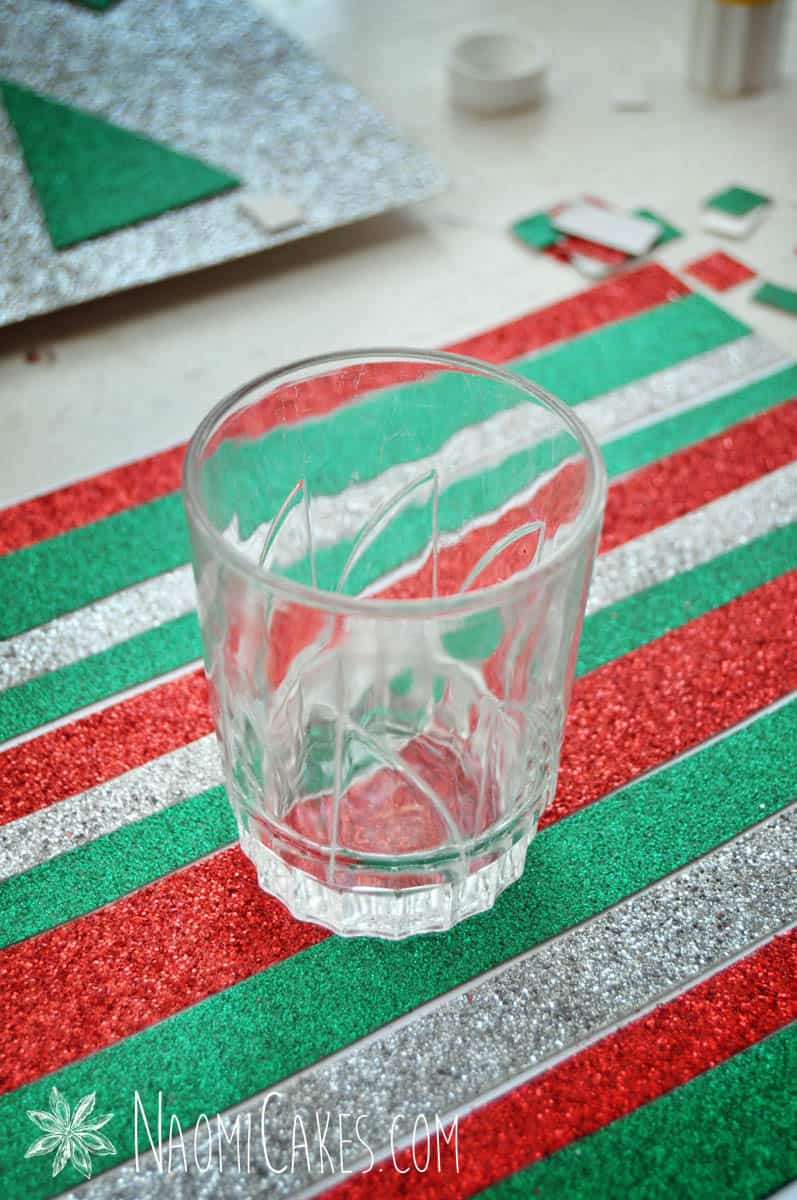
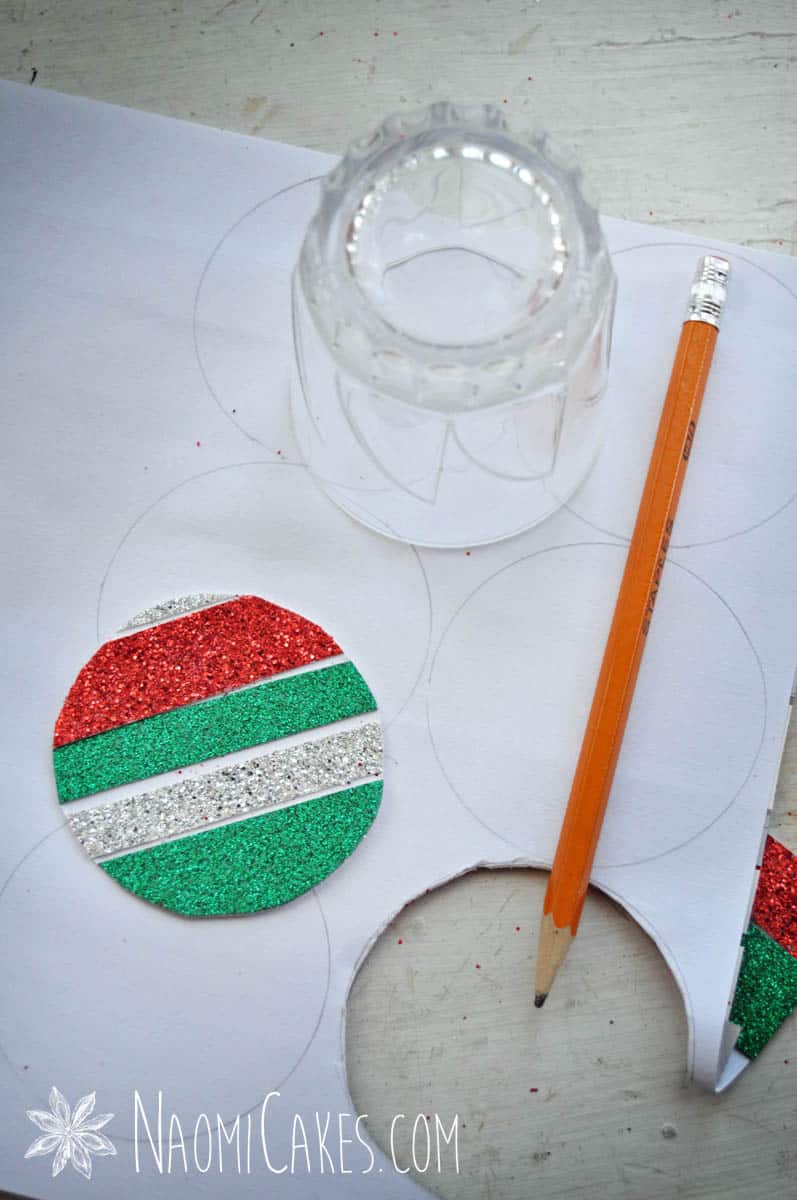
Use a couple of small different sized drinking glasses to trace circles on the back of the paper, and then use scissors to cut out the ornaments. (The circle punch can't handle this many layers of thick paper).
Make the Christmas trees:
-
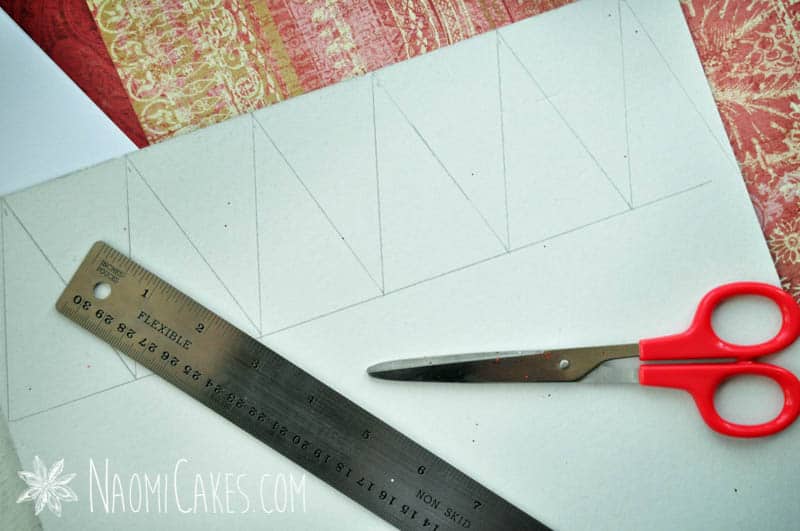
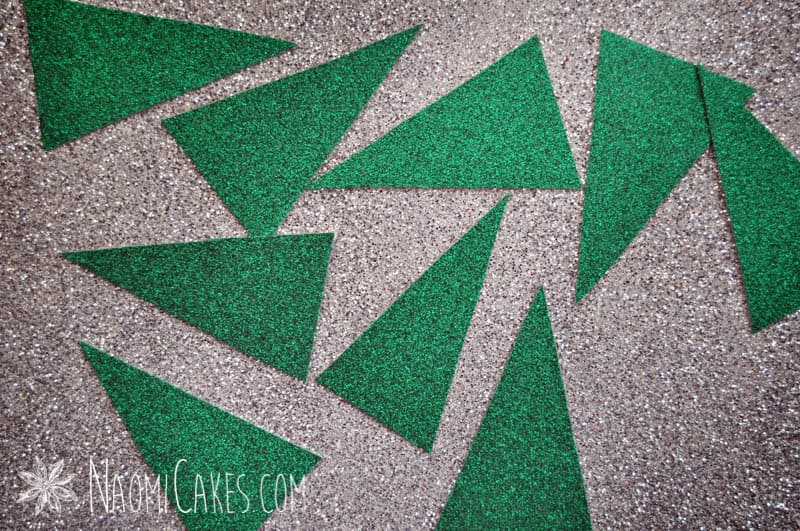
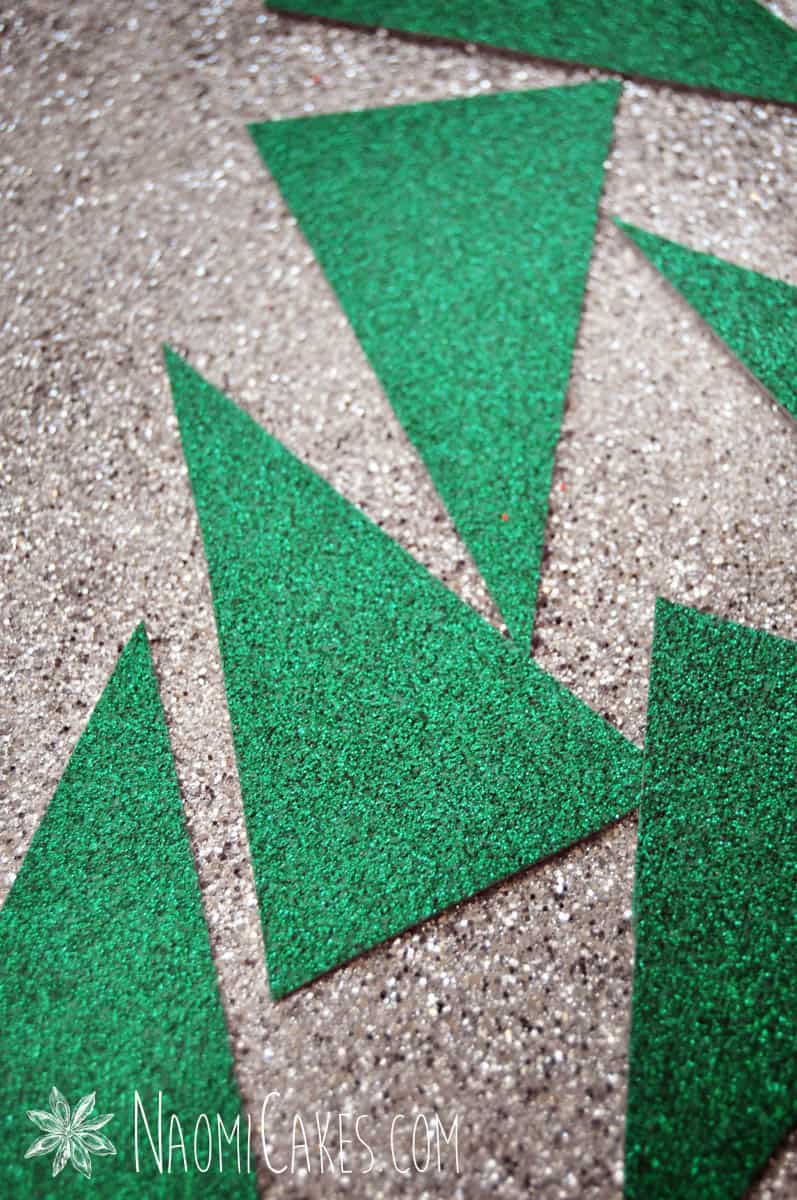
Turn a sheet of green glitter paper upside down, and draw a line about 4 inches from the edge of the paper. Make a small tick mark every 2 inches along the line.
-
Mark the tops of the trees along the edge of the paper, making a tick mark 1 inch from the corner, and then every 2 inches after that (so that the tick marks land exactly in the middle of the your marks on the opposite line.)
-
Use the ruler to trace lines from one set of measured marks to the other, making little triangles. (You can make these any size, adjusting your measurements as you like.) Cut out the triangles for simple Christmas tree shapes.
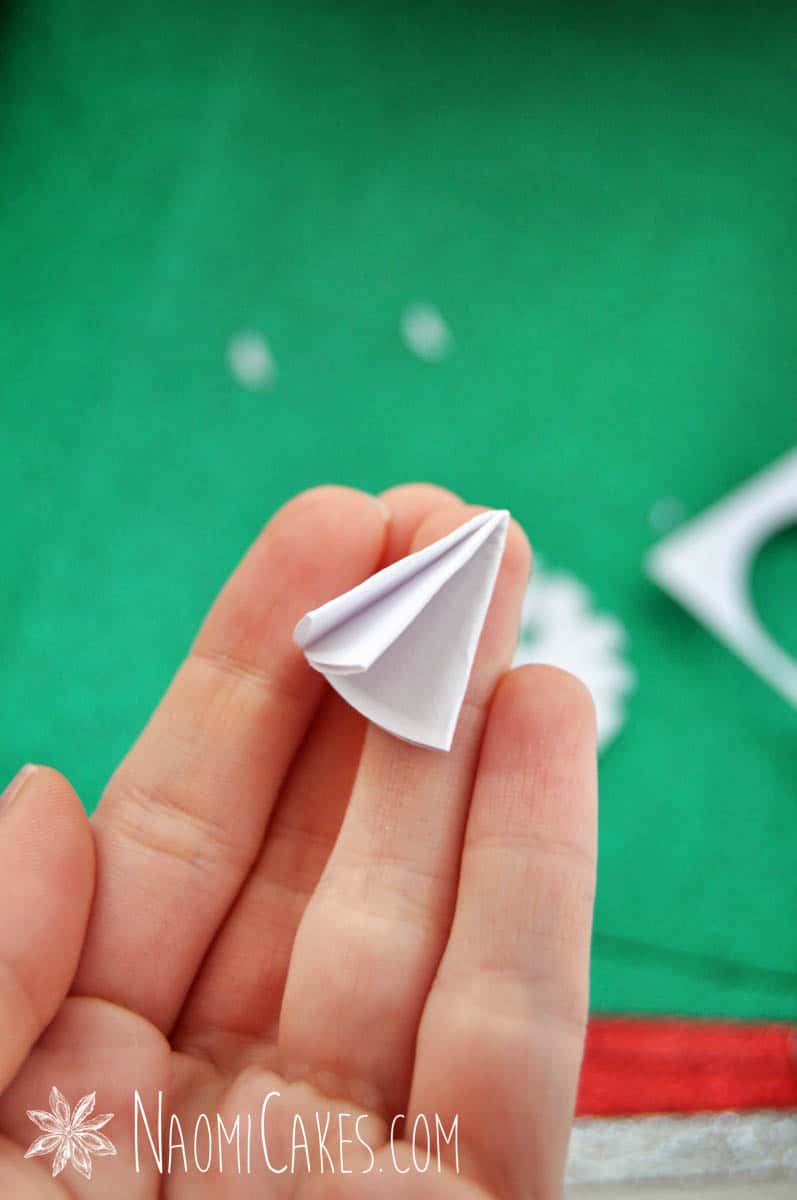
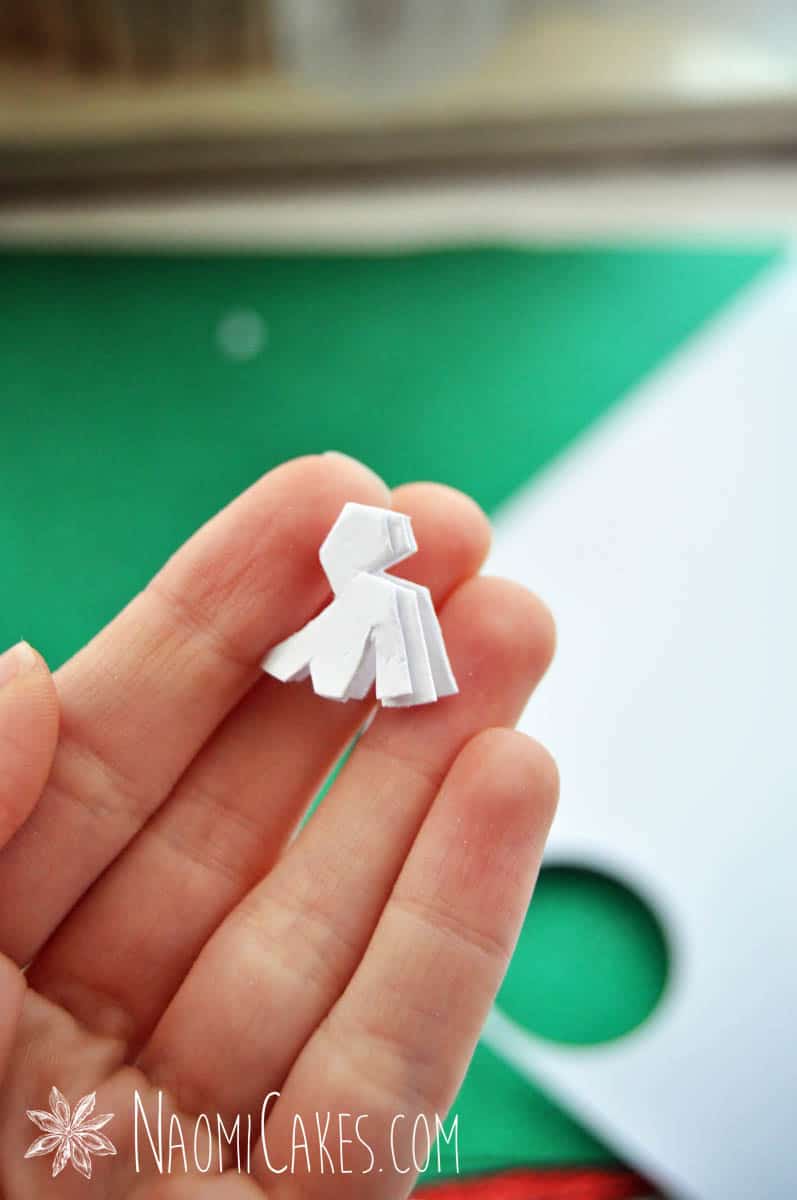
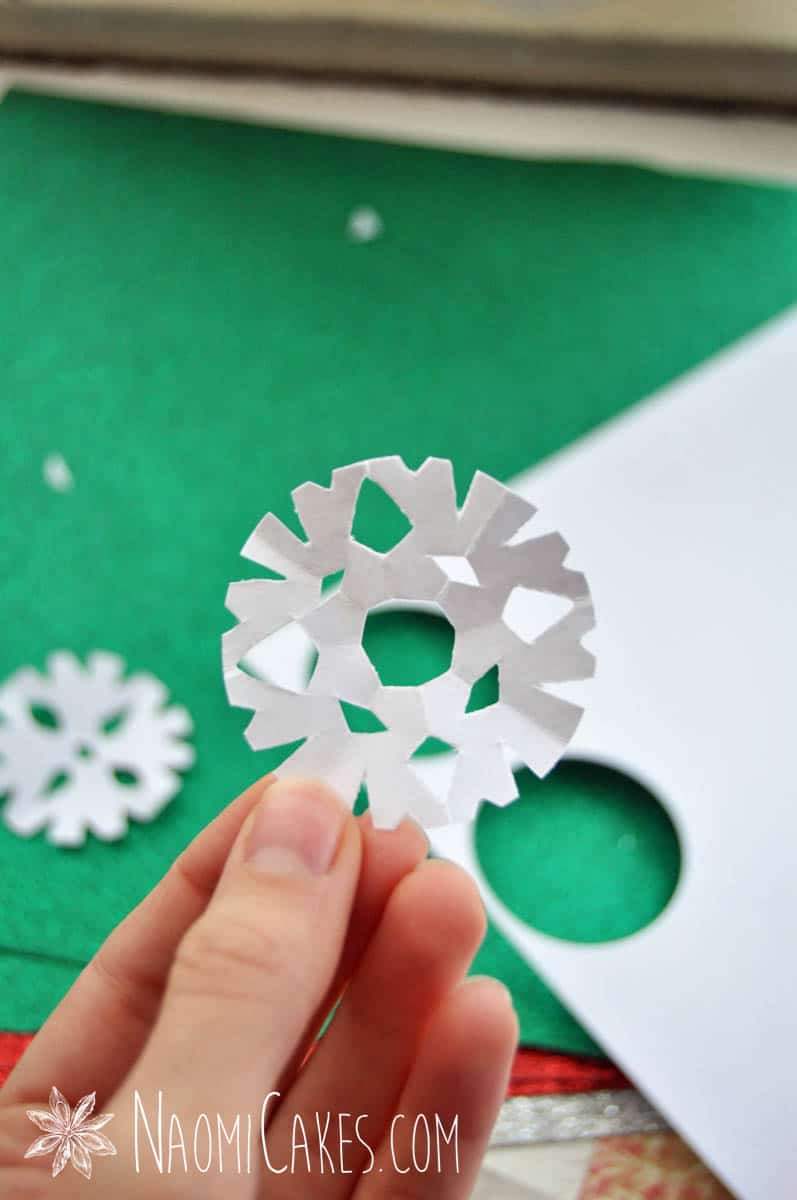
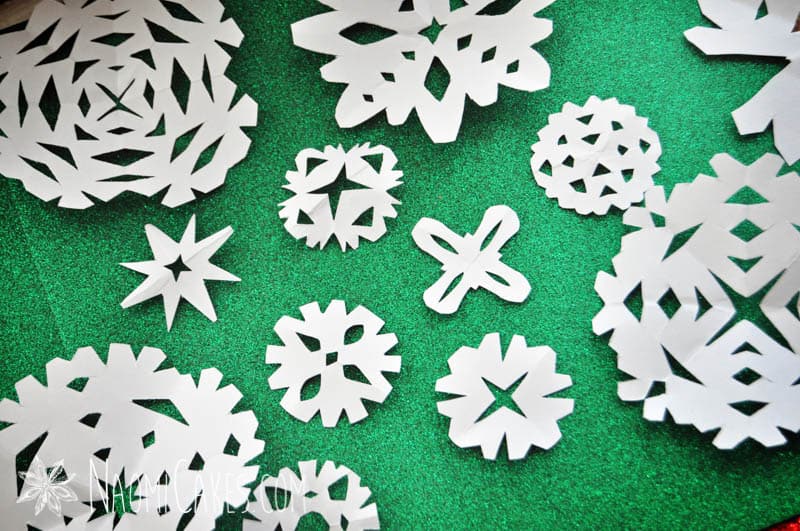
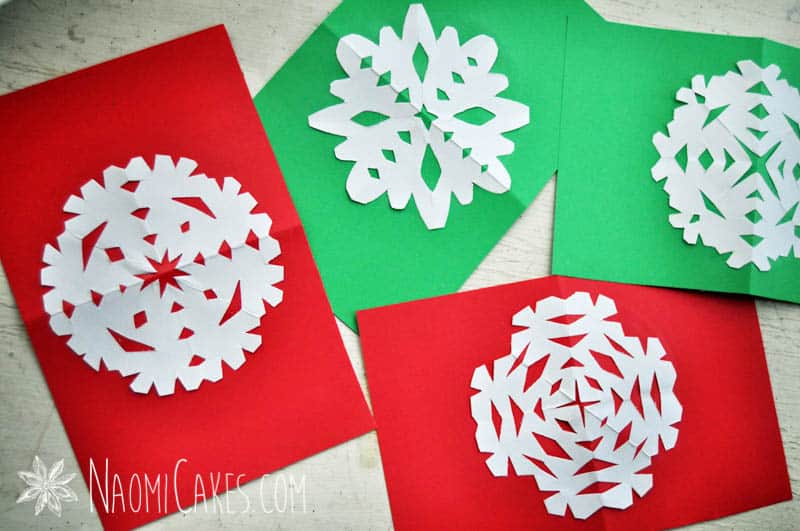
For the snow flakes:
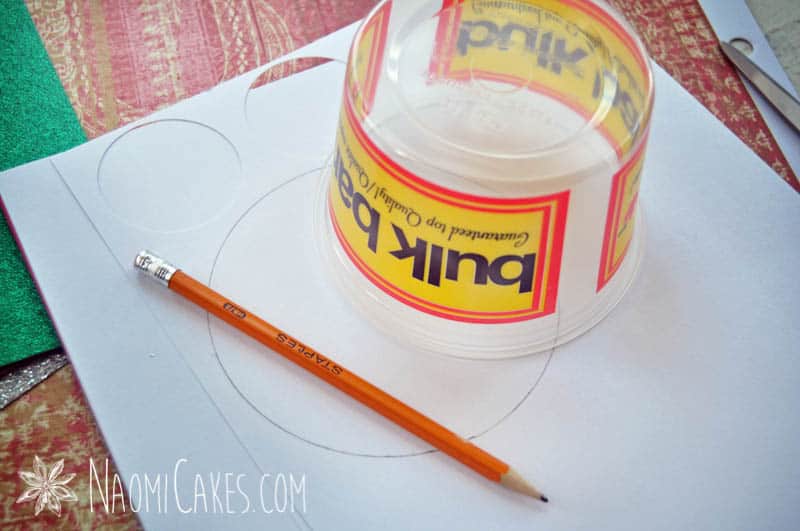
-
Using white card stock and a circle cutter, punch out a bunch of white circles. Then trace the mouth of another round cup or container for a larger circle shape (I used a round 16-oz. plastic container).
-
Fold the circles into 8ths and make little cut out shapes and patterns with scissors alone the edges. Unfold to reveal your homemade snowflakes!
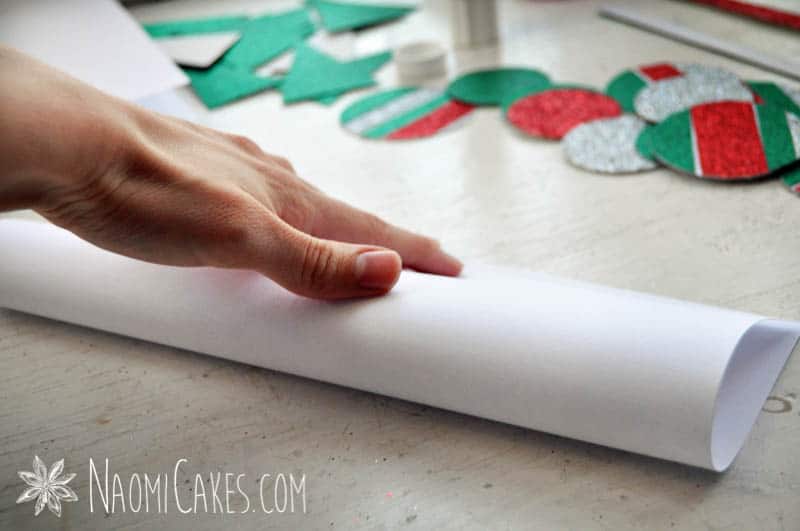
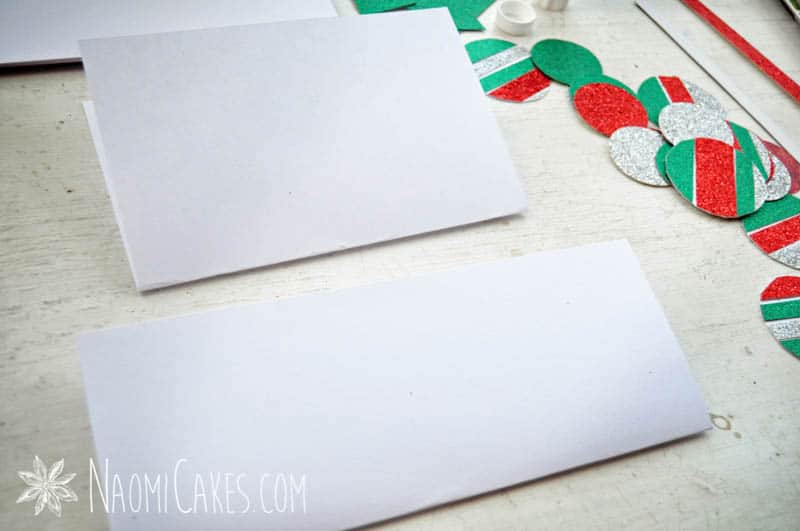
For the white inserts:
-
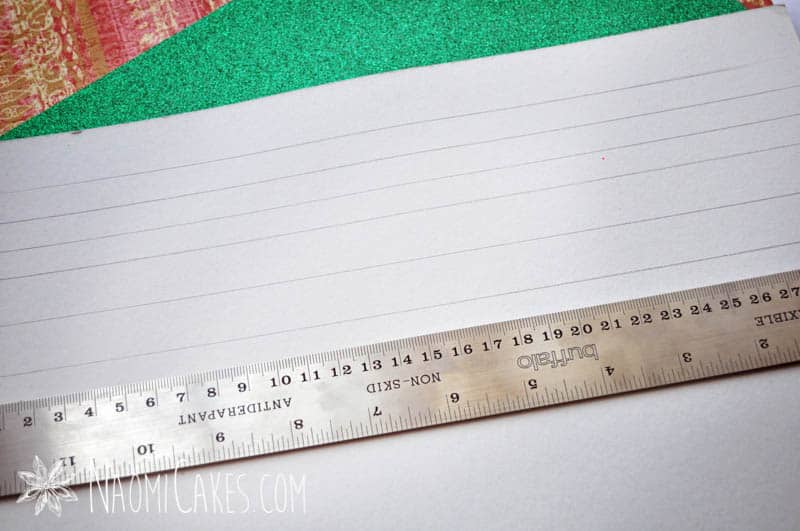
Fold a sheet of white card stock widthways, and use your ruler to draw a line down the centre of the folded paper.
-
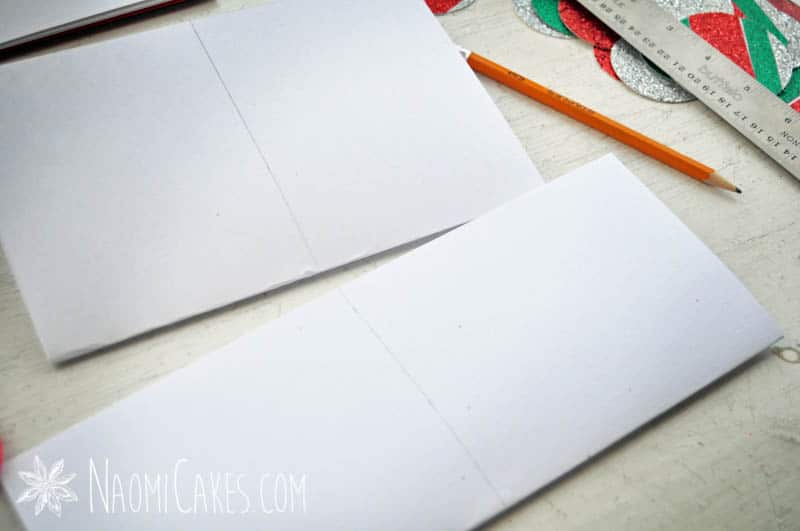
Fold another piece of white card stock lengthways, and again, mark a line down the centre.
-
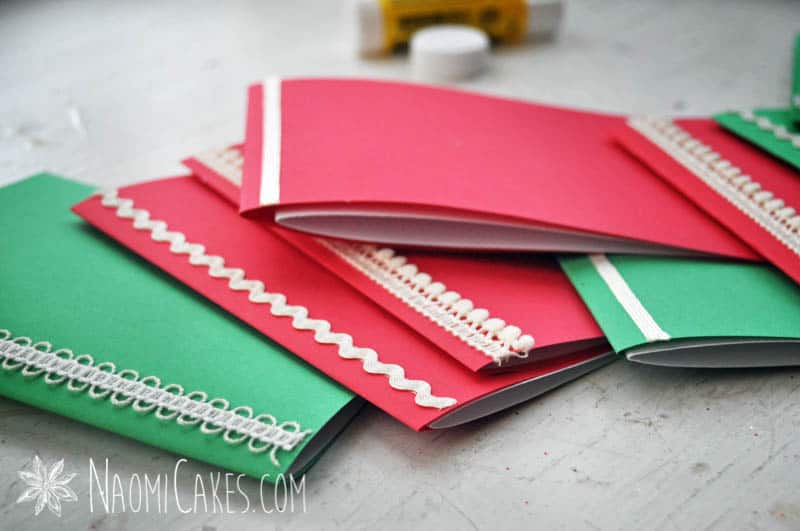
Cut along the penciled lines of each paper to release 2 vertical cards and 2 horizontal cards.
-
Using a pair of sharp scissors, cut a 1/8″ strip (or so) off of the edges of each white card, cutting one strip off the bottom and one off of the side, to make the inserts slightly smaller. Set aside.
For the card jackets:
-
Repeat steps 1-3 of the insert process, this time using coloured paper (I have used red and green).
-
Place the white inserts inside of the coloured card jackets.
Make the cards:
-
Cut two little triangles (like you did for the snowflakes) through the coloured and white paper to make holes for the string. I cut my triangles 1-1/2″ from each end of the vertical cards and 1″ from the end of the horizontal ones. Use a 12″ length of string to thread through the holes and tie the papers together.
Assemble your homemade Christmas cards:
-
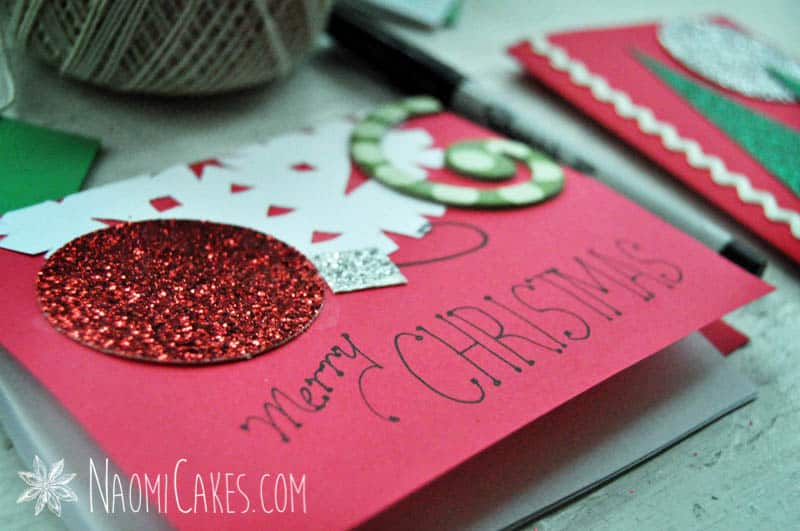
Now for the fun part. Put it all together! Use glue to fasten pieces of paper into place. Decorate your cards with stickers, sticky borders and trim, washi tape, or whatever you want to make your cards come together. I also used a fine point Sharpie to write words on the face of some of the cards.
-
Stack your finished cards with envelopes, and then use them how and when you like throughout the season.
Step by Step: Homemade Christmas Cards
How to make the decorations
You can make whatever you want, but for inspiration: I made some paper cutouts, ornaments, snowflakes, Christmas ornaments, and Christmas trees.
For the paper cutouts:
- Using red patterned scrapbooking paper, cut out some circles with the circle punch. (I used these primarily as background colour, as pictured on the finished cards in this post.)
For the ornaments:
- On the plain back of the red, silver, and green glitter paper, draw horizontal lines across the width of the paper (differently spaced to make random sizes). Cut out the strips.
- Next, use a glue stick to make the entire surface of a sheet of the white card stock sticky, and then glued the coloured strips across it, showing a bit of white between some of the colours randomly. Allow the strips to dry for at least 1 minute.
- Trim the edges to be even with the sides of the paper.
- Use a couple of small different sized drinking glasses to trace circles on the back of the paper, and then use scissors to cut out the ornaments. (The circle punch can’t handle this many layers of thick paper).
Note: You can also use my free template (above), printed on white card stock. Glue the glitter strips onto the back of this paper, and then cut them out. Do not print on glitter paper.
Make the Christmas trees:
- Turn a sheet of green glitter paper upside down, and draw a line about 4 inches from the edge of the paper. Make a small tick mark every 2 inches along the line.
- Mark the tops of the trees along the edge of the paper, making a tick mark 1 inch from the corner, and then every 2 inches after that (so that the tick marks land exactly in the middle of the your marks on the opposite line.)
- Use the ruler to trace lines from one set of measured marks to the other, making little triangles. (You can make these any size, adjusting your measurements as you like.) Cut out the triangles for simple Christmas tree shapes.
Note: You can also use my free template (above), glue the tree template onto the back of the green glitter paper, and then cut the trees out. Do not print on glitter paper.
For the snow flakes:
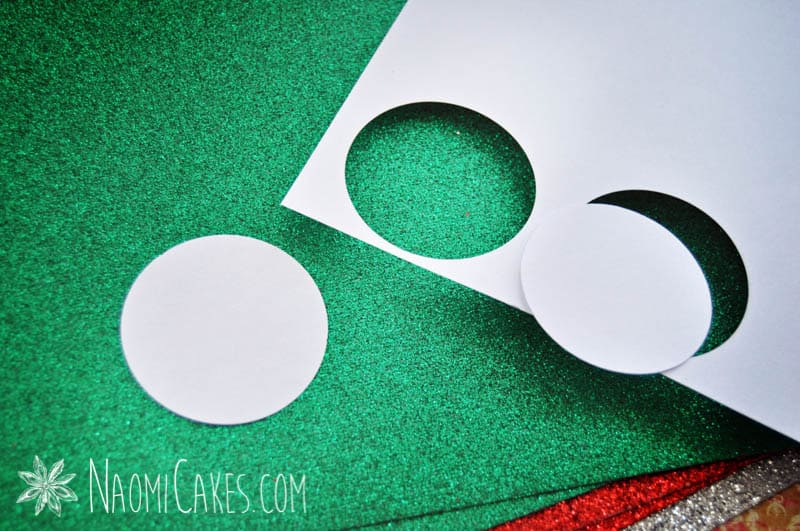
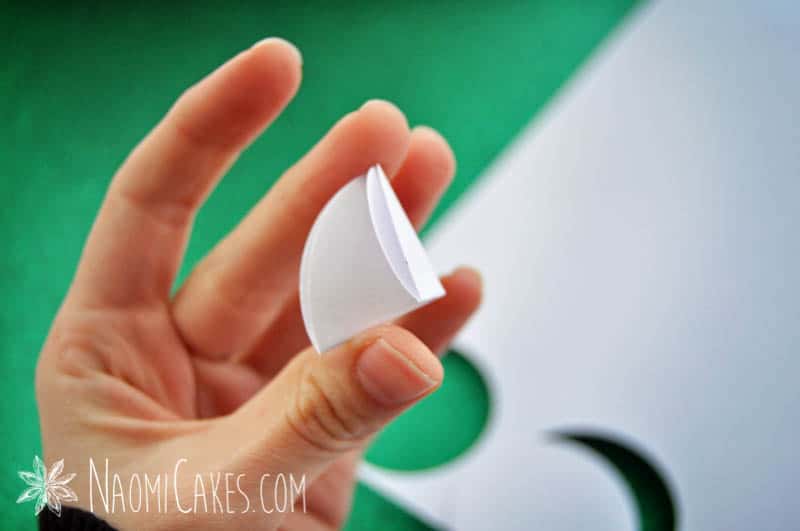
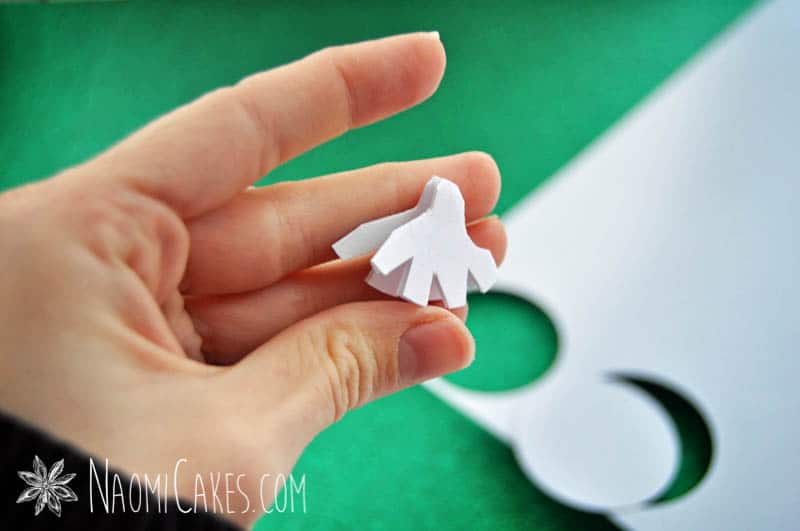
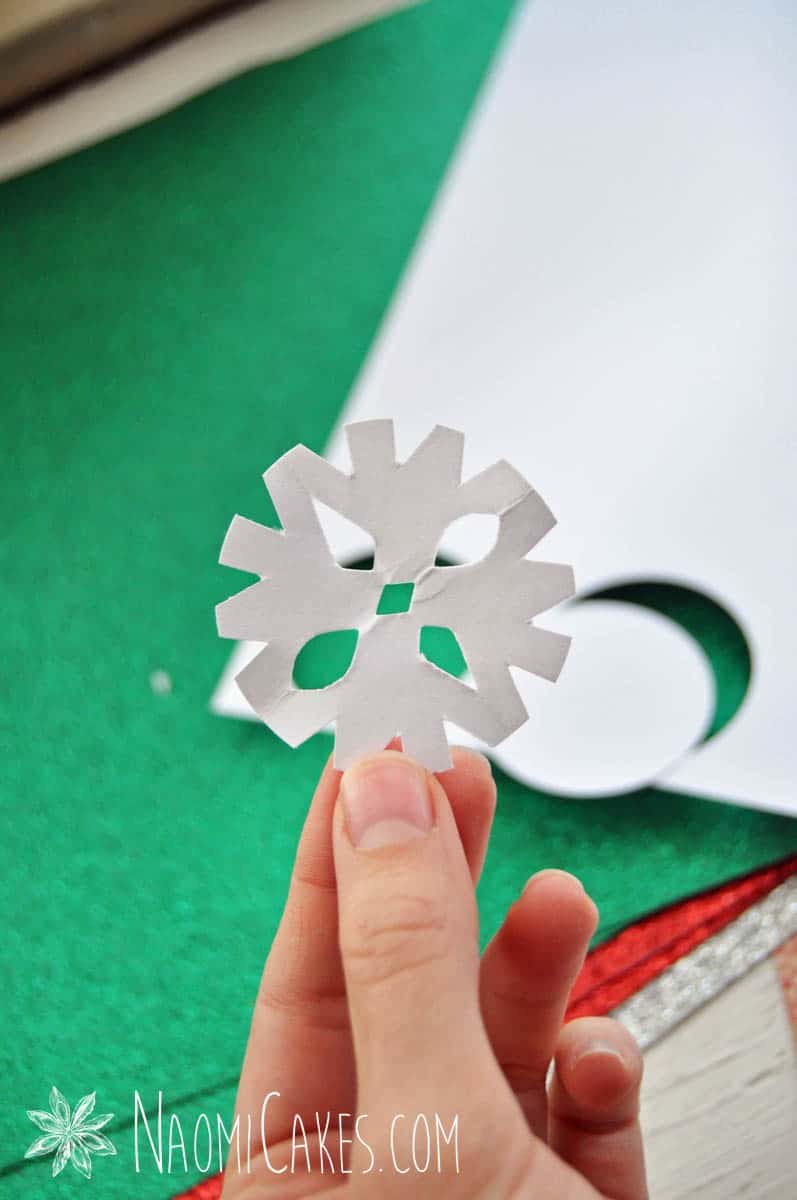
- Using white card stock and a circle cutter, punch out a bunch of white circles. Then trace the mouth of another round cup or container for a larger circle shape (I used a round 16-oz. plastic container).
- Fold the circles into 8ths and make little cut out shapes and patterns with scissors alone the edges. Unfold to reveal your homemade snowflakes!
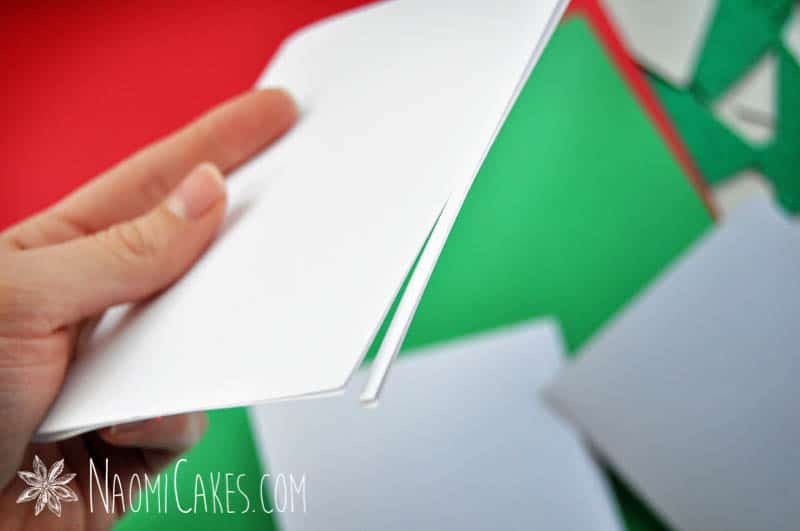
To make the white inserts:
- Fold a sheet of white card stock widthways, and use your ruler to draw a line down the centre of the folded paper.
- Fold another piece of white card stock lengthways, and again, mark a line down the centre.
- Cut along the penciled lines of each paper to release 2 vertical cards and 2 horizontal cards.
- Using a pair of sharp scissors, cut a 1/8″ strip (or so) off of the edges of each white card, cutting one strip off the bottom and one off of the side, to make the inserts slightly smaller. Set aside.
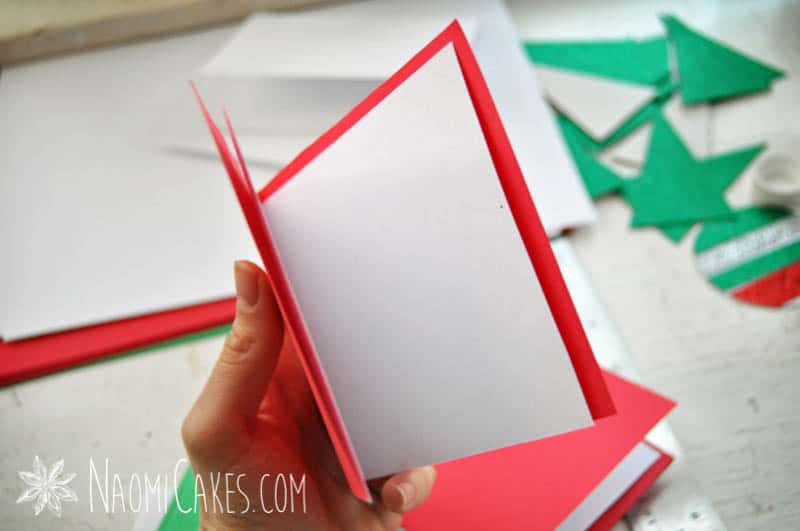
For the card jackets:
- Repeat steps 1-3 of the insert process, this time using coloured paper (I have used red and green).
- Place the white inserts inside of the coloured card jackets.
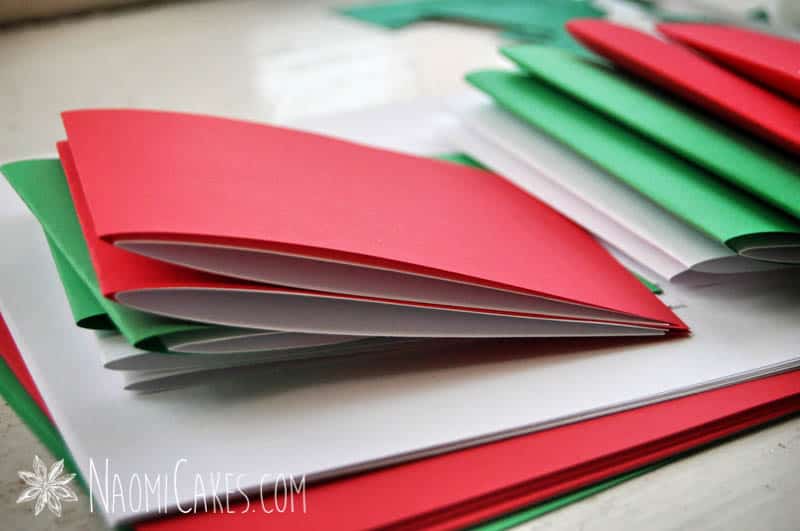
Make the cards:
- Cut two little triangles (like you did for the snowflakes) through the coloured and white paper to make holes for the string. I cut my triangles 1-1/2″ from each end of the vertical cards and 1″ from the end of the horizontal ones. Use a 12″ length of string to thread through the holes and tie the papers together.

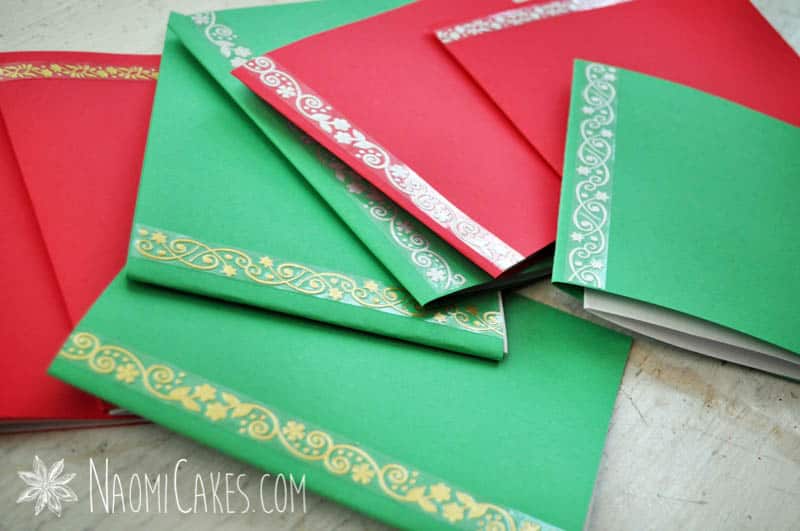
Assemble your homemade Christmas cards:
- Now for the fun part. Put it all together! Use glue to fasten pieces of paper into place. Decorate your cards with stickers, sticky borders and trim, washi tape, or whatever you want to make your cards come together. I also used a fine point Sharpie to write words on the face of some of the cards.
- Stack your finished cards with envelopes, and then use them how and when you like throughout the season.


And there you have it: homemade Christmas cards!
This is the kind of thing you want to do with a party, so make them with your kids, or with a bunch of friends. Have a great time making them, and let me know how they turn out! You can tag me in your photos on Instagram @naomicakesofficial, or leave me a comment below to let me know what you think.
Back soon!
–Naomi
This post contains affiliate links.