
How to Assemble Piping Bags for Cake Decorating [Tutorial]
If you’ve been wondering how to assemble piping bags for your cake and cookie decorating needs WITHOUT having to change bags for each different piping tip… This is your post. Read on to get the most out of your cake decorating experience!
Why use a piping bag?
Piping bags are the means by which you can decorate beautiful cakes with borders, details, basket weave, flowers and more. A small metal tip is fitted into the end of it, and the bag is filled with frosting in the flavour and colour of your choice to be “piped” by you onto your cake, cupcake or cookie to create the masterpiece in your mind.
Can you make beautiful cakes without piping bags?
Sure you can! But, piping is not only beautiful, it’s a lot of fun. So if you are interested in making cakes, read on to learn more about piping bags and the best ways to use them for the best results.
What size of piping bag to use
I like to use 12″ bags for anything that wants a lot of care and control (fine detail work), and 18″ bags for projects like frosting cakes or cupcakes. The reason for this is that larger bags hold a lot more frosting, which is nice if you are piping large amounts onto your cake at a time (such as a big swirl on top of a cupcake). If you’re using small amounts of icing, and using repetitive motion, however, a large amount of icing will make your muscles sore and will reduce your control. Smaller bags, with less in them, are the way to keep the best control for fine detail work.
How to make your own piping bag
If you want to make your own with what you have on hand, you can cut out a large triangle of parchment or wax paper and then fold it into a cone shape. Then cut off the end, slip a piping tip inside, fill it up with frosting and away you go. The only thing I don’t like about this method is that you can’t usually refill the bag, so this is best used when you have small details to pipe onto your project.
Can you use a ziploc bag as a piping bag?
You can, yes! However, the shape of them ends up being much more difficult to control, and the plastic is much weaker. This means that for stiffer frostings or large amounts of frosting, you will probably find that the bag is more likely to burst. In a pinch, however, yes; feel free to use a ziploc bag. I’ve done it many times!
Where to buy piping bags for cake decorating
You can purchase piping bags from just about any craft retailer. I live in Canada, and I have picked them up at the Bulk Barn, Michaels, or Walmart. My favourite way to buy them is in bulk through Amazon or another online retailer that would sell a roll of them, ready to tear off and use as needed.
What piping bags do professionals use?
If you’re curious about the fabric looking reusable piping bags that a lot of professional pastry chefs use, those are basically just that. They are often made with fabric on the outside with a waxy coating on the inside. You can wash and reuse them over and over again… which is cost effective, but honestly my favourite way to go is just to use disposable plastic piping bags.
Some common frustrations with piping bags
Piping bags can be frustrating to use if you don’t keep the ends twisted, resulting in the icing exploding out the back, or if you have to fill multiple bags so that you can switch piping tips. The first problem can be solved with practice, twisting the end as you go, to keep the icing tightly in the top of the bag. The second problem can be solved by using a coupler, as I will explain in this post.
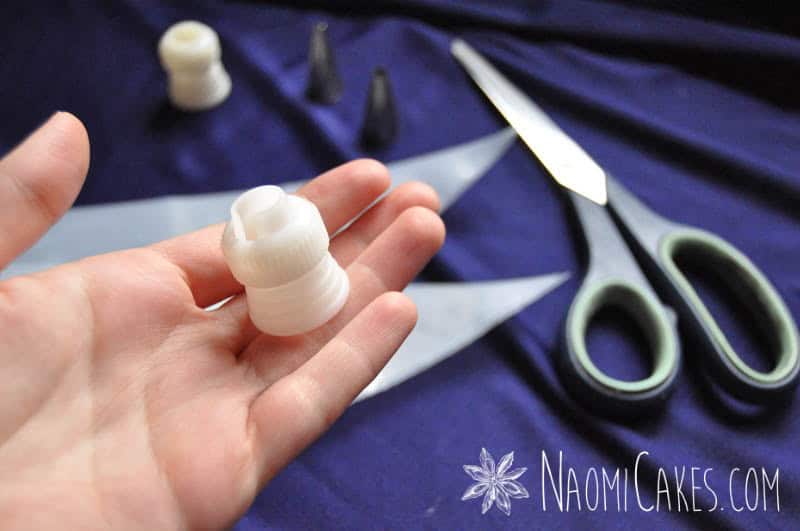
What is a coupler?
Couplers are little plastic attachments that allow you to change piping tips without changing piping bags. So for example, if you have 5 different patterns that you want in the same colour, you don’t have to make 5 bags. You can just make one, and then switch the tip when you need to. While you don’t *need* a coupler for your cake decorating needs, I do recommend them to make your life a lot easier!
What are piping tips?
Piping tips are the little metal tips that you place inside or at the end of a piping bag to create certain patterns and shapes. Common tip shapes are round tips (for beading or lines), star tips (for stars or rosettes), or leaf and petal tips, for making flowers.
How do I use a piping bag?
Well, that’s what this post is ultimately all about. Scroll down for the tutorial!

How to Assemble Piping Bags for Cake Decorating
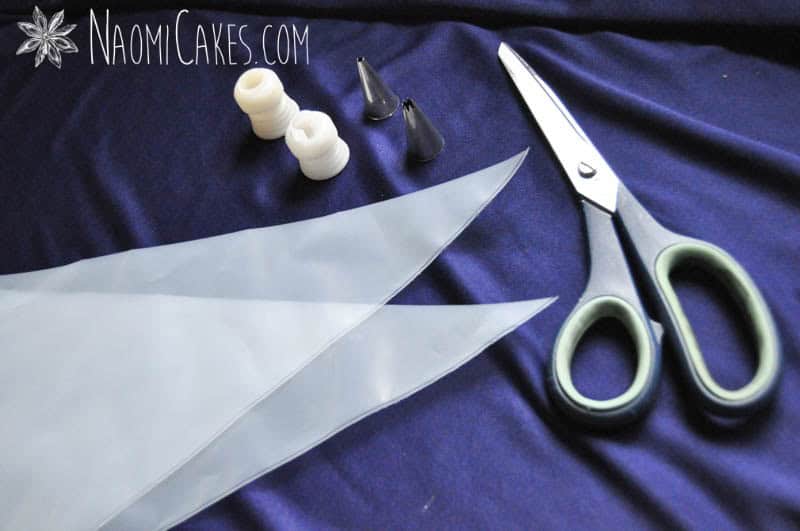
You will need:
- Piping bags (plastic, reusable piping bags, or parchment)
- Scissors
- Couplers
- Piping tips
- Frosting (for decorating)
Directions:
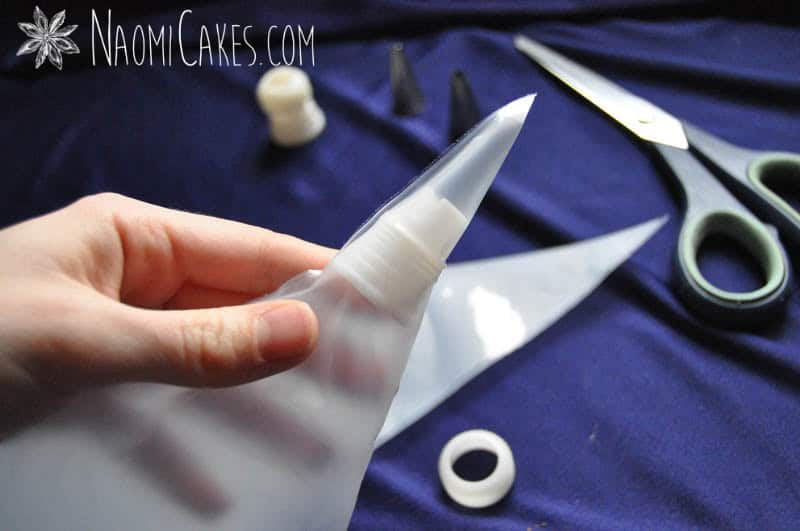
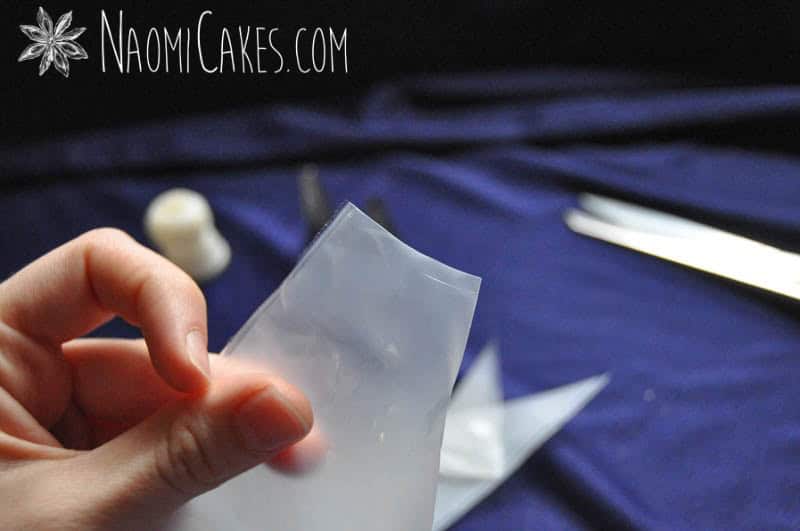
- Gather your supplies. Open up your piping bag, remove the outside screw from the coupler, and slip the base of the coupler inside. Push the coupler base up into the tip of the bag.
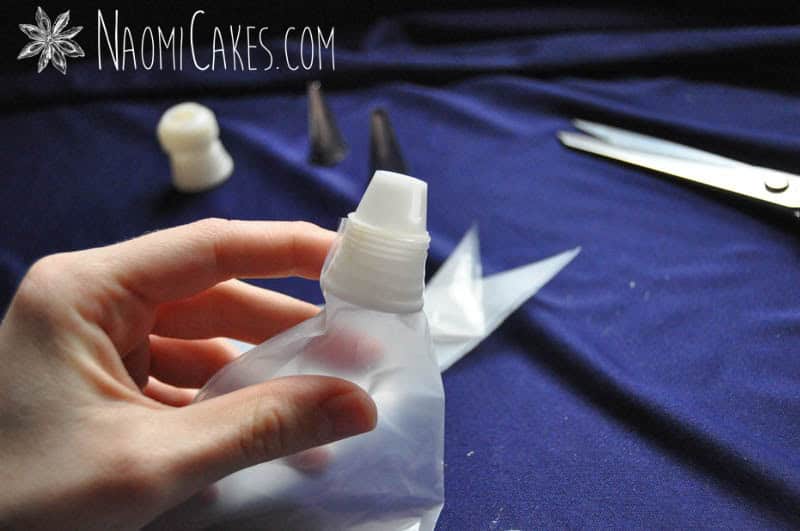
- Put the coupler screw over the outside of the bag and start to screw it onto the base. It won’t really go on, but that’s okay– all you want it to do is make a crease in the bag.
- Remove the screw and the base of the coupler from the bag. This should leave a clear mark in the plastic where the screw met the threading of the coupler on the outside of the bag.
Note: This will work with parchment paper or some reusable pastry bags as well. - Once you have the mark on the bag, using a pair of scissors, cut the top off about a 1/8-inch to 1/4-inch above the creased line (toward the tip of the bag).
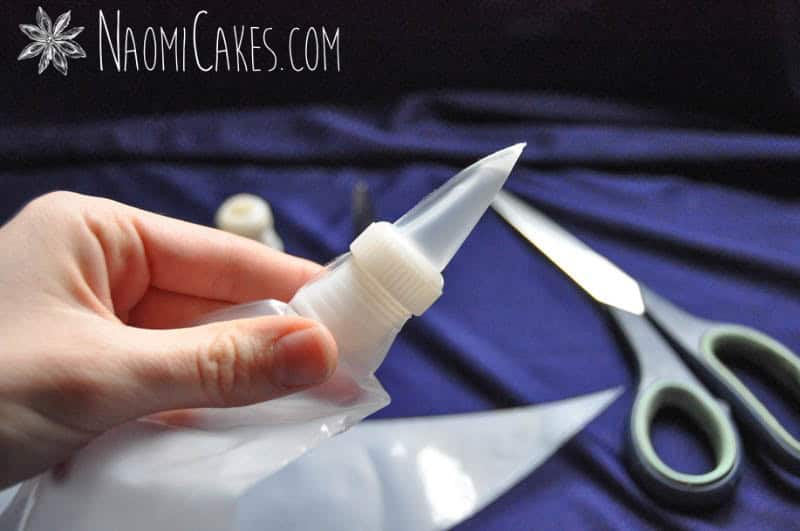
- Push the coupler base back up into the tip of the bag. You’ll want to push it in firmly, just far enough for the top thread of the coupler base screw to peep above the cut edge.
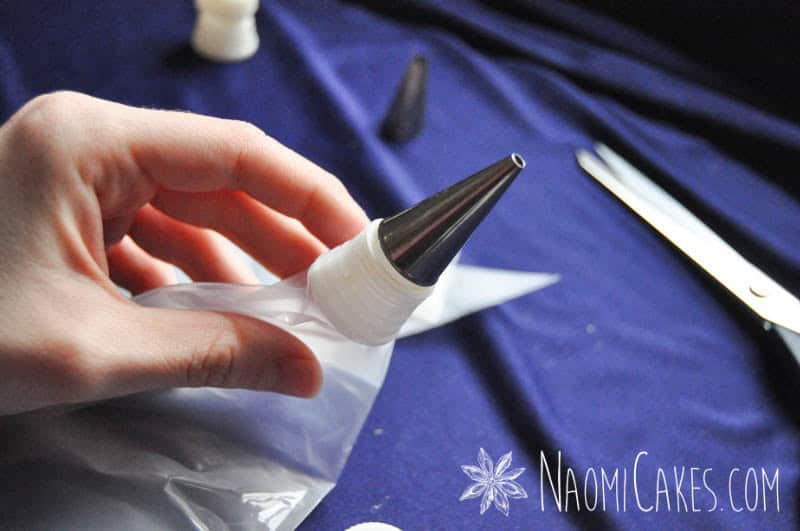
- Set the desired tip on top of the coupler base. Then finally, use the screw to secure it into place.
1.
2.
3.

4.
5.
6.

Before adding frosting to your bag
Make a cuff on the end of the bag by folding the ends inside out. Hold the bag by the inside the cuff while you add your frosting, and then unfold the clean cuff up around the icing to enclose it neatly. Twist up the end securely to hold the icing in place before you begin piping.

I hope this has been helpful! Leave any questions in the comments – I’m happy to help!
Bye for now,
–Naomi
This post contains affiliate links.
I really should invest in a coupler…it would save an awful lot of mess and stress! lol
@Piping Bags – I agree; couplers are awesome, and well worth the investment. Thanks for your comment!
you really helped me. When I first bought this icing bag, hoping it would give me an edge in my upcoming cooking contest, I was clueless on how to assemble or use it. But this step to step tutorial helped me a lot. Thnx