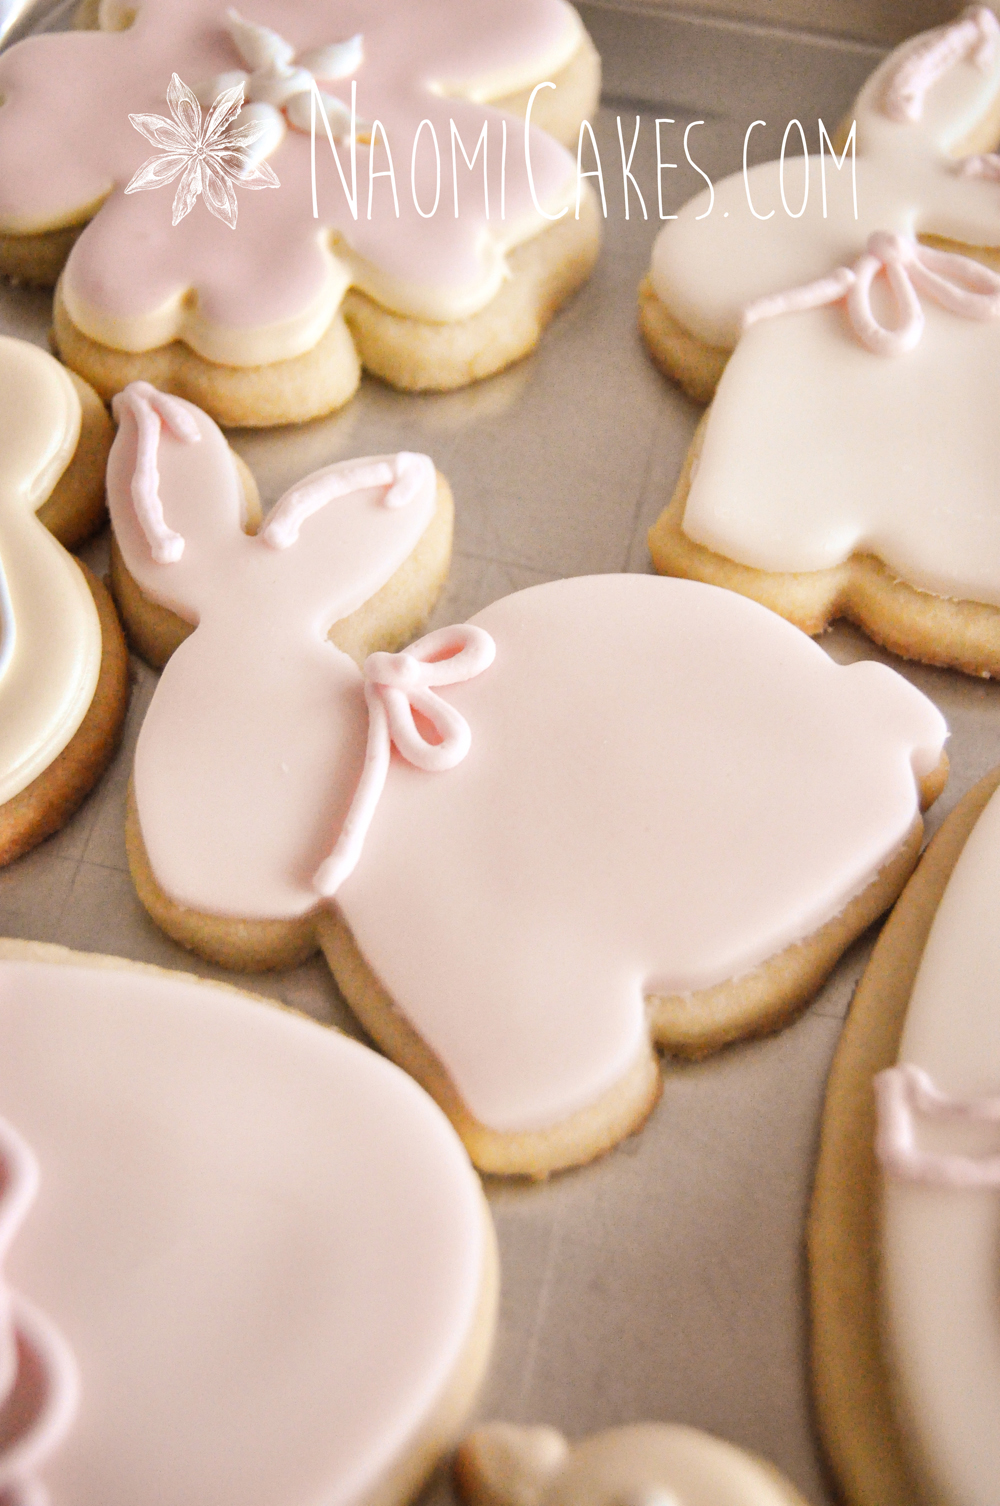
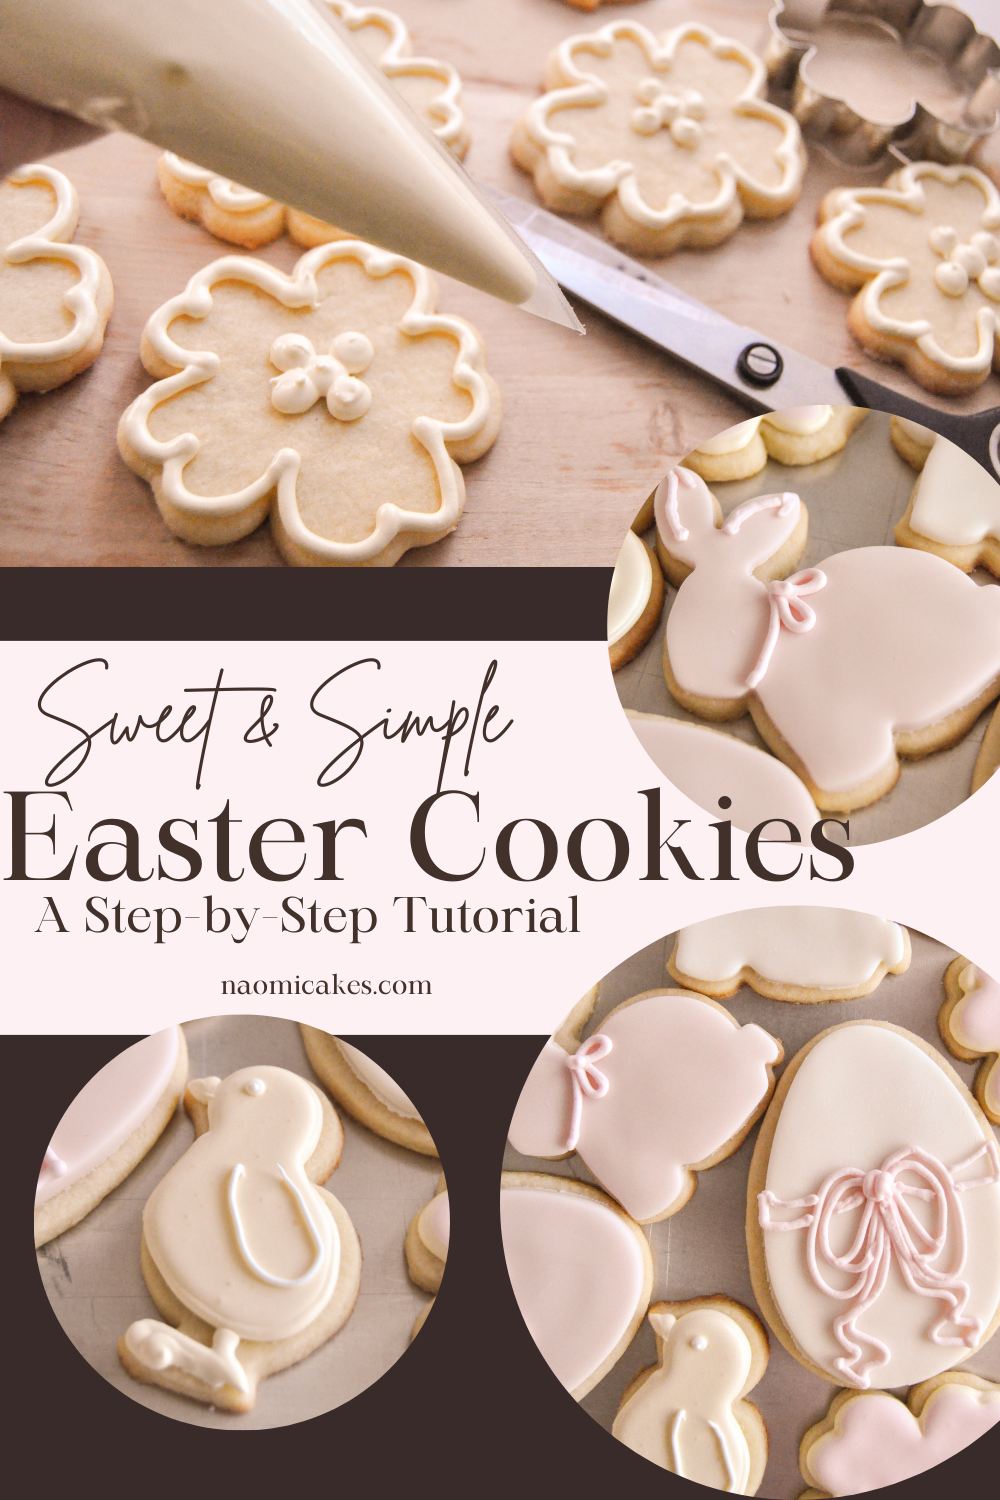
Ok everyone, today I’m going to share with you this simple tutorial for Easter cookies. This is one of my favourite ways to make simple, beautiful cookies for Easter celebrations or gifts.
How to decorate Easter cookies
In my experience, nothing screams Easter time quite like beautiful pastels, which is why I have chosen to go for soft, light colours for this tutorial. I have seen some really beautifully done cookies in brighter colours too though, so if you decide to follow this tutorial with bold colours, please let me know! I would love to see how yours turn out!
The best way to frost Easter cookies
This Easter cookie tutorial walks you through two different cookie frosting techniques. One way is with royal icing, and the other is with fondant icing; both of which can be used to make fancy, ornate looking cookies, or really simple ones, as I have opted for this tutorial. Both are described in detail below.
Are these “Easy” Easter cookies?
To keep this tutorial easy for you to follow and easy for you to make, I have decided to go for the “minimal” look because honestly it pairs perfectly with the soft pastel colours of the season… or at least, so I tend to think. That said, the minimal look makes for minimal work!
Is this tutorial easy for beginners?
Yes, I think so! It won’t be something you can whip out super fast, grated; but I have found them to be pretty simple to put together, and as a result, I’ve seen some beautiful cookies made from beginners following my method.
Baking the perfect cookie
Sugar cookies are one of the best cookies to make for every occasion because they are simple to make, easy to decorate, and so delicious! Check out My Recipe for great directions to get you started making beautifully decorated cookies!
Choosing the best ingredients for the best results
For the best results, it’s always optimal to make sure you follow the recipes exactly with no substitutes! When it calls for butter, use real butter; while margarine may work, I can’t say that I recommend it. Your cookies will spread more and not turn out as well.
How to make these simple Easter cookies
Scroll down for the tutorial! I will include the whole thing in blog form for easy reading with the pictures, or in printable form to grab for later.
Printable Tutorial:

Simple Easter Cookie Tutorial
Ingredients
- 1 recipe Sugar Cookies (See recipe notes for the link)
- 1 recipe Royal Icing (See recipe notes for the link)
- 2 lbs pre-made white fondant icing
- Crisco shortening to grease the work surface
- Various Cake decorating tools (See post notes for a list)
Instructions
-
Prepare the cookie dough as directed in the recipe, cut into shapes, and bake. Cool and set aside until you're ready to decorate them.
-
Prepare the icing as per the recipe instructions and keep it covered with a damp cloth to prevent it drying out.
Tip: The icing dries quickly when it's exposed to the air, so be sure to keep it covered when you aren't working with it! I like to mix the icing in containers that have lids, so that I can pop a lid on while I mix different colours, etc.
-
Divide the icing in half, and tint one part light yellow and the other half light pink. Cover and set aside.
-
Prepare your piping bags, fitted with couplers and #4 or #5 round tips. Fill each with about 1/4 cup (1 large spoonful) of the royal icing, putting the pink icing into one and the yellow icing into the other. Squeeze a little icing to hang off the end of the tip so that it won't dry inside the tip - This can just be broken off before you begin piping.
-
FOR THE BUNNIES AND EGGS (Fondant):
Lay out your fondant mat, and wipe it clean to remove any lint or dust. Secure it to your work surface with tape.
-
Lightly grease your work surface on the decorator mat and knead the fondant with your hands until smooth and pliable, applying more grease to your hands and work surface as needed to prevent sticking. Divide the fondant in half and tint half light pink, leaving the other half white. Cover the pink portion with plastic wrap and set aside. If your work surface has any pink traces from dying the fondant, clean it off before you continue.
-
Lightly grease your rolling pin, and roll the white fondant out to about 1/8-inch thick. If there are any air bubbles, pierce them with a straight pin and smooth gently with your fingertips. Cut bunny and egg shapes with the same cutters you used to make your cookies.
-
Pipe a little bit of royal icing (either colour) or smear a bit of clear piping gel onto the surface of the cookies, and lay the cut fondant shapes on top. Smooth with your fingertips until they stick, and then again with the fondant smoother to remove imperfections. Repeat with the pink fondant and set aside to dry.
-
FOR THE CHICKS AND FLOWERS (Royal Icing):
Break the dry royal icing off of the tip of the yellow icing piping bag, and pipe a border around the edges the chick-shaped cookies, finishing with a little beak. You can use either the pink or the yellow to do the same thing as a border on the flower cookies. Pipe a centre for the flowers at this point, if desired. This is not necessary, however, as you can always add this later. Set the thick border icing aside, adding a little bit to the bag if you are running low.
Tip: Make sure that your borders are completely closed so that the filling doesn't leak out - you can use a little water on your fingertips to make sure that the ends meet and join properly.
-
Add 1/2 tsp water to the royal icing left in your containers and stir to combine. Try the "Drop test" to see if you need more liquid.
-
DROP TEST: Pick up some of the icing with a spoon and drop it back into the bowl with the rest. Count to 10, and if the icing hasn't melted back into to the rest smoothly, then add a bit more water and try again. Once the icing dissolves within 10 seconds, you are ready to fill your cookies - careful not to add more than 1/2 tsp in each increment, however, because if the icing is too runny, they cookies won't turn out very well.
-
Once your filler icing is prepared, spoon into a piping bag with no tip or coupler. Snip off the end with scissors, to make a small hole, and "Flood" the inside of your piped borders until the whole area inside the border is covered and the icing looks slightly puffy. I used yellow for the chicks and pink for the flowers.
-
Set all of your cookies (fondant and royal icing) aside to dry, exposed to the air, for at least 24 hours.
-
Using the stiff icing you had set aside previously, switch the #4 or #5 tip out for a #2 tip, and pipe details onto the finished, dry cookies. I added centres to the flowers, eyes and wings to the chicks, bows and ears to the bunnies, and bows to the eggs.
Simple Easter Cookies Tutorial
Recipes used in this tutorial:
Supplies you will need:
- 12″ Piping bags (4)
- Scissors
- #2 piping tip (1 or 2)
- #4 or #5 piping tip (1 or 2)
- Couplers (2)
- Large decorator rolling pin
- Decorator rolling mat (optional)
- Fondant smoother
- Straight Pins
- Piping gel (optional)
- Bunny Cookie Cutter
- Egg Cookie Cutter
- Chick Cookie Cutter
- Flower Cookie Cutter
- Pink and Yellow Gel Food Colouring
Some of the cookie cutters in the above links are slightly different than the ones used in this tutorial.
-
Prepare the cookie dough as directed in the recipe, cut into shapes, and bake. Cool and set aside until you’re ready to decorate them.
-
Prepare the icing as per the recipe instructions and keep it covered with a damp cloth to prevent it drying out.
Tip: The icing dries quickly when it’s exposed to the air, so be sure to keep it covered when you aren’t working with it! I like to mix the icing in containers that have lids, so that I can pop a lid on while I mix different colours, etc.
-
Divide the icing in half, and tint one part light yellow and the other half light pink. Cover and set aside.
-
Prepare your piping bags, fitted with couplers and #4 or #5 round tips. Fill each with about 1/4 cup (1 large spoonful) of the royal icing, putting the pink icing into one and the yellow icing into the other. Squeeze a little icing to hang off the end of the tip so that it won’t dry inside the tip – This can just be broken off before you begin piping.
Bunnies and eggs:
-
Lay out your fondant mat, and wipe it clean to remove any lint or dust. Secure it to your work surface with tape.
-
Lightly grease your work surface on the decorator mat and knead the fondant with your hands until smooth and pliable, applying more grease to your hands and work surface as needed to prevent sticking. Divide the fondant in half and tint half light pink, leaving the other half white. Cover the pink portion with plastic wrap and set aside. If your work surface has any pink traces from dying the fondant, clean it off before you continue.
-
Lightly grease your rolling pin, and roll the white fondant out to about 1/8-inch thick. If there are any air bubbles, pierce them with a straight pin and smooth gently with your fingertips. Cut bunny and egg shapes with the same cutters you used to make your cookies.
-
Pipe a little bit of royal icing (either colour) or smear a bit of clear piping gel onto the surface of the cookies, and lay the cut fondant shapes on top. Smooth with your fingertips until they stick, and then again with the fondant smoother to remove imperfections. Repeat with the pink fondant and set aside to dry.
Chicks and flowers:
-
Break the dry royal icing off of the tip of the yellow icing piping bag, and pipe a border around the edges the chick-shaped cookies, finishing with a little beak. You can use either the pink or the yellow to do the same thing as a border on the flower cookies. Pipe a centre for the flowers at this point, if desired. This is not necessary, however, as you can always add this later. Set the thick border icing aside, adding a little bit to the bag if you are running low.
Tip: Make sure that your borders are completely closed so that the filling doesn’t leak out – you can use a little water on your fingertips to make sure that the ends meet and join properly.
-
Add 1/2 tsp water to the royal icing left in your containers and stir to combine. Try the “Drop test” to see if you need more liquid.
Drop Test
-
Pick up some of the icing with a spoon and drop it back into the bowl with the rest. Count to 10, and if the icing hasn’t melted back into to the rest smoothly, then add a bit more water and try again. Once the icing dissolves within 10 seconds, you are ready to fill your cookies – careful not to add more than 1/2 tsp in each increment, however, because if the icing is too runny, they cookies won’t turn out very well.
-
Once your filler icing is prepared, spoon into a piping bag with no tip or coupler. Snip off the end with scissors, to make a small hole, and “Flood” the inside of your piped borders until the whole area inside the border is covered and the icing looks slightly puffy. I used yellow for the chicks and pink for the flowers.
-
Set all of your cookies (fondant and royal icing) aside to dry, exposed to the air, for at least 24 hours.
-
Using the stiff icing you had set aside previously, switch the #4 or #5 tip out for a #2 tip, and pipe details onto the finished, dry cookies. I added centres to the flowers, eyes and wings to the chicks, bows and ears to the bunnies, and bows to the eggs.
So cute! Now I’m all inspired and I want to go make something like this again… I love them!
A note about this tutorial
I made these cookies years ago; however, I was not very good at this whole blogging thing at the time, and some of the process is not very well photographed (particularly the piping). I hope that regardless, the images will serve as good inspiration for you, and the detailed step by step instructions will help you to recreate these with ease.
The quantities in this tutorial
Hearkening back to my last comment, that I made this tutorial without much experience, I did not track the quantities of icing that I used for this super well, so those given below are estimates.
Do you have other tutorials with similar instructions/more pictures?
Yes! Check out the following links for even more images of a similar process of decorating used on different cookies. I hope these provide good insight and inspiration for you!
- Baby Onesie Cookies
- Honey Bee Onesie Cookies
- Valentine’s Day Sugar Cookies
- Spring Flower Cookies (just for inspiration)
I’ll close off, as I often do, with a question: What are some of your Easter traditions?
Back soon!
–Naomi
This post contains affiliate links.


I love the bunny cookie cutter with the separated ears. You don’t give a link for that cookie cutter in particular but can you give the name of the company who makes them or where I can order it. Thank you
Hi Dori!
Unfortunately I’m not sure where you can get that exact cutter, since I bought it locally a number of years ago and haven’t been able to find one like it since. If you really like the ears separated, however, you could aways opt for a cutter like one of these– , and then just use a knife to separate the ears and spread them before baking.
I hope you find something that works!
Thank you. Good
Idea
You’re welcome!
[…] these photos bigger, better, and with a tutorial on how they are made? Click on the images below or Check out This Link! […]
[…] this Saturday, you can find these beautiful Easter Cookies and some of my famous cupcakes for sale at Anchor Coffee House, the Walkerville Location. A […]
[…] few years ago, I posted a bunch of pictures of some Easter cookies I made in this style, and recently, I posted a tutorial because it seemed like that was a better thing to do than just leave a bunch of pictures up […]
[…] going to Israel this summer! This week, heading up to Easter, I’m selling these cupcakes and These Cookies either directly to friends and family, or through Anchor Coffee House, my beloved cafe and bakery, […]