Ok so today’s recipe is a simple but important one: Royal Icing.
Why is this recipe important?
I tell you that this is important because this simple recipe is one of the key elements of cake and cookie decorating. If you’re into those things (which if you are reading this, I’m guessing that you are) you will definitely want to bookmark this recipe!
What is royal icing?
Royal icing is basically like a super stiff meringue frosting, made with raw egg whites and icing sugar. When you see cakes with those beautiful, stiff piped accents that stand up on their own, this magical frosting is how those are created. It is also often used for creating the icing “glue” of gingerbread houses at Christmas time, or in addition, it is used as that gorgeous, liquid icing which dries perfectly hard onto the surface of fancy cookies.
Where does this recipe get its name?
I just discovered this, but apparently its first known use was for the royal wedding of Queen Victoria and Prince Albert, and it was named in honour of that occasion.
I find that tidbit of information particularly fun, since I have a little baby named Albert!
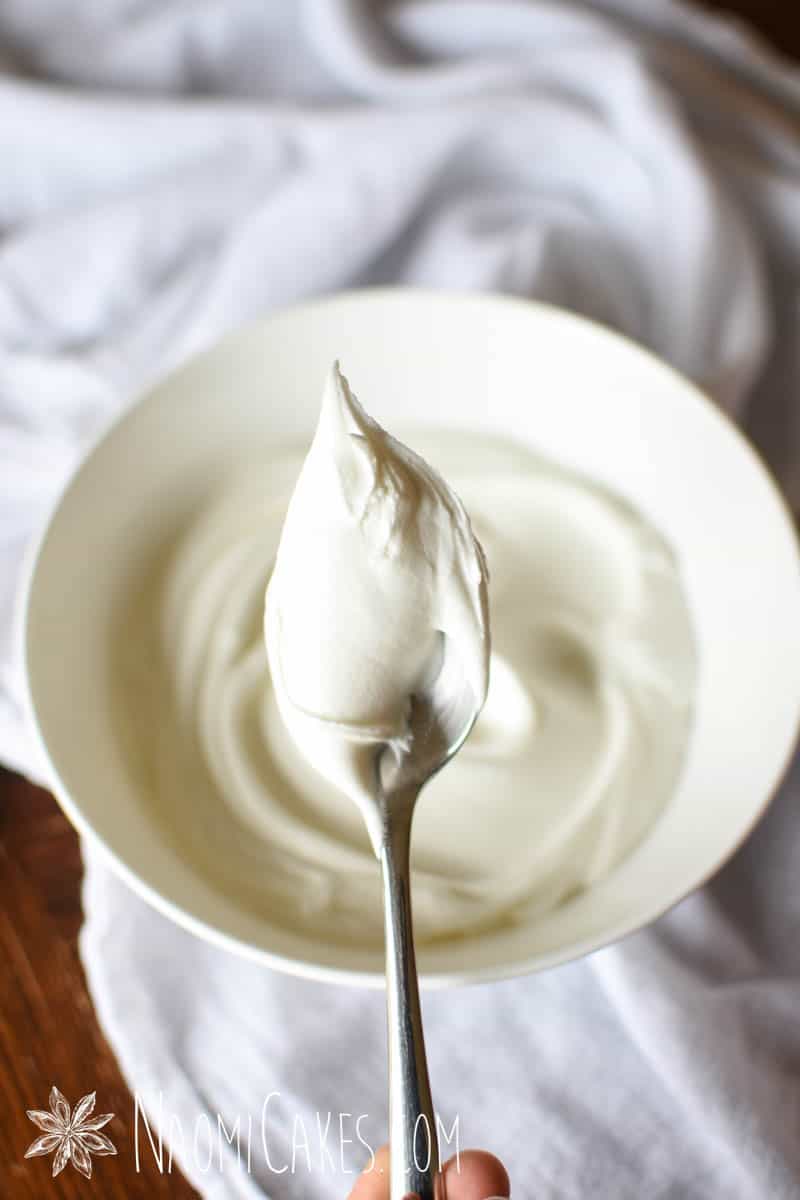
How is royal icing made?
You can make this simple icing with egg whites and icing sugar. Similar to meringue, the egg whites are beaten until frothy and then sugar is added until you get a nice, stiff-peaked frosting.
How is this icing used?
It is most often used for decorating cakes and cookies. Specifically, it is great for adding fine detail or creating stiff icing decor pieces. It is beautiful to work with, and it dries completely hard! This allows you the ability to create piped, beautiful decor accents (like butterflies or lace), to be attached to a cake or cookie after they dry.
How to make perfect royal icing
There are two keys to getting this right:
- Make sure that the consistency is right.
A frosting that is too thick will kill your hands to pipe, first of all, but it will also be dry and brittle and will not pipe smoothly. To achieve this, follow the recipe! Also, experience is a wonderful teacher. The more times you make this, the better of a consistency judge you will become. - Make sure you beat the frosting long enough.
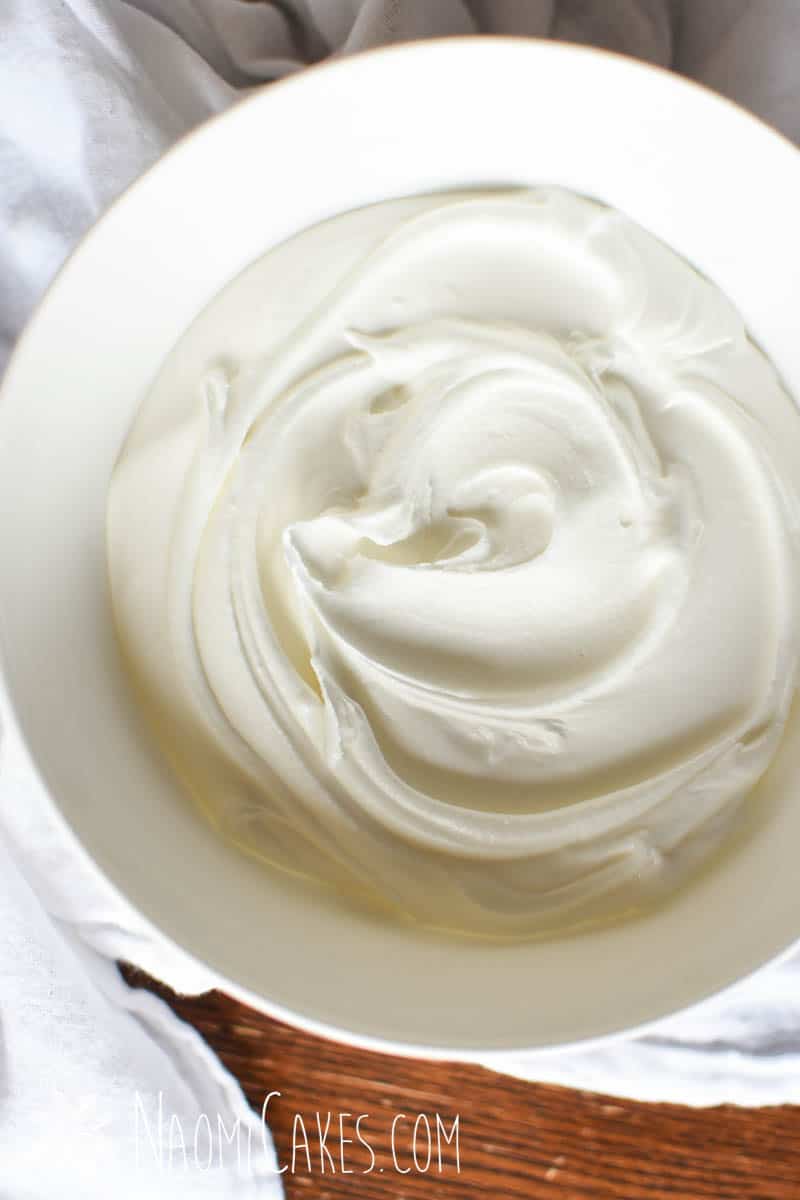
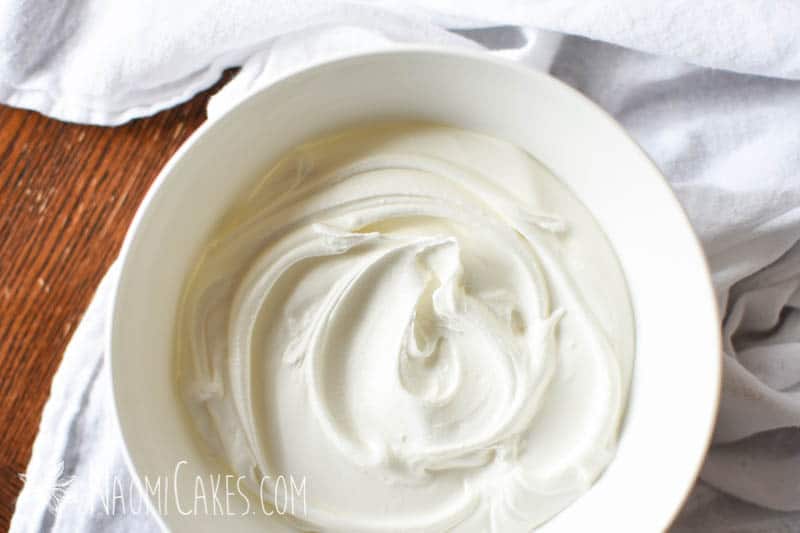
If the icing is shiny at all, it has not been mixed long enough. You want a nice, matte, finish on a perfect batch. Also, side note— if you re-use royal icing, you will need to re-beat it again to make sure its structure is maintained. This type of icing that has rested will lose its structure and literally “melt” off of your cakes or cookies. - Make sure your bowl and utensils used to make it are clean and dry.
Any amount of fat added to royal icing will ruin its consistency… And yes, that means you can’t use stiff royal icing decor pieces on top of a butter-rich frosting! Royal icing can only be used on top of marzipan or fondant decorated cakes. Miraculously, it will also hold up on the surface of a plain, baked sugar cookie (the icing will dry on the surface before the fat in the cookie will affect the royal icing on top).
How to fill cookies with thin royal icing
You can thin royal icing with a little bit of water* to be piped onto the surface of an icing-outlined sugar cookie. This will allow you to create a perfectly smooth surface for beautiful, professionally decorated cookies!
*I will attach an approximate measurement of water to the recipe card in this post, along with instructions on making sure the consistency is correct!
Are there easier ways to make royal icing?
Yes, actually! For years, I only ever made the recipe using Wilton meringue powder, which just mixes that powder with icing sugar and water. That recipe works perfectly; however, the downside to using it is that you have to make sure you have it on hand (substitutes for this meringue powder do NOT work, at least not that I have found), and it’s a little bit expensive.
If you’re squeamish about a recipe using raw egg white, however, this is a really great option, and I definitely recommend it! The recipe can be found on the package of meringue powder or on Wilton’s own website.
To make royal icing, you will need:
- Egg whites
- Icing sugar
- Stand mixer or mixing bowl
- Measuring cups and spoons or a kitchen scale
- Spatula
- Damp tea towel or sealed lid (to cover)
- Sealed storage containers for leftovers
Where’s the recipe?
I would be asking the same thing, if I were you! Let’s cut the chatter, and get down to business. Scroll down for the recipe!
Royal Icing
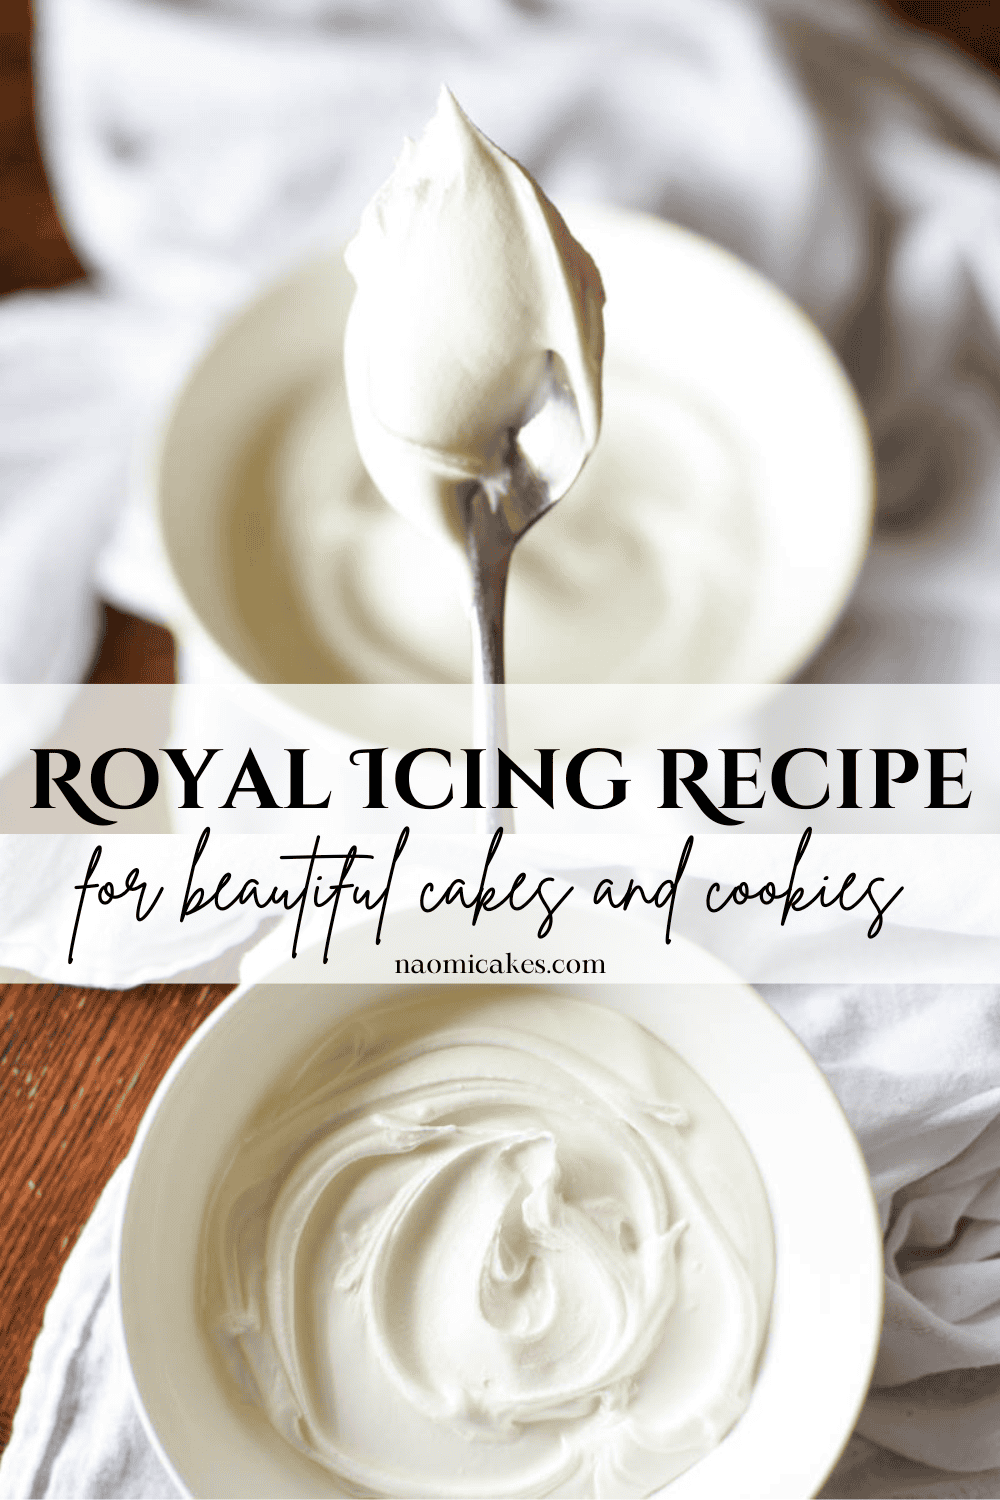
This simple 2 ingredient recipe for royal icing is a great way to make it at home for beautifully decorated cakes and cookies. This recipe makes about 1-1/2 cups (410g).
Ingredients
- 2-1/2 cups (375g) icing sugar +1 Tbsp, if the consistency is thin
- 2 large egg whites
Instructions
-
In a medium sized mixing bowl (or the bowl of an electric mixer), beat the egg whites until frothy.
-
Add the icing sugar and mix on low speed until combined. The icing consistency at this stage should be very thick and heavy, but wet looking.
-
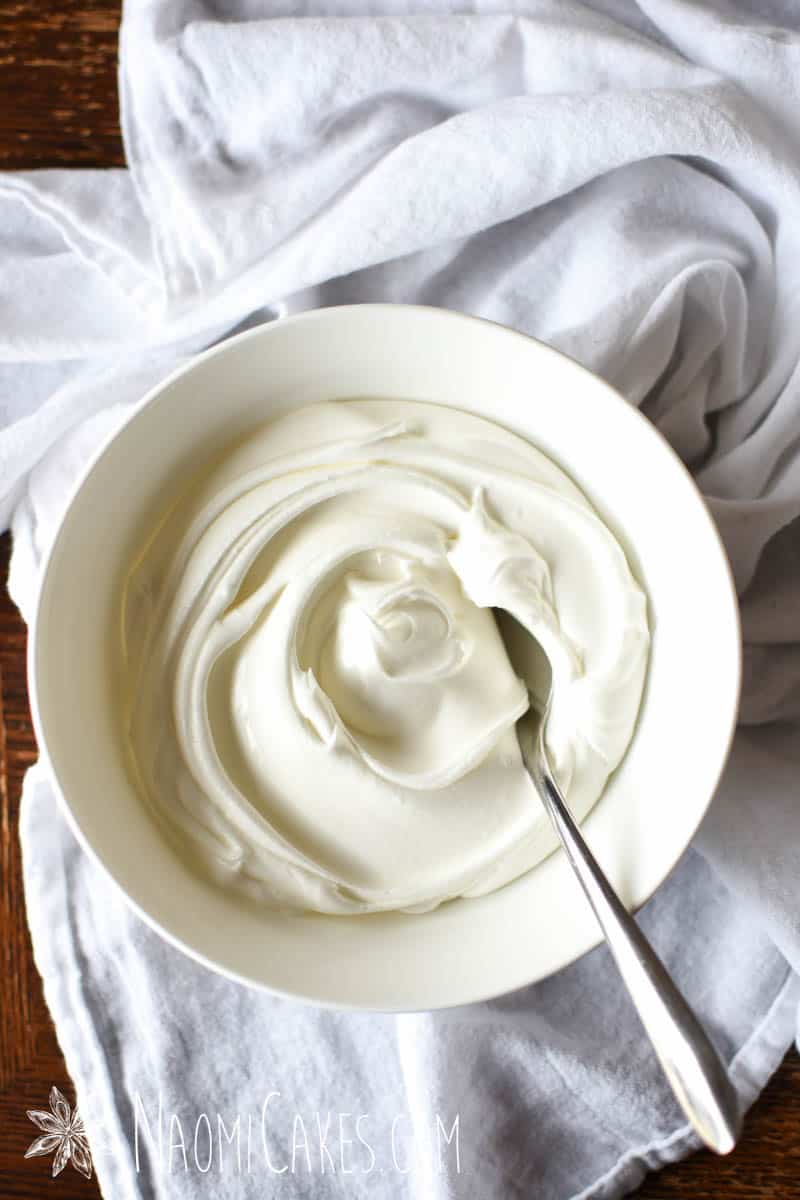
Continue to beat the icing on low speed until it loses its sheen and has a dull, matte finish (about 10 minutes). Cover immediately with a lid or a damp tea towel to prevent from drying out.
-
Royal icing should be used immediately after it is made. If you want to re-use royal icing from another day, you can revive it by re-beating it for another 5-10 minutes (until it again reaches the dull, matte finish it had before).
-
Store unused icing in the refrigerator for up to a week.
Recipe Notes
To thin royal icing for cookie decorating:
For 1/2 batch (205g of royal icing)
Add 2-1/2 tsp water, and stir until well combined. Pipe into the centre of cookies with a stiff royal icing border around the edge. Allow to dry at least 24 hours before decorating further.
To make sure it's not too thick or too thin:
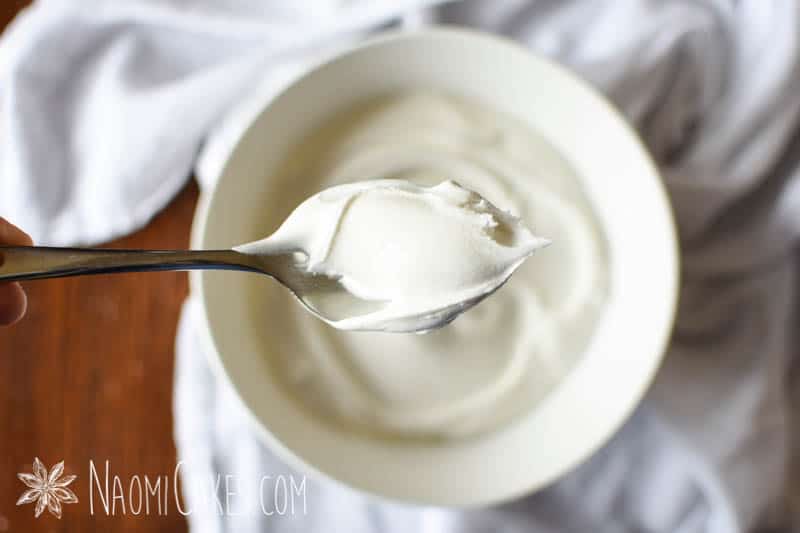
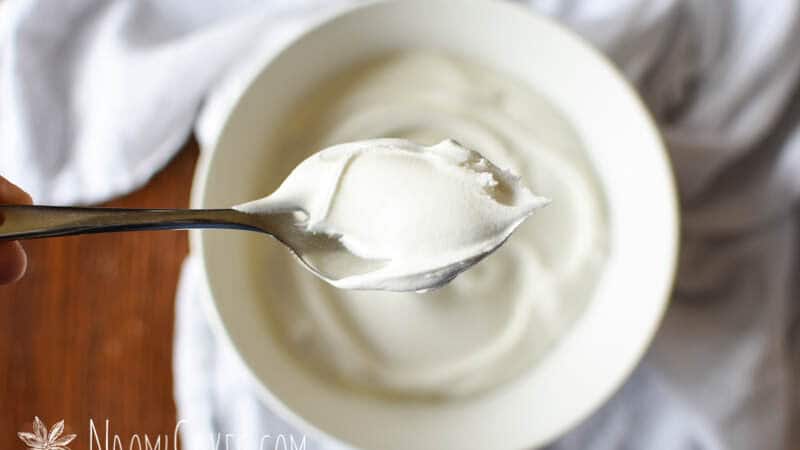
Scoop a bit of icing out of the bowl with a spoon, and then drop it back in. If the icing you dropped back in sinks in and blends smoothly with the rest of the icing in 10 seconds, it is perfect. If the icing is smooth in less than 10 seconds, it is too thin and will run over the edge of your cookies. If it takes longer than 10 seconds (or never blends in completely at all), add water by the drop, mixing well and re-testing, until it dissolves in 10 seconds (icing that is too thick will not dry smoothly).
Further Notes:
The most accurate way to get the right consistency, if you aren't sure what you're looking for, is to use a kitchen scale.
*The number of cookies you can frost from this recipe is approximate, depending on the size of your cookie cutters. This recipe makes approximately 410g of royal icing.
Some great ways to use this recipe
Royal icing can be used to make piped decorations that dry completely hard and can be “glued” to the surface of cakes, cookies, or cupcakes. You can make yourself a template and pipe some beautiful, uniform sugar decor! Try using royal icing to make:
- Flowers
- Leaves
- Butterflies (see my free template below!)
- Lace
- And more!
Let me know what comes to mind for you to make! I’d love to hear your ideas.
Examples of cookies decorated with royal icing
Want to see some examples of what royal icing looks like on cookies? Check out these posts for some inspiration!
- The Fastest, Easiest Way to Frost Cookies (Glaze and Royal Icing tutorial)
- Garden Themed Baby Shower Cookies
- Valentine’s Day Sugar Cookies (with fondant and royal icing details)
As always, if you make this recipe, I’d love to hear how it came out – and of course, to see any photos you want to share on Instagram! You can tag me @naomicakesofficial in your images. I always love to see what you’re making!
Bye for now,
–Naomi
This post contains affiliate links.

[…] shortening – Brown gel food colouring (I recommend Americolor gel food colours) – Royal Icing (you will need less than 1/2 a recipe for this tutorial) – Piping bag – #2 Piping […]
[…] this particular batch, I used a soft pink fondant and a pale yellow Royal Icing for the […]
[…] Click here for the Royal Icing recipe! […]
I would love to see photos of Royal Iced cookies for inspiration please.
Hi Gloria, YES of course! What a great idea – I’ll add some of those links to the post as well, but here are a couple of easy examples:
– Baby shower cookies iced with Royal Icing
– Royal Icing and Glaze Icing dipped sugar cookies