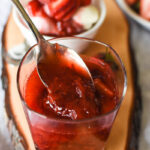
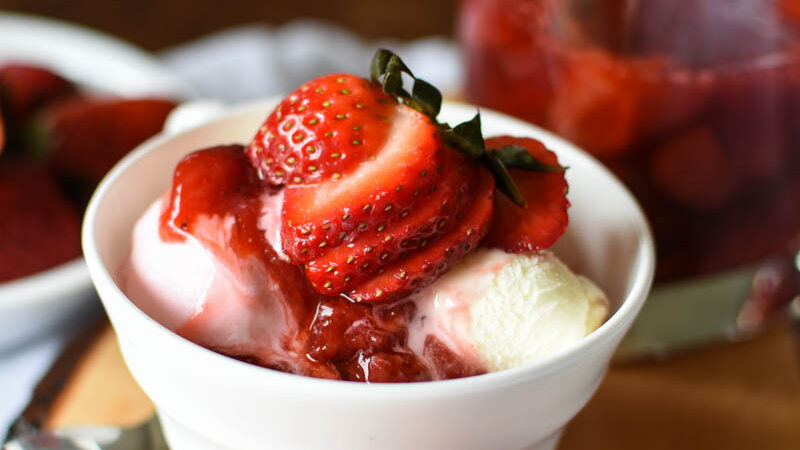
Ok guys, today I’m excited to share my recipe for homemade strawberry sauce with you.
This year I’ve been really enjoying strawberry season, and I don’t know if it’s this pregnancy or what: but strawberry sauce, strawberry jam, and all things strawberry-related are just putting me right into my happy space.
I originally made this recipe to go with my banana split tutorial, but I realized at some point that it needed its own post. I mean really… Just look at this stuff.
One word: YUM.

How to serve strawberry sauce
Strawberry sauce is easy to make and can be served in any number of ways. Here’s a list of a few great ideas:
- banana split tutorial/Ice cream topping
- Cheesecake topping
- Serve it with homemade scones in place of jam
- Serve it on waffles or pancakes
- Spread it between the layers of Strawberry Shortcake for a little something extra
- Thicken it up a bit (see recipe notes) to make a delicious, cooked strawberry pie or tart filling
How to thicken strawberry sauce
I like to thicken my sauce with cornstarch, but you can also use tapioca, tapioca starch, or even flour if you are in a pinch. I prefer to use cornstarch or tapioca, however, since flour will make the mixture a little bit more cloudy, and I prefer that clear, bright red look for my finished sauce.
Is this recipe quite thick?
No, actually – this is more of a syrupy, thin consistency sauce. If you want to make it thicker, you can follow the directions for pie filling at the bottom of the recipe card to get a nice, thick strawberry sauce.

Can I make this for a pie filling?
As I mentioned above, yes! I’ve included a recipe note at the bottom of my recipe card with directions for how to thicken this recipe for 1 strawberry pie. Feel free to use 1/2 strawberries and 1/2 rhubarb to make a strawberry rhubarb pie as well!
Can I make substitutions in this recipe?
For sure! This a basic fruit sauce recipe and can be used for any type of berry and many kinds of fruit, such as apricots, plums, or rhubarb.
How to get bright red colour in my berry sauces
There are a couple of tricks for this:
- Make sure you choose berries that are naturally bright red in colour
Choosing berries that are very red (rather than partially ripe white/green coloured) will give the sauce its best shot at coming out that brilliant red colour. - Don’t cook the berries with sugar for too long – Only as directed in this recipe!
Sugar burns easily, and when you cook fruit sauces for longer periods of time, the sauce can take on a darker red colour (even if you don’t burn your sauce)! Make this sauce at a time when you can give it your full attention… Forgetting it on the stove and letting it cook too long will result in a deeper coloured sauce. Still delicious, but not so bright and punchy looking.

How to make strawberry sauce:
- Prep the fruit
- Measure your ingredients
- Cook it all together until thickened
- Refrigerate until serving
…That’s it!
For this recipe, you will need:
- Ingredients (see recipe card)
- Small heavy bottomed saucepan
- Measuring cups and spoons
- Heat proof spatula
- Lemon juicer
- Mason jars or other storage containers


Homemade Strawberry Sauce
This simple homemade strawberry sauce is perfect to use as an ice cream topping, cake filling, jam substitute, or whatever else you fancy.
Ingredients
- 3 c. strawberries washed
- 6 Tbsp water
- 1/2 cup sugar
- 3 Tbsp. lemon juice
- 1 Tbsp. corn starch mixed with 3 tsp water
Instructions
-
Place the berries, 6 Tbsp water, and sugar into a saucepan and cook until boiling and the berries are soft. Stir in the lemon juice.
-
In a separate bowl, mix the corn starch with water to make a paste; add this to the boiling fruit mixture, stirring as you pour it in.
-
Cook 1 more minute, or until thickened and the mixture coats the back of a spoon. Remove from heat, cool, and refrigerate. Serve cold.
Note: The mixture will thicken further as it cools.
Recipe Notes
To make this recipe into strawberry pie filling (makes one pie):
Use 3 Tbsp cornstarch with 3 Tbsp water instead of 1 Tbsp. Cook as directed until thick.


And that’s it! As always, if you make this delicious goodness, make sure to tag me in your photos on Instagram @naomicakesofficial, or just leave me a comment to let me know what you thought!
Thanks for stopping in, and I’ll be back soon!
–Naomi
This post contains affiliate links.

