
Step-by-Step Butter Croissants [Recipe]
 Yes. I made butter croissants. From scratch. With my bare hands! The elation, you guys, is real.
I decided to make these because I came across a challenge a long time ago to make croissants on another blog, and couldn’t help myself. I’ve been wanting to make these for a while anyway, and that was just the motivation I needed to roll up my sleeves and make it happen.
Yes. I made butter croissants. From scratch. With my bare hands! The elation, you guys, is real.
I decided to make these because I came across a challenge a long time ago to make croissants on another blog, and couldn’t help myself. I’ve been wanting to make these for a while anyway, and that was just the motivation I needed to roll up my sleeves and make it happen.
What are croissants?
Croissants are a french pastry/bread roll made by rolling sheets of cold butter between layers of dough, folding and re-rolling the layers until they have multiplied and creating those beautiful, paper thin, fluffy layers of buttery goodness.
Are croissants good for you?
I’m sure you’ve heard the saying, “Everything in moderation.” There are different opinions out there, but generally speaking, croissants (made from scratch) are made with real ingredients that can fill you up and fuel your body. They are, however, made with a lot of butter and wheat; so, again, everything in moderation. Those things in excess can be a real problem for your body, but in measured doses, they can be a real gift.What are croissants made of?
Croissant dough is actually quite simple. It is a simple, salted dough made with a few base line ingredients (such as flour, yeast, salt, milk, and water), which then gets “laminated” with a sheet of cold butter until the dough is separated into paper thin layers by a thin layer of butter (fat).What is dough lamination?
Laminating is the process in which a sheet of cold butter gets rolled between layers of stretchy, glutinous dough to produce paper thin layers for puff pastry, croissant dough, danishes, etc. It is how those beautiful flaky pastries are created, with distinct, separate, fluffy layers.
What is the secret to great croissants?
In my opinion, the best thing you can do in the process of making croissants from scratch is to keep the dough cold. My best tips for that would be as follows:- Make sure you prepare them on a day when the temperature if your home is cool
- Use a chilled marble rolling pin to keep the dough cold while you work
Can you add anything to croissants?
Yes! Chocolate croissants are traditionally made with hard chocolate rolled into each croissant. You can also slice baked croissants in half to fill them, roll a small amount of another filling into the centres, or roll some grated cheese into the dough. Delicious! If you are interested in making additions to the dough itself, you can always sub 1/4-1/2 of the flour for another type (although you will need a glutinous flour for this recipe), or add a little bit of sugar to make the croissants a little bit sweet. I would not add any textured ingredients, such as nuts or seeds, however. At least, not until you are in the rolling phase of the dough. My reasoning for that is that the sharp edges of nuts could tear holes in the thin layers of dough and expose the butter, which just makes for a messier, more frustrating process).Can you make substitutions in croissant recipes?
For the butter, no– You need real butter for this recipe or it will not turn out properly. For the flour, as mentioned above, you can sub 1/4-1/2 of the flour in this recipe for another type of glutenous flour to make an alternative flavour. Milk can be substituted for water, although, that will affect the softness of the finished croissants (they will be more crunchy and not quite as soft).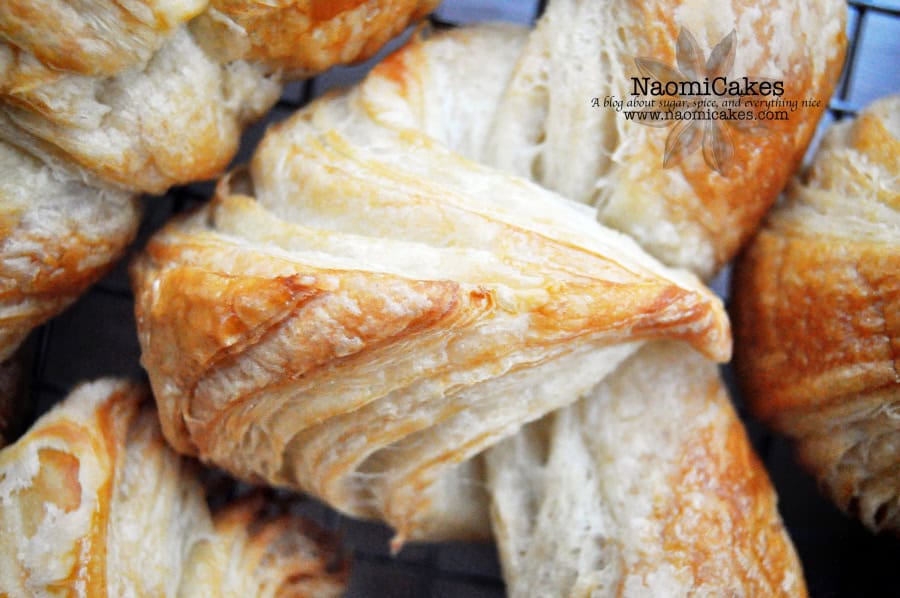
Can you use croissant dough in place of puff pastry?
Actually, yes! I even have a couple of great recipes on my blog which do that. Check out these yummy treats:Used in this recipe:
- Large mixing bowl or stand mixer
- Measuring cups and spoons
- Glass measuring pitcher
- Silicone spatula
- Miniature sieve
- Marble rolling pin
- Parchment paper
- Sharp knife
- Pastry brush
- Baking sheets with sides

Butter Croissants
This recipe makes about 12 large croissants (or 24 small ones)
Ingredients
- 3-1/2 c. flour
- 1 c. lukewarm water
- 1 tsp. dry active yeast
- 1/3 c. lukewarm milk
- 3/4 tsp. salt
- 1 c. cold butter unsalted*
- 1 egg
- Cold water
Instructions
-
Let the butter rest at room temperature for about 30 minutes. Place between two sheets of wax paper. Using a rolling pin, pound, roll, and shape the butter into an 8" square. Wrap in wax paper and chill until cold.
-
In a large mixing bowl or the bowl of an electric mixer, combine 1 c. flour with 1 c. lukewarm water and 1 tsp. dry active yeast. Stir until the lumps are dissolved, cover with a tea towel, and let rise for 1 hour to make a sponge.
-
Add the rest of the flour, salt, and milk to the risen sponge mixture. Stir to combine, and then knead by hand or with an electric mixer until strong, about 10 minutes. Cover and allow to rise for 30 minutes.
-
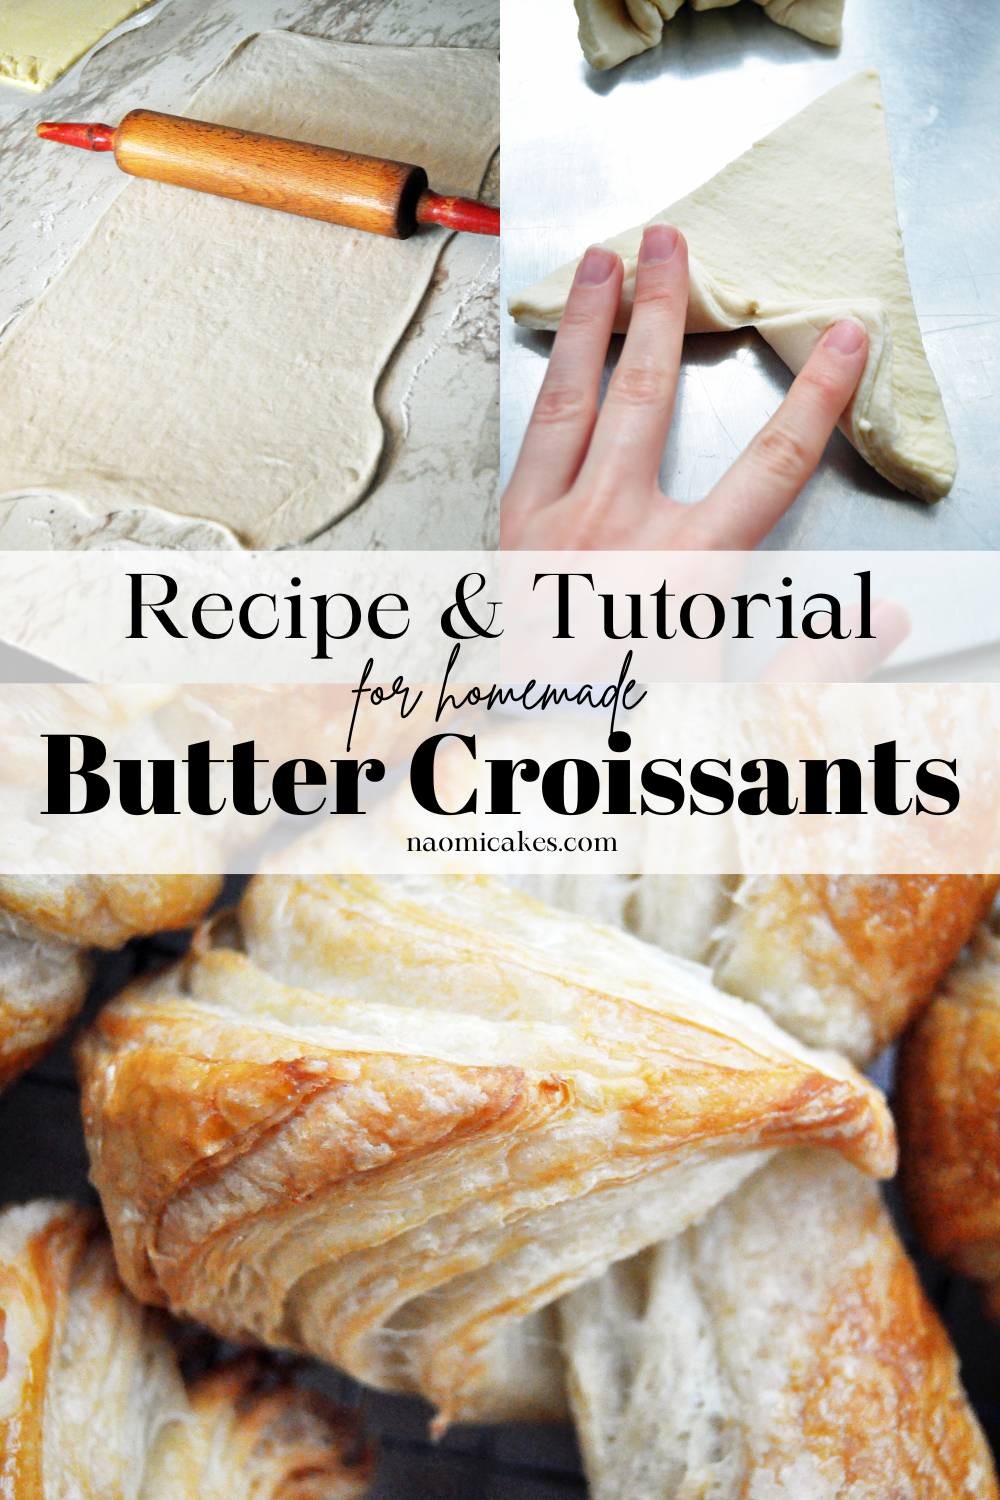
Roll the dough into a 9"x18" rectangle, and place the chilled square of butter on one end of it. Fold the dough over the butter to encase it (as in image #1), pinching the edges to seal, and pound/roll piece out to be a 9"x18" rectangle again.
-
Fold the lower half of the dough up 1/3 of the way, and then the top half over that, like an envelope (as in image #2). Rotate 90 degrees to the right (so that the folded edge of the dough is to your left), and roll the dough out again into a rectangle (same size again). Fold up, envelope style, again (as in image #3). If the dough is getting warm or difficult to work with at this point, cover, and let it chill for at least 20 minutes or until cold.
-
Repeat the last process again; roll (as in image #3) into a rectangle, fold into an envelope, rotate, roll, and fold again (as in image #4). Wrap the folded piece of dough in plastic and refrigerate for 20-30 minutes.
-
Remove the cold dough from the refrigerator and roll out on a lightly floured surface into a 9"x18" rectangle (as in image #5). Cut the dough in half lengthways, and then into 12 triangles, with the base of each one being about 5 inches in width (as in image #6).
-
To shape the croissants, cut a little slit into the base of the triangle, roll the edges out towards the sides, and roll up, wide end to short end. Make sure the tip of the triangle is tucked underneath, and curve the edges around to form a half moon shape (or just leave them in a straight, rolled croissant if you prefer).
-
Cover the shaped croissants with a tea towel and allow to rise for 1-3 hours, or until doubled. Preheat the oven to 400 degrees F.
-
Beat 1 egg with about 1 tsp. cold water and brush on top of the risen croissants.
-
Place the pan of croissants into the oven, reduce the temperature to 375 degrees, and bake for 25-35 minutes, or until golden brown. Cool on wire racks.
Recipe Notes
Note: 1 c. of butter is exactly 1/2 of a 1-lb brick.
1. Soften and shape the butter


2. Make the sponge


3. Make the dough

4. Encase the butter, and roll/fold the dough:


5. (& 6.) Roll and fold the dough a second and third time

6. Refrigerate

7. Roll and cut out the croissants

8. Shape the croissants

9. Allow the croissants to rise (proofing phase)

10. Brush the risen croissants with egg wash

11. Bake the croissants


Look at those gorgeous layers! As always, let me know if you make them and tag me in your photos on Instagram @naomicakesofficial. I would love to see your incredible work!
I’ll leave you with 2 questions:
- What’s the most difficult thing you’ve ever made in the kitchen?
- If I made another type of croissants, what would you like to see?
–Naomi
This post contains affiliate links.
WOW… You lost me at fold, rotate, roll and fold again. Although I need to work on patience, yours look beautiful and scrumptious.
I am going to make these tomorrow, your pictures were great especially when it came to demonstrating the folding technique. I might have to roll some chocolate chips up inside some of them though! 🙂
I cannot wait to try these! Thank you so much for the recipe. These are beautiful, flaky, buttery goodness!
That dough looks so soft and silky! And the finished product looks amazing, I would love to make these but I know I have no self control and would eat the whole lot over a weekend..
Oooooooo I feel the urge! I must baaaaaaaake! These look so perfect!
Hello, my name is Katia, i from BRAZIL. I knew on blog on PINTEREST. LOVED!!
Test is recipe but i think my butter was not quality.
Your tutorial is perfect. Congratulation!!
God Bless YOU!
Kis
This looks so scrumptious! I cannot wait to try this!
I tried this and it always turns out great. Thankyou so much for sharing this recipe and method 🙂
Mine absolutely oozed butter while cooking to the point I had to take them off their pan and onto a fresh one as soon as I noticed. I would recommend cutting down the thickness of the butter square a bit so that it didn’t bleed to death