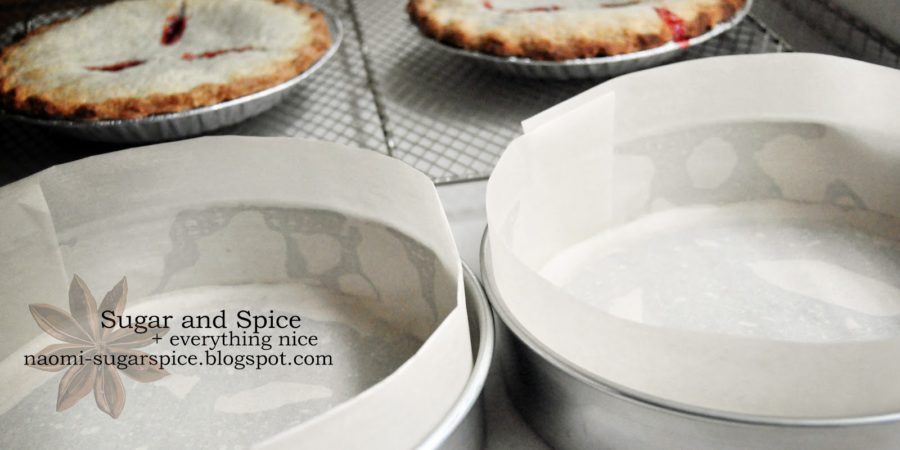
A while ago, I was browsing around the inter-web when I came across a new trend in the land of baking. It was a Pie Cake; basically, a pie baked inside of a cake! My first thought was something like, “Wow that seems like a lot of unnecessary bother,” and then, well, I admit– I pretty much dismissed the Pie Cake from thought.
Recently, however, it came back to mind. I was asked to make it for the blog! Only this time, the request came to me for a “Pie Caken.” I knew what it was, of course, but I didn’t know it had that name… interesting. So, I googled it! (What else?)
What came up was all kind of interesting facts. All from the Google headlines, I learned things like, “1800 calories a slice!” and “World’s most unapologetic dessert.”
I wanted to make it.
I also discovered that this dessert goes by many names. Among them, “Pie Caken,” “Pie Cake,” Cherpumple,” and now…. well, this one is with cherry pie. So… Cherpey? You tell me. 😉
Hehehe, this gets funnier the more I think about it. Needless to say, however, I didn’t learn a whole lot from that either. So, I decided to just figure it out on my own!
My first concern was that I would not be able to get the pies out of the tins very well. I wanted to make my own pies, from scratch, and any pie crust recipes I had used before weren’t really what I thought would come out very easily, and they are also unsweetened. I like to use unsweetened crusts for pies, but for this particular dessert, I thought I should probably try to use a sweetened one. I didn’t know how the contrast between sweet cake and unsweetened crust would taste in one bite… and also, wanting to make sure the crust came out of the tin easily, I thought a sweetened pastry recipe might brown better, and thus hold together better when I turned it out. So, I made (for the first time in my life) a butter based sweetened pastry dough. It was super simple, and the pies were lovely.
Putting it all together was simple, and turned out remarkably well. I just put a bit of batter in the base of the pan, inverted the pies over that, covered it with more batter, and baked it. The baking part took longer than I thought, but it seemed to work out pretty well.
I frosted the cake using My Usual Method, and it turned out super well! You wouldn’t even know there was anything other than regular-ol’-cake in there, would you?
To decorate, I used a couple of sugar flowers I had previously made and some edible white glitter for the top of the cake. Then I piped shells around the top and base, and finished it with happy birthday.
Boxed up and ready to go! The cake was so huge! I couldn’t even close the lid all the way.
And that’s it! I asked Jen (the sponsor of this project) to send me a picture of the inside of the cake once it was cut… And here we are!
A big thank you to Jen for sponsoring this project, and thanks so much for the picture! Also, Happy Birthday to Sydney, once again! 🙂
Back next week! Thanks for reading.
–Naomi


