Currant scones, it seems to me, are one of the staples of a well rounded tea party.
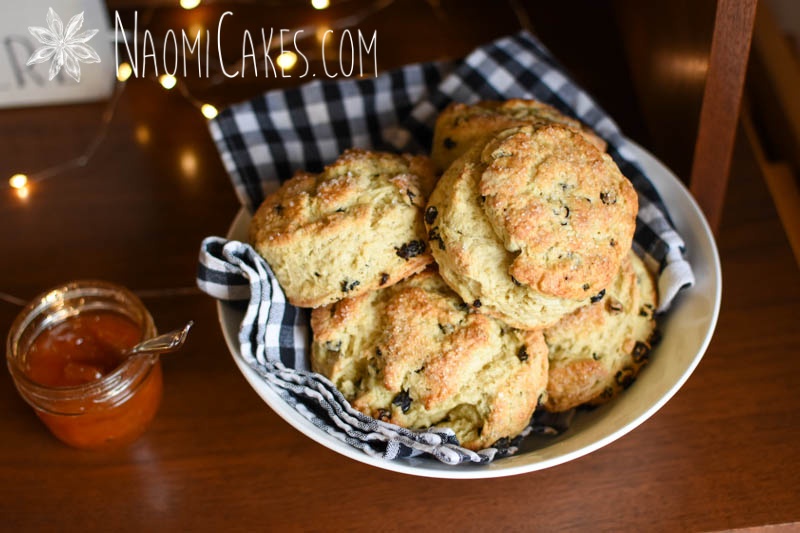
I grew up in a family with 12 children, 10 of whom were girls. I have to say, looking back on my childhood, tea parties were one of those constant, steady things. They happened on the regular and made for a lot of really good memories. Nothing made a winter day more cheerful than a tea party with my family; and nothing made a summer day more exciting than a Pride and Prejudice movie night with scones and tea.
When I made the scones for this blog post, it was a rainy, grey day in January, and I needed something to do to brighten the mood. Tea party time was just the thing! With 3 little kids, ages 3 and under, a body has got to do something to make days a little more fun. So, I did what I knew to do from my many years of tea parties growing up. I invited some cousins, made some scone dough, and started baking. Needless to say, we had a pretty great day.
What is the difference between raisins and currants?
I’ve seen this question asked before, and I’m guessing it has to do with the fact that the two can be substituted pretty easily for each other. The taste is pretty similar, to be honest… except that I do think I might prefer currants. Raisins are dried grapes, and currants are dried… well, currants! When you get them fresh, they come in black (or dark purple), or red varieties… But dried, I’ve only ever seen them dark, which I assume are black currants.
Can I use fresh currants in this recipe? If so, red or black?
Yes! I mean, why not? Scones are wonderful with the addition of fresh fruit; just be aware that if the berries burst, your dough will be a little more sticky and might require a little extra flour in the process of making them. Try not to overwork the dough (which is always the goal anyway), so as to keep the berries intact before baking.
What is the secret to perfect, flaky scones?
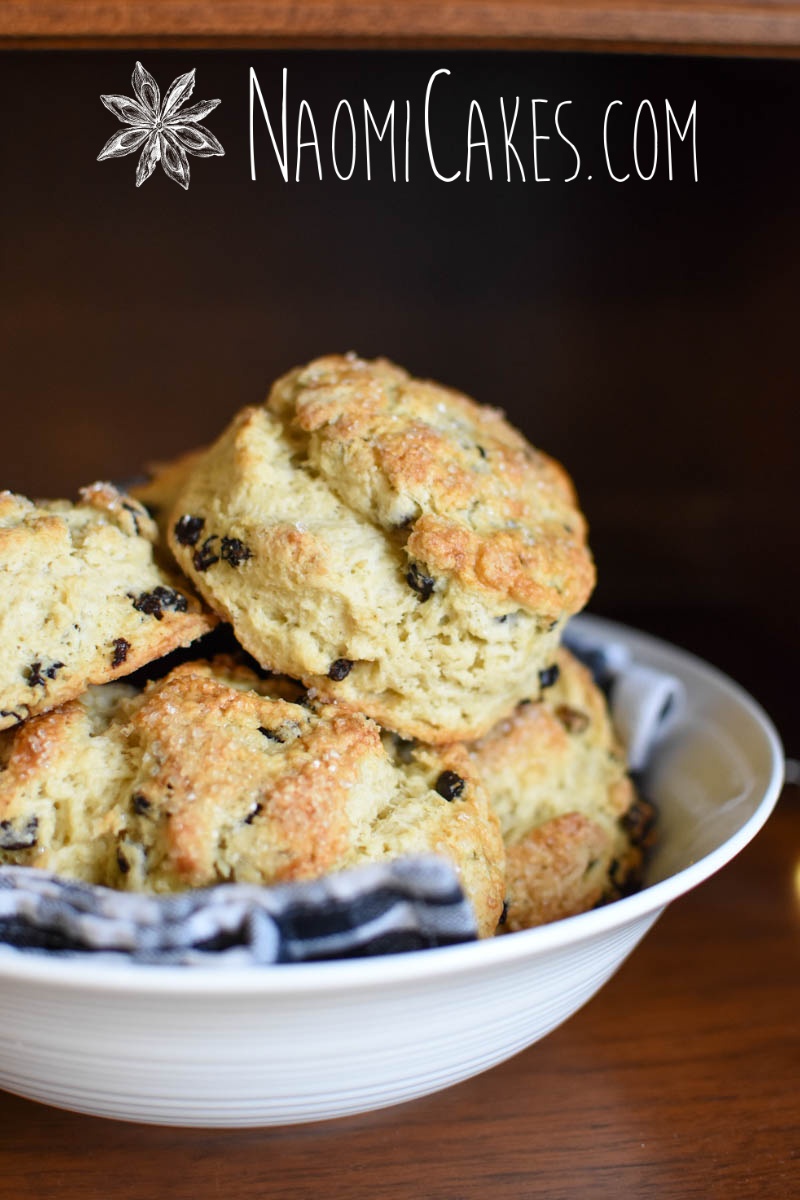
In my opinion – cold butter. Similar to pastry, the butter in scones is cut in, leaving large chunks intact so that the dough ends up with little pockets of butter throughout. This makes for lovely layers of flakiness! The key to the butter working its magic, however, is that you don’t overwork the dough. Overworking the dough will mix the butter in more and more, and that will result in a much denser, cookie-like dough that is not nearly as nice.
How do I get my scones to rise and be fluffy?
Baking powder is the perfect ingredient to do this job, alongside the little pockets of butter in the dough which also help with this process.
How do you pronounce scones?
Is it scones (with the “cone” sound) or scones (with the “con” sound)? Well, to be honest I’ve heard a lot of people debate this– and what it comes down to is how you have been brought up, and where. To my understanding, both are correct ways… and your view of correct is literally just dependent on where you come from. I say scones with the “cone” sound… but that’s just how it sounds right to me, so there you go.
How do you serve scones?
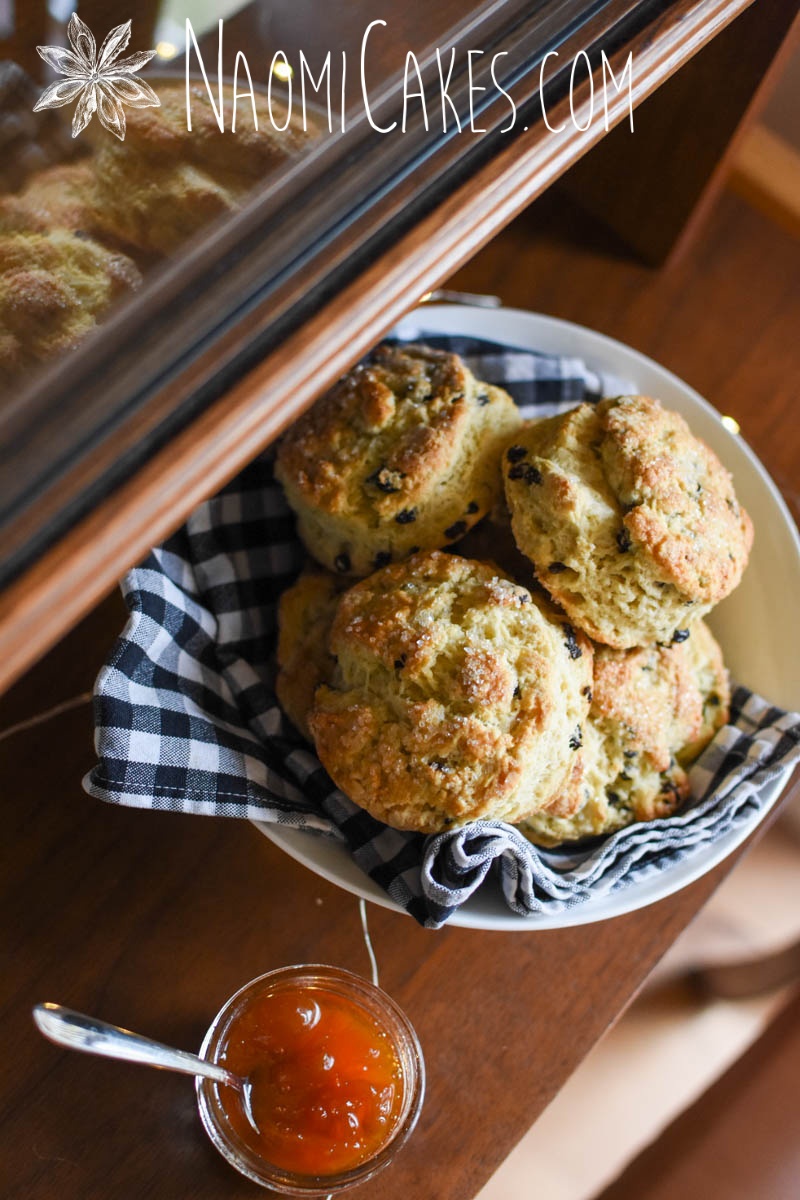
Scones are best served with a cup of tea, and fresh (day old scones can be quite stale). I like to serve them alongside some lovely softened butter, homemade jam, and when I’m really wanting go the extra mile, Devonshire cream. You can also serve them with lemon curd, or just eat them plain… Again, there is no “Right” way to do it; just the way you like them is probably the best!
What is the recipe?
Ah yes, let’s cut the chatter and get into the good stuff. Scroll down, for in a moment you will find… The recipe!


Currant Scones
These delicious flaky scones are so easy to make and are the perfect addition to afternoon tea.
Ingredients
- 2 cups flour
- 1 Tbsp baking powder
- 1/4 cup sugar
- pinch salt
- 1/2 cup cold butter
- 1/2 cup dried currants
- 2 large eggs with part of the whites reserved
- 5 Tbsp milk
- coarse sugar for sprinkling
Instructions
-
In a medium sized mixing bowl, combine the flour, baking powder, sugar, and salt, and whisk to combine.
-
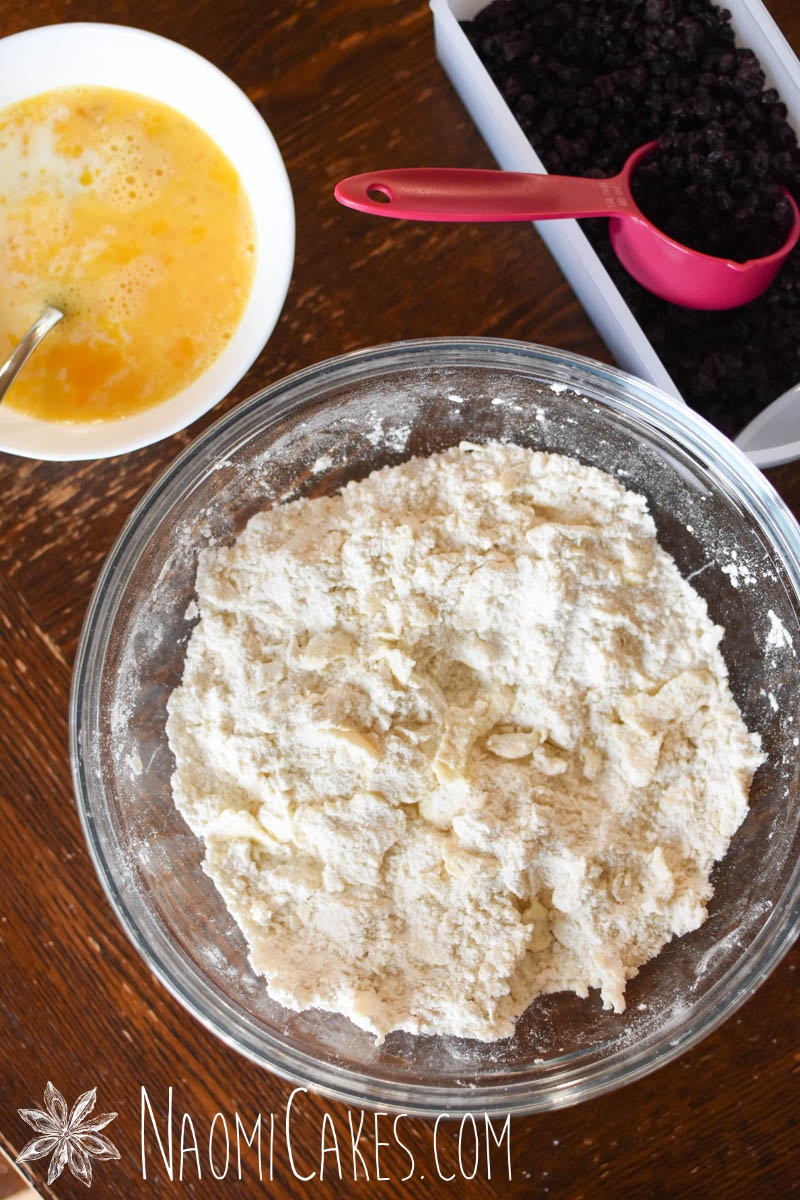
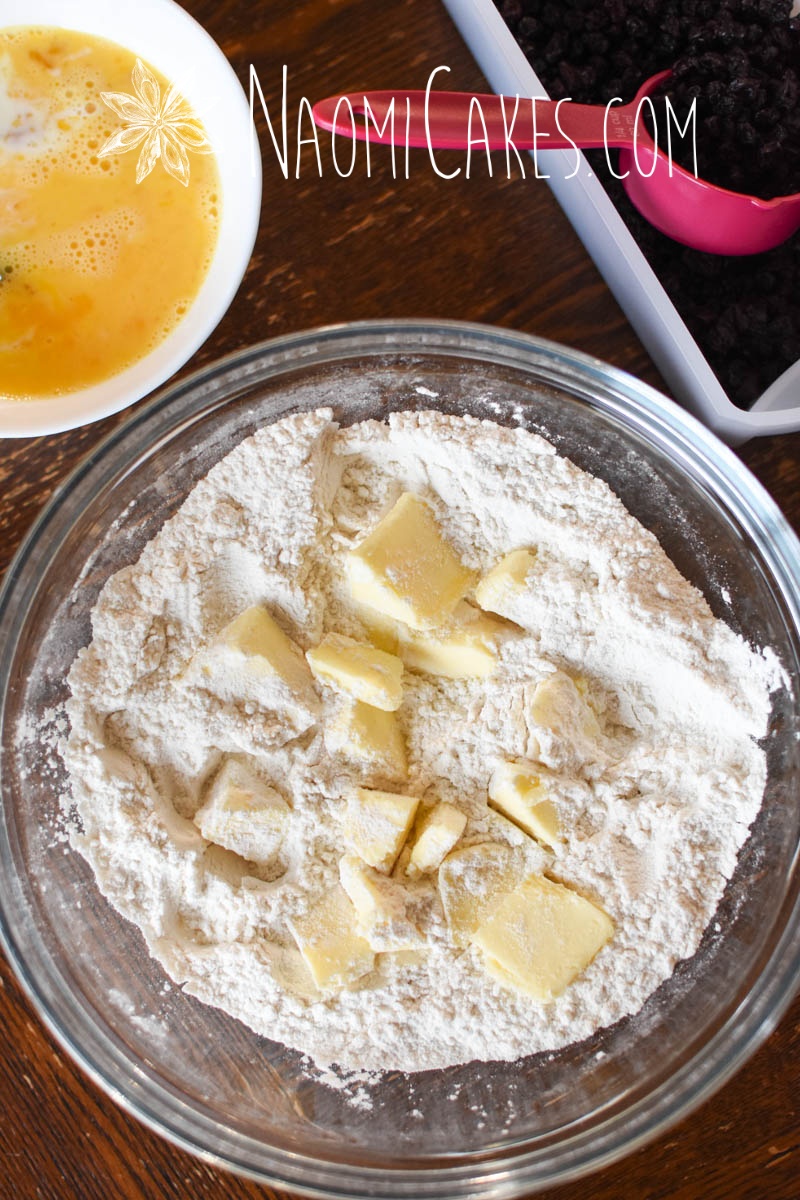
Cut in the cold butter, and then using your fingers (or a pastry cutter), blend in with the flour until the butter resembles small flakes, about the size of a pea (or a little larger). Add the dried currants.
-
In a small mixing bowl, separate part of the egg white from one egg (just the thin part of the white), and set it aside.
-
Beat the remaining egg and white with your second whole egg. Add the milk.
-
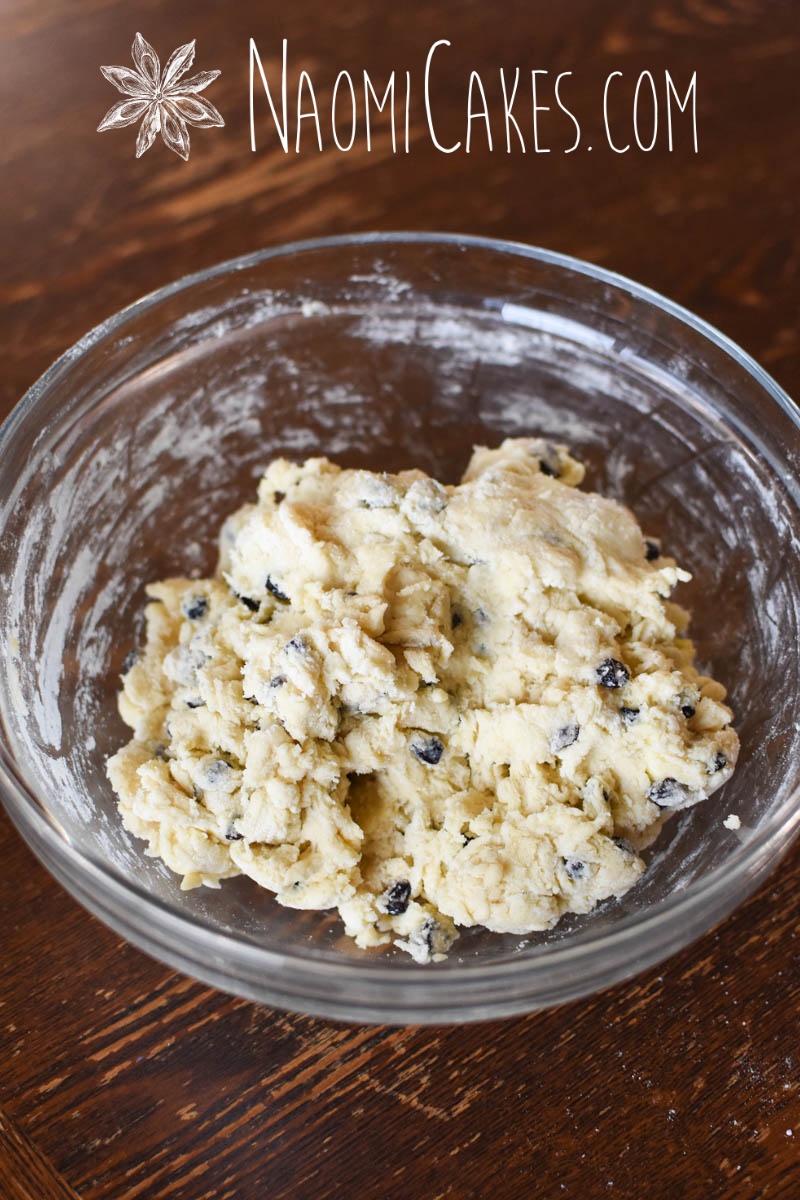
Pour the egg/milk mixture into the flour and currant mixture. Using a fork, stir to bring together into a shaggy dough, and then knead with your hands a couple of times just until all of the dry ingredients are incorporated and you have a rough dough (do not over-mix).
-
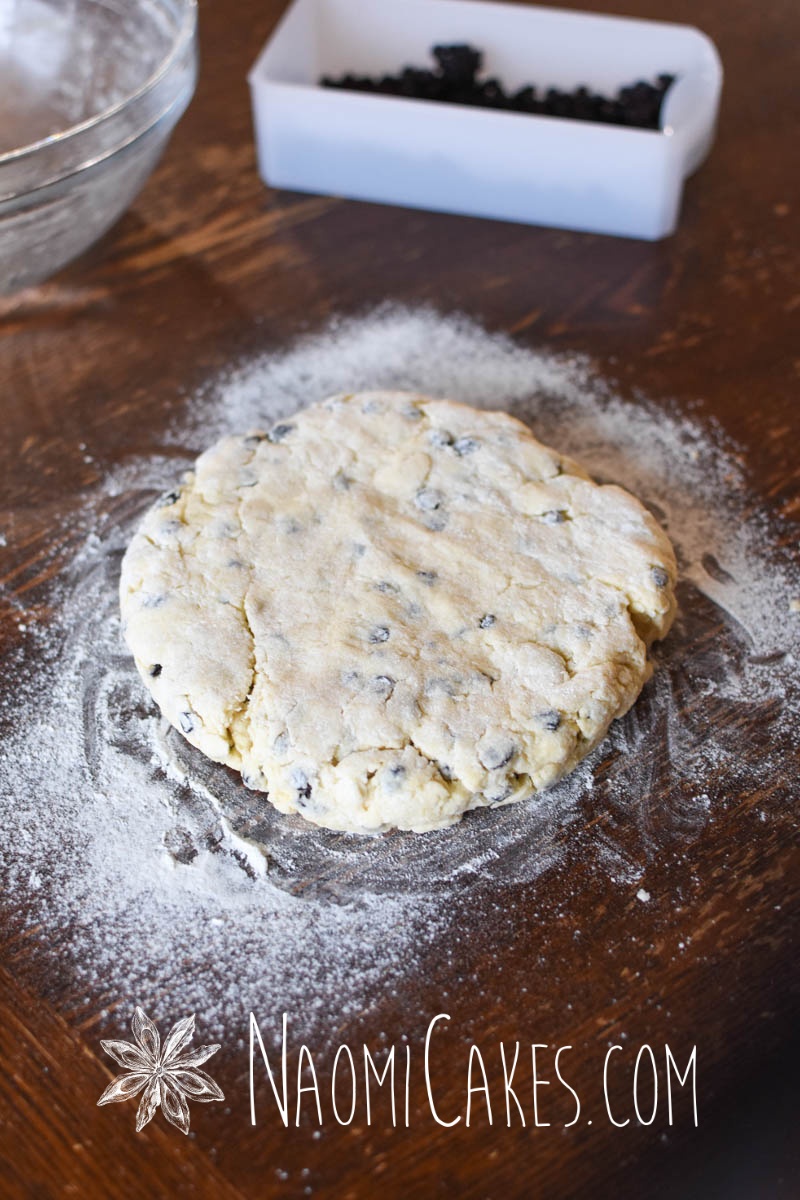
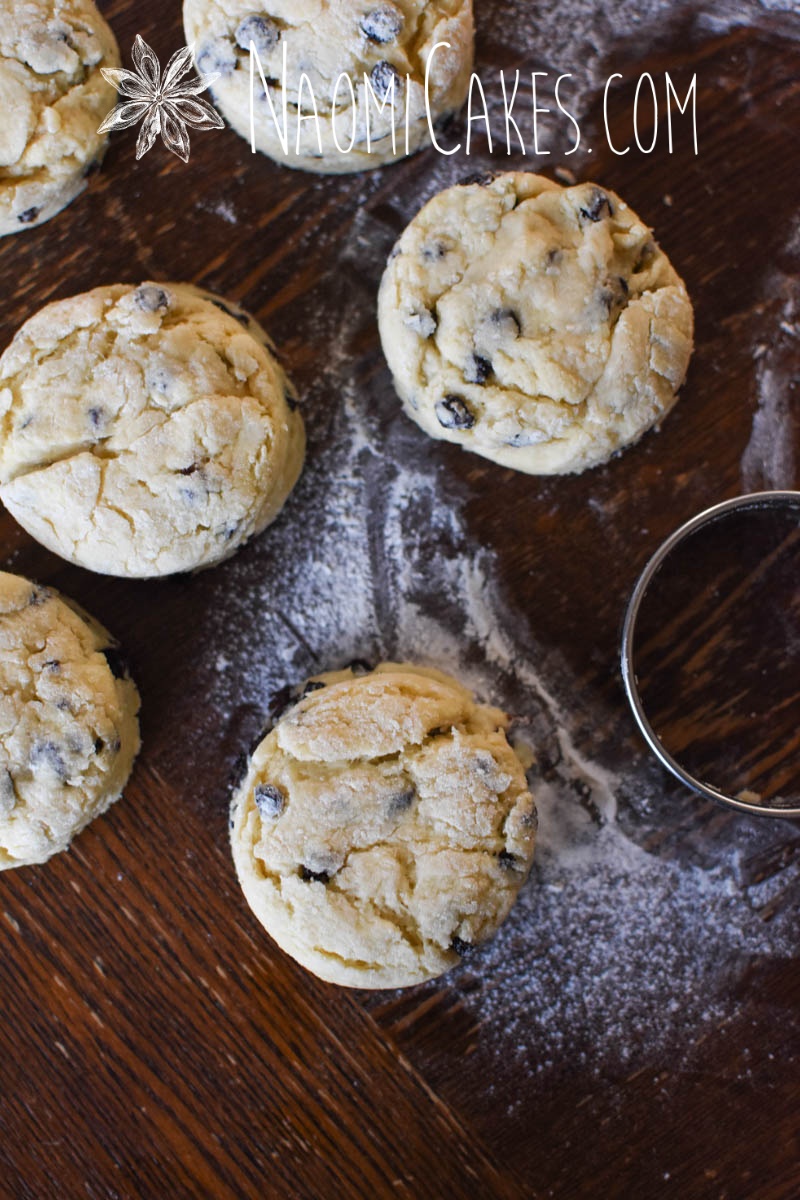
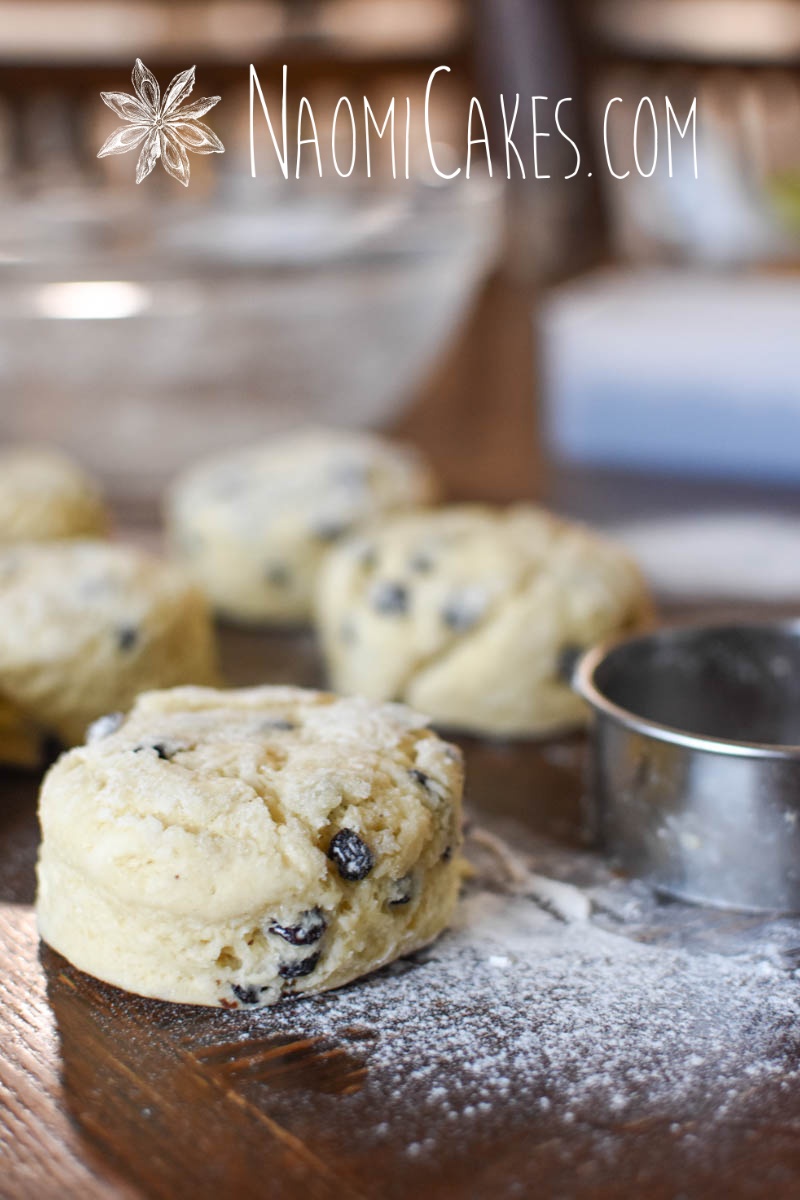
Press the dough onto a lightly floured work surface into an 8" disc. Cut out round shapes with a round biscuit cutter, and set aside. Firmly press the scraps together, and cut out more rounds. Press the remaining scraps into a round shape, or if it's a lot of dough (depends on the size of your cutter), shape into rounds with your hands so as not to overwork the dough.
-
Preheat the oven to 400 degrees F.
-
Arrange the scones on a parchment lined cookie sheet and brush with egg white. Sprinkle generously with coarse sugar.
-
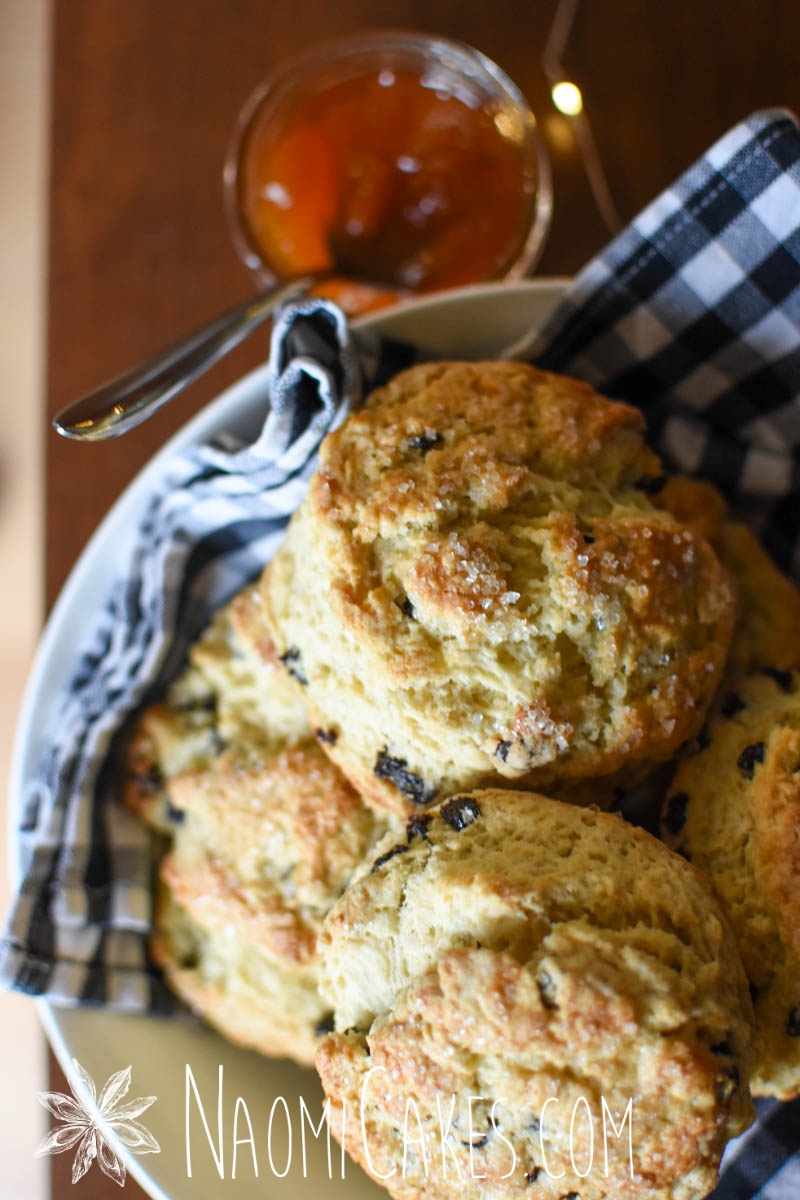
Bake for 15-20 minutes or until golden brown and puffy. Cool on a wire rack.
-
These scones are best served on the day they are made.
Used in this recipe:
- Mixing bowl
- Measuring cups and spoons
- Measuring pitcher
- Pastry cutter
- Biscuit cutter
- Pastry Brush
- Parchment paper
- Baking sheets
- Coarse sugar

A few other scone variations:
A final question: How do YOU pronounce “Scones”?
In your mind, is it “Scone” with a “cone” or “Scone” with a “con”? Let me know in the comments! I’d love to know what you think.
Back soon,
Naomi
This post contains affiliate links.


These look amazing! My mom used to make biscuits (topped with honey or butter) all the time growing up and scones “cones” were always a welcome sweet treat!
Do you think I could make this dairy free successfully? Would
hard coconut oil be a good substitute?
This is a great question! I’ll bet you could, although I would try really hard to make sure the coconut oil remains “in chunks” throughout– that’s really the key to the right texture!
If you make them that way, let me know how they turn out! I’d love to hear. Thanks for the comment!