Okay everyone, we’ve finally made it to the last post of my gum paste rose tutorial! So far, we’ve made the Rose Base, the Rose Bud, the Medium Rose, and the Full Rose… and today, we get to change its colour!
For this tutorial, I made the roses with a white base to show you how well petal dust colours work. I’ll note before I get going, however, that if you know you want to tint your roses, we’ll say, pure red… Then I would recommend tinting the gum paste with gel food colouring, at least slightly, first. This will usually help the colour stand out a bit more, and if you have patches that don’t get completely covered, it just looks like a natural colour shift.
Tinting the Base Colour
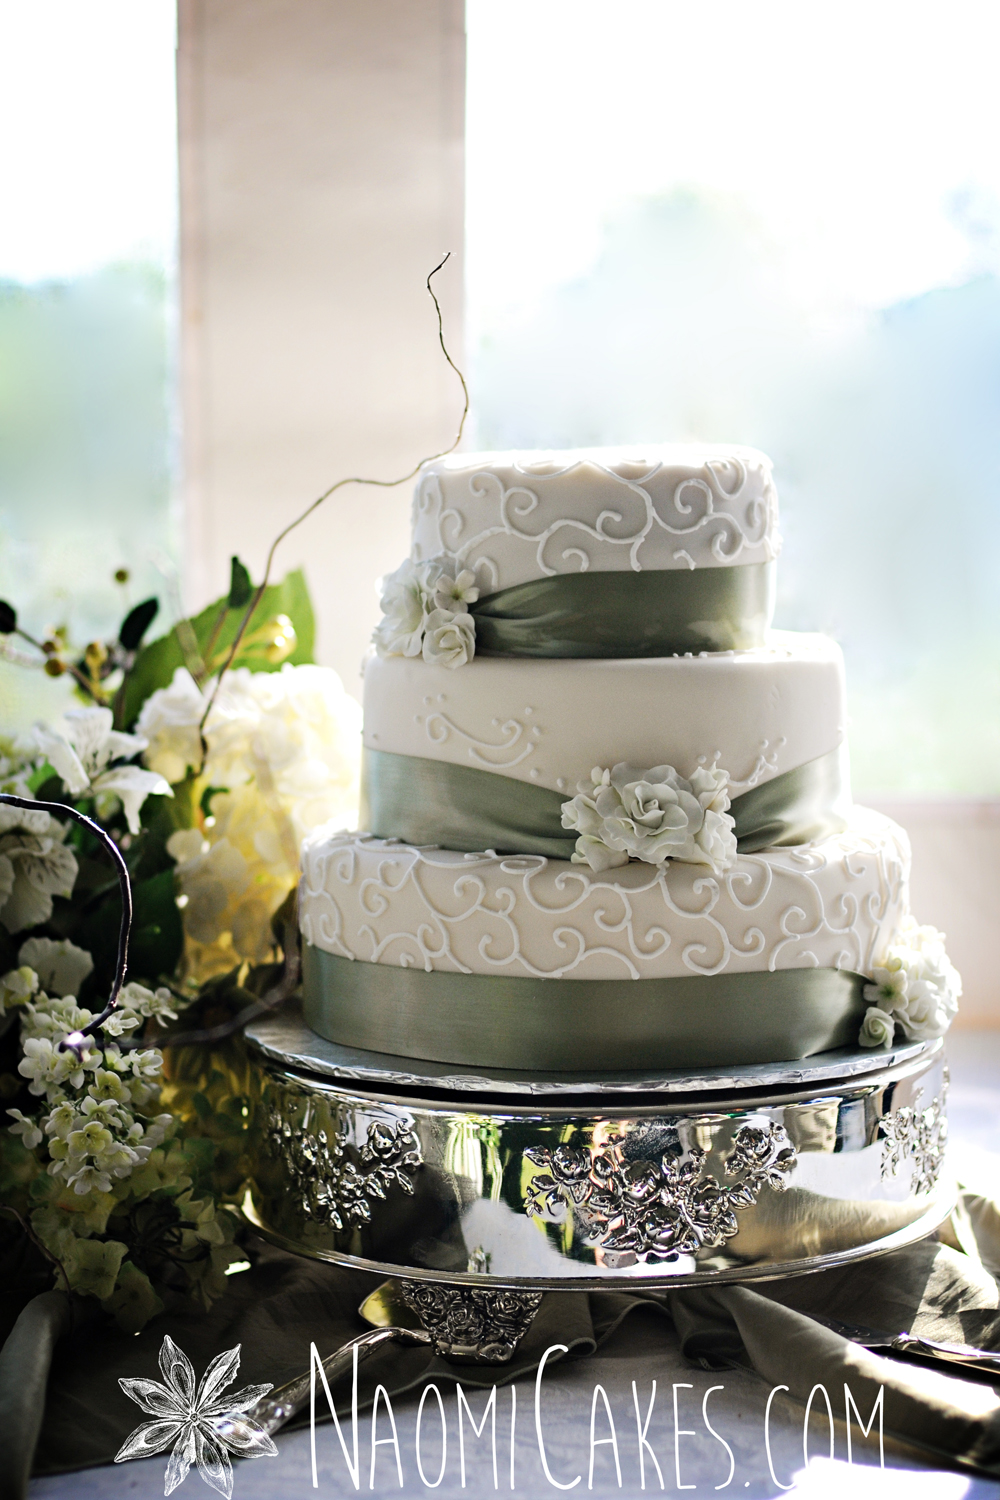
This tutorial will primarily deal with using petal dust, but another option is simply to tint the base colour with gel food colouring – It really depends on what you’re going for! You may remember this cake from a couple of weeks ago:

For those roses, I wanted them to look white, but to have a slightly green undertone. So, I just gently tinted the gum paste soft, soft green before I began making the roses, and that was perfect.
You may also remember this cake:

For that cake, I tinted the base colour pink, and then I used a purple petal dust to tint the edges of the petals and then create some colour variation and depth on the roses themselves.
Tinting Gum Paste Flowers with Petal Dust
This section is where we’ll camp for the rest of this post! I’m basically going to teach you two things:
- How to create a bold, beautiful colour using petal dust (an edible, powdered food colouring)
- How to tint just the tips of the petals for more colour variation and texture

For this tutorial you will need:
- A large plate
- A new/clean paint brush
- Petal dust in the colour of your choice (I’m using Riding Hood Red from Global Sugar Art)
- Your own beautiful gum paste roses
- Styrofoam, to stand the roses up when you’re done
- Corn starch, optional
- Paper towel, optional
- A London Fog (tea latte), optional 😉


For the Bold Rose Colour:
- Set a large plate in front of you on a clean work surface. Gather together your other supplies.
- Begin by dipping your paint brush into the petal dust, and “dust” the centre of the rose, spreading the colour evenly. Work your way out to the end of the rose, then turn it over, and paint the underside.
- Periodically, you will want to gently tap the base of the rose, holding it upside down over the plate, to release stray bits of dust that you don’t need, or use the brush to guide them away. Don’t worry about this being perfect until you are putting the last bits of colour on, however – The main reason to do it periodically is so that you can re-use whatever petal dust falls down onto the plate.


For Bright Red Petal Tips and More Colour Variation:
- Dip your paint brush into the petal dust colour, and tap to remove excess. Guide the brush along the edges of the petals, working from the outside in toward the centre. Tap out the excess dust frequently.
- Use the brush to gently spread the colour from the edges toward the inner petals, being careful not to add too much colour, to create a soft tint.
Tip: To protect yourself from using too much colour, you can mix the petal dust with a little bit of cornstarch to make it go further, and to soften the effect of the colour on the flower petals. This makes it easier to add colour without over-doing it.


That’s it! It’s really pretty simple once you get the hang of it!
My only recommendation now is that you wipe down your table with a damp cloth before taking a wash cloth to it… Your table might look clean, but after all of that fine powder has been flying around… This is what your paper towel will probably pick up:

Yikes! Also, last tip- wear an apron or clothes you don’t mind getting slightly “dusted.” I don’t usually have trouble with this, but… Just in case. These are bold colours!


Before I go, I wanted to share an old video you with you. This is from YEARS ago – I was making red roses for a family member, and my sister decided to film it and make a little video. So, here I am – many years ago, practicing this very technique!
You’ll notice that I periodically “blow” on the rose centre – this is just a faster way of dealing with excess dust, which I did not recommend in this post because… You know. This being the year of corona and all. Couldn’t bring myself to it.
I hope you enjoyed this rose series! Please let me know if you have any questions or requests for future cake decorating tutorials… I would love to see what you have in mind!
Back soon!
Naomi

