
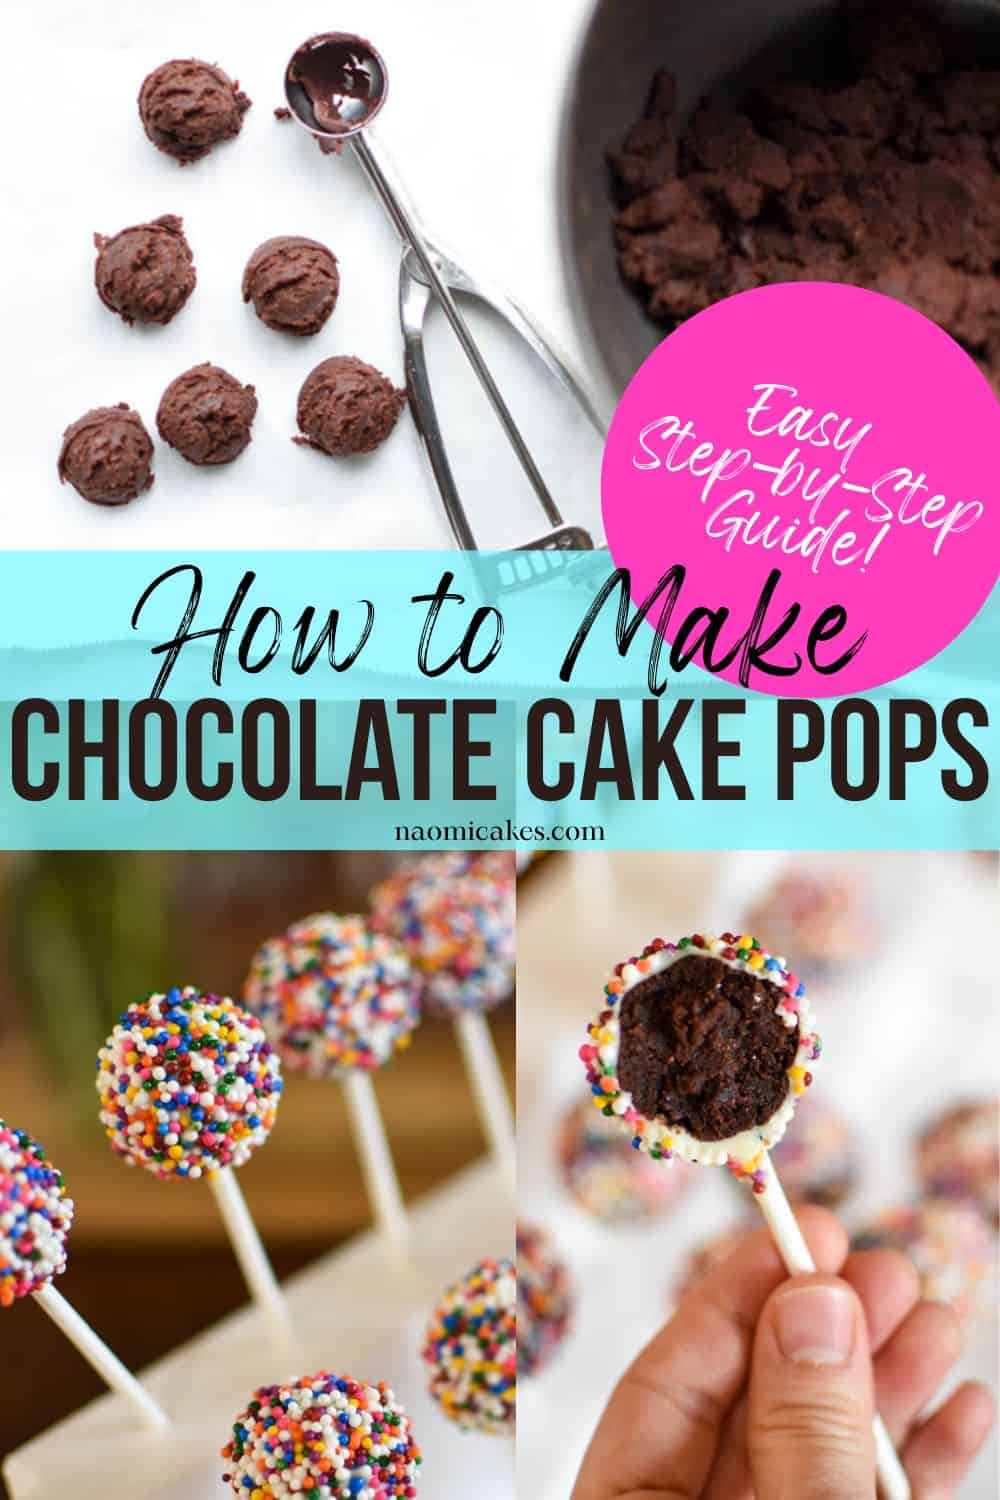
How to Make Chocolate Cake Pops [Recipe & Tutorial]
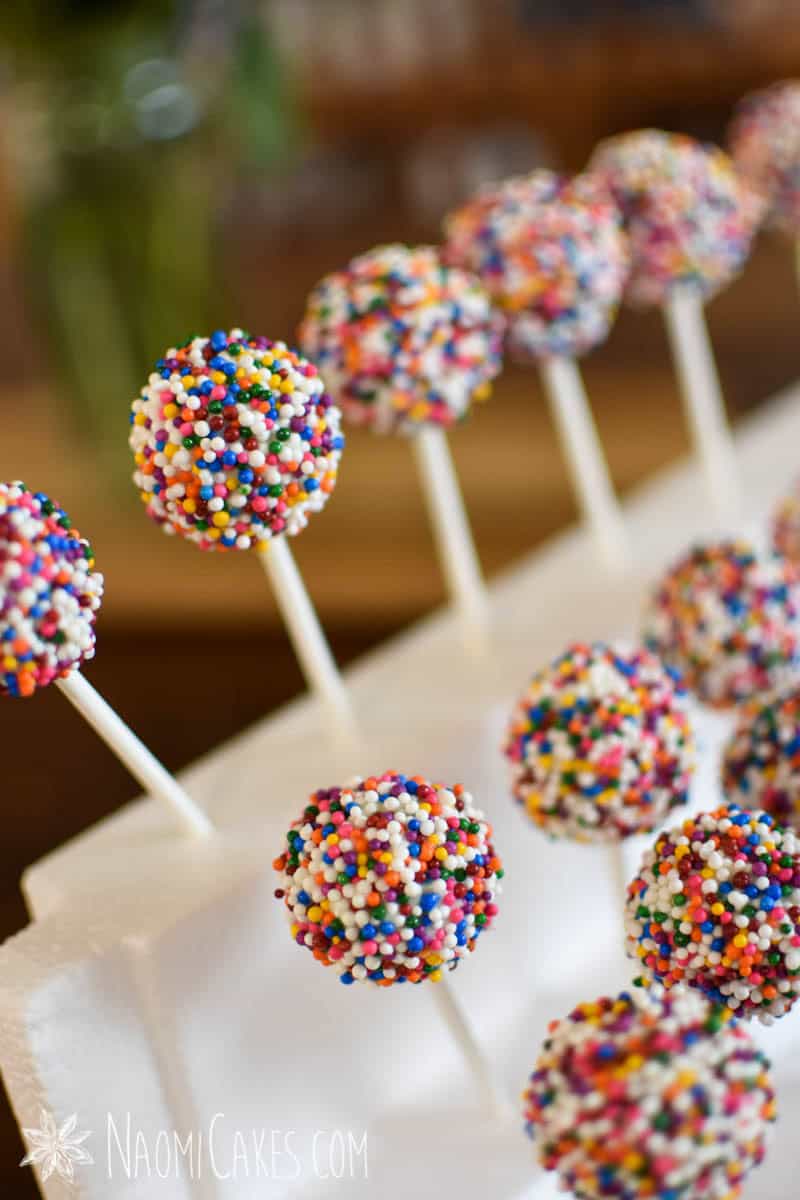
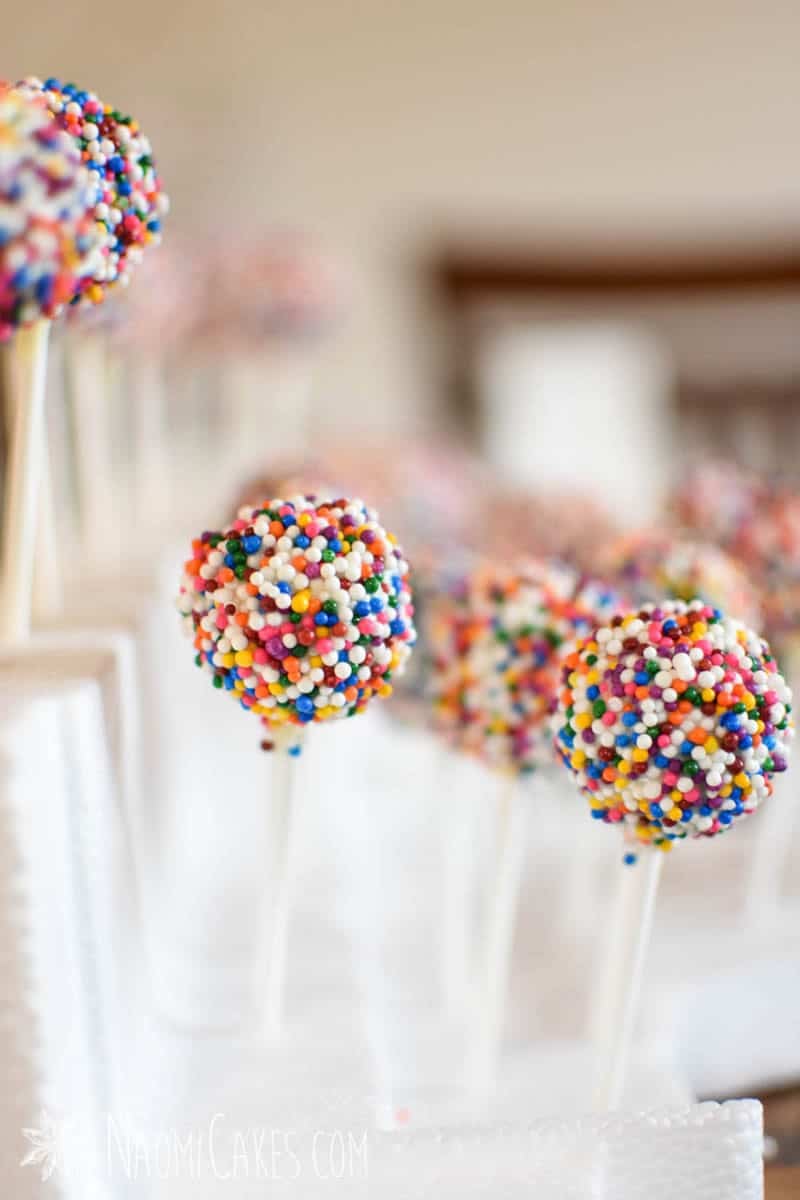
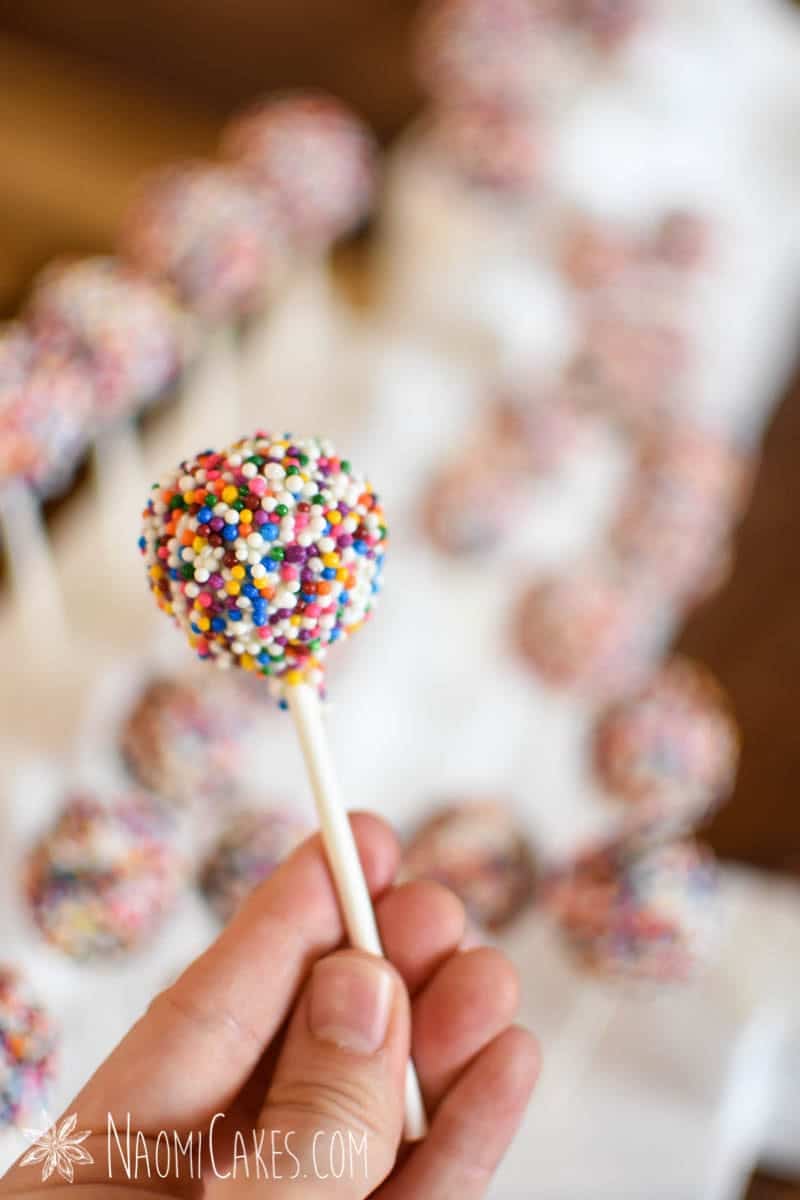
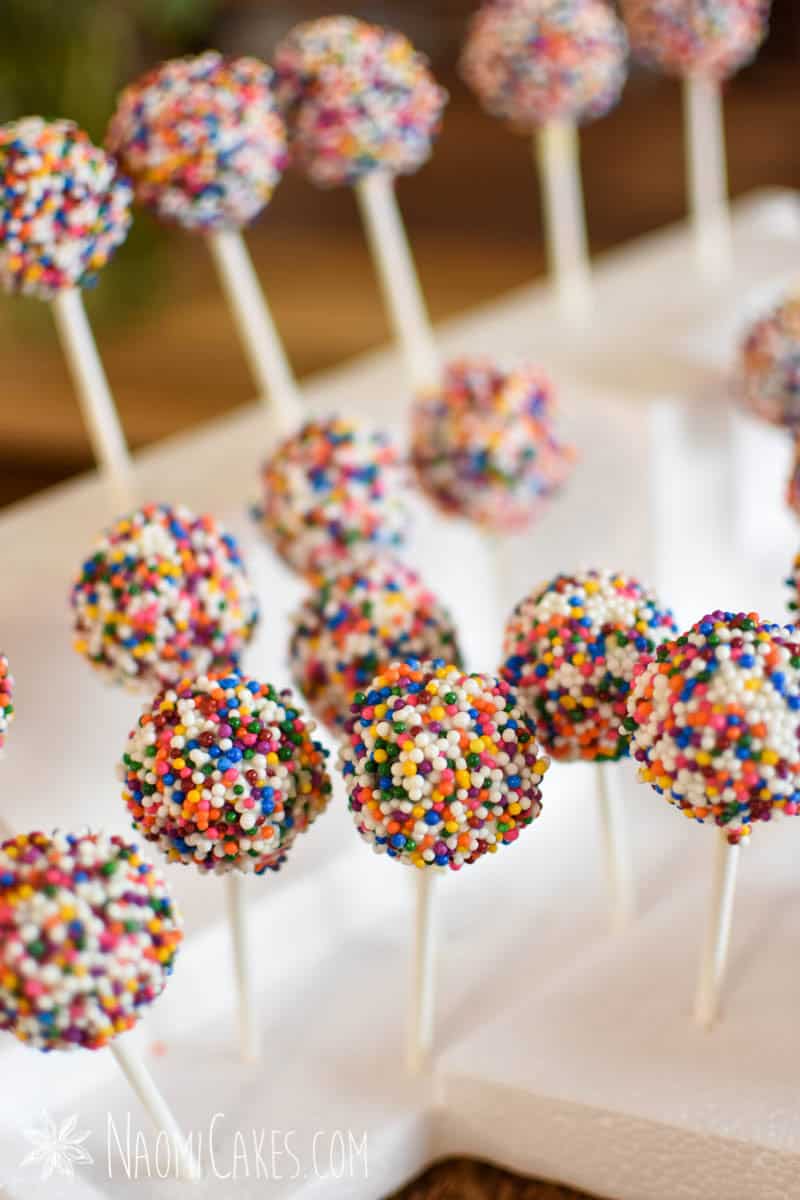
Looking for a perfect chocolate cake pop recipe? Well, look no more! Today I want to show you how to make beautiful homemade chocolate cake pops- which can be decorated in a whole bunch of different ways for so many different occasions! These adorable little treats are great for baby showers, bridal showers, wedding favors, birthday parties and more. (Personally I think the colourful sprinkles of this design make these perfect for a birthday party.)
In this tutorial, I’ll teach you how to make these adorable colourful homemade cake pops, as well as go over some FAQ’s that go along with this project.
What are cake pops?
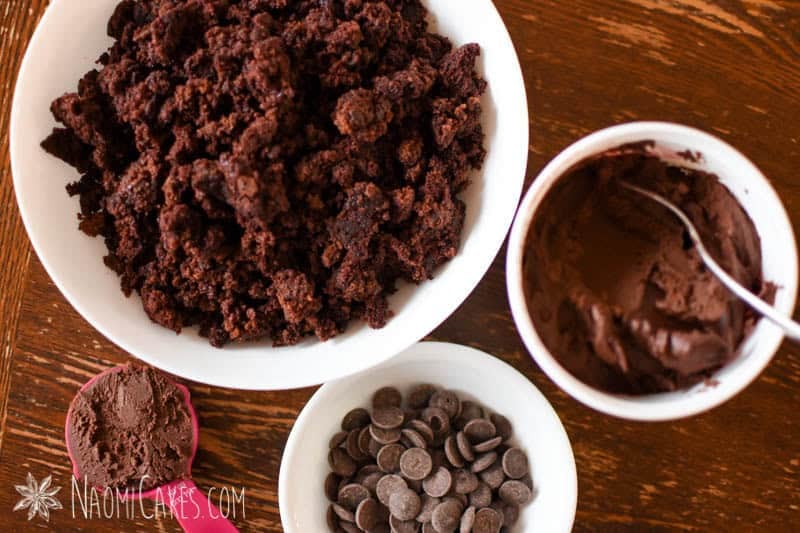
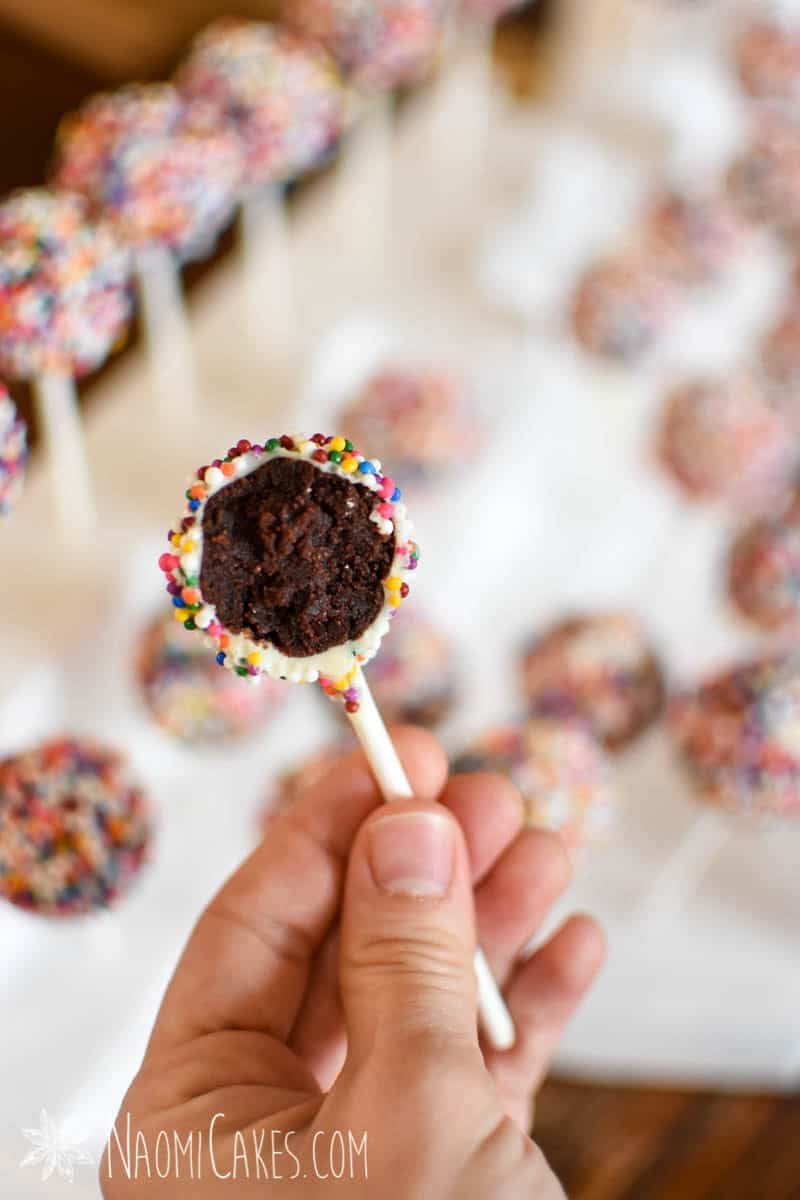
Cake pops are basically a lollipop with a cake (rather than candy) centre and a hard chocolate or soft fondant exterior. You can make the filling with just a few simple ingredients: moist chocolate cake crumbs, frosting, and melted chocolate (chocolate chips, chocolate candy melts, or other). The cake centres can be made with either a box cake mix or your own recipe for (in this recipe) your favorite chocolate cake.
How are cake pops made?
Cake pops can be made a couple of different ways.
- With a cake pop maker: this method uses a special cake pop pan to basically bake the pops in a waffle iron-style pan.
- In a silicone form: these forms make the process pretty easy, with pre-portioned sections with a hole for the stick to go in.
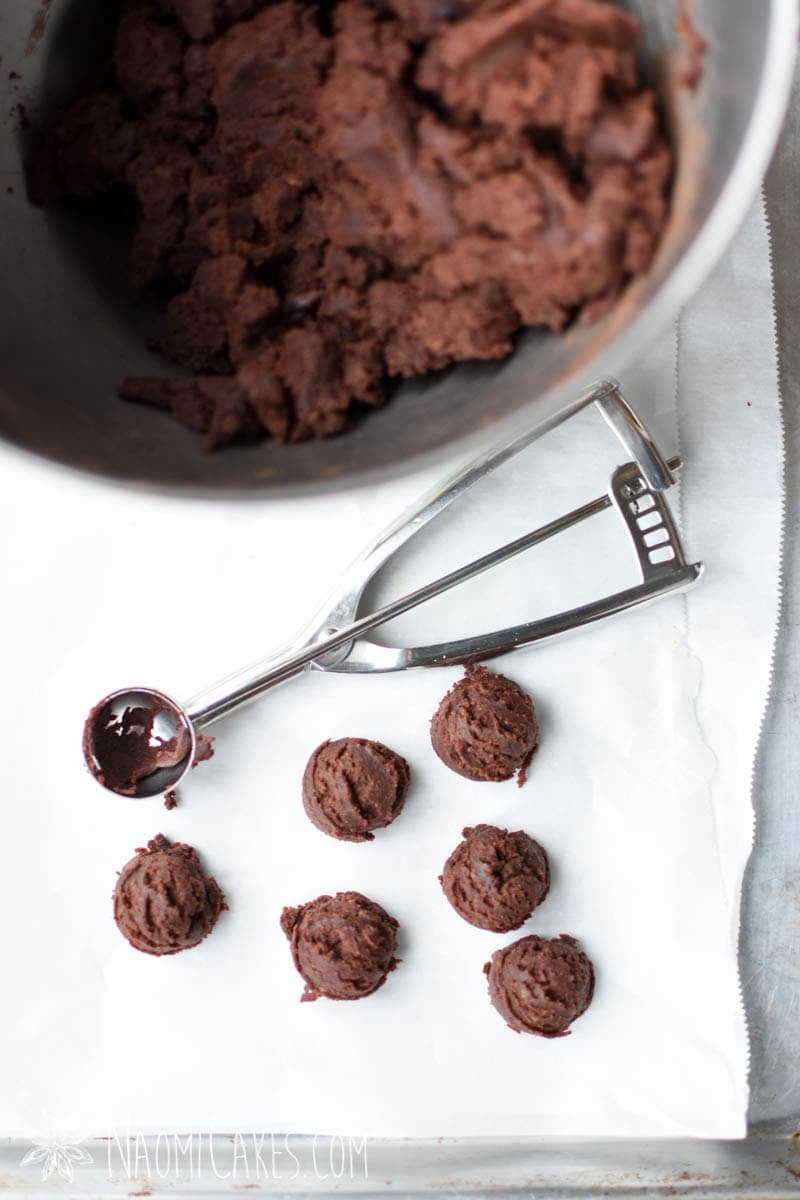
- With a scoop: This is the method I use (as outlined in this tutorial). I like to mix mine up in an electric mixer with the paddle attachment on medium speed.
- By hand: You can make your cake pops by scooping out the filling into small balls out of a medium bowl (or large bowl) with a kitchen teaspoon and shaping them into cake balls by hand.
This recipe uses chocolate cake crumbs, chocolate frosting, and melted chocolate. You can also add jam or vanilla extract to make the filling, but since the cake crumbs and frosting already contain vanilla, I omit that for my recipe. Also, while jam is delicious, it does change the texture of the filling, and I prefer to keep my consistency thicker for an improved decorating experience.
Different types of coating
Once the cake balls have been made, they are dipped in pouring/dipping fondant or melted chocolate to coat and decorate them. In this tutorial, I am going to use melted coating chocolate for my cake pops, working over a baking sheet covered with parchment paper. I like to stick my finished cake pops upright into a styrofoam block to set.
Troubleshooting cake pops: FAQ’s
For something so small, cake pops can sure cause a lot of stress when things are going wrong! Here are some common questions and answers.
My cake pops won’t stay on the cake pop stick
There are a few reasons this might be happening.
- Some cake pop recipes call for just cake crumbs and buttercream, making it so that your mixture is too soft and not able to set as firmly. My recipe calls for melted chocolate, which helps to solve this problem.
- Your cake pops need to be cold before you put them onto the sticks.
- The sucker sticks need to be pushed deeper into the cake pops to hold them more securely.
- Your coating is too thick/heavy. For melted chocolate coating, you can thin/lighten your chocolate with this product for easier dipping.
Why are my cake pops cracking?
This happens to cake pops dipped in chocolate when there is an extreme temperature contrast. For example, if your cake pops are frozen when you dip them (and the chocolate is warm), the pops may crack. Similarly, if you put decorated cake pops into the freezer after they have been sitting at room temperature, the pops may crack.
How to prevent cake pops from dripping down the stick
The best way to do this is to make sure you hold the cake pops upside down over your dipping chocolate or fondant until the excess chocolate or icing has dripped away.
Making sure the cake pops are firm (cold, but not frozen) will also help a chocolate coating to set faster, and the cake pops are less likely to drip.
If your cake pops do drip, try this:
Allow the pops to set completely. Then use your fingers to break away the excess chocolate. A damp paper towel should clean the lollipop stick well, if needed.
The best way to set cake pops
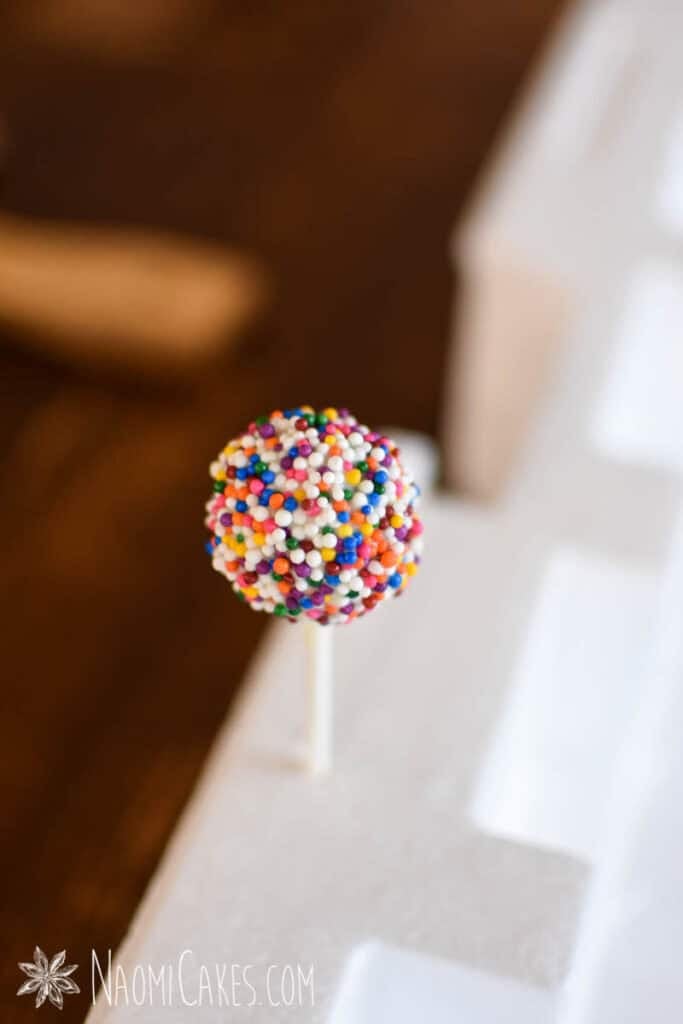
The simplest thing is to just use a styrofoam block in which you can stick the cake pops upright.
In this tutorial, I’m using a piece of leftover foam from a package we received; you can do that, purchase a foam block, or use a special cake pop stand to get the job done.
Ways to decorate cake pops
Cake pops can be decorated with sprinkles, chopped nuts, chocolate shavings, cacao nibs, sesame seeds, toasted coconut, or you-name-it!
For inspiration, here are some favourite sprinkle options for various occasions! Making the perfect cake pop is all about making them the way that you love them best – and decorating them to make you smile!
- New Year’s sprinkles
- Valentine’s Day sprinkles
- Superbowl sprinkles
- St. Patrick’s Day sprinkles
- Easter sprinkles
- Canada Day sprinkles
- 4th of July sprinkles
- Back to School sprinkles
- Harvest sprinkles
- Thanksgiving sprinkles
- Christmas sprinkles (or as pictured in this post)
- Birthday sprinkles
- Baby shower sprinkles (Boy or Girl)
- Wedding sprinkles
- Anniversary sprinkles
- Graduation sprinkles
Making other flavours
This recipe is the basic way to make any type of cake pops flavour. For vanilla or red velvet pops, use your favourite vanilla or red velvet cake recipe with vanilla buttercream and melted white chocolate for the filling.
How to package cake pops
I like to package cake pops in cellophane bags, with a white twist tie and a bit of satin ribbon or curling ribbon. This keeps them nice and fresh, protects the coating from scratches and damage, and then you can see the pops beautifully!
How to display cake pops
You can buy a cake pop stand, make your own, or fill up some fun buckets/bowls with mountains of pre-packaged cake pops for a generous and pretty display.
To make your own cake pop stand, you can decorate styrofoam cake dummies with paper, fabric, ribbon or lace, and then stuff them full of cake pops! Here’s a fun way to make a paper cake, which would be an easy thing to stick full of cake pops (without the lights).
Storing cake pops and how long they will keep
Cake pops made by this method should be stored in the fridge in an airtight container, and can be kept for up to a couple of weeks. For longer storage, you can freeze them; however, chocolate shells may crack.
Cake pops made with a cake pop maker will last for a few days in the fridge.
You will need:
- Ingredients (see recipe card)
- Large mixing bowl or a stand mixer
- Measuring cups and spoons
- Truffle scoop or mini ice cream/cookie scoop
- Lollipop sticks or wooden pop sticks
- Double boiler, glass bowl and pot, or a glass jar (for melting chocolate and dipping)
- Parchment paper
- Styrofoam block or cake pop stand
- Packaging supplies, such as clear cellophane bags, with a white twist tie and a bit of satin ribbon or curling ribbon

Chocolate Cake Pops
These delicious, cake filled, chocolate coated suckers are easy to make and perfect for every occasion!
Ingredients
- 5 cups (1lb/650g) crumbled leftover cake
- 1/4 cup (60g) chocolate frosting
- 1/2 cup (85g) chocolate melted
- 60 5-6" sucker sticks
- 4 cups white chocolate melting wafers
- 2 cups nonpareil sprinkles
Instructions
-
In a large mixing bowl or an electric mixer fitted with the paddle attachment, combine the cake crumbs, chocolate frosting and melted chocolate. Mix until well combined.
-
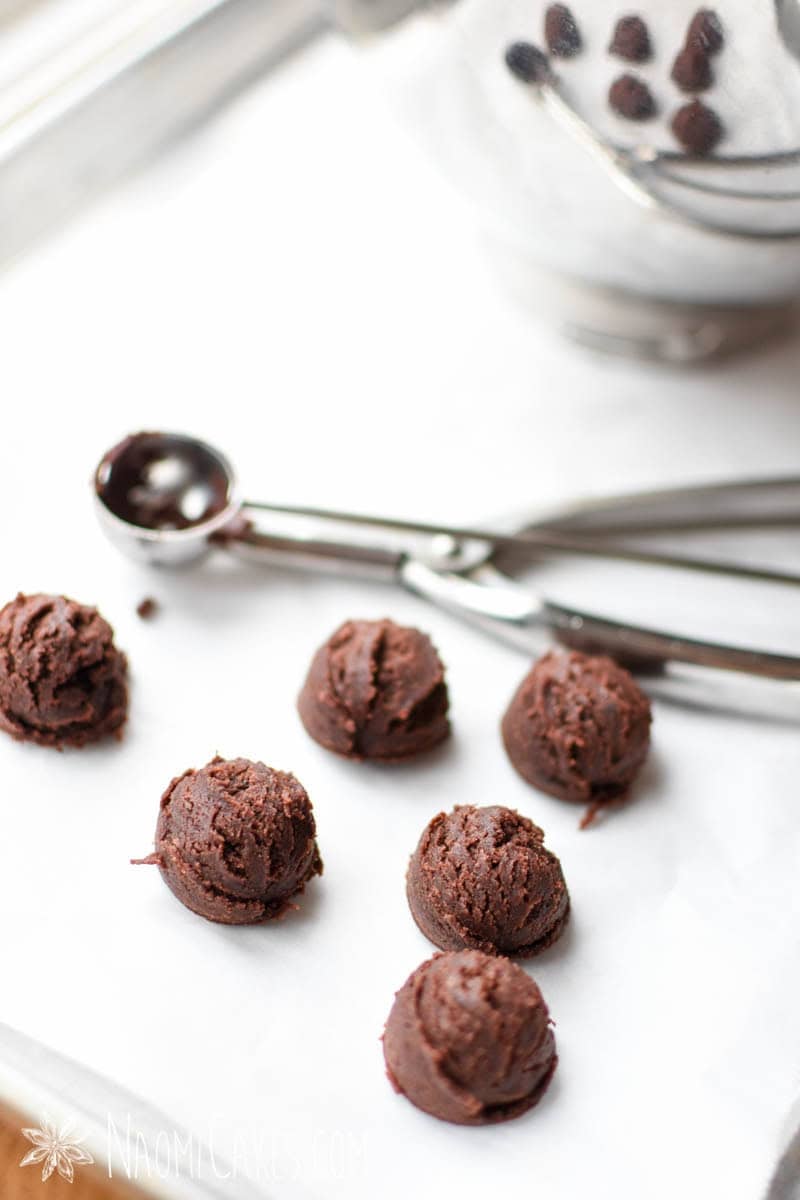
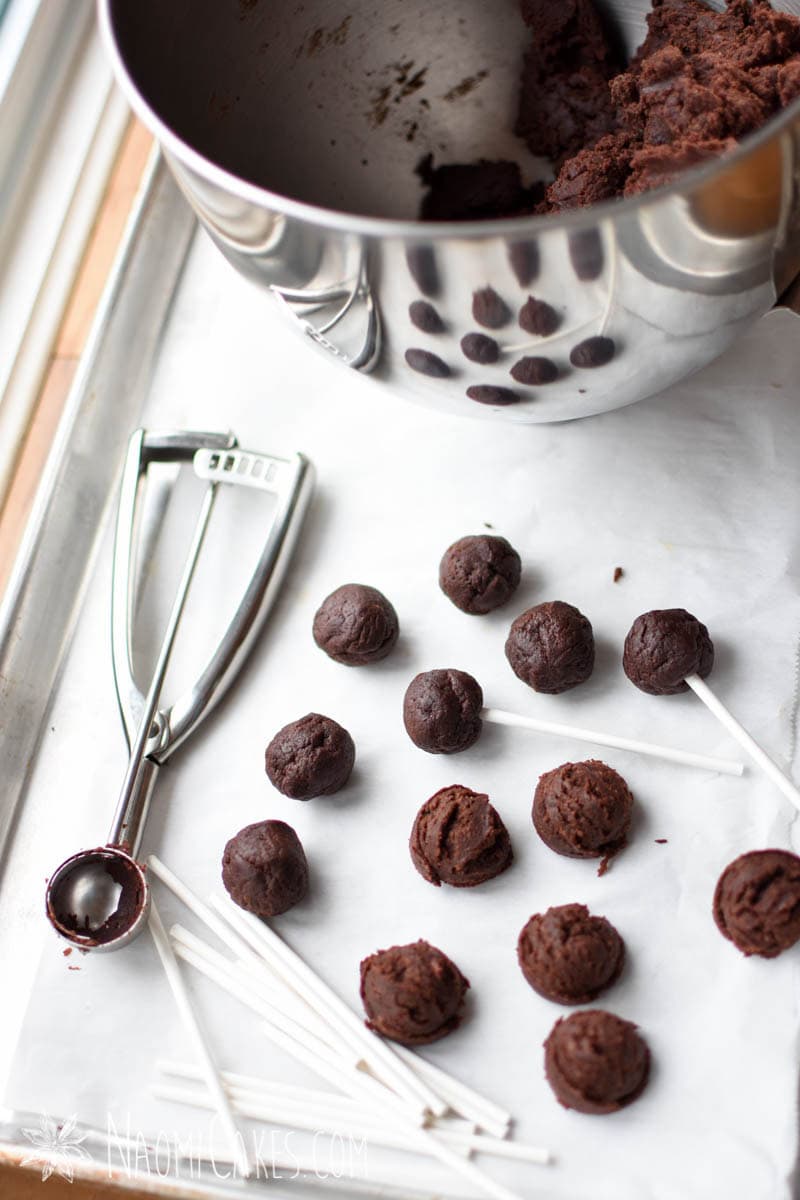
Using a mini cookie scoop (or a teaspoon), scoop out 1-Tbsp sized portions of the cake mixture.
-
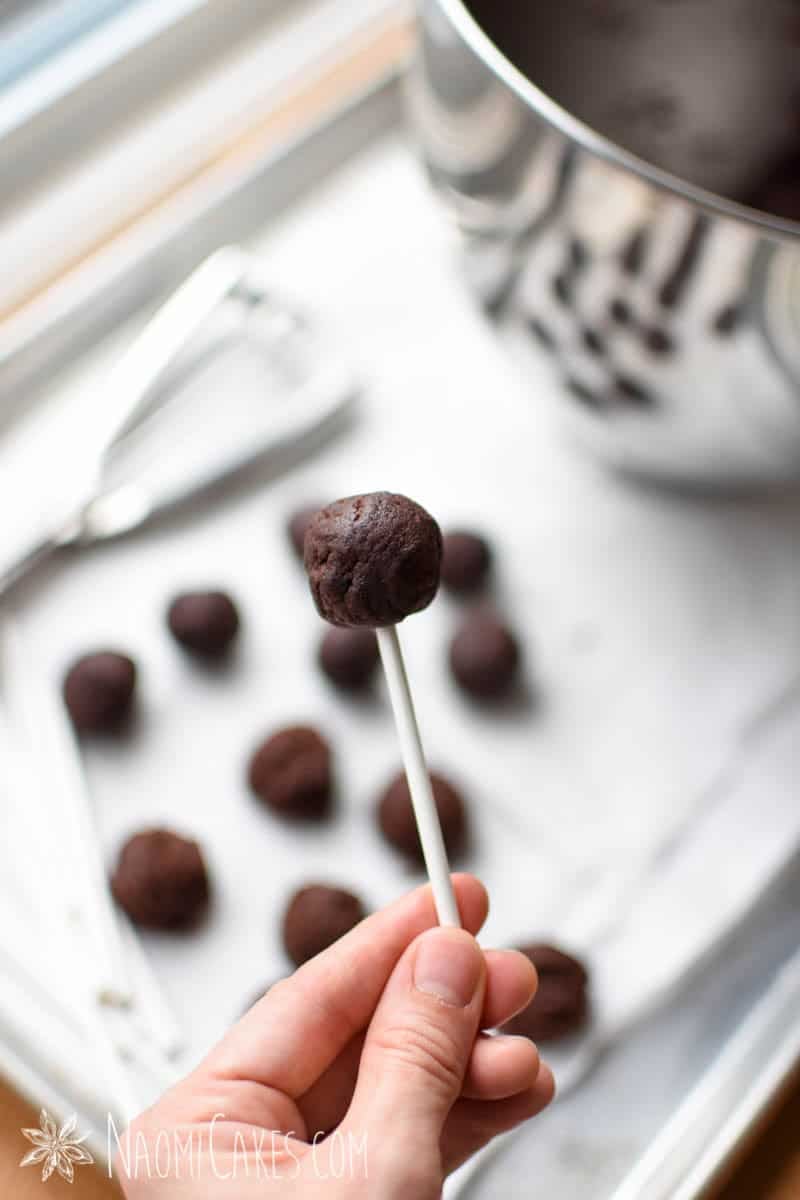
Use your fingertips to shape the cake into balls, and then roll between your palms briefly to make the shape a little bit smoother. Insert a sucker stick almost all the way through the cake pop (but not quite). Refrigerate the cake pops for at least 1 hour or until cold.
-
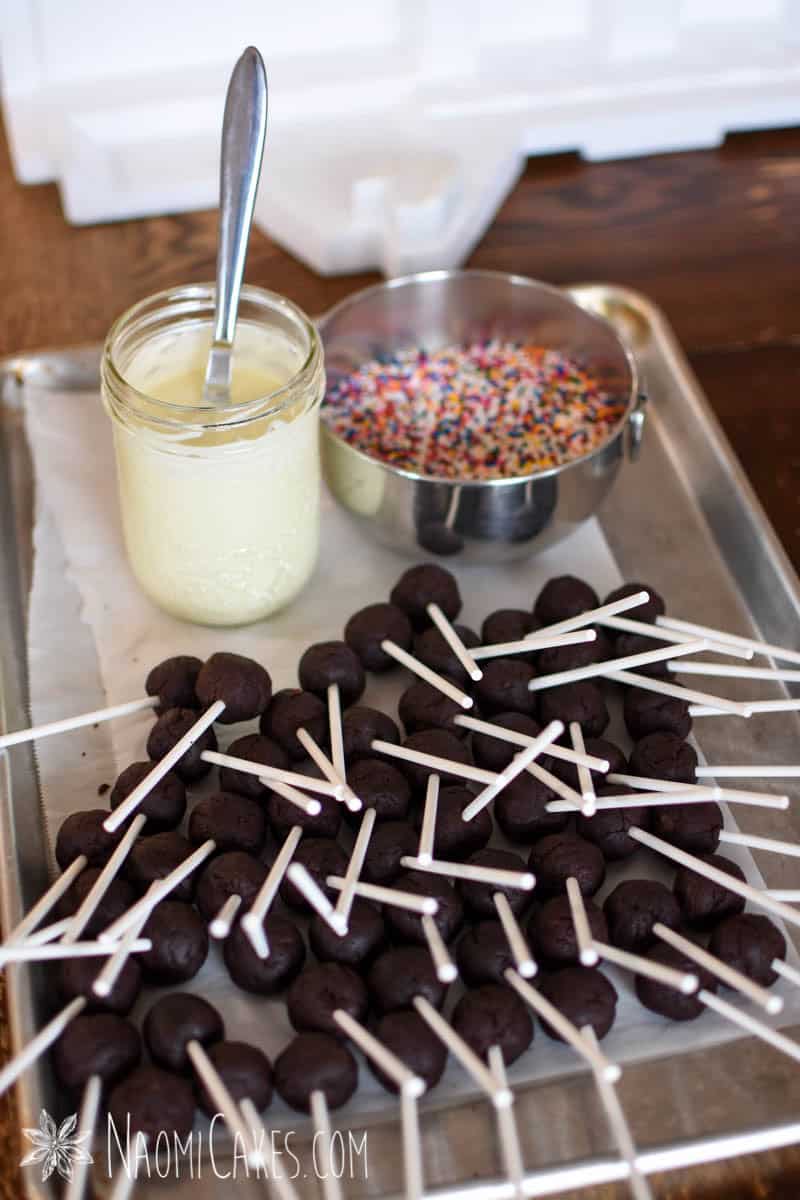
In the top of a double boiler, in a glass bowl over a pan of simmering water*, or in the microwave for short (30 second) bursts, melt the chocolate. Stir the chocolate frequently between microwave intervals or while it is on the stove. As soon as the chocolate is melted, remove it from the heat.
*Do not allow any water to get into the chocolate.
-
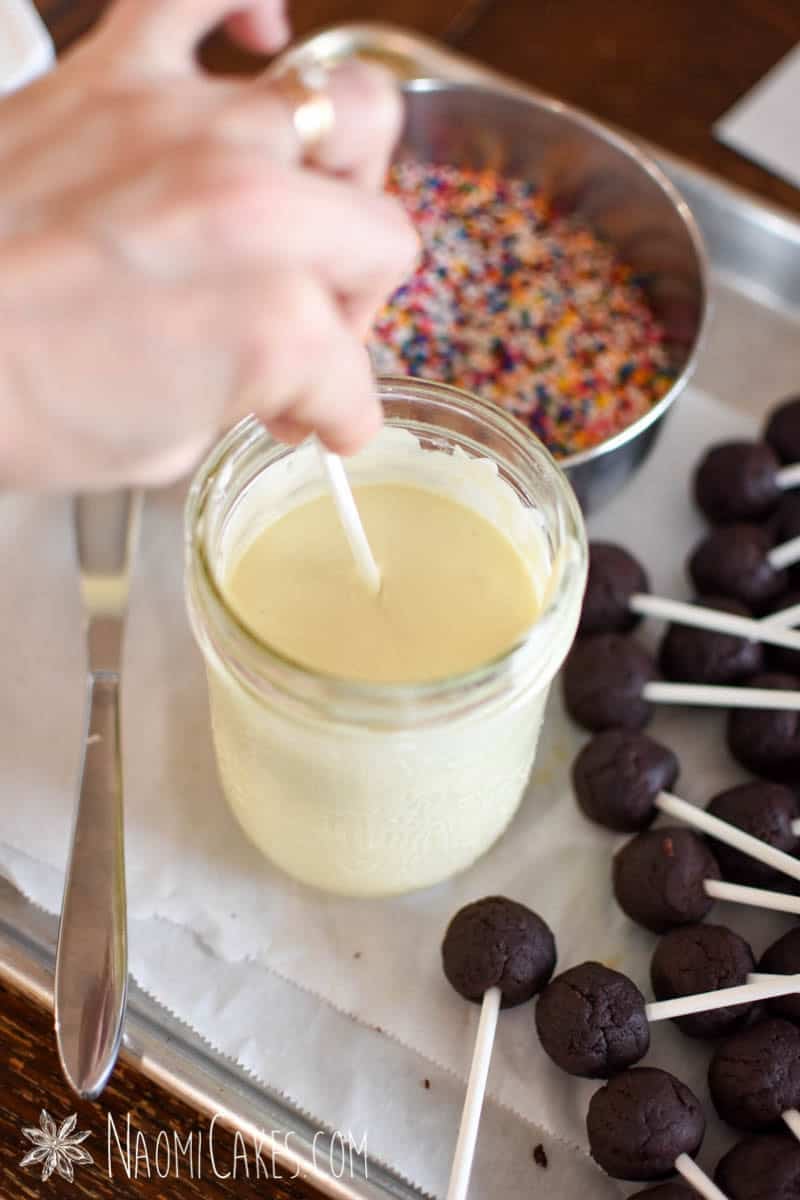
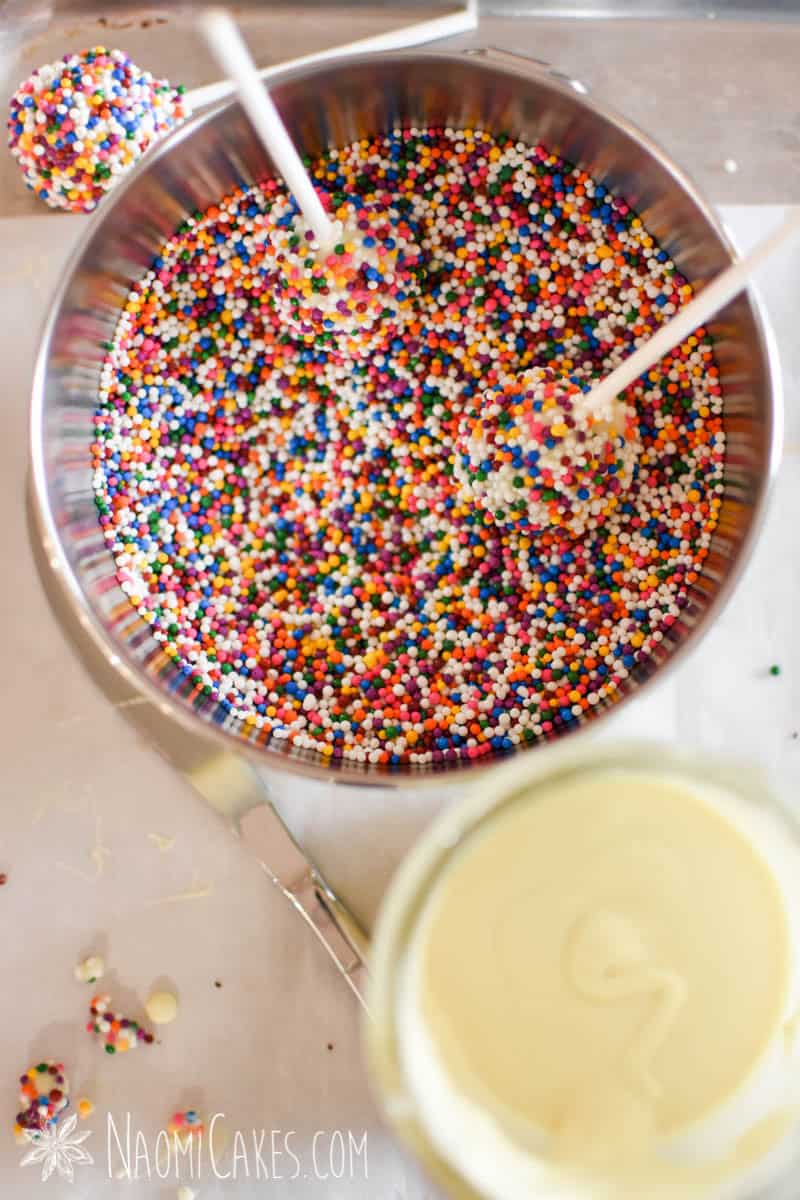
Pour the chocolate into a tall glass or wide mouth mason jar*, and measure your sprinkles into a cup or small bowl.
*See recipe notes.
-
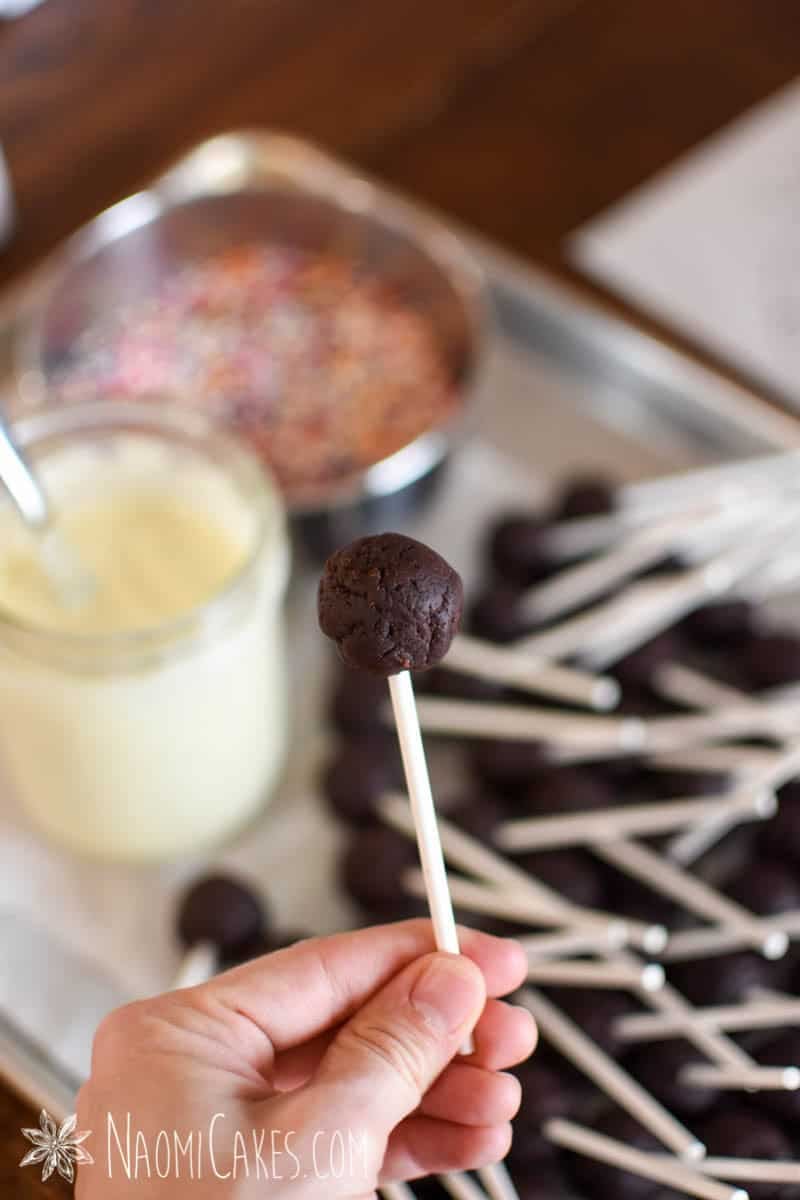
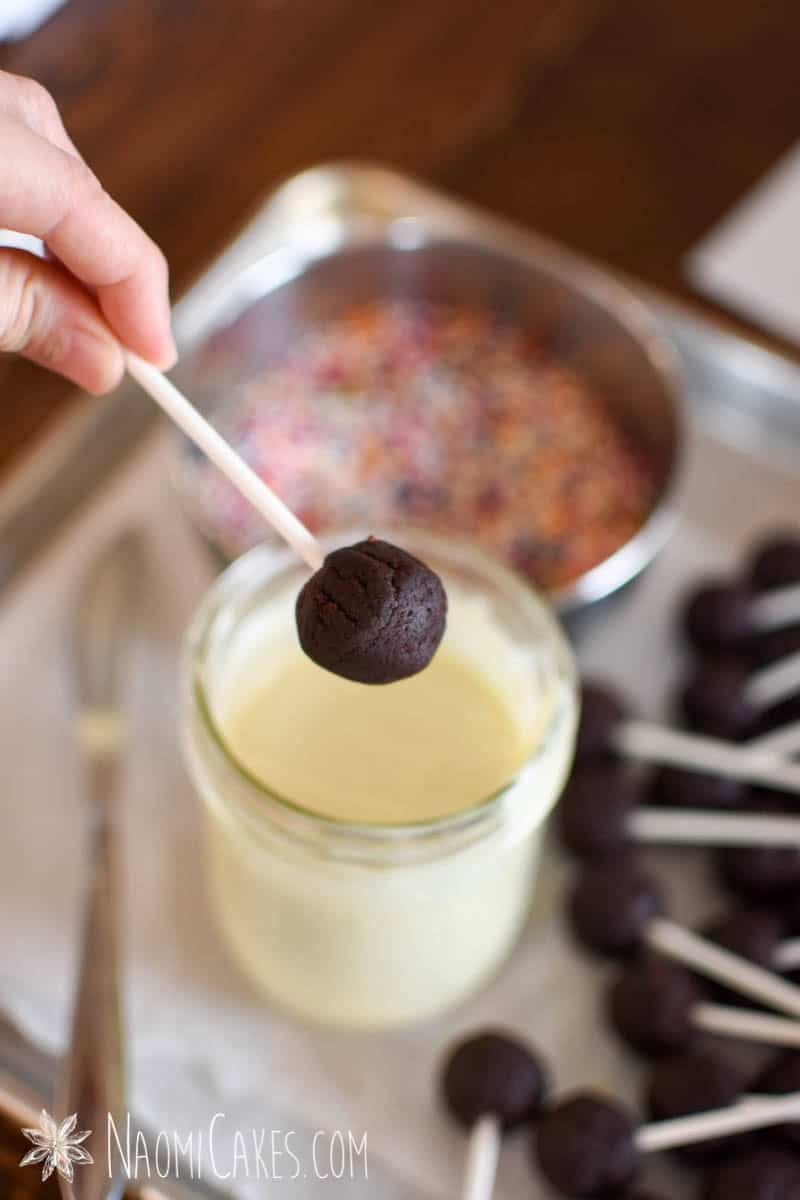
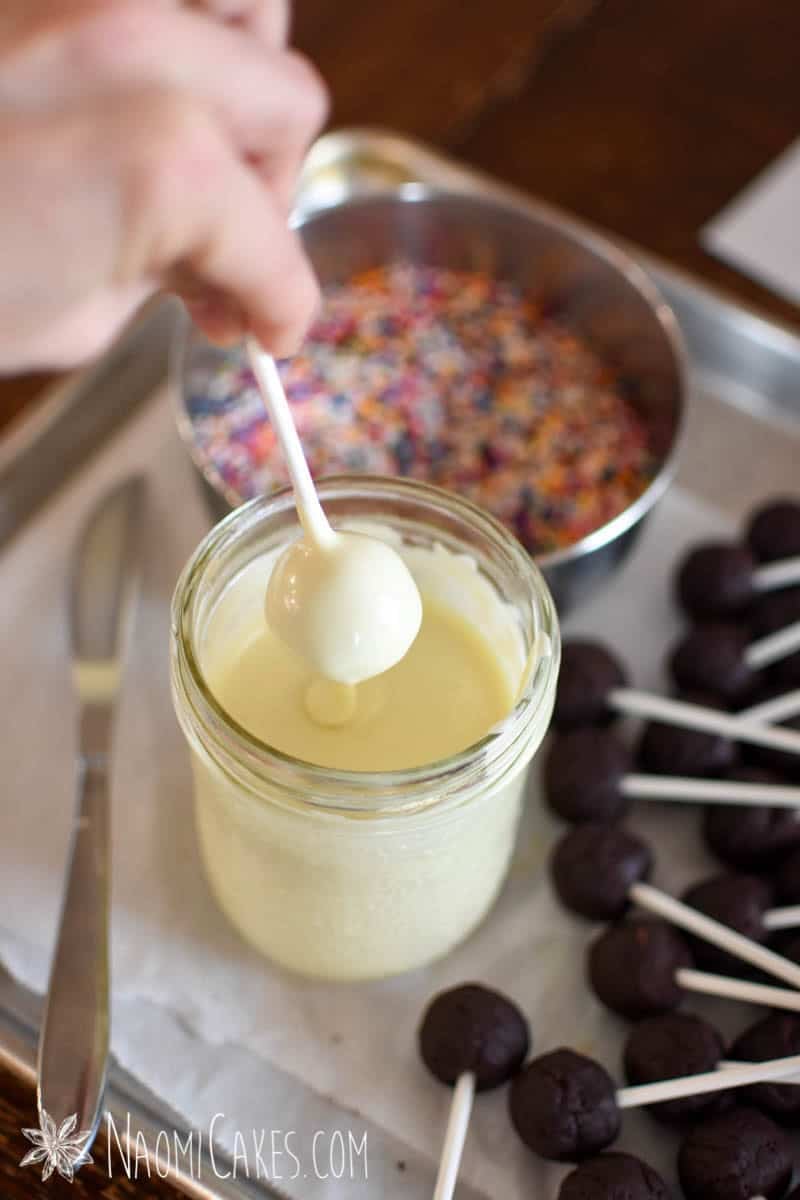
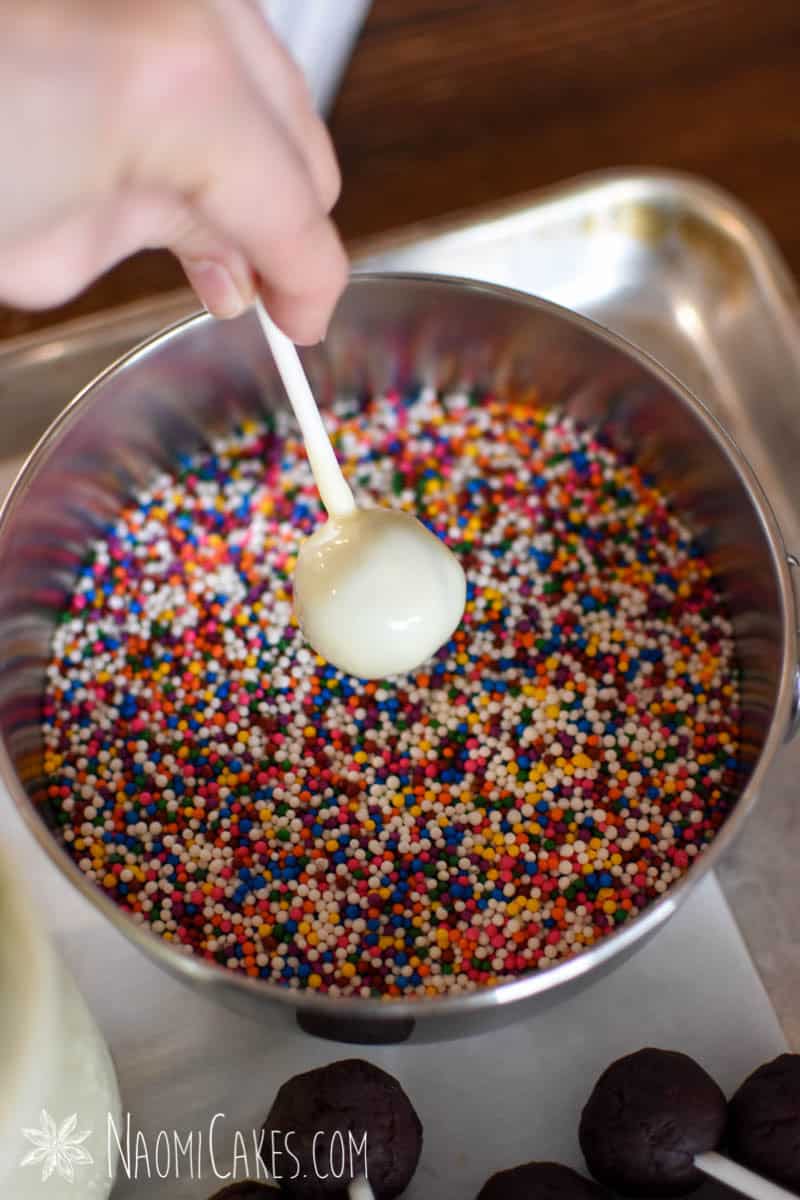
Dip the cold cake pops into the chocolate upside down, shaking the cake pop off a little bit to remove excess chocolate. You can also gently scrape some of the excess chocolate off of the cake pop by twirling it against the side of the jar.
-
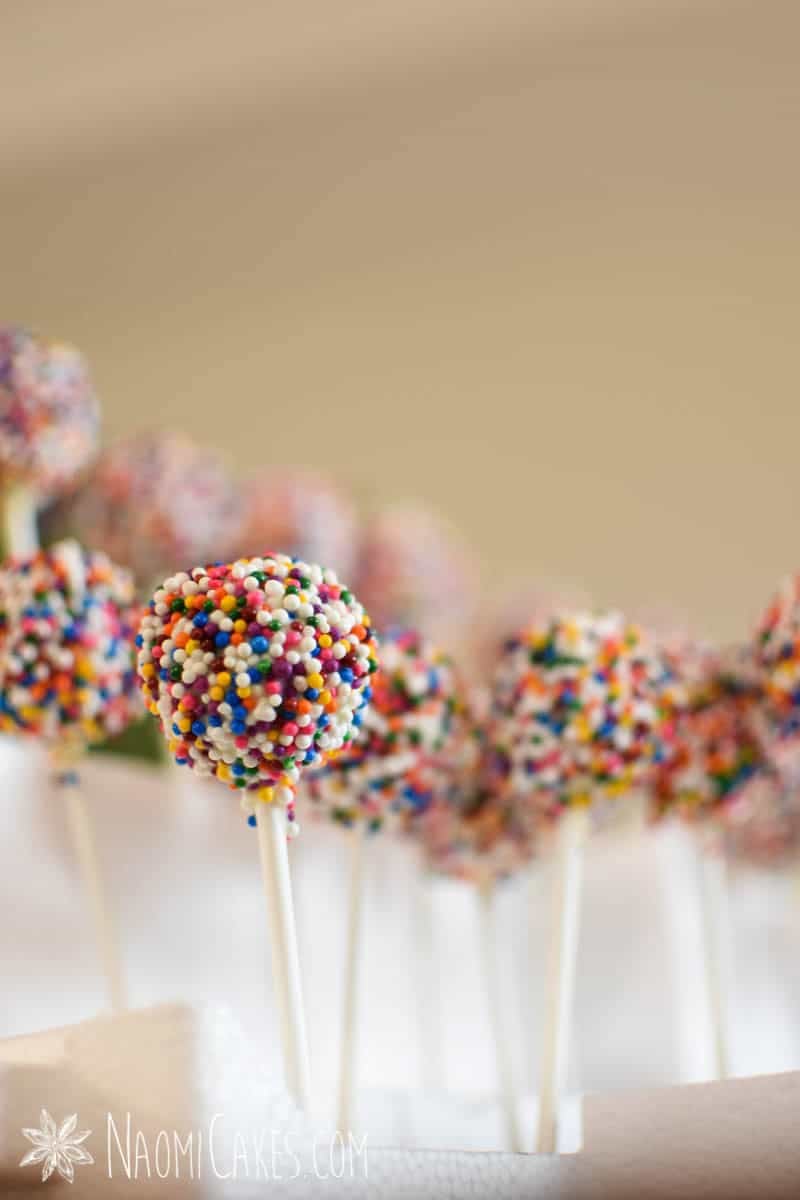
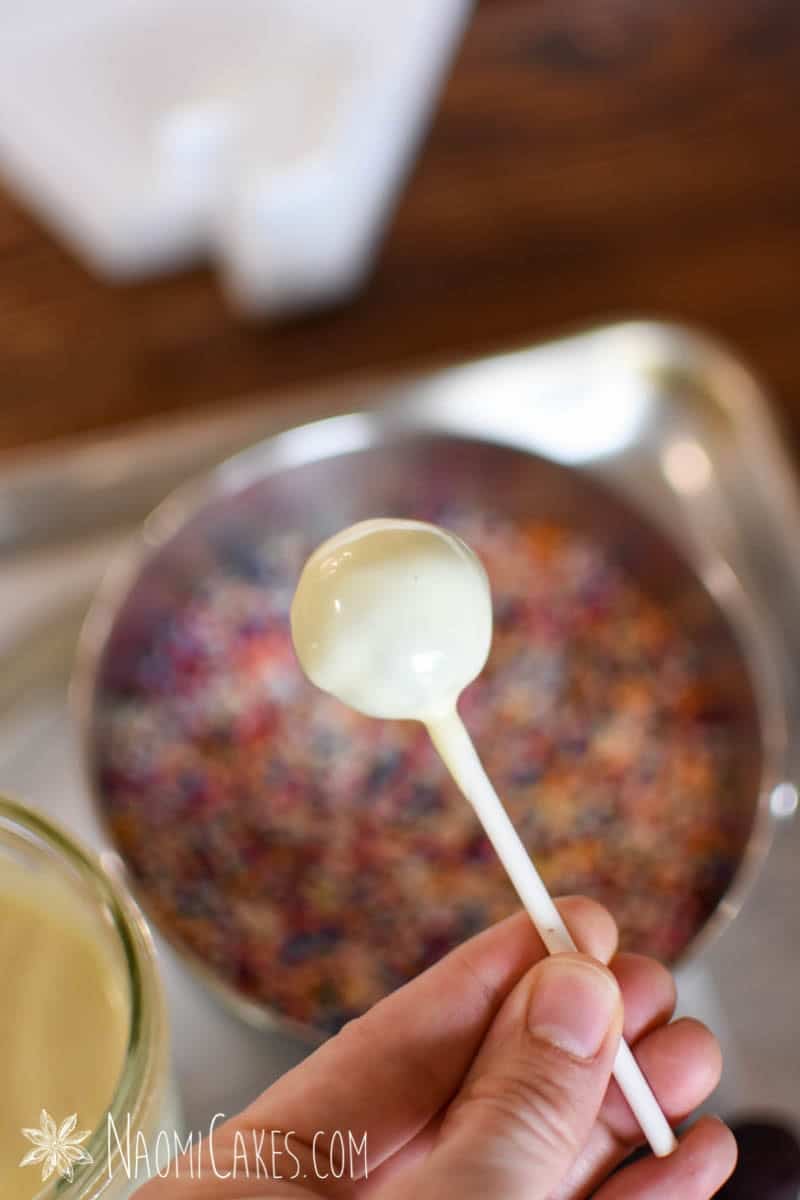
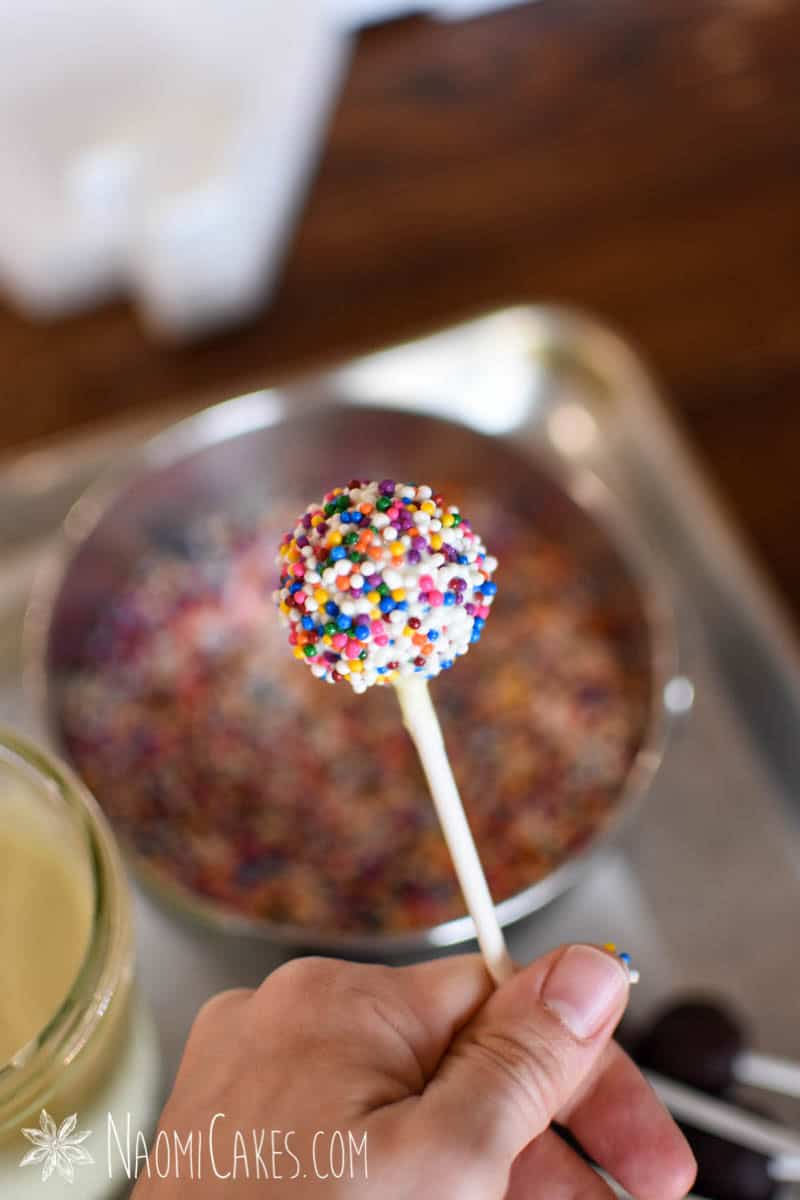
Dip the chocolate covered cake pop into the sprinkles until fully covered, and then insert the sucker stick into a foam block so that the cake pop can set in an upright position.
Tip: If your sprinkles are dripping off of the cake pop, you can try removing a little more of the excess chocolate next time or allow the cake pop to rest for about 20 seconds before dipping it into the sprinkles.
-
Repeat with the remaining cake pops until all of them have been dipped in chocolate.
-
Once the chocolate has set, you can package or display your cake pops as desired. Store in an airtight container in the fridge.
Recipe Notes
*Note: If you want to dip your cake pops inside of a mason jar (as I have for this recipe), you can melt some of the chocolate directly in the uncovered jar in the microwave for 20-30 second bursts, stirring between each, until the chocolate is smooth. If you run out at some point, melt more chocolate as needed until each cake pop is covered.

Dipping the cake pops in chocolate:

If you like this recipe, you may also like:
- Chocolate Oreo Cookie Pops
- Easy Dark Chocolate Truffles
- Classic Sugar Cookies
- The Easiest, Fastest Way to Frost Cookies
That’s all there is to it! If you like this recipe, let me know in the comments or tag me in your photos on Instagram @naomicakesofficial!
Back soon,
Naomi
This post contains affiliate links.