
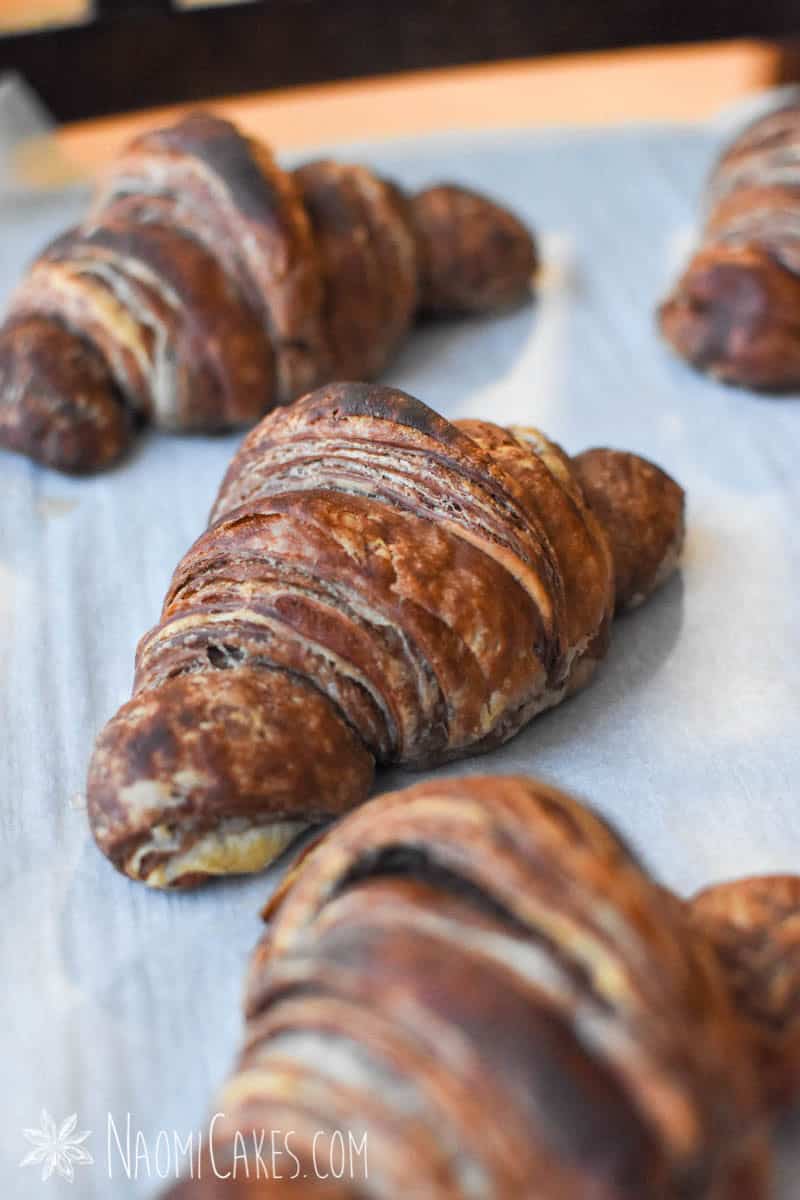
Marbled Chocolate Croissants [Recipe]
A while back, I had someone comment on one of my other croissant recipes asking me if I could make a chocolate croissant with chocolate dough. That got my creative brain thinking, my bakers’ fingers twitching, and my desire to BAKE, baking. Fast forward a little while, and this marbled chocolate croissant recipe was born!
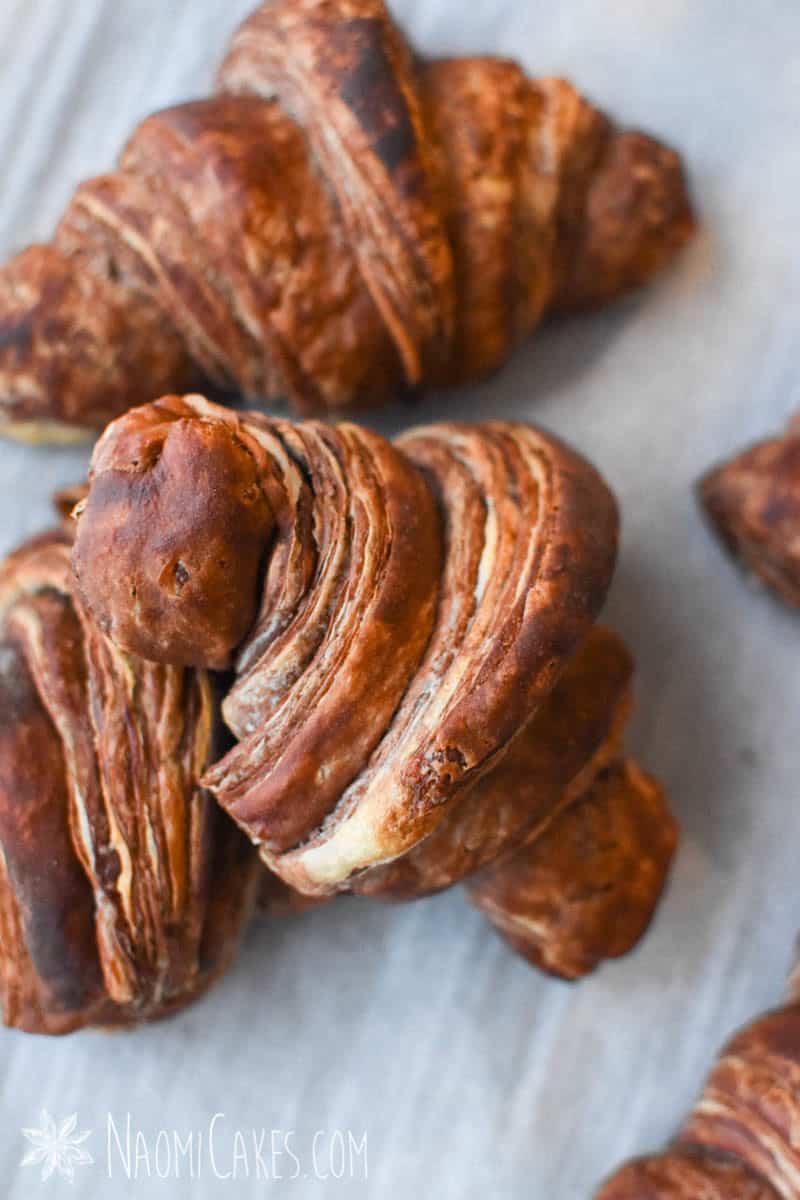
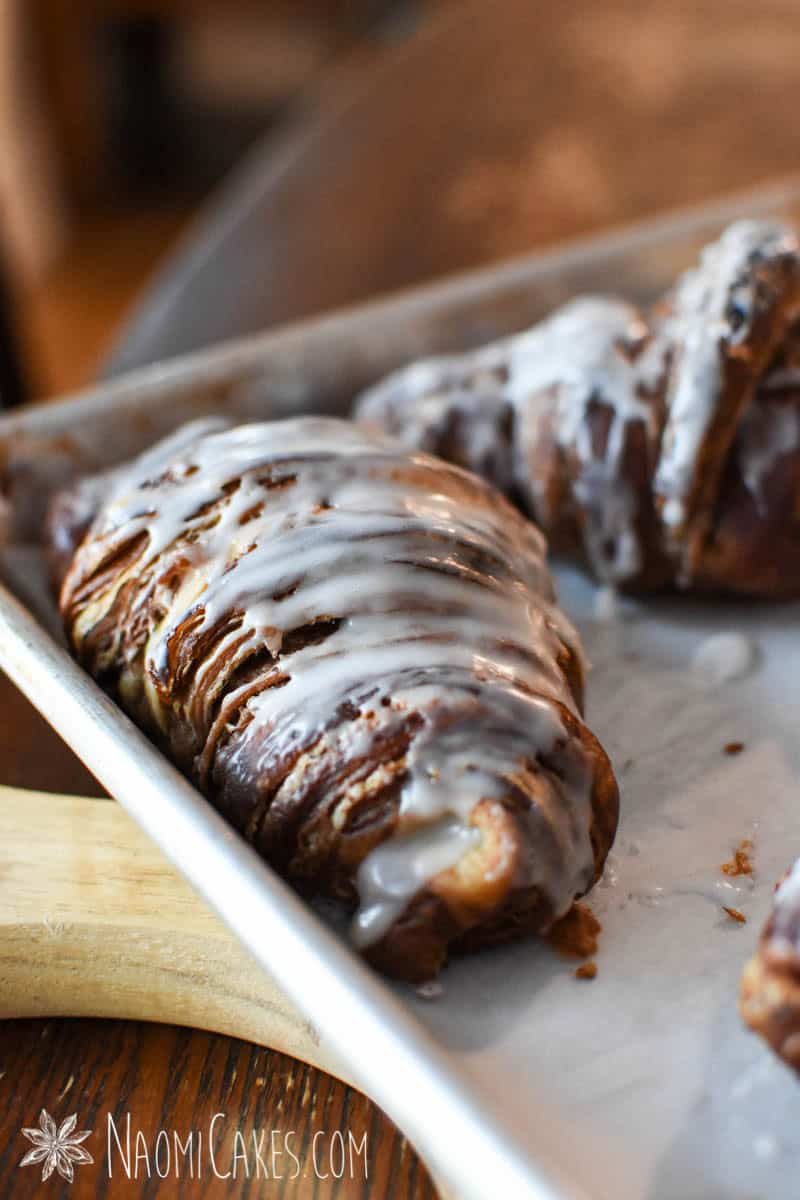
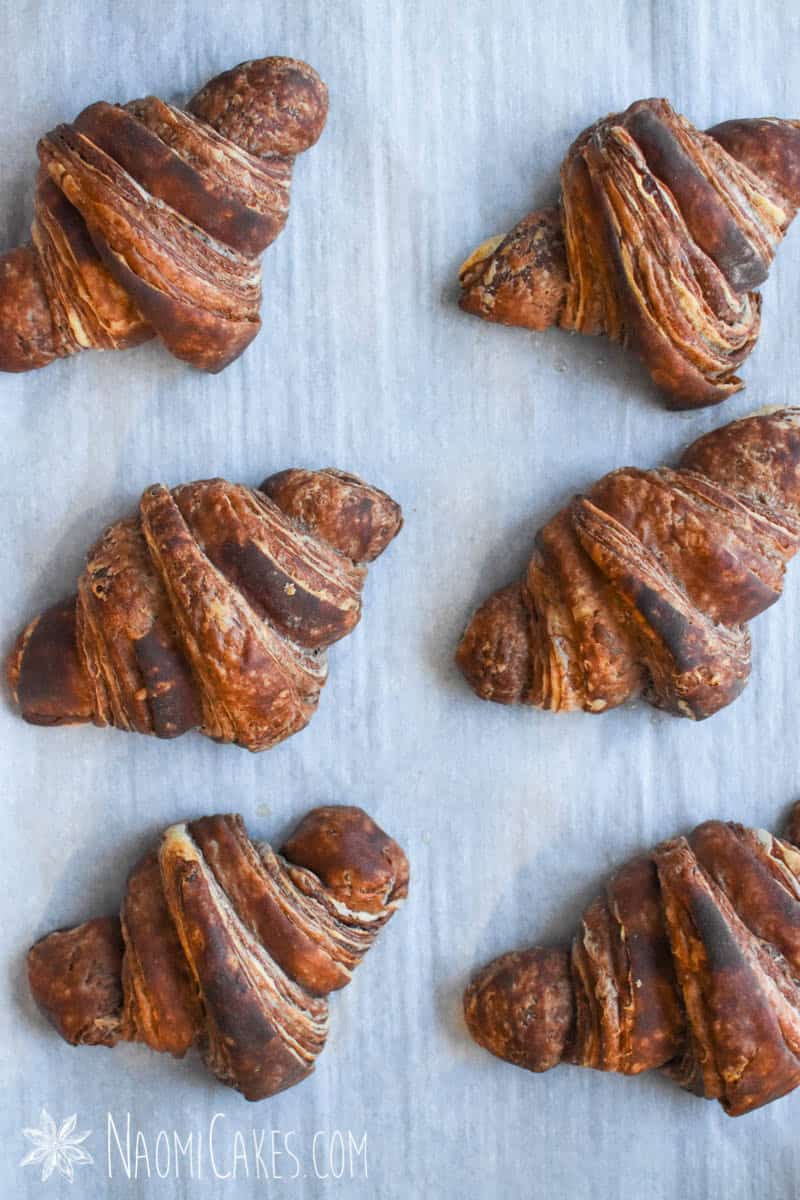
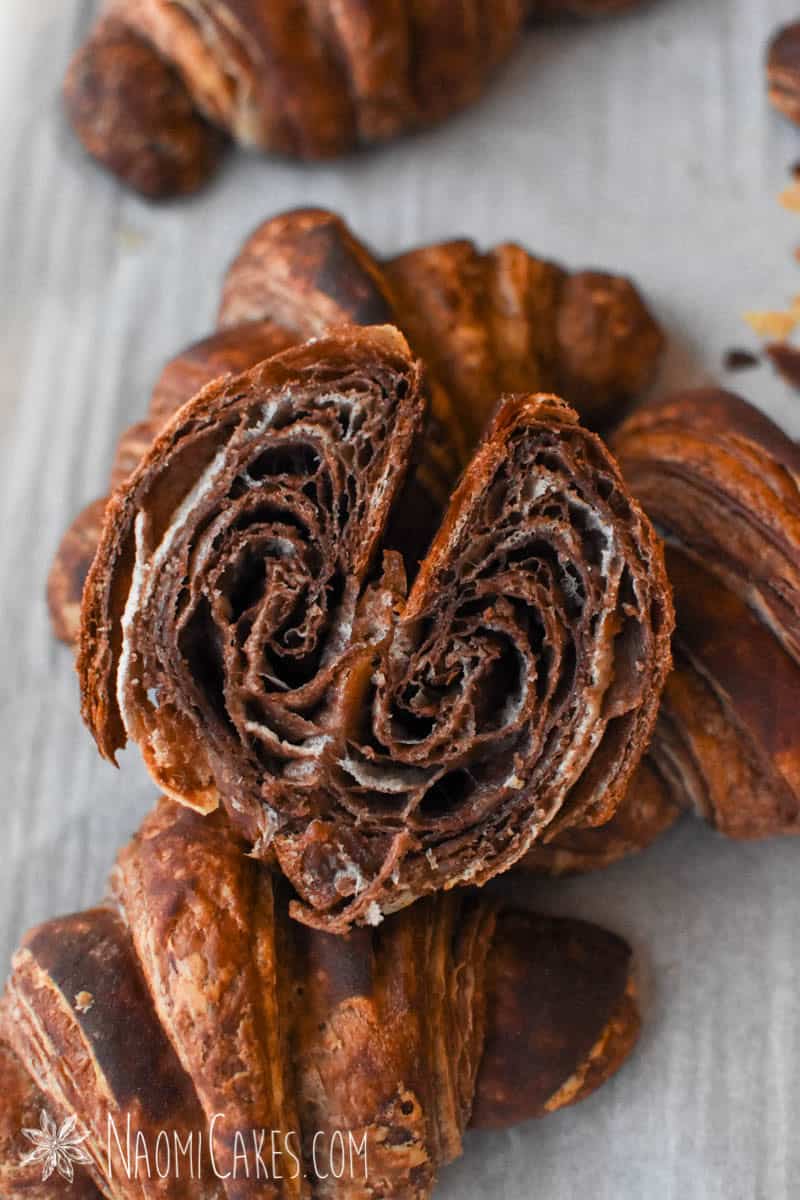
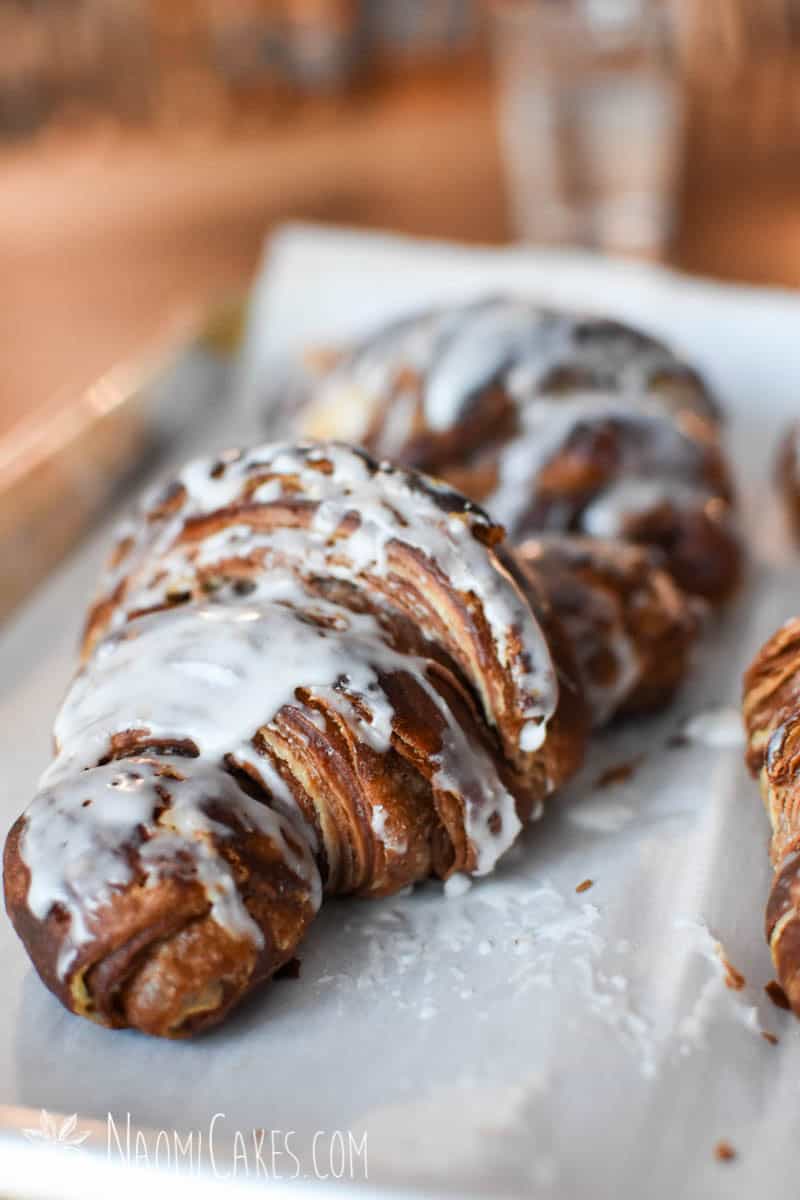
This recipe is a layered masterpiece of regular croissant dough and a slightly sweet chocolate croissant dough. The result is a completely delicious, unique croissant recipe that can be served either savoury or sweet (with the optional glaze included in this recipe).
What are croissants?
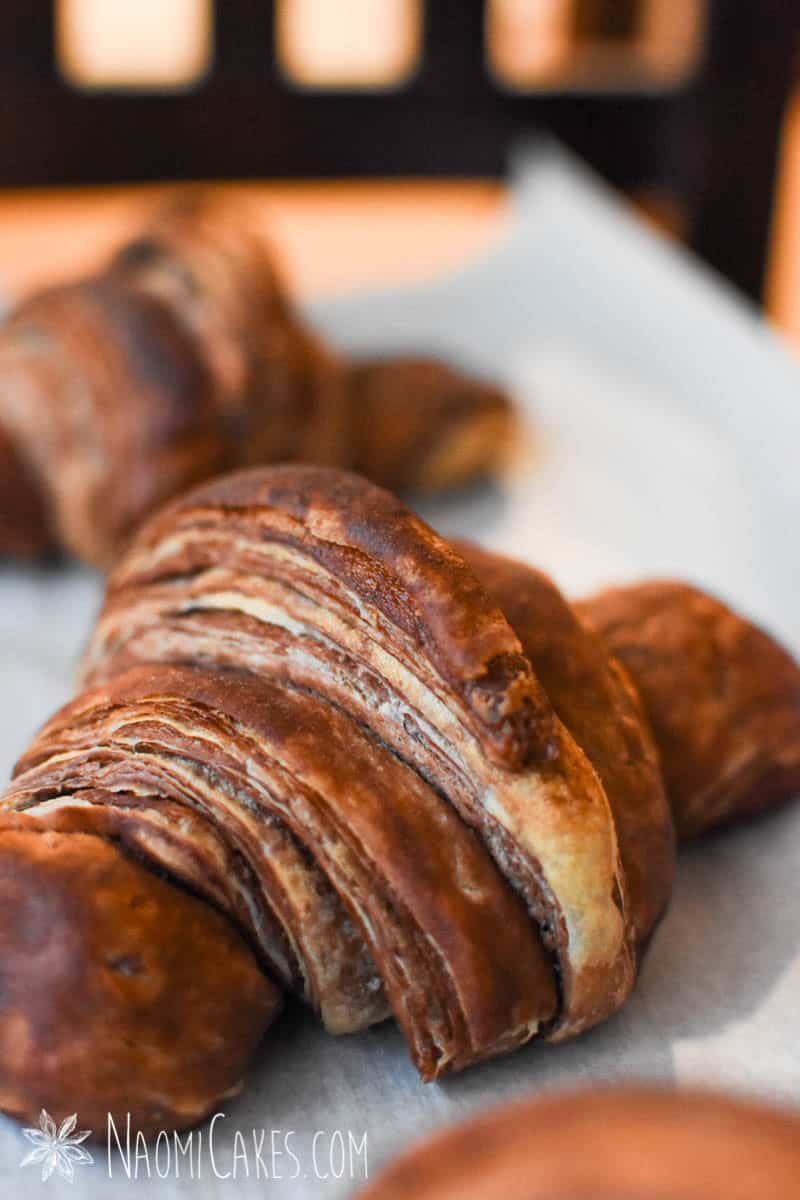
Croissants are a French pastry inspired by an Austrian pastry called “Kipferl,” a sweet, crescent shaped roll with brioche-like dough. (source) Traditional French croissants are made to be more savoury than sweet, with a laminated dough and paper thin, buttery layers (similar to puff pastry).
Chocolate croissants vs. marbled chocolate croissants
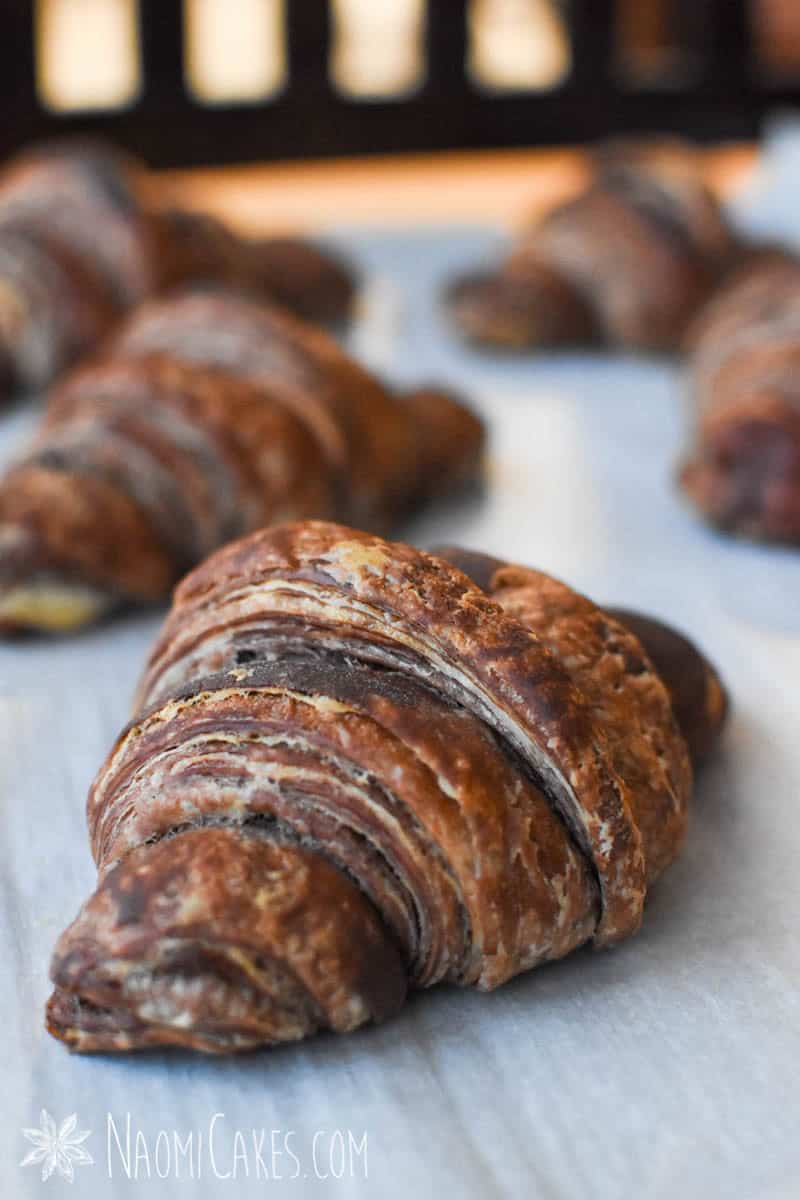
“Pain au chocolat,” or “Chocolate croissants,” are a regular butter croissant baked with a bar of quality dark chocolate in the middle. This recipe is quite different, using cocoa powder (and a bit of sugar) in half of the dough to create a dark, chocolate flavoured layer interspersed with the traditional, golden, flaky layers of the croissant.
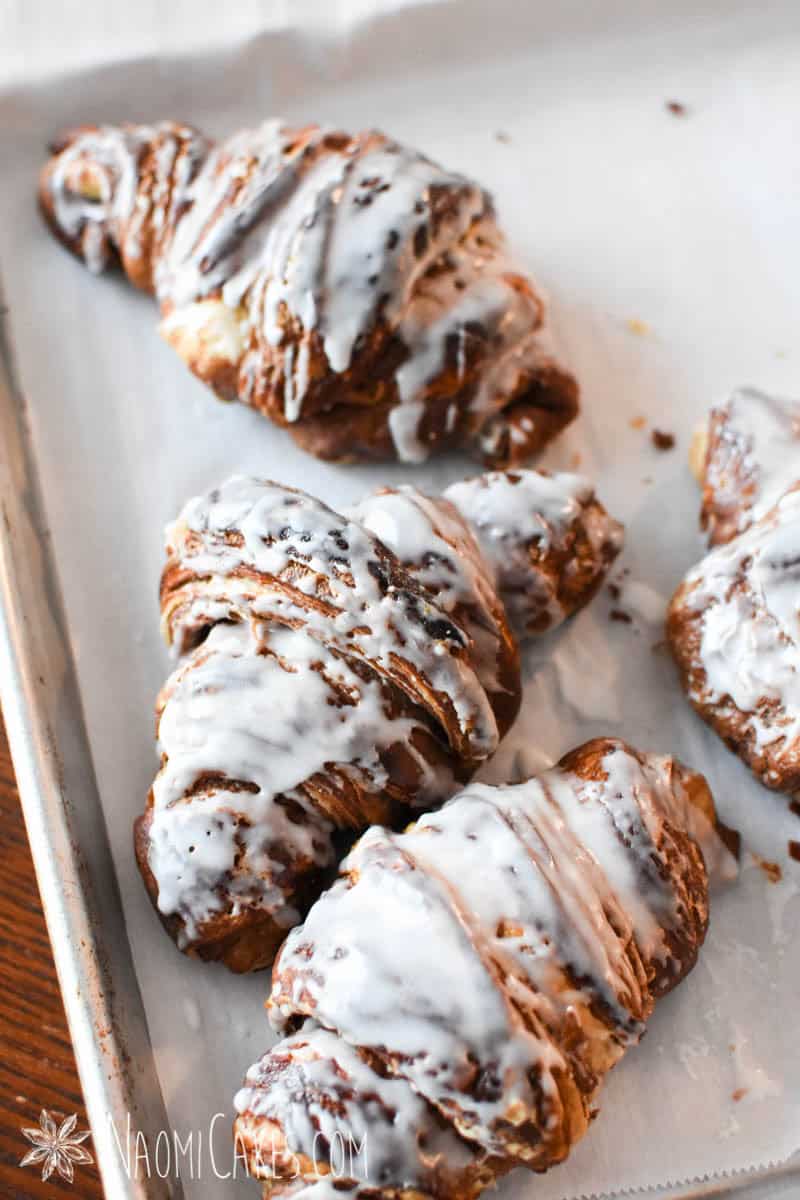
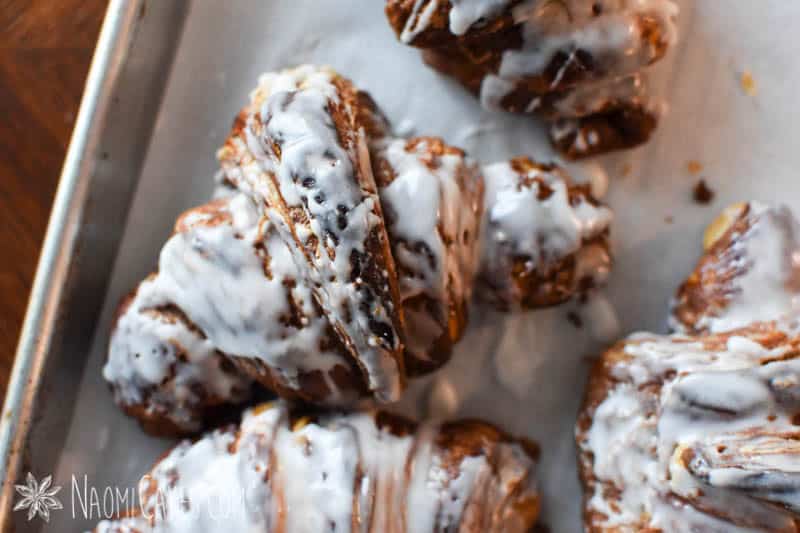
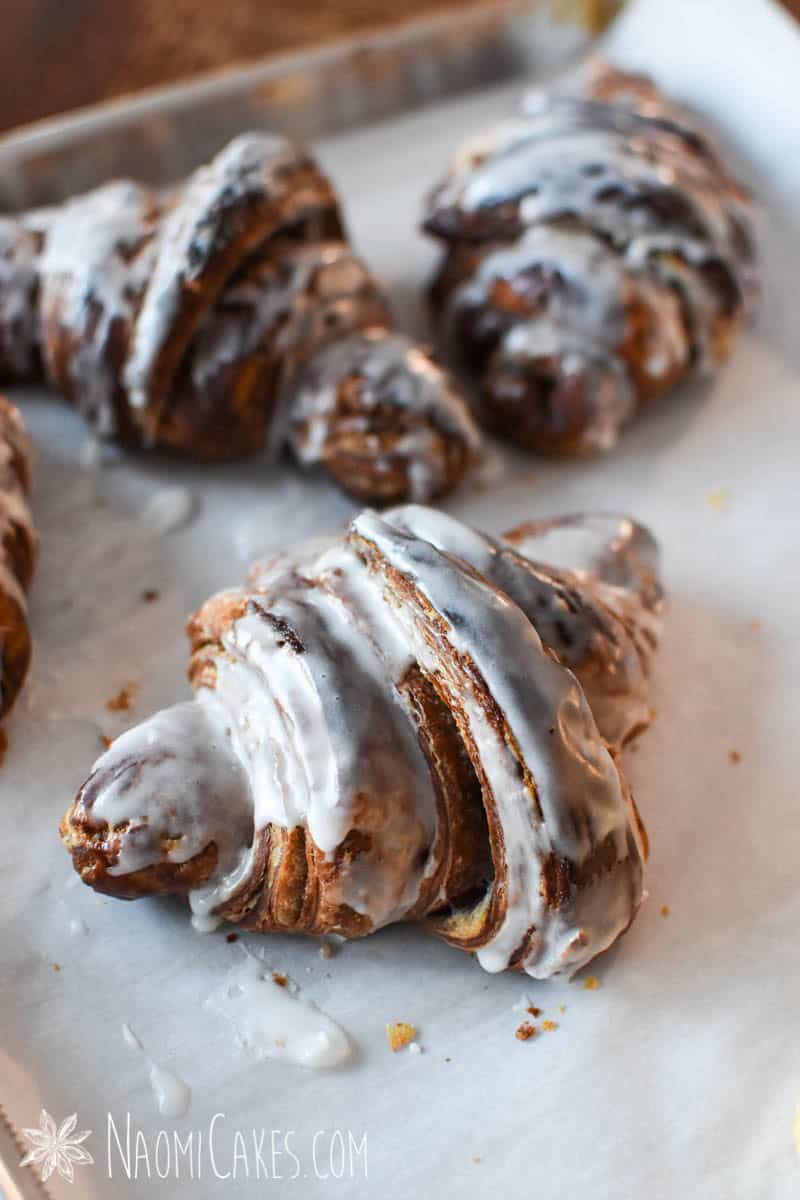
Chocolate croissants are often decorated with drizzled dark chocolate, and marbled chocolate croissants can be served plain or brushed with a sweet vanilla glaze.
How to make marbled chocolate croissants
Marbled chocolate croissants are made much like butter croissants, just with 1/2 of the dough being a sweeter, chocolate version. Here are the basic steps for how to make these delicious croissants with chocolate dough.
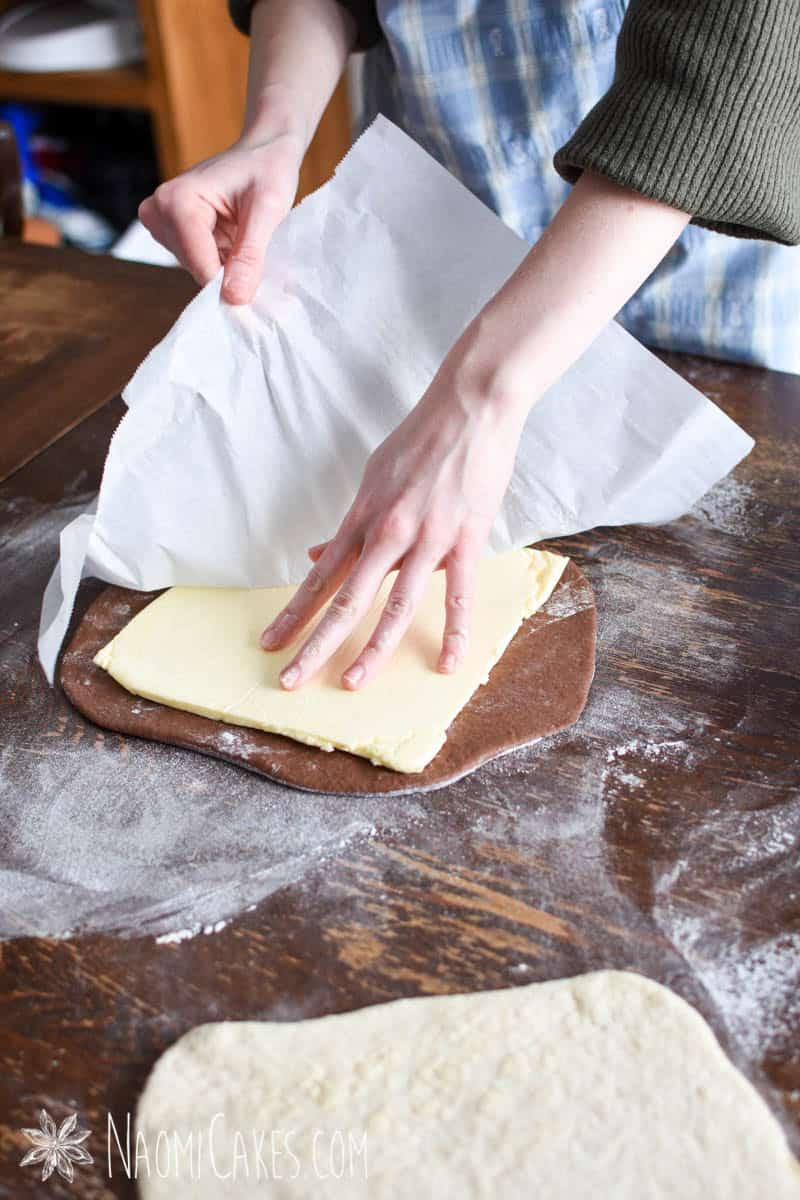
Prepare the butter
A thin sheet of cold butter is essential for making perfect croissants. You can prepare this by pressing softened butter out between two sheets of parchment paper (as outlined in my Butter Croissants recipe). You can do this with a rolling pin, and then return it to the fridge until it is firm.
Make the dough
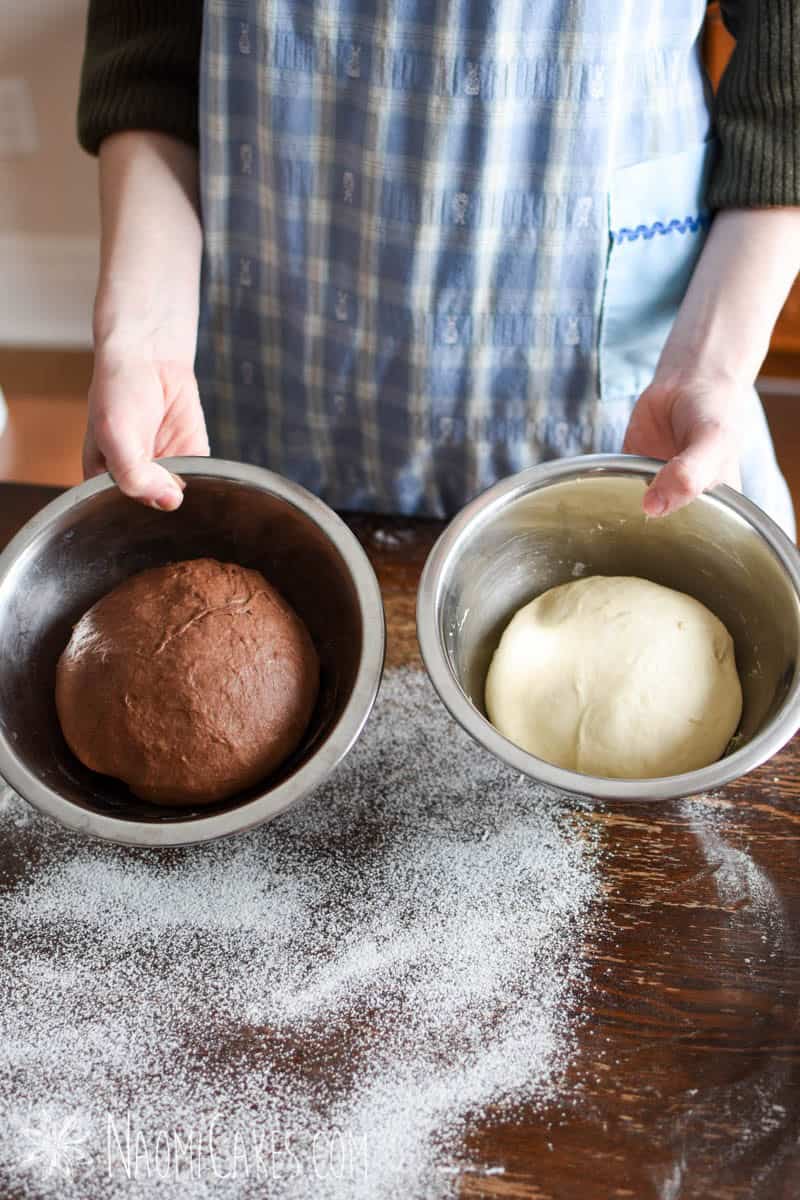
Making the dough is a fairly straightforward process, although it has two kinds: chocolate and regular.
This recipe recommends you make a sponge first for both types of dough (a mixture of flour, water, and yeast). This is to allow the yeast to permeate more quickly and develop some extra flavour (much like a sourdough starter). From there, the other ingredients are added, kneaded together, and allowed to rise.
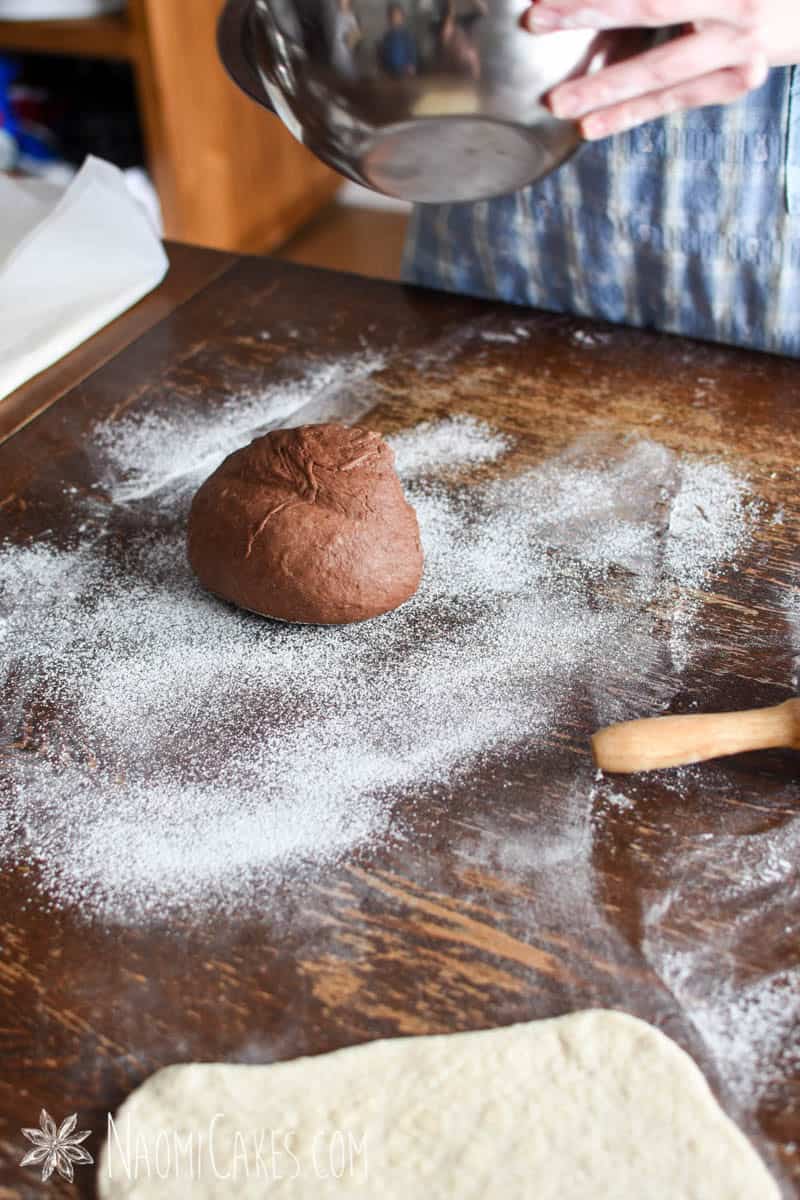
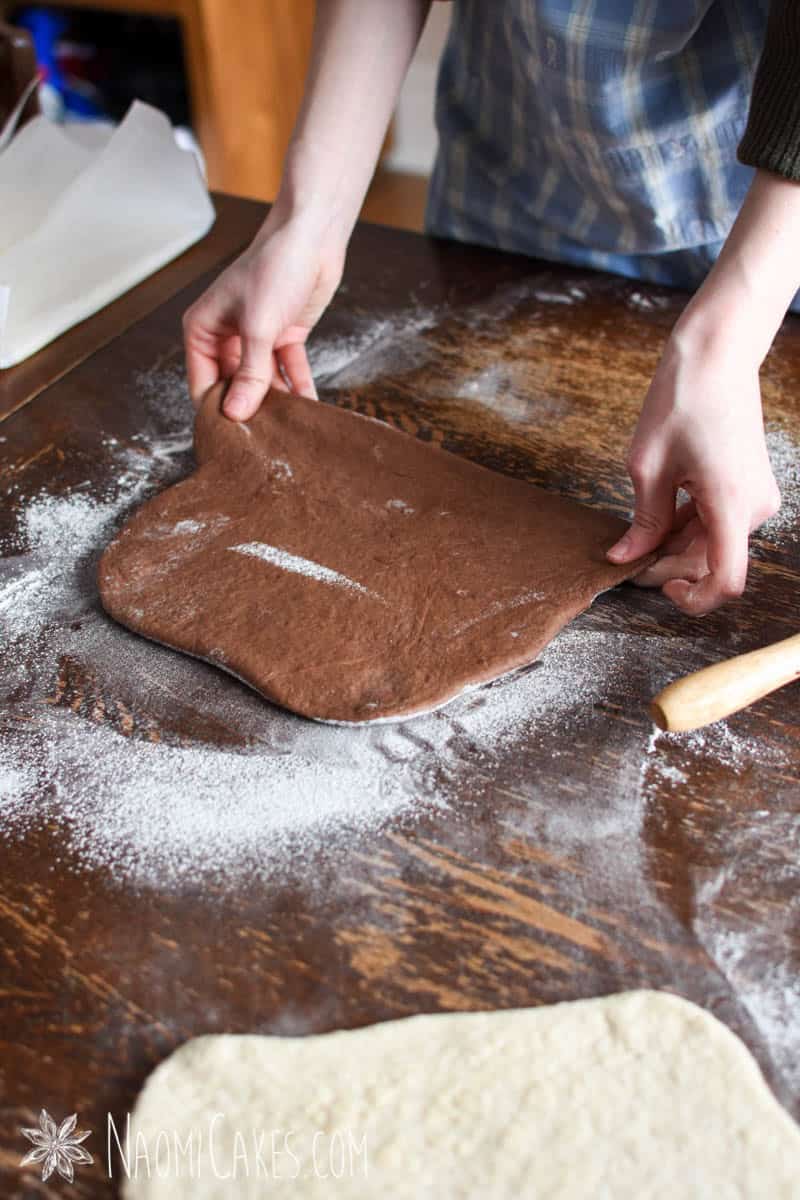
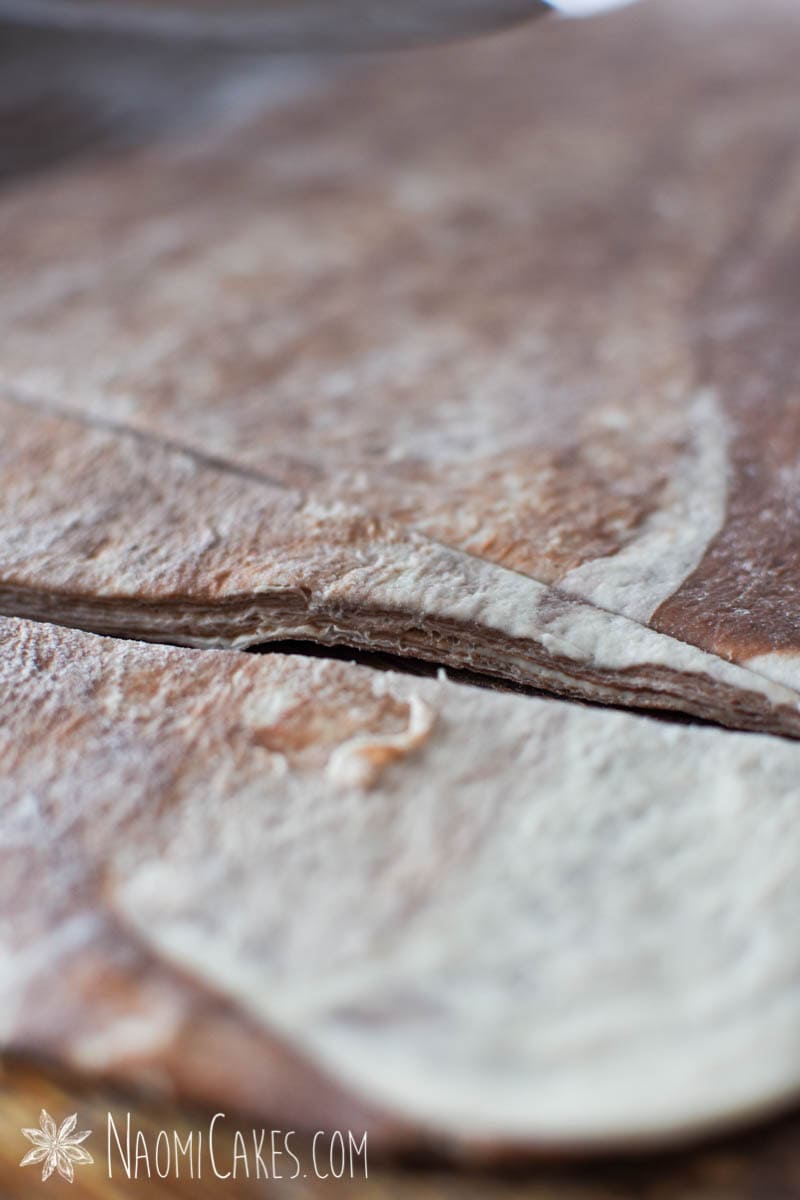
Roll the dough
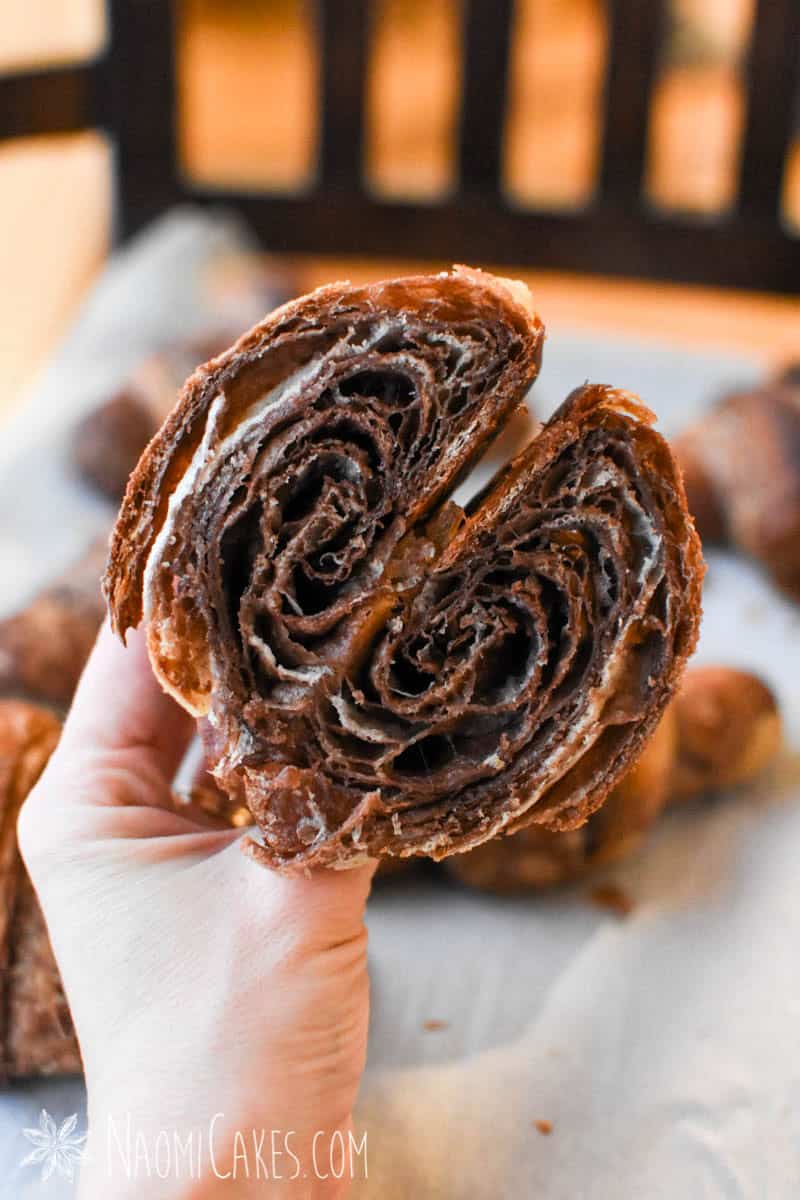
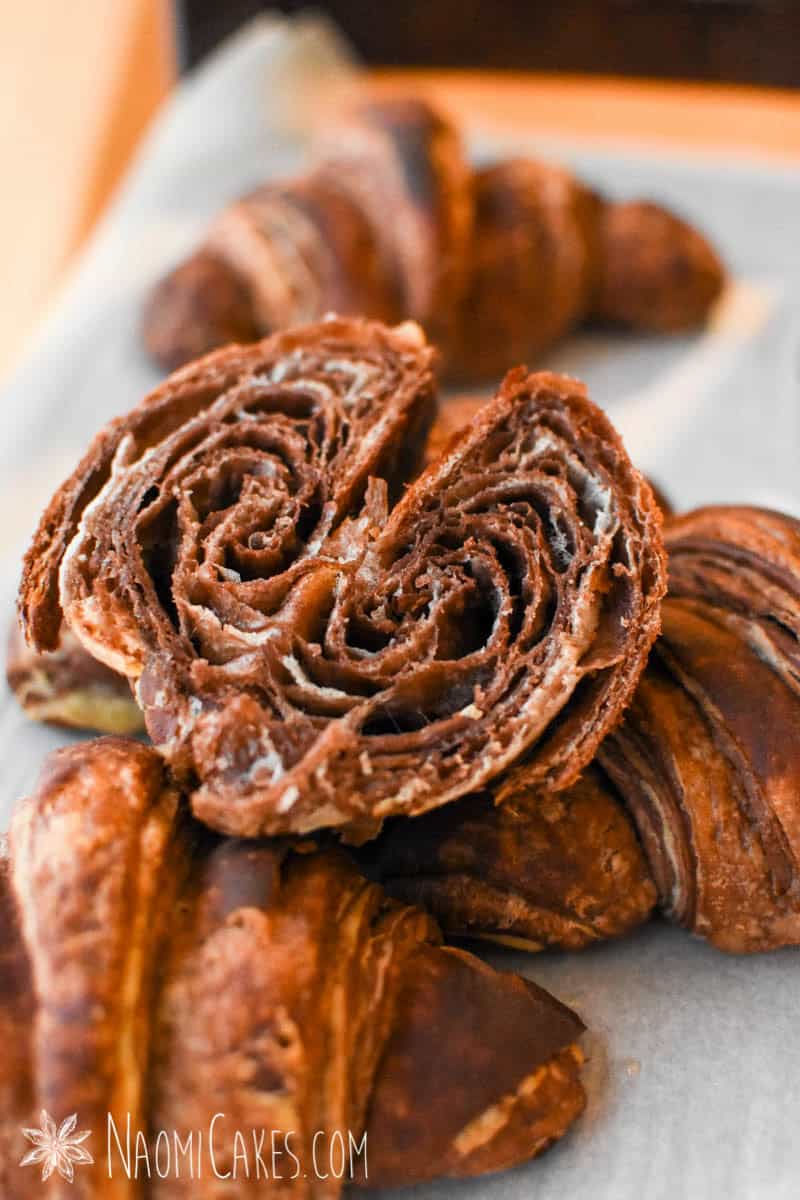
In this step you will roll two types of dough and butter together, folding and re-rolling it about 4x. This will create those beautiful layers of alternate chocolate and white dough with butter.
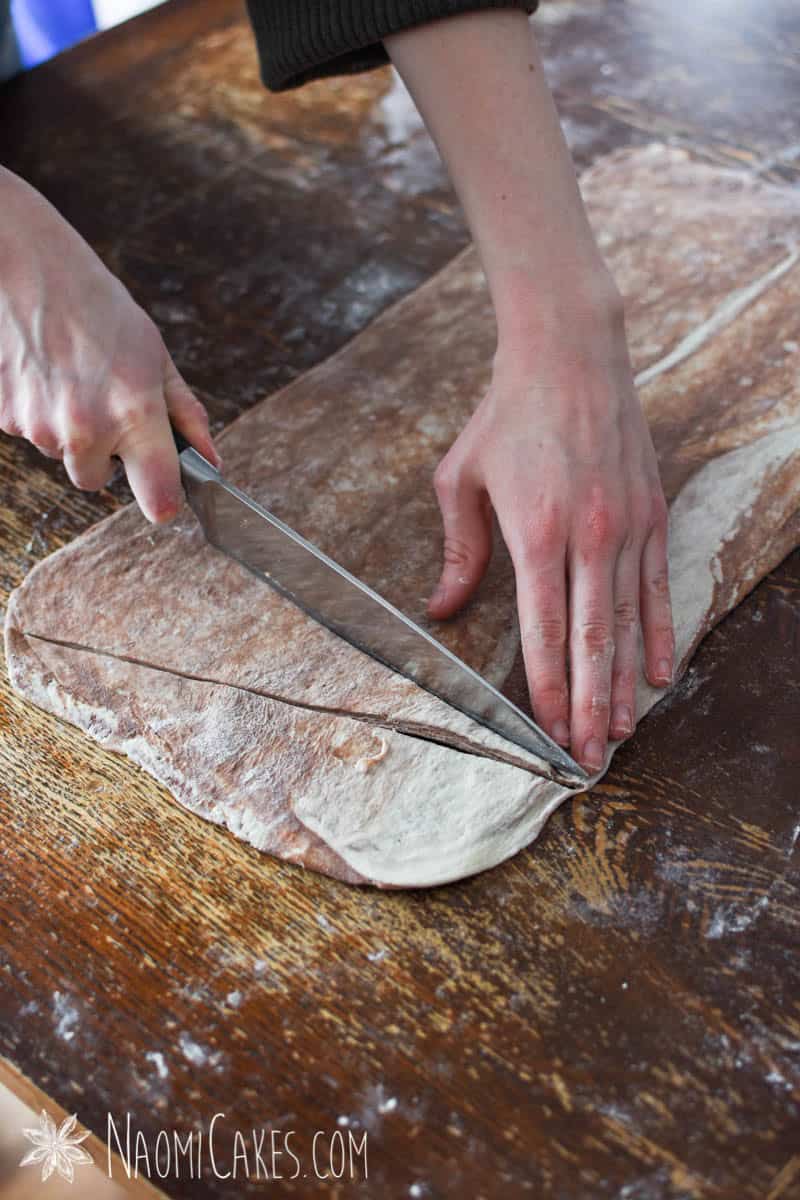
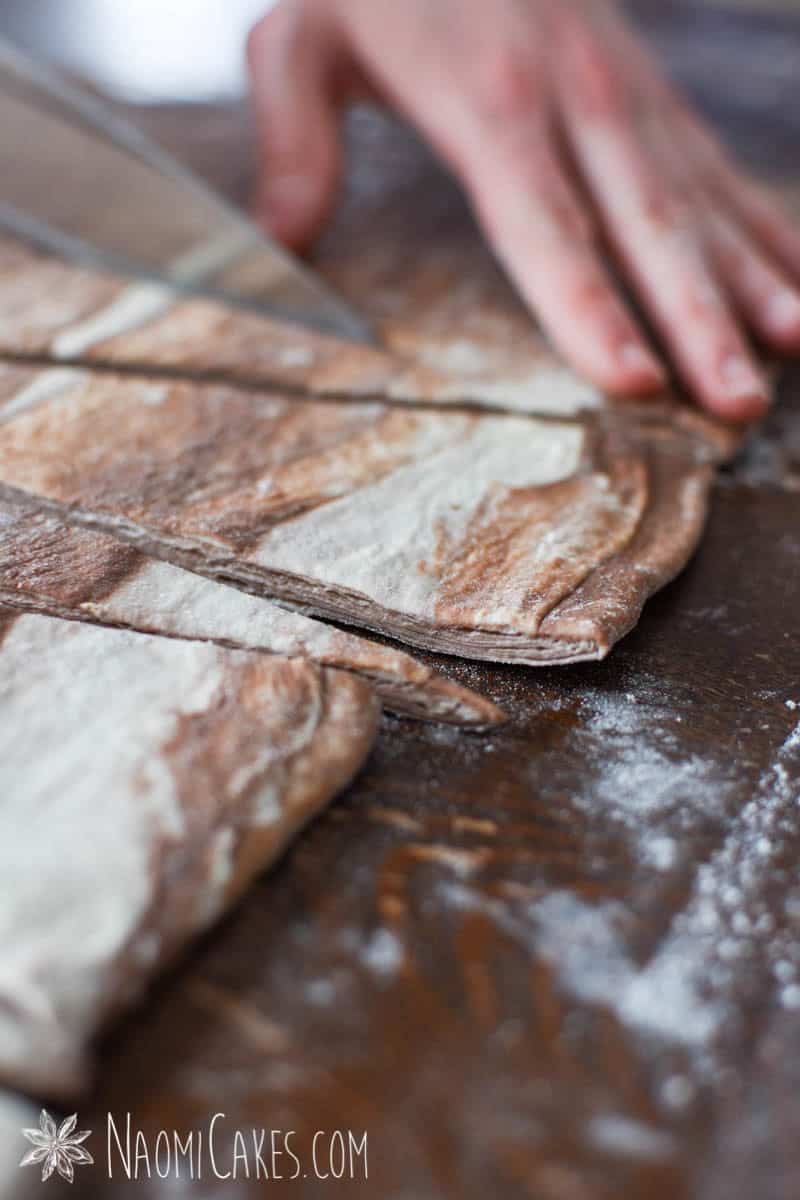
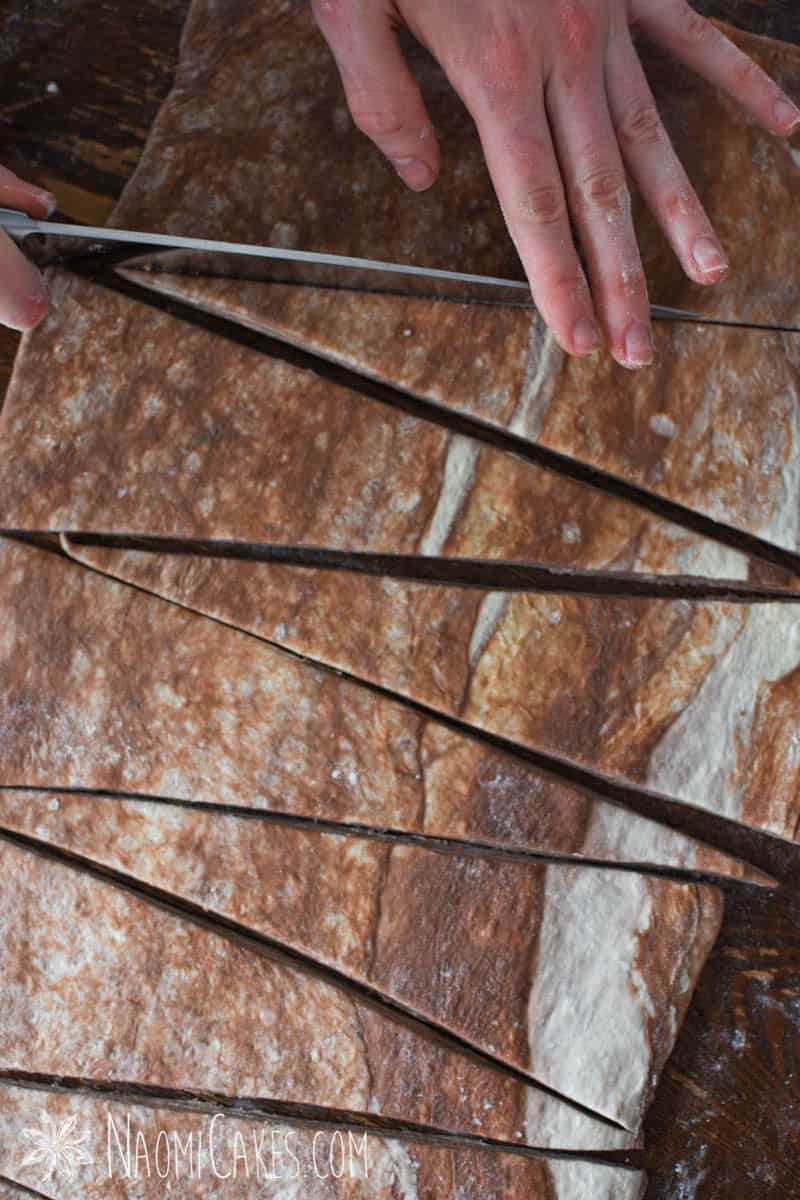
Cut the dough into long triangles
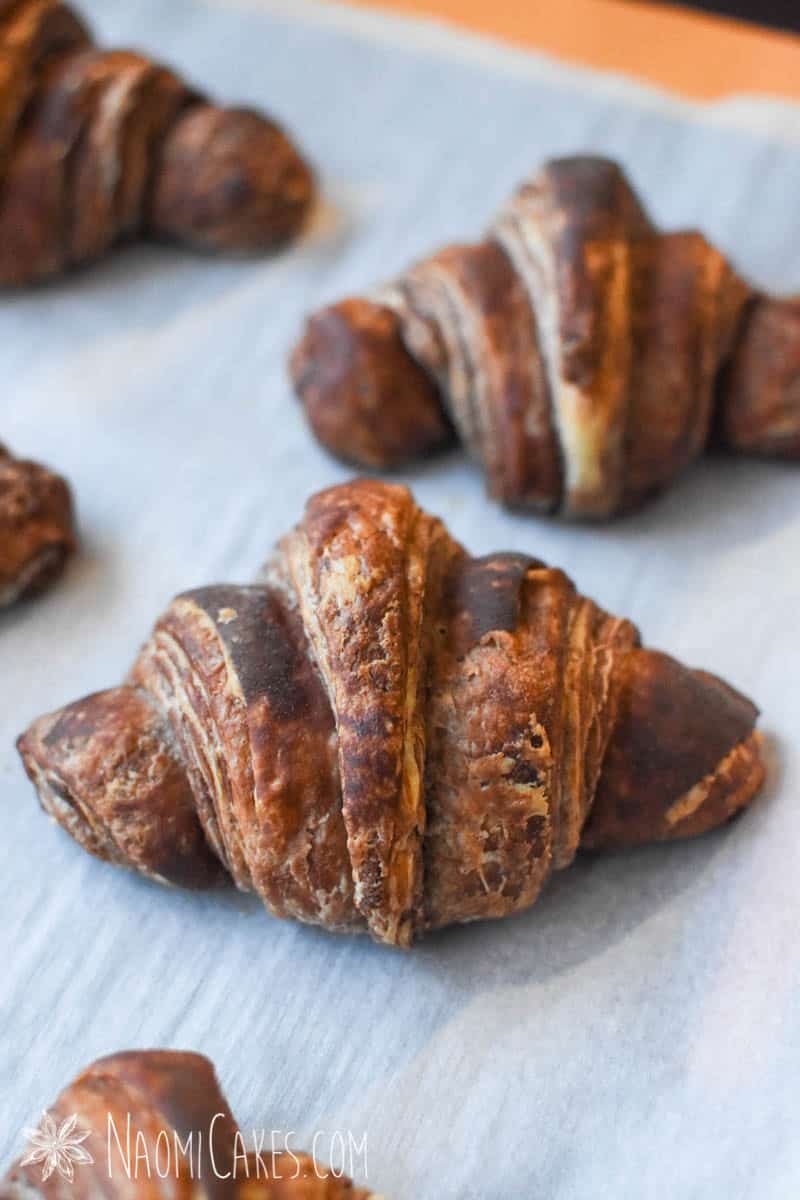
You can make croissants out of any triangle shape. However, the key for beauty is to make them from a long triangle. This is the perfect shape for more of the layers to be exposed on the final crescent roll.
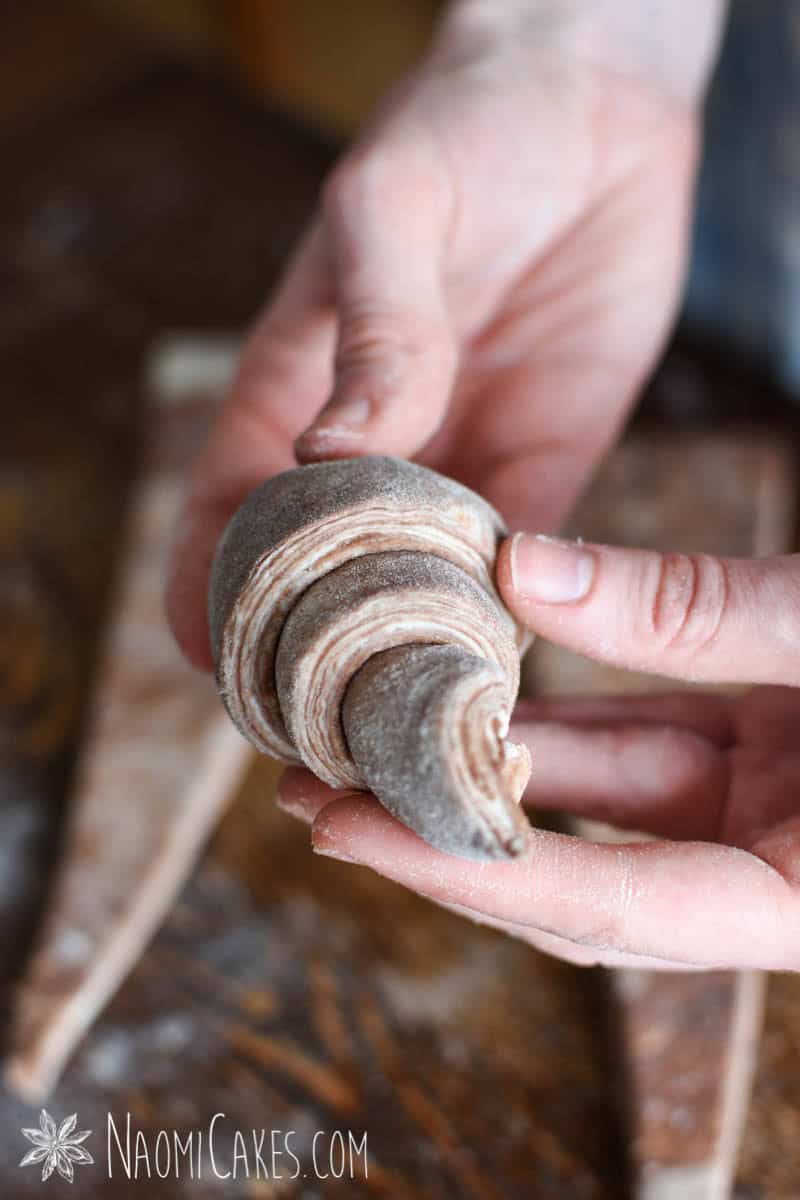
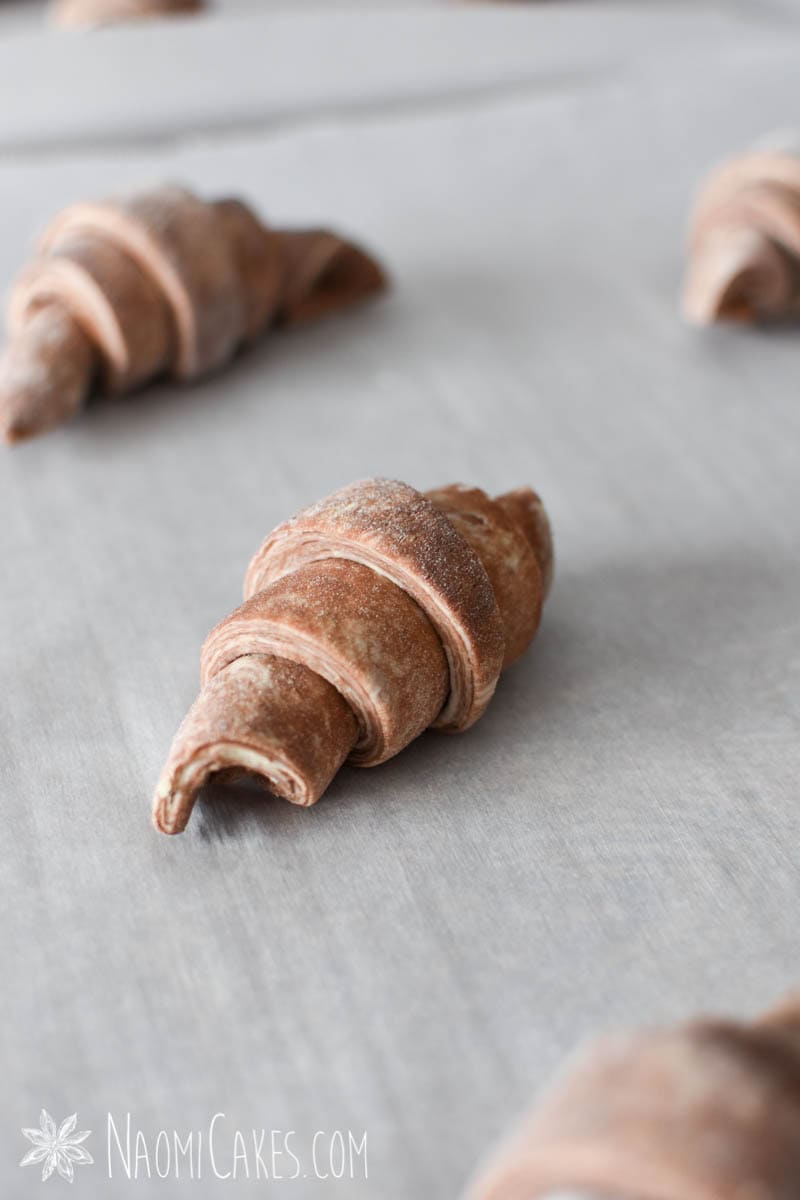
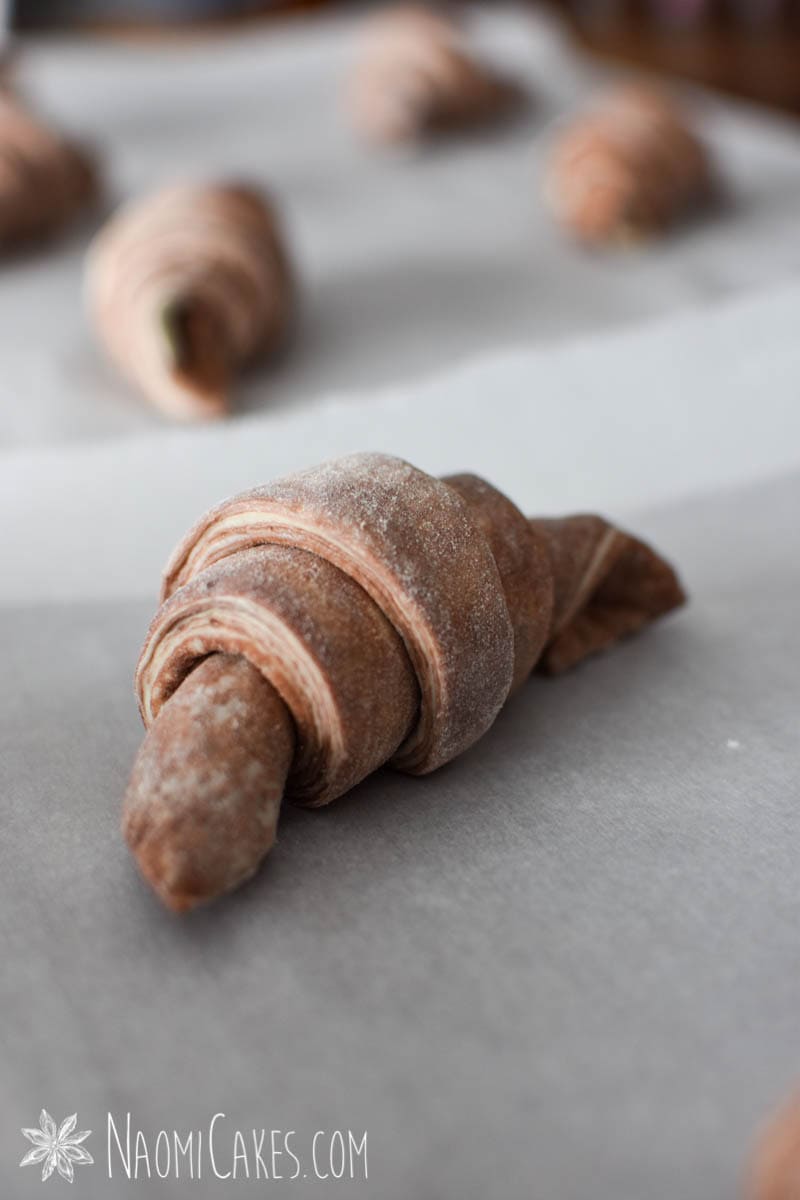
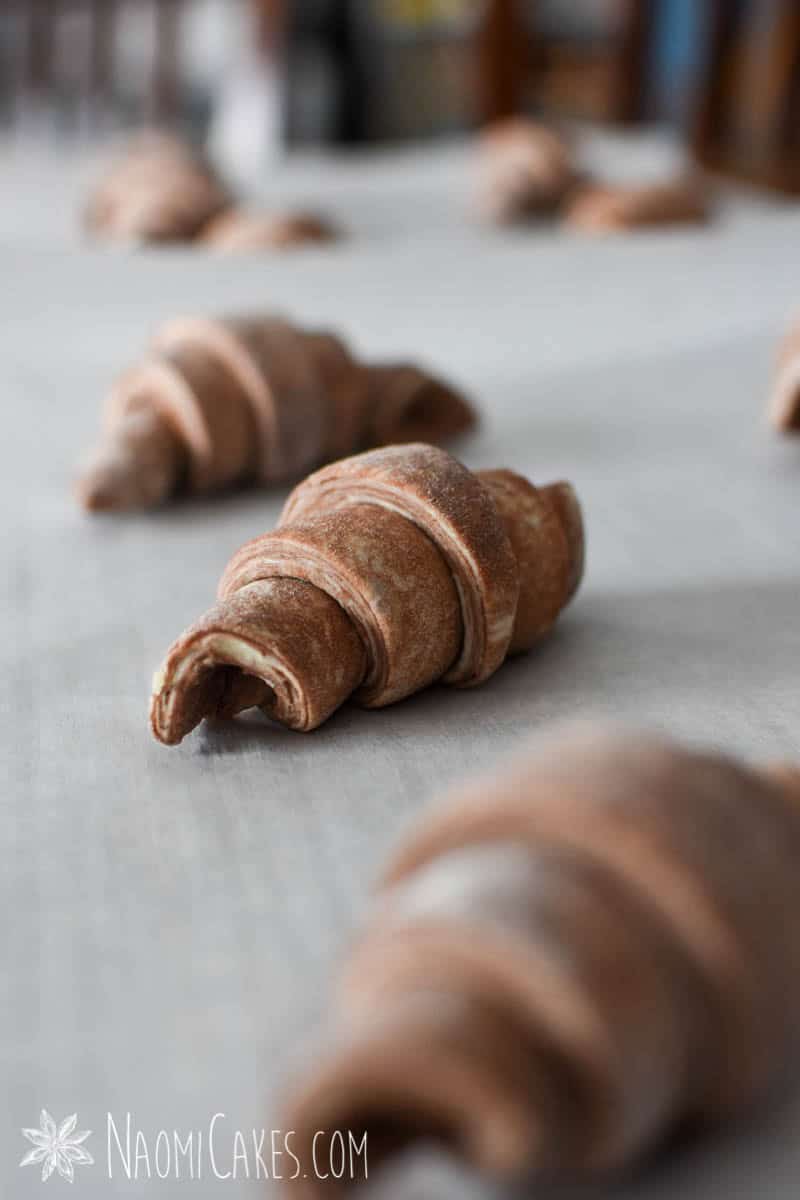
Shape into crescent rolls
The shape of a croissant is achieved by rolling pastry triangles, wide end to the pointy tip. Finally, the ends are curved in slightly to finish the look.
Allow the dough to rise at room temperature
The proofing process can be completed after about 1 hour. However, depending on the temperature of your home, it could take longer. Perfectly proofed croissants should be doubled in size.
Bake at a high temperature
Baking croissants (much like pastry), at a high temperature forces the layers apart. This gives you those beautiful, crispy, golden brown layers.
Tips for making great croissants
- Read the recipe thoroughly
Going over the recipe beforehand will give you the space to process what you will be doing. When you do this ahead of time, it makes each new step feel somewhat familiar. This makes the whole thing less daunting when you actually get to doing it! Read the recipe until you feel like you have a good handle on what you’ll be doing. - Plan your time
Since all croissants take time, it is important to plan your time well. I recommend working ahead wherever you can. Ie, flattening and chilling the butter ahead of time, to make sure the process goes as smoothly as possible. - Keep the dough cold
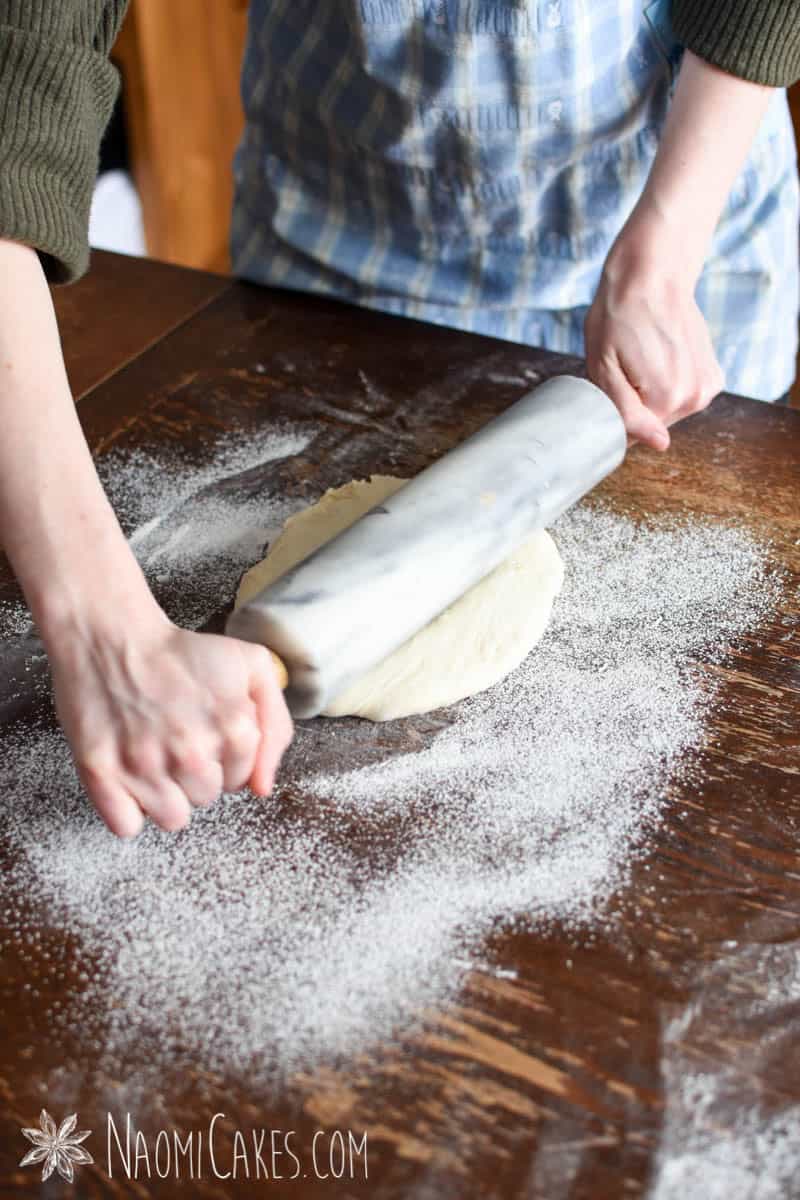
This is an essential part of making flaky croissants by hand. If the butter begins to soften or melt, your dough will be a mess! The layers will also tear, and the whole process will be much more frustrating. Keeping the dough cold will alleviate a lot of stress and make the process more fun. - Use a chilled marble rolling pin
This, in my opinion, is the key to making perfect croissants at home. Rather than pausing every couple of rolls to refrigerate your dough (again), there is a solution! A chilled marble rolling pin will flatten and cool your dough as you work with it. This makes the process of making laminated dough much faster, easier, and more fun! - Bake the croissants fresh
Croissants, like pastry, are best baked fresh on the day you want to serve them. If you don’t have time to bake them fresh, read on! Below I share my easy tips on how to freeze and thaw croissants.
How to store croissants
I want to take a minute here to show you how to store croissants to keep them fresh and make them last!
1 – How long will croissants keep?
As I mentioned before, croissants are best served on the day they are made. Leftover croissants should be kept in a sealed freezer-safe bag or container for 1-2 days. You can, however, freeze them for longer storage for several weeks and revive them to taste fresh! (Read on to find out how!)
2 – How to freeze croissants
Freeze your croissants in single layer in a sealed bag or airtight container. However, make sure to take care that they don’t get smashed in the freezer.
3 – How to reheat (or thaw) leftover croissants
You can thaw your frozen croissants by setting them (frozen) onto a parchment lined cookie sheet. Next, warm them in the oven for 5-7 minutes at 375 degrees F. Similarly, you can warm day old croissants in the oven (same temperature) for 3-5 minutes.
For this recipe, I recommend waiting to glaze the croissants until just before serving them.
Ways to serve marbled chocolate croissants
Here are the best ways to serve marbled chocolate croissants!
- Savoury: On their own, unglazed, or with cold cuts and cheese
- Sweet: Glazed (as in the recipe below) with a cup or tea or coffee
You will need:
- Large mixing bowl or stand mixer
- Measuring cups and spoons
- Glass measuring pitcher
- Silicone spatula
- Plastic wrap or a tea towel, to cover the dough
- Miniature sieve (optional)
- Marble rolling pin
- Cheese grater
- Parchment paper
- Sharp knife
- Pastry brush
- Baking sheets with sides
Scroll down for step-by-step pictures!


Marbled Chocolate Croissants
These gorgeous croissants are made with traditional dough and chocolate dough layered together. The final result is a marbled, slightly sweet, flaky masterpiece! Omit the glaze to serve them with savoury accompaniments.
Ingredients
For the white dough:
- 1-3/4 cups flour
- 1/2 cup lukewarm water
- 1 tsp dry active yeast
- 2 Tbsp lukewarm milk
- 1/2 tsp. salt
For the chocolate dough:
- 1-1/2 cups flour
- 2 Tbsp cocoa powder
- 1/2 cup lukewarm water
- 1 tsp dry active yeast
- 2 Tbsp lukewarm milk
- 2 Tbsp sugar
- 1/2 tsp. salt
- 1 cup cold butter unsalted*
Glaze:
- 2 cups icing sugar
- 1 tsp vanilla
- 3 Tbsp milk or 9 Tbsp whipping cream
Instructions
-
Let the butter rest at room temperature for about 30 minutes. Place between two sheets of wax paper. Using a rolling pin, pound, roll, and shape the butter into an 8″ square. Wrap in wax paper and chill until cold.
-
In two medium-sized mixing bowls, combine 1/2 cup flour with 1/2 cup lukewarm water and 1 tsp. dry active yeast (in each). Stir until the lumps are dissolved, cover with a tea towel, and let rise for 1 hour to make a sponge.
-
To the first bowl, add the rest of the flour, salt, and milk to the risen sponge mixture (for the white dough). Stir to combine, and then knead by hand or with an electric mixer until strong, about 10 minutes. Cover with plastic wrap or a damp tea towel and allow to rise for 30 minutes.
-
To the second bowl, add the rest of the flour, cocoa, salt, sugar, and milk to the risen sponge mixture (for the chocolate dough). Stir to combine, and then knead by hand or with an electric mixer until strong, about 10 minutes. Cover with plastic wrap or a damp tea towel and allow to rise for 30 minutes.
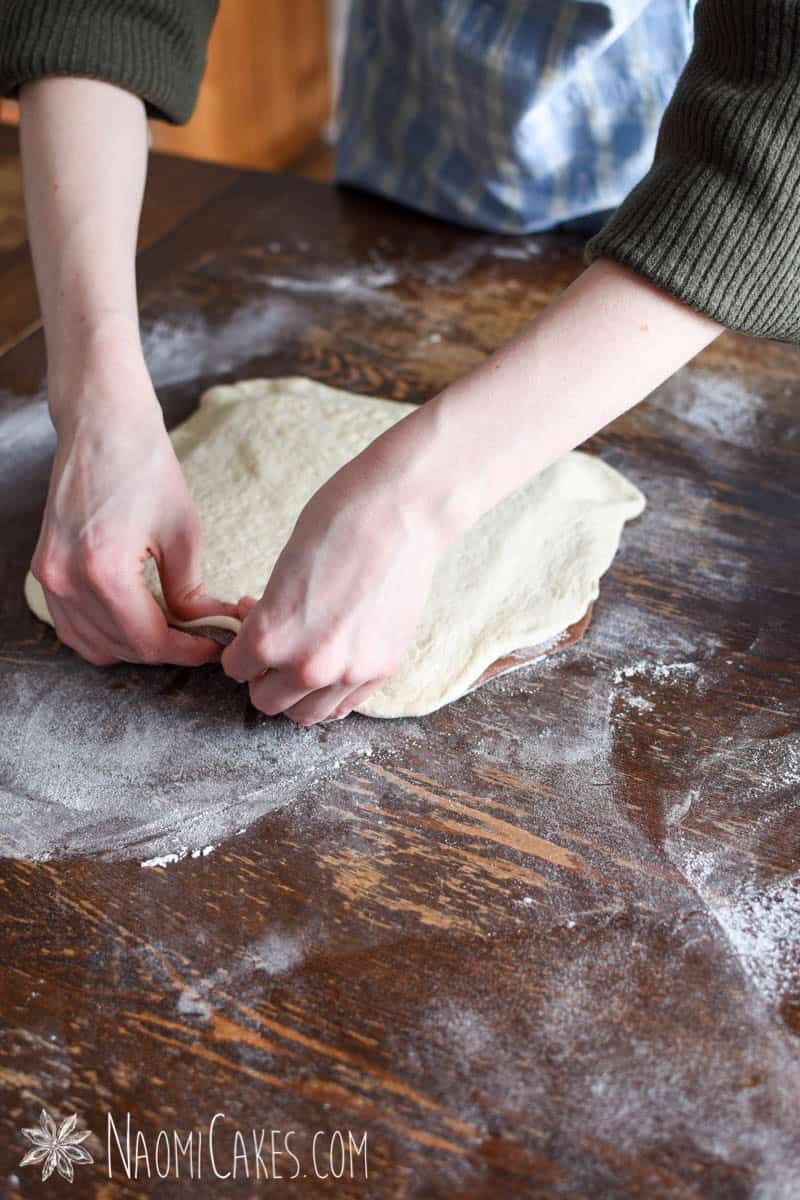
-
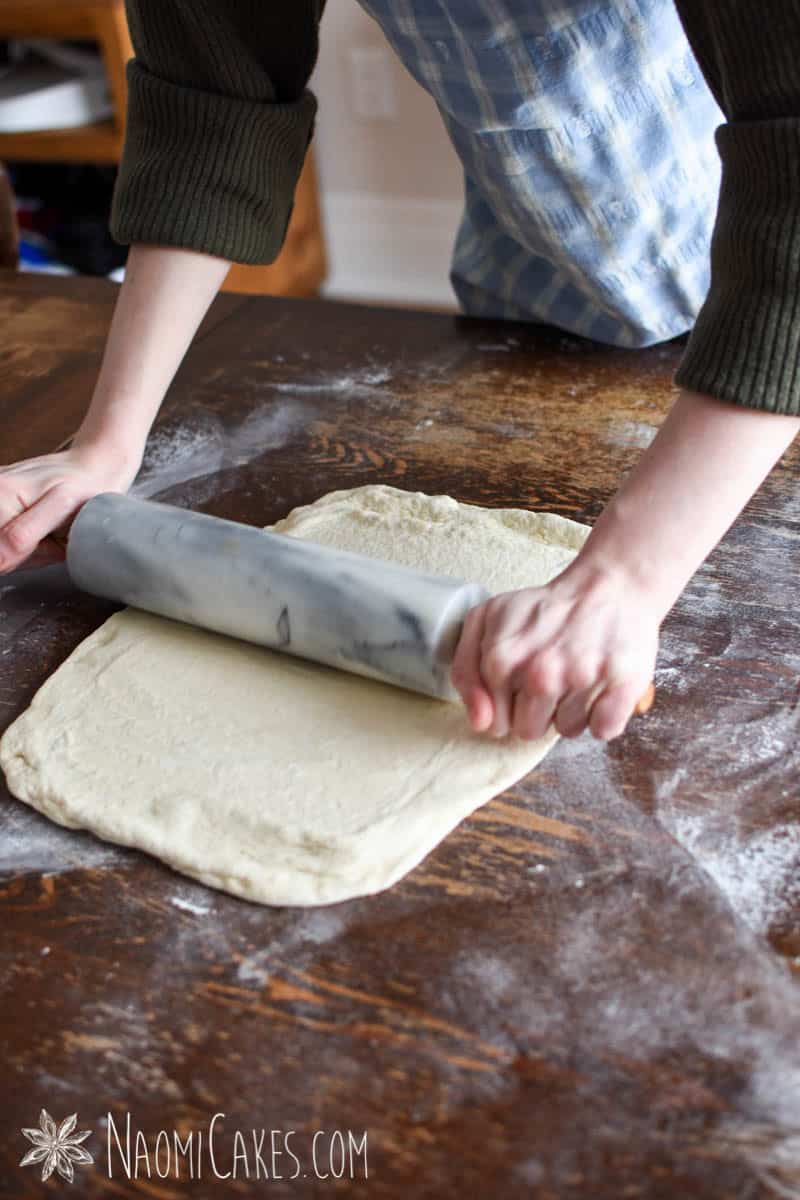
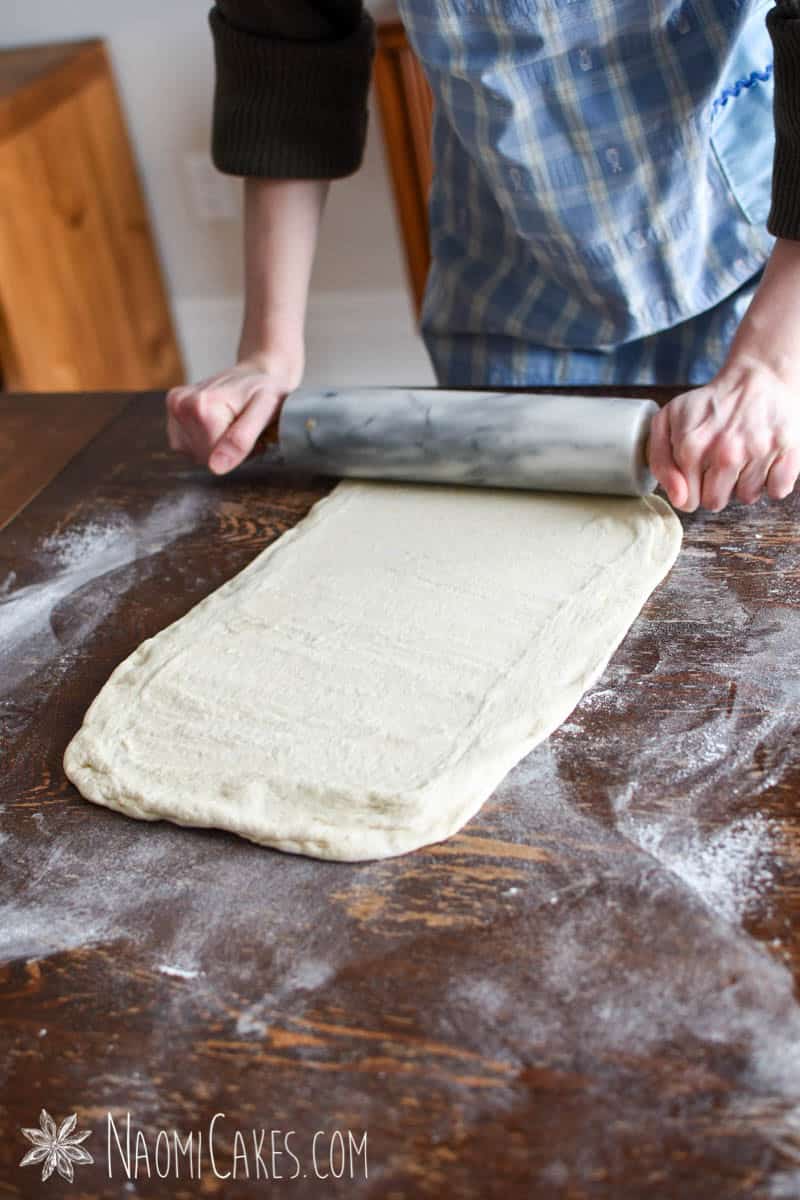
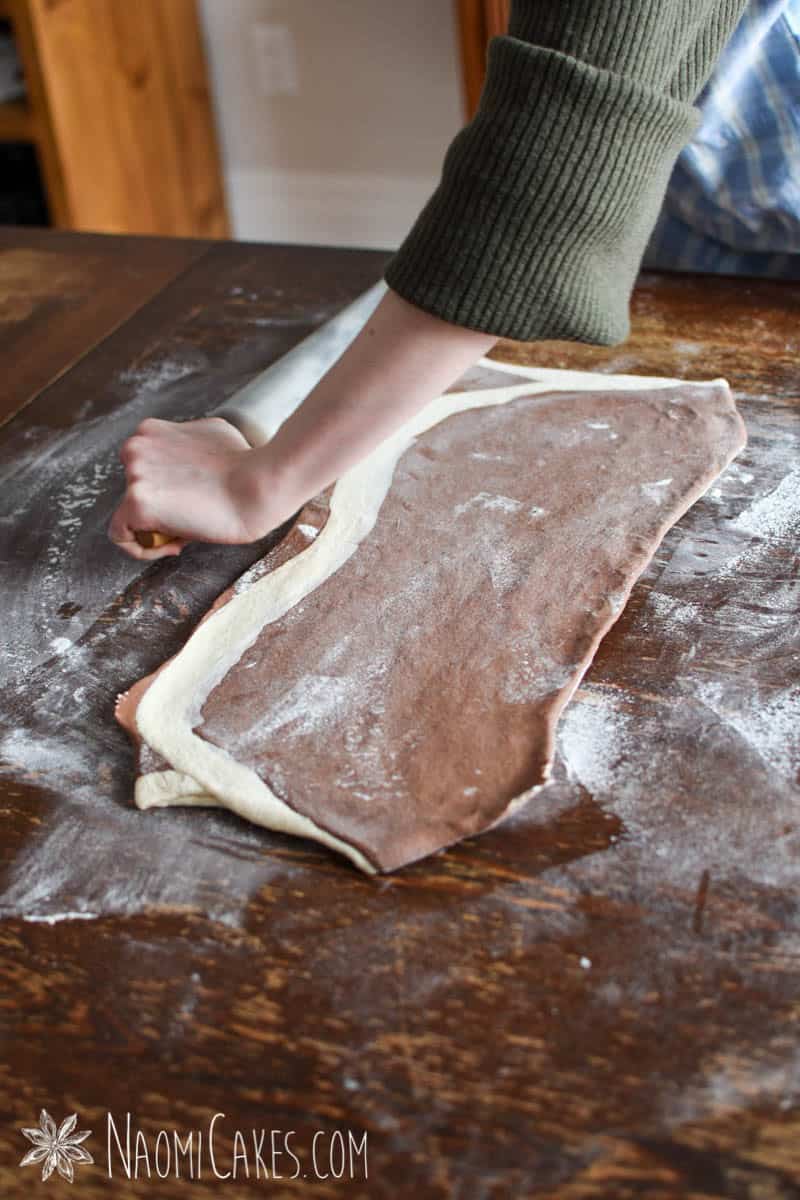
Roll the white dough into a 9″x9″ square, and set it aside. Repeat with the chocolate dough, and place the chilled square of butter in the middle of it. Set the white dough on top of the butter to encase it, pinching the edges to seal, and then pound/roll the dough out to be a 9″x18″ rectangle.
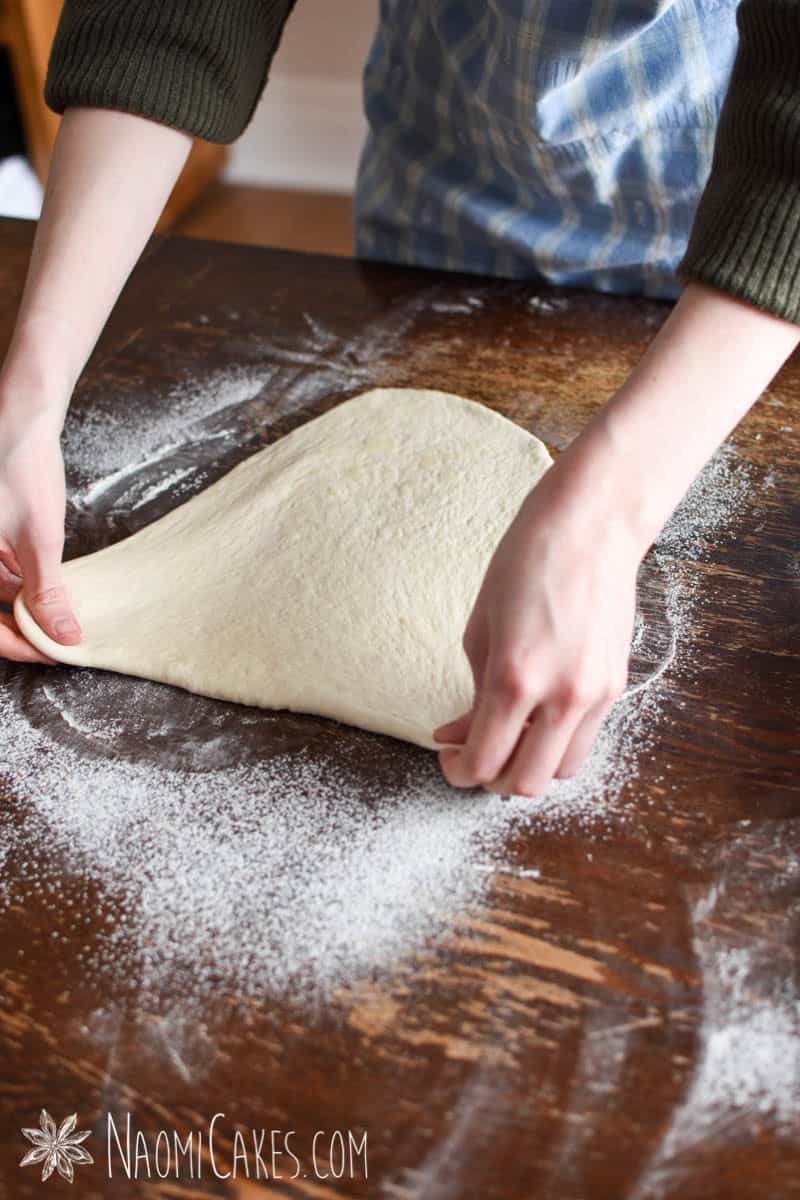
-
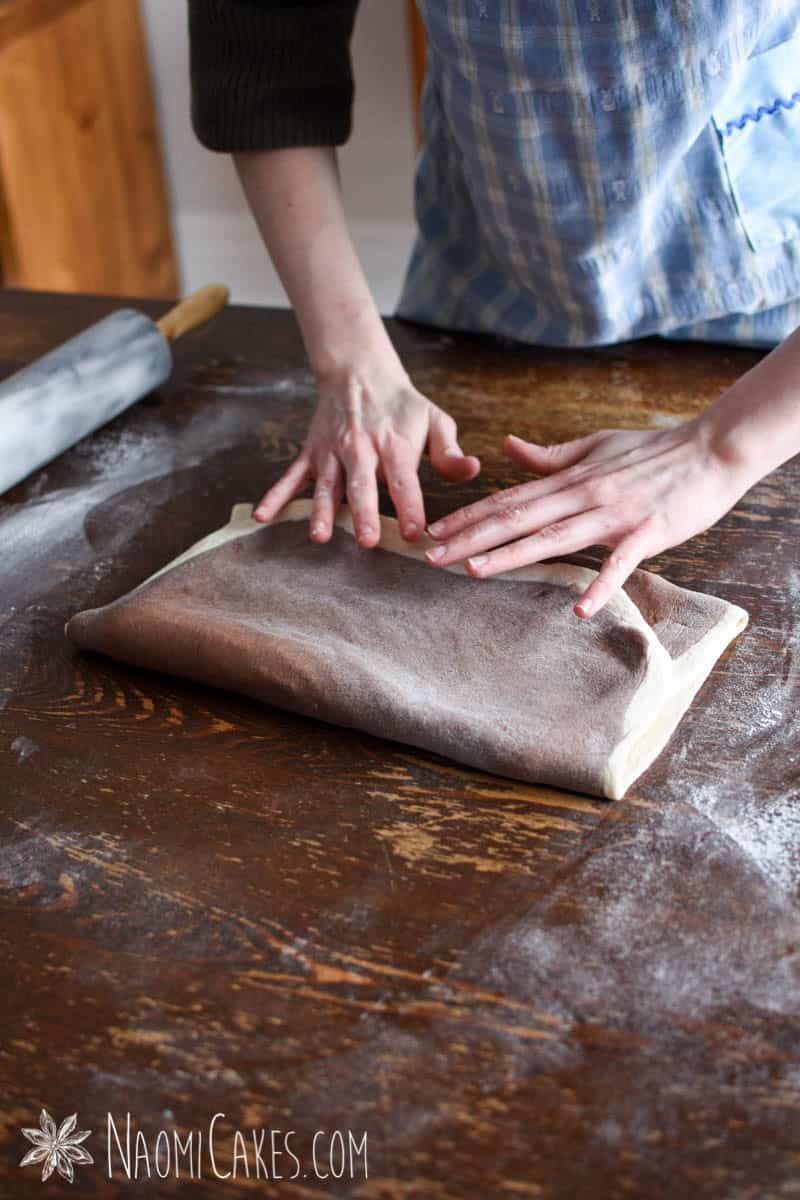
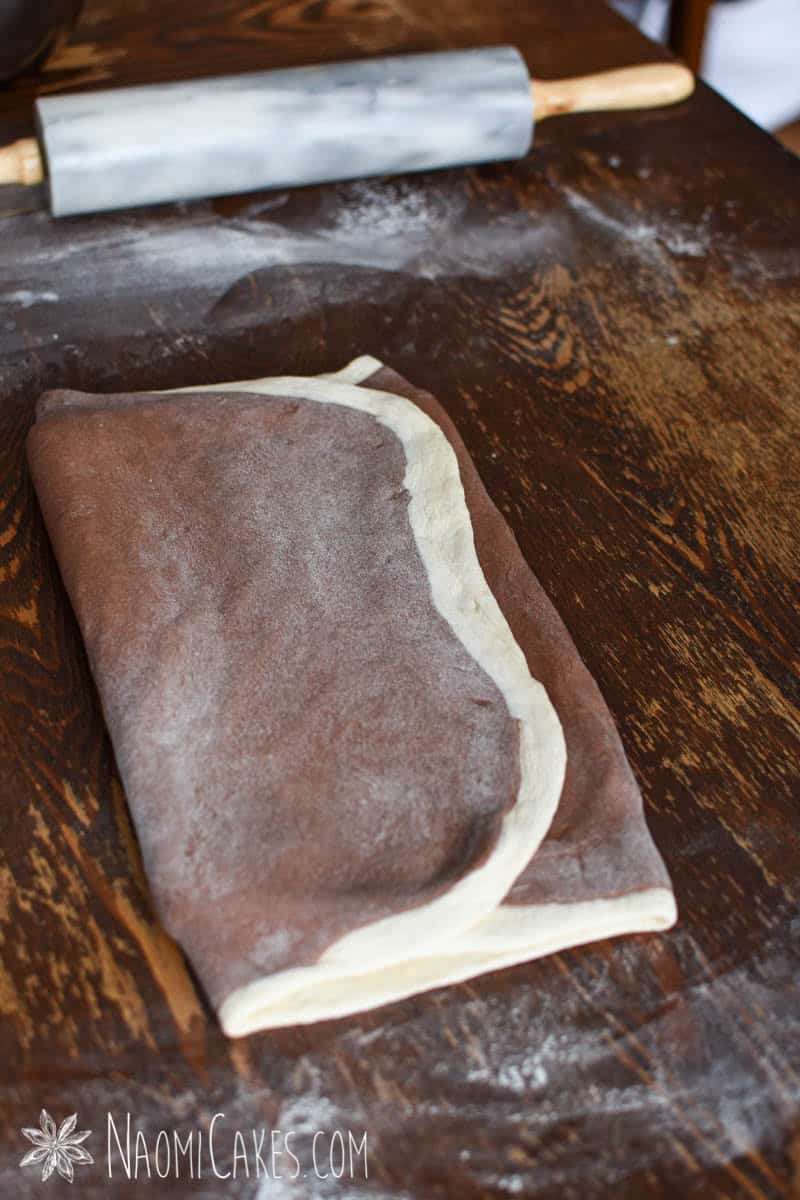
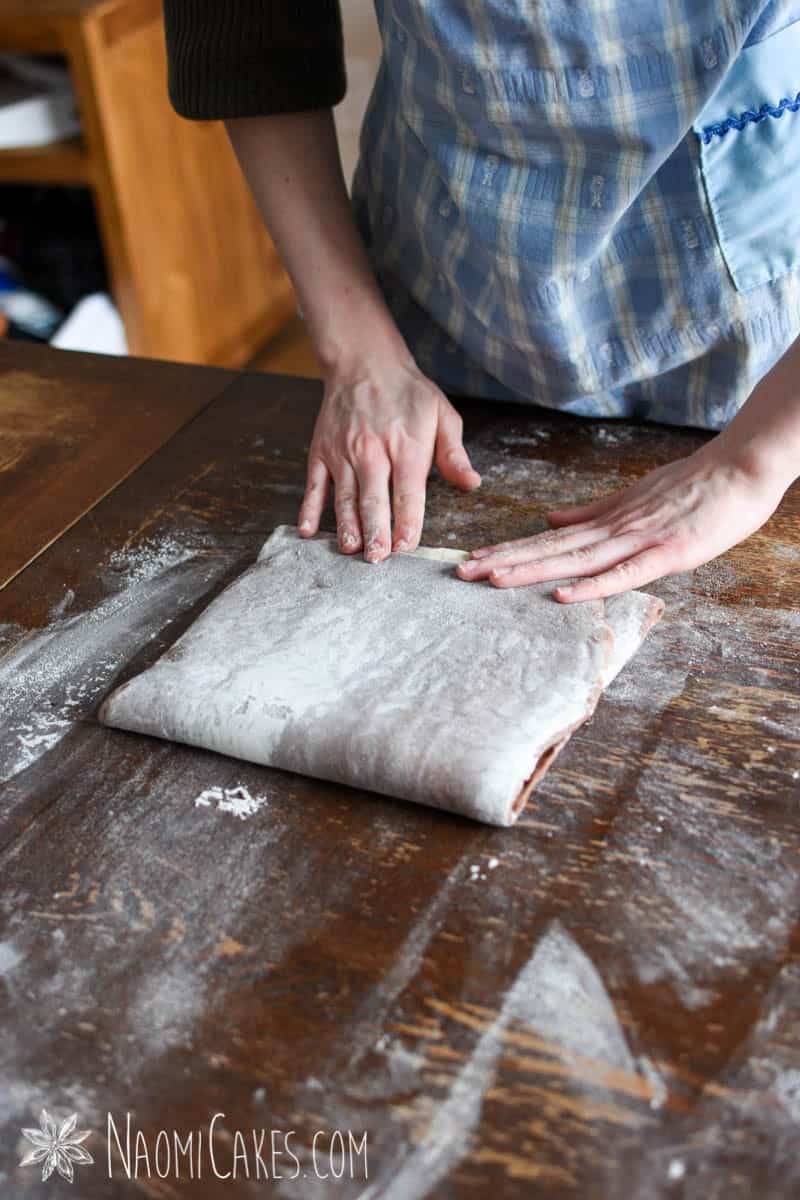
Fold the lower half of the dough up 1/3 of the way, and then the top half over that, like an envelope. Rotate 90 degrees to the right (so that the folded edge of the dough is to your left), and roll the dough out again into a rectangle (same size again). Fold up, envelope style, again. If the dough is getting warm or difficult to work with at this point, cover, and let it chill for at least 20 minutes or until cold.
-
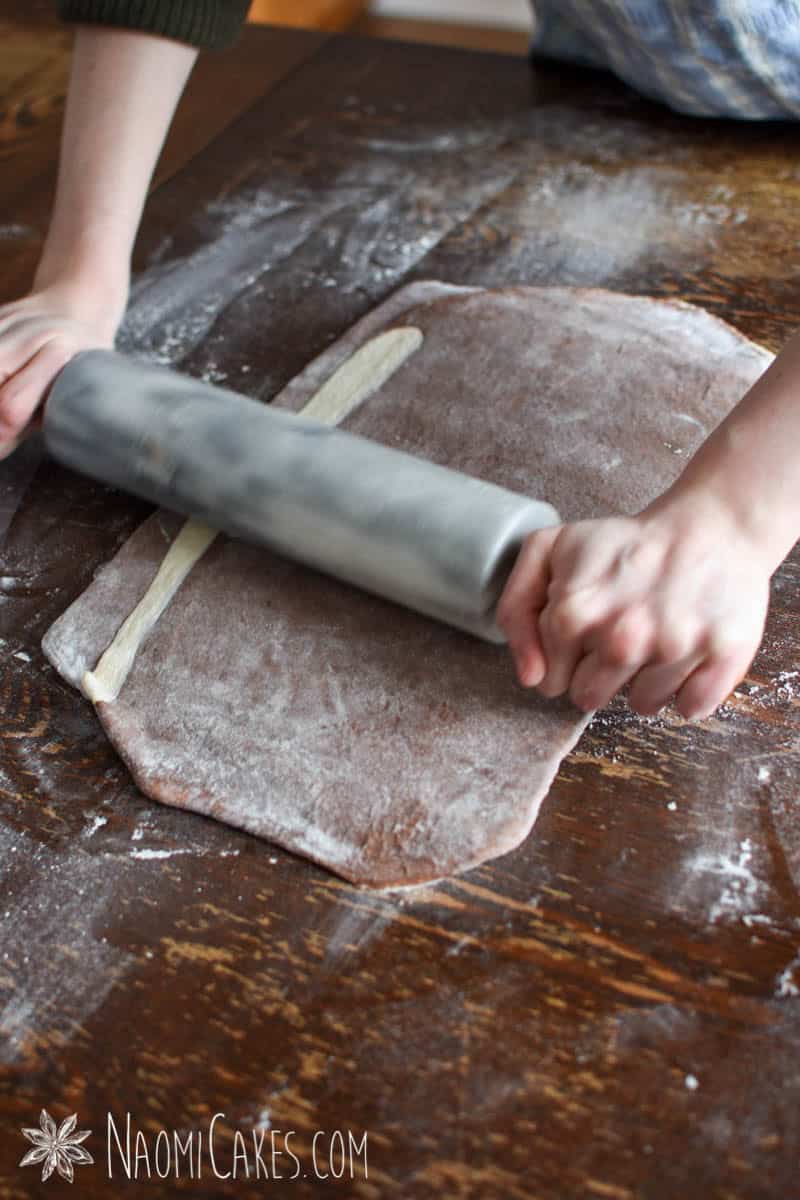
Repeat the last process again; roll into a rectangle, fold into an envelope, rotate, roll, and fold again (for a total of 4 roll and folds with the butter inside). Wrap the folded piece of dough in plastic and refrigerate for 20-30 minutes.
-
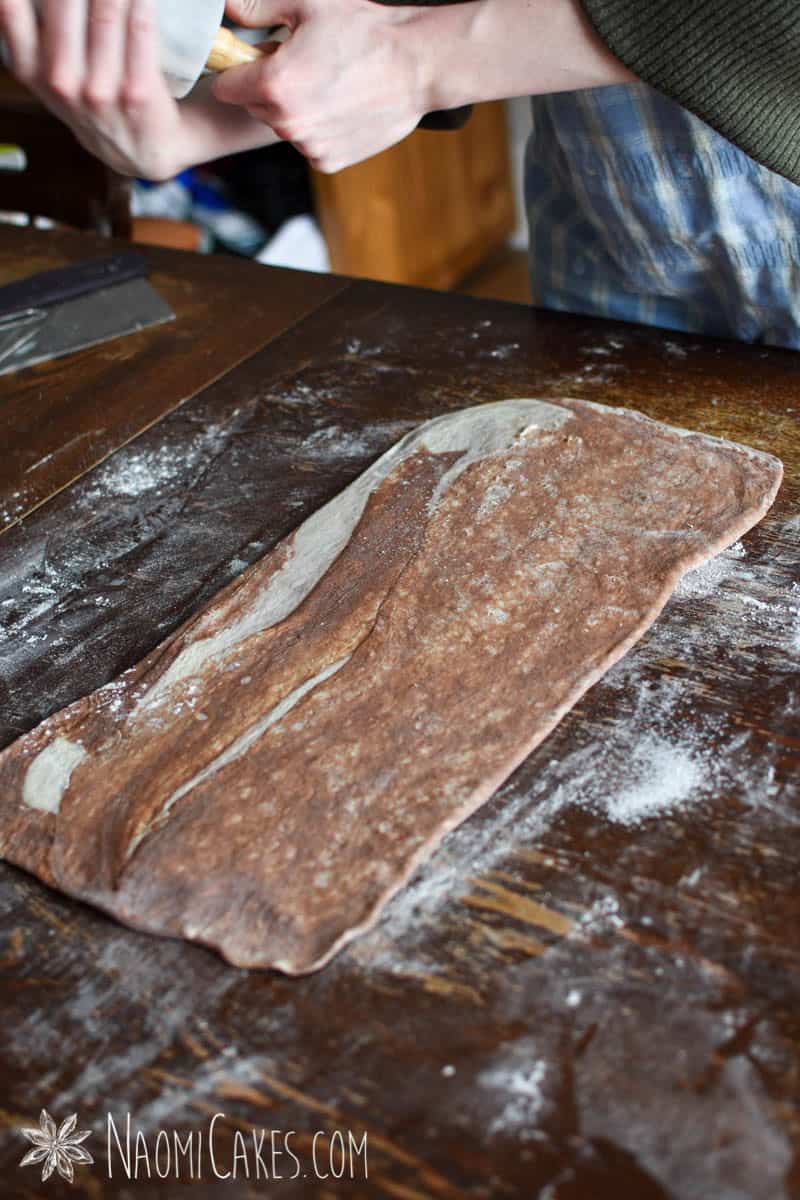
Remove the cold dough from the refrigerator and roll out on a lightly floured surface into a 9″x18″ rectangle. Cut the dough into 12 long triangles, with the base of each one being about 3 inches in width.
-
To shape the croissants, cut a little slit into the base of the triangle, roll the edges out towards the sides, and roll up, wide end to short end. Make sure the tip of the triangle is tucked underneath, and curve the edges around to form a half moon shape (or just leave them in a straight, rolled croissant if you prefer).
-
Cover the shaped croissants with a tea towel and allow to rise for 1-3 hours, or until doubled. Preheat the oven to 400 degrees F.
-
Place the pan of croissants into the oven, reduce the temperature to 375 degrees, and bake for 25-35 minutes, or until golden brown. Cool on wire racks.
For the glaze:
-
Combine the glaze ingredients in a small mixing bowl and stir until very smooth. Brush or drizzle over warm croissants.
Recipe Notes
*The butter must be unsalted for best results.
Note: 1 cup of butter is exactly 1/2 of a 1-lb brick.


If you like this recipe, you may also like:
- Step-By-Step Butter Croissants
- Cranberry Apple Butter Croissant Danishes
- Chocolate Croissants
- Homemade Cheddar Cheese Croissants
That’s all of today! If you enjoy this recipe, please leave me a note in the comments or tag me in your gorgeous marbled chocolate croissant pictures on Instagram @naomicakesofficial. It makes my day when I see you guys making my recipes!
Thanks for stopping in,
Naomi
This post contains affiliate links.