
Layered Raspberry Cream Cheese Mousse Cake [Recipe]
Maybe you or someone you know has uttered the words, “I’m just not a cake person.” Well, so have many people in my life: until they tried this raspberry cream cheese mousse cake.
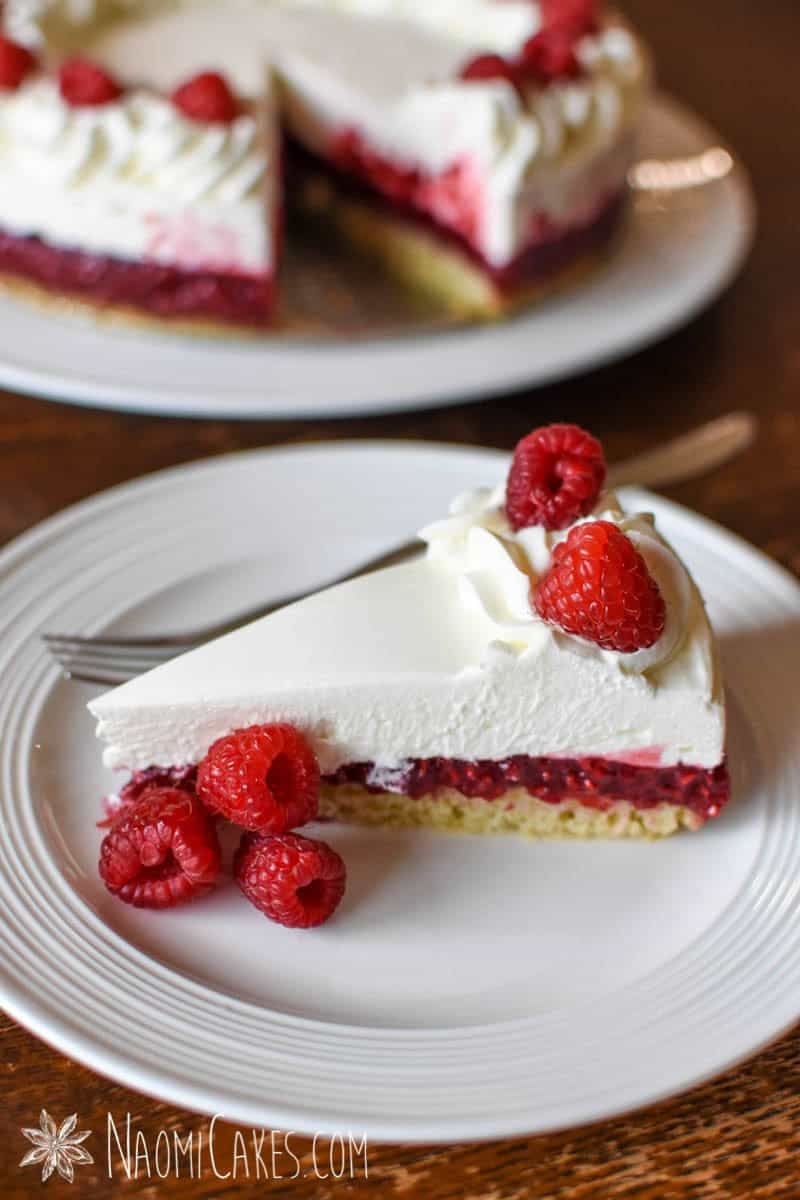
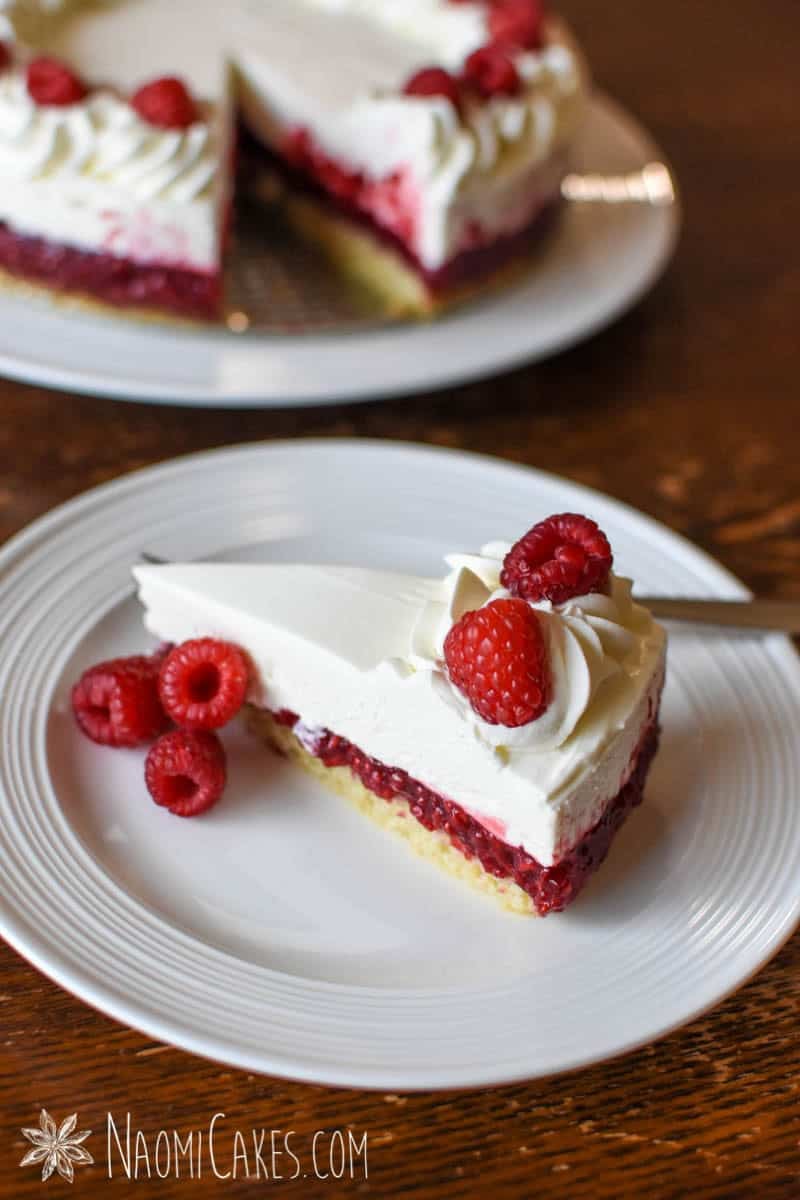
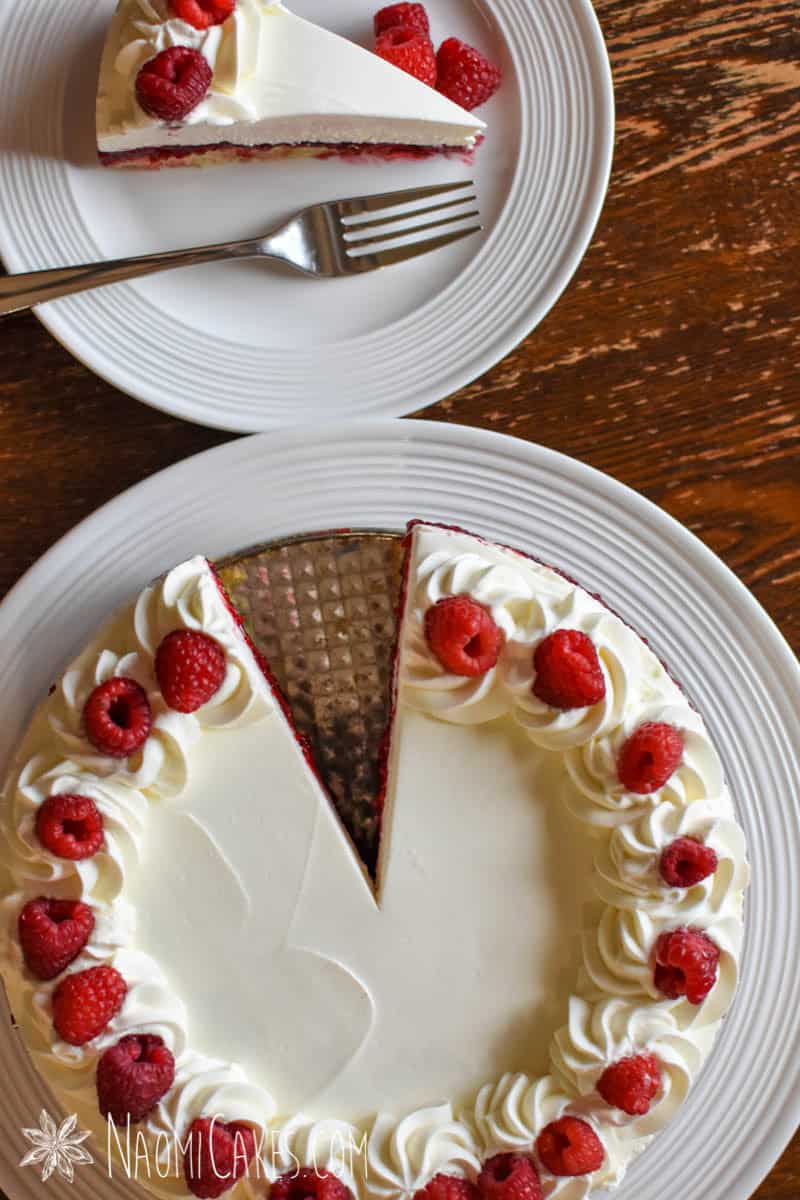
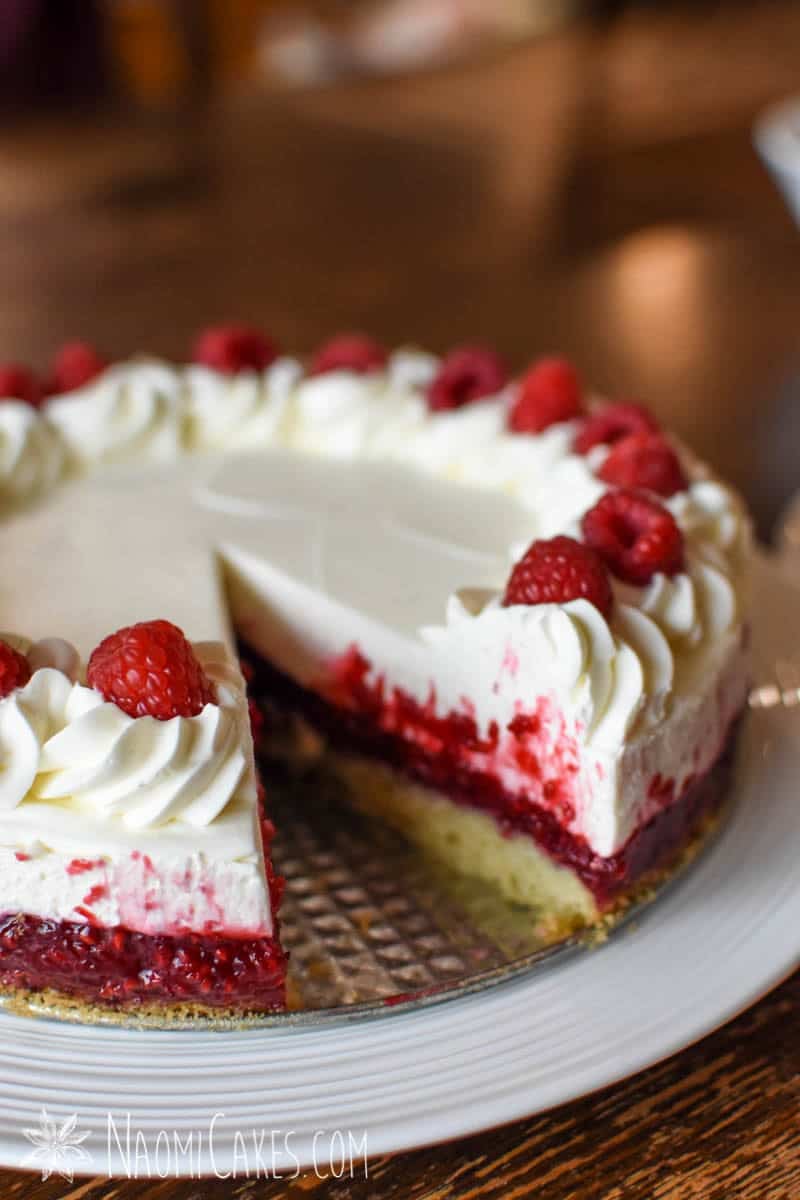
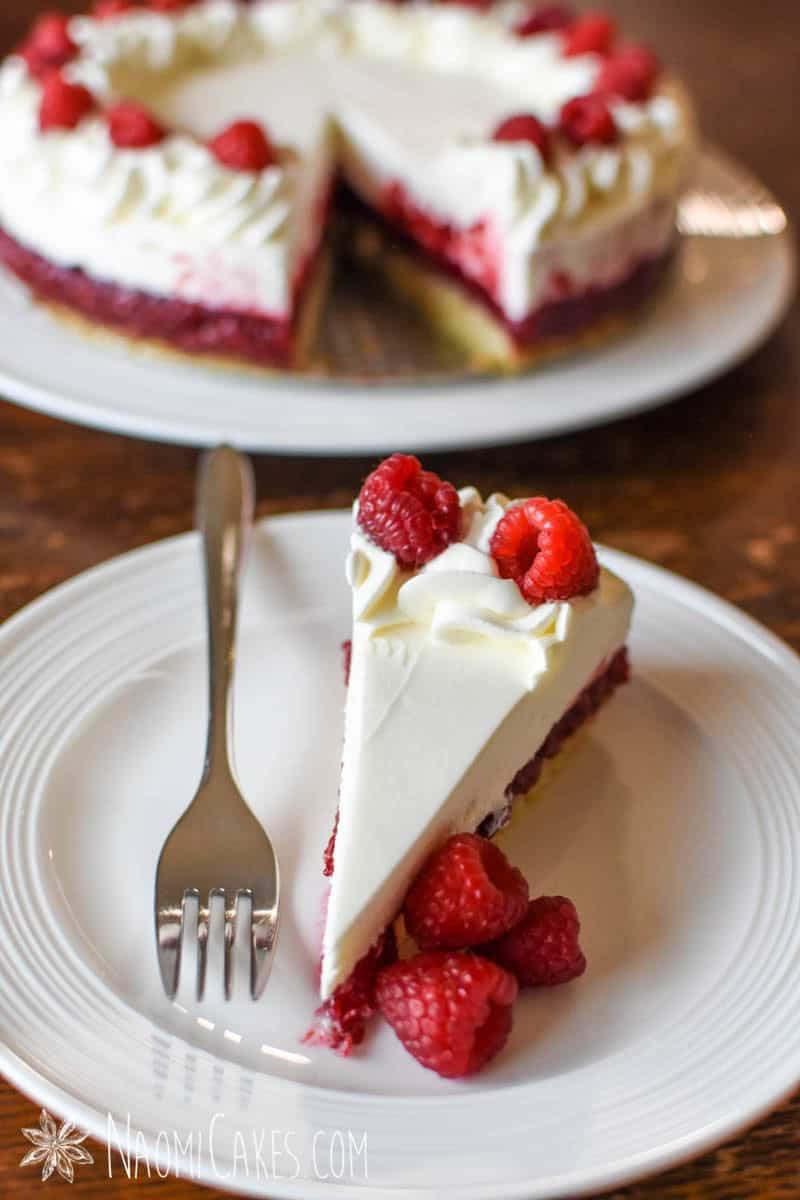
This cake is 80% fruit and cream, with a thin cake layer on the bottom. It’s delicious, and rich – while also being refreshingly light and fruity.
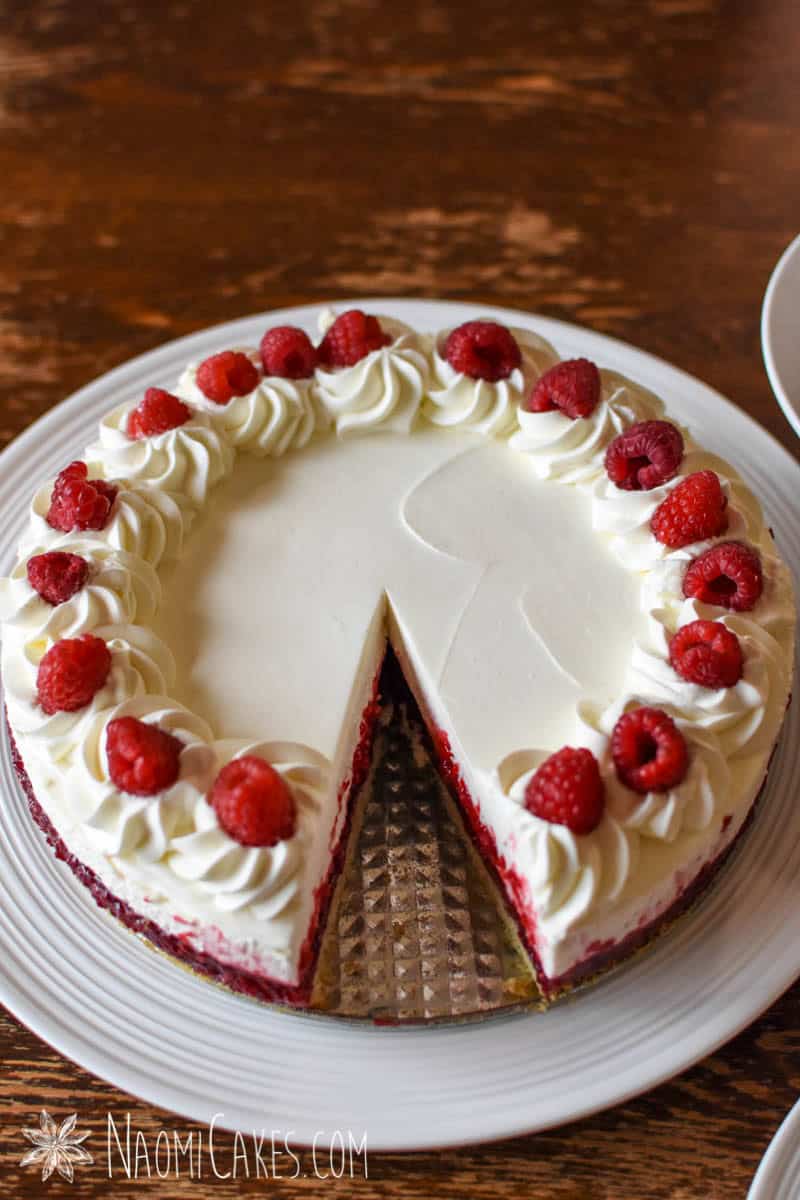
In my opinion, it’s pretty much the perfect dessert, similar to a no-bake recipe for cheesecake. (Not to mention, it’s kind of the best-looking cake too, with fresh fruit and dollops of beautiful cream all around the top!) Serve this cake for birthdays, holidays, Valentine’s Day, or any other special occasions. It’s always a winner!
How to make a raspberry cream cheese mousse cake
While this particular cake is made in several steps, it’s a surprisingly easy recipe to make. And, since it’s made in steps, you can complete each part at different times of day, which can make the process even easier to fit into a busy schedule.
Below, I’ll outline how to make each of the cake layers for this delicious dessert, and go over a few key ingredients that are necessary to making it turn out great.
Ingredients
Aside from some baking staples (butter, flour, eggs, sugar, etc), here are a few ingredients that you’ll need to make sure you have on hand before attempting this recipe. Beyond the basics, you will need the following:
Heavy cream
Heavy cream is also sometimes called “Whipping cream,” and it has a high milk-fat content (usually 35%). This unsweetened, rich cream makes the perfect base to both lighten and create structure for your delicious cream cheese mousse. Use this to make whipped cream to fold into the cream cheese portion and to decorate the top of the cake as well.
Cream cheese
Use a good quality full-fat cream cheese (no light products, please) for this recipe. I have never attempted to make this with any cream cheese substitute, although I’m sure it would work well with mascarpone cheese if you would prefer to try it that way.
Gelatine
Unflavored gelatine gives this delicious cake its durability, make it easy to slice into perfect cake-shaped wedges without making a mess. This is an essential part of making this cake turn out correctly!
Raspberries
For the filling of this cake, I usually just use frozen raspberries to save on money and make it easier to prep ahead of time. That said, you can use either fresh berries or frozen berries for this part of the cake.
For the top of the cake, I like to use a handful of fresh raspberries (about 12-20 of them) to decorate it.
If you prefer, you can also make this cake with another type of berry or even another type of raspberry. I’ll go into some things to note on those below.
Red raspberries vs black raspberries
This recipe is made with red raspberries, but you could easily make it with black raspberries as well (following the recipe exactly the same otherwise). I have found red raspberries to be the more tart of the two (black raspberries are often sweeter), so that’s one thing to keep in mind when you’re deciding which of these two berries to use.
Raspberries vs blackberries
If you don’t have raspberries available, you can certainly use blackberries instead for this recipe. The only thing I would be careful to note is that blackberries will have a much darker color more “meaty” texture (making the filling less smooth), and possibly also be much sweeter.
The flavor of blackberries can vary tremendously on the scale of sweet to tart, however, so if you make this cake with them, make sure you try the filling to make sure it is to your liking. If it is too sour, try adding a little extra sugar to the hot filling. If it is too sweet, try adding a splash of lemon juice.
Making the cake
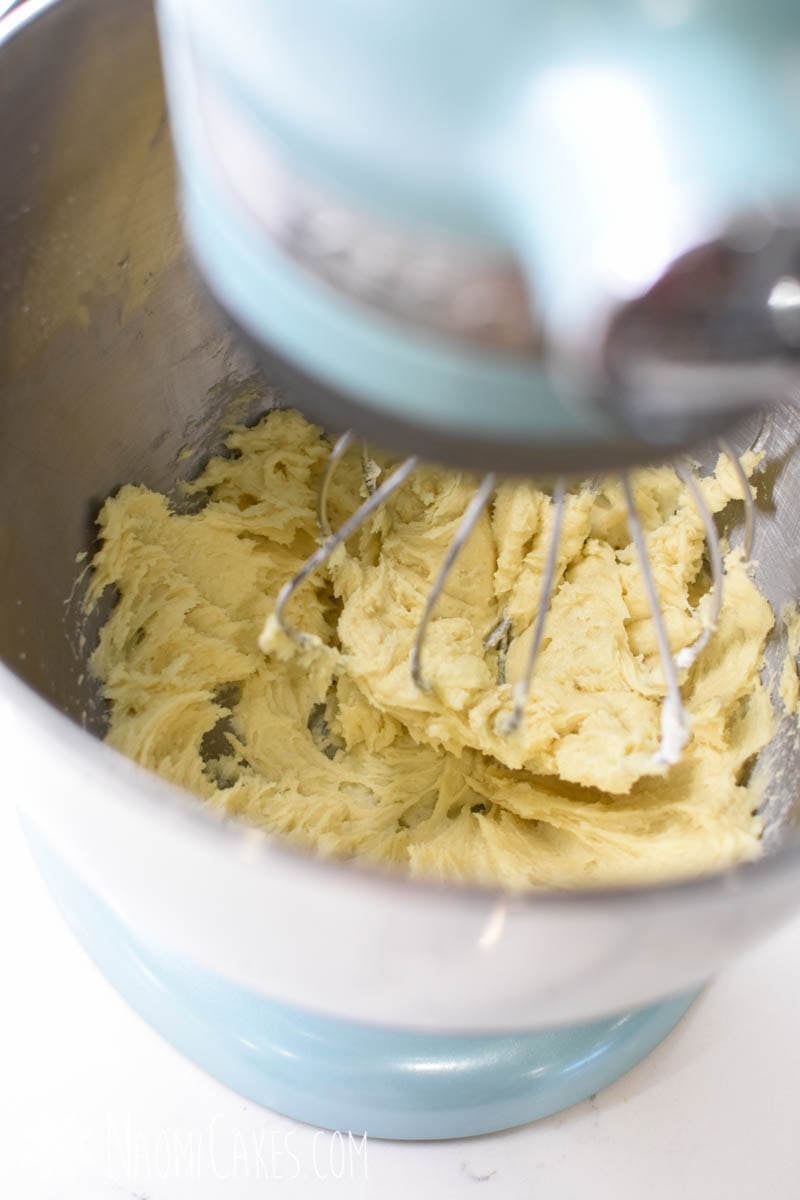
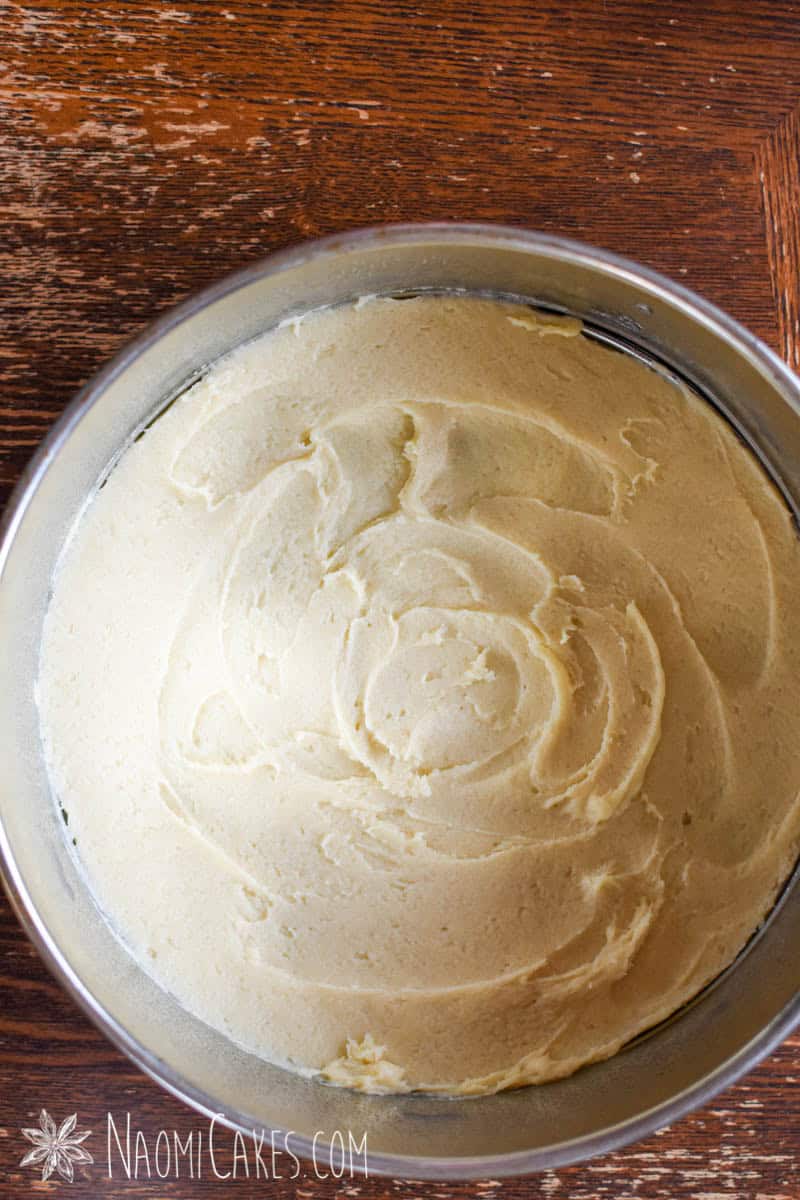
- In the bowl of an electric mixer, cream together the butter and sugar until smooth. Add the salt, vanilla, and egg, and beat until well combined. Add the flour, and mix until smooth, pausing to scrape down the sides of the bowl as necessary to incorporate all of the ingredients evenly.
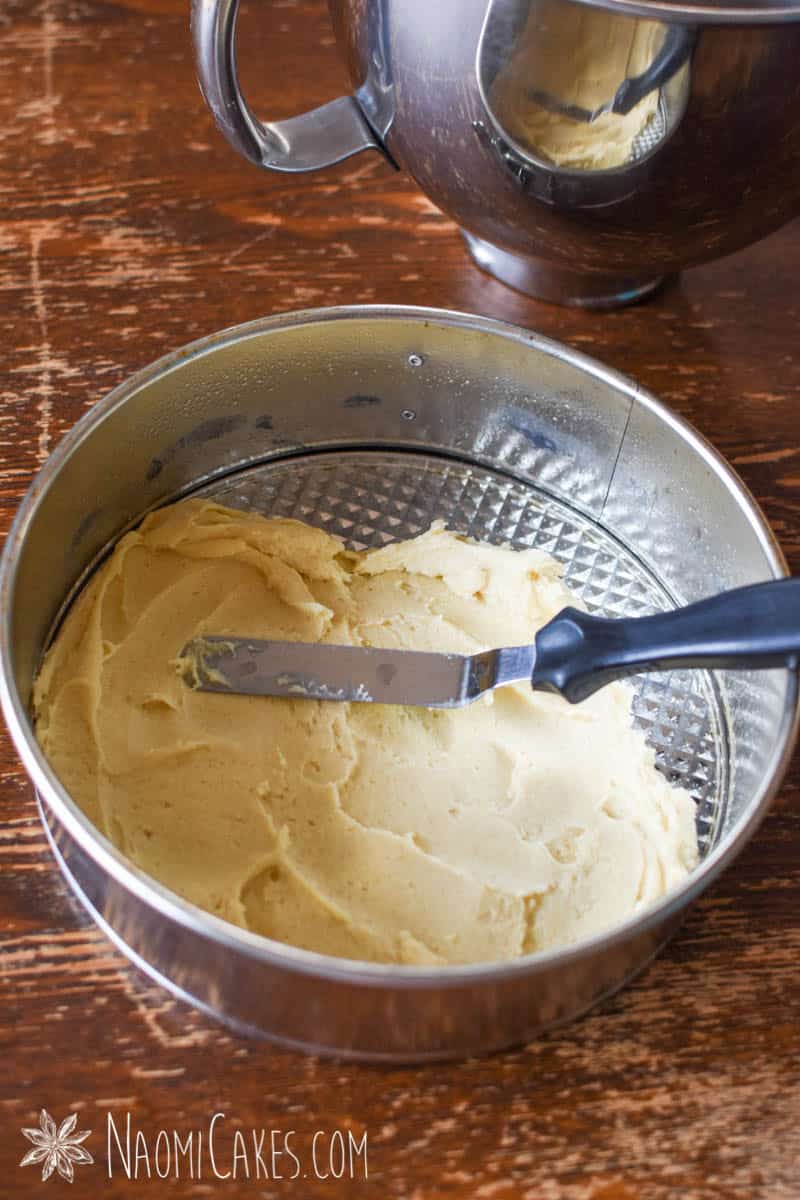
- Spread the unbaked batter into the base of a lightly greased 8 or 9-inch springform pan (it won’t look like much batter; about 1 cup, just enough to cover the base of the pan in a thin layer).
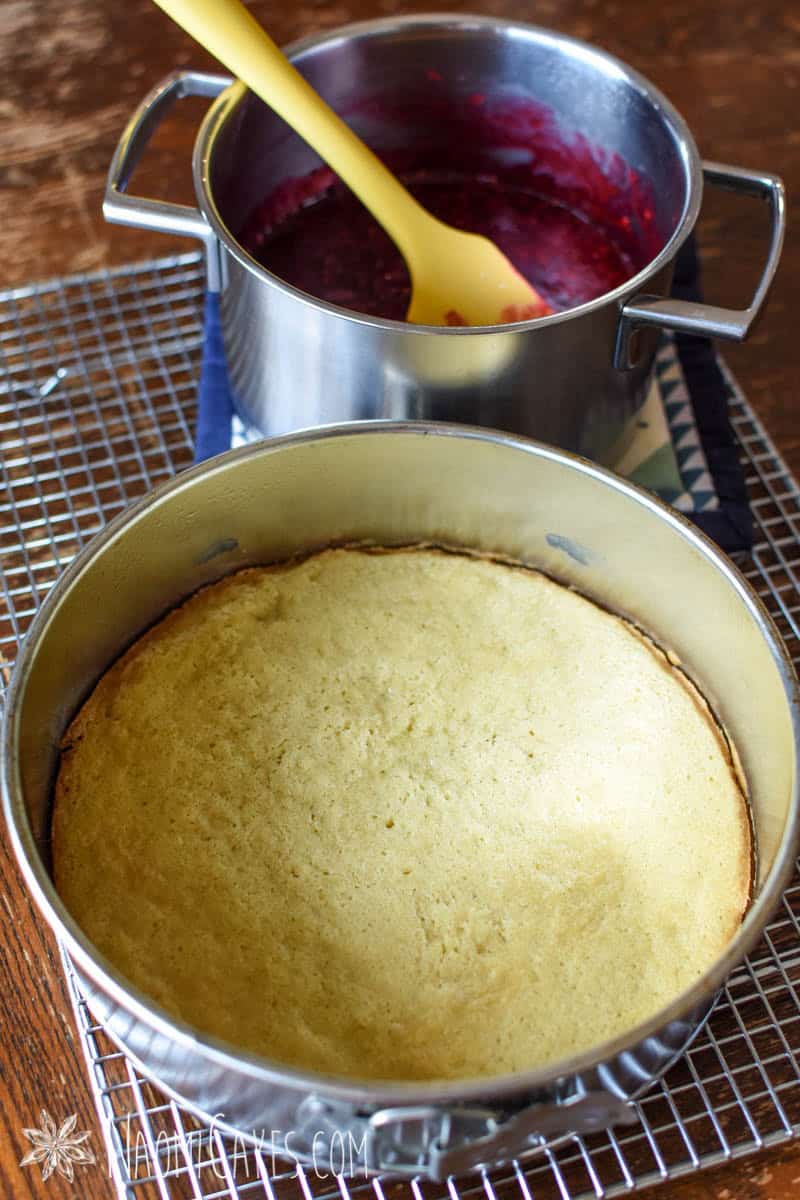
- Bake the cake in a 350 degree F oven for 15-20 min or until a toothpick inserted into the center comes out clean. Set aside.


How to make the raspberry layer
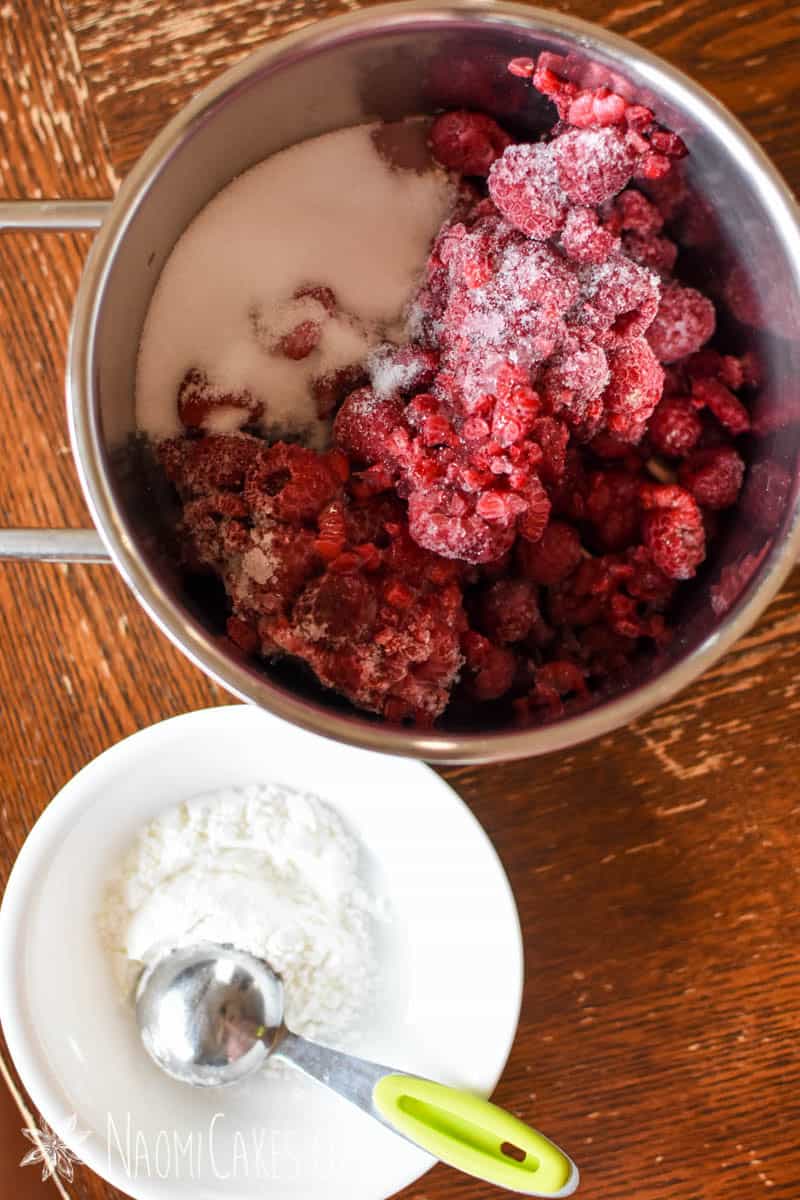
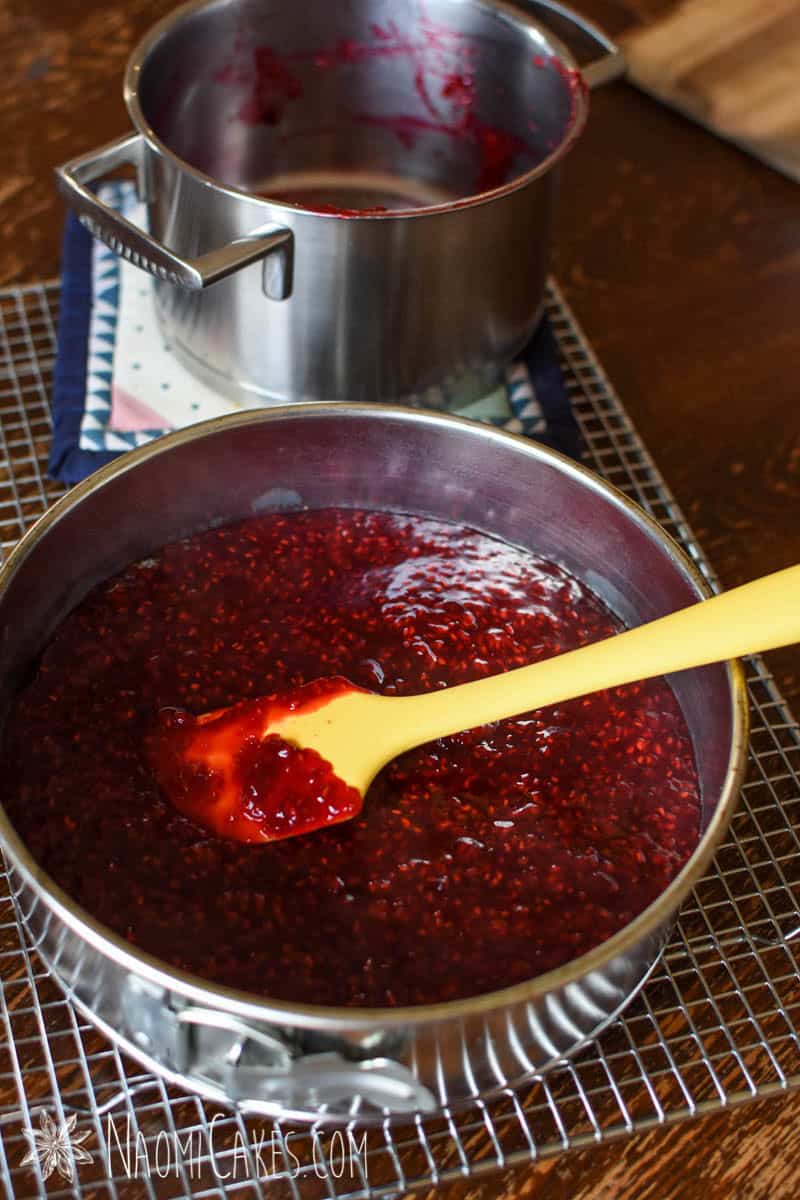
- While the cake is baking, bring the raspberries and water to a boil. Add the sugar and lemon juice, and cook until the mixture is boiling and the berries begin to break down.
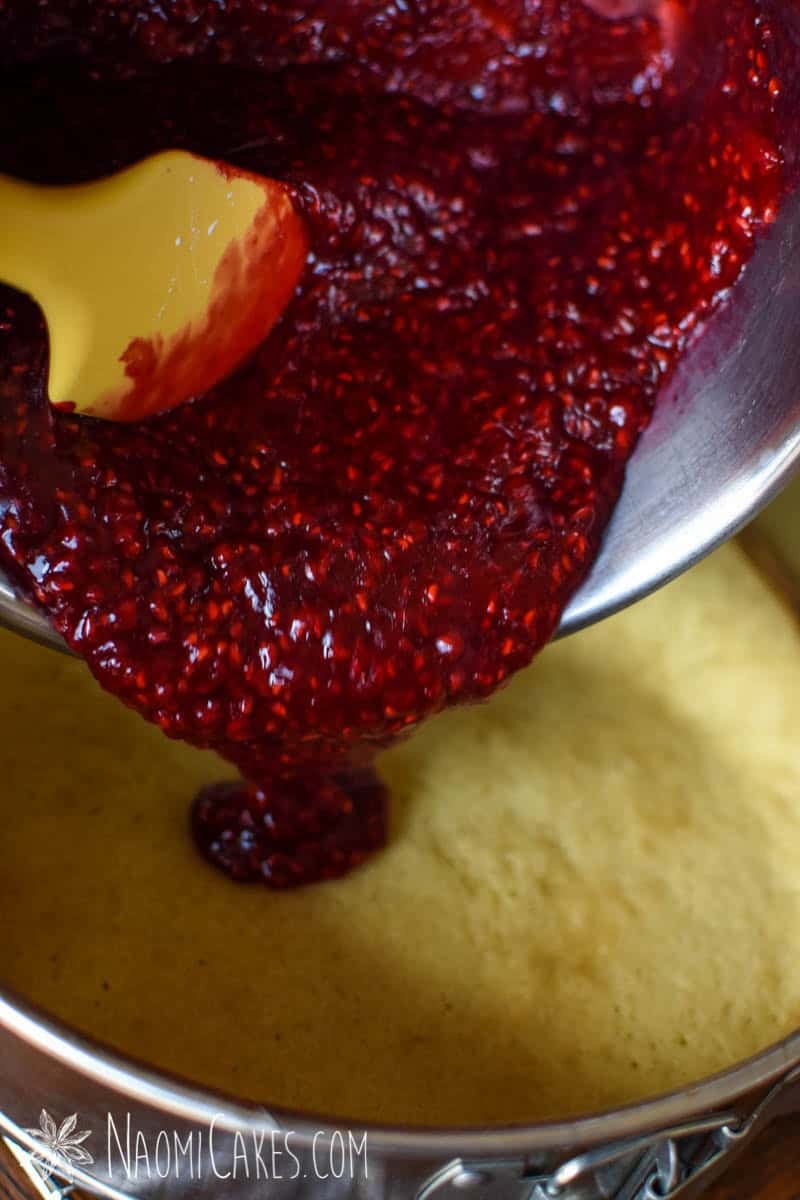
- Stir in the cornstarch mixed with water, and cook until thick (about 30 seconds to 1 minute longer). Pour the hot fruit over the first layer (the baked cake), smooth the top, and cover the fruit filling with a layer of plastic wrap set directly on top (to prevent a “skin” from forming). Refrigerate until cold (about 2 hours).

Cream cheese mousse
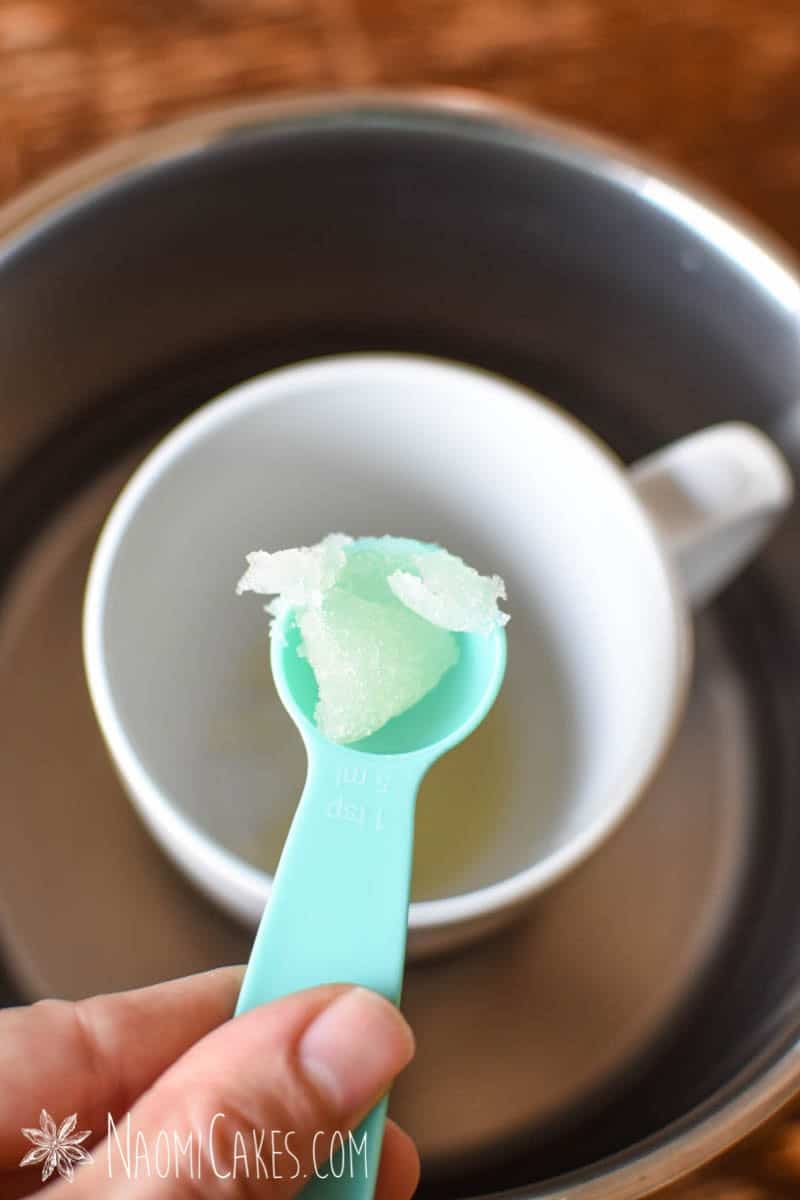
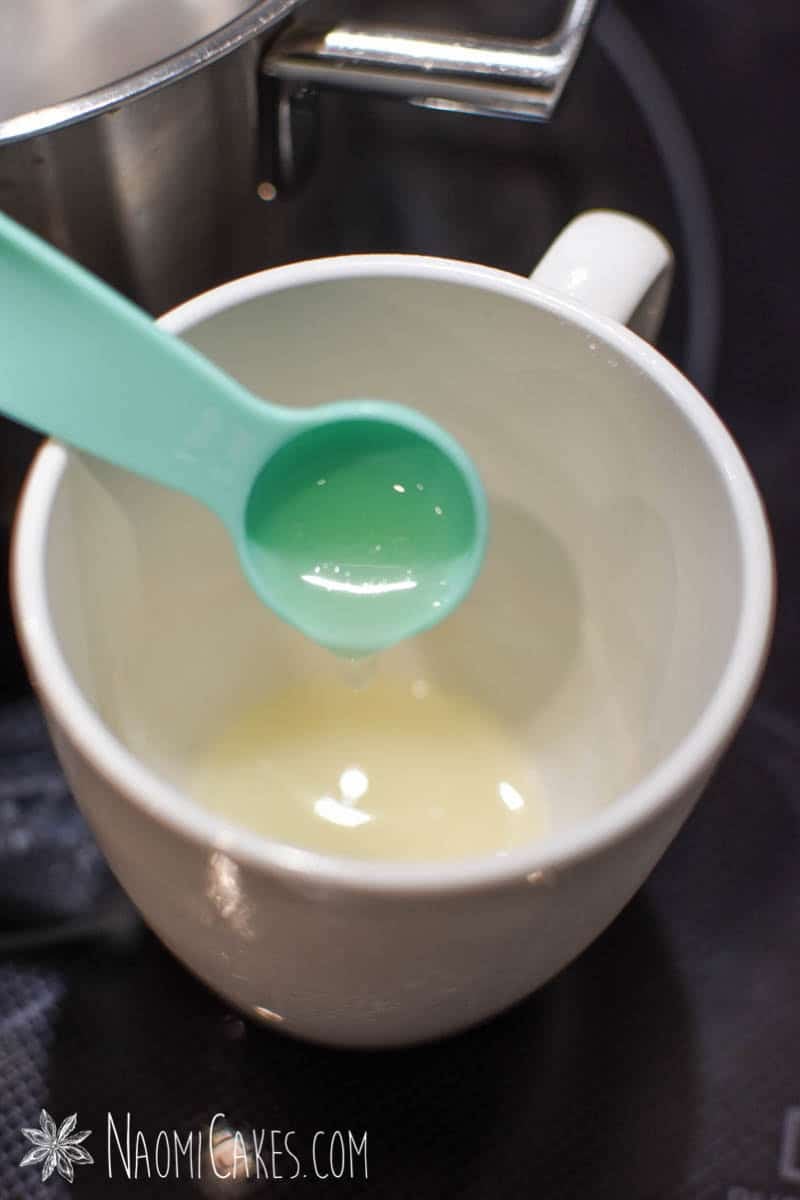
- In a heat-proof mug, sprinkle the gelatine over 3 Tbsp of cold water. Set the cup into a pan of simmering water, and stir until the gelatine is dissolved and the mixture is clear. Remove the cup from the heat and set aside.
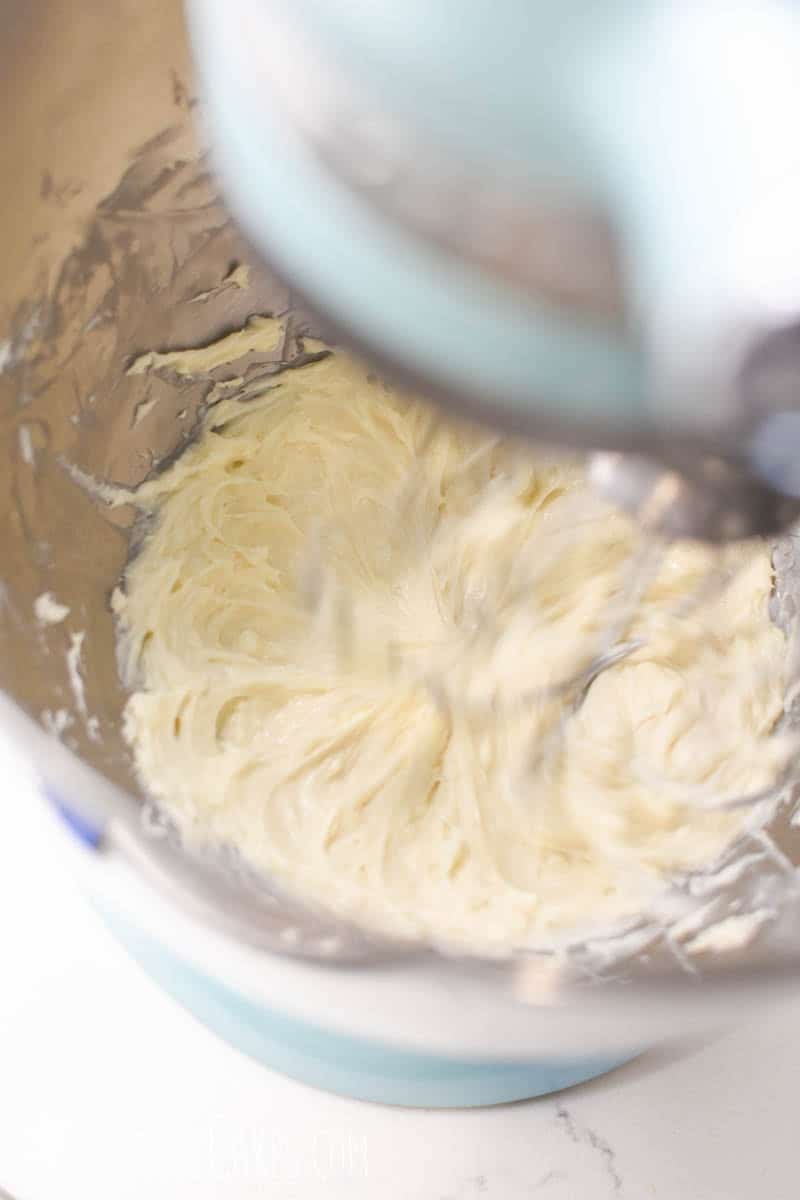
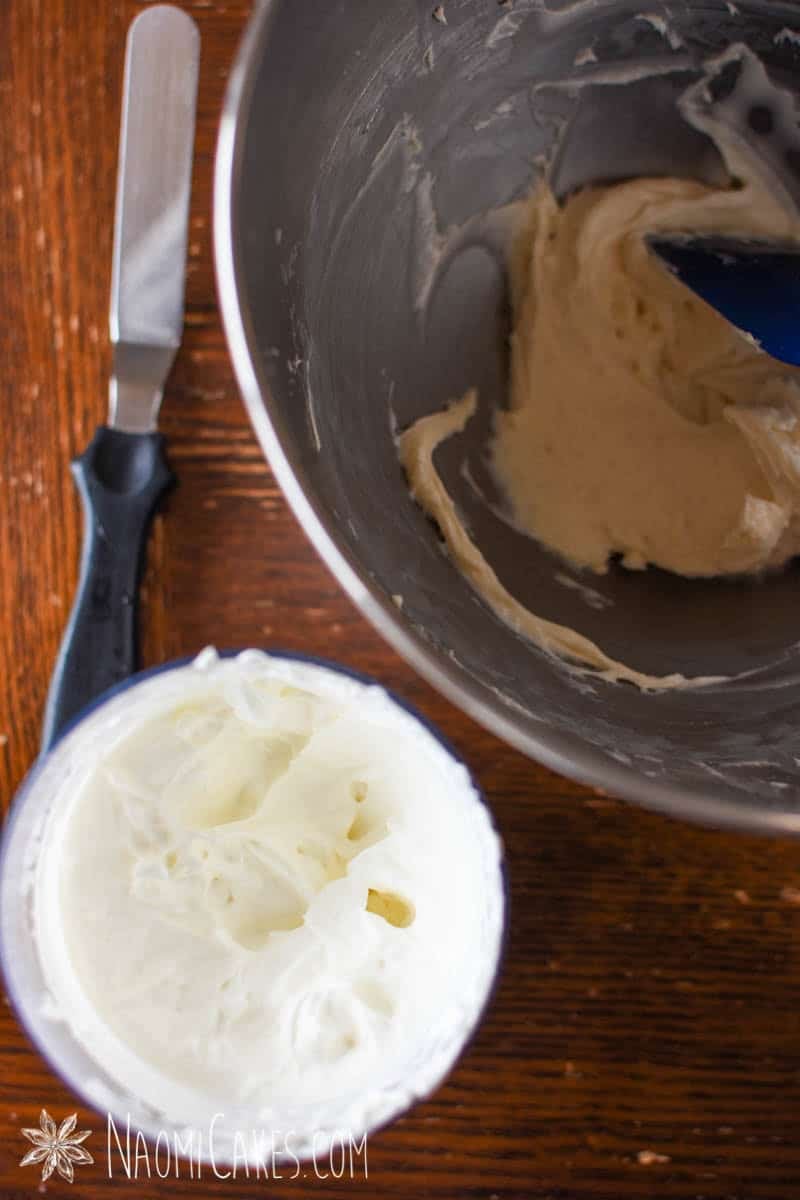
- In a medium sized mixing bowl, beat the cream cheese, icing sugar (also called powdered sugar or confectioners’ sugar) and vanilla extract until smooth. Set aside.
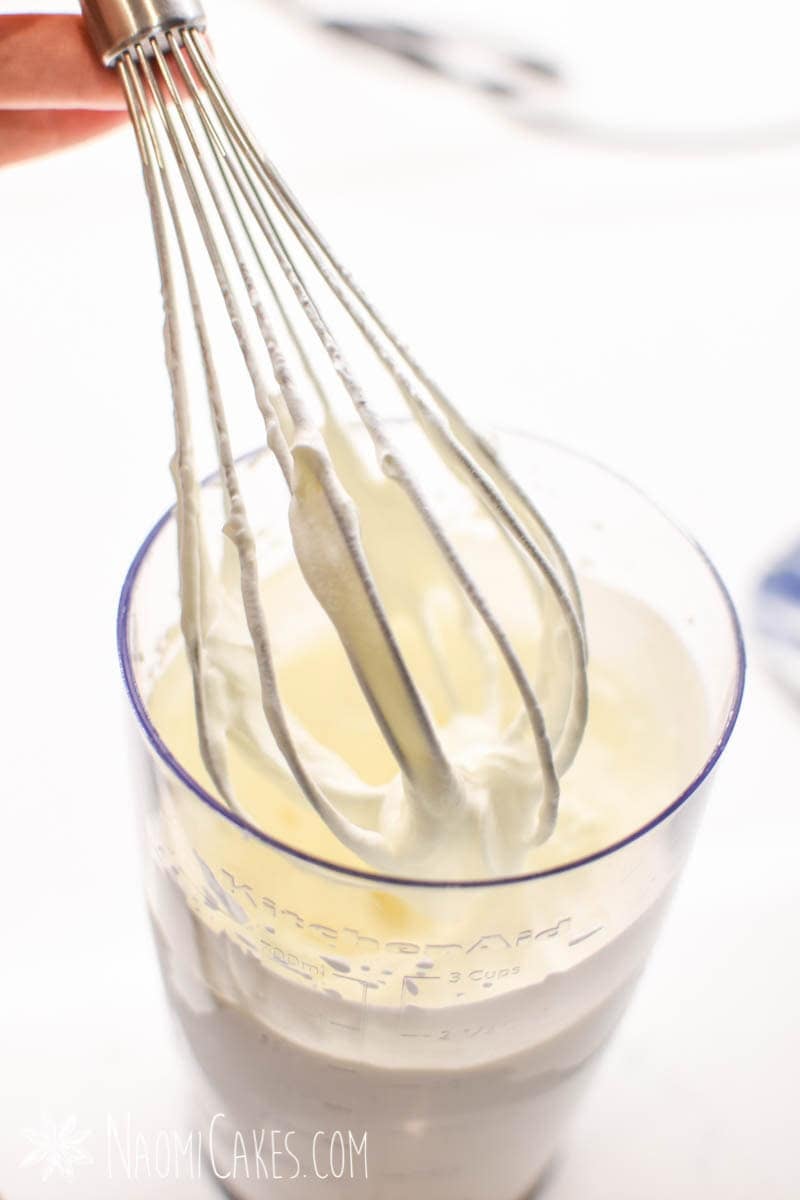
- In the bowl of an electric mixer (or in a medium bowl with a hand held mixer), beat the heavy whipping cream using the whisk attachment until soft peaks form. (Beat the cream at medium speed at first, increasing as the cream thickens to high speed.) Reduce the speed to low, and gradually add the gelatine, being careful not to scrape out whatever is left in the cup. (Soak the cup immediately following this step for easy cleaning).
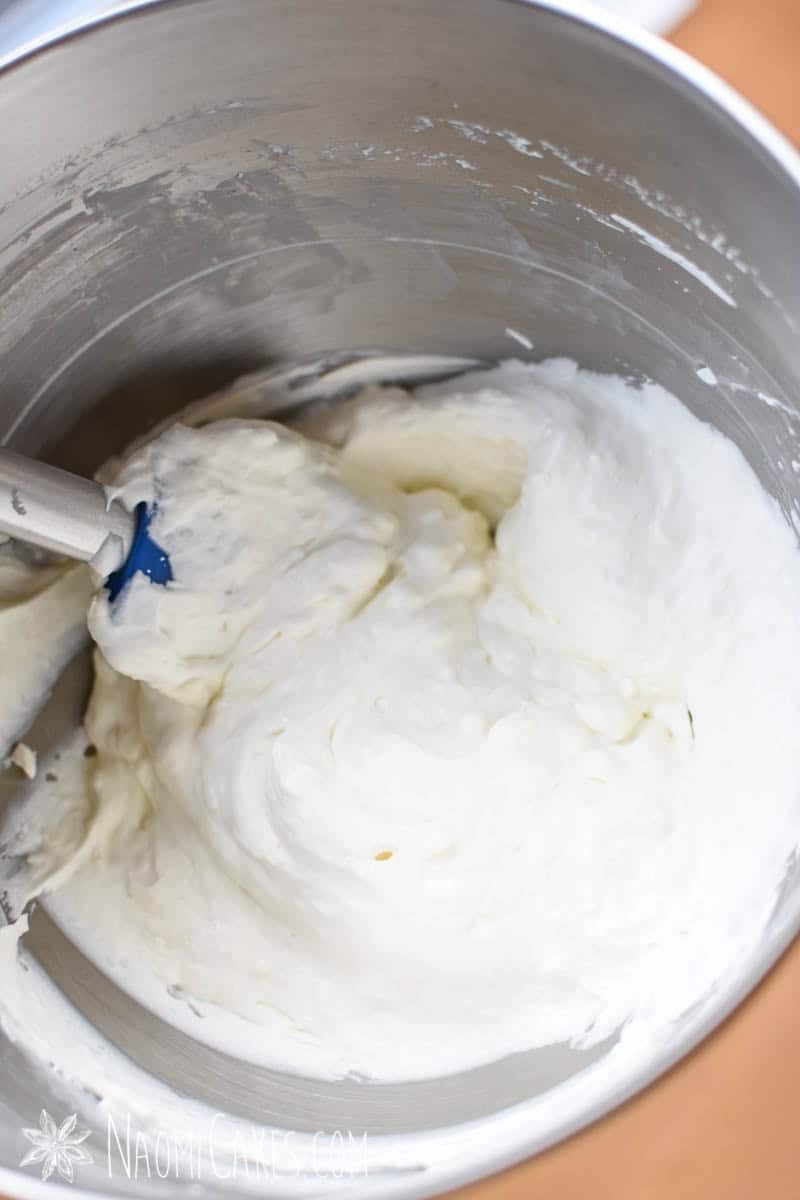
- Increase the speed to high, and beat until the cream forms stiff peaks. Divide the cream in half, and fold it into the cream cheese mixture until smooth.
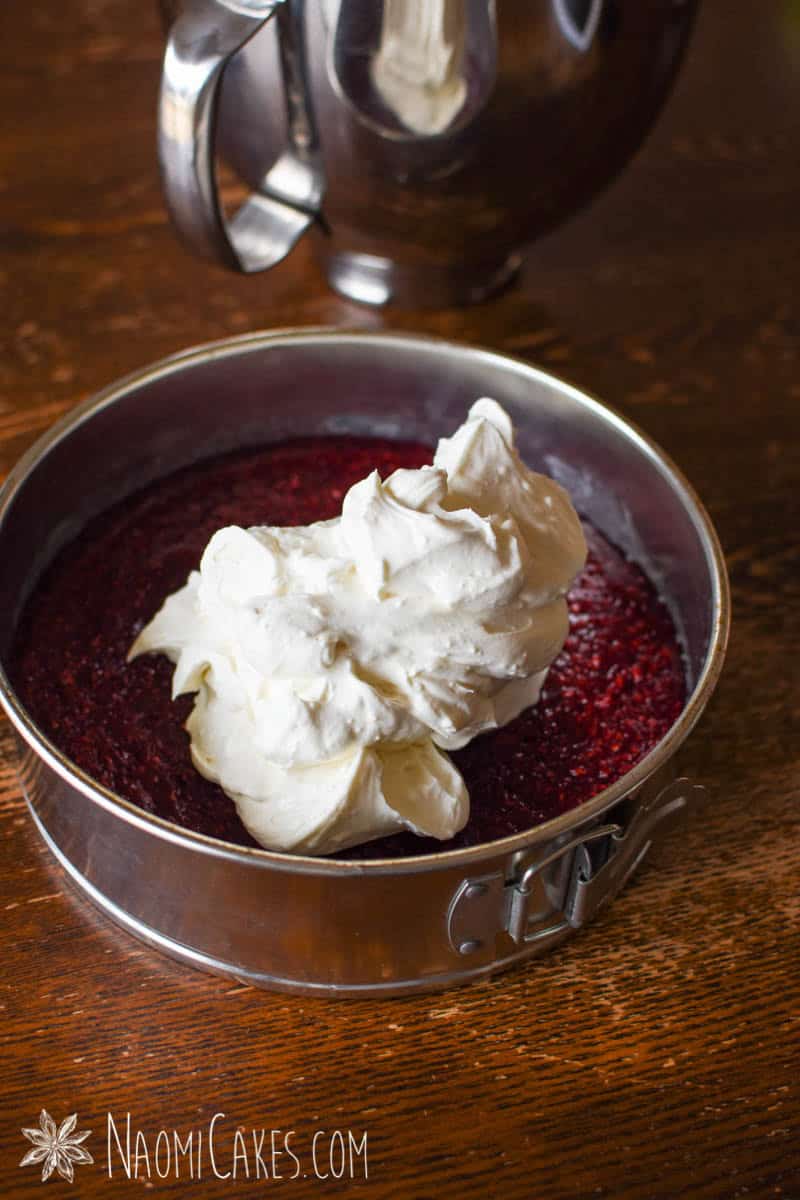
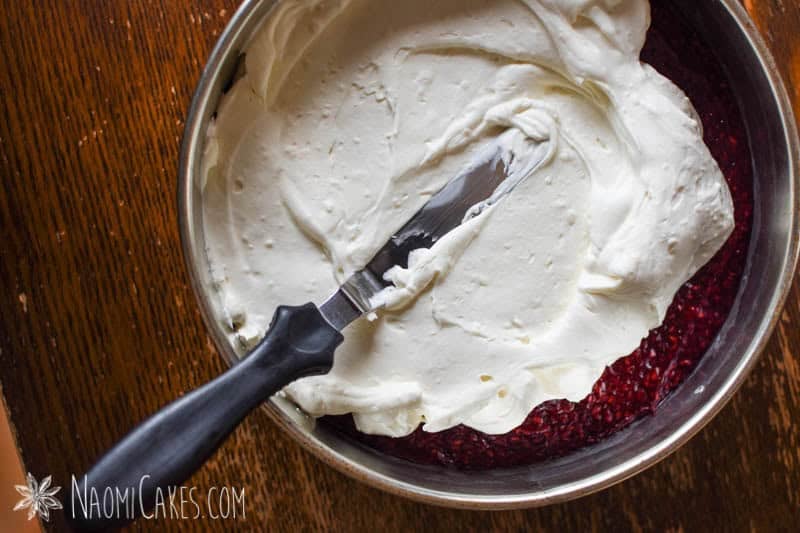
- Remove the plastic wrap from the chilled raspberry cake layer, and spread the cream cheese mousse evenly over the entire surface of the top.


Stabilized cream topping
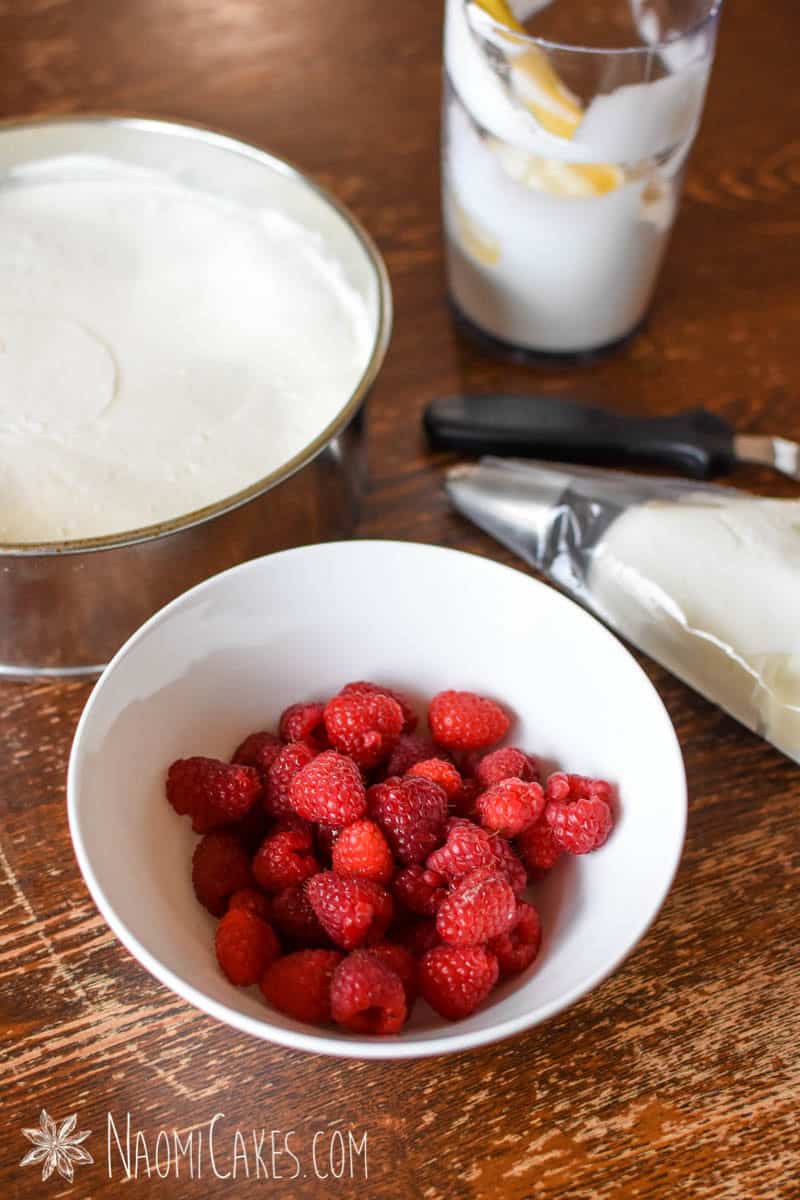
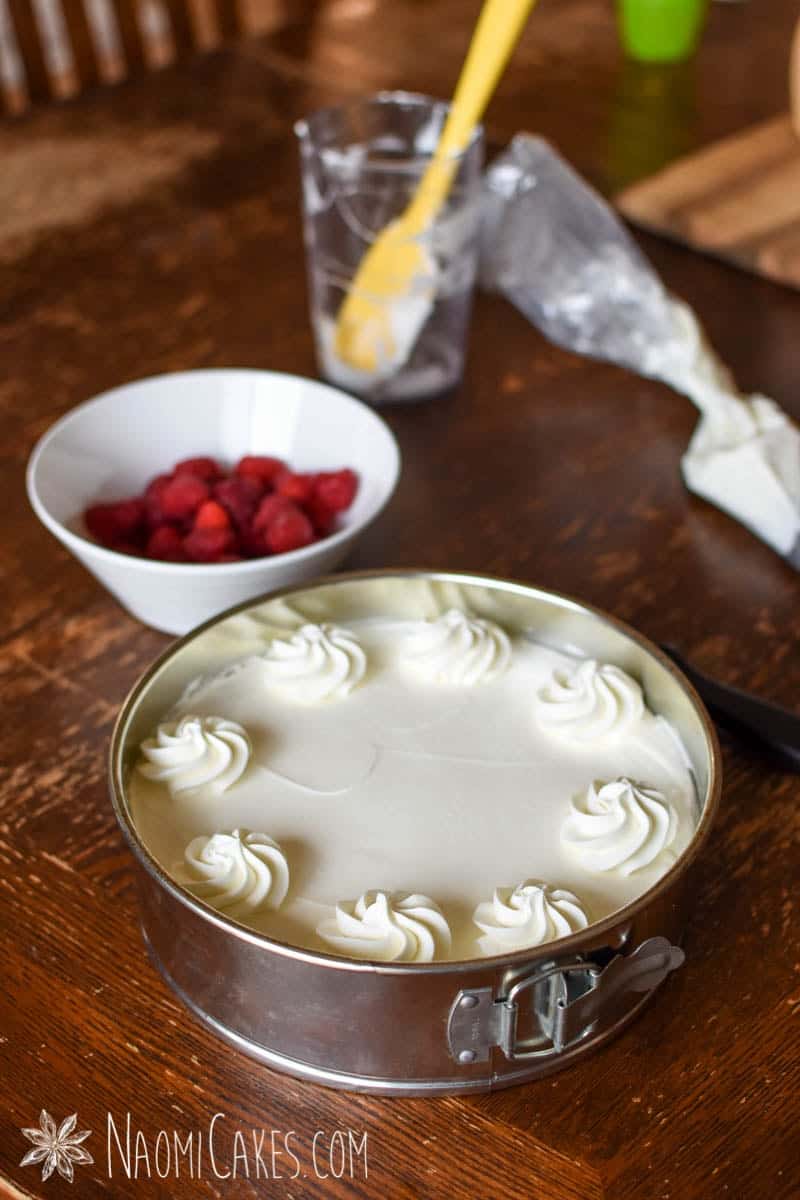
- Divide the remaining cream in half, and place half of the cream into a large piping bag fitted with a star tip.
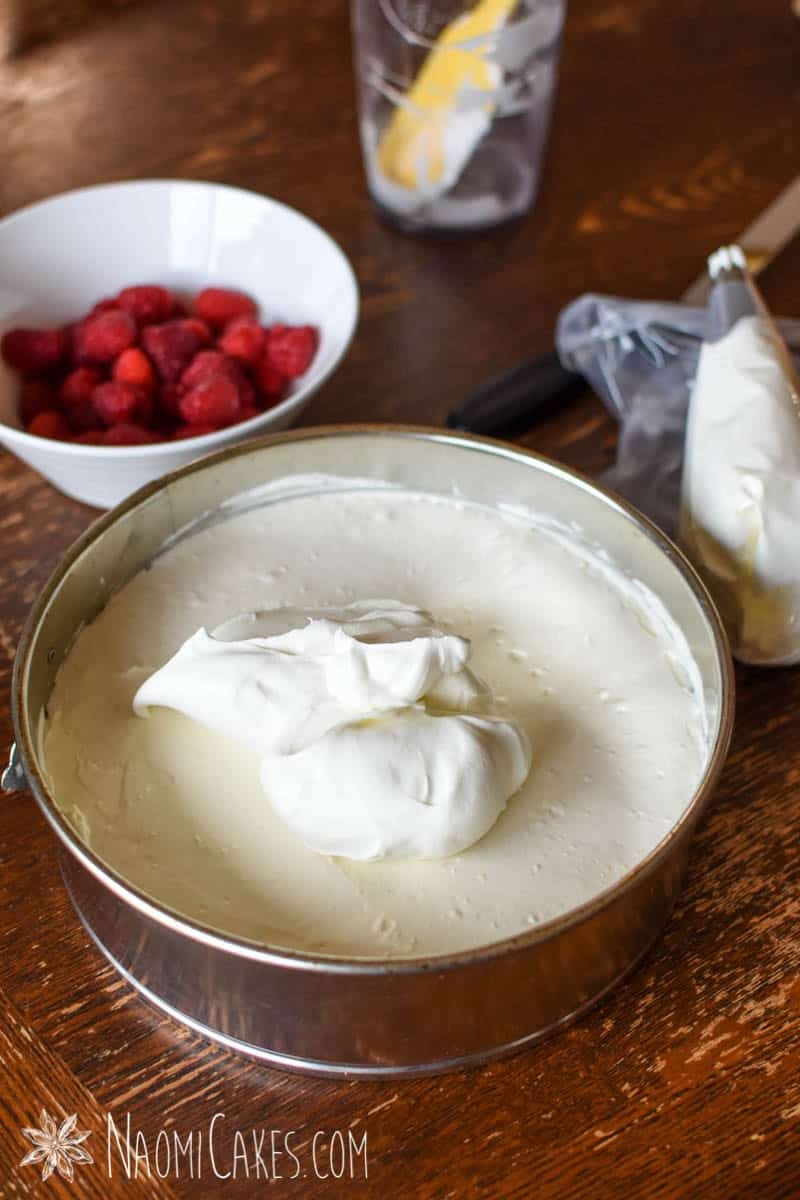
- Scrape the remaining cream on top of the mousse layer, and spread it into a smooth, flat layer.
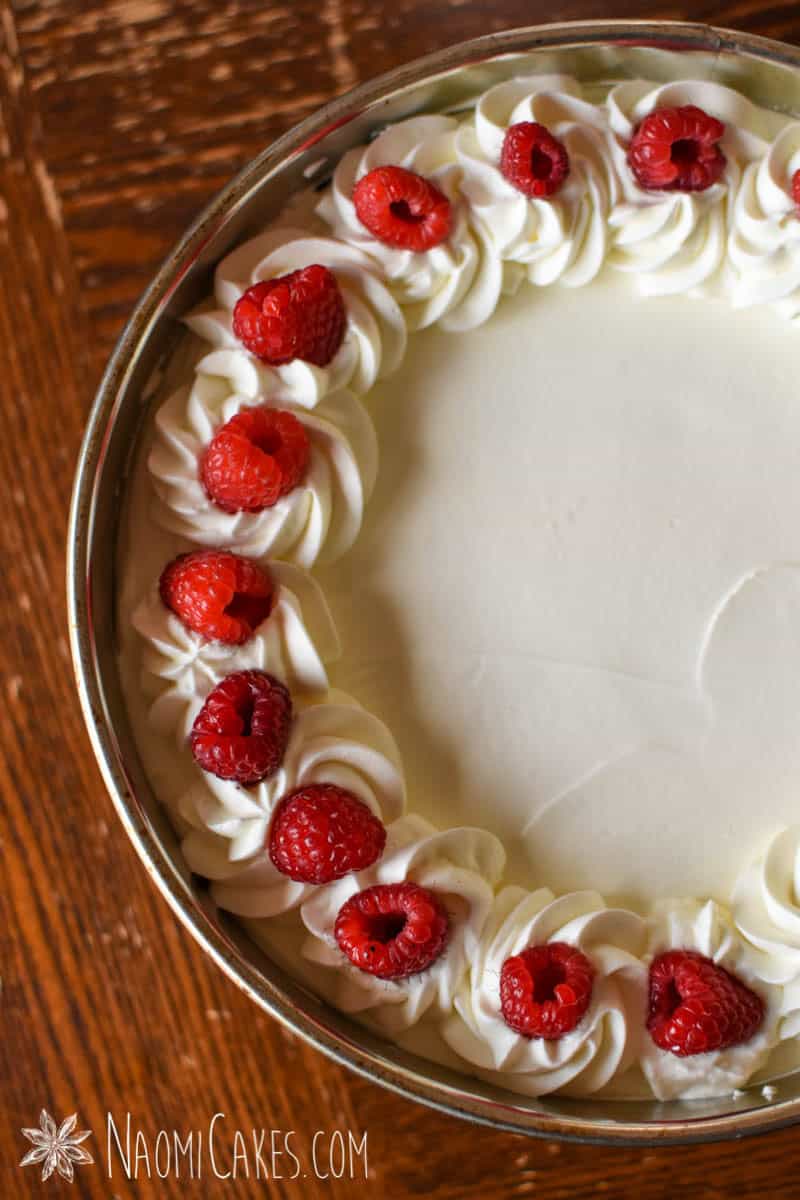
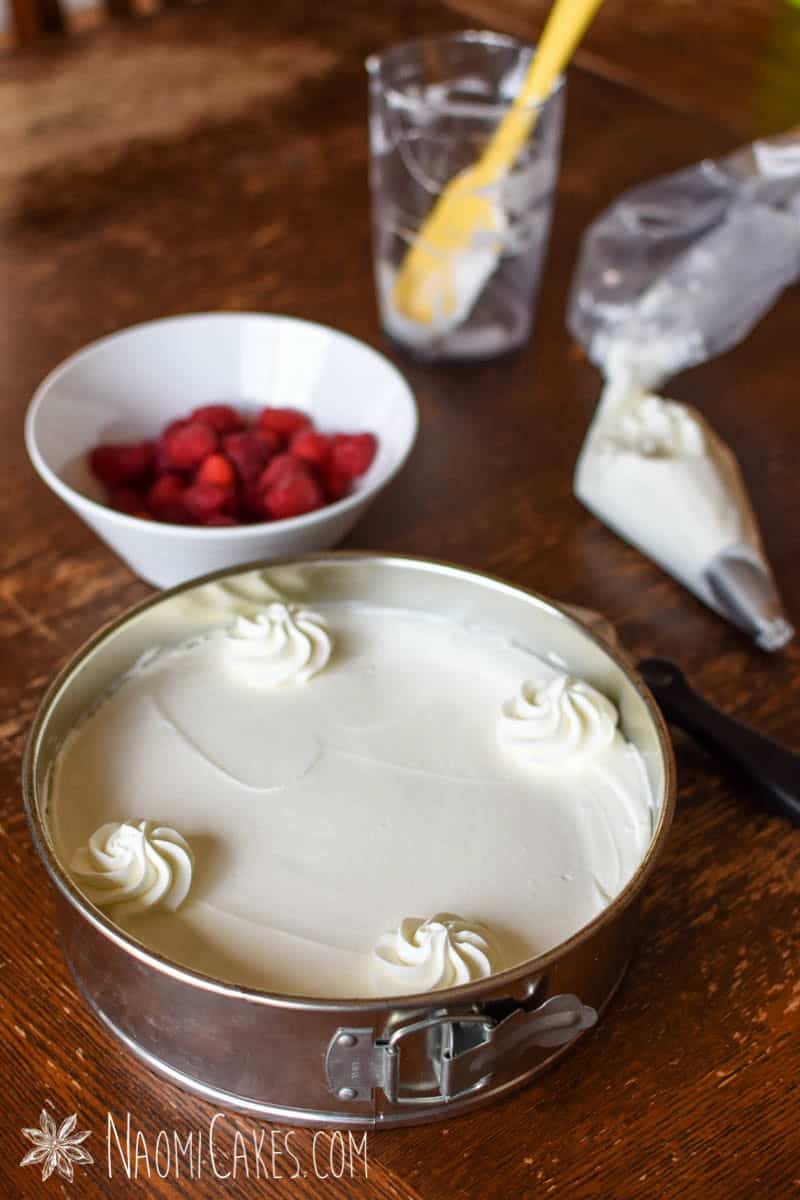
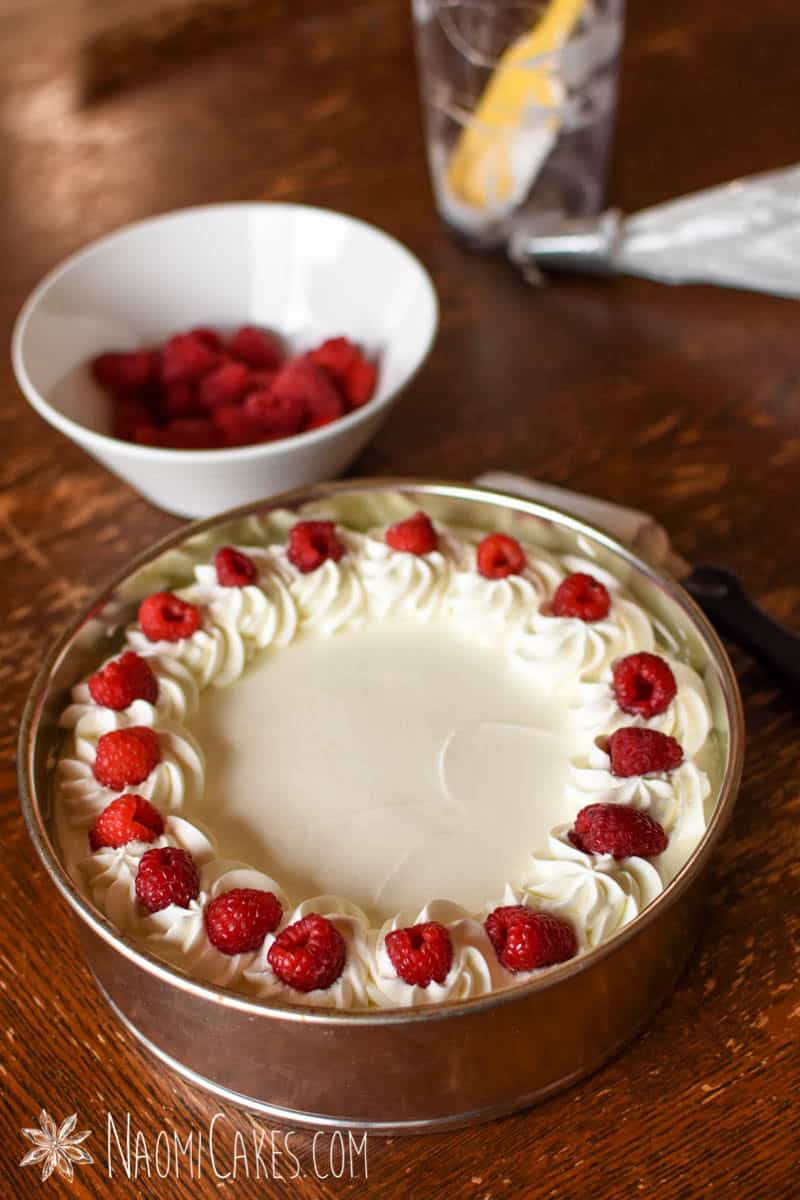
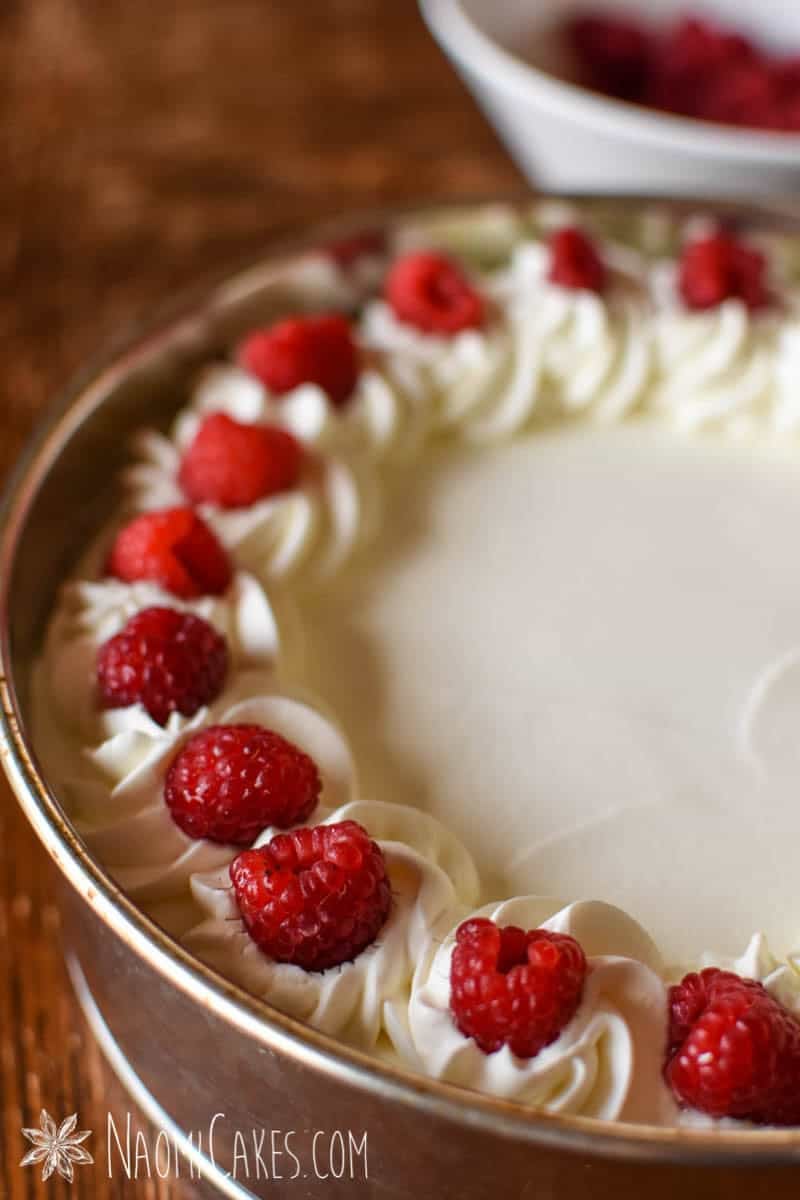
- Pipe rosettes around the perimeter of the cake, and decorate with fresh raspberries.
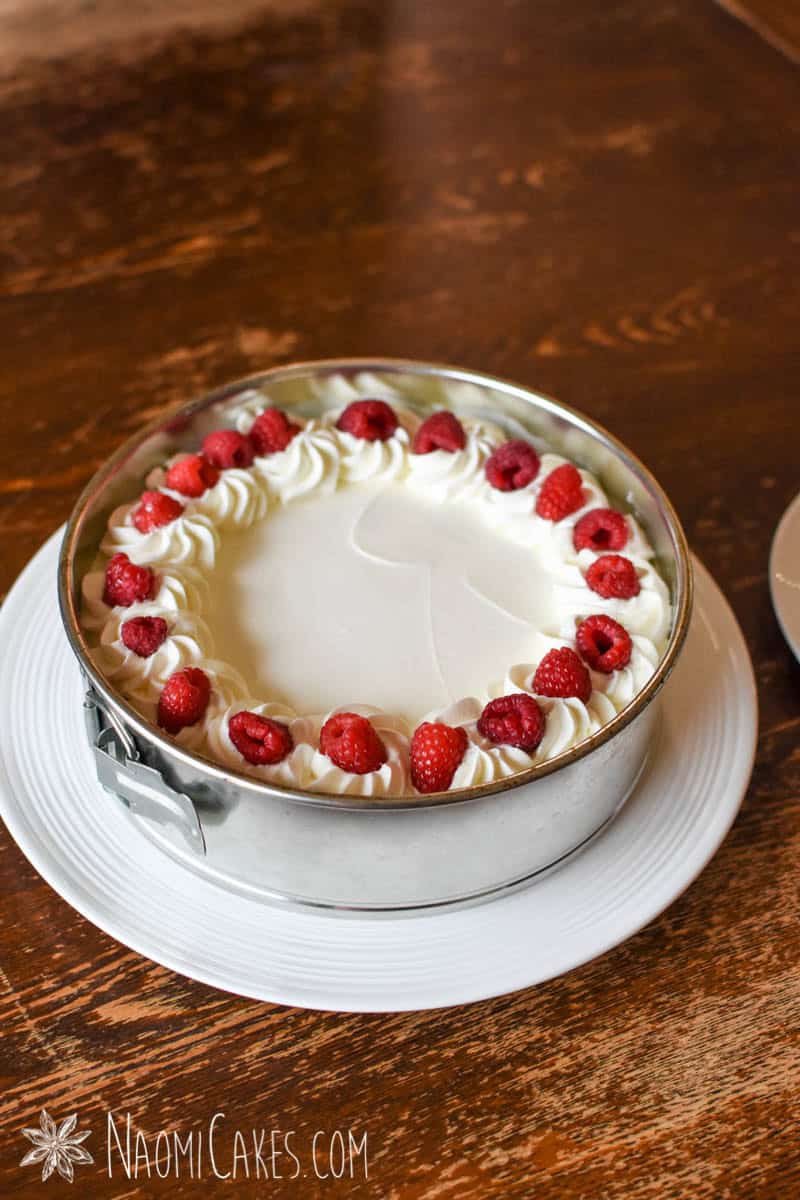
- Refrigerate until cold and set, at least 4 hours (but ideally overnight).

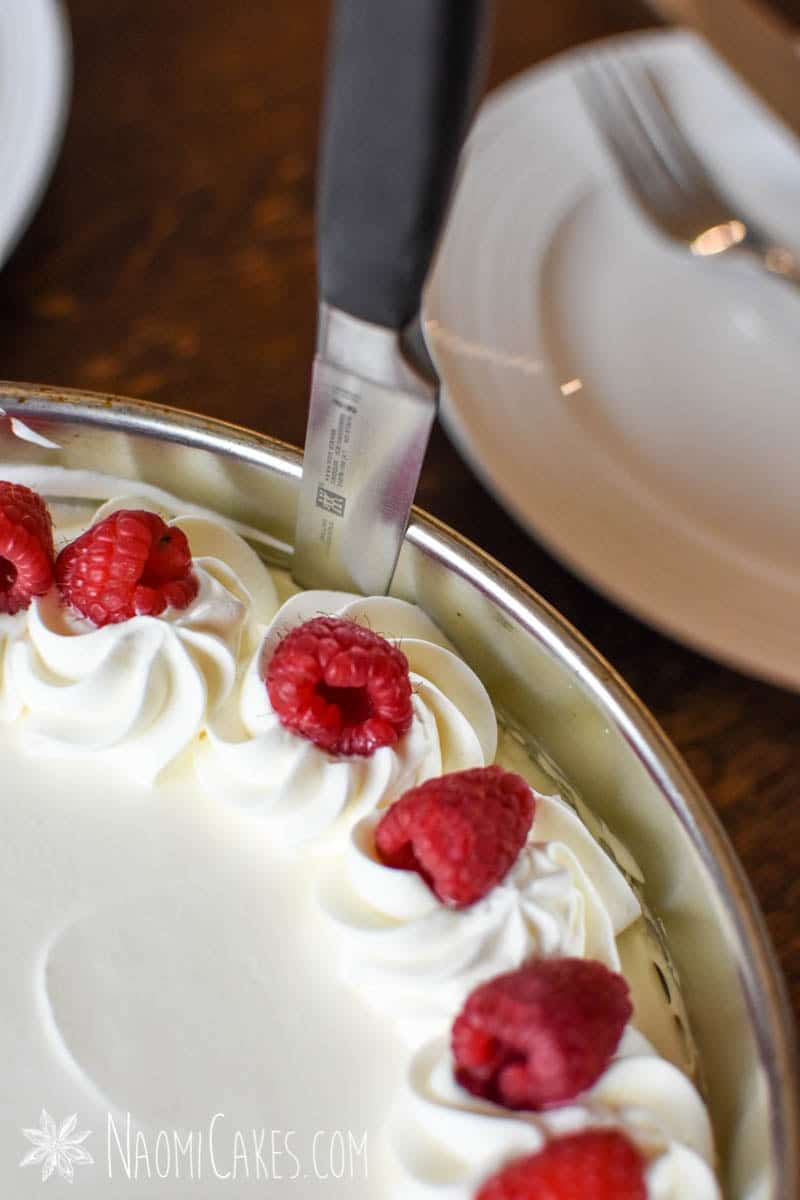
Serving the cake
- To serve the cake, set the cake onto a large serving plate, and run a thin bladed knife around the edge of the pan. Release the collar and cut the cake into slices with a long, sharp knife. Serve cold.
- For a more clean look, you can warm the blade of the knife by running it under hot water, and wiping it dry before each slice you make.
What kind of cake pan to use
This cake should be made in an 8″ or 9″ springform pan (a cake pan with removable sides). You won’t need to worry about parchment rounds or any finicky parchment paper lining for this recipe, since the whole thing is built inside of one pan, and the baked layer doesn’t even have to be removed while it cools!
How far in advance to make a mousse cake
This delicious layer cake can be made several days in advance, but because of the fresh fruit on top, I prefer to make mine the day before I want to serve it. Since the whole top section is a no-bake dessert, this cake requires lots of time in the fridge for the mousse to set (this makes it easier to cut, serve, and keep looking pretty).
Storage
This cake should be stored in the refrigerator and will keep for several days after it has been made.
You will need:
- Ingredients (see recipe card)
- Electric stand mixer (or hand mixer)
- Medium sized mixing bowl
- Measuring cups and spoons
- A small pot
- Heat proof spatulas
- Piping bag
- Large star piping tip
- 8″ springform or 9″ springform pan (9″ is preferable)
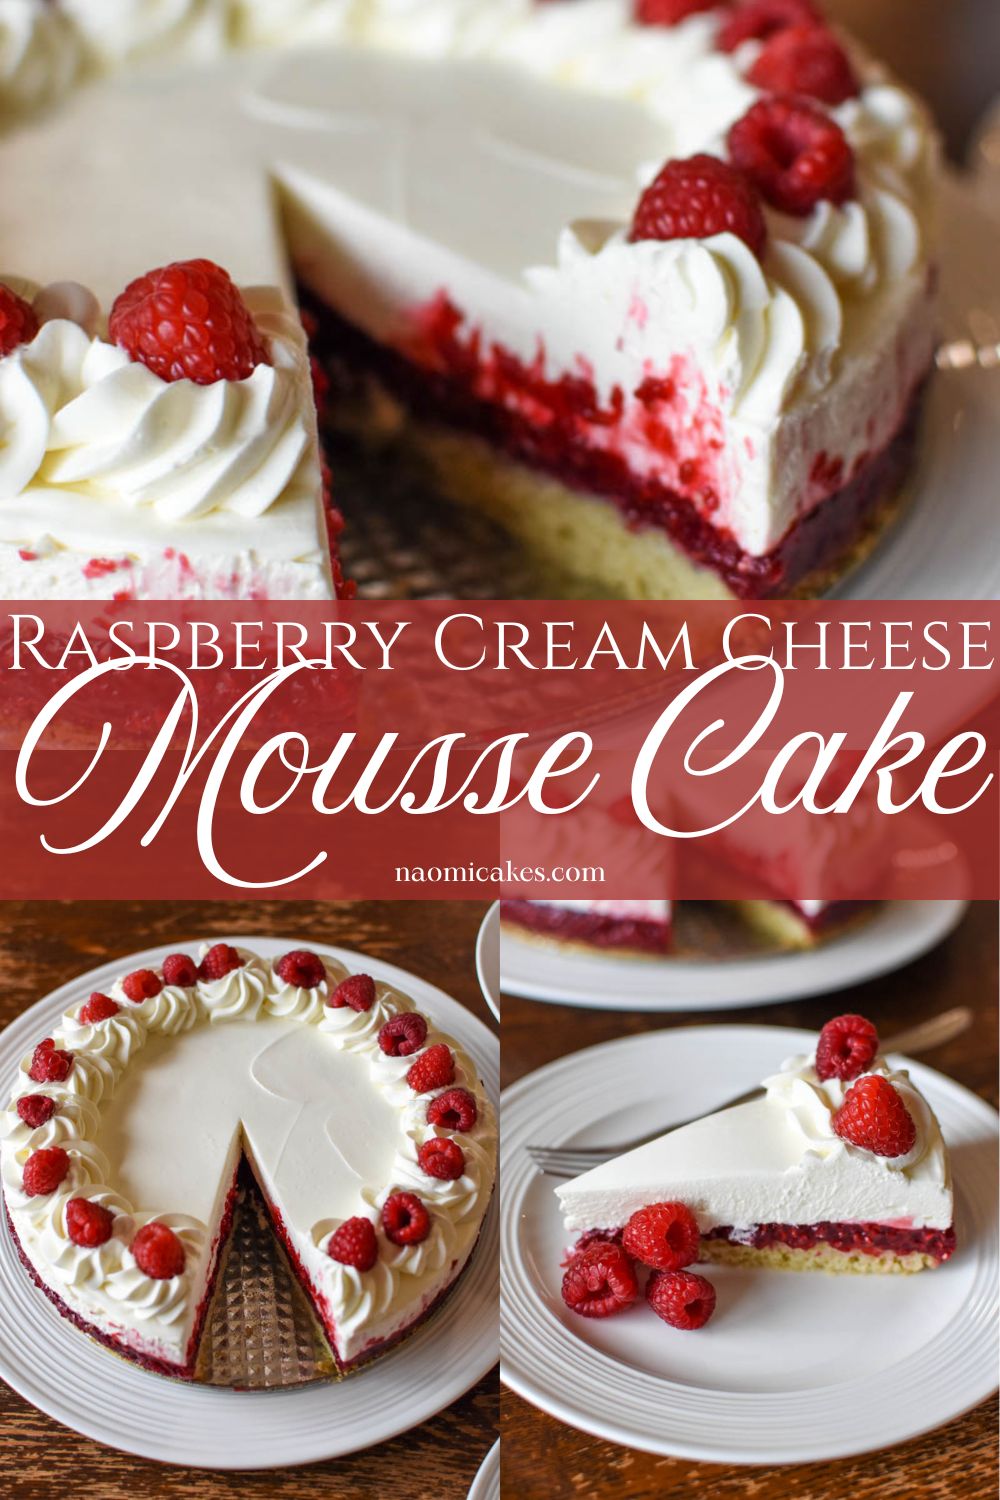

Raspberry Cream Cheese Mousse Cake
This easy to make layered raspberry cream cheese mousse cake is light as a cloud, not-too-sweet and so delicious. The perfect cake!
Ingredients
For the cake layer:
- 1/4 c. butter softened
- 1/4 c. sugar
- 1 pinch salt
- 1/2 tsp vanilla
- 1 large egg
- 1/2 tsp baking soda used 1 tsp before, try 1/2
- 1/2 c. flour
For the fruit layer:
- 3 c. (450-500g) fresh or frozen raspberries
- 2 Tbsp water
- 1/2 c. sugar
- 1 Tbsp lemon juice
- 2 Tbsp corn starch mixed with 2 Tbsp water
For the mousse and cream layers:
- 1/2 (4oz/250g) brick cream cheese softened
- 1/4 c. icing sugar
- 1 tsp (5ml) vanilla
- 2 cups (500ml) cream
- 2 tsp gelatin +3 Tbsp cold water
- 12-20 whole fresh raspberries to decorate (optional)
Instructions
For the cake layer:
-
In the bowl of an electric mixer, cream together the butter and sugar until smooth. Add the salt, vanilla, and egg, and beat until well combined. Add the flour, and mix until smooth, pausing to scrape down the sides of the bowl as necessary to incorporate all of the ingredients evenly.
-
Spread the cake batter into the base of a lightly greased 8 or 9-inch springform pan (it won't look like much batter; about 1 cup, just enough to cover the base of the pan in a thin layer).
-
Bake the cake in a 350 degree F oven for 15-20 min or until a toothpick inserted into the center comes out clean. Set aside.
For the fruit layer:
-
While the cake is baking, bring the raspberries and water to a boil. Add the sugar and lemon juice, and cook until the mixture is boiling and the berries begin to break down.
-
Stir in the cornstarch mixed with water, and cook until thick (about 30 seconds to 1 minute longer). Pour the hot fruit over the cake layer, and smooth the top.
-
Cover the fruit filling with a layer of plastic wrap set directly on top (to prevent a "skin" from forming). Refrigerate until cold (about 2 hours).
For the mousse and cream layers:
-
In a heat-proof mug, sprinkle the gelatine over 3 Tbsp of cold water. Set the cup into a pan of simmering water, and stir until the gelatine is dissolved and the mixture is clear. Remove the cup from the heat and set aside.
-
In a medium sized mixing bowl, beat the cream cheese, icing sugar and vanilla until smooth. Set aside.
-
In the bowl of an electric mixer (or in a medium sized bowl with a hand held mixer), beat the cream until soft peaks form using the whisk attachment at medium-high speed. Reduce the speed to low, and gradually add the gelatine, being careful not to scrape out whatever is left in the cup. (Soak the cup immediately following this step for easy cleaning).
-
Increase the speed to high, and beat until the cream forms stiff peaks. Divide the cream in half, and fold it into the cream cheese mixture until smooth.
-
Remove the plastic wrap from the chilled raspberry cake layer, and spread the cream cheese mousse evenly over top.
-
Divide the remaining cream in half, and place half of the cream into a large piping bag fitted with a star tip.
-
Scrape the remaining cream on top of the mousse layer, and spread it into a smooth, flat layer.
-
Pipe rosettes around the perimeter of the cake, and decorate with fresh raspberries. Refrigerate until cold and set, at least 4 hours (but ideally overnight).
Serving the cake
-
To serve the cake, set the cake onto a large serving platter, and run a thin bladed knife around the edge of the pan. Release the collar and cut the cake into slices with a long, sharp knife. Serve cold.
-
For a more clean look, you can warm the blade of the knife by running it under hot water, and wiping it dry before each slice you make.
If you like this recipe, you may also like:
- Raspberry Sponge Cake
- Authentic German Black Forest Cake
- Perfect Lemon Mousse Cake with Fresh Berries
- Best Ever Easy Homemade Classic Cheesecake
And that’s it! I hope you enjoy this (somewhat) simple recipe with simple ingredients. May it please your family and bring them as much joy as it has mine!
Thanks for stopping in! Back soon,
Naomi
This post contains affiliate links.