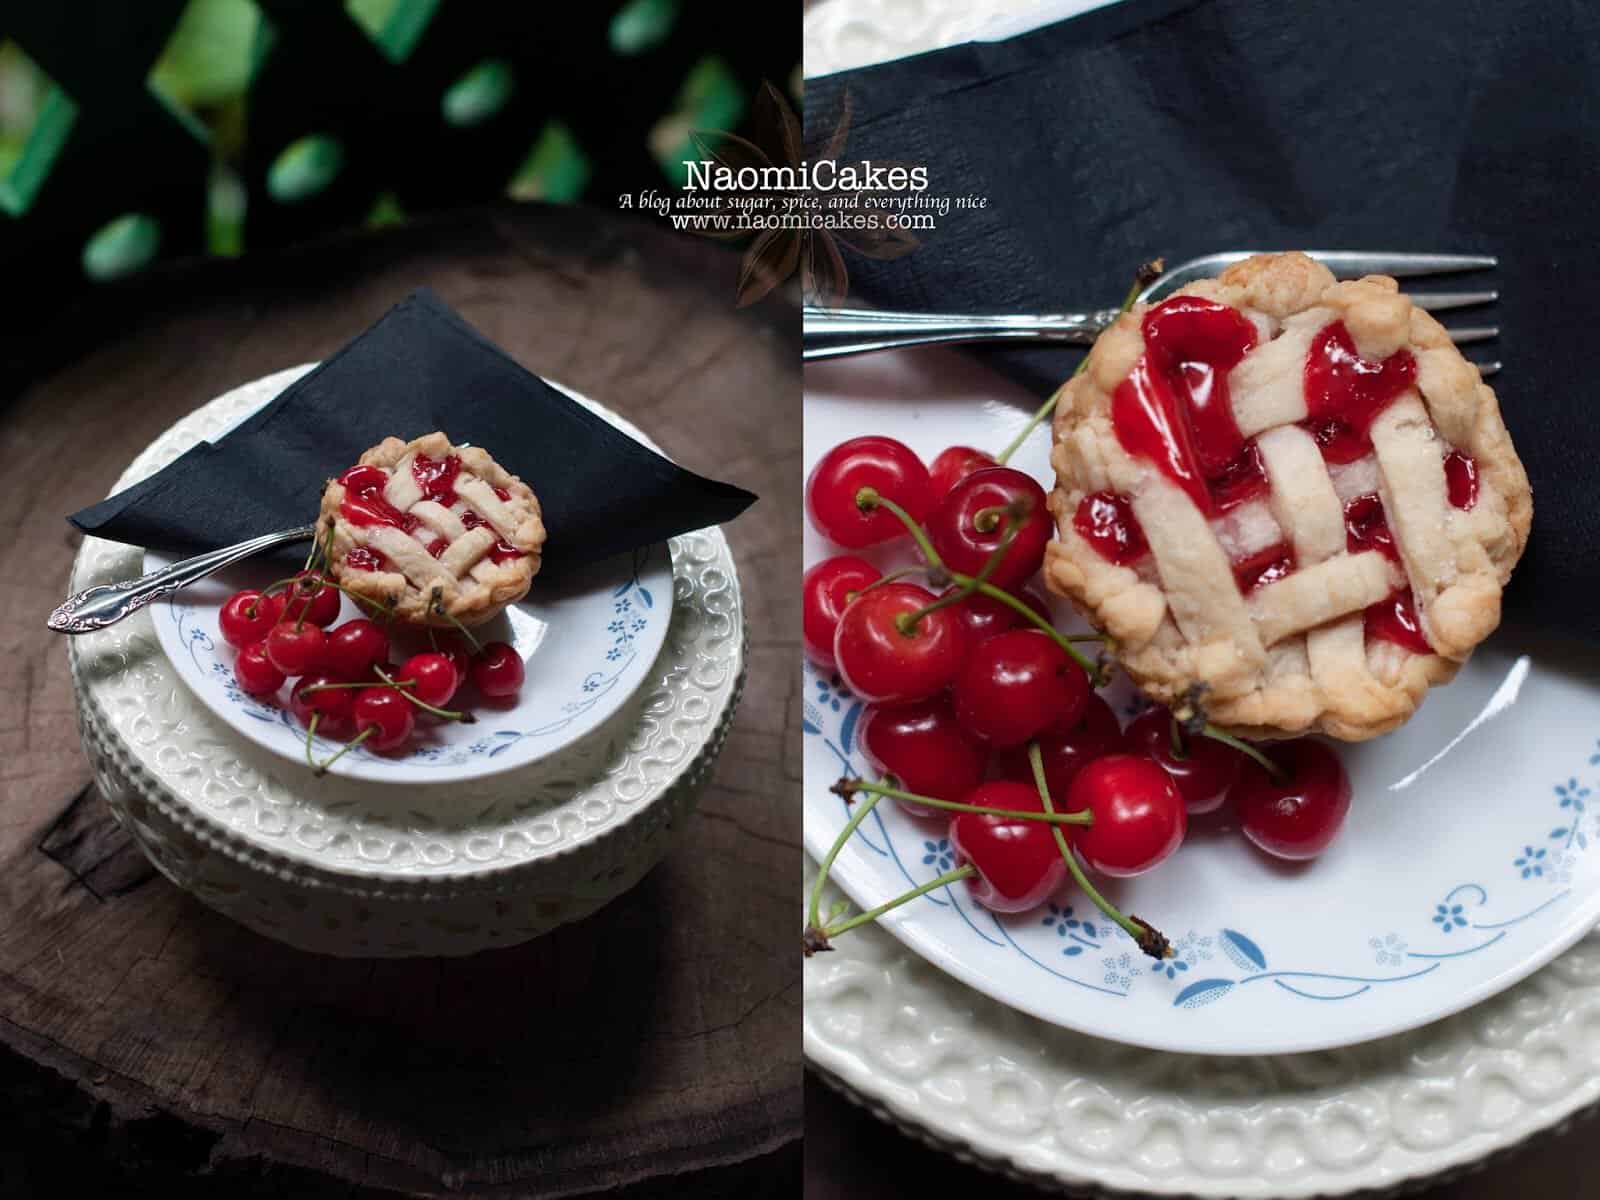
Miniature Cherry Pies
A sweet, memorable recipe for miniature cherry pies.
Ingredients
- 1 recipe of my Easy Pie Pastry (See "Notes" for the recipe link)
- 2 cans cherry pie filling (or about 4 cups homemade pie filling)
- water (or beaten egg, for brushing)
- coarse sugar for sprinkling
Instructions
-
Prepare the pastry as per the recipe instructions. Next, take about 1/4 of the pastry and press it into a 6" circle on a lightly floured work surface.
-
Dust your rolling pin with a bit of flour, and roll the pastry out till it's about 1/8" thick (turning the dough as you work with it to make sure it's not sticking to the table; if you find it sticking, dust with a bit more flour and continue rolling.)
-
Using a 4″ biscuit cutter, cut out circles of pastry and lightly press each one into an ungreased muffin tin.
-
Fill each pie shell with cherry pie filling, taking care not to over fill them (too much filling will make them overflow in the oven and make a mess on your oven and pans). You’ll probably want to get about 4-5 cherries into each pie, as pictured.
-
Roll out another piece of dough and cut into 1/4″ strips. Using your fingertips, moisten the edges of each pie crust with a bit of water, and press the strips onto the dough (as picture below) into an “X” shape, alternating which direction you lay the dough strips. Trim the excess and set aside.
-
Using a cake crimper dusted with flour (or the back of a fork), crimp the edges of the pies to seal the loose lattice pieces of pastry to the edges of the crust.
-
Again, use your fingertips to brush a little bit of water across the top of each pie; sprinkle with coarse sugar. (You can also brush the pies with beaten egg before sprinkling with sugar if you want them a little more brown.)
-
Bake at 375 degrees F for 20-30 minutes, or until golden brown. Cool on wire racks.
Tip: Pastry likes a good burst of heat; heat your oven to 425 degrees F, and then reduce the temperature to 375 once the pies are in there and the door is shut.
Recipe Notes
This recipe calls for my Easy Pie Pastry - Check out that link to learn how to make it!
You can also make these pies with some of my other fruit fillings for different variations! Try my Rhubarb Sauce, Strawberry Sauce, or Raspberry Sauce for the filling instead. Just make the recipe as per the directions, except substitute the amount of cornstarch to equal 1 rounded Tbsp. corn starch per 1 c. of fruit in the sauce recipe.
Wanna know where to buy a crimping tool? Check out This Link to see what I recommend!
I hope you enjoy them!
Happy baking,
–Naomi
P.S. Have some extra pastry? Try making some Miniature Lemon Meringue Pies, or my recipe for What to Do with Leftover Pie Pastry.
SaveSave
SaveSave


