
Easy Overnight Sourdough Cinnamon Rolls [Recipe]
If you’ve been looking for an easy, bakery-style recipe for overnight sourdough cinnamon rolls, let me tell you: today’s a good day because you have found your recipe! These rolls are easy to make and they come out of the oven enormously large, delicious, and perfect smothered in cream cheese frosting.
I like to describe these rolls with the same adjectives I’d give my 2-month-old baby: sweet, soft, and mildly spicy (at times; mostly when I’m trying to rest or drink my coffee).
Are you ready to learn how to make them?
Sourdough vs. traditional yeast
This recipe is a sourdough bread recipe, using the fermented culture in sourdough starter rather than traditional yeast to make them rise. The process of making sourdough rolls takes longer, but it yields a product that is easier to digest (source) and has a much richer flavor.
If you haven’t learned much about bread making before, I would suggest you start with a simple cinnamon roll recipe using traditional yeast first, just to get the hang of it. From there, to expand your bread-making skills, you can branch into sourdough.
To get started making sourdough, I recommend you start with making your own starter, then try a simple no-knead sourdough bread. After that, get right to making these beautiful cinnamon buns and all of the wonderful things beyond!
Ingredients
Every recipe is only as great as its ingredients. For this recipe, check out this list to see what you’re going to need; and of course, if you have any questions, leave me a note in the comments.
White flour
For this recipe, I’m using basic white all purpose flour. My preference is unbleached, but any all-purpose flour or bread flour will work well for this recipe.
Brown sugar
Brown sugar gives this dough a slightly caramel undertone. If you don’t have any, white sugar will work just as well. Use white sugar as a 1:1 substitute (for both the filling and the dough) if you plan to use it.
Sourdough starter
As I mentioned above, this recipe relies on sourdough starter to make the rolls rise. You can check out my recipe for an easy step-by-step tutorial on how to make it.
Salt
Salt is essential to giving these rolls the best depth of flavor. Yes, it’s true that these are sweet rolls – but missing the salt definitely takes a key element out of this recipe!
Egg
Egg enriches the dough and gives it a dense, soft texture which is perfect for sweet rolls to turn out right.
Butter
Butter also adds essential flavor and textural elements to every sweet dough; especially cinnamon rolls! Use real butter for the best results in both the filling and the dough.
Cinnamon
The star of the show! Don’t overdo it of course, but ground cinnamon is the heart and soul of this recipe, and it is a key ingredient in the filling that makes these rolls so delicious.
Vanilla
Vanilla makes all things dessert smooth, fragrant, and delicious. I just use imitation vanilla extract in most of my baking because it’s inexpensive… but truly, if you can get your hands on some real Madagascar vanilla, trust me: it’ll be an unforgettable experience.
No-knead method
These cinnamon rolls are made simple by using a no-knead method for making the dough. In the pictures for this post, I made the dough entirely by hand, but you can make it a little bit easier by bringing the dough together first in a stand mixer if you prefer. Both of those methods are outlined in the recipe instructions.
The no-knead method is essentially just to bring the ingredients together until the flour is moistened, let the shaggy dough rest, and then stretch and fold the dough every 20 minutes until you have a stiff, smooth dough.
Two ways to store overnight sourdough cinnamon rolls
Once the rolls have been made and shaped, they go into the fridge for overnight fermentation. The rolls need to be placed on a baking sheet ready to bake the next morning, and you can do this one of two ways:
- In a greased 9×13-inch baking dish (where the rolls will rise into each other and need to be pulled apart) OR
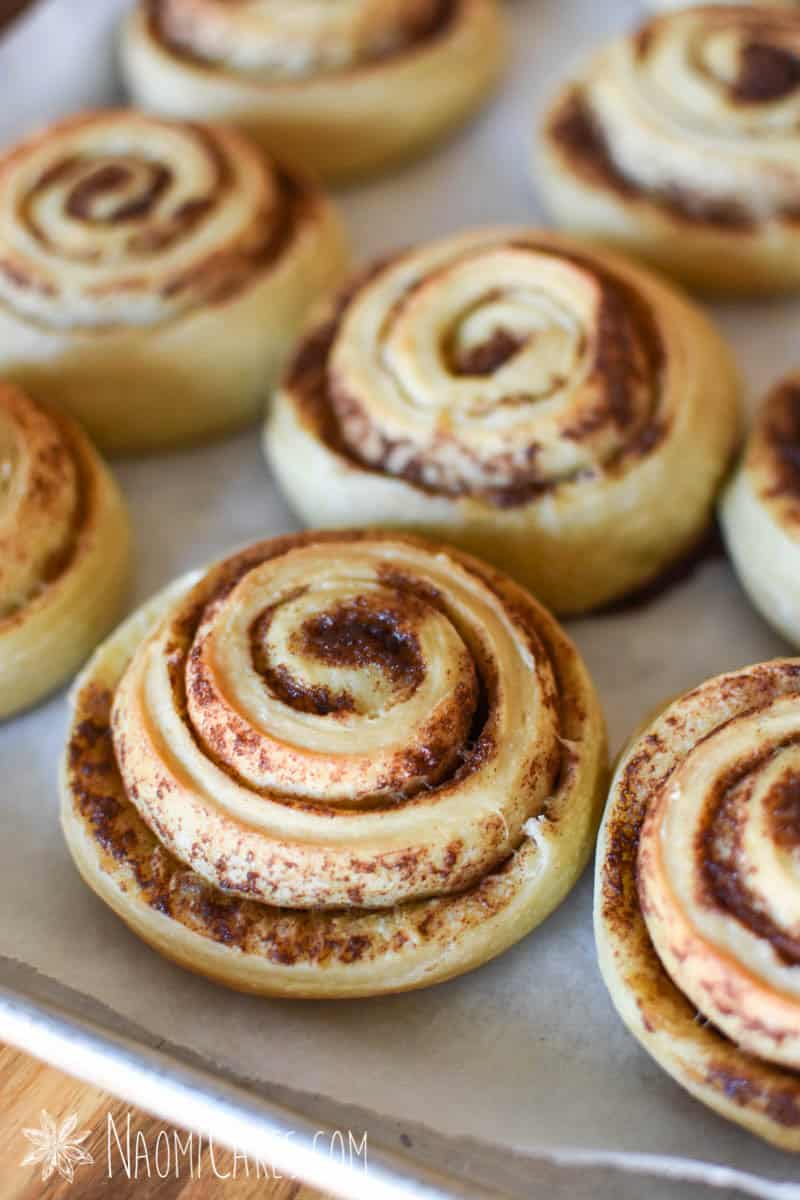
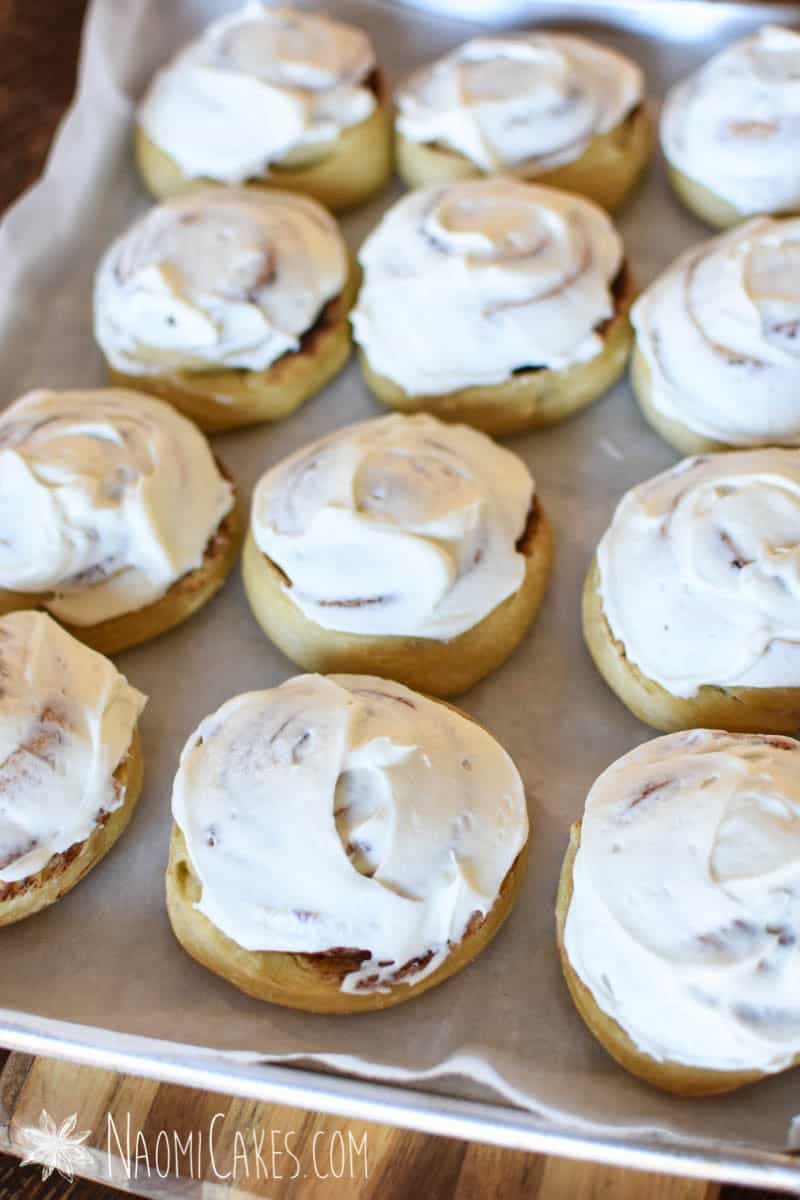
- On a parchment-lined half-sheet baking pan (10×15-inch), spread apart so that the rolls bake individually (as pictured in this post).
If you’re going for the large, round, individually portioned rolls (bakery-style), I recommend the second option; although for this method, be aware that you’ll need enough space for the cookie sheet to fit in your refrigerator overnight.

Do sourdough cinnamon rolls need steam in the oven?
One question I had when I started making sourdough cinnamon rolls is whether or not they need steam in the oven. The reason for this is that sourdough bread requires steam in the oven to expand (either by being baked in a covered baking dish or by placing a pan of boiling water in the bottom of the oven during baking).
The simple answer to the question is, no. Cinnamon rolls do not require steam the same way that sourdough bread does. The reason for this is that the extra butter in the filling actually provides enough moisture to create steam all on its own, and your cinnamon rolls should rise just fine in your oven without extra steam.
You will need:
- Ingredients (see recipe card)
- Kitchen scale (optional)
- Large mixing bowl (or stand mixer)
- Large stir spoon
- Spatula
- Measuring cups and spoons
- Rolling pin
- Bench scraper
- Butter knife or a palette knife
- Sharp knife
- 10×15 baking pan with sides or a 9×13 baking dish
- Parchment paper
- Plastic wrap
- Cooling rack


Sourdough Cinnamon Rolls
My favorite sourdough cinnamon rolls! Serve these with a simple sweet glaze icing, or my favorite: cream cheese icing.
Ingredients
Dough:
- 4-2/3 cups (675g) white flour
- 1/2 cup (100g) brown sugar packed
- 1-1/3 cups (325ml) warm water
- 2/3 cup (150g) active sourdough starter*
- 1 tsp (5ml) salt
- 1 large egg
- 1/4 cup (57g) butter softened or melted
Filling:
- 1/3 cup (76g) butter softened
- 1/3 cup (67g) brown sugar
- 1 Tbsp (15ml) cinnamon
- 1 tsp (5ml) vanilla
Cream Cheese Frosting:
- 1/4 cup butter softened
- 1/2 brick (4oz) cream cheese softened
- 1/2 tsp vanilla
- 2 cup icing (powdered) sugar
- 1-2 Tbsp milk or cream
Instructions
-
In the bowl of an electric stand mixer, combine all of the dough ingredients. Mix on low-med speed with the dough hook for 5-10 minutes. Turn into a greased mixing bowl, and cover with a tea towel. Allow this to rest for 20 minutes.
Alternatively, you can stir all of the ingredients together by hand in a large bowl until you have a shaggy dough (with all of the flour worked in). Allow this to rest for 20-30 minutes, and then proceed with the directions until the dough is smooth and taut.
Note: For making the dough by hand, I recommend melting the butter to make it easier to incorporate.
-
Stretch and fold the dough by grabbing a handful of dough from the side of the bowl and stretching it upward as high as you can without breaking it. Fold it back down on itself, and repeat from different sides 2-3 more times. Allow the dough to rest again, covered, for another 20 minutes.
-
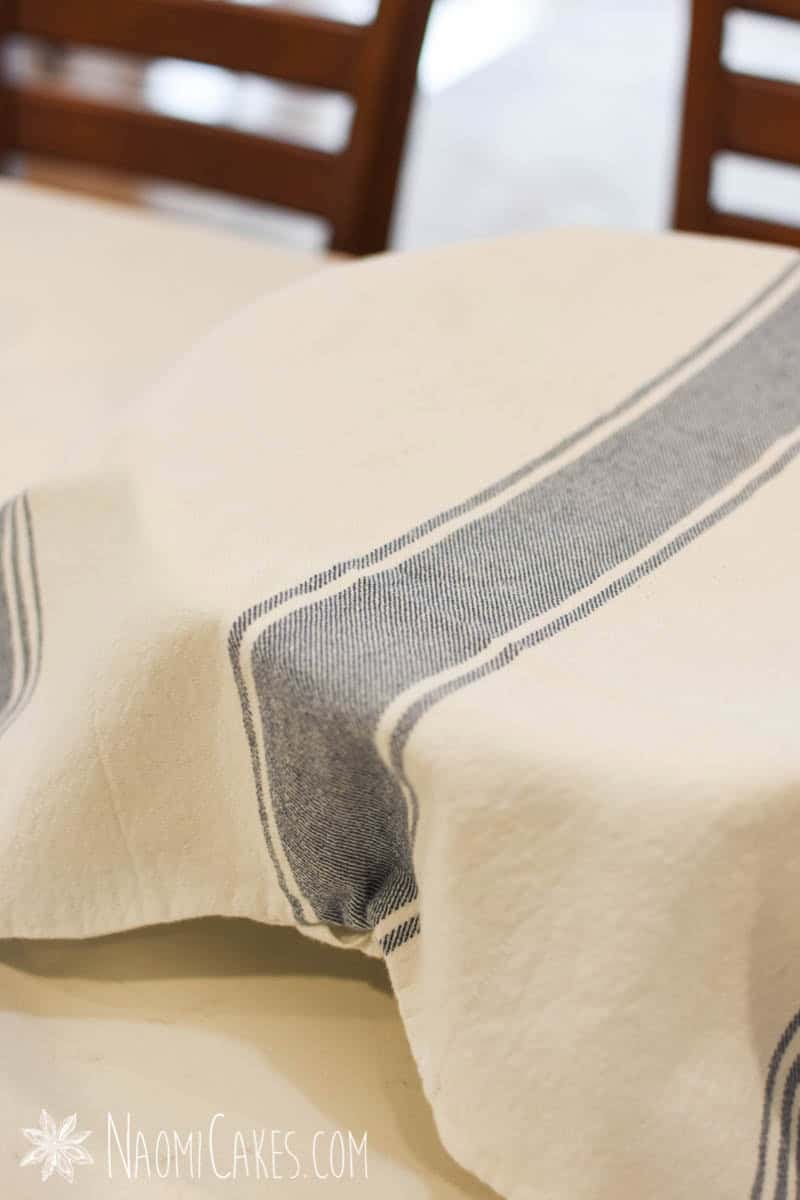
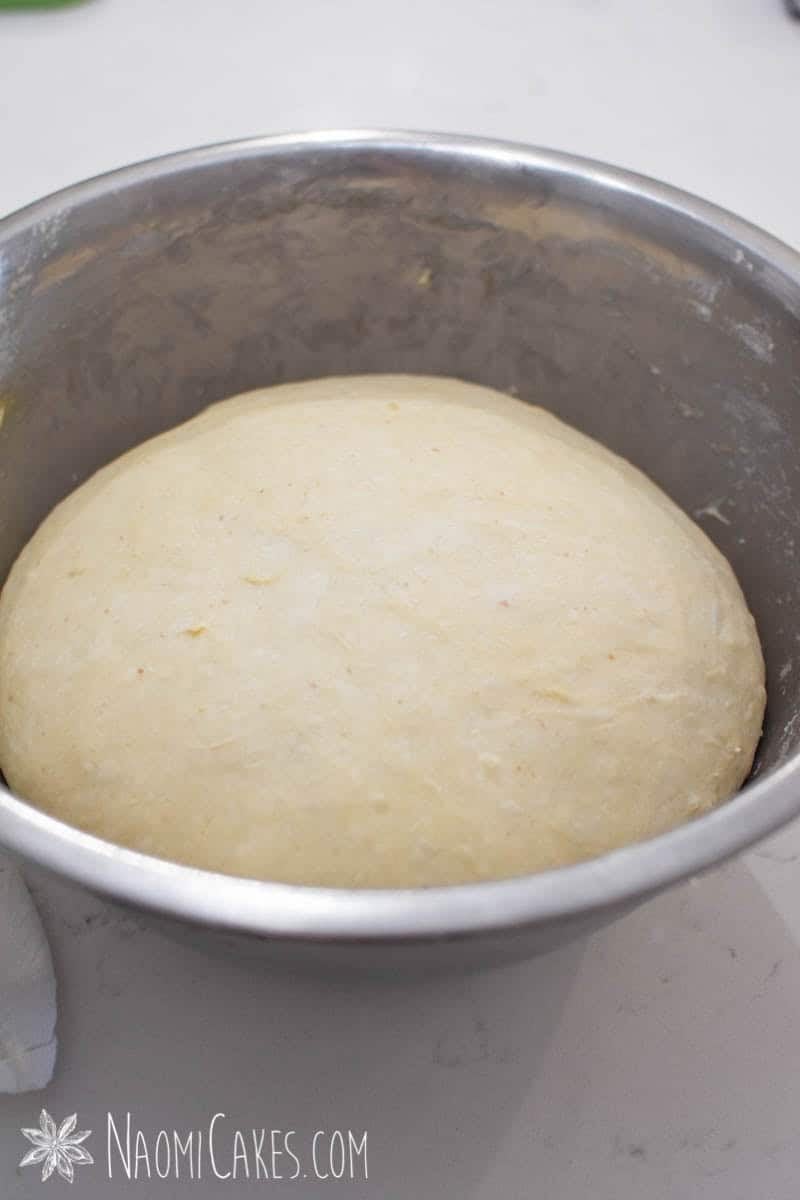
Stretch and fold the dough one more time, and cover with plastic wrap or a damp tea towel. Allow the dough to rise at room temperature for 3-4 hours, or until 1.5-2 times its original size.
-
Turn the dough out onto a lightly floured work surface, press into a rectangle shape, and roll out into a 10×15″ rectangle (about 1/4″ thick). No need to “punch the dough down” – pressing and rolling it into shape will do that for you!)
-
Combine the filling ingredients in the bowl of an electric mixer or a small bowl. Mix until smooth.
-
Spread the mixture over the surface of the dough, and spread it evenly right to the edges of 3 sides, keeping a little lip of plain dough along the short side farthest from you (to seal the roll when you make it).
-
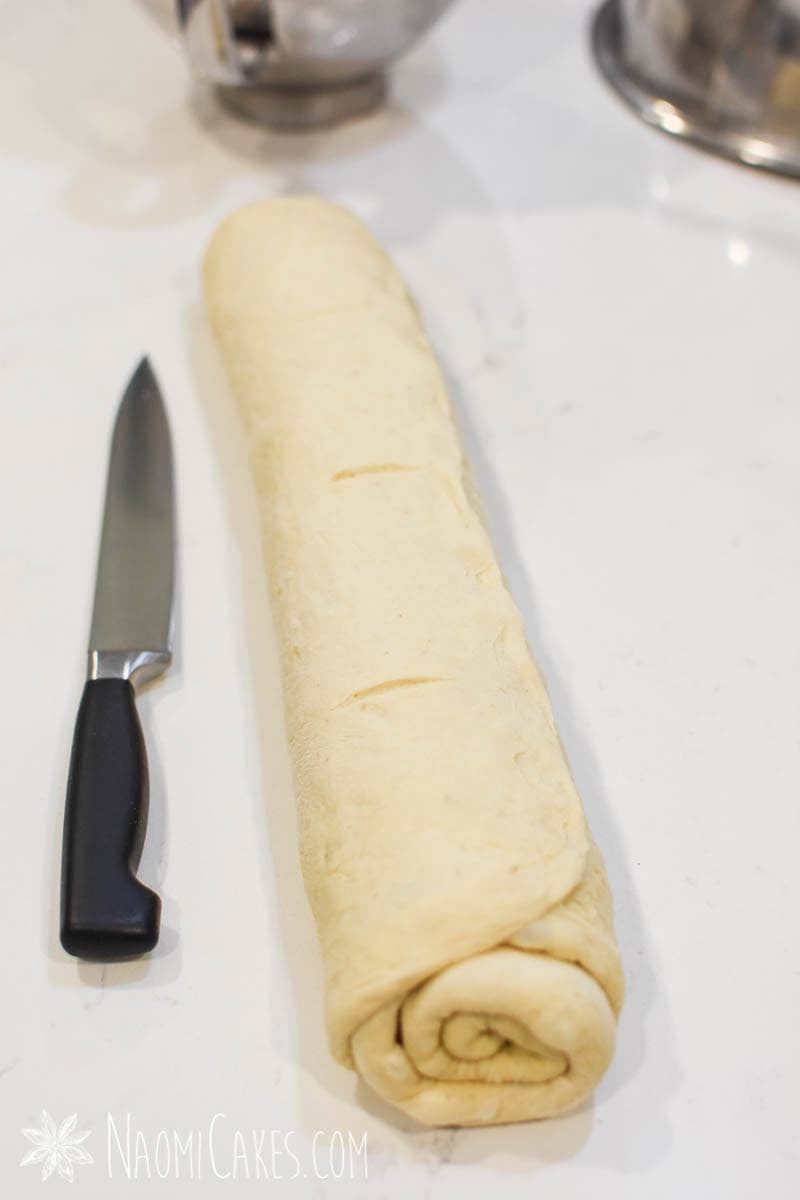
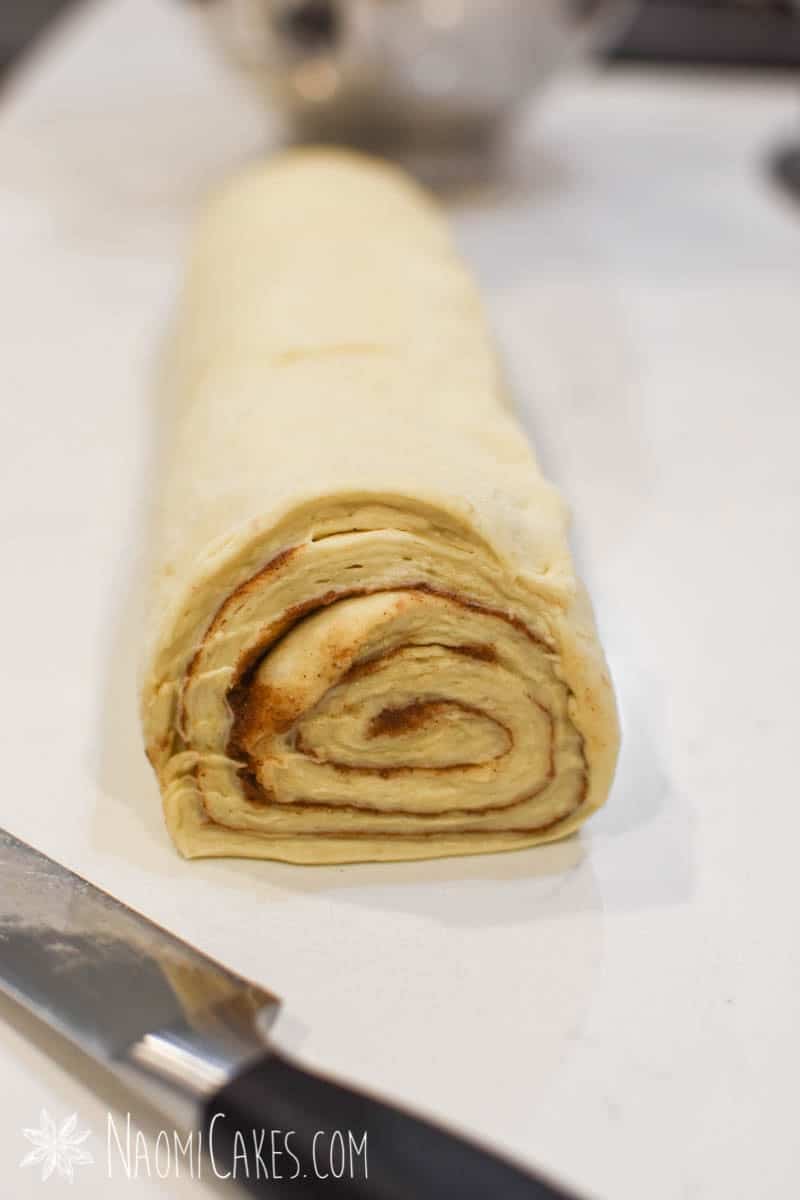
Start with the side closest to you, and roll the dough jelly-roll-style, pinching the last, plain edge of the roll to seal it.
-
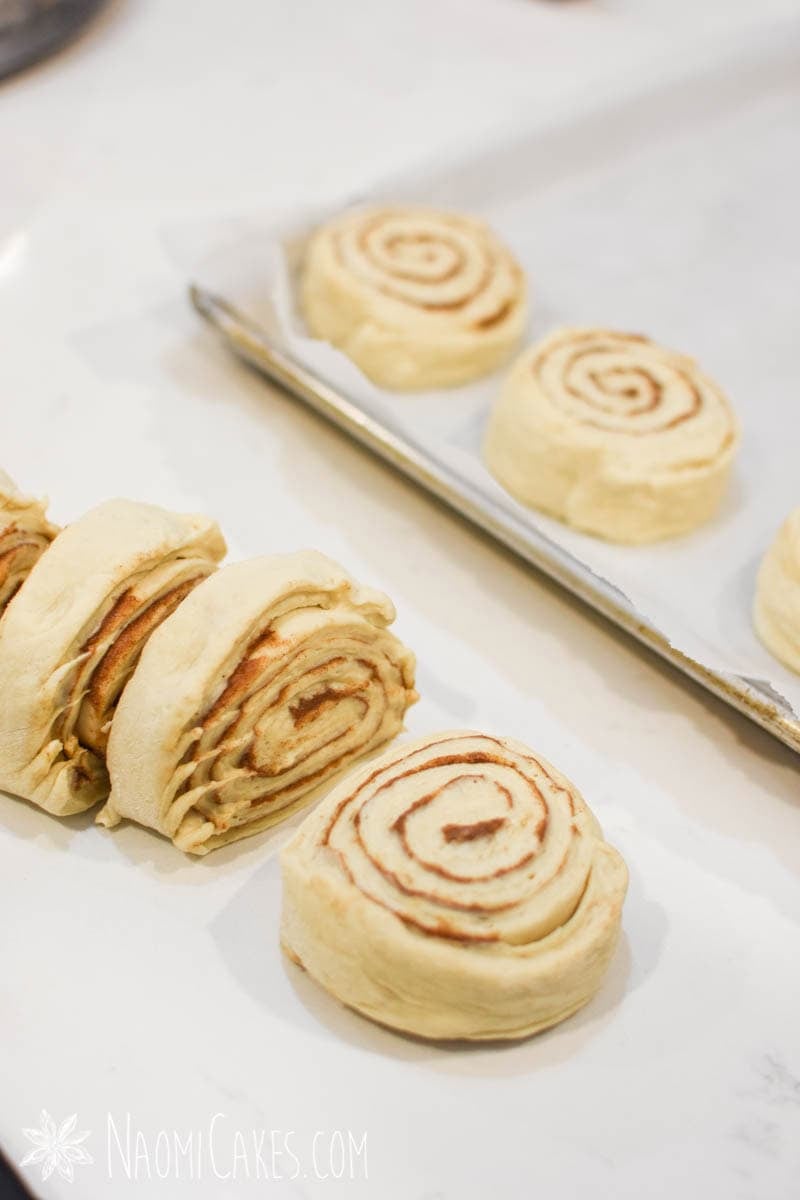
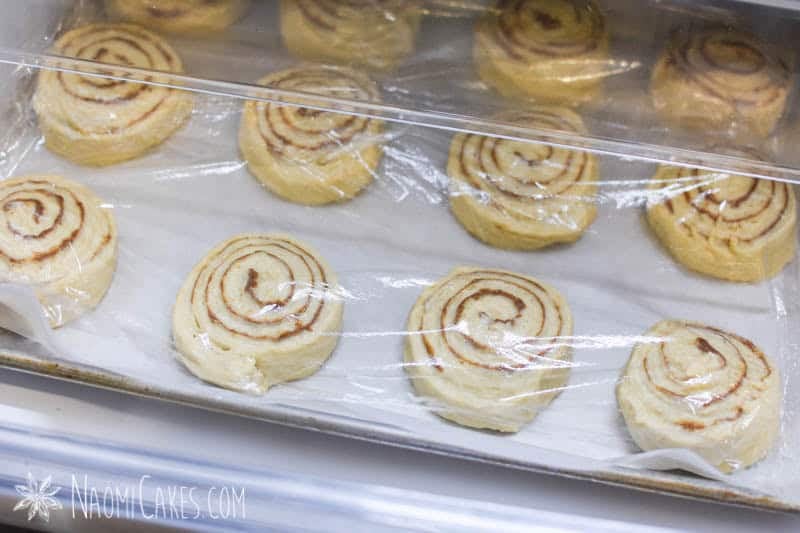
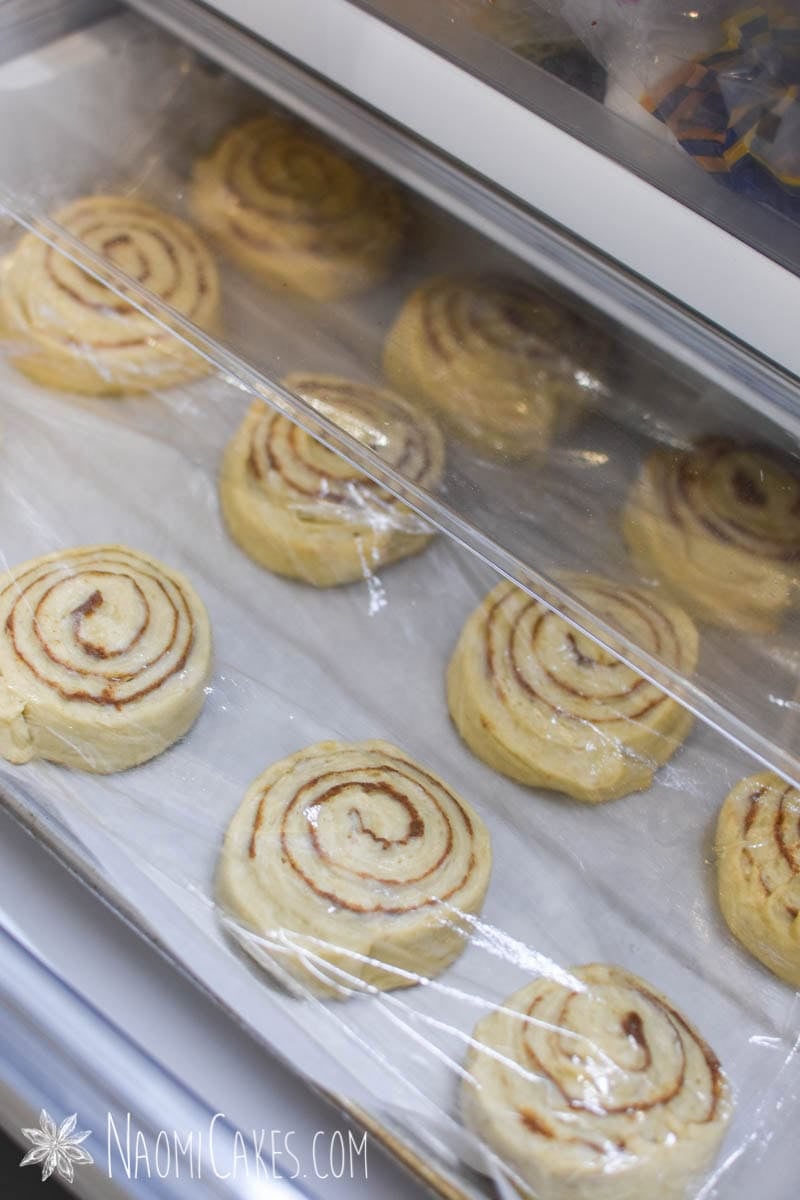
Place the roll, seam-side down, on the table. Cut the log into 12 equal sized pieces (about 1" wide each), and lay them onto a parchment-lined 10×15" baking pan (with sides) or a greased 9×13" baking dish (cut side up). Cover tightly with plastic wrap, and refrigerate overnight.
The next day
-
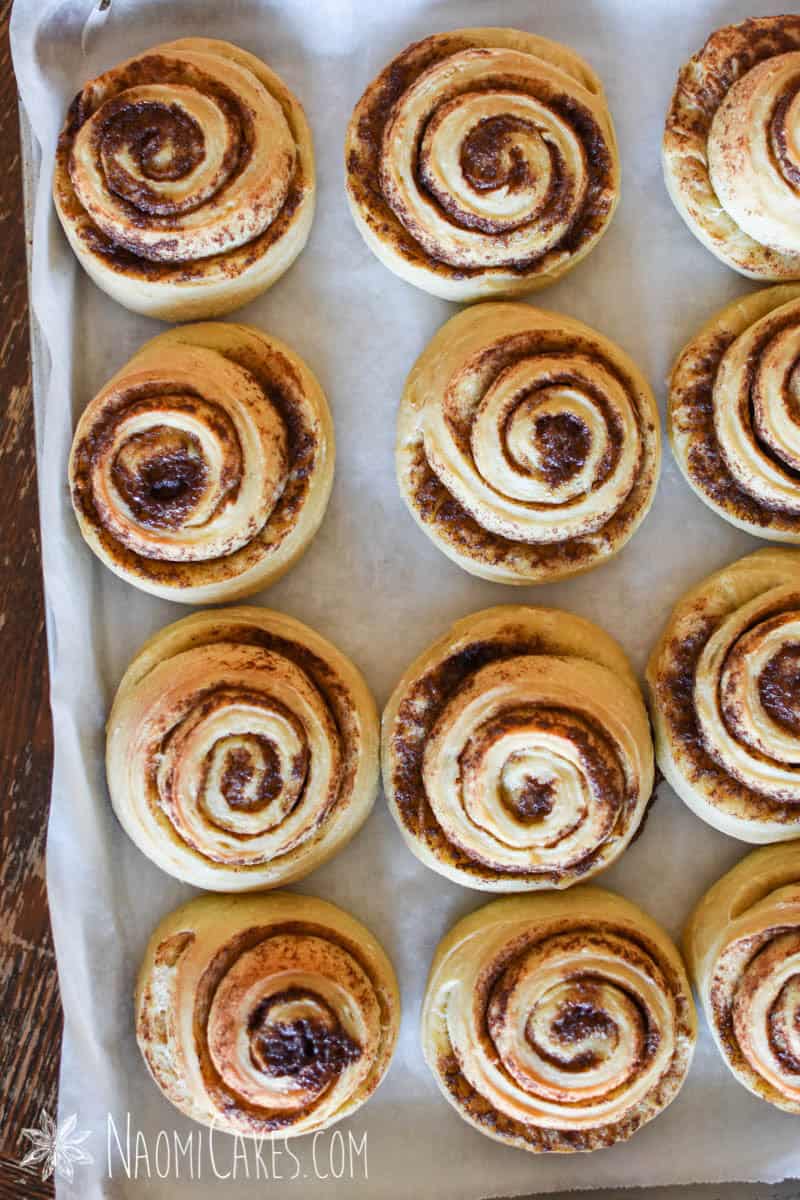
The next morning, preheat the oven to 375 degrees F. Remove the plastic wrap from the rolls. (They will not appear very risen at this point.)
-
When the oven has come to temperature, bake the rolls for 35-40 minutes (or until golden brown and the rolls sound hollow when tapped).
If you baked the rolls in a 9×13 pan, allow them to rest in the pan for about 5 minutes, and then turn out onto wire rack to cool.
-
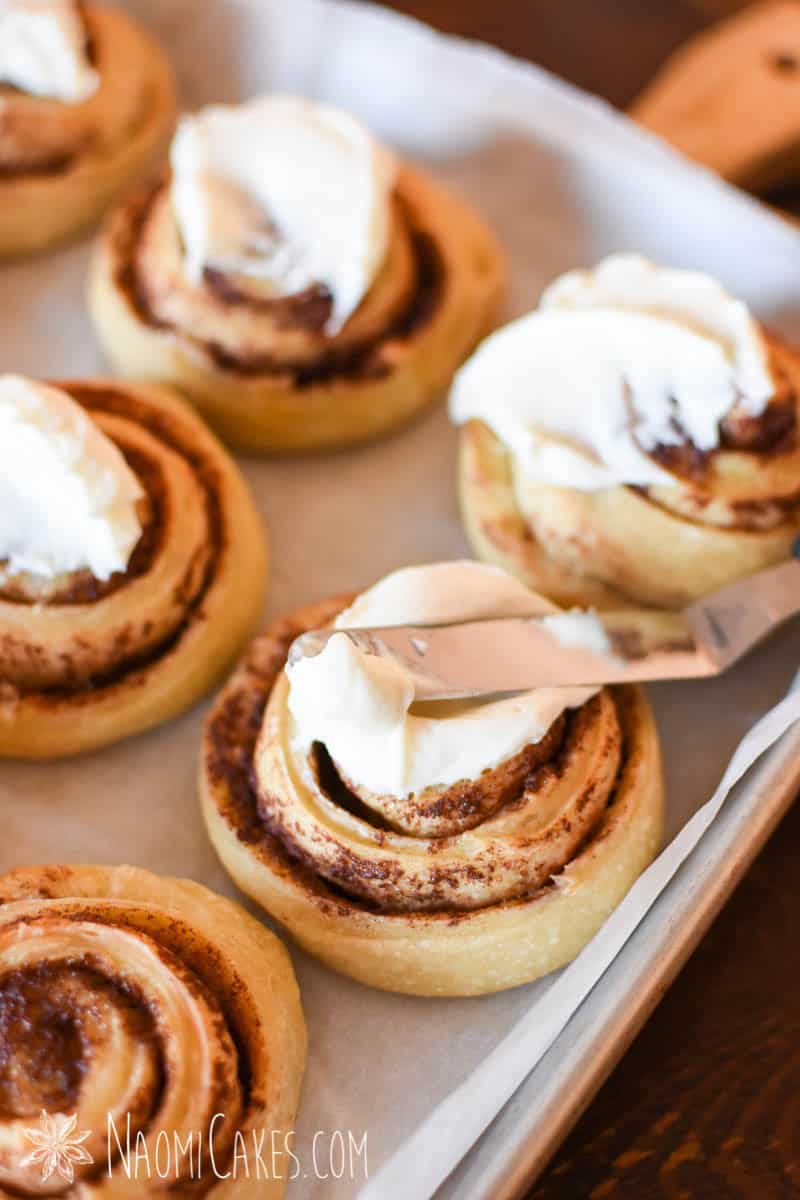
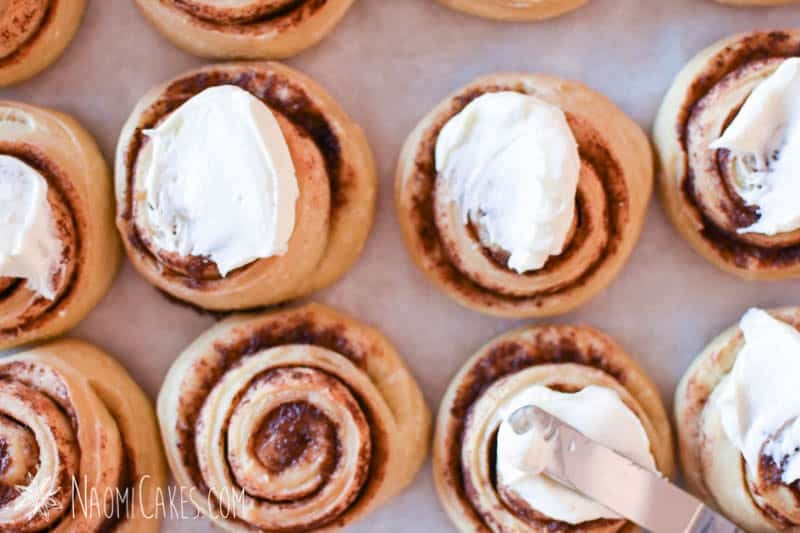
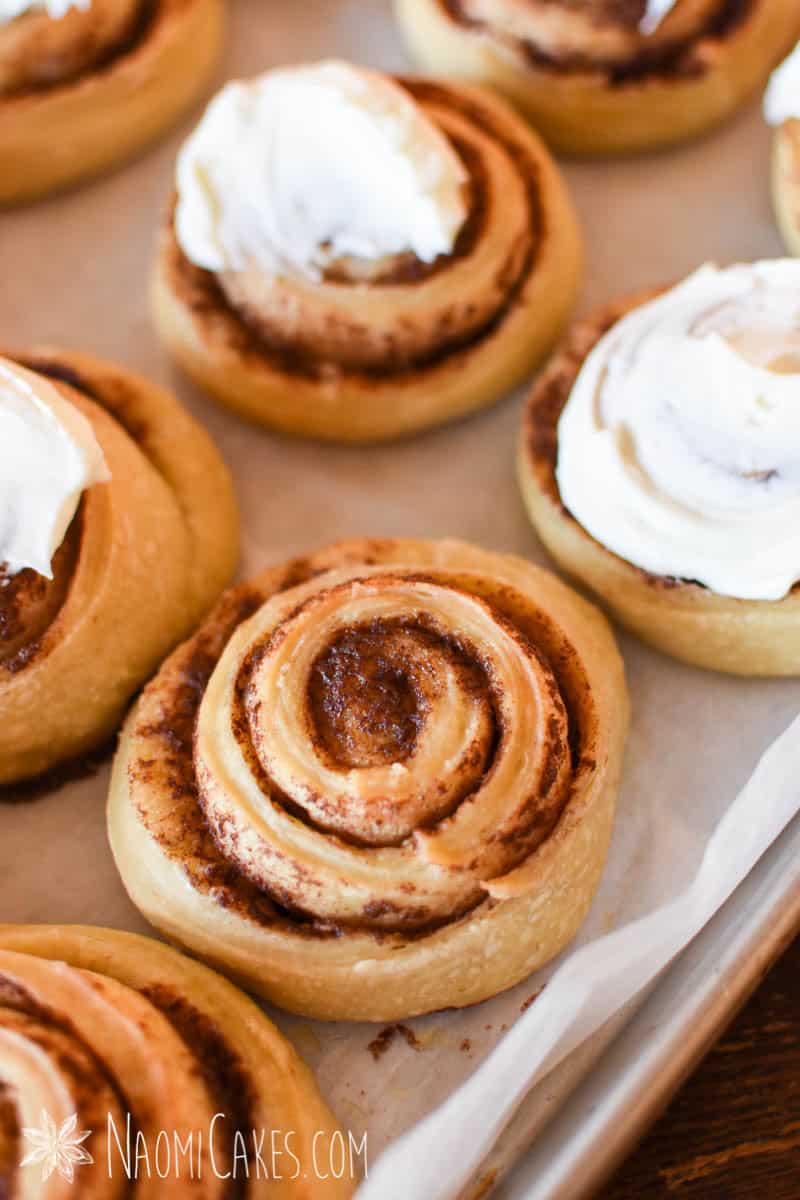
Cinnamon rolls are best served the day they are baked. Top these rolls with your favorite glaze or cream cheese icing.
Cream cheese frosting:
-
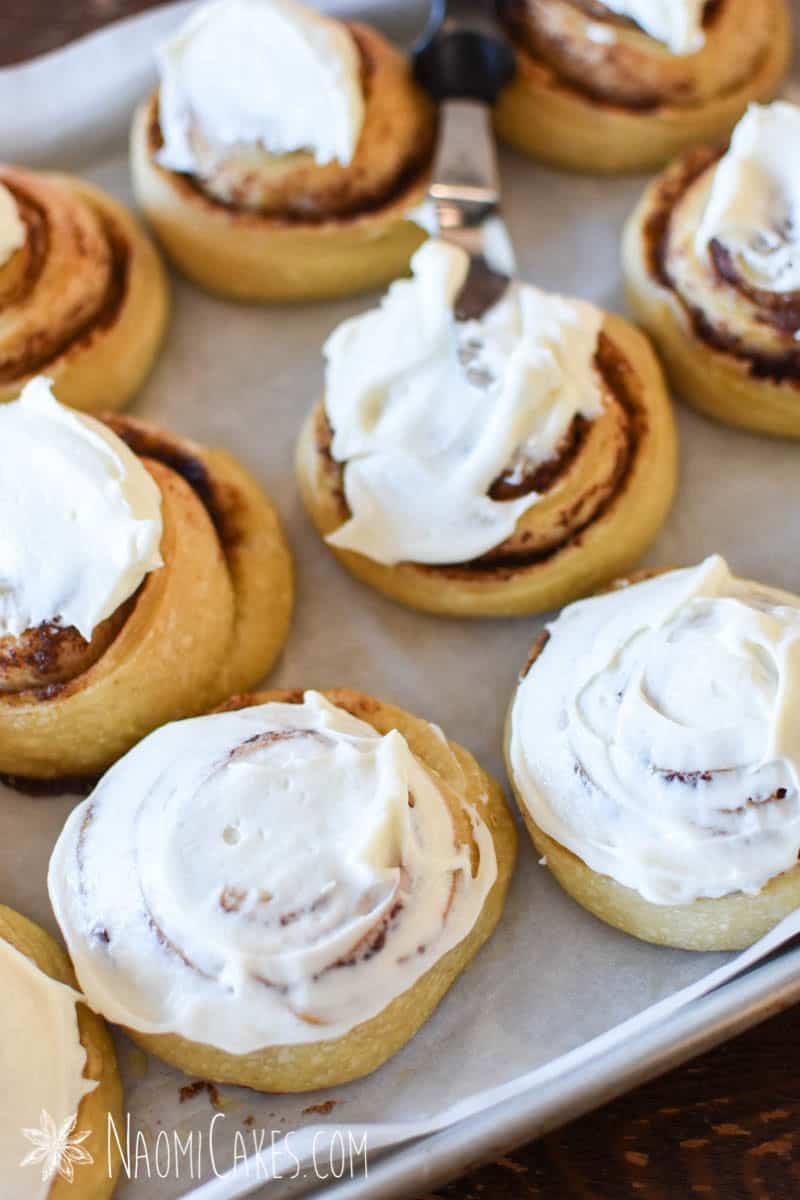
In the bowl of an electric mixer, whip the butter and cream cheese until smooth. Add the vanilla and icing sugar; beat until the mixture comes together, and then add the milk or cream, 1 Tbsp at a time, until you have a good thick, smooth cream cheese frosting. Store in the refrigerator until use.
Recipe Notes
To prevent the rolls from rising too much in the middle when they bake, try rolling your dough loosely at first, and gradually make it tighter as you go.
How to make overnight sourdough cinnamon rolls
Here’s the step-by-step process for making these rolls – in pictures!
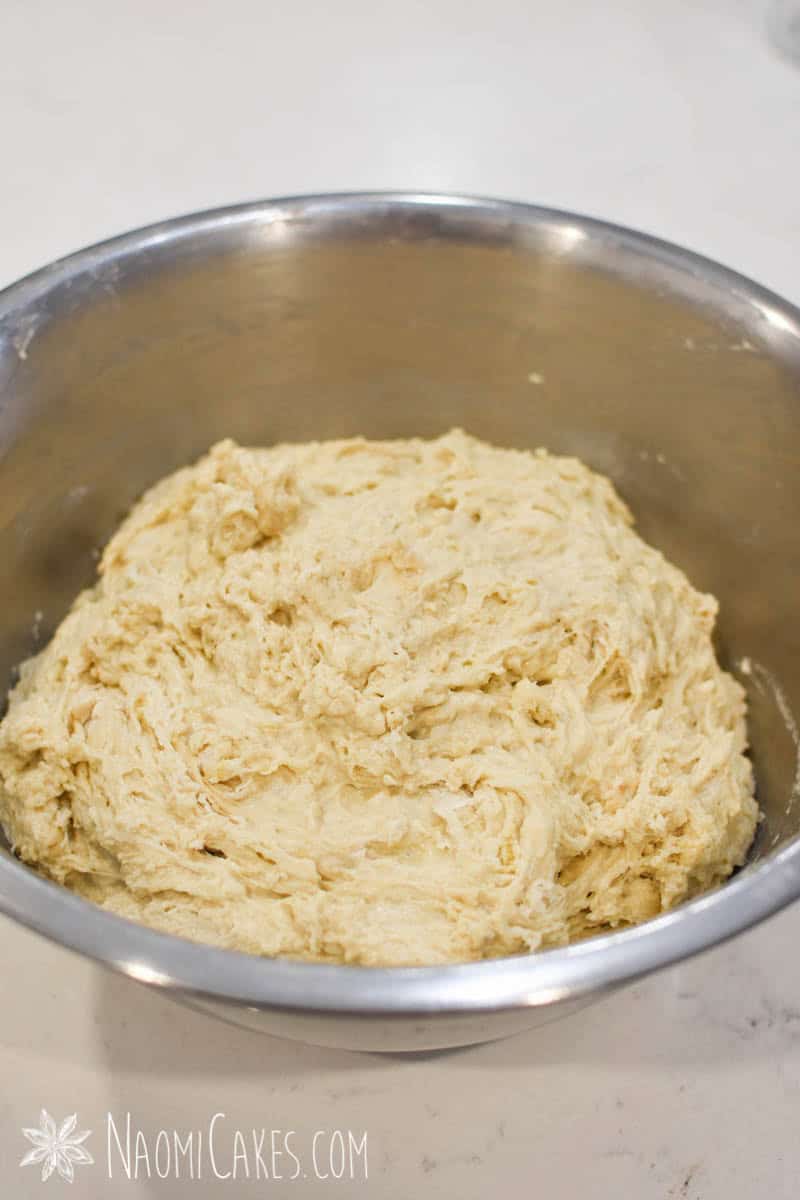
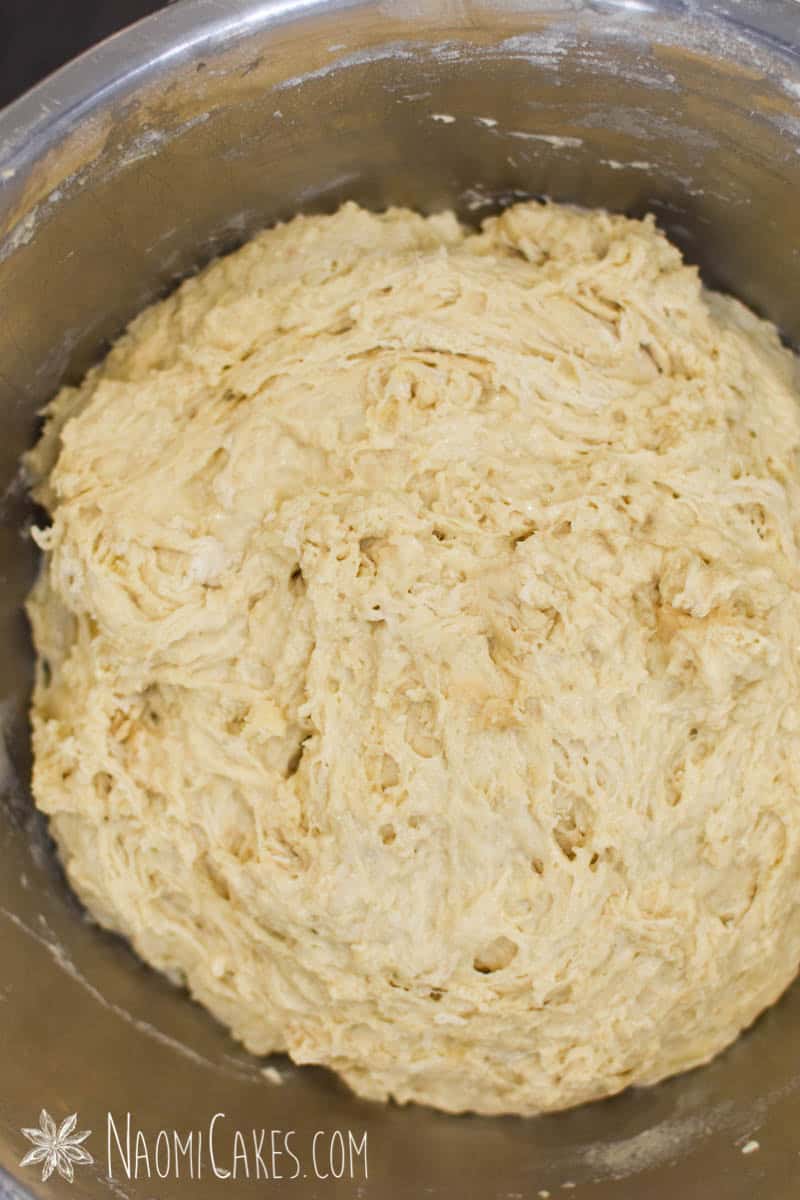
1 – Make the dough
Stir all of the ingredients together by hand in a large bowl until you have a shaggy dough (with all of the flour worked in). Allow this to rest for 20-30 minutes, and then proceed with the directions until the dough is smooth and taut.
Note: For making the dough with a mixer, see the recipe card. If you’re making the dough by hand, I recommend melting the butter to make it easier to incorporate.
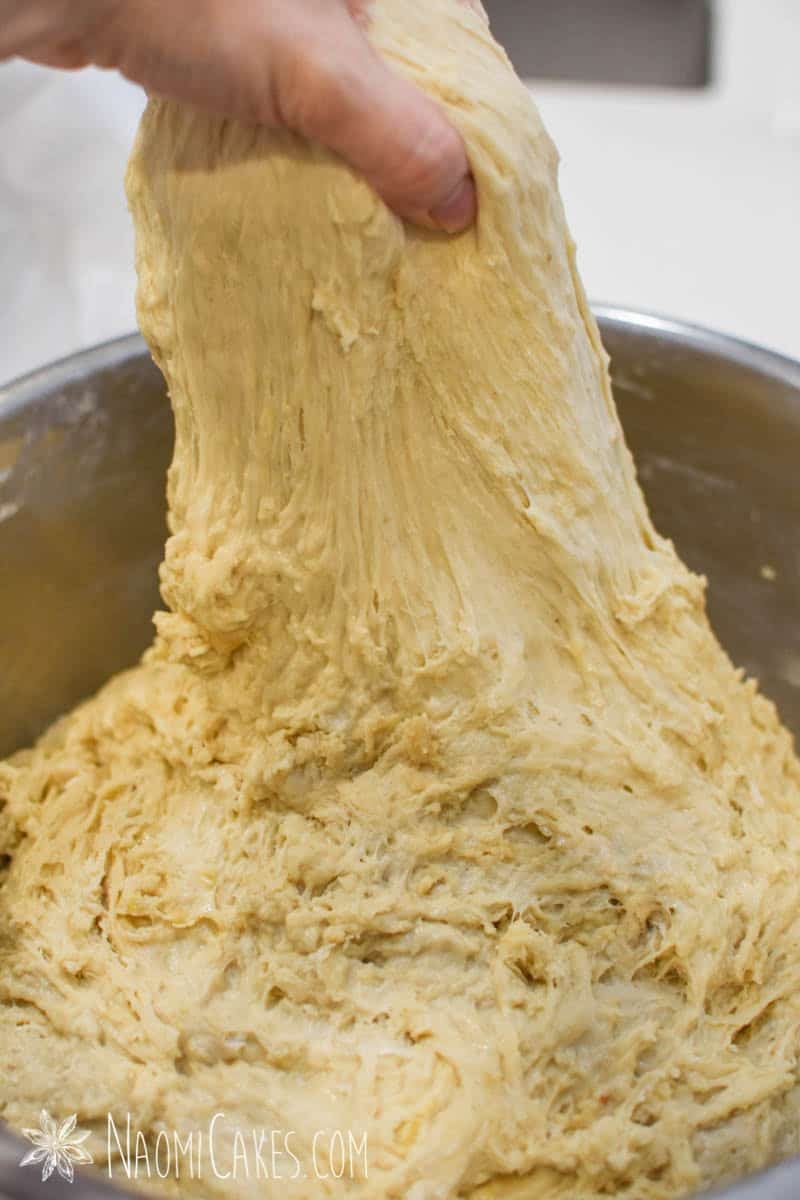
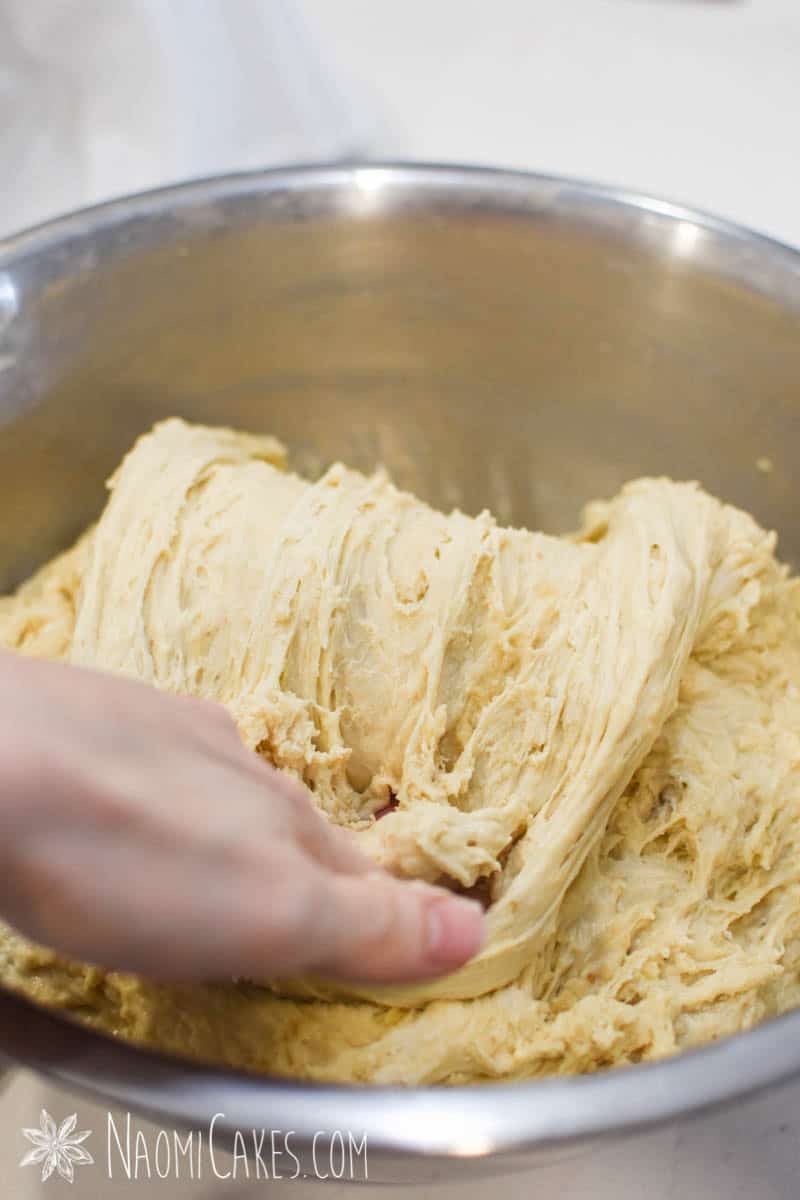
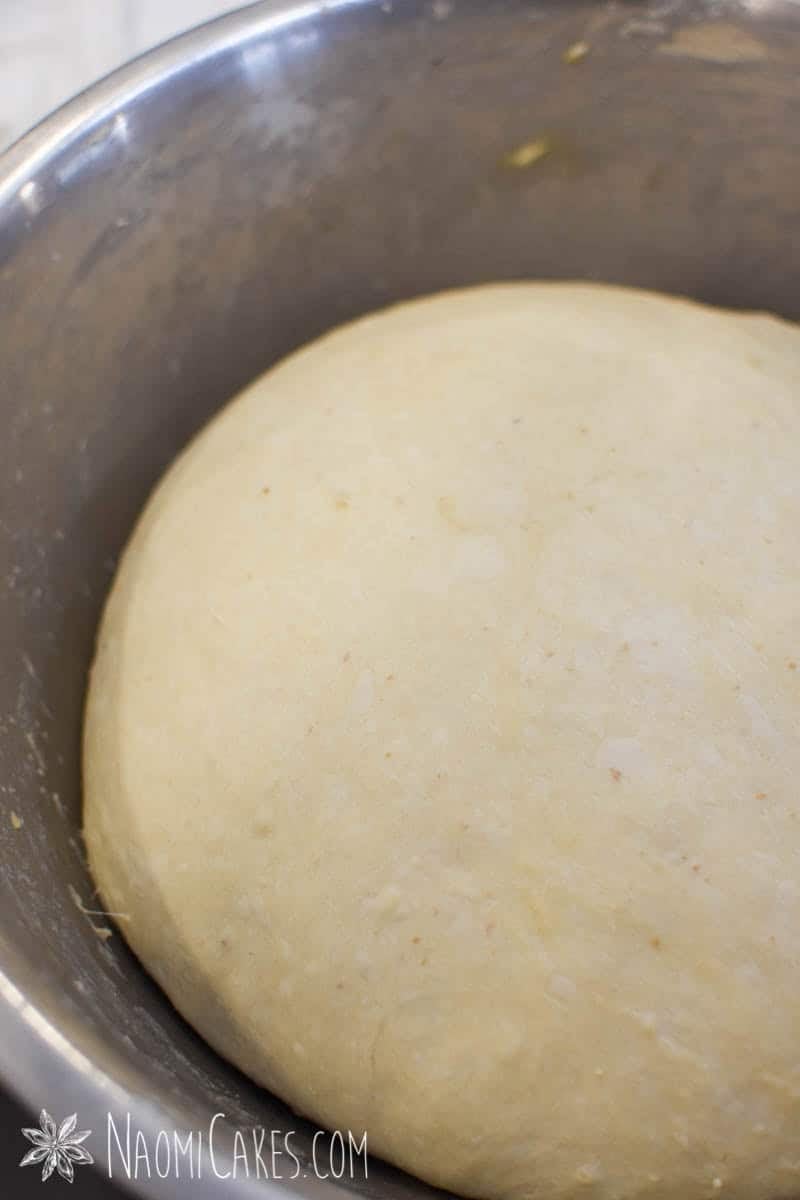
2&3 – Stretch and fold the dough
2 – Stretch and fold the dough by grabbing a handful of dough from the side of the bowl and stretching it upward as high as you can without breaking it. Fold it back down on itself, and repeat from different sides 2-3 more times. Allow the dough to rest again, covered, for another 20 minutes.
3 – Stretch and fold the dough one more time, and cover with plastic wrap or a damp tea towel. Allow the dough to rise at room temperature for 3-4 hours, or until 1.5-2 times its original size.
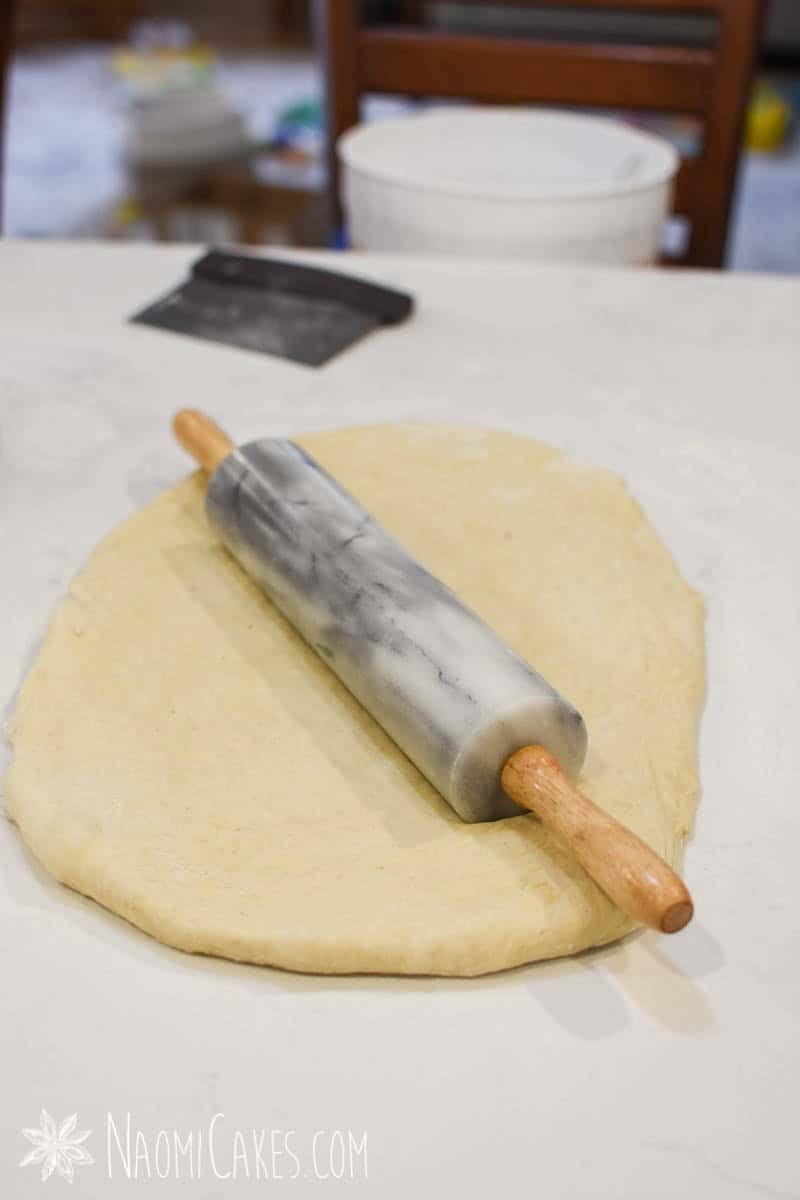
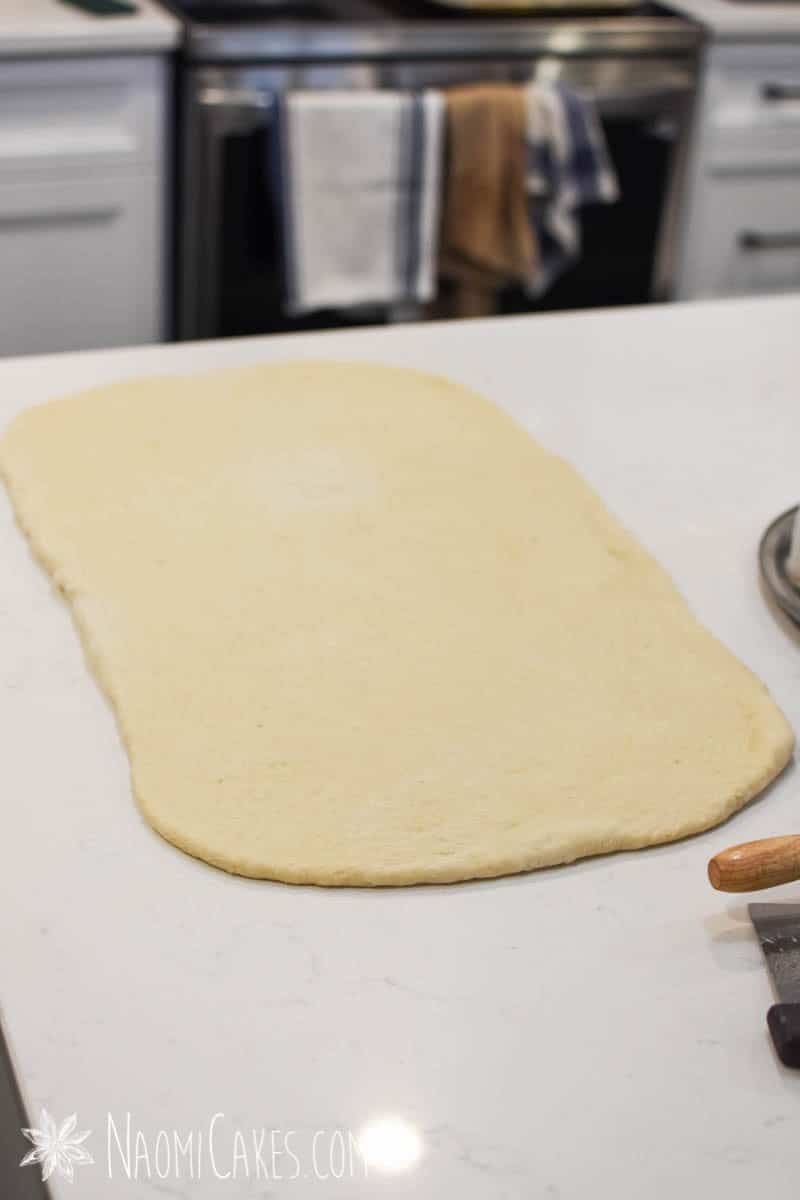
4 – Roll the dough into a large rectangle
Turn the dough out onto a lightly floured work surface, press into a rectangle shape, and roll out into a 10×15″ rectangle (about 1/4″ thick). No need to “punch the dough down” – pressing and rolling it into shape will do that for you!)
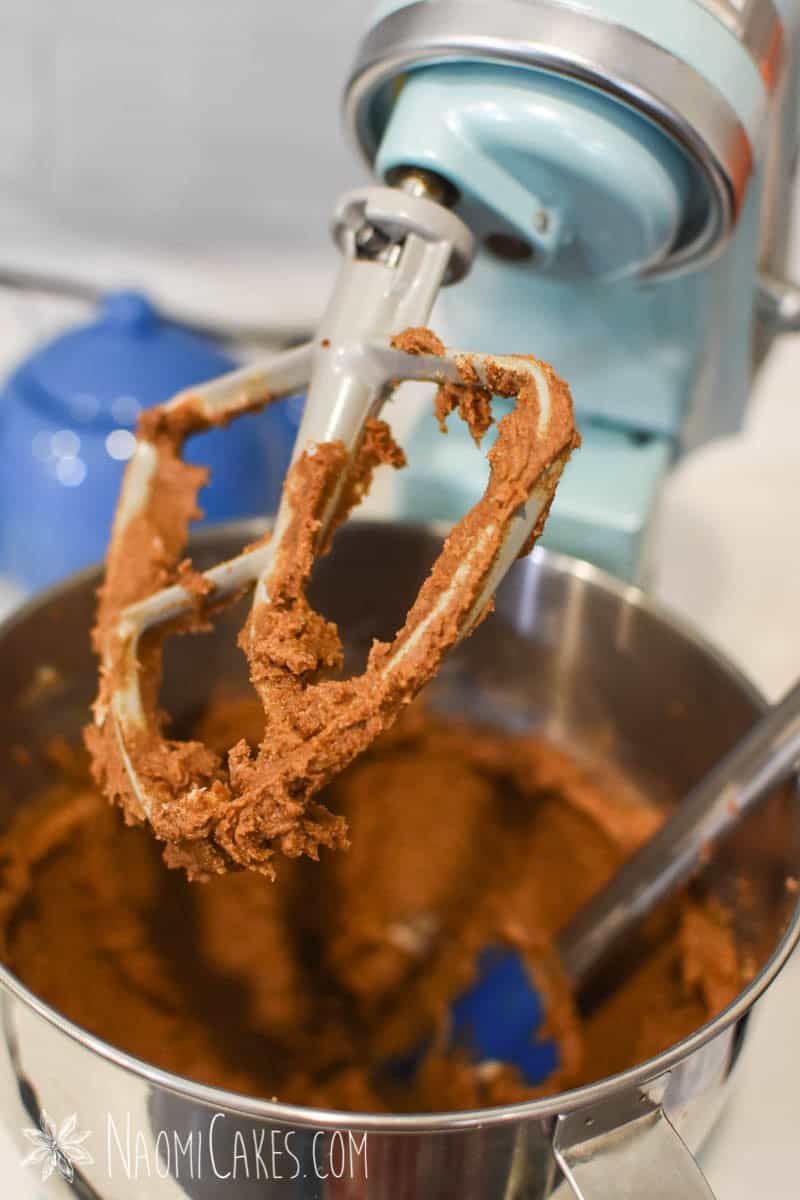
5 – Make the filling
Combine the filling ingredients in the bowl of an electric mixer or a small bowl. Mix until smooth.
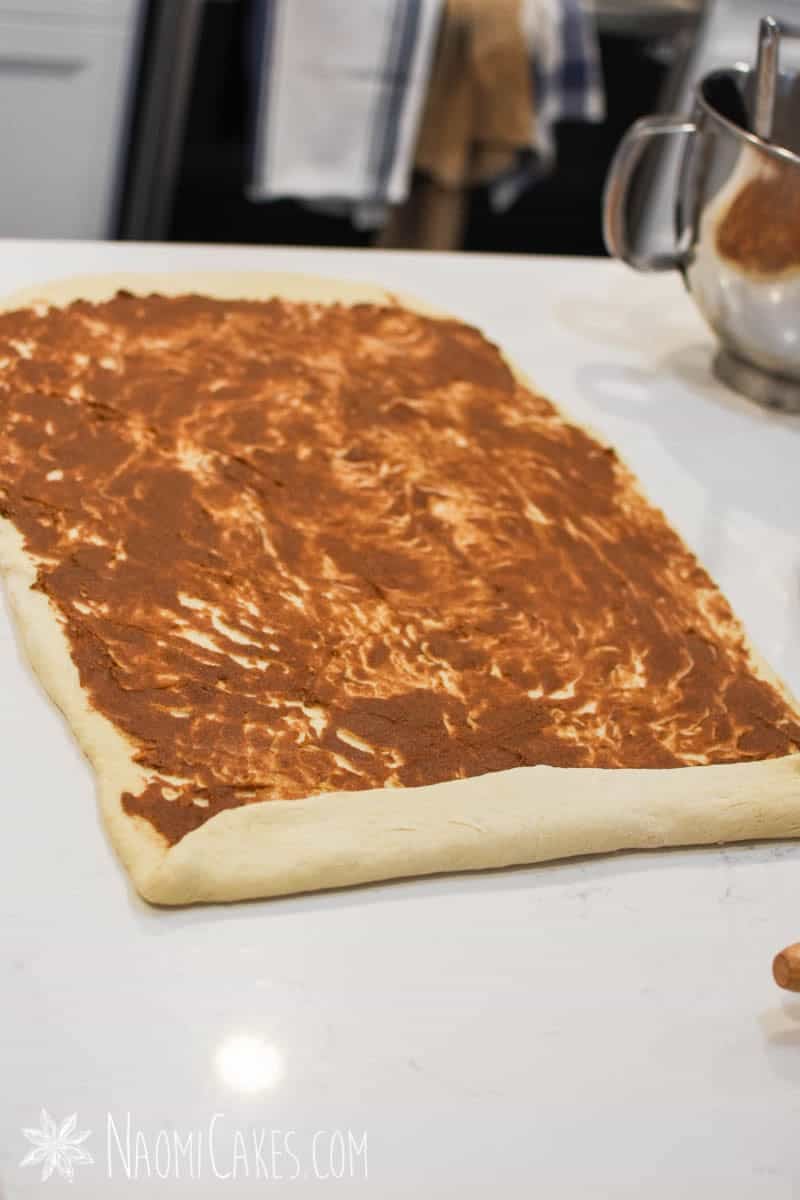
6,7&8 – Make the rolls
6 – Spread the mixture over the surface of the dough, and spread it evenly right to the edges of 3 sides, keeping a little lip of plain dough along the short side farthest from you (to seal the roll when you make it).
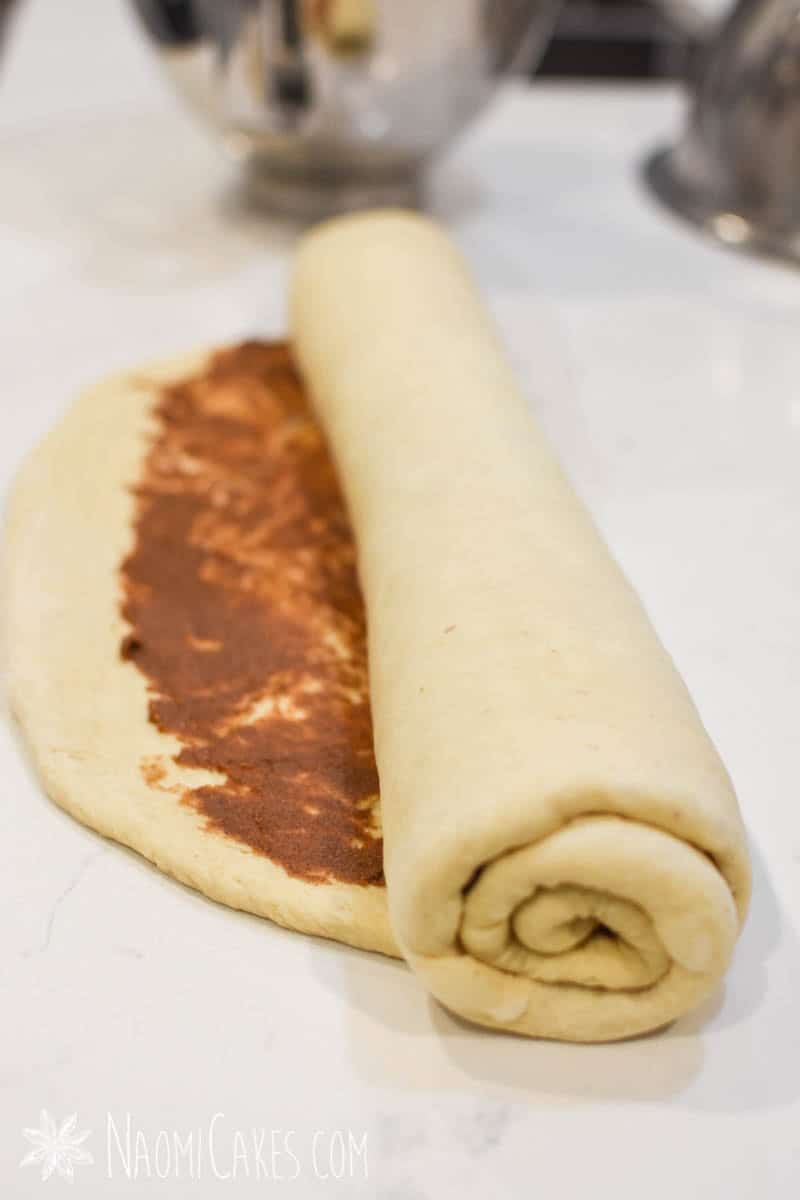
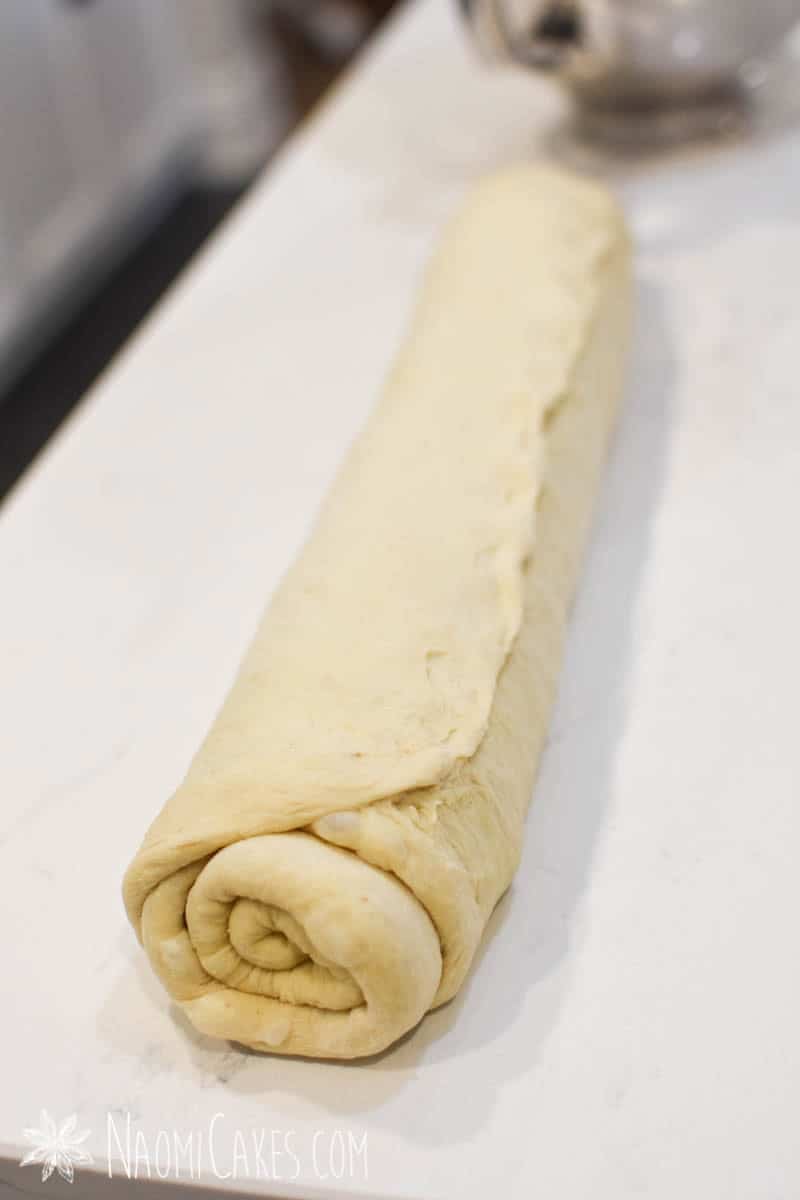
7 – Start with the side closest to you, and roll the dough jelly-roll-style, pinching the last, plain edge of the roll to seal it.
8 – Place the roll, seam-side down, on the table. Cut the log into 12 equal sized pieces (about 1″ wide each), and lay them onto a parchment-lined 10×15″ baking pan (with sides) or a greased 9×13″ baking dish (cut side up). Cover tightly with plastic wrap, and refrigerate overnight.

The next day:
1,2&3 – Bake and serve the rolls
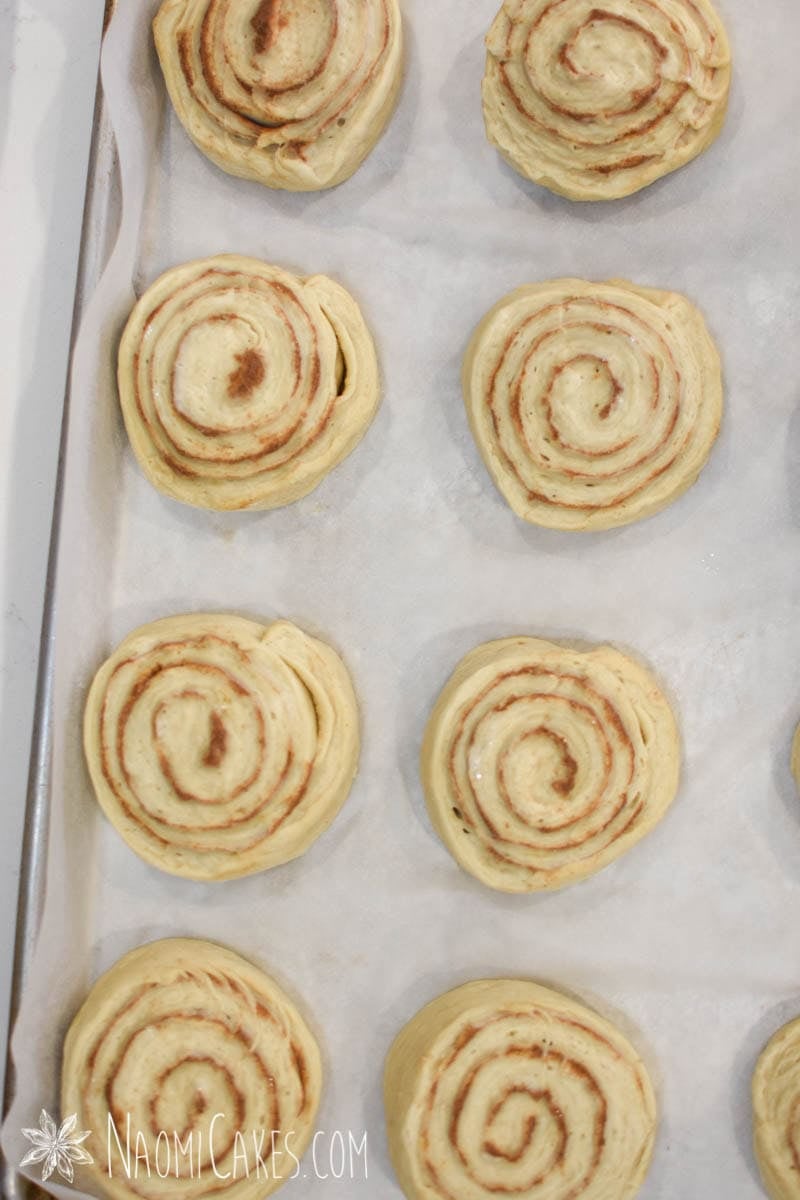
1 – The next morning, preheat the oven to 375 degrees F. Remove the plastic wrap from the rolls. (They will not appear very risen at this point.)
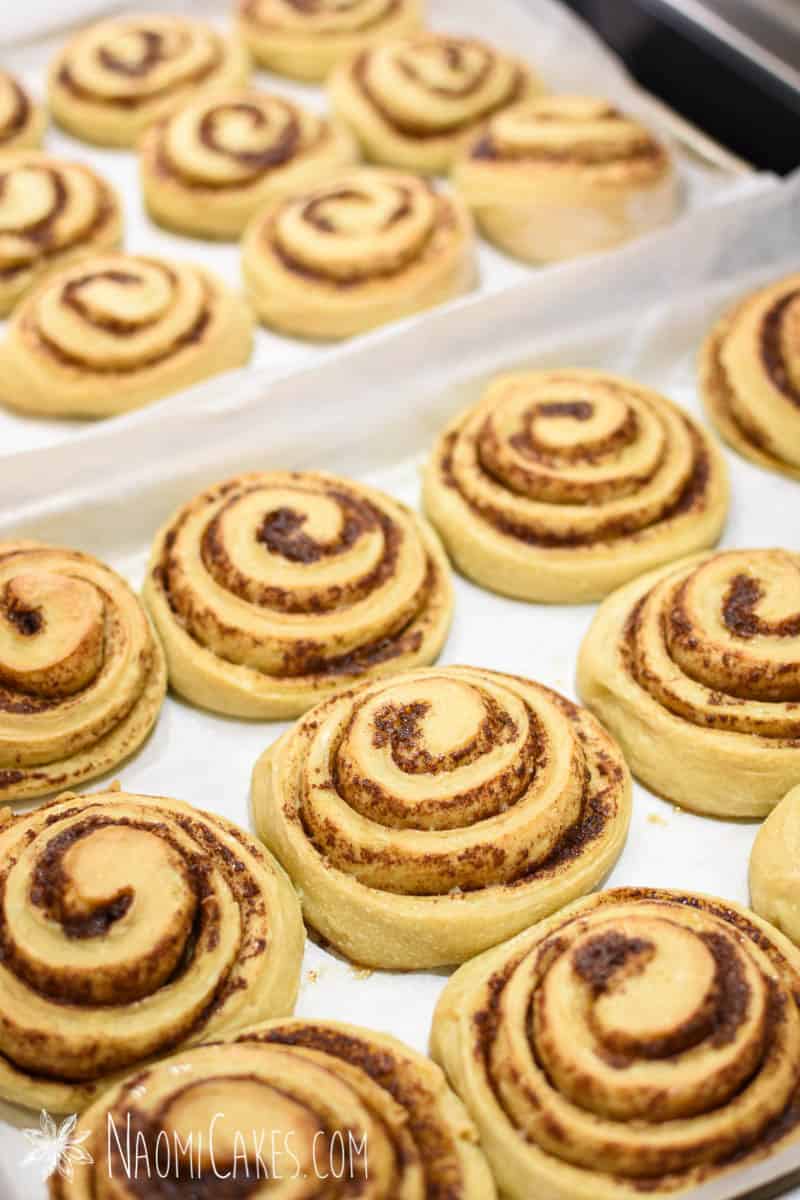
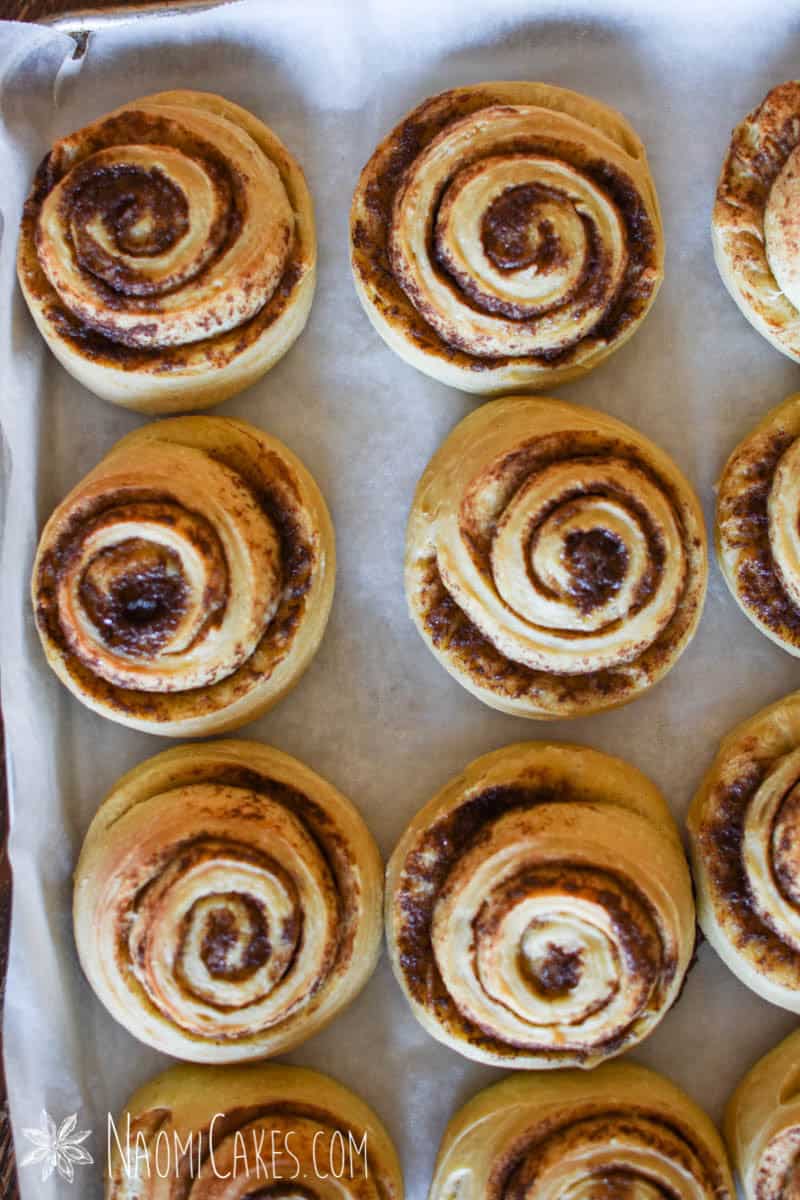
2 – When the oven has come to temperature, bake the rolls for 35-40 minutes (or until golden brown and the rolls sound hollow when tapped).If you baked the rolls in a 9×13 pan, allow them to rest in the pan for about 5 minutes, and then turn out onto wire rack to cool.
3 – Cinnamon rolls are best served the day they are baked. Top these rolls with your favorite glaze or cream cheese icing.


If you like this recipe, you may also like:
- Long Fermented Sourdough Cinnamon Rolls
- Orange Cinnamon Rolls with Cream Cheese Frosting
- Cinnamon and Sugar Cookies
- Easy No-Knead White Sourdough Bread
That’s all for today my friends! Thanks for being here. If you make these rolls, feel free to tag me in your gorgeous cinnamon roll pictures on Instagram @naomicakesofficial. I always love to see what you guys are making!
Bye for now,
Naomi
This post contains affiliate links.