
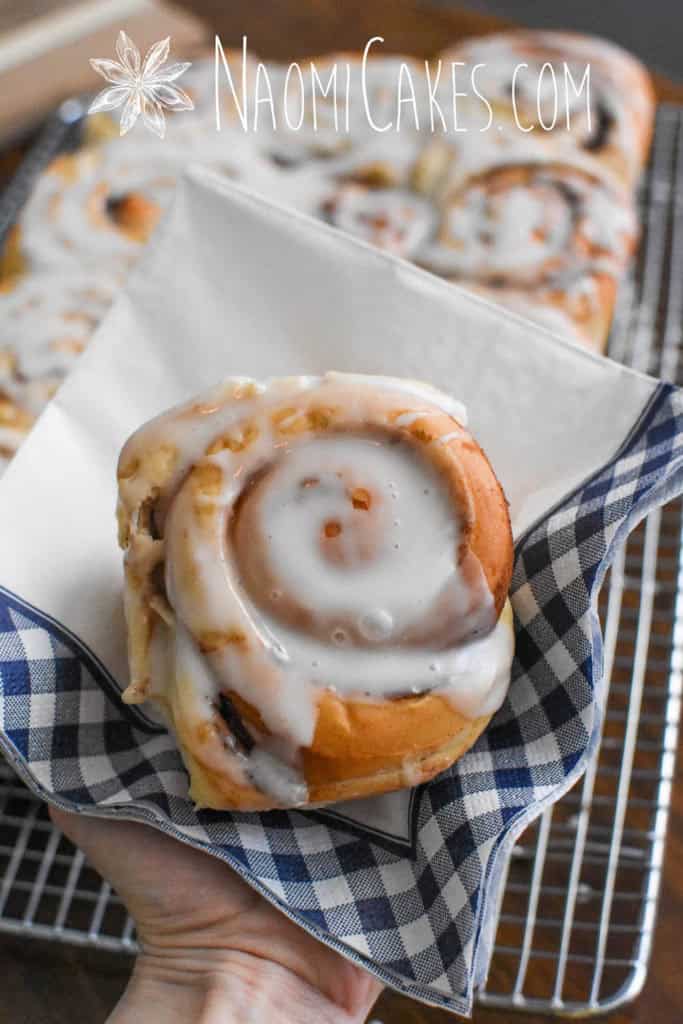
Easy Cinnamon Rolls with Vanilla Glaze [Recipe]
Ok everyone, it’s time for one of my favorite recipes ever: these oh-so-delicious, easy cinnamon rolls. In this recipe, I’m featuring them with a simple vanilla glaze; however, these rolls are amazing with just about any kind of frosting or caramel topping.
Cinnamon buns are one of my most favorite things on the planet. The smell and taste are both equally amazing, and since they can be prepared the night before, you can have them freshly baked first thing in the morning for any special occasion.

What are cinnamon rolls
Cinnamon rolls are a type of sweet bread roll made with a sweetened enriched dough (meaning, a dough to which butter, milk and egg have been added). The dough is rolled out onto a floured work surface, and it is generously filled with butter, sugar, and cinnamon, which then gets rolled into the dough, sliced into individual buns, and then baked.
How to serve cinnamon rolls
I love to make these delicious sweet rolls for any special occasion, and you can serve them with a variety of different toppings and filling variations (see further on in this post).
These delicious buns are best baked fresh on the day you want to serve them with a cup of tea or coffee. They make great additions to a brunch or breakfast spread, and are always a highlight when they make an appearance for birthdays or other holidays.
Cinnamon roll ingredients
Every recipe is made greater by using great ingredients, and in the right proportions. These are the basic ingredients in this recipe, and what they are used for.
Water
Water forms part of the liquid base for the dough. To provide a friendly environment for yeast to thrive, lukewarm water is the best for use in this recipe.
Milk
Milk makes a tender, soft dough with some natural sweetness to feed the yeast. For best results, warm the milk ever so slightly. Hot milk will kill the yeast, so make sure the temperature is very moderate.
Sugar
When I make cinnamon rolls, I almost always opt to use brown sugar for both the dough and the filling. I love the caramel flavor that brown sugar gives, but it isn’t strictly necessary: white sugar will work perfectly to make delicious cinnamon rolls as well.
Dry active yeast
This is the essential ingredient to make sure the dough the will rise. To make sure your yeast is still active (alive), allow it to rise in a little bit of liquid first (or “bloom,” as per the recipe directions) to make sure it’s rising well.
Salt
Salt is essential is just about every dough, adding a delicious depth of flavor and counterbalance to the sweetness of sugar.
Egg
Use a large egg for this recipe. Egg adds a richness, flavor and texture to the dough.
Butter
Butter is perfect for making these rolls soft, flavorful, and delicious. You will need butter for both the dough and the filling.
White flour
For this recipe, all purpose flour is perfect. My preference is to use unbleached white flour, but you can use whatever is available to you.
Cinnamon
The essential ingredient! Combined with butter and sugar, cinnamon is the crowning touch of this recipe.
Recipe substitutes
There are a few things you can use to substitute for ingredients in this recipe. I’ll list them below.
Milk
You can easily substitute all or part of the milk in this recipe for a nut milk, oat milk, or even whey. Just note that it may affect the texture of the finished rolls slightly.
Sugar
As I mentioned above, you can easily substitute white sugar for the brown sugar in this recipe. Other sugar substitutes, such as coconut sugar, could be used in this recipe, although I can’t promise to know what the finished result will be like.
Natural substitutes, like honey or maple syrup, will make the dough more sticky (ie, you may want to add a little extra flour). I would not recommend using a liquid sweetener for the filling, however.
Egg
Egg can be substituted for milk or water. Just omit the egg from the recipe and add an extra 1/4 cup of milk or water to the recipe.
Butter
While it’s true that there really is no substitute for butter, you can substitute margarine for the butter in this recipe with good results. I would also be comfortable trying to use vegan butter in this recipe, but again, I can’t guarantee the results (since I’ve never tried it personally)!
Flour
The white flour in this recipe (all purpose flour) can be substituted for bread flour. You can also use part white flour/part whole wheat flour, if desired. If you want to try that, I would not use more than 1 cup of whole wheat flour in this recipe.
Great additions
Cinnamon rolls can be super fun to dress up according to your taste preferences. Here’s a few things to roll into the buns with the filling to make the experience more exciting:
- Raisins
- Walnuts
- Pecans
- Almonds
- Chopped apples
- Chocolate chips
How to make cinnamon rolls the night before
If you want to make these rolls the night before you want to bake them, prepare the cinnamon rolls according to the recipe directions up till step 6. Rather than allowing the buns to rise, however, cover them with plastic wrap and set the pan directly into the fridge to rest overnight.
In the morning, remove the rolls from the refrigerator and allow them to proof at room temperature (or in a proofing oven) for 2 hours or until slightly puffy. Bake according to the recipe directions.
You will need:
- Ingredients (see recipe card)
- Large mixing bowl (or stand mixer)
- Large stir spoon or spatula
- Measuring cups and spoons
- Rolling pin
- Bench scraper
- Butter knife
- Sharp knife
- 9×13 baking dish
- Plastic wrap
Easy Cinnamon Rolls with Vanilla Glaze
Ingredients
- 3/4 cup lukewarm water
- 3/4 cup lukewarm milk
- 3/4 cup sugar (I used brown sugar)
- 2 tsp dry active yeast
- 1 tsp salt
- 1 egg
- 1/4 cup butter softened
- 4 to 4-1/2 cups white flour (or until you get a soft dough)
Filling
- 1/4 cup butter softened
- 1/2 cup brown sugar (approx)
- 1 Tbsp cinnamon (approx)
Vanilla Glaze
- 2 cups icing sugar
- 1/2 tsp vanilla extract
- 3 Tbsp 10% cream or milk
Instructions
-
Dissolve yeast in water and milk, and stir with the sugar until combined. Allow to rest 10-15 minutes or until the mixture begins to "Bloom."
-
Stir in the salt, and add 1/4 cup of the butter with the egg and about 2-1/2 cups of the flour and stir until the dough starts coming together (it will be like a thick batter). Stir in another 1-1/2 cups of flour until the mixture looks quite shaggy.
-
Turn the dough out onto a well-floured work surface and knead (adding more flour to prevent sticking, as necessary), until smooth and elastic (about 5-10 minutes). Turn into a greased bowl, cover with plastic, and allow to rise until doubled (About 1 hour).
Tip: If your dough feels stiff enough but it isn't getting smooth, try putting a little bit of oil on the table under it, and spreading some oil over the surface of the dough. Then, allow the dough to rest (with your mixing bowl turned upside down over it) for 5 minutes. Then, remove the bowl and keeping kneading until smooth.
For this tutorial, I ended up letting my dough rest this way twice, kneading for a little bit after each rest. It was perfect after the second go!
-
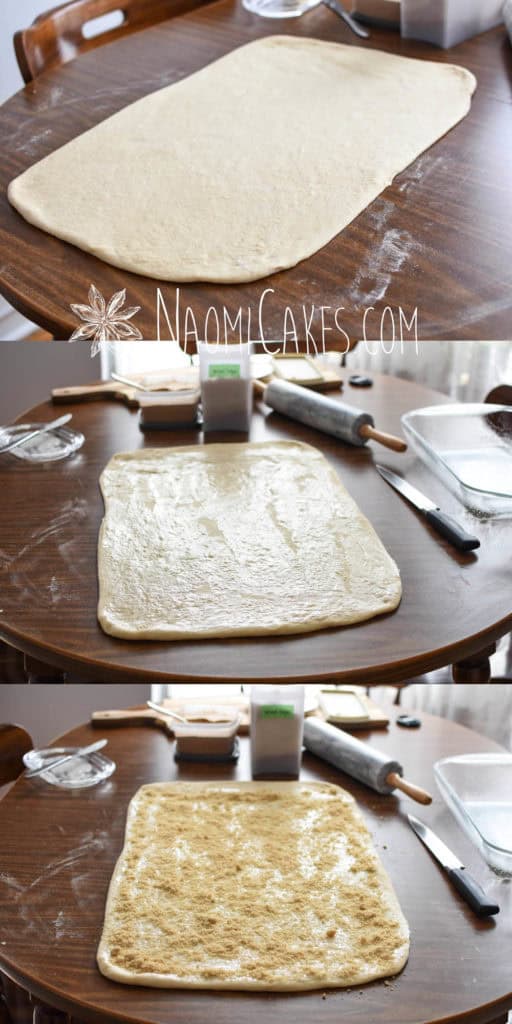
Turn the risen dough out onto a lightly floured work surface and press into a rectangle or square shape. Sprinkle with a bit more flour, and roll into a 10×15" rectangle.
-
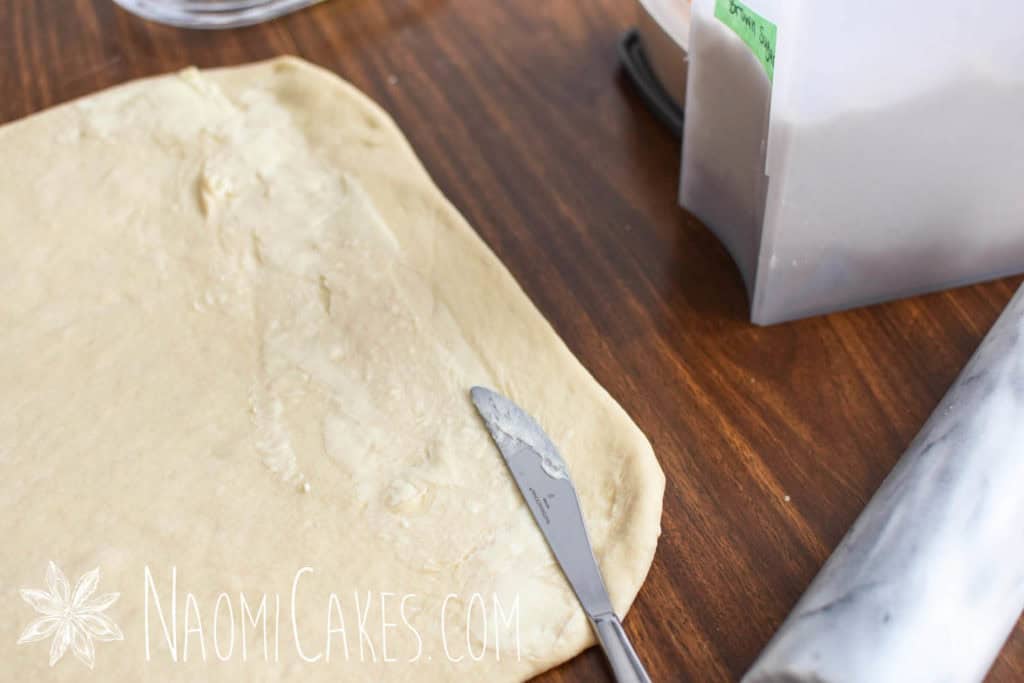
Spread with the remaining 1/4 cup of butter, leaving a lip of "raw dough" at the end of the dough furthest from you. This is where you will pinch the seal, so you don't want to get anything on that. Sprinkle over the buttered area generously with cinnamon and brown sugar (you may need a little more or less than the recipe suggests – I just do it till it looks well covered).
-
Fold the dough up about 1-2" on the end closest to you. Fold one more time, and then roll the rest of the dough up to form a log, pinching the plain edge to seal. Cut into twelve 1" pieces. Lay the cinnamon buns into a greased 9"x13" baking pan, cut side up. Cover, and allow to rise for about 35 minutes.
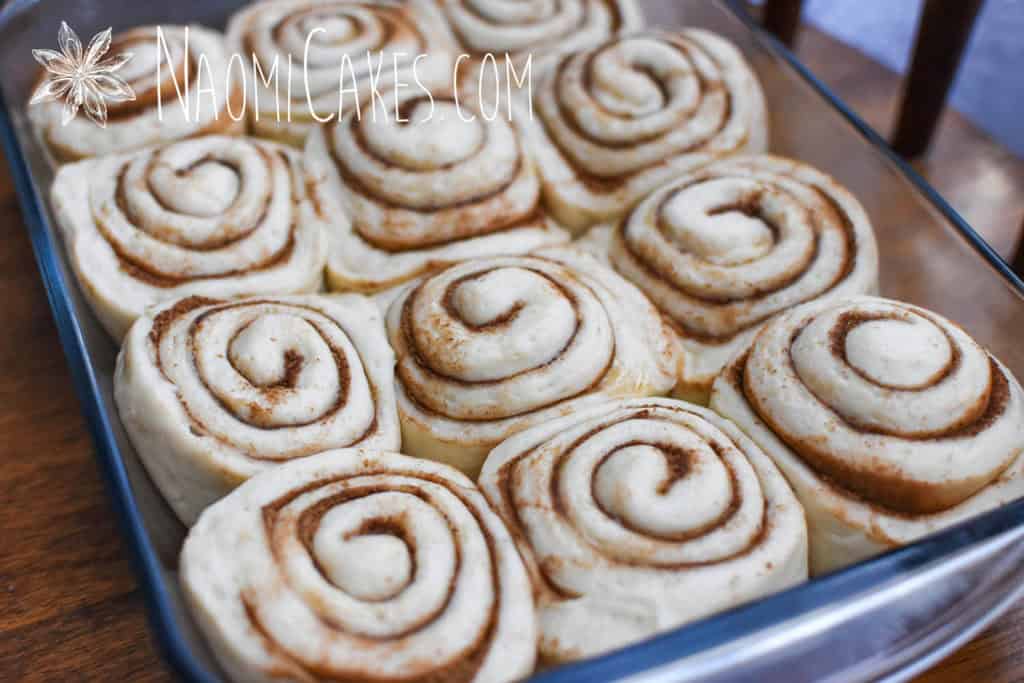
Note: At this stage the buns should be looking a little bigger than before, and they should be pressing into each other. If they look about the same as before, allow them to rest a little longer.
-
Preheat the oven to 350 degrees F and allow the rolls to rise 10 minutes longer (45 minutes total rising time, provided that your rolls are rising nicely). Bake for 25-30 minutes or until golden brown. Turn onto cooling rack to cool immediately (otherwise the sugar will harden in the bottom and it will be hard to get them out of the pan!).
For the Glaze:
-
Combine all of the ingredients in a mixing bowl, and stir till smooth. Drizzle or spread over the baked cinnamon rolls.
Recipe Notes
Note:
Your rolls will rise within the right times if you make them in a warm environment. If your home is on the colder side, put them in the oven with the oven light on, or place your rolls by a sunny window to let them rise. This will help keep the timing working.
Please refer to the photos in this post if you aren’t sure how things should look!
Tip:
Generally, sweet doughs are best when they don’t have too much flour. So when I say, “Add more flour as needed to prevent sticking,” be very cautious about how much you add, and try not exceed the amount recommended by this recipe.
How to make easy cinnamon rolls with vanilla glaze
Proof the yeast
Dissolve yeast in water and milk, and stir with the sugar until combined. Allow to rest 10-15 minutes or until the mixture begins to “Bloom.”
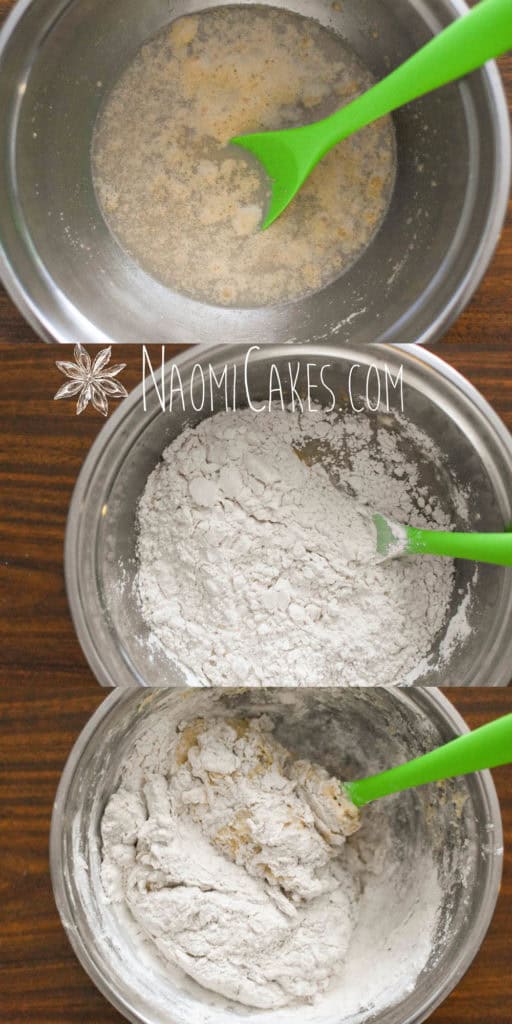
Make the dough
Stir in the salt, and add 1/4 cup of the butter with the egg and about 2-1/2 cups of the flour and stir until the dough starts coming together (it will be like a thick batter). Stir in another 1-1/2 cups of flour until the mixture looks quite shaggy.
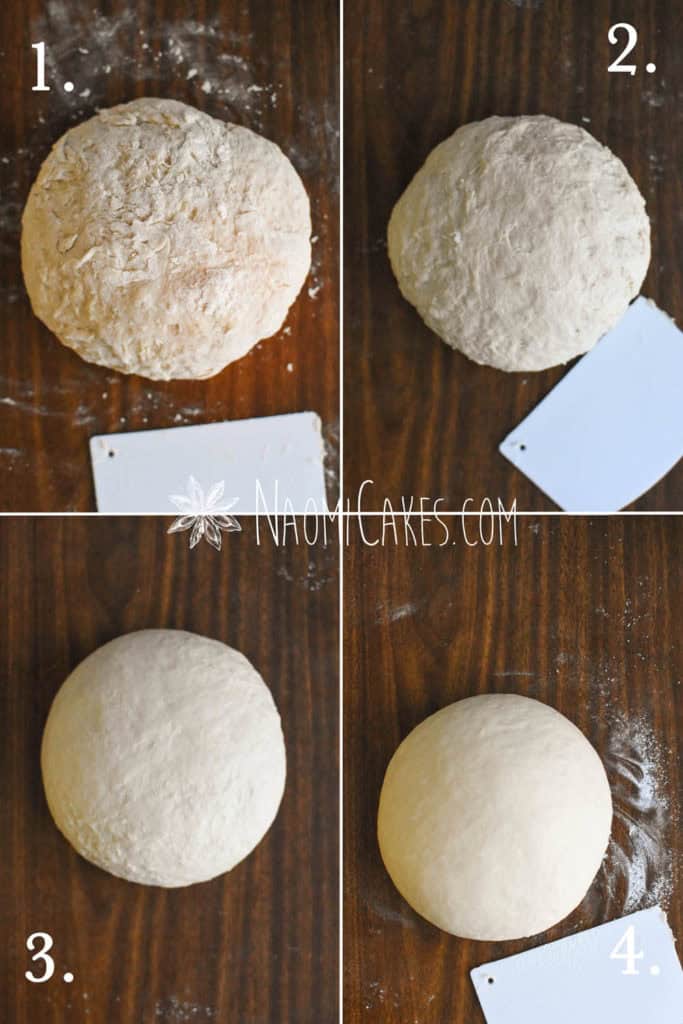
Kneading and proofing
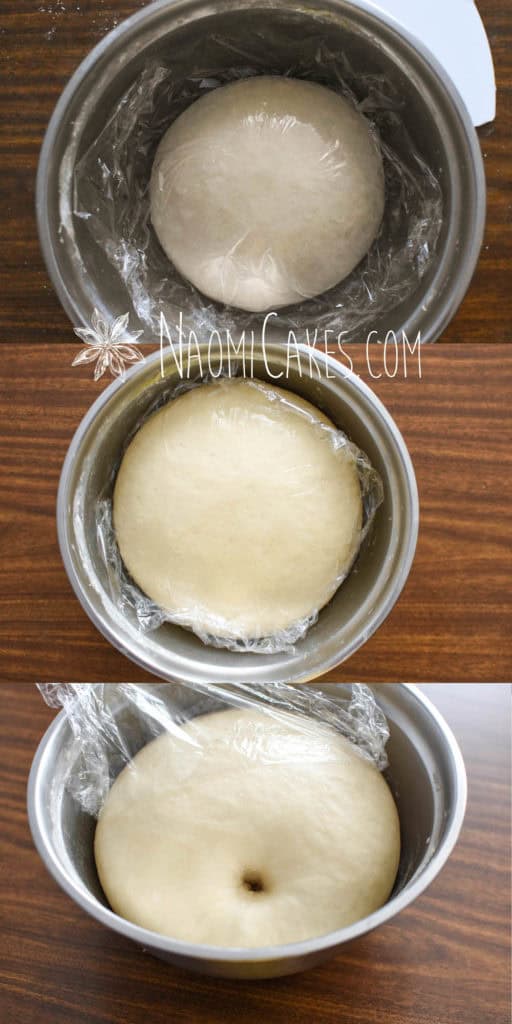
Turn the dough out onto a well-floured work surface and knead (adding more flour to prevent sticking, as necessary), until smooth and elastic (about 5-10 minutes). Turn into a greased bowl, cover with plastic, and allow to rise until doubled (about 1 hour).
Pictured below: The stages of kneading (how the dough will look as it develops).
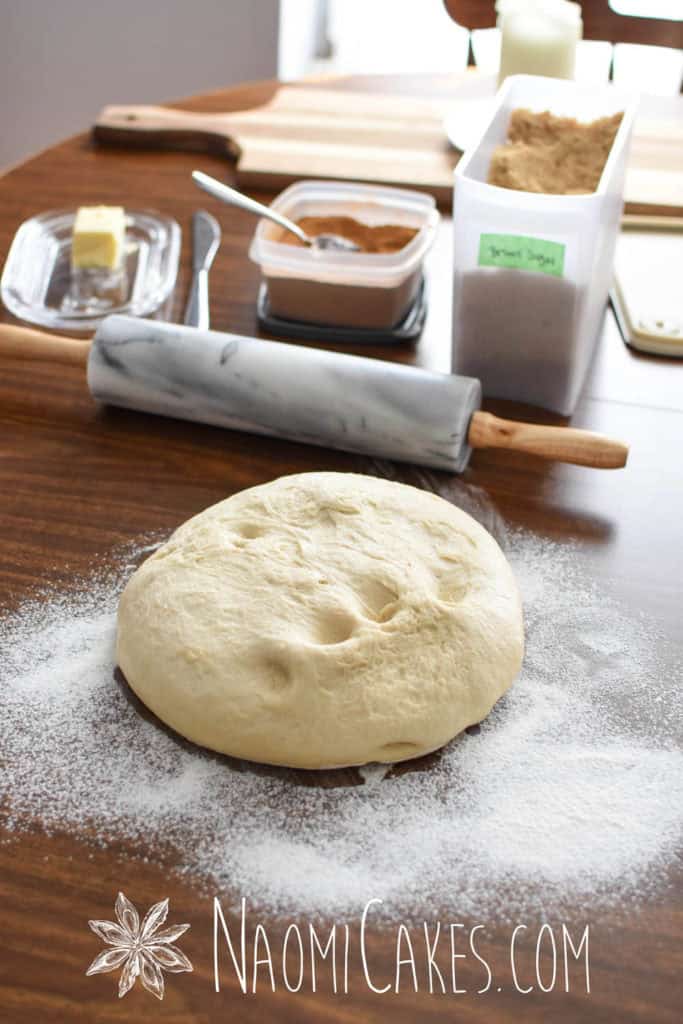
Roll the dough & add the filling
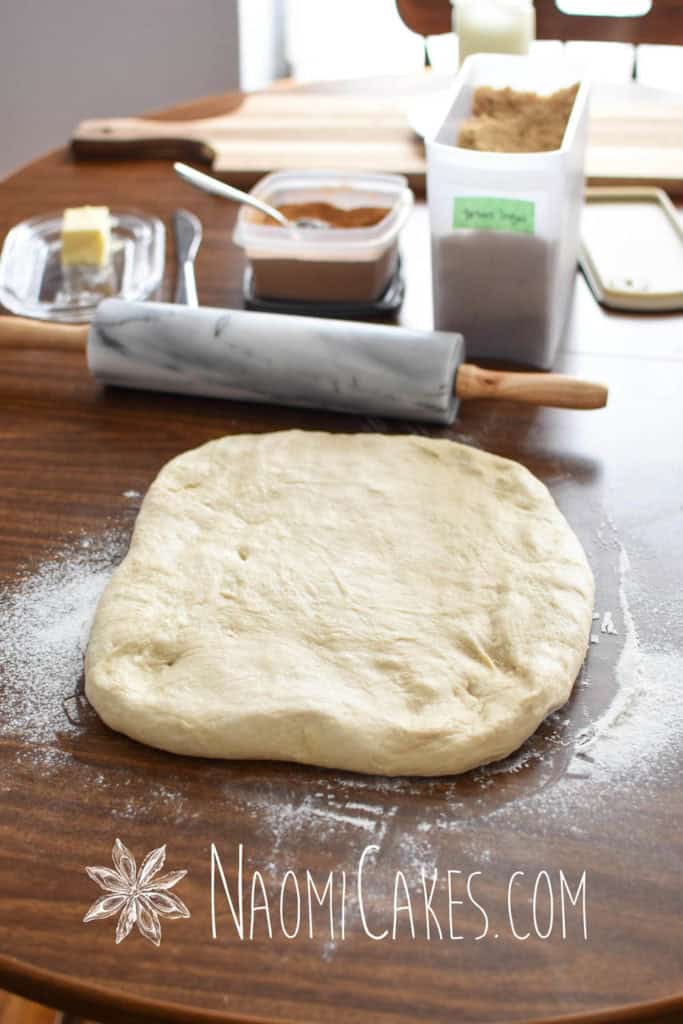
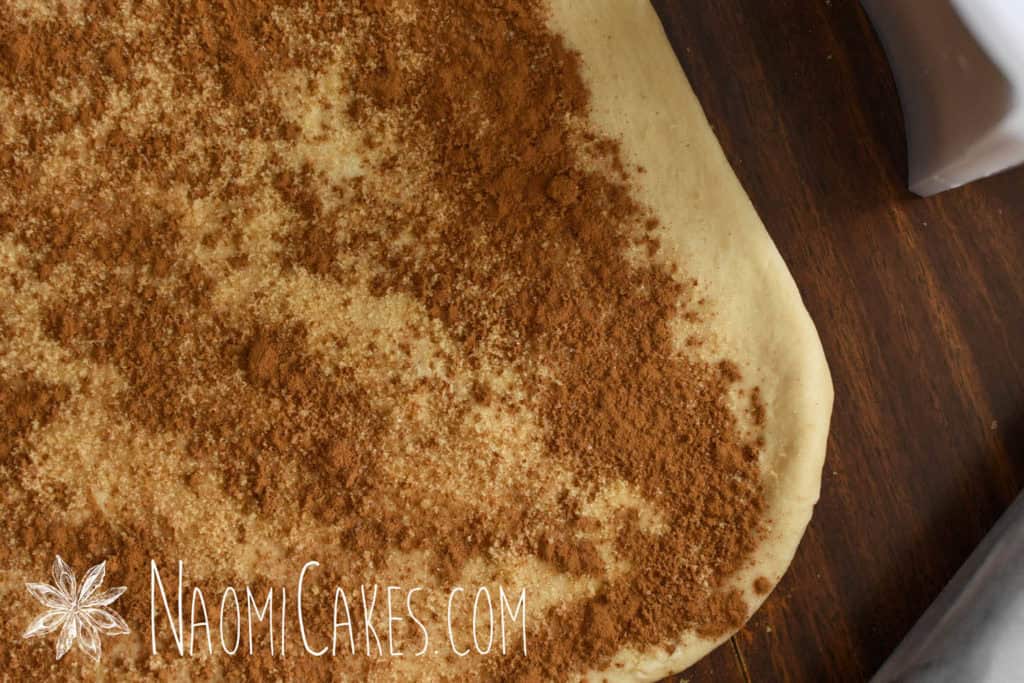
Turn the risen dough out onto a lightly floured work surface and press into a rectangle or square shape. Sprinkle with a bit more flour, and roll into a 10×15″ rectangle.
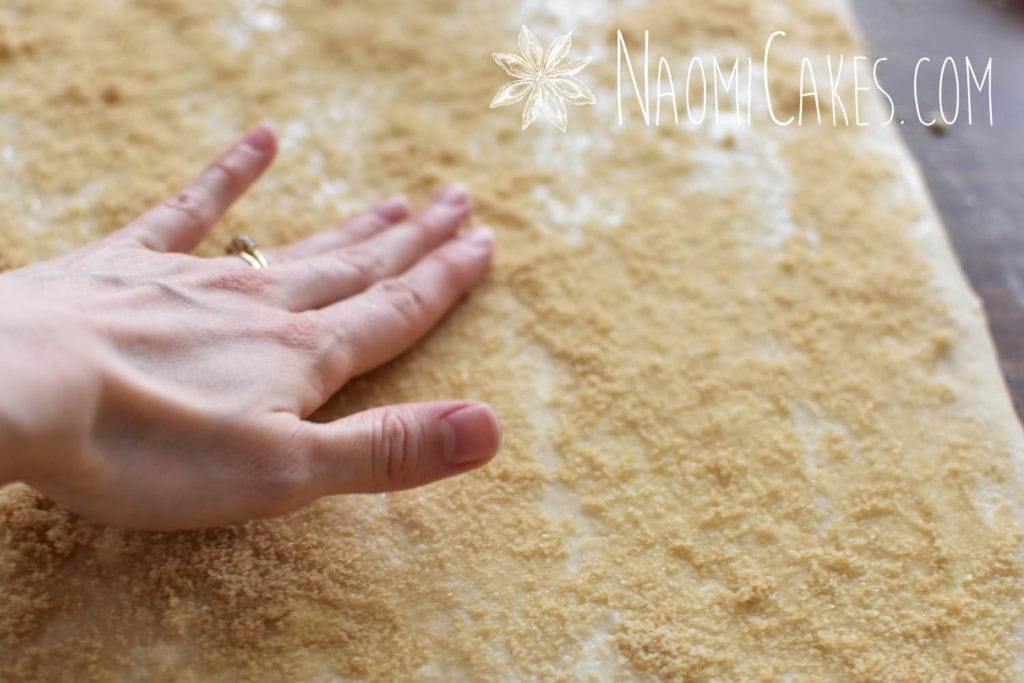
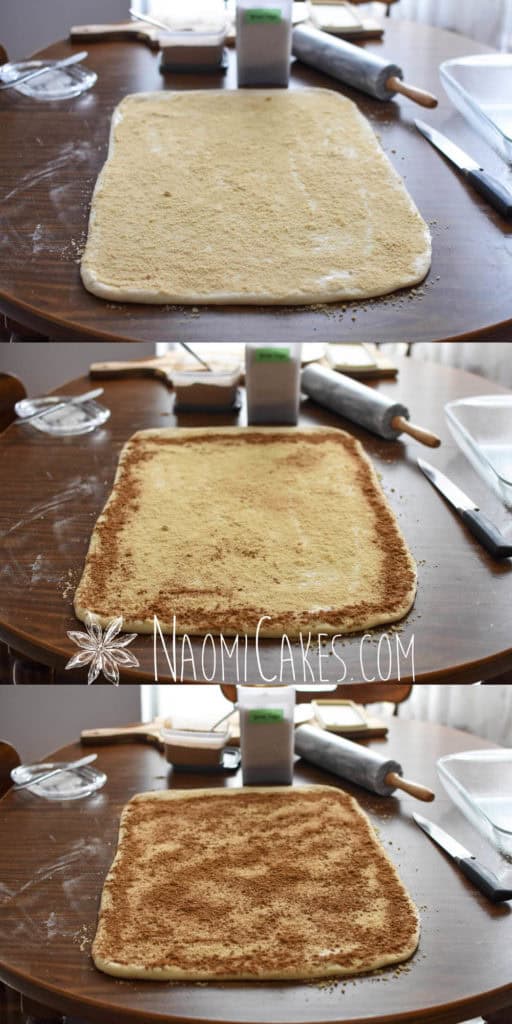
Spread with the remaining 1/4 cup of butter, leaving a lip of “raw dough” at the end of the dough furthest from you. This is where you will pinch the seal, so you don’t want to get anything on that. Sprinkle over the buttered area generously with cinnamon and brown sugar (you may need a little more or less than the recipe suggests – I just do it till it looks well covered).
This is what I mean by a “lip of raw dough”:
You can use your fingertips to spread the sugar around.
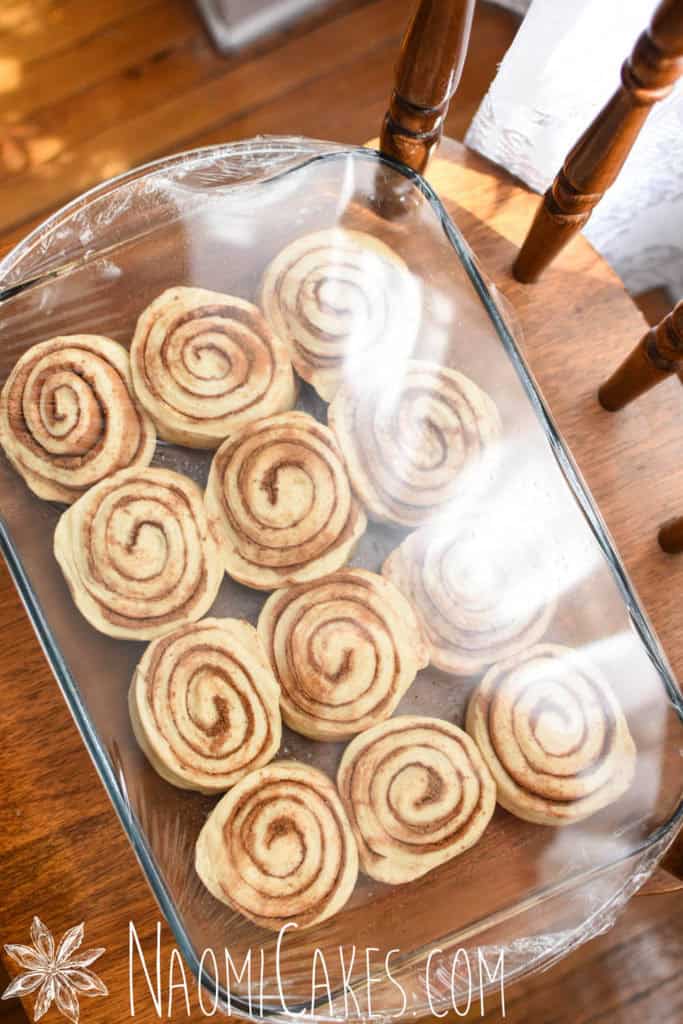
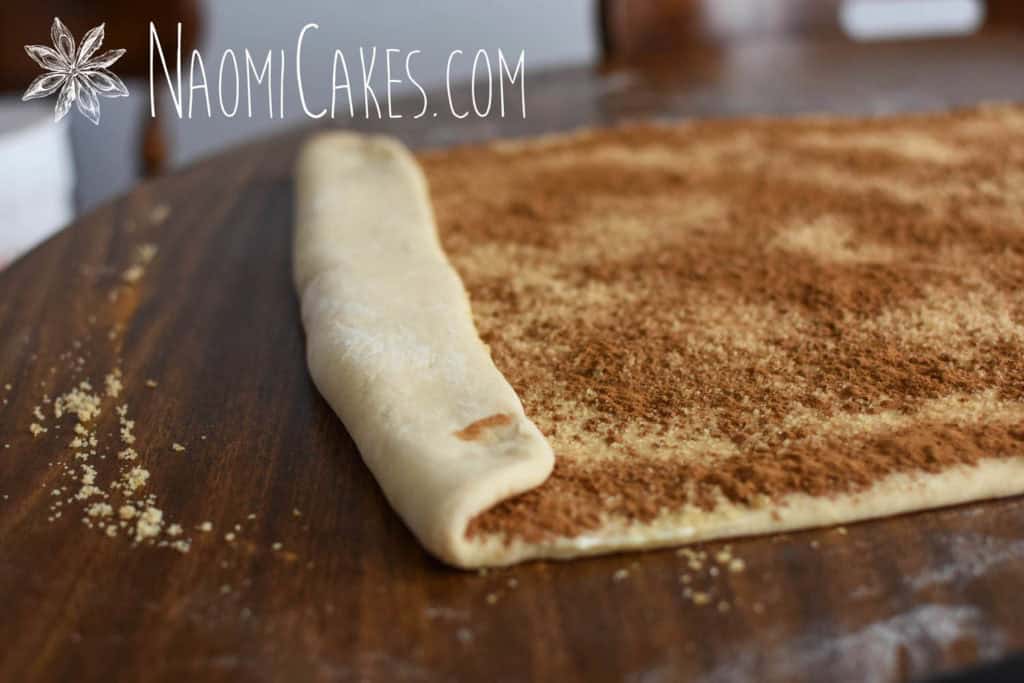
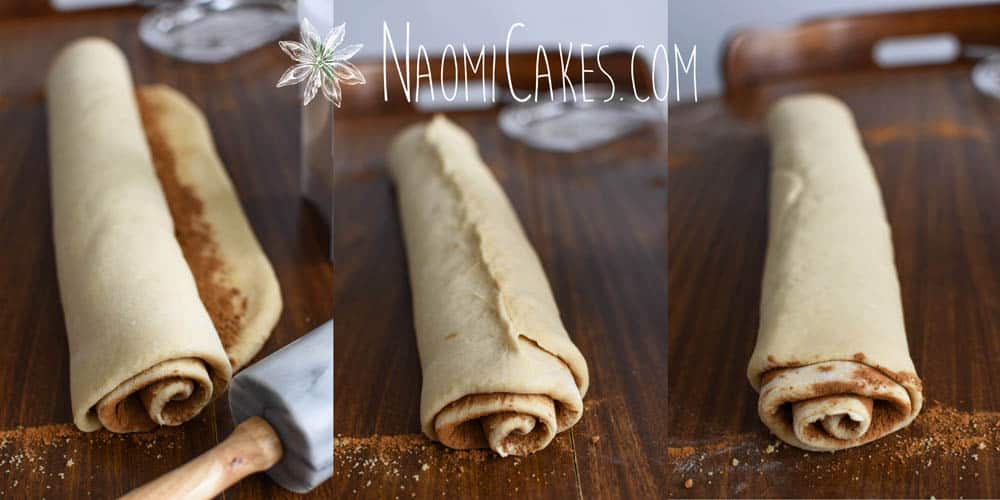
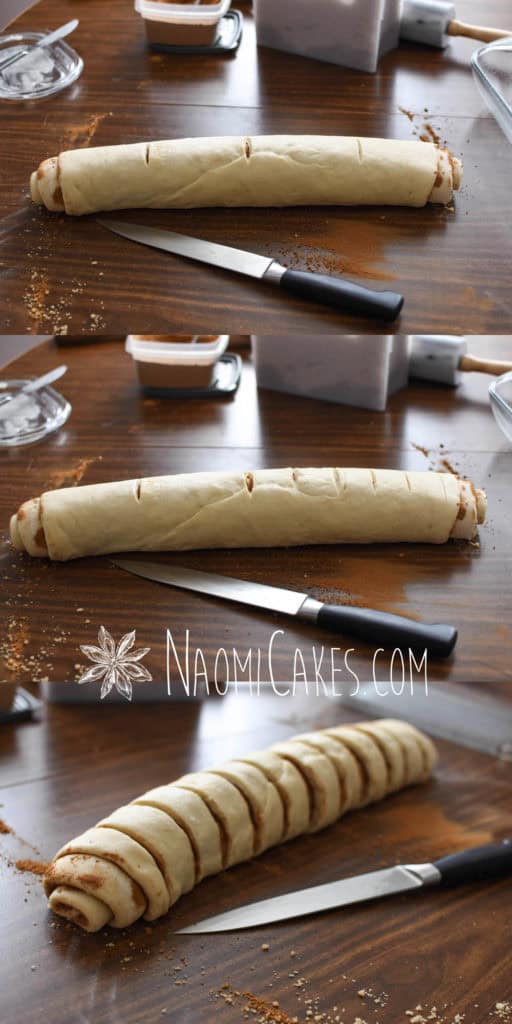
Make the rolls
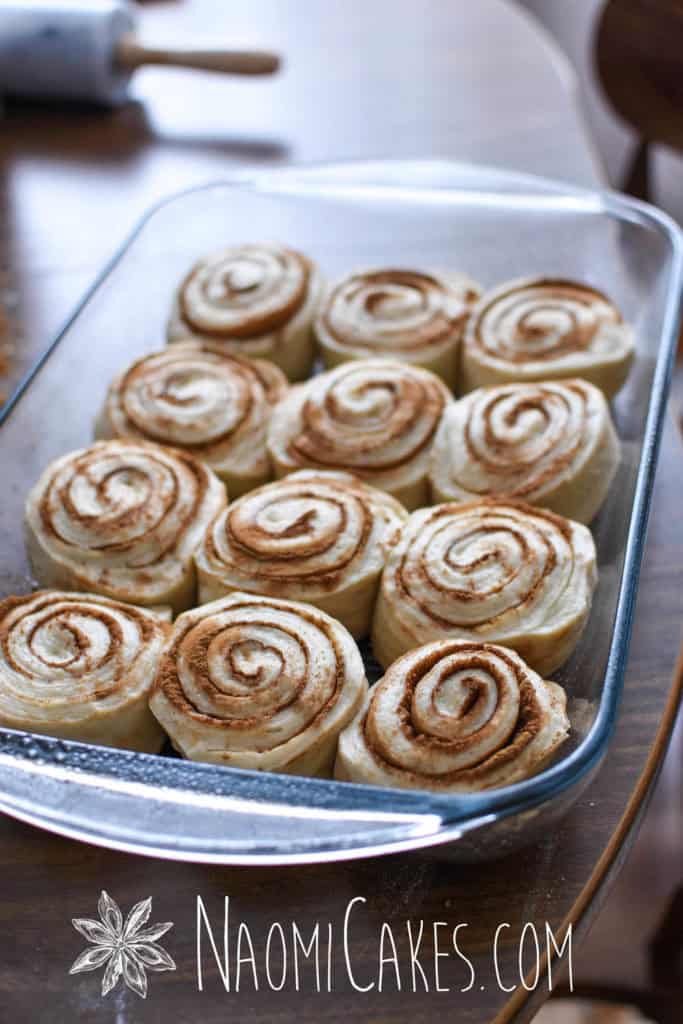
Fold the dough up about 1-2″ on the end closest to you. Fold one more time, and then roll the rest of the dough up to form a log, pinching the plain edge to seal. Cut into twelve 1″ pieces. Lay the cinnamon buns into a greased 9″x13″ baking pan, cut side up. Cover, and allow to rise for about 35 minutes.
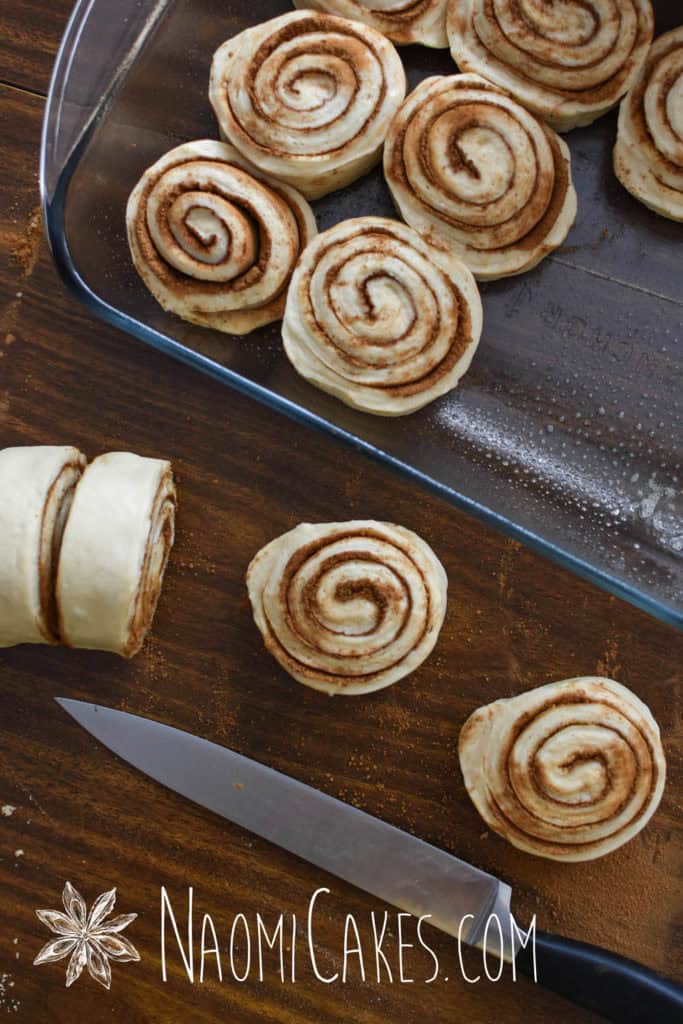
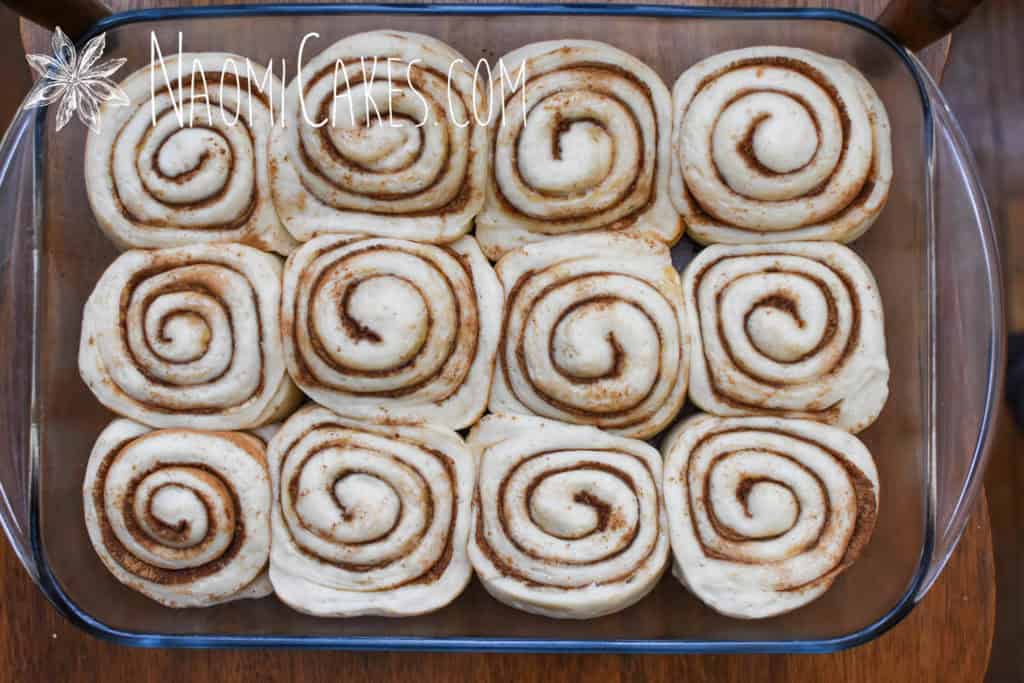
Pre-rise:
Post-rise:
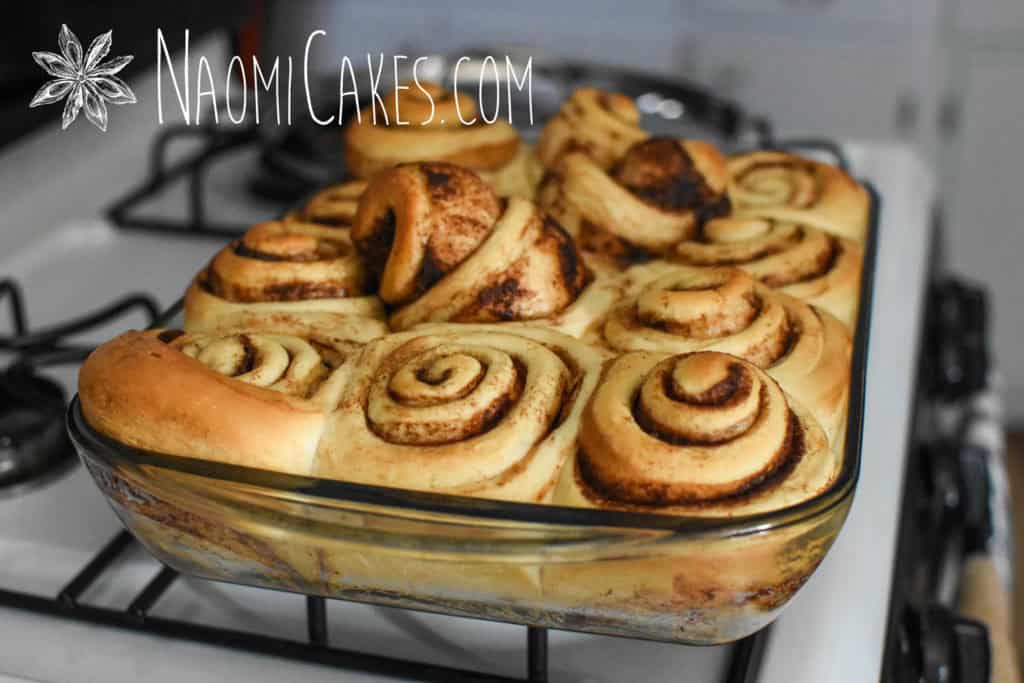
Bake
Preheat the oven to 350 degrees F and allow the rolls to rise 10 minutes longer (45 minutes total rising time, provided that your rolls are rising nicely). Bake for 25-30 minutes or until golden brown. Turn onto cooling rack to cool immediately (otherwise the sugar will harden in the bottom and it will be hard to get them out of the pan!).
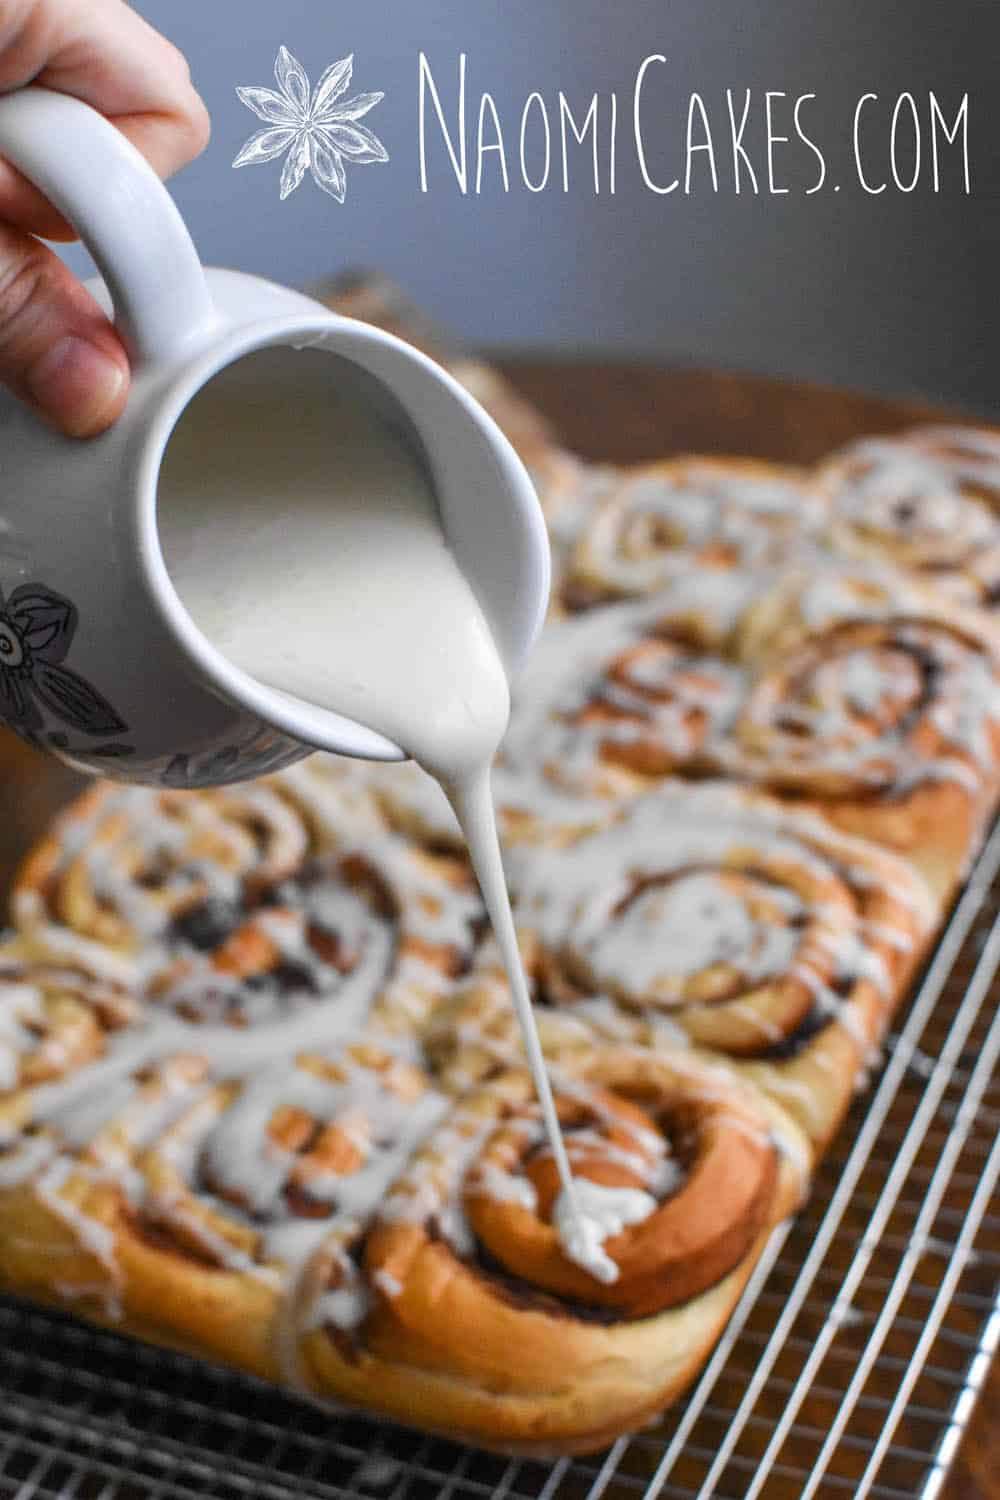
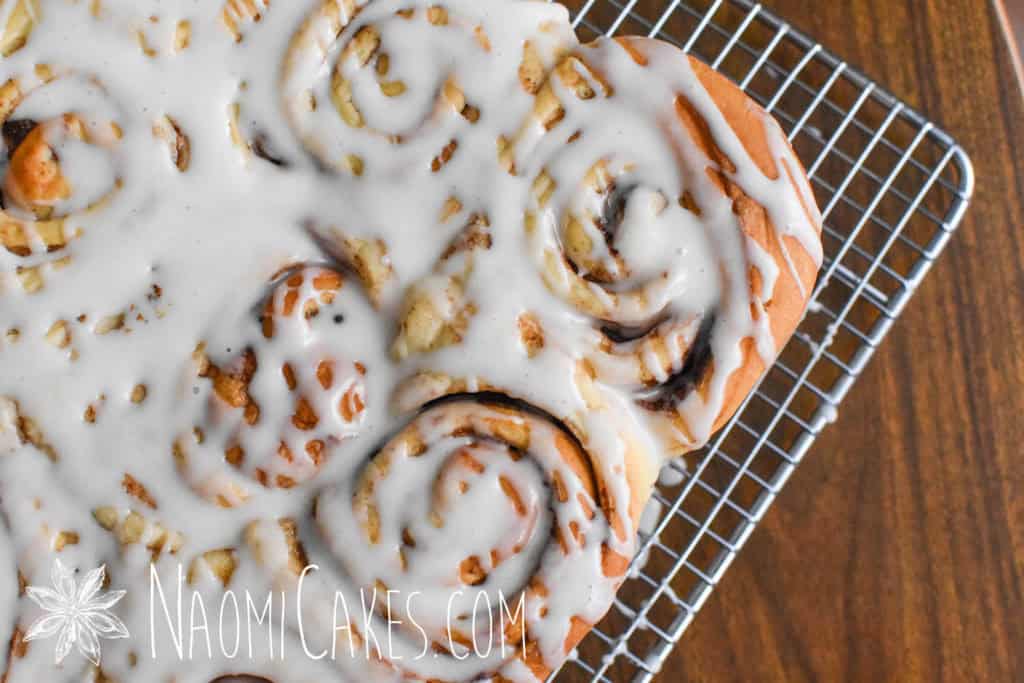
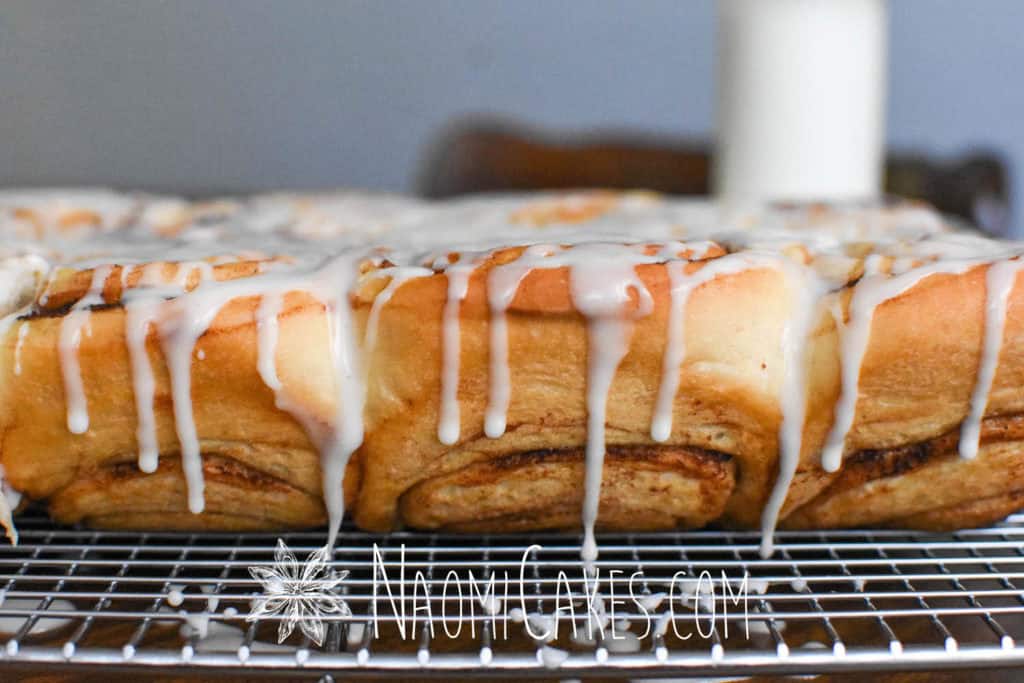
Top with glaze
Combine all of the ingredients in a mixing bowl, and stir till smooth. Drizzle or spread over the baked cinnamon rolls.
If you like this recipe, you may also like:
- Orange Cinnamon Rolls with Cream Cheese Frosting
- Long Fermented Sourdough Cinnamon Rolls
- Easy No-Knead Sourdough Raisin Bread
- Cinnamon Cranberry Bagels
And that’s it! If you make these, tag me in your photos on Facebook, Instagram, or Pinterest!! I would love to see your great work!
Back soon,
Naomi
This post contains affiliate links.
One Comment