
Gum Paste Roses – Tinting the Roses, Part 5/5 [Tutorial]
Okay everyone, we’ve finally made it to the last post of my gum paste rose tutorial! So far, we’ve made the rose base, the rose bud, the medium rose (half bloom roses), and the full rose (a full bloom rose).. and today, we get to change its color! In this post, I’ll teach you all about tinting gum paste roses to make them the beautiful colors of your dreams.
In this tutorial, I am using white roses as the base color to show you how well petal dust colors work for sugar flowers. I’ll note before I get going, however, that if you know you want to make, we’ll say, a pure red flower… Then I would recommend making your gumpaste roses with gel food colouring in the gum paste itself, at least slightly, before you go about using petal dust to add color.
Changing the color of the gum paste first will usually help the colour stand out a bit more, and if you have patches that don’t get completely covered, it just looks like a natural colour shift.
How to make gum paste roses
To learn how to make gum paste roses, make sure to check out the first four posts in this series, which will teach you everything from making the base of a gum paste rose to the very first petal of a rose bud to the last curled petal of a large gumpaste rose.
Also, bonus – check out this post to learn a great way to make rose leaves for your gorgeous edible sugar roses. This tutorial uses simple rose leaf cutters, a silicone veiner, and a couple of different petal dusts to change the color of the leaves.
Here is the rose post series (with lots of step-by-step pictures):
Those tutorials will teach you how, in easy, broken down steps, to make a white gum paste rose with gum paste, simple rose petal cutters, a little water, toothpicks, and a few other basic tools.
Whether this is your first attempt or your tenth, I hope these tutorials will break down the process in a way that is easy and doable for you!
Adding color to gumpaste flowers: tinting the base colour
This tutorial will primarily deal with using petal dust, but another option is simply to tint the base colour with gel food colouring. Here are some examples!
You may remember this wedding cake from the inspirational section of one of my posts a couple of weeks ago:
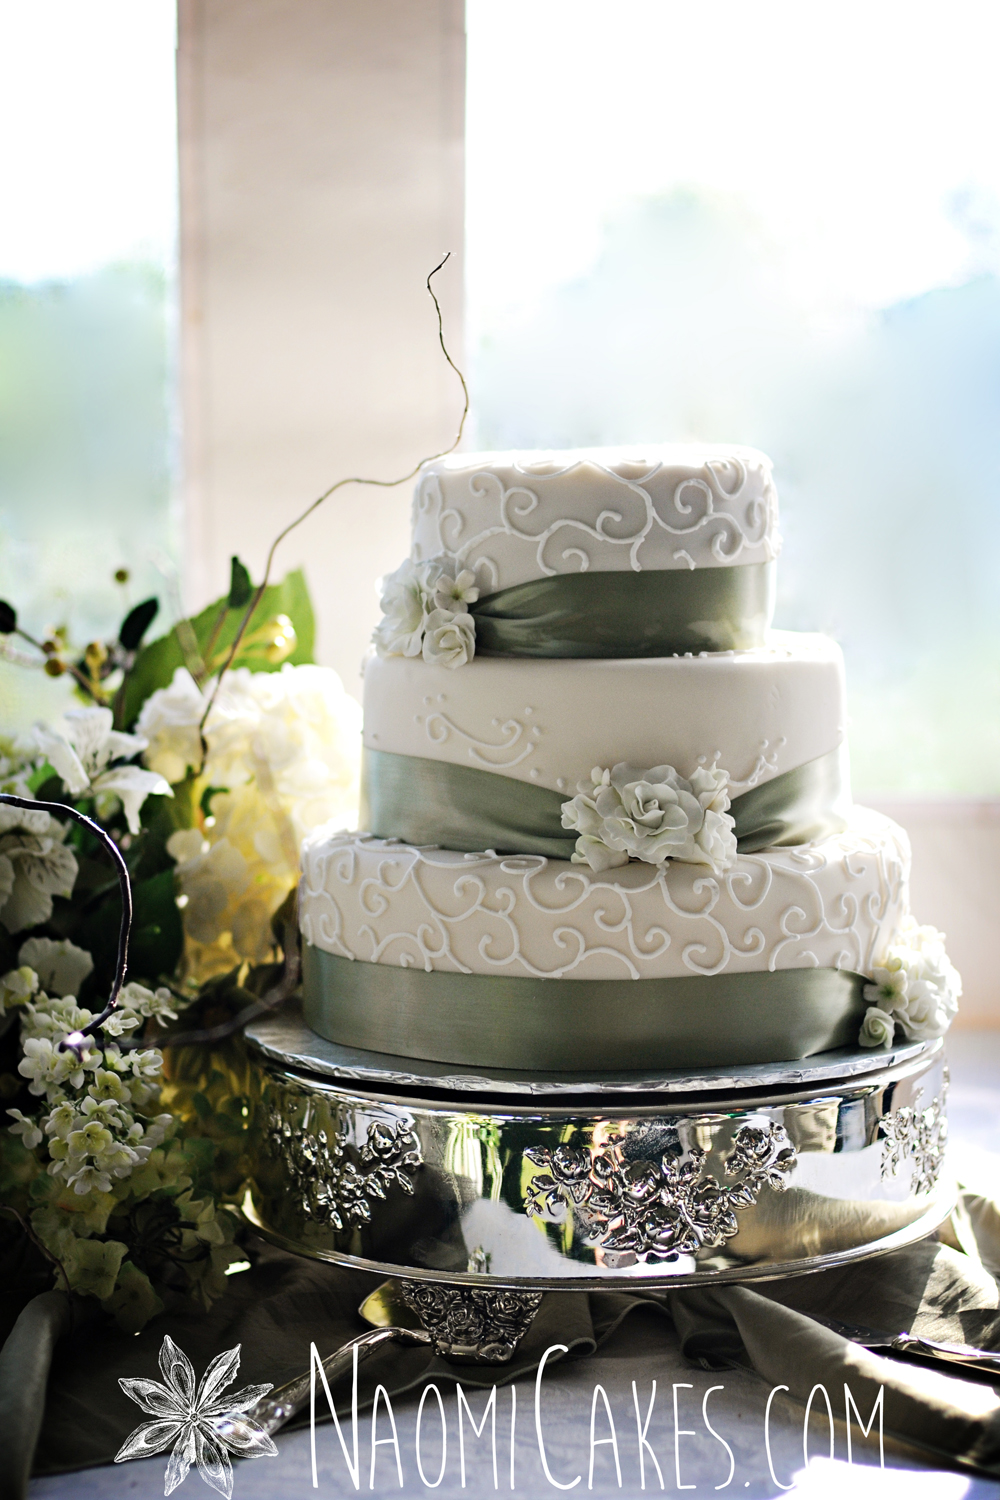
For the roses on this particular cake, I wanted them to look white, but to have a slightly green undertone.
To achieve this, I gently tinted the gum paste soft, soft green before I began making the roses, and that was perfect to give the flowers that lighter shade of green.
You may also remember this cake from my last tutorial:
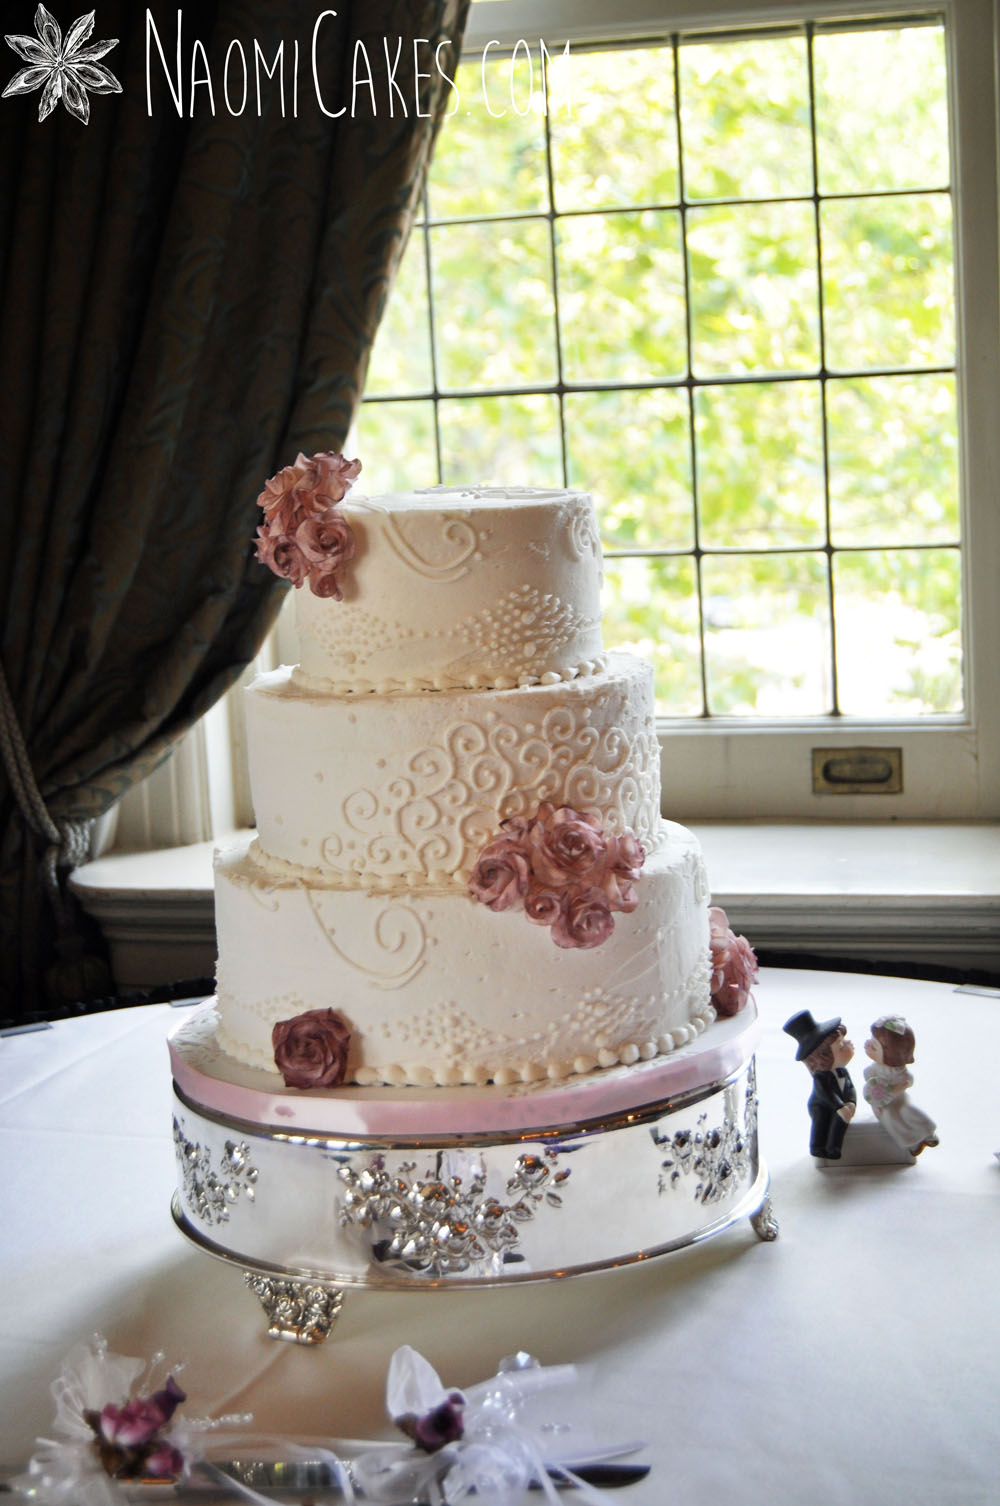
For this cake, I tinted the base colour pink, and then I used a violet petal dust to tint the edges of the petals and then create some color variation and depth on the roses themselves.
Tinting/Coloring Gum Paste Flowers with Petal Dust
This section is where we’ll camp for the rest of this post! I’m basically going to teach you two things:
- How to create a bold, beautiful colour using petal dust (an edible, powdered food coloring)
- How to tint just the tips of the petals for more color variation and texture
Petal dusts are amazing, and they come in all kinds of different colors and tones. You can purchase them individually, in color palettes, or in packages of multiple colors (usually following a color scheme).
There are three main types of petal dust that you can use to add edible color to your beautiful gum paste roses:
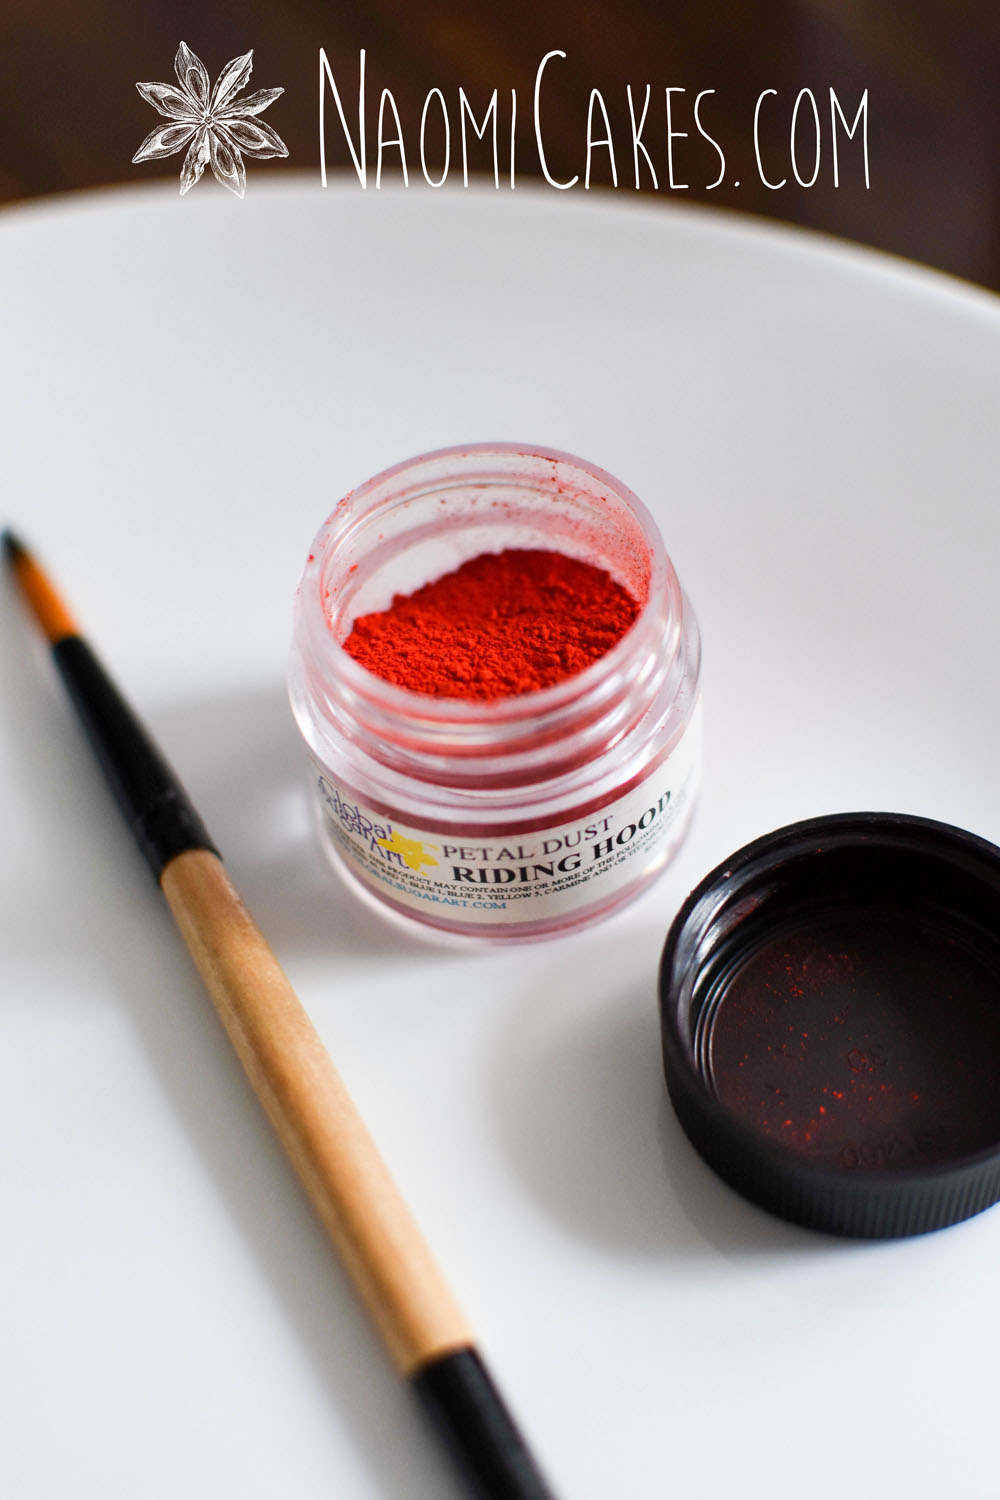
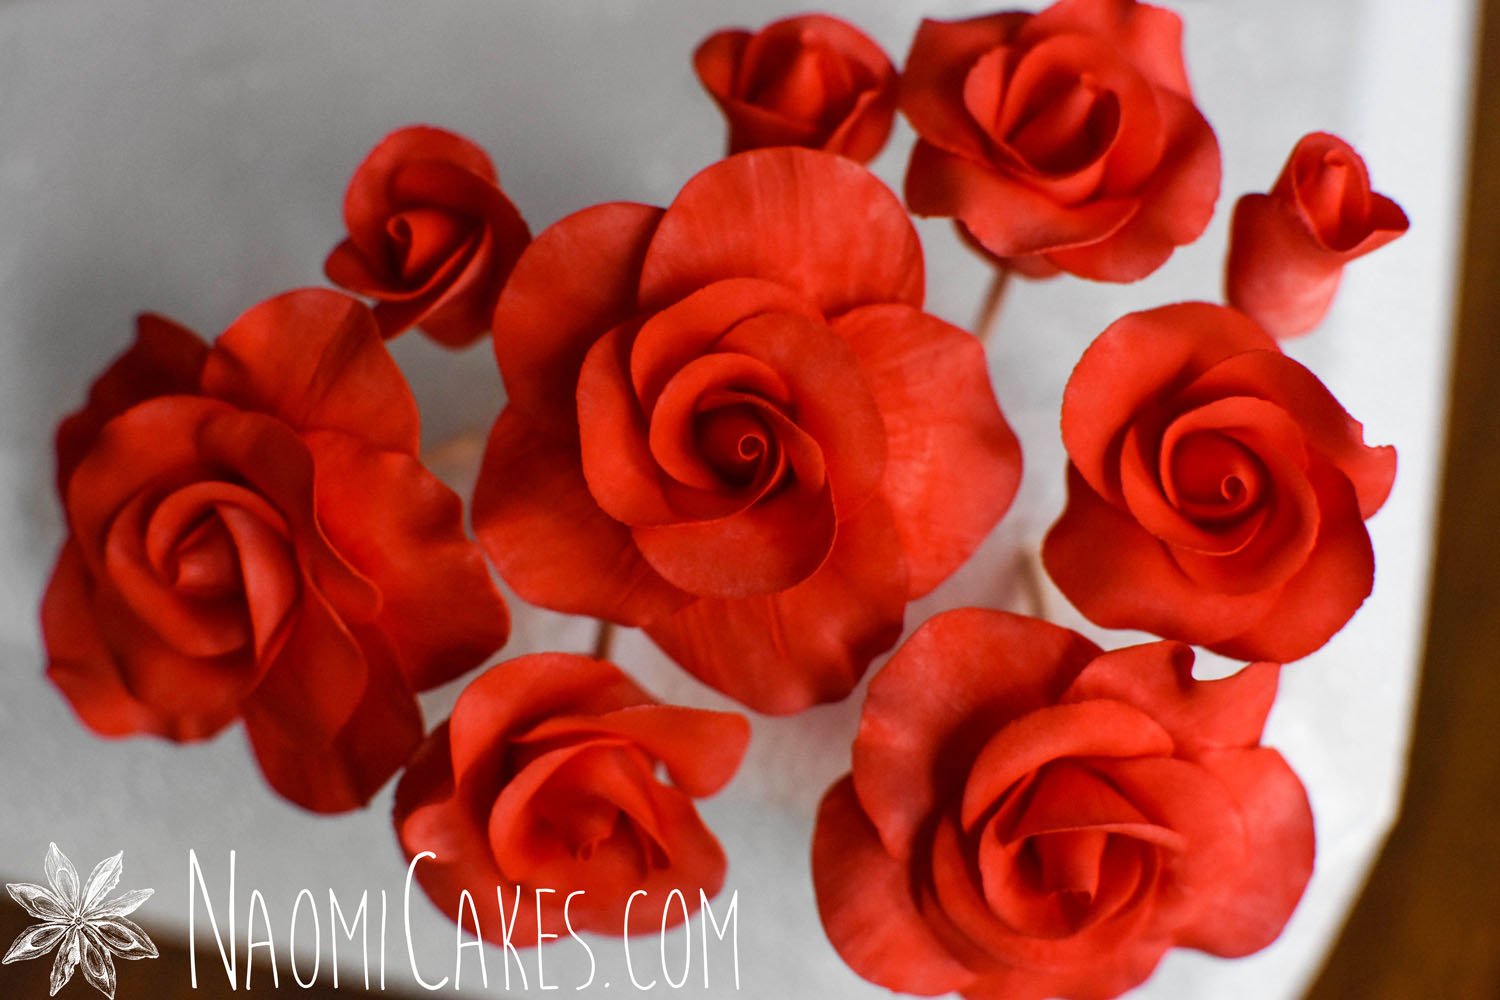
Petal dust usually comes as a matte, punchy (bold) color. The red color in these pictures is a red petal dust.
Luster dust is another bold color petal dust with a glossy sheen to it, adding gorgeous metalic looking color to your creations. Some of the most incredible luster dusts are gold and silver, making it possible for you to create sugar decorations that look like they’re made of these precious metals.
Pearl dust is a usually softer form of luster dust, adding a transparent sheen to an existing color.
Where to buy petal dust
You can purchase petal dust and other incredible food coloring options from Amazon, from craft stores with a cake decorating section (like Hobby Lobby), or sometimes at a local bulk food store or candy making store.
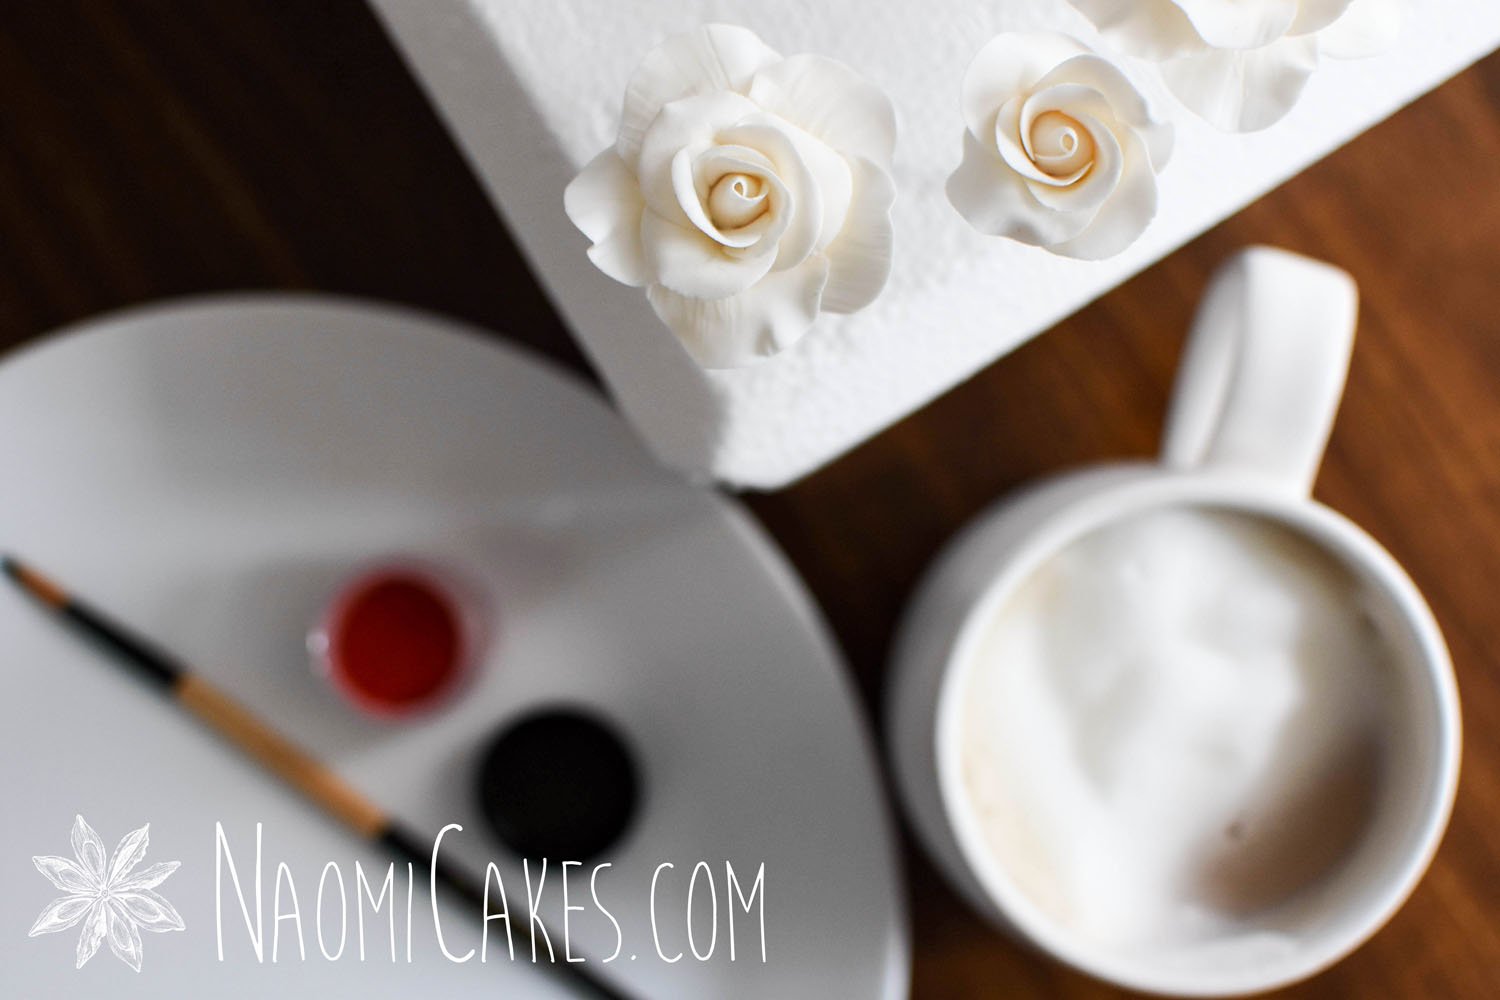
For this tutorial you will need:
- A large, clean plate
- A new/clean paint brush
- Petal dust in the colour of your choice (I’m using Riding Hood Red from Global Sugar Art)
- Your own beautiful gum paste roses
- Styrofoam, to stand the roses up when you’re done
- Corn starch, optional
- Paper towel, optional
- An apron
- A London Fog (a delicious tea latte for yourself while you work), optional

How to Color/Tint Gum Paste Roses with Petal Dust
Here's a breakdown of two different ways to tint gum paste roses with your favorite color of petal dust.
Ingredients
- 1 large clean plate
- 1 new/clean paint brush
- 1 color petal dust (in the colour of your choice) For this tutorial, I used "Riding Hood Red" from Global Sugar Art
- 1 + of your own beautiful gum paste roses
- 1 block styrofoam to stand the roses up when you’re done
- Corn starch optional
- Paper towel optional
- 1 apron to keep yourself clean while you work
Instructions
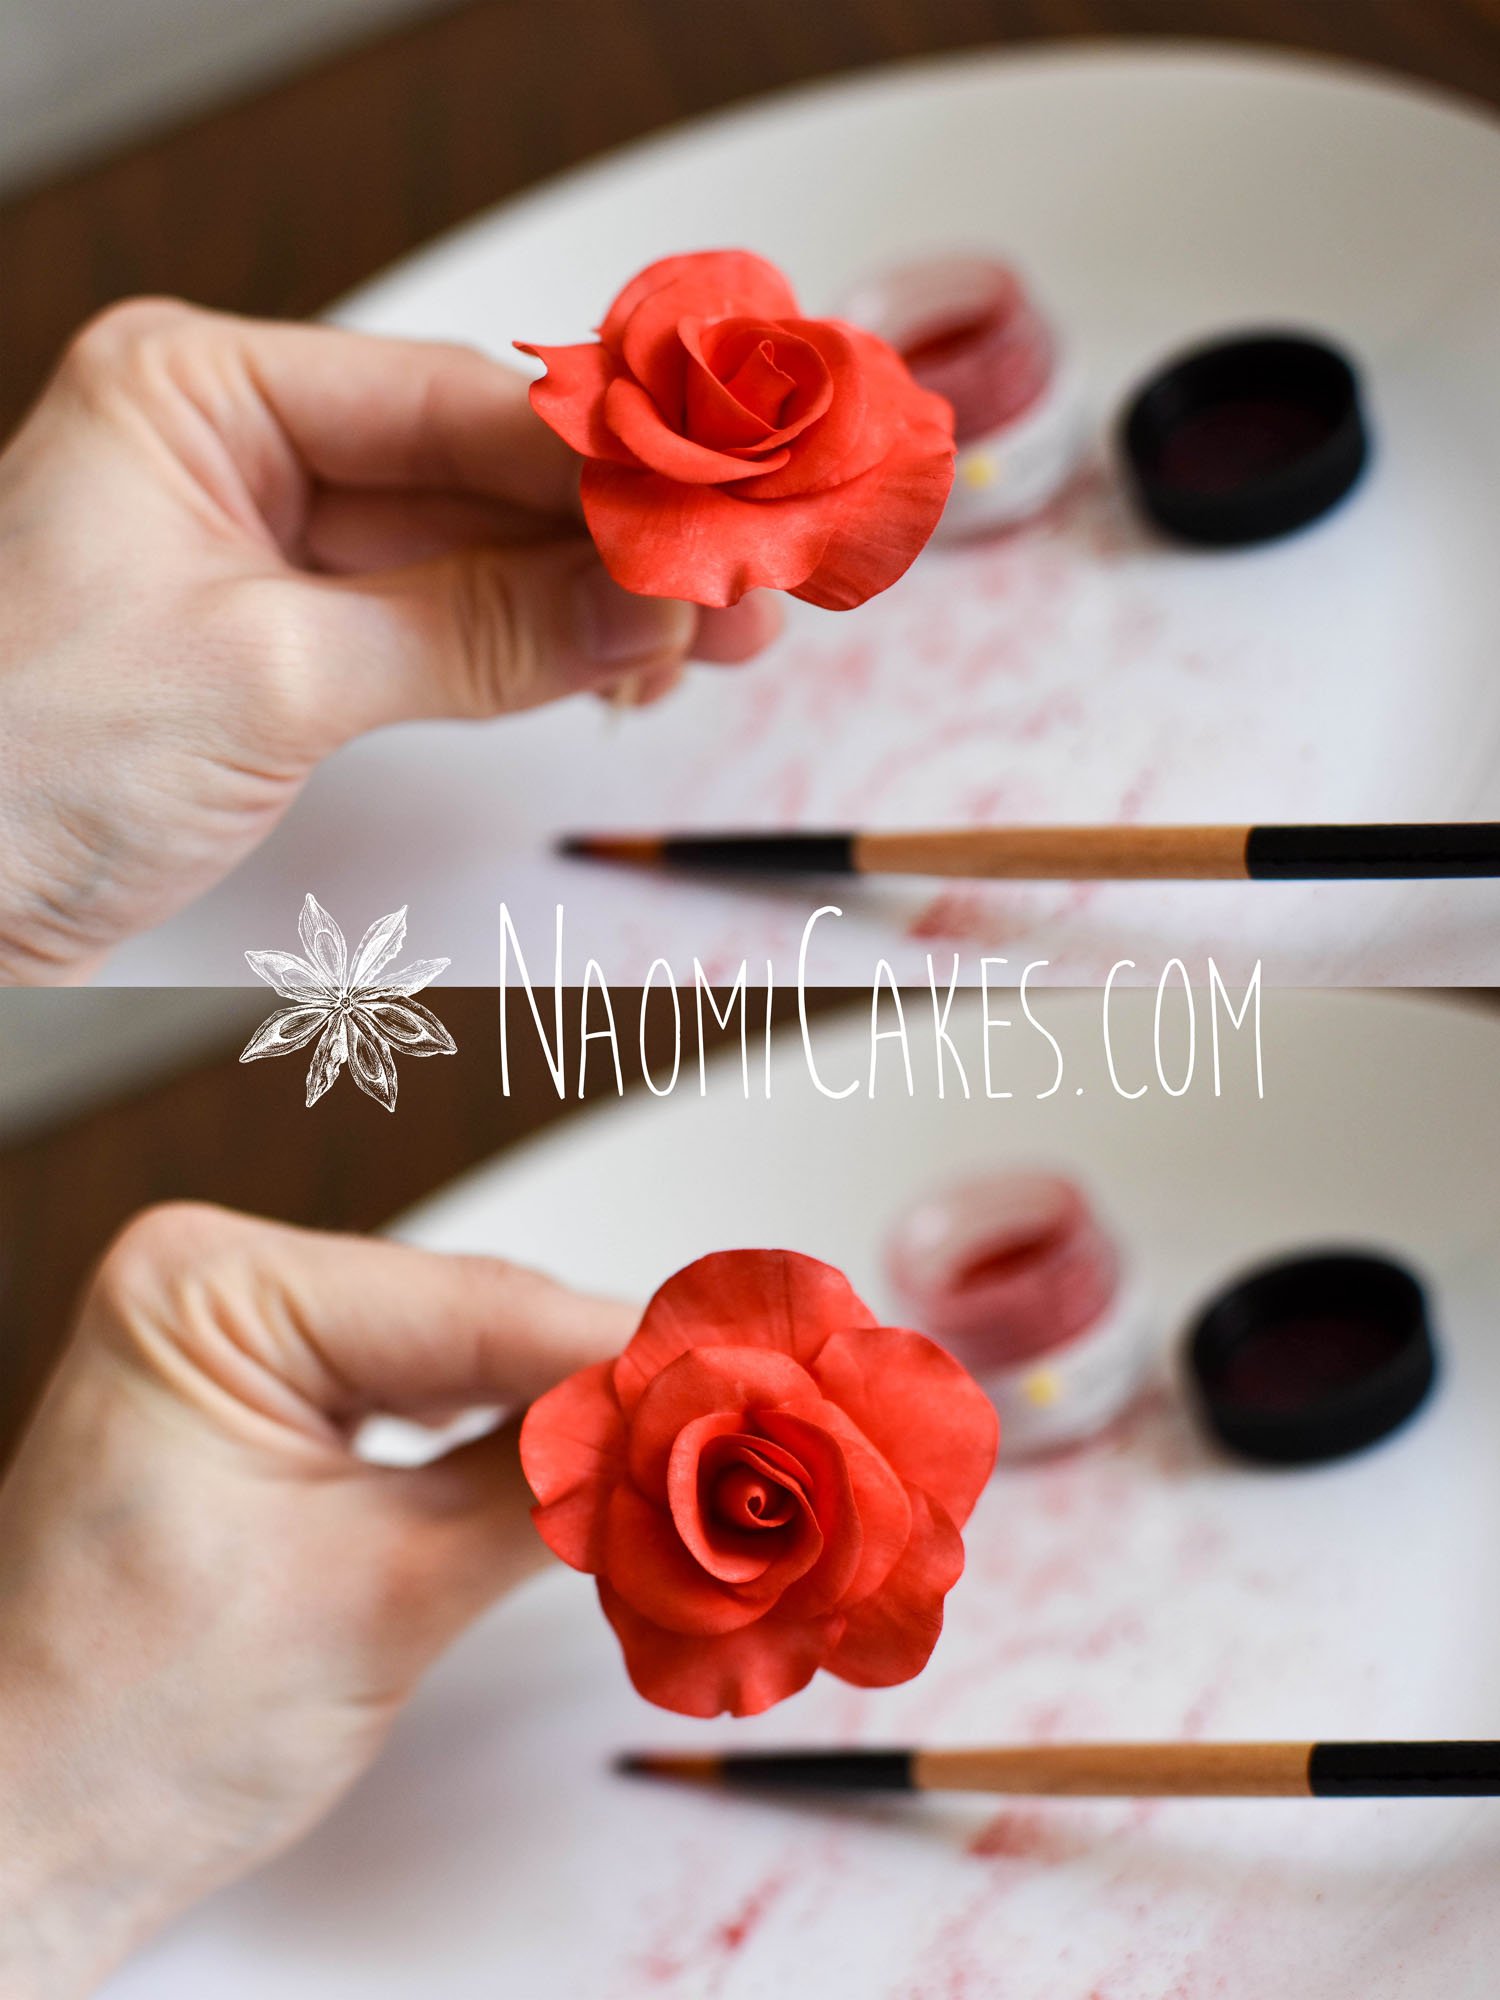
For a bold (bright/vibrant) rose colour:
-
Set a large plate in front of you on a clean work surface. Gather together your other supplies.
-
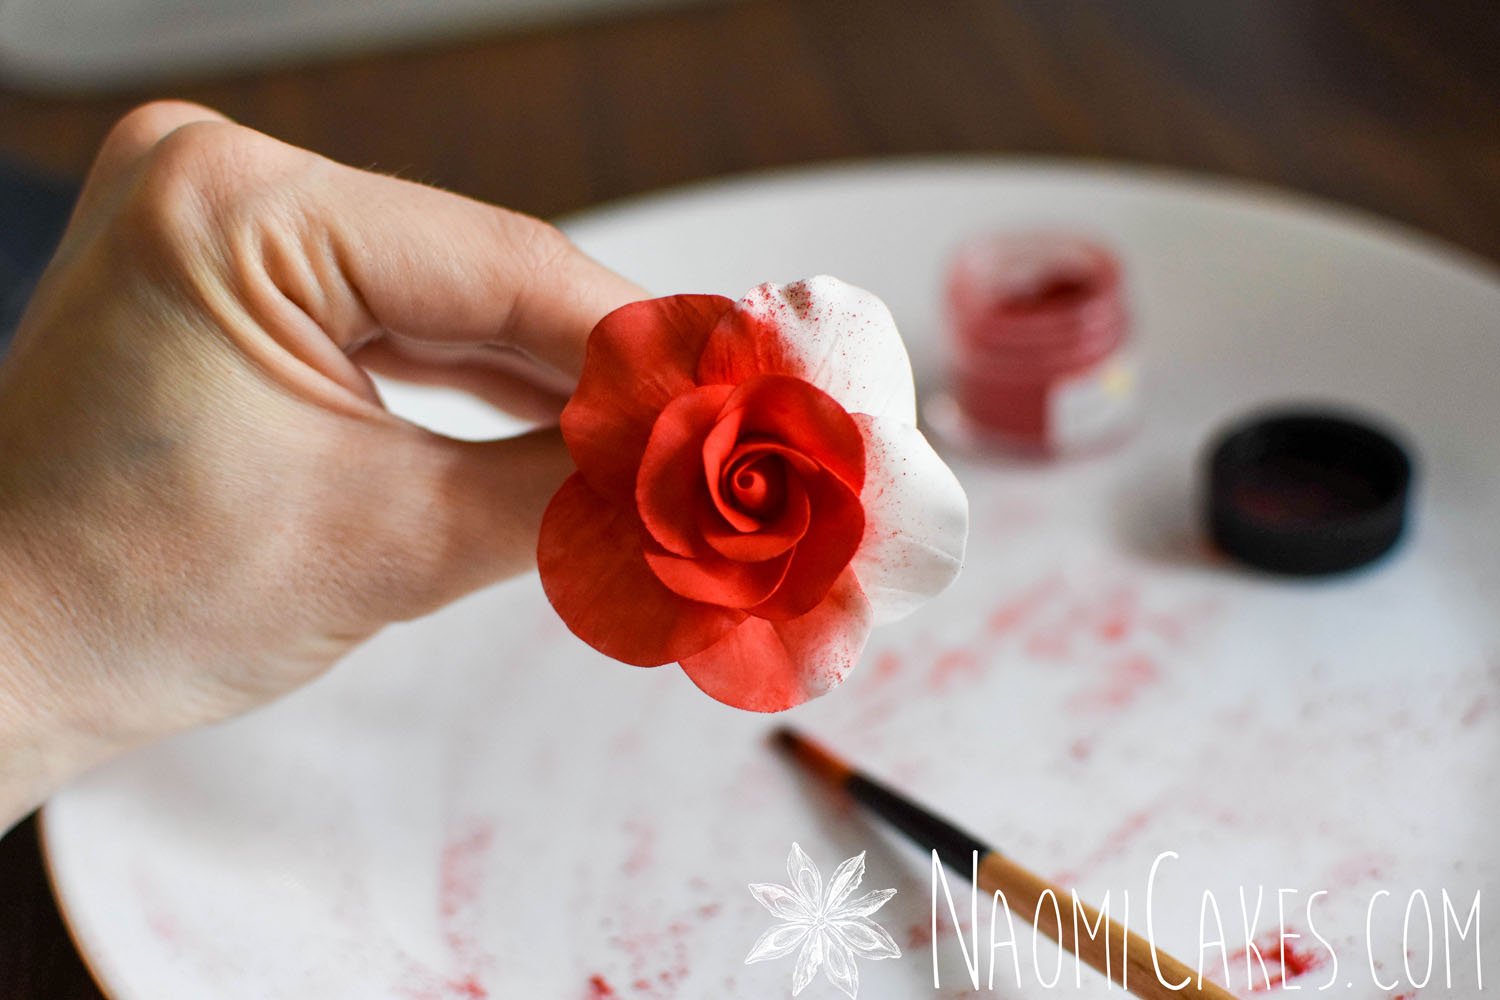
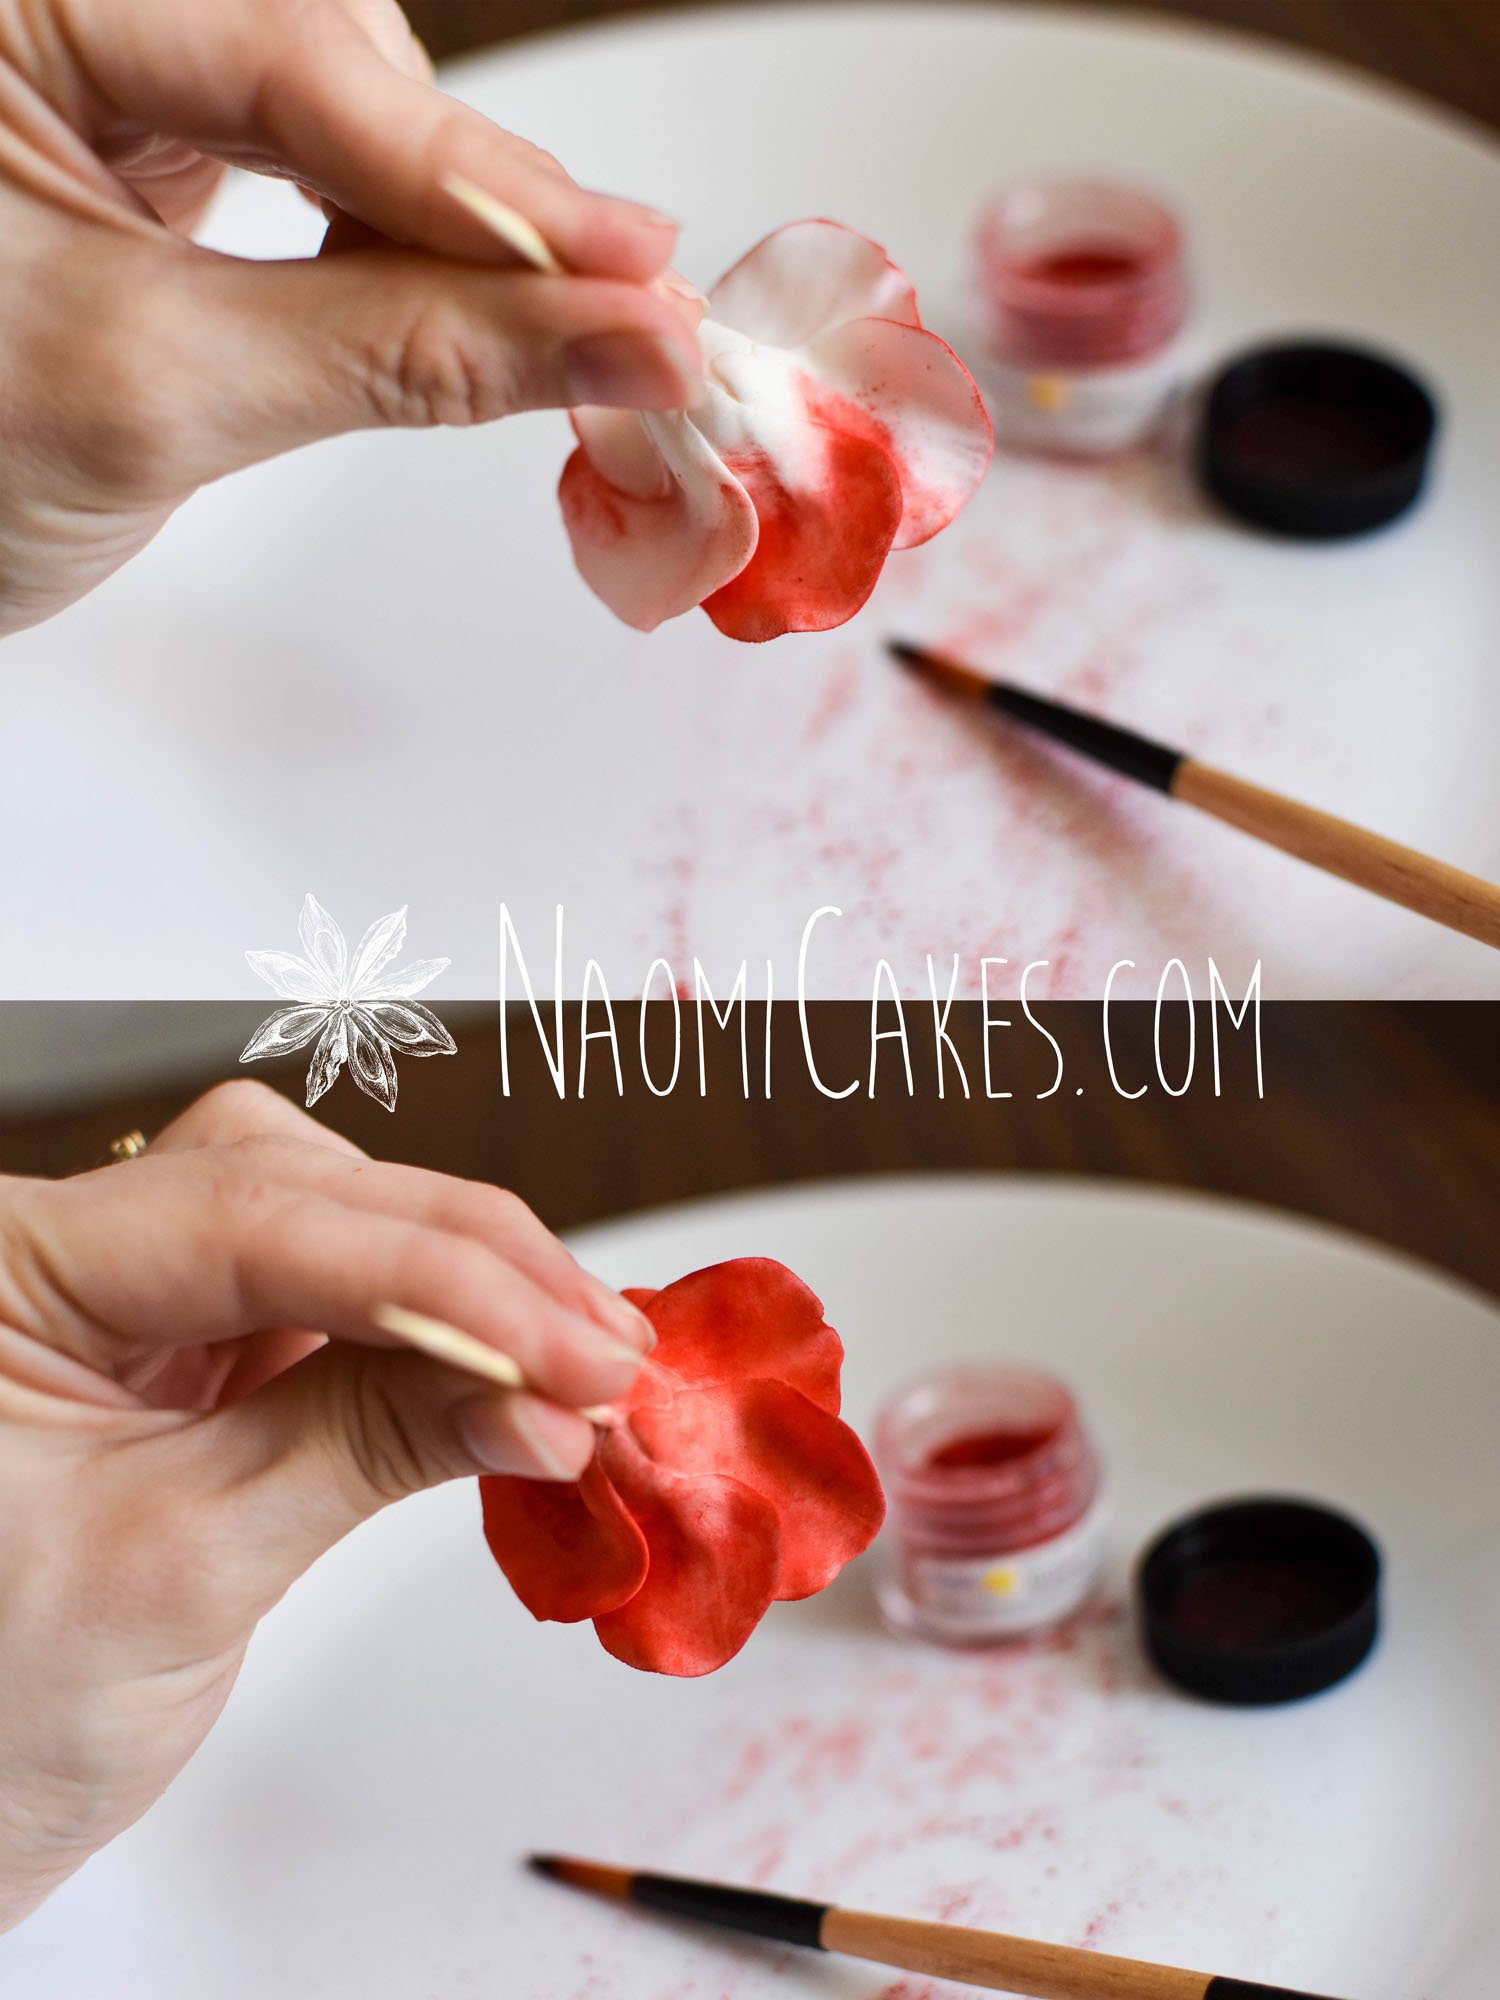
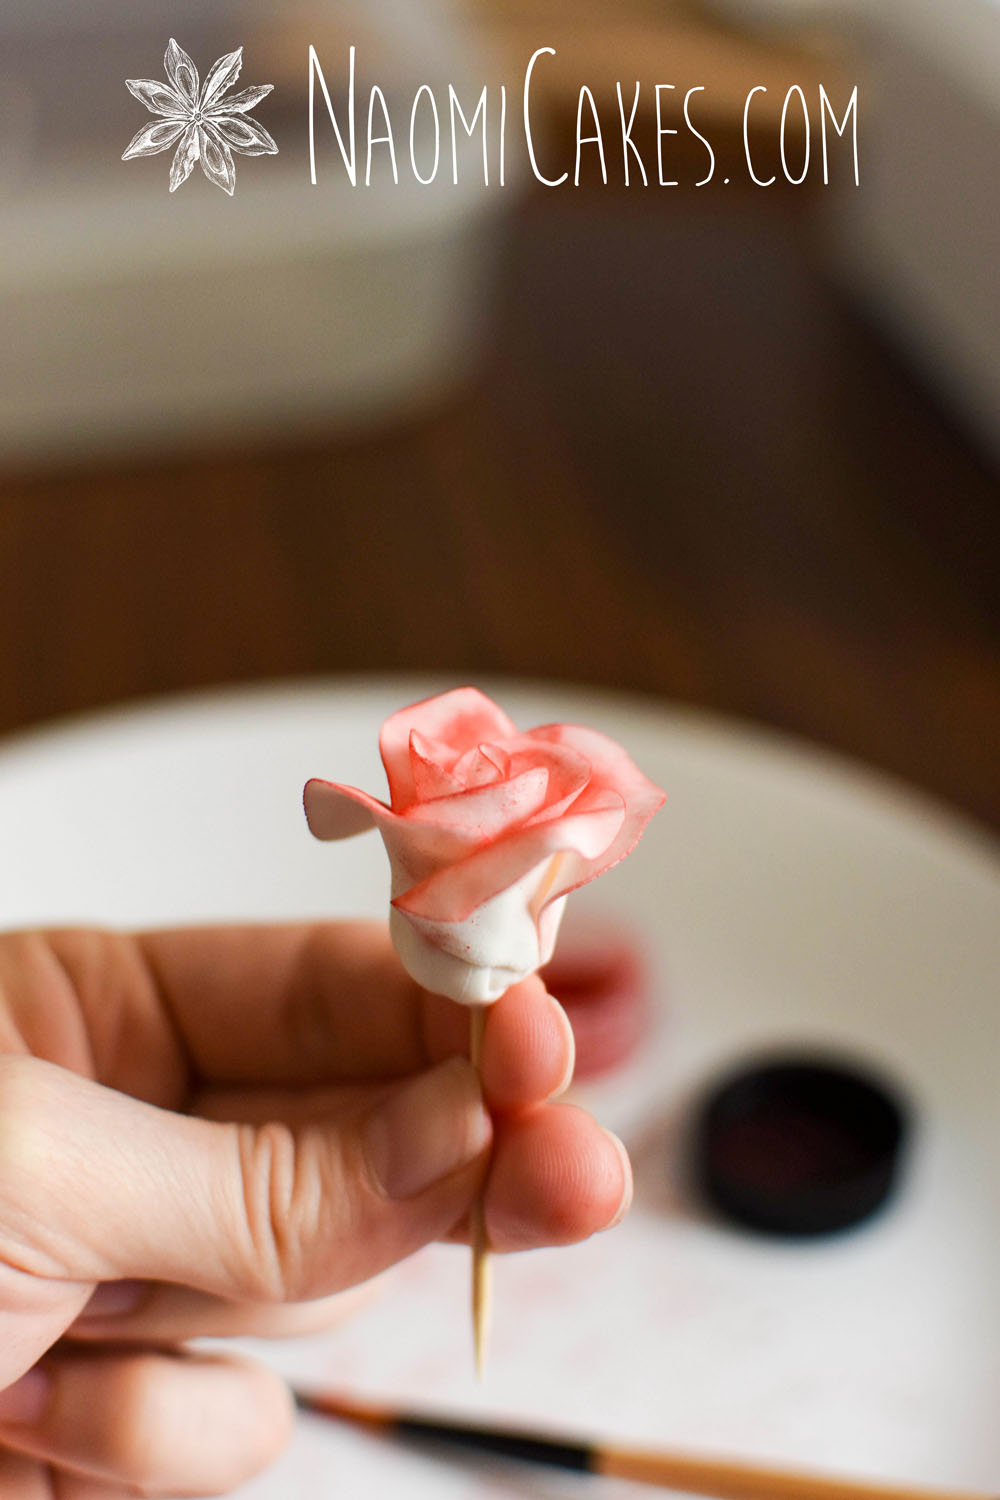
Begin by dipping your paint brush into the petal dust, and “dust” the center of the flower (the middle rose petals), spreading the colour evenly. Work your way out to the outside petals. Turn it over, and paint the back of the rose with petal dust.
-
Periodically as you work, you will want to gently tap the base of the rose, holding it upside down over the plate, to release stray bits of dust that you don’t need (or use the brush to guide them away). Don’t worry about this being perfect until you are putting the last bits of colour on, however – The main reason to do it periodically is so that you can re-use whatever petal dust falls down onto the plate.
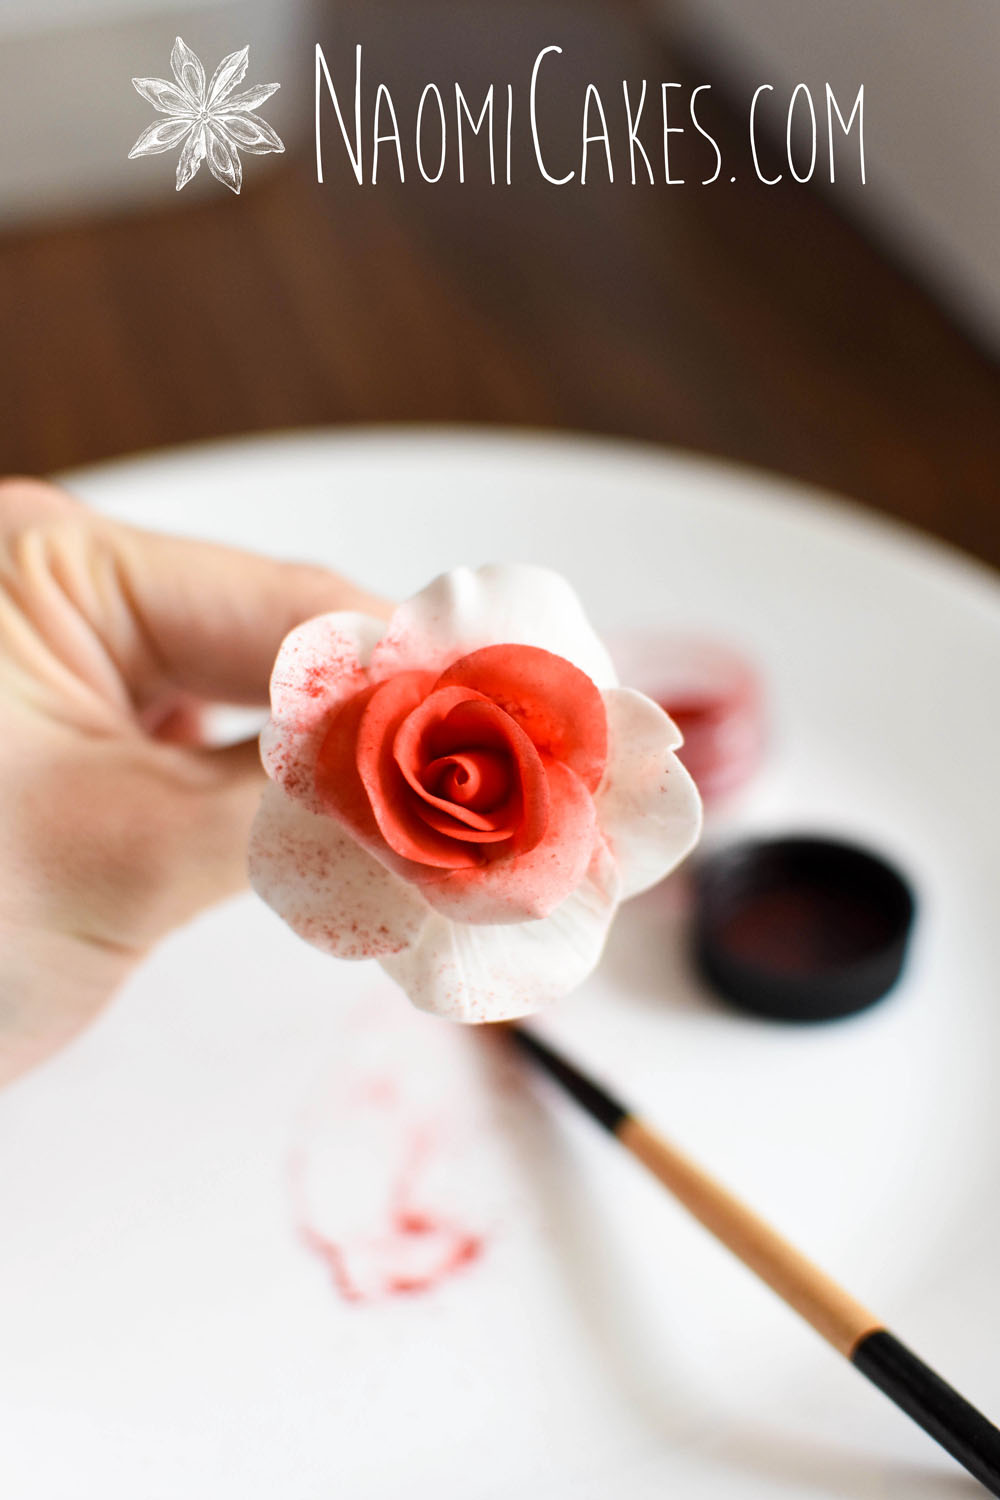
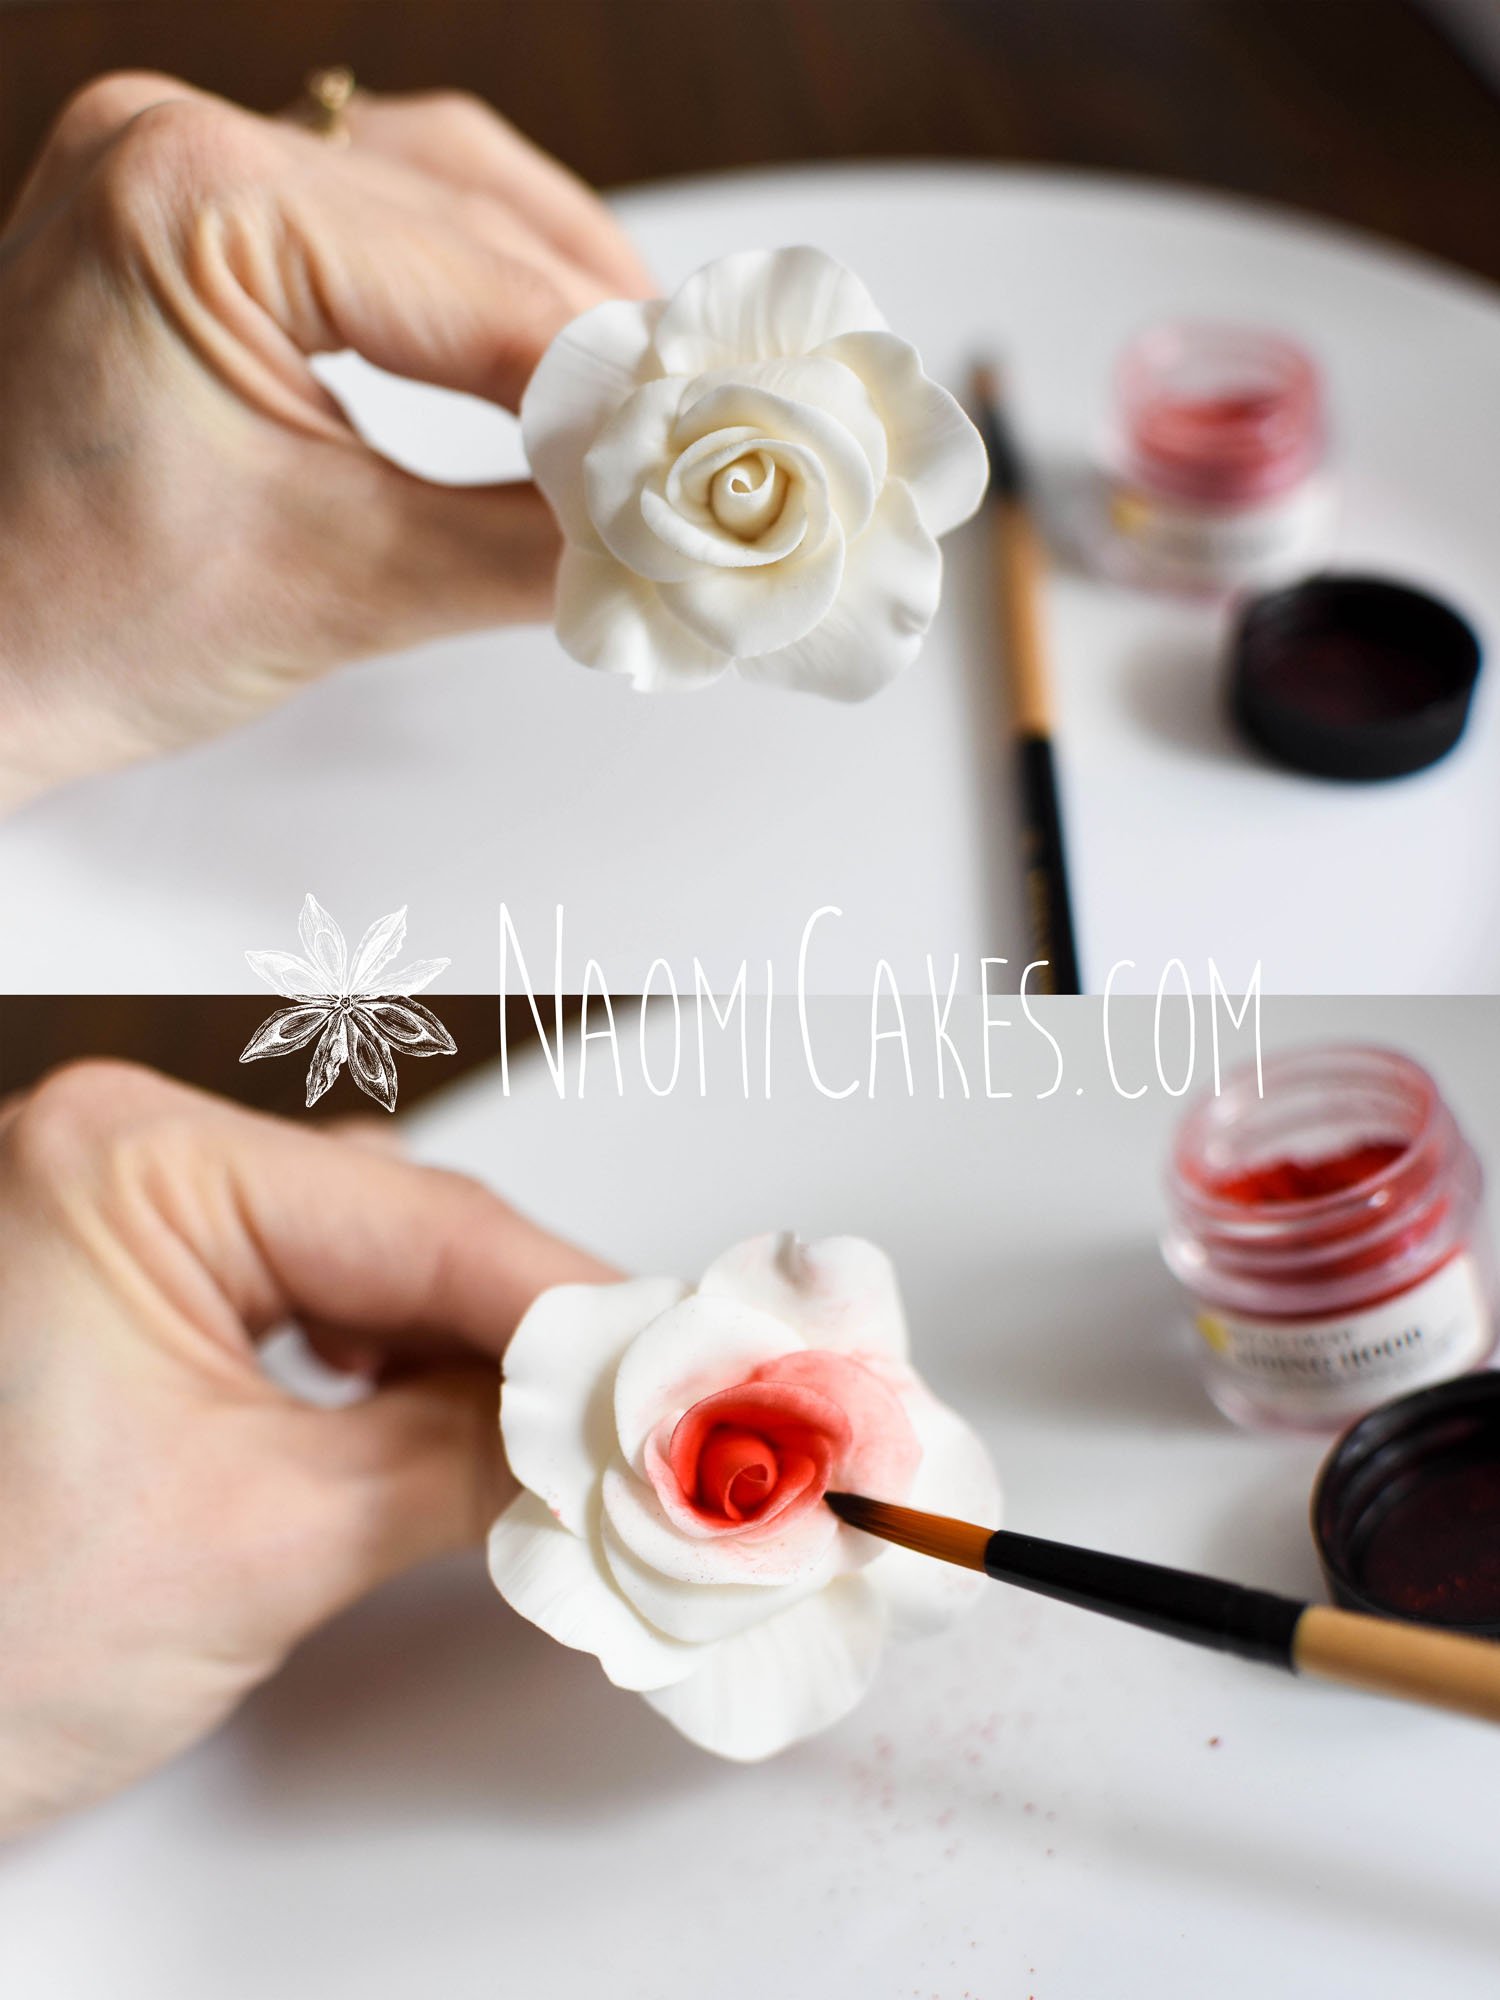
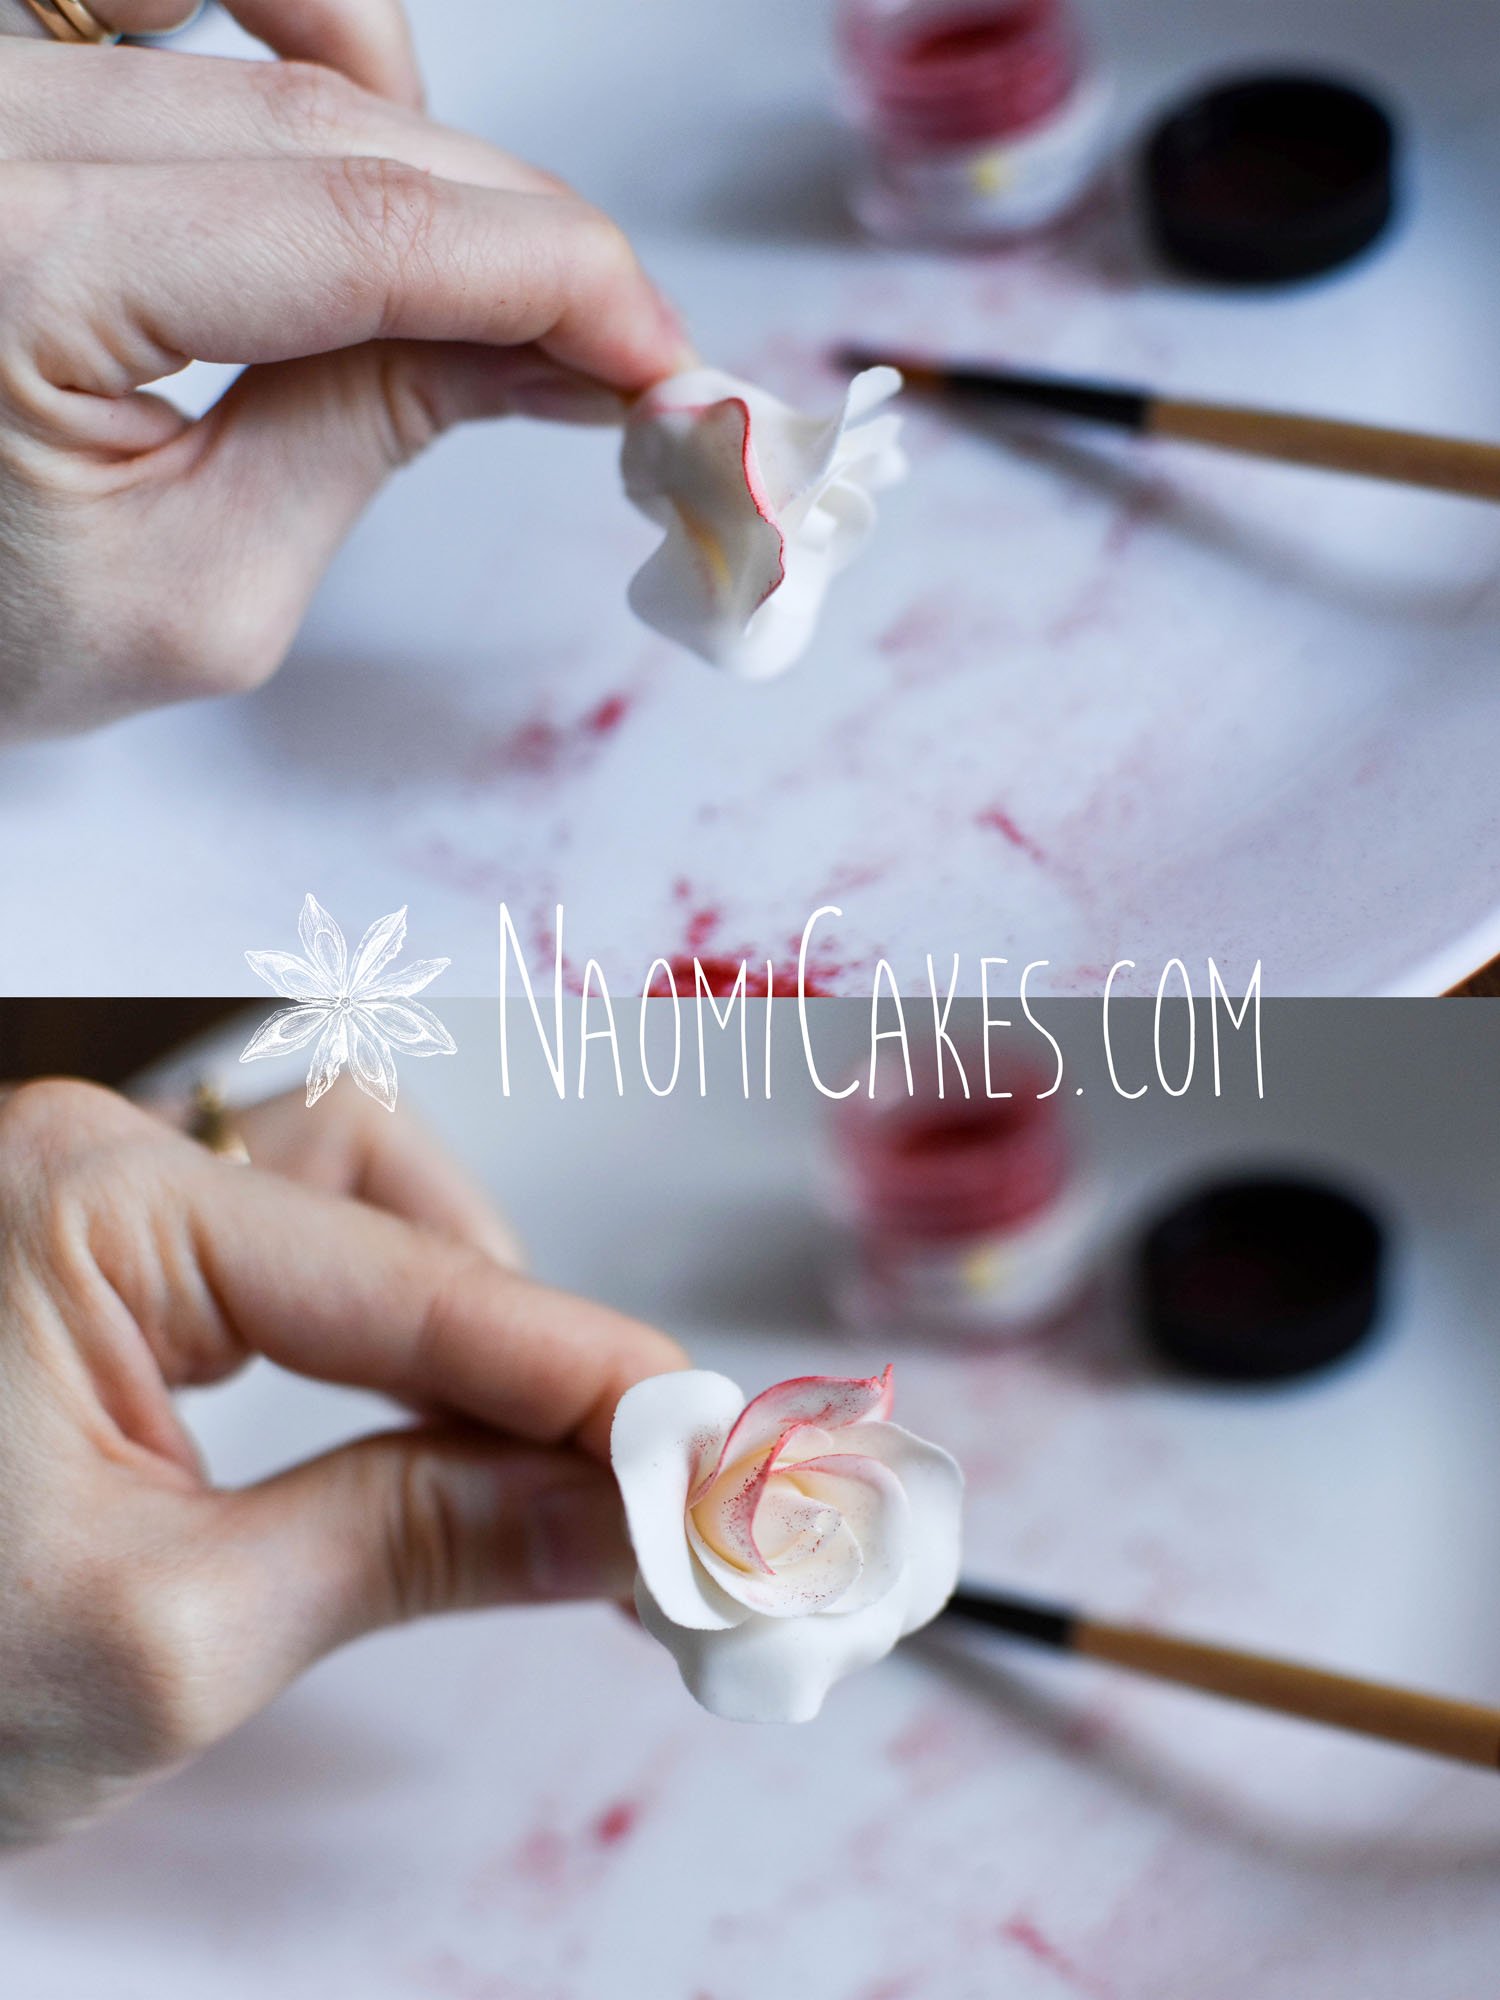
For bright red petal tips:
-
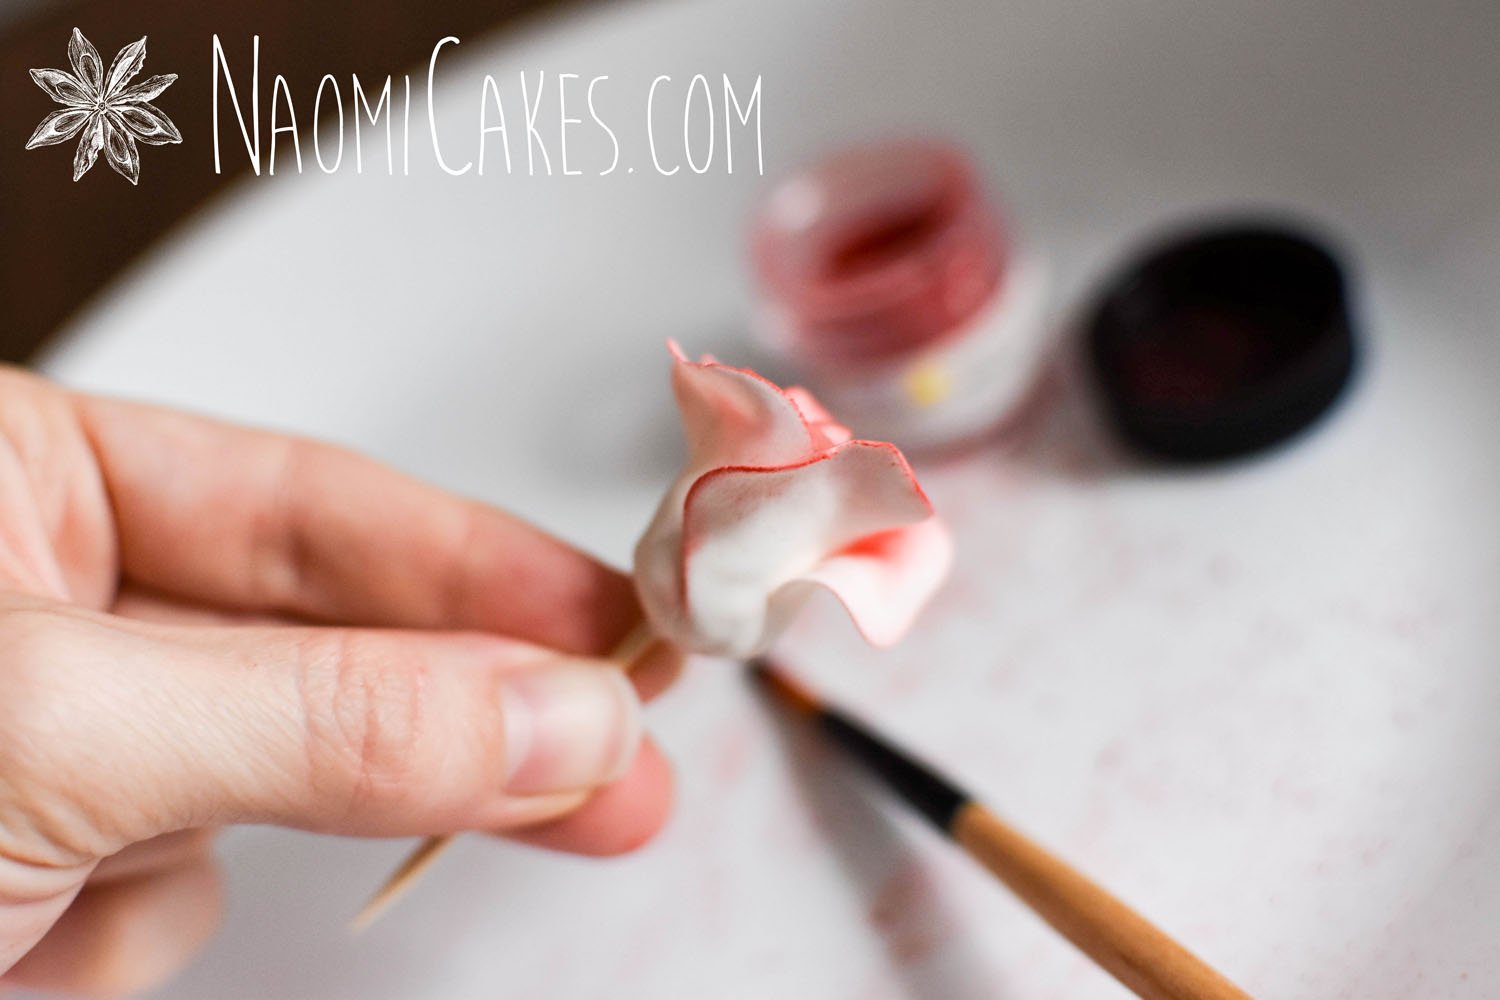
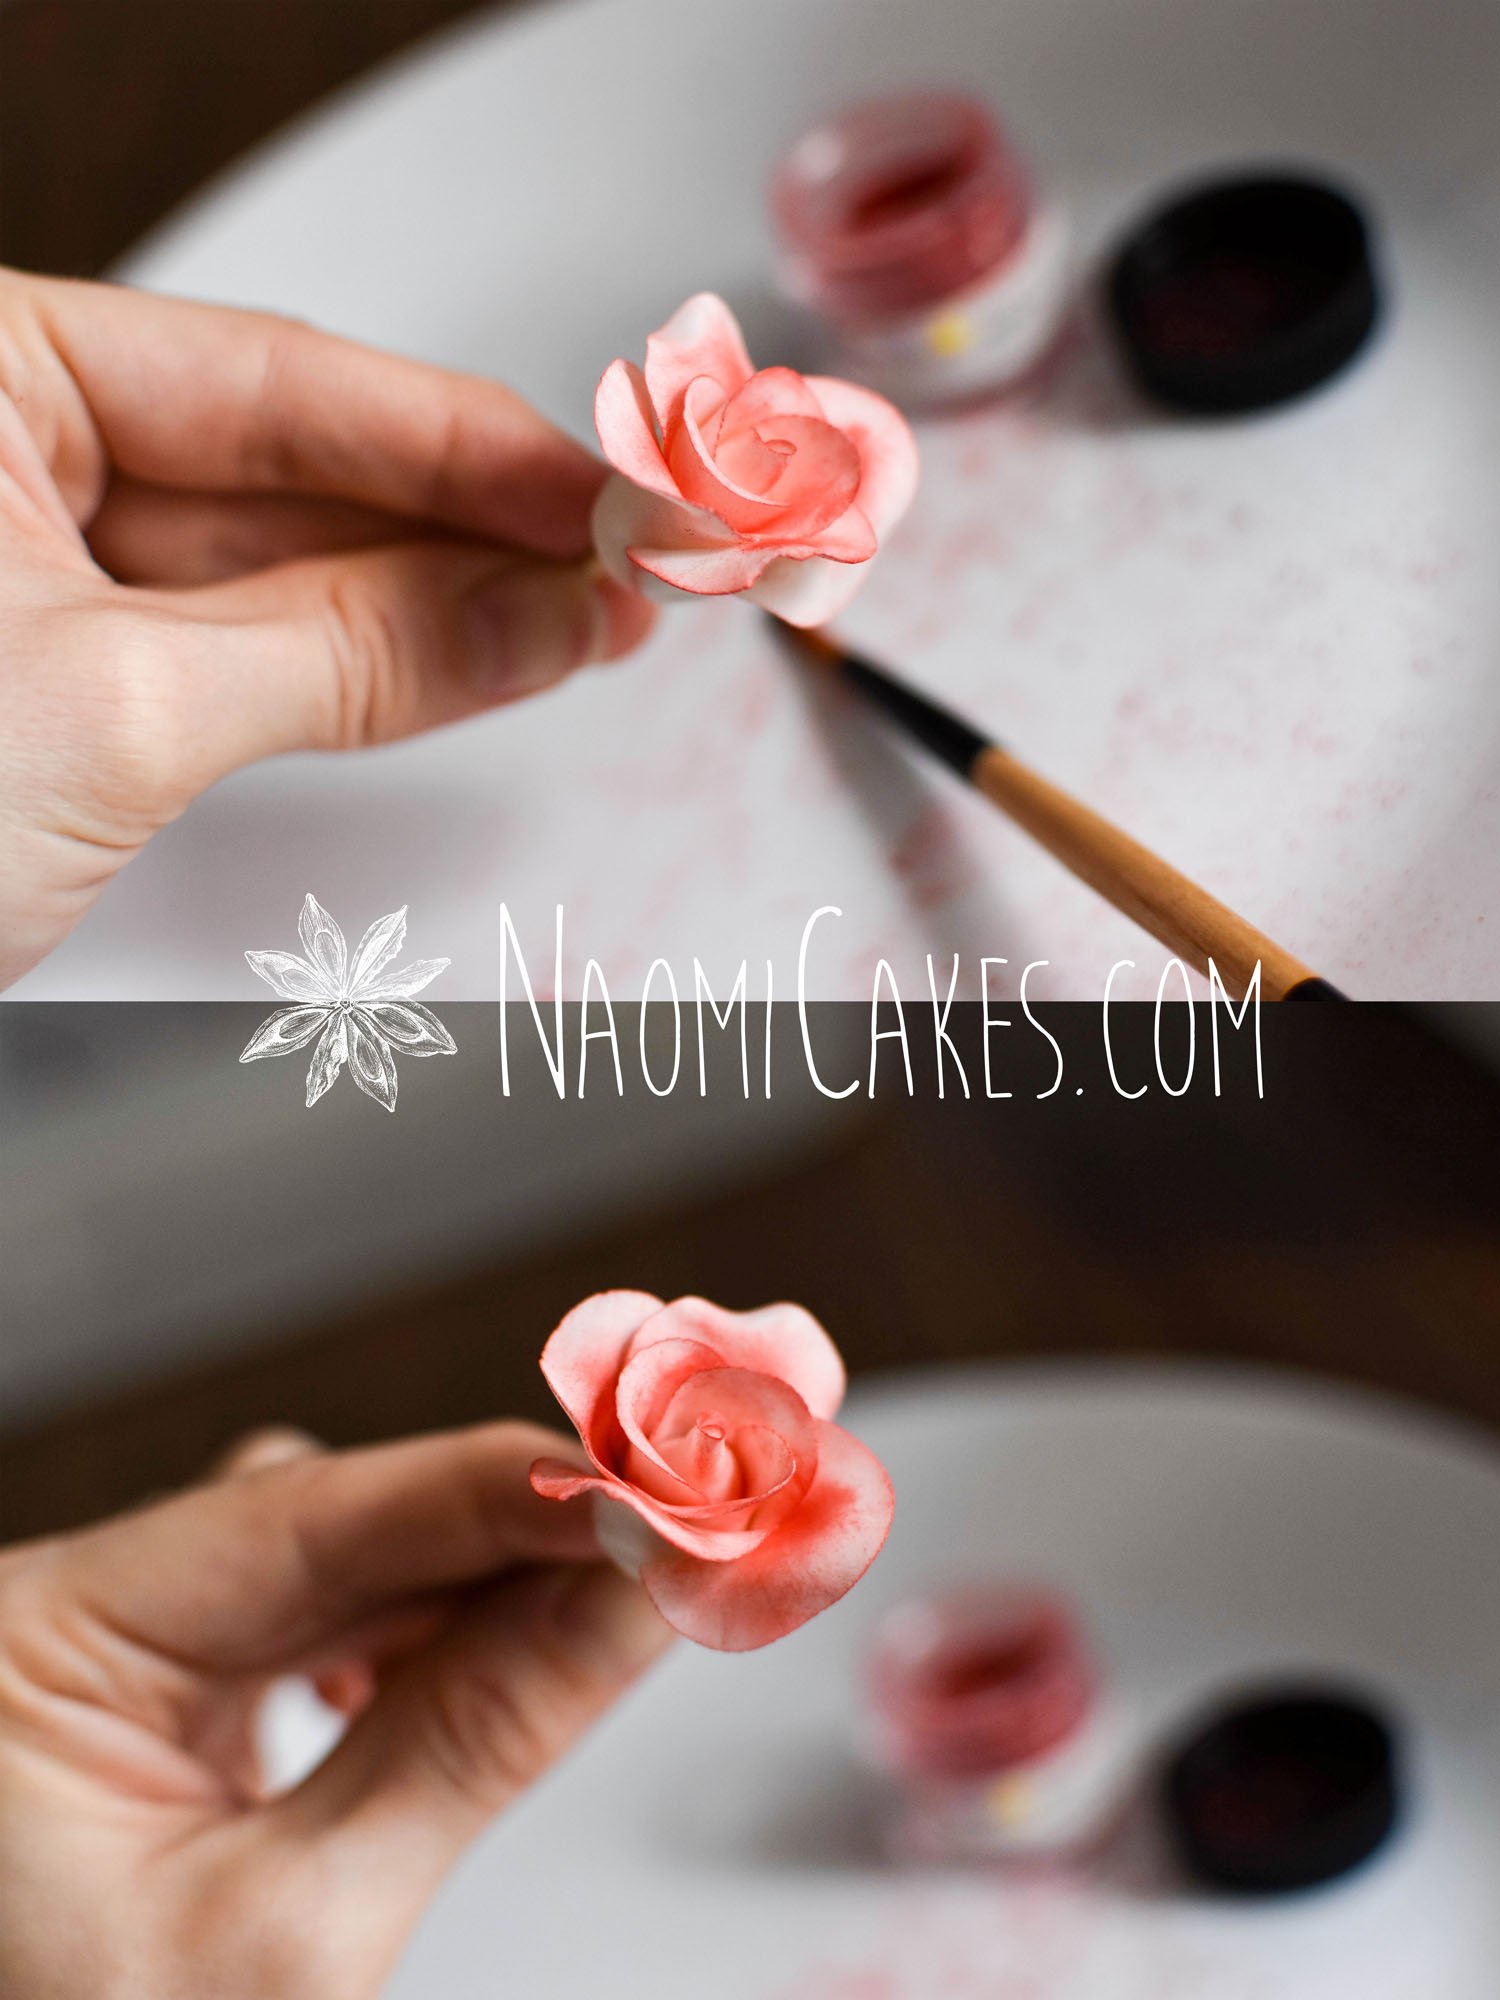
Dip your paint brush into the petal dust colour, and tap to remove excess. Guide the brush along the edge of the first row of petals, working from the outside in toward the centre. Tap out the excess dust frequently.
-
Use the brush to gently spread the colour from the edges toward the inner petals, being careful not to add too much colour, creating a soft tint toward the center of the flowers.
Recipe Notes
Tip: To protect yourself from using too much color, you can mix the petal dust with a little bit of cornstarch to make it go further, and to soften the effect of the color on the flower petals. This makes it easier to add color without over-doing it.

For a bold (bright/vibrant) rose colour:
Here’s how to get a bold, darker color for your gum paste roses:
- Set a large plate in front of you on a clean work surface. Gather together your other supplies.
- Begin by dipping your paint brush into the petal dust, and “dust” the center of the flower (the middle rose petals), spreading the colour evenly. Work your way out to the outside petals. Turn it over, and paint the back of the rose with petal dust.
- Periodically as you work, you will want to gently tap the base of the rose, holding it upside down over the plate, to release stray bits of dust that you don’t need (or use the brush to guide them away). Don’t worry about this being perfect until you are putting the last bits of colour on, however – The main reason to do it periodically is so that you can re-use whatever petal dust falls down onto the plate.
For bright red petal tips:
Here’s how to get beautiful, textured color on your roses for a realistic and gorgeous look:
- Dip your paint brush into the petal dust colour, and tap to remove excess. Guide the brush along the edge of the first row of petals, working from the outside in toward the centre. Tap out the excess dust frequently.
- Use the brush to gently spread the colour from the edges toward the inner petals, being careful not to add too much colour, creating a soft tint toward the center of the flowers.
Tip: To protect yourself from using too much color, you can mix the petal dust with a little bit of cornstarch to make it go further, and to soften the effect of the color on the flower petals. This makes it easier to add color without over-doing it.
That’s it! It’s really pretty simple once you get the hang of it!
My only recommendation now is that you wipe down your table with a damp cloth before taking a wash cloth to it… Your table might look clean, but after all of that fine powder has been flying around… This is what your paper towel will probably pick up:
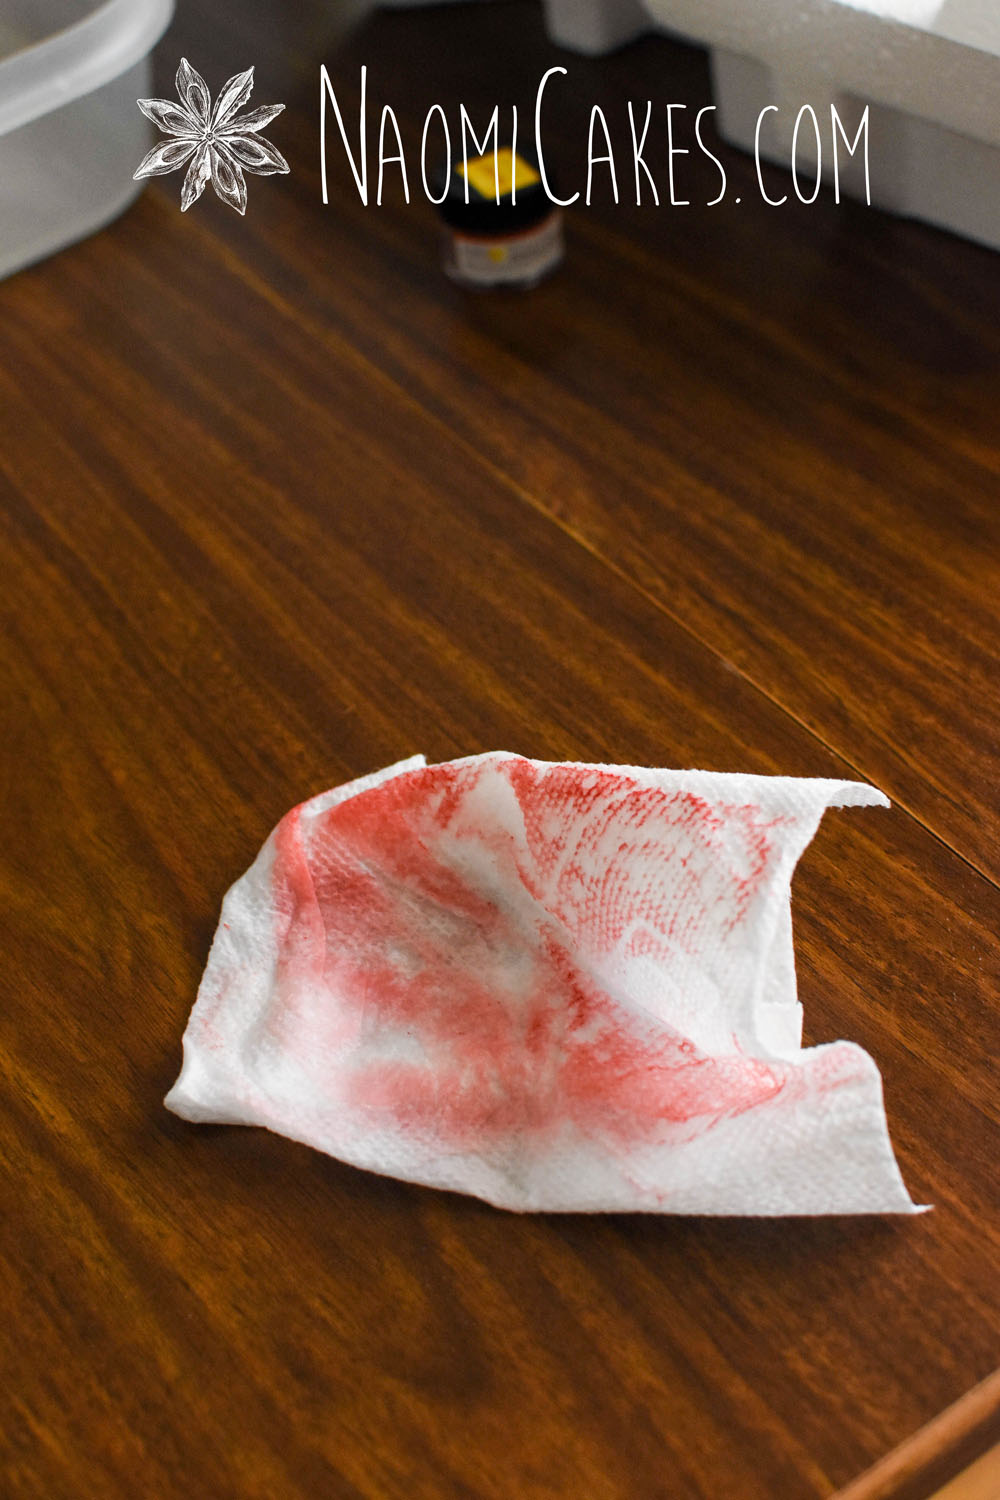
Yikes! Also, in case you missed in in my “You will need” section – here’s my last tip: wear an apron or clothes you don’t mind getting slightly “dusted.” I don’t usually have (too much?) trouble with this, but… Just in case. These are bold colors, and they will spread around!
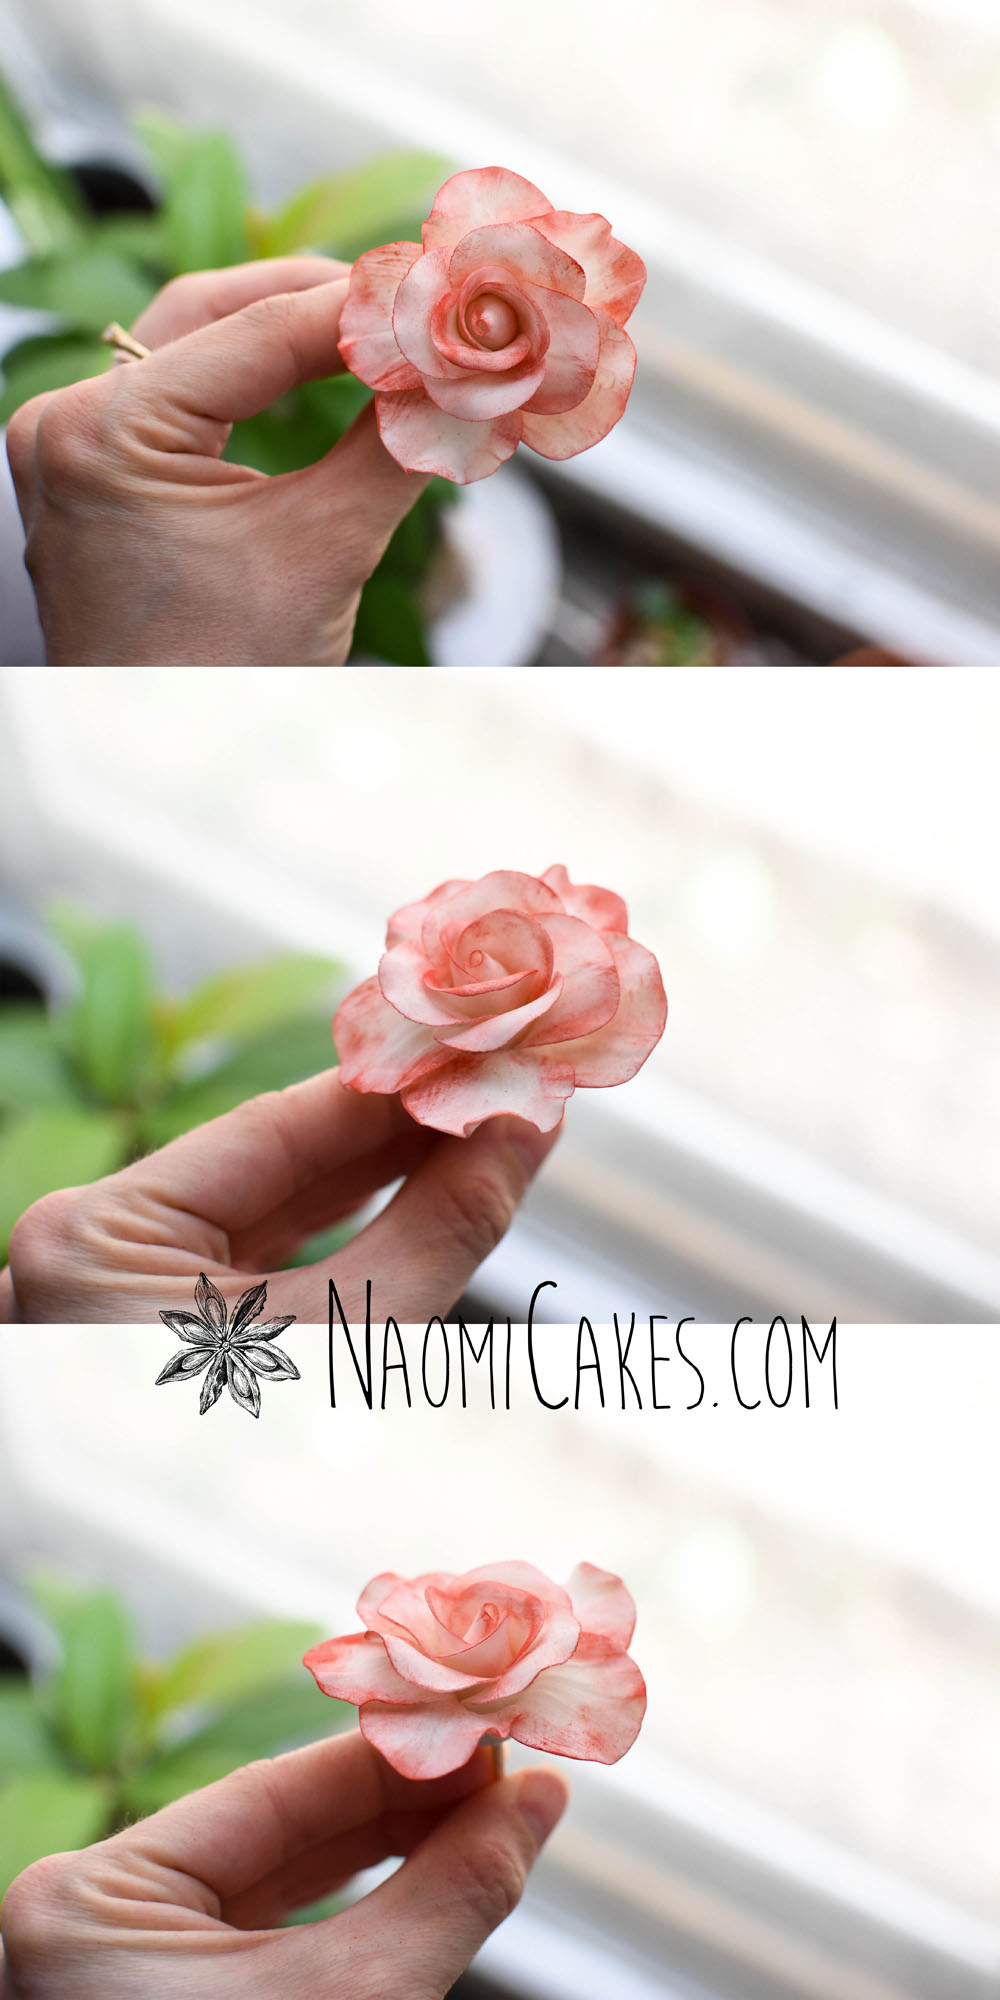
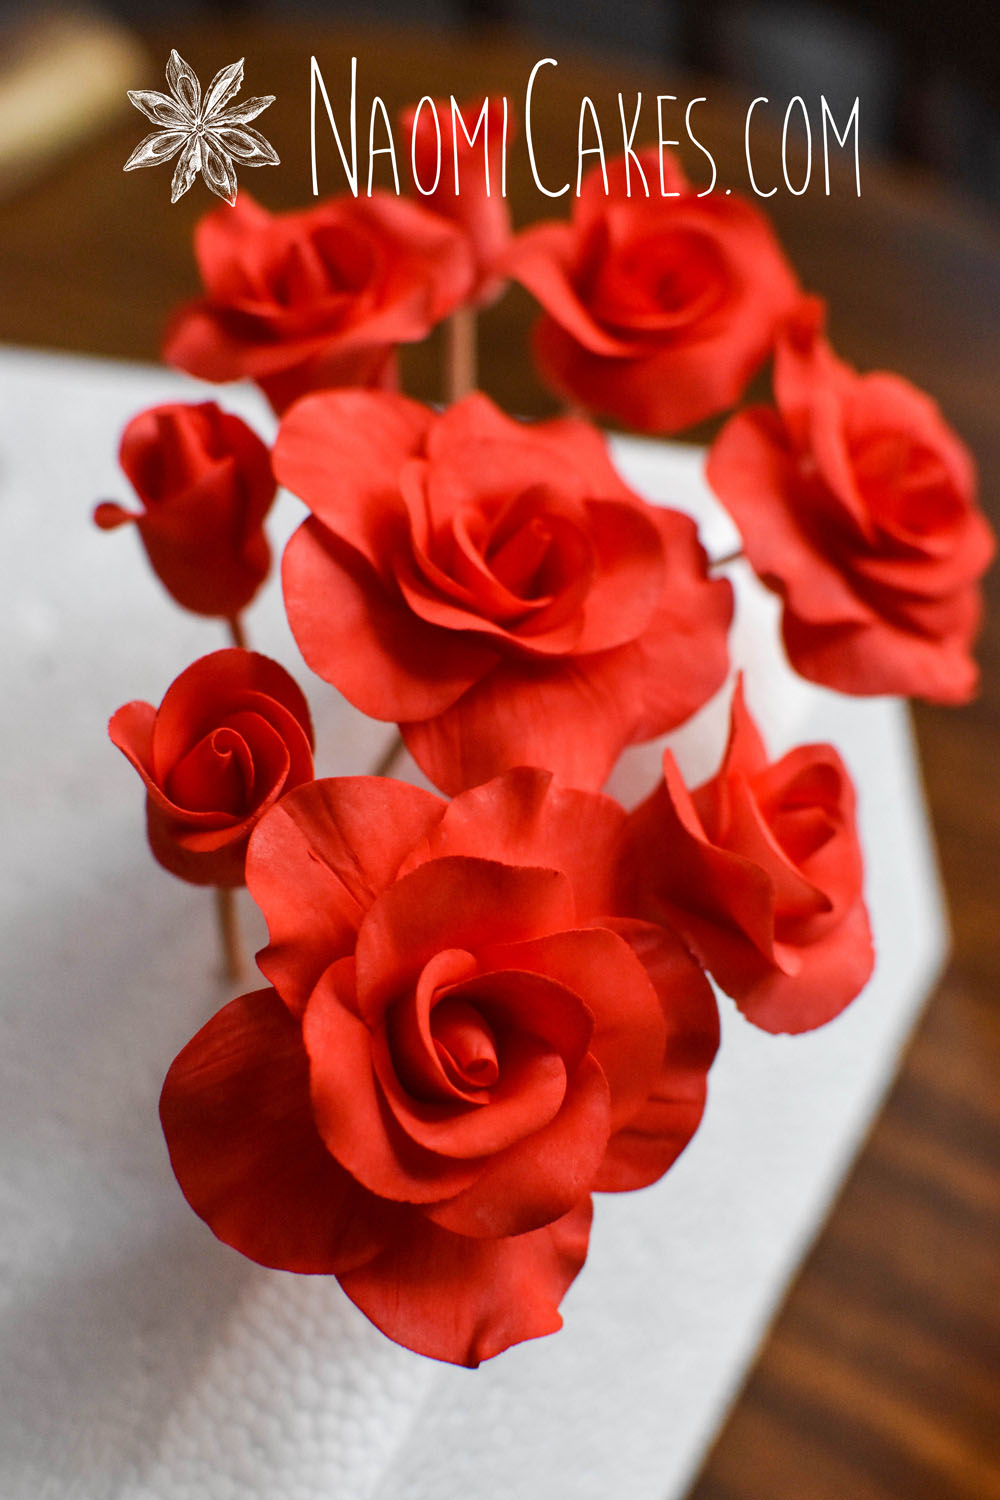
The final product:
A quick video:
Before I go, I wanted to share an old video you with you. This is from years ago; I was making red roses for a family member, and my sister decided to film it and make a little video. So, here I am – many years ago, practicing this very technique!
You’ll notice that I periodically “blow” on the rose centre – this is just a faster way of dealing with excess dust, which I did not recommend in this post because… You know. Germs and things. (This cake was for family in a pre-covid world. Things were different back then.)
I hope you enjoyed this rose series! Please let me know if you have any questions or requests for future cake decorating tutorials… I would love to see what you have in mind!
Back soon!
Naomi
This post contains affiliate links.