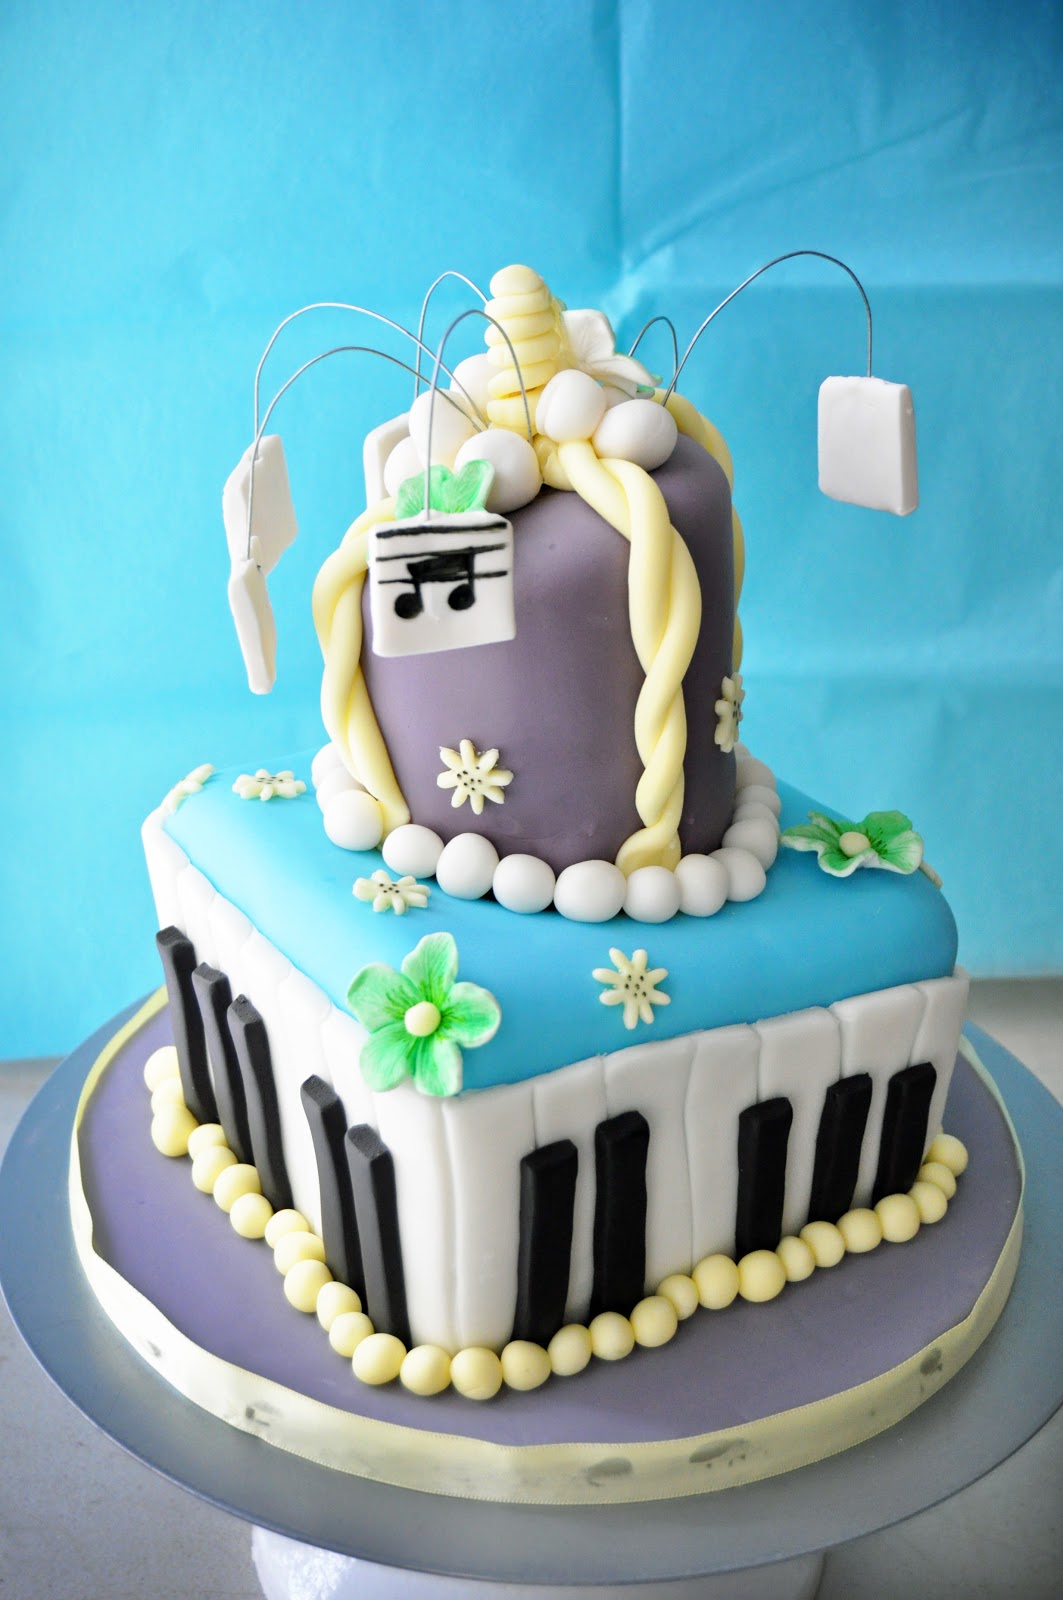
Many of you know my secret identity: I’m a cake decorator by day and a blogger by… other day (and by night). And to those who didn’t know, well, you do now. 😉
As you also may know, this blog was started as a way for me to learn new things. So, often, when someone asks me to make something new, kind of out-of-the-ordinary, or just plain old intimidating, I’ll offer to make it for them at a much lesser cost, and then use that project as an opportunity to expand my knowledge of kitchen-y things, and to take pictures and post them… HERE!
So, here I am! This was just such a project. This cake was made as a birthday surprise, for a young girl who loves music and all things fun and whimsical. I designed the cake to suit her style the best I could, had it approved by her mother, and set to work.
First thing I had to do was make all of the “Extras,” since of course, they needed time to dry before I could use them on the cake.
First I made gum paste flowers, which I dusted with green petal dust and painted with edible green ink in the centers for this look:
Then I made these musical notes out of gum paste, which I let dry onto the ends of long, bendy floral wires. I also made little white balls to use as accents.
Then of course, I baked the cakes. I made mud cake for this one. :] Two 6″ layers, which I split to make a 4-layer 6″ square cake, and then one 8″ square layer, thin, to cut 4″ round layers out of. Like so:
Once the cakes were all trimmed and ready to be filled, I had to use a cake board, cut to be a little smaller than the cake. Then I stacked the cakes with filling, froze them, and then trimmed the frozen cakes to be the proper shape.
You’ll probably get a better idea of this process through pictures… So take a look!
Because the bottom tier had to be a stable support for the weight of the tier on top, I used a circle cutter (same size as I used to cut the top tier layers out) to cut through the top, slanted layer of the square base until I reached the next, straight layer. Then I removed the circle of cake, so that there would be a flat surface for the top tier to sit on, but the rest of the cake still looked tilted… Which gives the illusion of the cake being topsy-turvy.
Once the cakes had been trimmed and were ready to go, they needed to be crumb coated, and then covered with fondant.
And now for the top…
There we go. 🙂
Once that was done, I trimmed some wooden dowels to be the correct height, and inserted them into my little circle cut-out shape to support the weight of the top tier.
Then I stacked the cakes, and used another, longer dowel to put through the whole thing and keep it together. I made this one a little taller than the cake on purpose, since I thought it might be kinda fun to decorate the little post sticking out the top.
And here we go – from no decor to… Some decor to… EVERYTHING! Sorry, I got carried away. So I didn’t get more pictures of that process. 😀
And that’s it!
Hope you enjoyed this run-through of how I made this whimsy cake! Hope you like it. 🙂 And Happy Birthday Mayghan, again. I know your birthday was a while ago (this post has been a while in coming), but it was a pleasure to make this cake for you. 🙂
Back soon!
–Naomi


