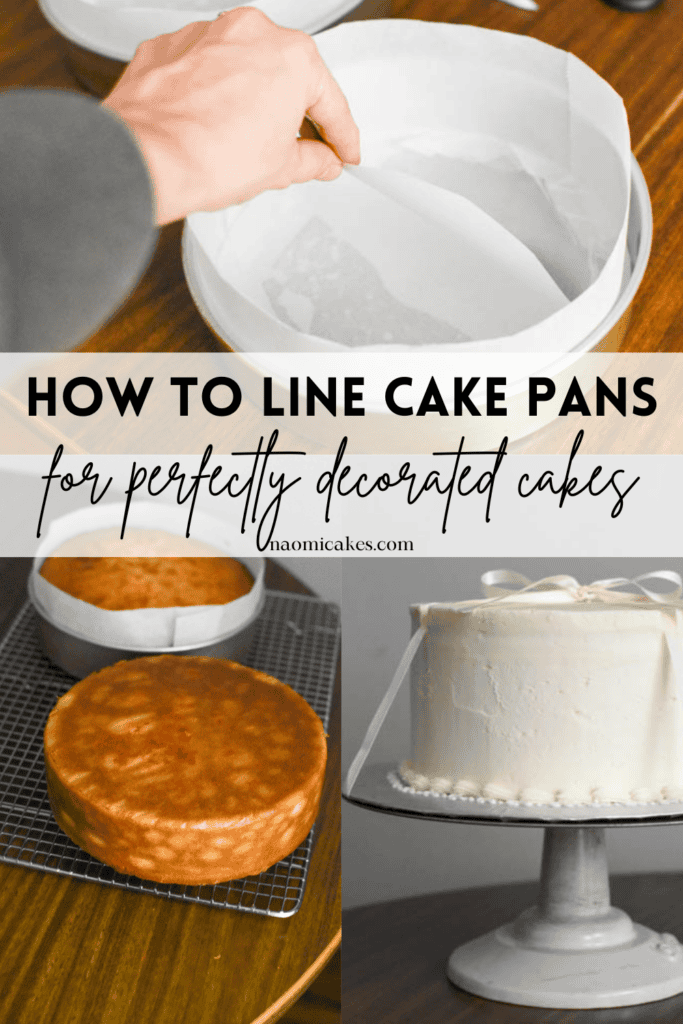
This simple tutorial will show you how to line cake pans with parchment paper for perfectly crisp edges and beautiful, clean frosted cakes. If you’ve been wondering how to keep your cakes from breaking when you take them out of the pans, how to keep them clean when you frost them, or how to get those nice tall cakes with straight edges – this tutorial is for you!
Why to line cake pans with parchment paper
The main reason is simple: you want to line cake pans with parchment to ensure that the cake comes out of the pan easily and without breaking.
Parchment also provides an extra layer of protection from the aluminum side of the pan, protecting the cake from getting too dark. It also keeps the crumb of the cake from being exposed when you remove the cake from the pan, allowing your frosting to adhere to the cake easily without a crumbly mess.
How to prevent cakes from breaking: line the cake pans!
This easy tutorial is one of the most key tips to keeping your cakes from breaking after they are baked. Here’s my simple 2-step guide on preventing cakes from breaking:
- Line your cake pans with parchment paper (as in this tutorial) to ensure that the cakes come out of the pans easily once they are baked.
- Remove the cakes from the pans carefully. To remove a parchment lined cake from the tin, place a cooling rack upside down on top of the cake. Then, using both hands (and hot pads or oven mitts to protect your hands), hold the cake pan and cooling rack together tightly and flip the whole thing over together. Lift the pan off of the cake, and then peel away the paper. Allow the cake to cool on the rack completely.
Are parchment and wax paper the same thing?
No they are not! While parchment and wax paper can be used interchangeably sometimes, I much prefer to use parchment for everything other than working with chocolate (which is a case where wax paper works just as well).
Parchment is a much better non-stick surface in general than wax paper, and its thicker quality makes it much better to add a protective layer between the cake and the hot metal pan you’re baking it in.
The best kind of cake pans to use for cake decorating
You may have noticed that some cake pans seem to have an almost pie-plate-esq. slanted angle on the sides, and others have nice, flat, tall edges. The latter type are cake decorating pans, which are becoming more and more common.
When you are making cakes with tall, straight, angular edges, cake decorating pans are definitely what you’re looking for!
Lining just the base vs. lining the sides and the base
You might be wondering, is it necessary to line both the sides and the bottom of the cake pan with parchment? Well, yes, and no.
While it is true that lining just the base will ensure that the cake will come out of the pan easily, that doesn’t mean it’s the best option. If you line the sides as well as the base of the pan (as in this tutorial), then the cake will also be protected from becoming ragged/crumbly on the sides when it is removed from the tin.
Here’s what I mean: In order to remove a cake that just has the base lined with paper, you would need to slide a knife between the edge of the pan and the cake, which usually tears at the crumb of the cake and shreds up the sides a little bit. This makes frosting the cake much more difficult, and keeping that process clean becomes much harder to accomplish.
That said, if you want cleanly frosted cakes, definitely opt to line both the base and the sides of your cake pans!
Keeping the cake from tearing while frosting
Lining cake pans with parchment paper is the best way to keep a cake from tearing while frosting. Frosting is often thick, and the scraping motion of applying it to the sides of cakes often tears away crumbs, which then get smoothed back onto the cake’s surface. The result of this is usually a very messy (and frustrating) frosting job!
If you want to keep your cakes looking clean, I highly recommend baking your cakes with a parchment lining! Are you ready to learn how to do it? Read on!
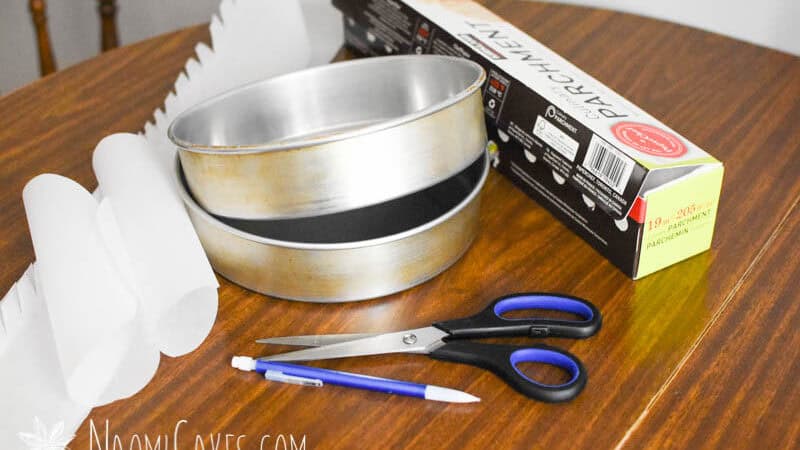
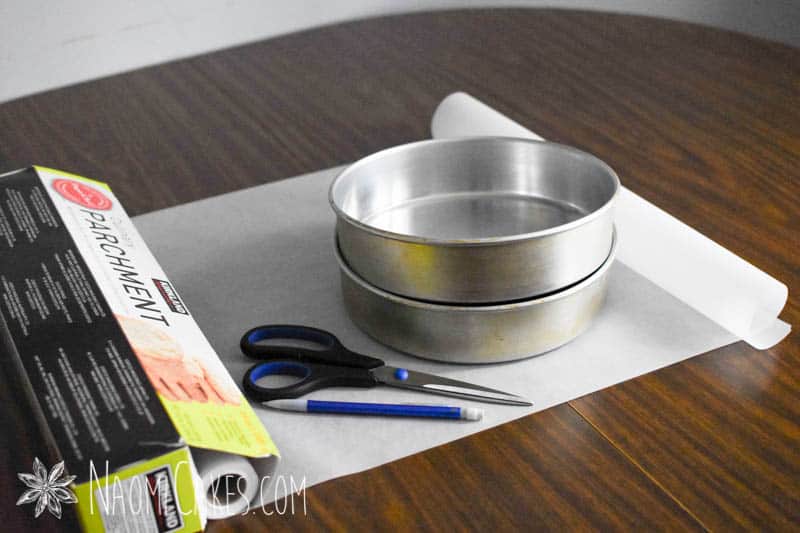
You will need:
- Parchment paper
- Pencil or edible marker
- Scissors
- Cake pans (I’m using 9″ round cake pans)
Printable Tutorial:
How to Line Cake Pans with Parchment Paper
How to line cake pans with parchment paper for easy removal and better decorating!
Ingredients
- roll of parchment paper
- pencil or edible marker
- pair of scissors
- 2 cake pans any shape or size
Instructions
-
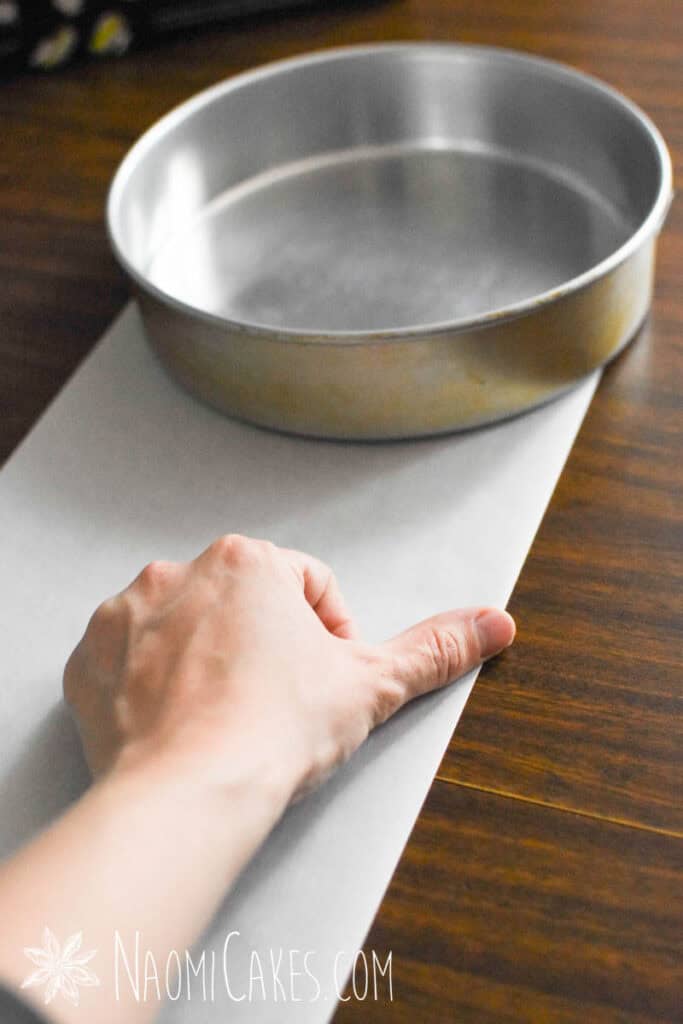
Roll the edge of the cake pan into a long strip of parchment until it makes a complete collar. Cut the parchment to the length of the pan. Set aside.
-
Trace the shape of the base of your cake pan onto another piece of parchment paper twice (once for each pan). Cut out the shapes (in this case, circles) with scissors, and set aside.
-
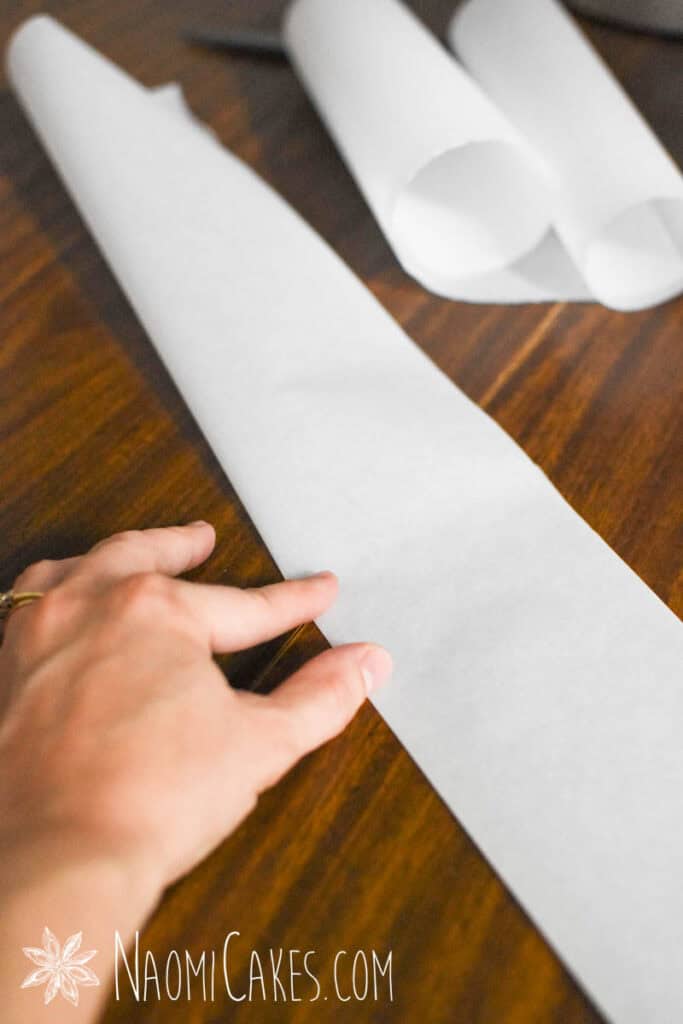
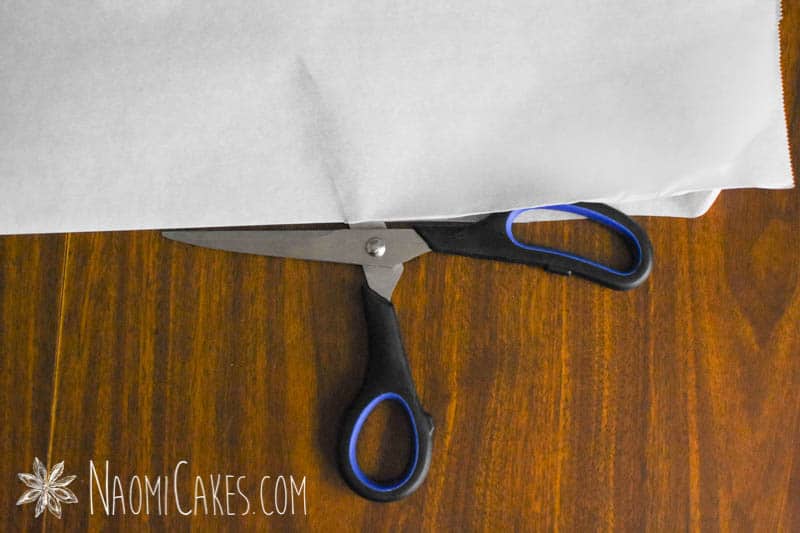
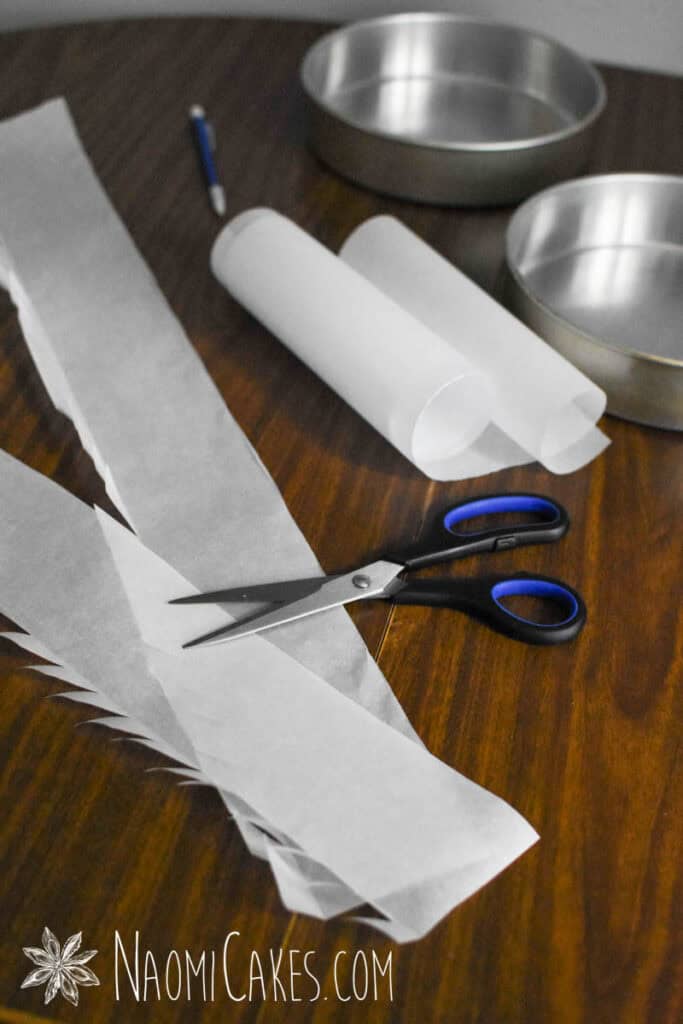
Lay the first piece of parchment that you cut out in front of you. Fold it upwards in half, and then in half again, making 4 long strips of paper with creases between them. Cut along the creases to release the long strips of paper. Set 2 of the strips aside for next time, and continue to the next step with the remaining 2 strips, each the length of your cake pans’ circumference.
-
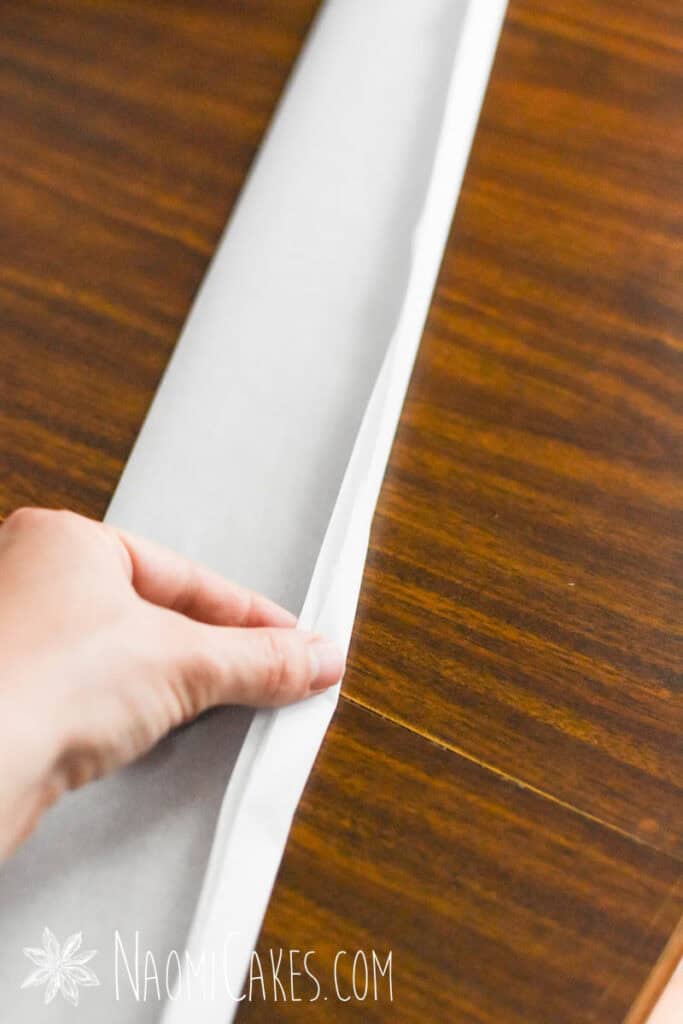
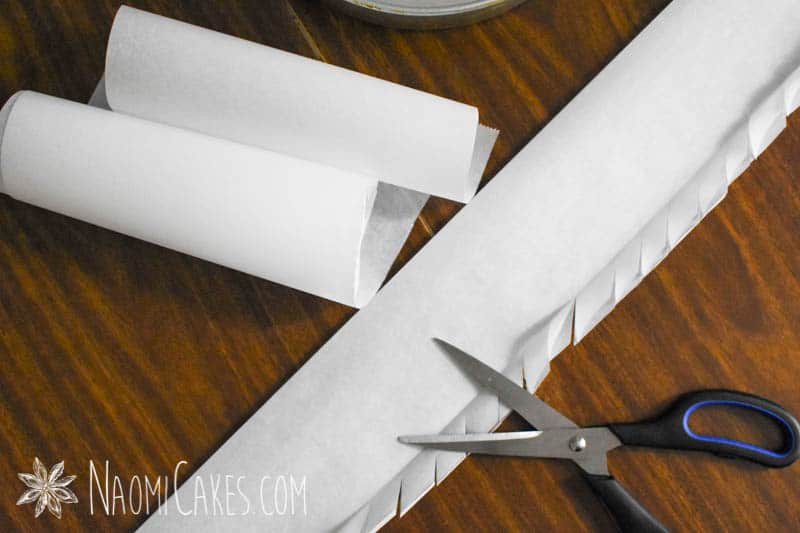
Place the 2 long strips of paper together, and make about a 1/2-inch fold at the bottom of the pieces along the entire length of the strip. Unfold the paper, and use a pair of scissors to cut diagonal slits, about 1/2-inch apart, along the entire length of the strip up to the creased line.
-
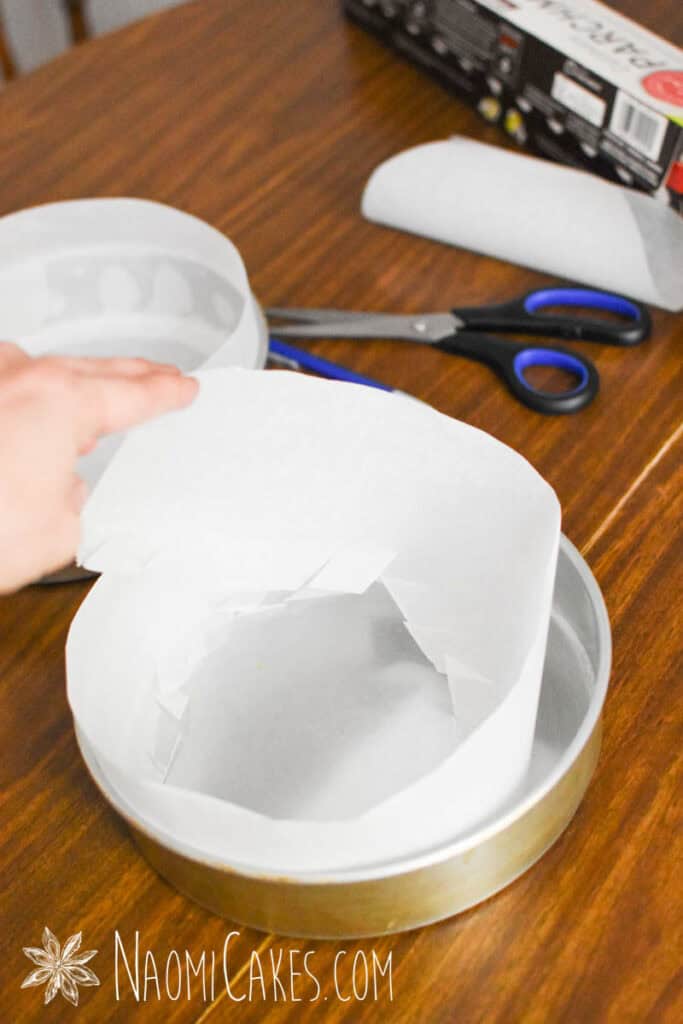
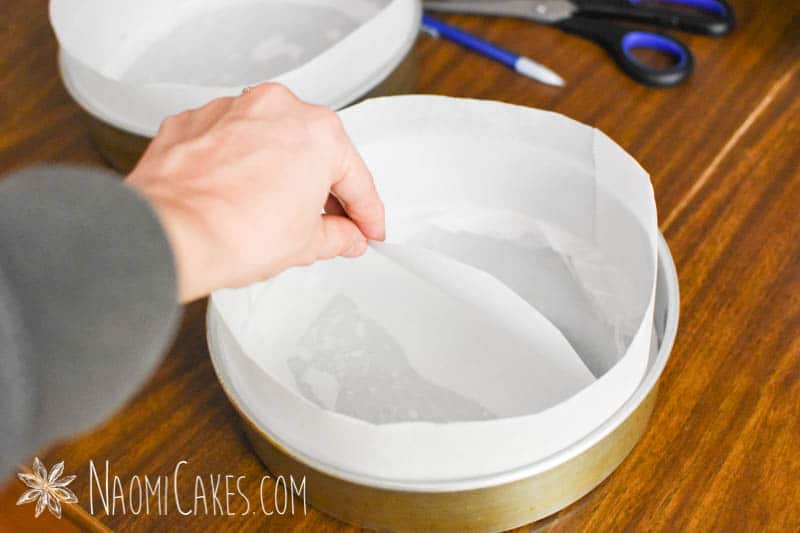
Grease your cake pans with a bit of baking spray, and lay the long strips, slit side down, into the pans, with the slits sitting flat on the bottom and the edges sitting flat against the sides. Set the second piece of parchment that you cut into the bottom of the pans and press them neatly into place.
-
Pour the cake batter into your prepared pans as directed by your recipe.
-
Bake the cakes as directed by your recipe.
-
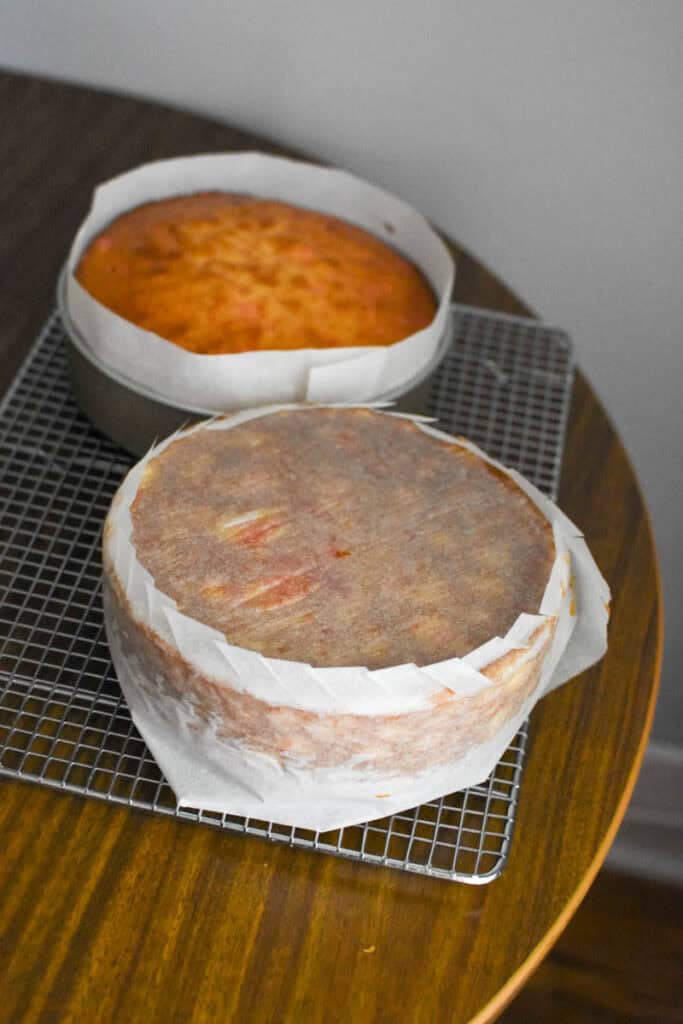
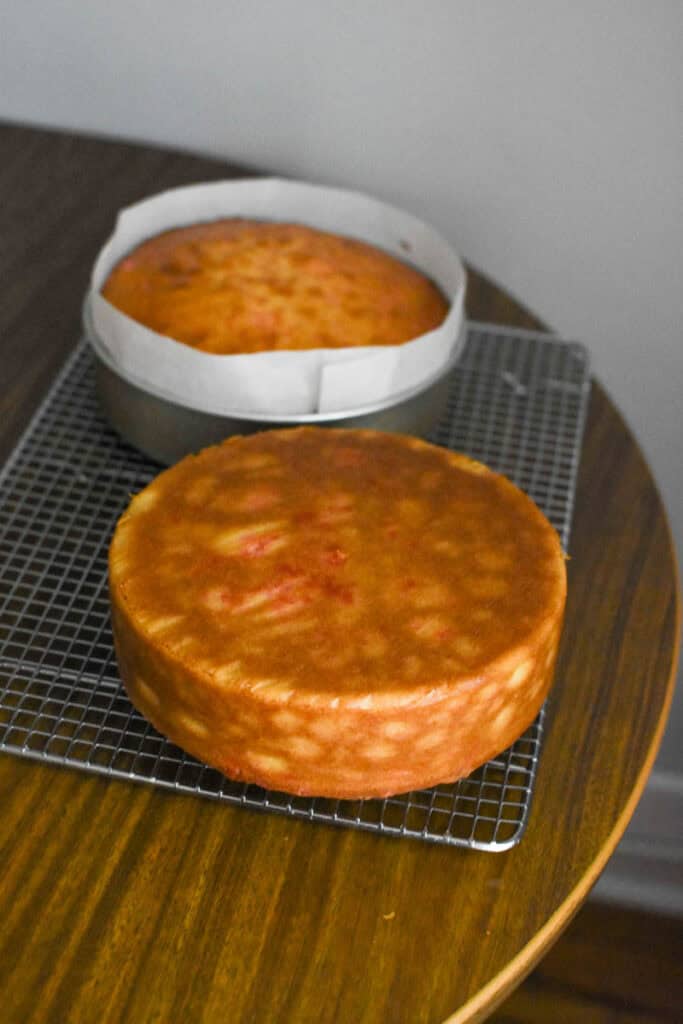
Once the cakes have been baked, remove them from the oven. Allow the cakes to cool in the pans for 10 minutes before removing to wire racks. Invert the cakes onto the racks, remove the pans, and then gently peel away the paper. Cool the cakes completely before use.
How to Line Cake Pans with Parchment Paper
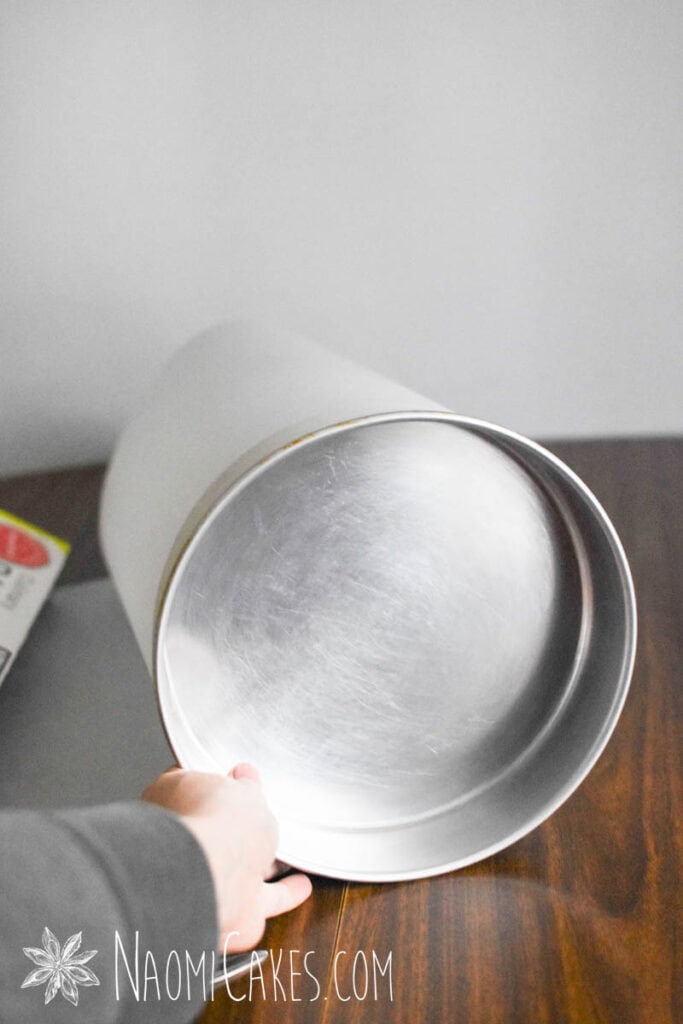
1 – Measure the pans
Roll the edge of the cake pan into a long strip of parchment until it makes a complete collar. Cut the parchment to the length of the pan. Set aside.
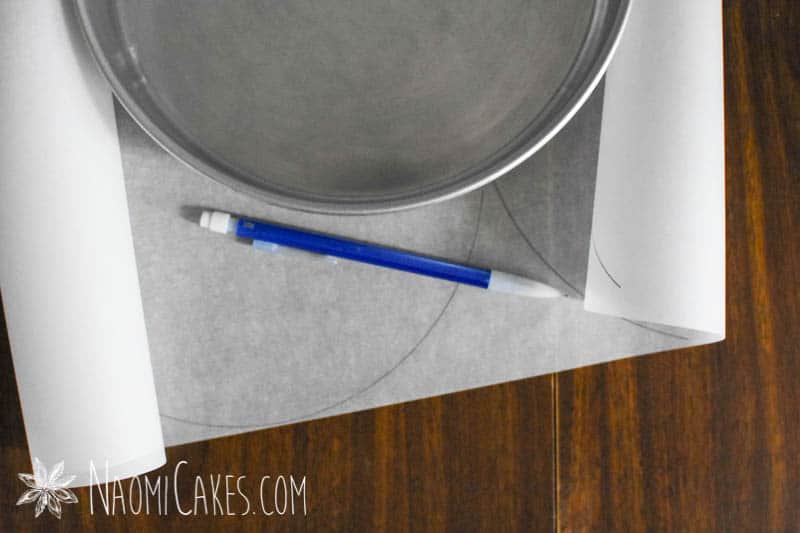
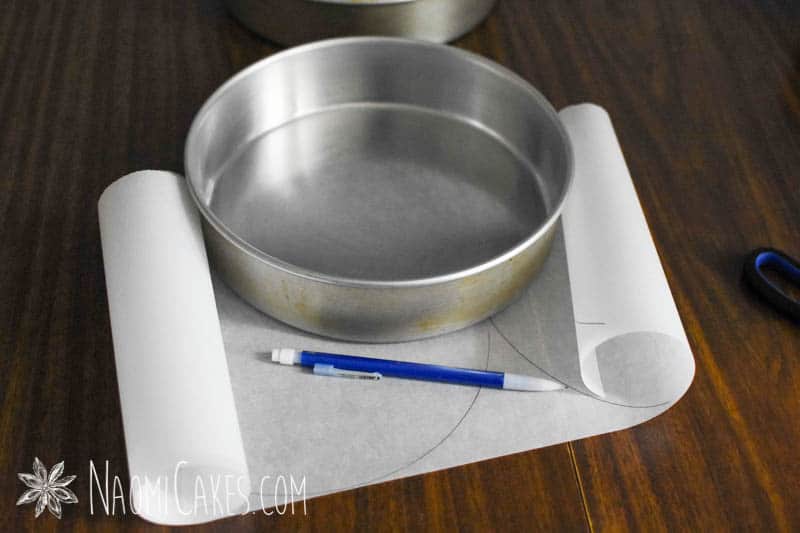
2 – Cut out the base
Trace the shape of the base of your cake pan onto another piece of parchment paper twice (once for each pan). Cut out the shapes (in this case, circles) with scissors, and set aside.
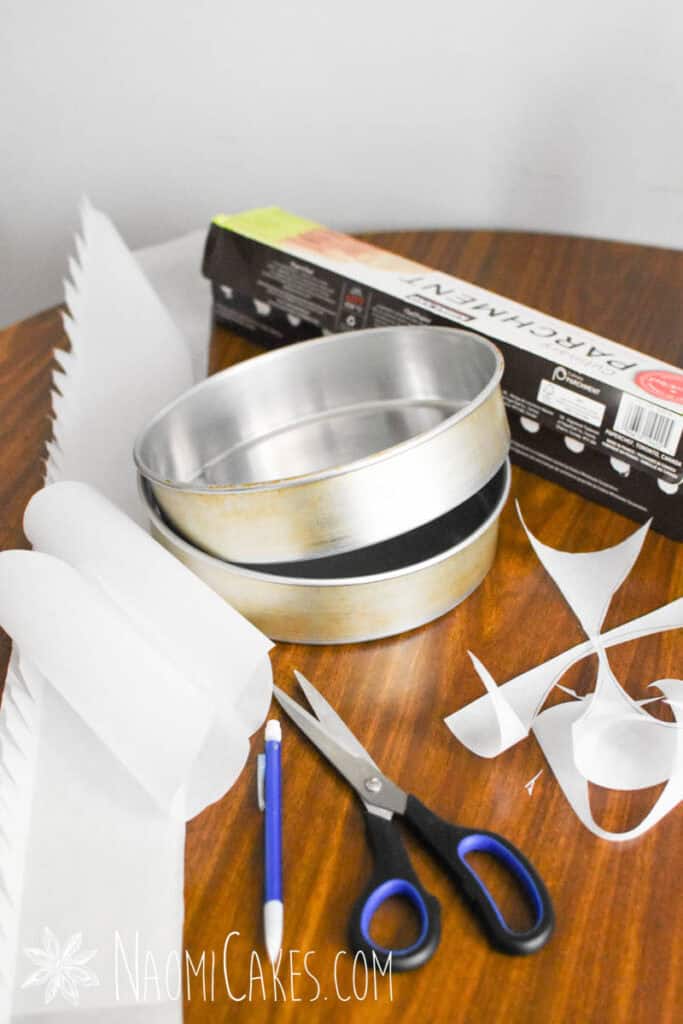
3 – Cut the sides
Lay the first piece of parchment that you cut out in front of you. Fold it upwards in half, and then in half again, making 4 long strips of paper with creases between them. Cut along the creases to release the long strips of paper. Set 2 of the strips aside for next time, and continue to the next step with the remaining 2 strips, each the length of your cake pans’ circumference.

4 – Fold and slit the sides
Place the 2 long strips of paper together, and make about a 1/2-inch fold at the bottom of the pieces along the entire length of the strip. Unfold the paper, and use a pair of scissors to cut diagonal slits, about 1/2-inch apart, along the entire length of the strip up to the creased line.
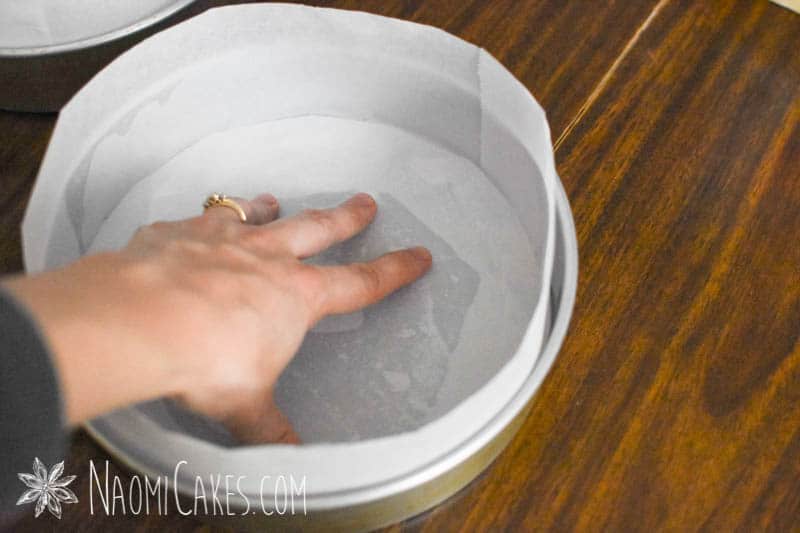
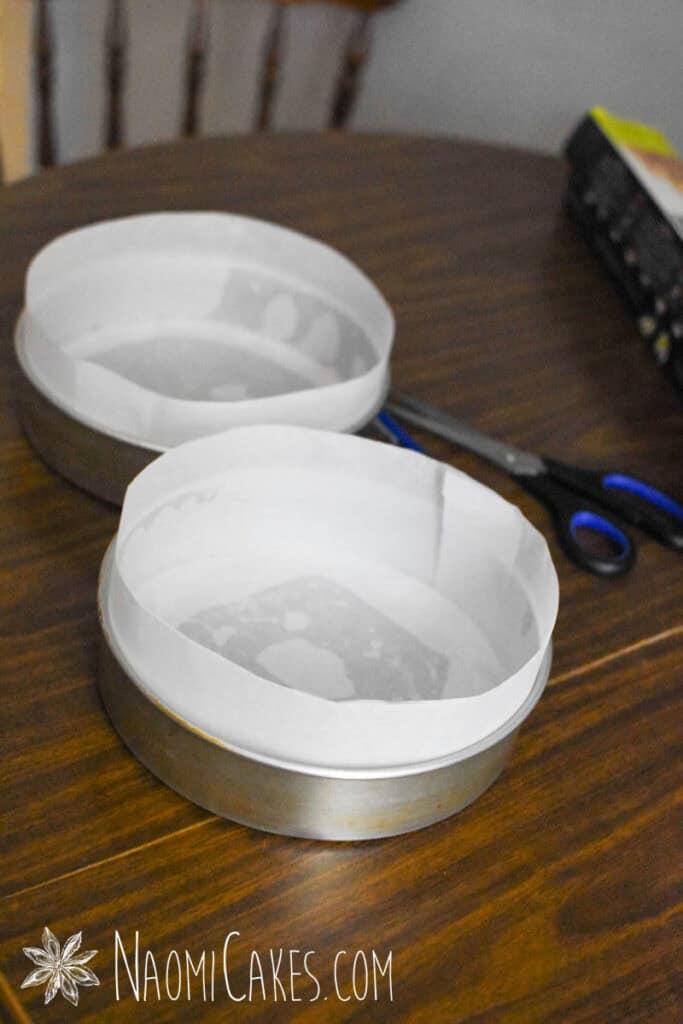
5 – Line the pans
Grease your cake pans with a bit of baking spray, and lay the long strips, slit side down, into the pans, with the slits sitting flat on the bottom and the edges sitting flat against the sides. Set the second piece of parchment that you cut into the bottom of the pans and press them neatly into place.
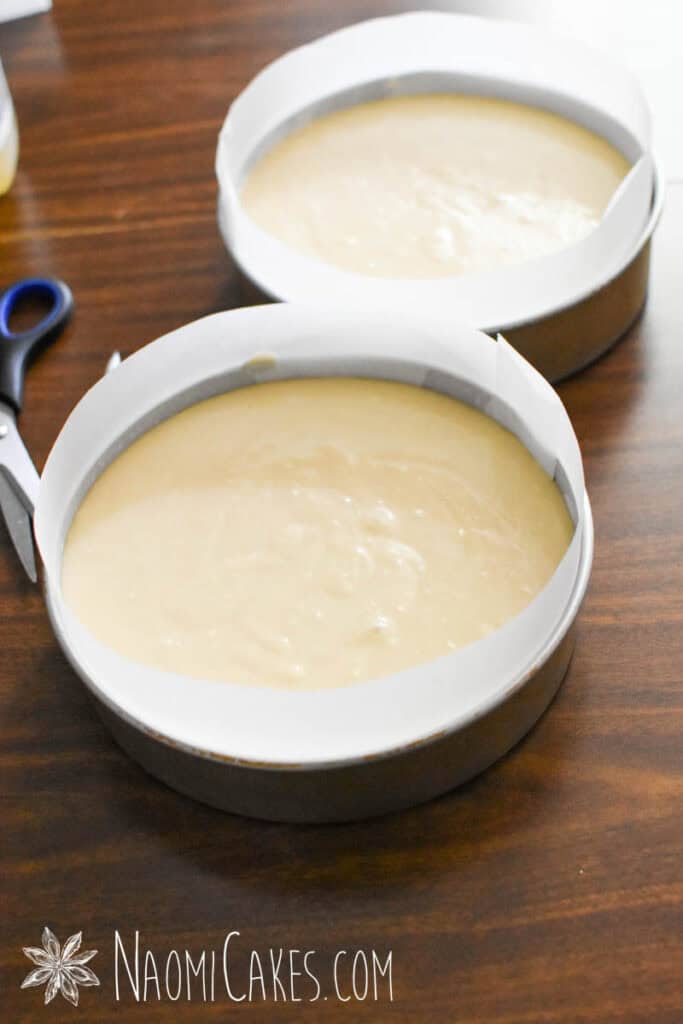
6 – Pour in the cake batter
Pour the cake batter into your prepared pans as directed by your recipe.
7 – Bake the cake
Bake the cakes as directed by your recipe.
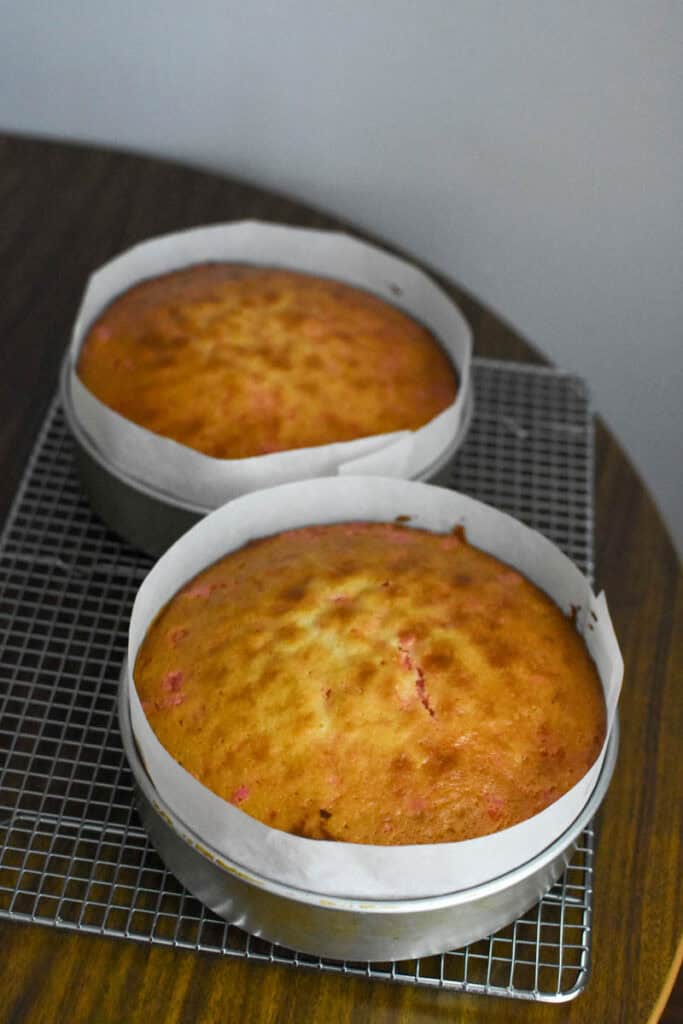
8 – Remove the paper after baking
Once the cakes have been baked, remove them from the oven. Allow the cakes to cool in the pans for 10 minutes before removing to wire racks. Invert the cakes onto the racks, remove the pans, and then gently peel away the paper. Cool the cakes completely before use.
Other cake tutorials to check out:
That’s all for today my friends! I hope you find this tutorial helpful. If you do (and you find that you have the time), leave me a comment below or go ahead and tag me in your project photos on Instagram @naomicakesofficial. I love to know that my tutorials are being used!
I’ll be back soon,
Naomi
This post contains affiliate links.