
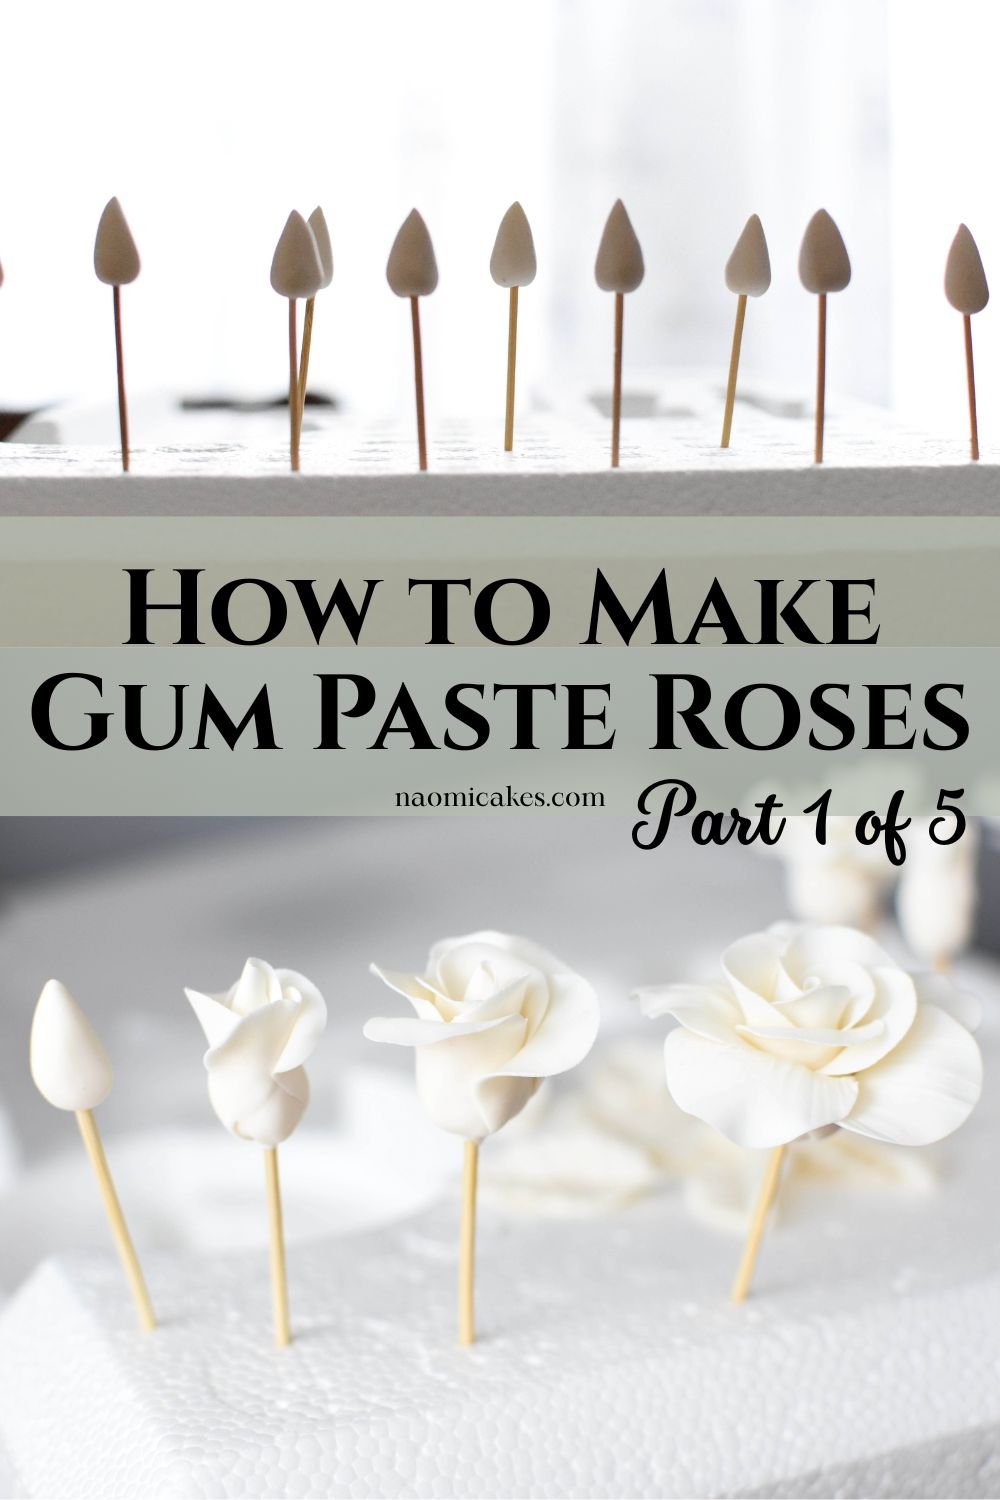
Gum Paste Roses – The Base, Part 1/5 [Tutorial]
Hey everybody! Today I want to start the process of teaching you how to make a simple gum paste rose (an edible, realistic looking rose for decorating cakes). These sugar flowers are one of the most popular flowers for weddings, anniversaries, and much more! They are beautiful edible pieces of art, and they can look pretty intimidating to try to make. However, once you get started, I think you’ll find that they’re not so impossible after all!
The beginning of the process is simple: making the rose base. In this tutorial, I’ll walk you through step 1 of making your own beautiful roses out of gum paste.
What is gum paste?
Gum paste is a type of sugar paste (fondant) made with a special ingredient called gum tragacanth, which allows the dough-like sugar paste to harden when it dries. This soft, pliable icing can be rolled out like dough and cut into flower shapes, making it perfect for creating edible, realistic looking sugar flowers.
The best gum paste to use
If you’re wondering if I have a gumpaste recipe, the answer is yes – but I never use it! Honestly, the convenience of buying gum paste pre-made is so much nicer than making my own, so I tend to just pick it up from the store.
I have tried several great kinds of gum paste, but my current favorite (and locally available) gum paste is this one from Satin Ice. I have also used the Wilton gum paste as well with good success (great workability). Since I find that one to have a slightly chemical smell, however, I tend to avoid it if I can.
Making gum paste roses the easy way
What makes these roses “easy,” you ask? Simply put, it’s the way they are built. I’m going to teach you how to build the roses on toothpicks (instead of wiring them). Trust me – this is a simpler way to start as a beginner! Also, once you get this down, learning to wire your roses will be much easier.
After you master this technique, it should be pretty easy to expand your skills into the “Roses on stems with calyxes and leaves” realm. In fact, who knows? Maybe if I get enough requests, I’ll even post another tutorial to teach you how to wire the flower stems with floral tape myself! But I’ll have to hear from you before I do that – so let me know in the comments what you want to see on here next!
The first step: how to make gum paste roses
The first step of making gumpaste roses is the easiest, by far. It takes only a couple of minutes, and you won’t need any special tools (like a ball tool or cell stick). For this part of the tutorial, you’re going to make the rose base. This part is a firm, tear drop shape cone on which to build the next step, a rose bud. From there, you’ll learn medium roses, and then finally, large, full roses after that.
Note: This tutorial will teach you how to make a smaller rose. If you prefer, I have instructions on the recipe card for how to make the base of a larger rose as well.
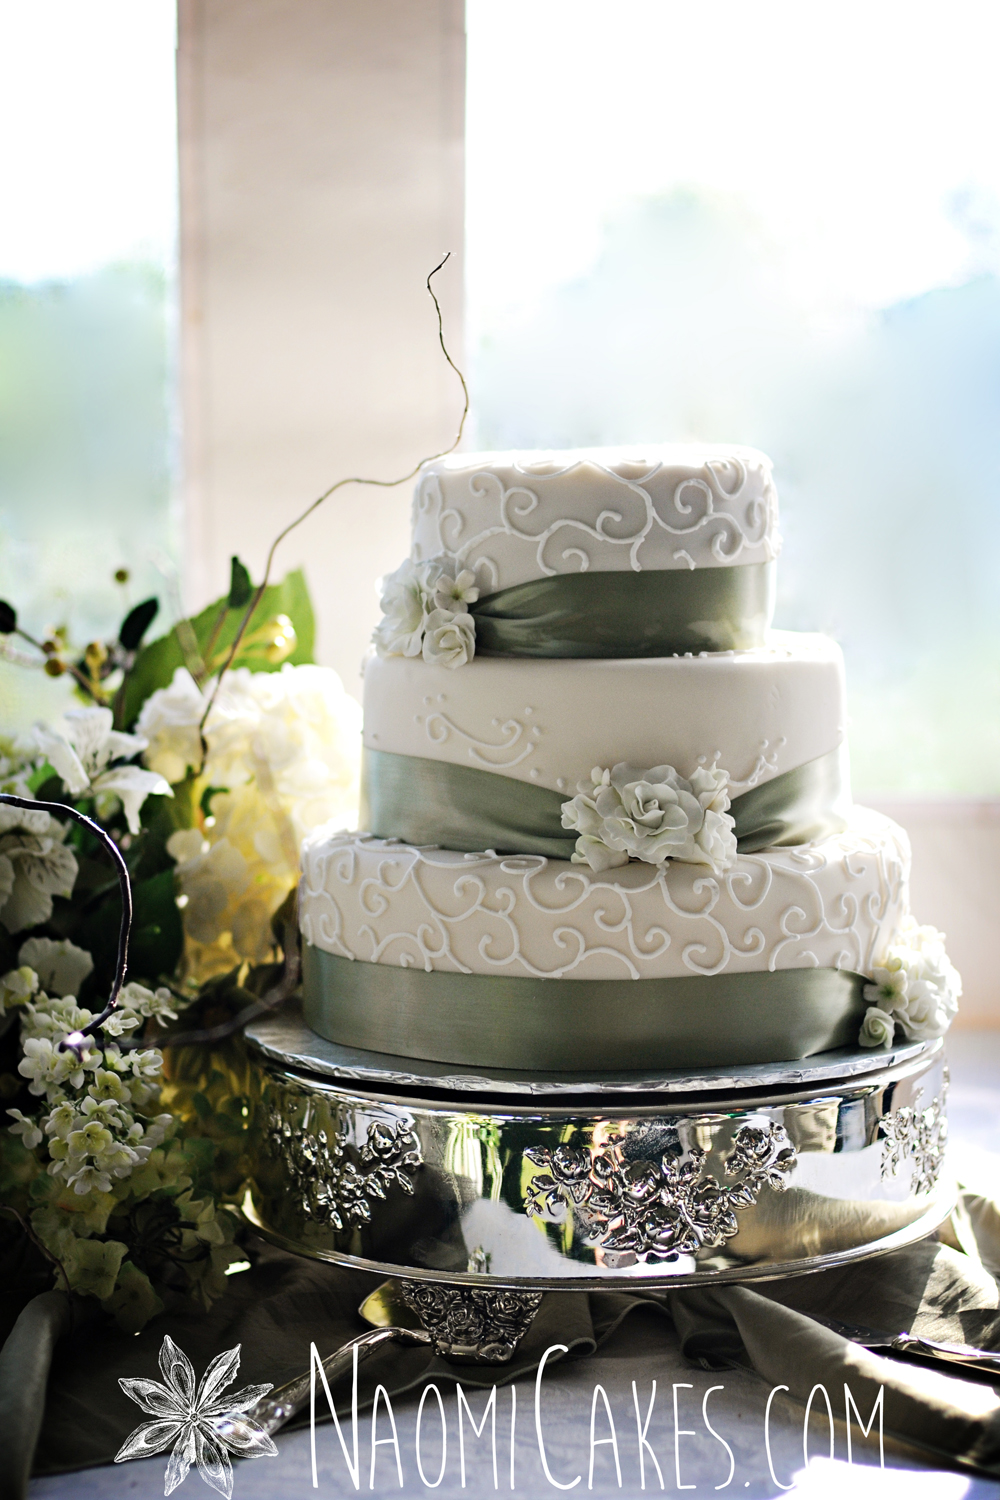
Example of a cake made with roses on toothpicks
If you’re concerned that these roses won’t be as pretty, check out this beautiful wedding cake. These pretty sugar roses will make a beautiful accent to just about any cake. Birthday cakes, weddings cakes, anniversary cakes– you name it! I made this wedding cake with toothpick roses and little gumpaste flowers, tinted just barely green for a fresh flower look:
Should I tint the gum paste before using it?
Honestly, it doesn’t matter too much for this step. If you are making colored roses, you can use a white base or a tinted one with about the same result. To save on time and bother, for the rose base (this step of the tutorial), I usually leave the gum paste white.
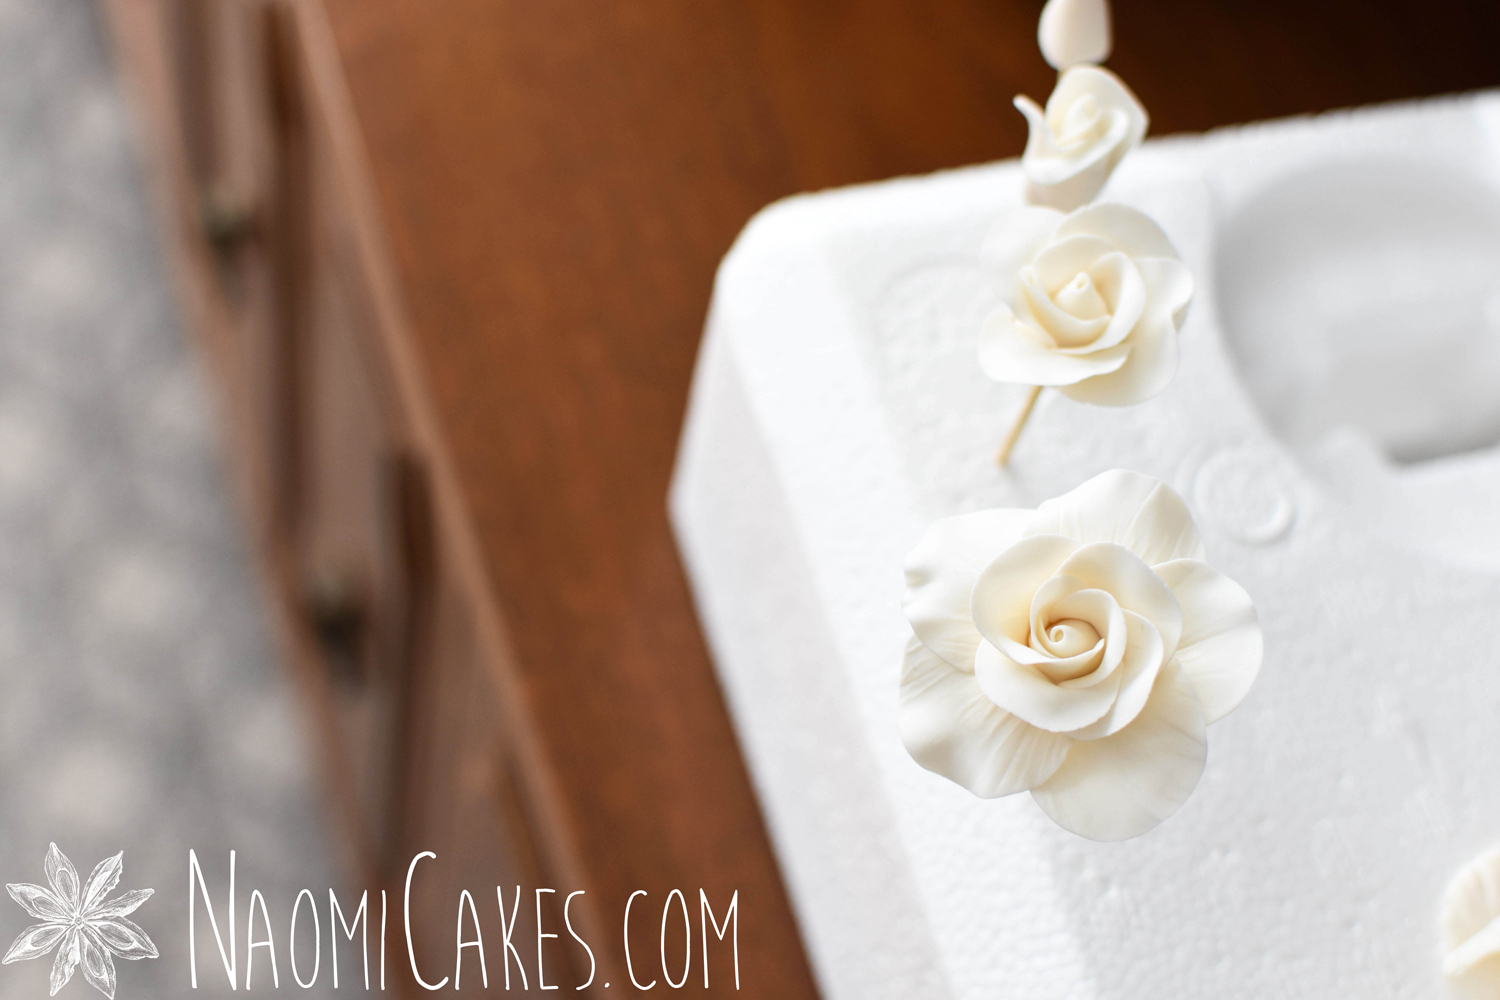
Storing gum paste flowers during and after making them
Gum paste flowers are tricky to store in that they dry out when they are exposed to the air, and they break down when they are exposed to humidity. That said, gum paste flowers need to be fully dried before they are stored, and they need to be stored in a dry, temperature controlled environment (for best results). Gum paste flowers should be carefully stored in an airtight container in a cool, dry place.
You can store fully formed gum paste flowers on top of a clean tea towel in an airtight container, stuck into styrofoam in an airtight container, or gently laid onto clean paper towel in an airtight container. If you need more clarity on what this looks like, I’d be happy to share my details!
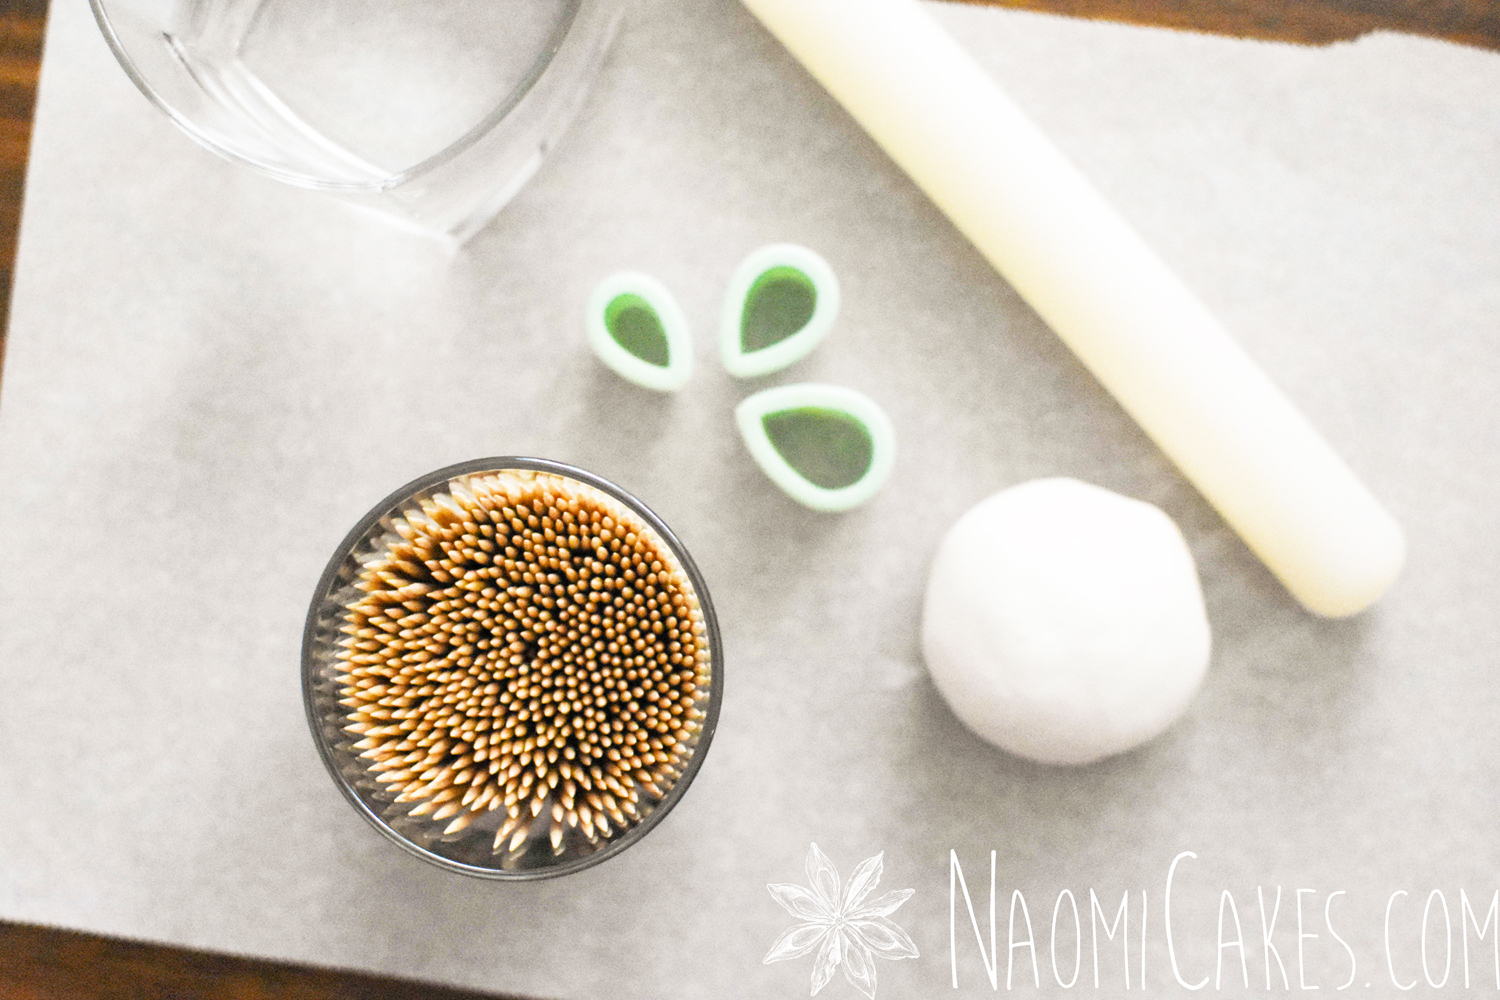
You will need:
- 1 golf-ball sized piece of gum paste
- 1-2 tsp vegetable shortening
- Plastic wrap
- Glass of water
- Small fondant/gum paste rolling pin
- Rose cutters (set)
- 1 piece styrofoam
Gum Paste Rose Bases
This is part 1 of 5 on making gum paste roses @naomicakes.com!
Ingredients
- 1 golf-ball sized piece gum paste (see recipe notes)
- 1-2 tsp vegetable shortening
- plastic wrap
- 1 glass water
- 1 sm fondant/gum paste rolling pin (see recipe notes)
- 3 rose cutters (set) (see recipe notes)
- 1 piece styrofoam
Instructions
-
Smear a clean work surface with a little shortening, and knead the gum paste until smooth and pliable.
-
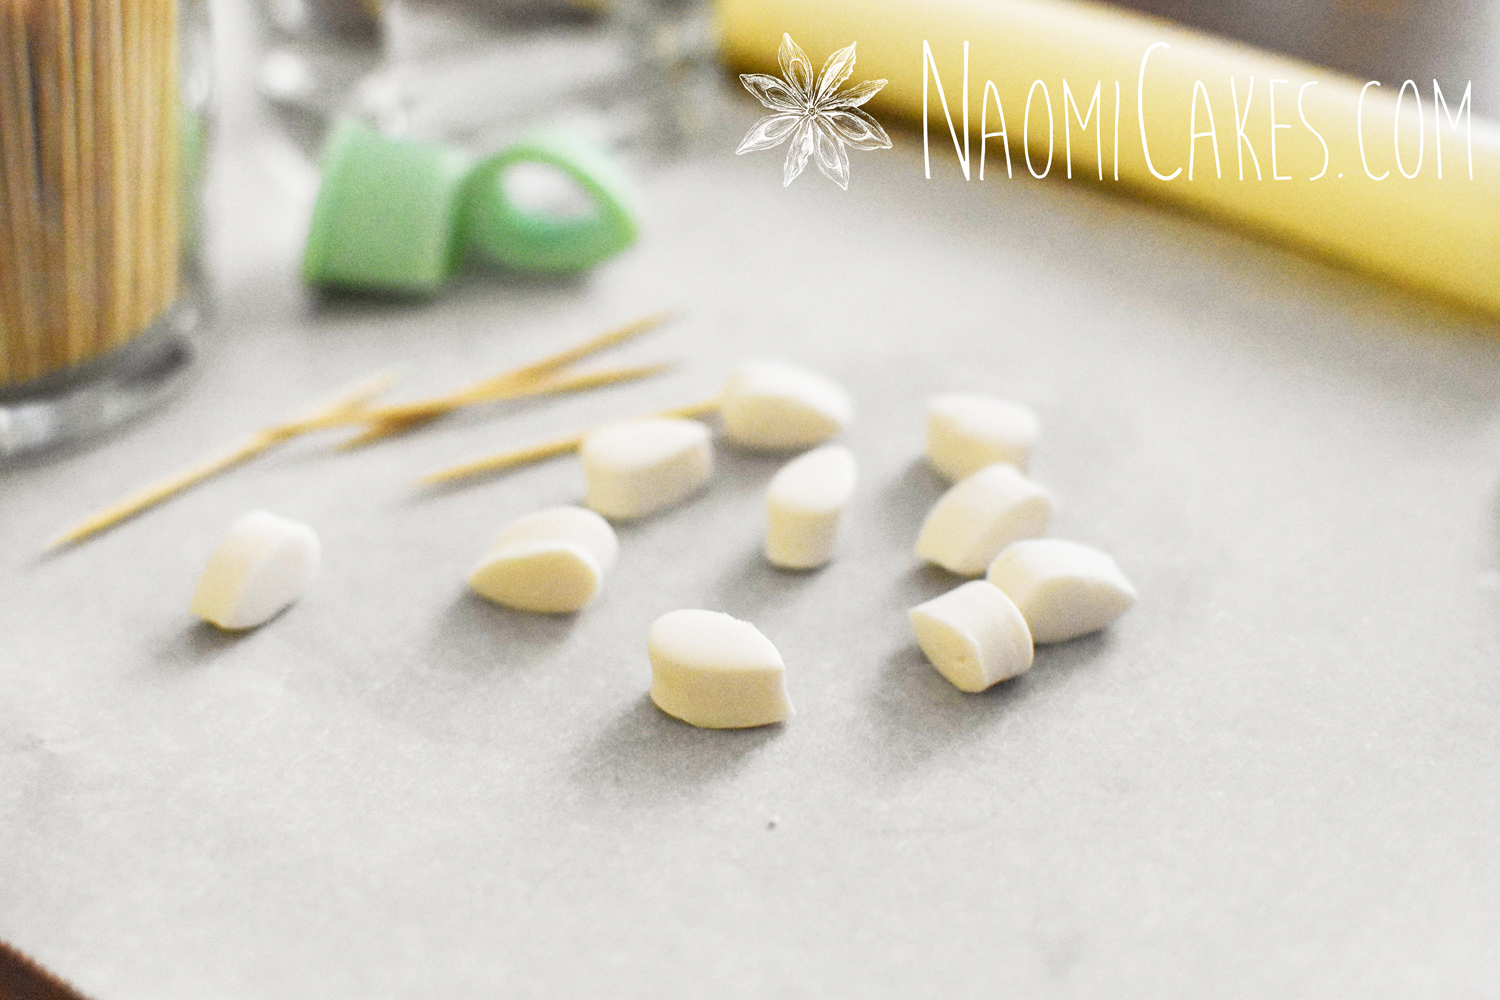
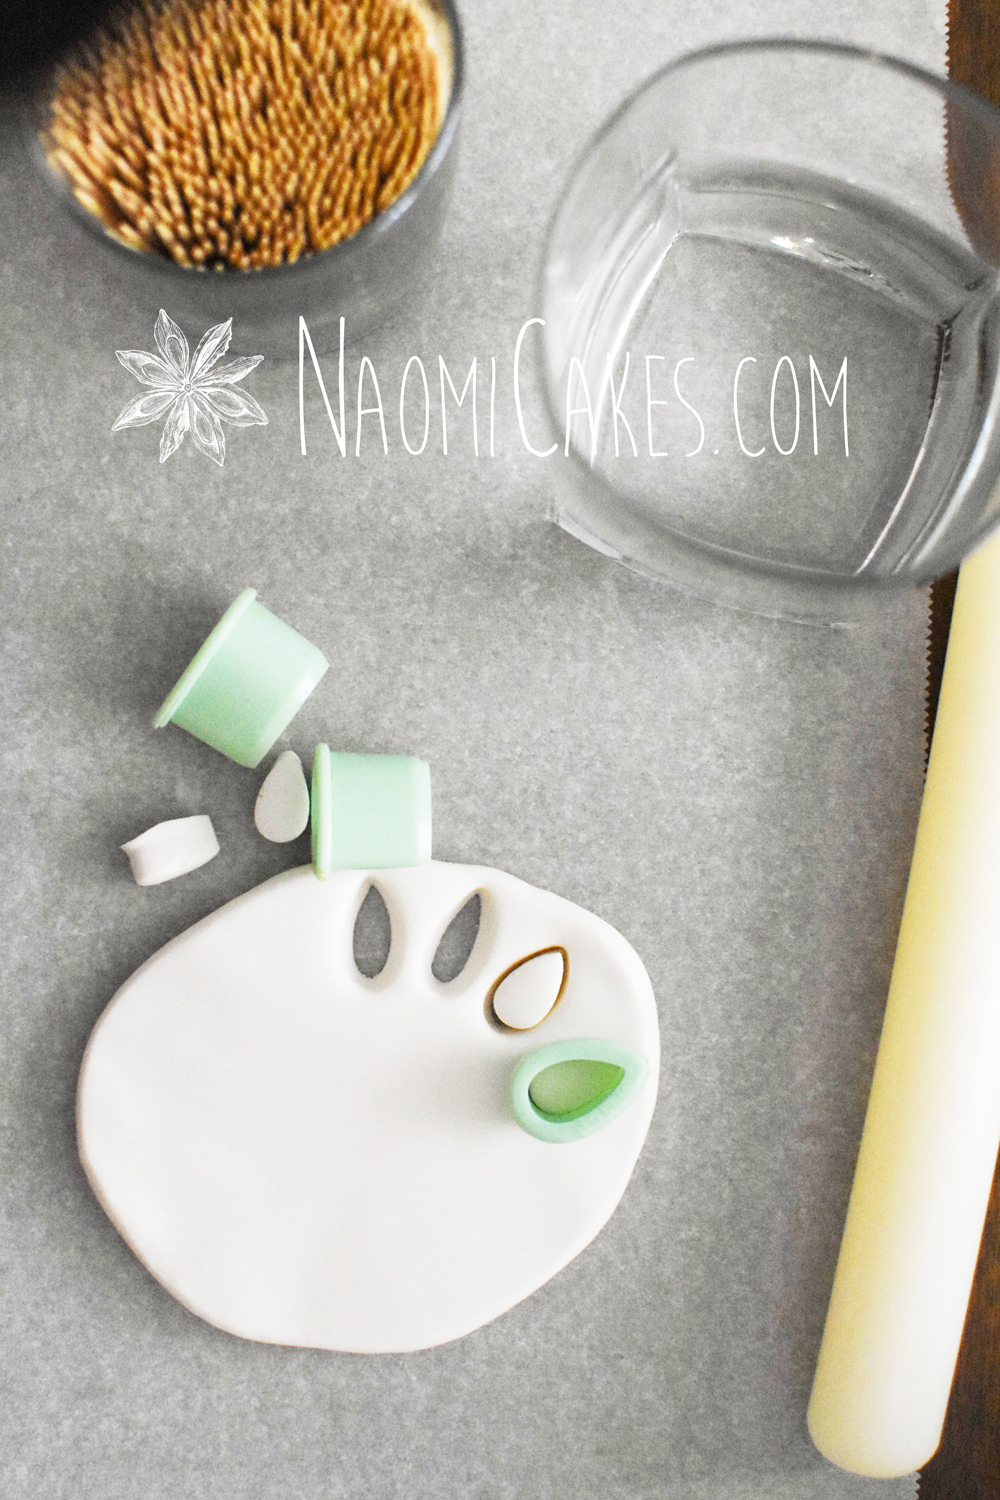
Roll the gum paste out to be about 1/4-1/2-inch thickness, and cut out tear drop shapes with the smallest rose cutter of your set, 1 per rose you intend to make. (I made 10 for this tutorial)
-
Remove the excess gum paste from around your tear-drop cut outs, wrap in plastic, and set aside. Cover the tear drop cut outs on your work surface in plastic as well, pressing it to the greased surface to seal and prevent the rose bases from drying out.
-
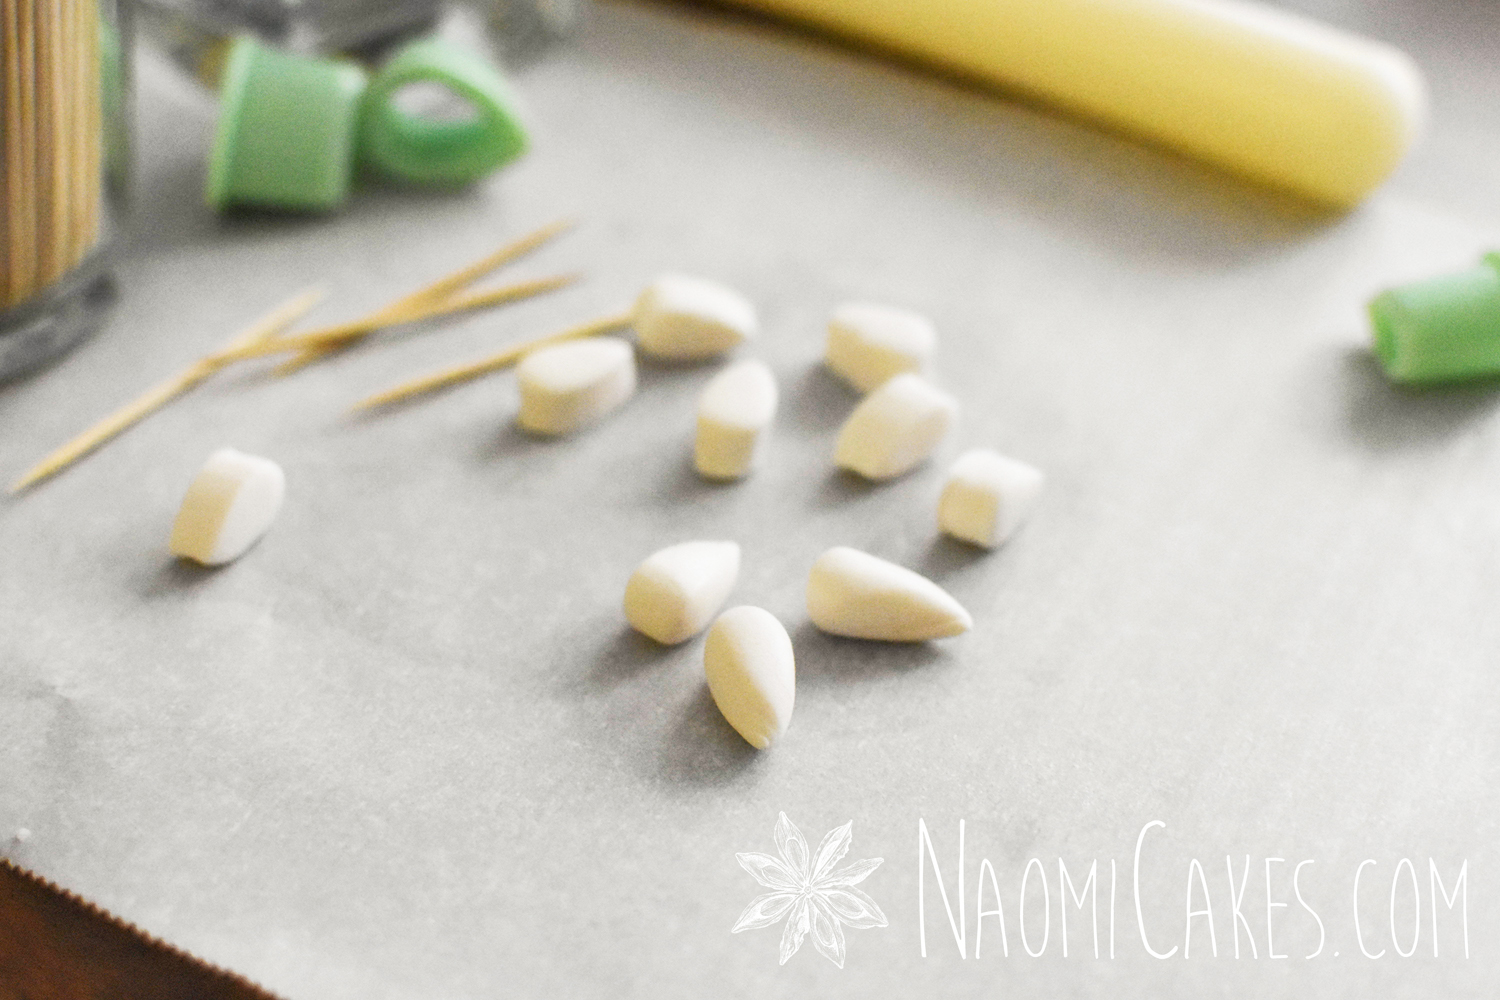
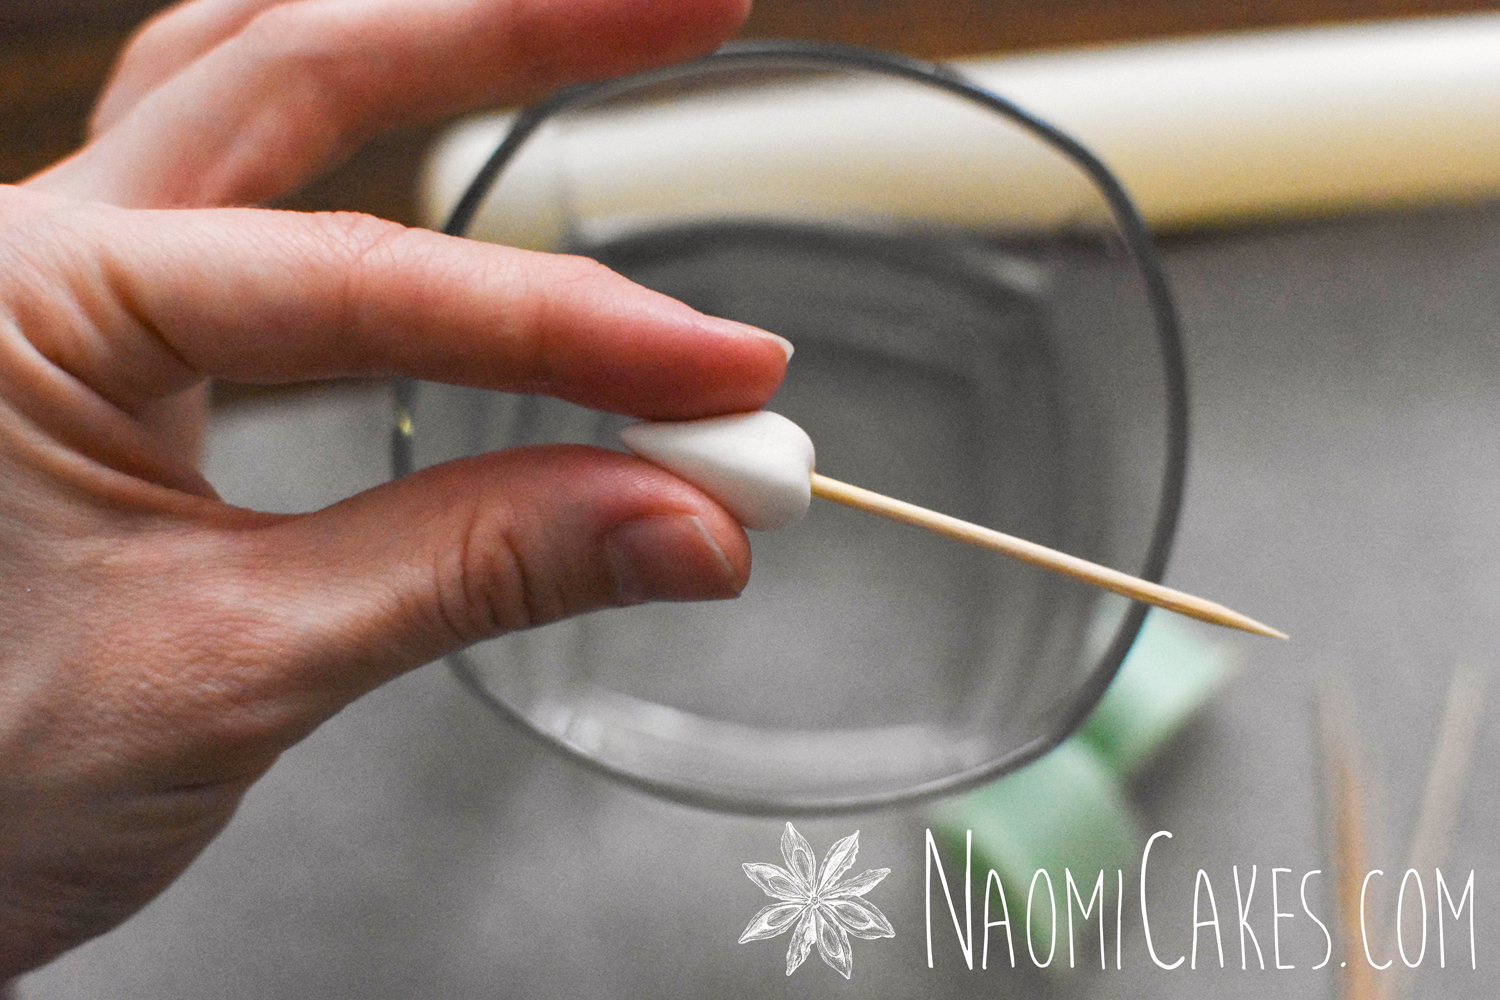
Remove one teardrop cut out from under the plastic, and cover the remaining pieces again. Using your fingertips, roll it into a smooth, 3D teardrop shape. Dip a toothpick into some water, and press it at least 1/2 way up into the base of the teardrop shaped piece of gum paste.
-
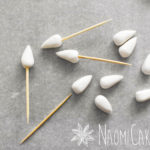
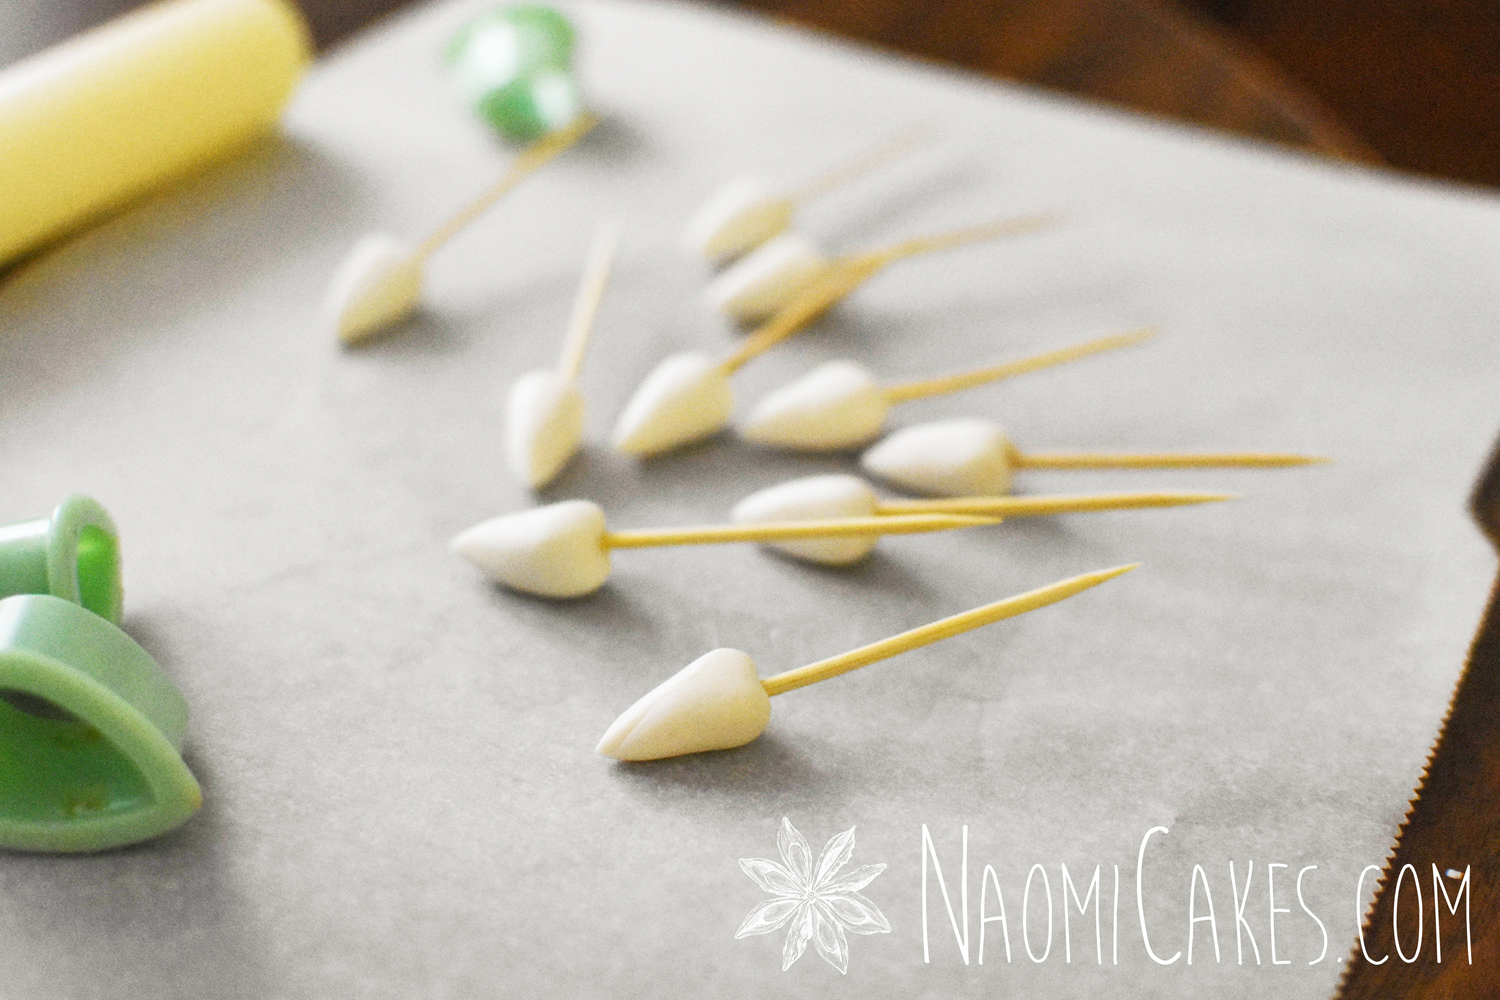
Stick the rose base, toothpick side down, upright into a piece of styrofoam to dry. Repeat with the other teardrops until all of the bases are formed.
-
Allow the bases to dry 12 hours or more before continuing to the next step.
Recipe Notes
IMPORTANT:
Any leftover gum paste will dry out if it’s not kept well-sealed. I recommend wrapping it in plastic, putting it into a ziplock bag, and putting it into a sealed container to keep maximum freshness.
For making large gum paste roses without a rose petal cutter set:
A standard rose cutter set will make fairly small roses (maybe 2-1/2″ across the top for the largest rose).
To make larger roses, you can purchase a rose cutter set with large petals, or you can do what I do and use regular round cookie cutters from a cutter set with a wide range of cutter sizes. Choose 2-3 of the smallest circles (I like to use 1/2 to 1-inch as the smallest of my chosen cutters), and use the little one to create the rose base according to the directions on this tutorial card.
When shaping rose petals from a round cutter (for the next tutorials in this series), you will gently pull on one side of your gum paste cut-out to elongate it and create a petal shape. From there you can proceed thinning and frilling the petals according to the instructions.


If you like this tutorial, you may also like:
- Valentine’s Sugar Cookies [Tutorial]
- Rustic Wedding Cookies [Tutorial]
- Basic Piping Techniques for Cake Decorating [Tutorial]
- How to Frost a Cake with Buttercream (Smooth Finish) [Tutorial]
If you like this tutorial, let me know in the comments! And of course, make sure to check out my other rose tutorials to learn how to make a rose bud, how to make a medium rose, and how to make a large rose.
Bye for now,
Naomi
This post contains affiliate links.
One Comment