
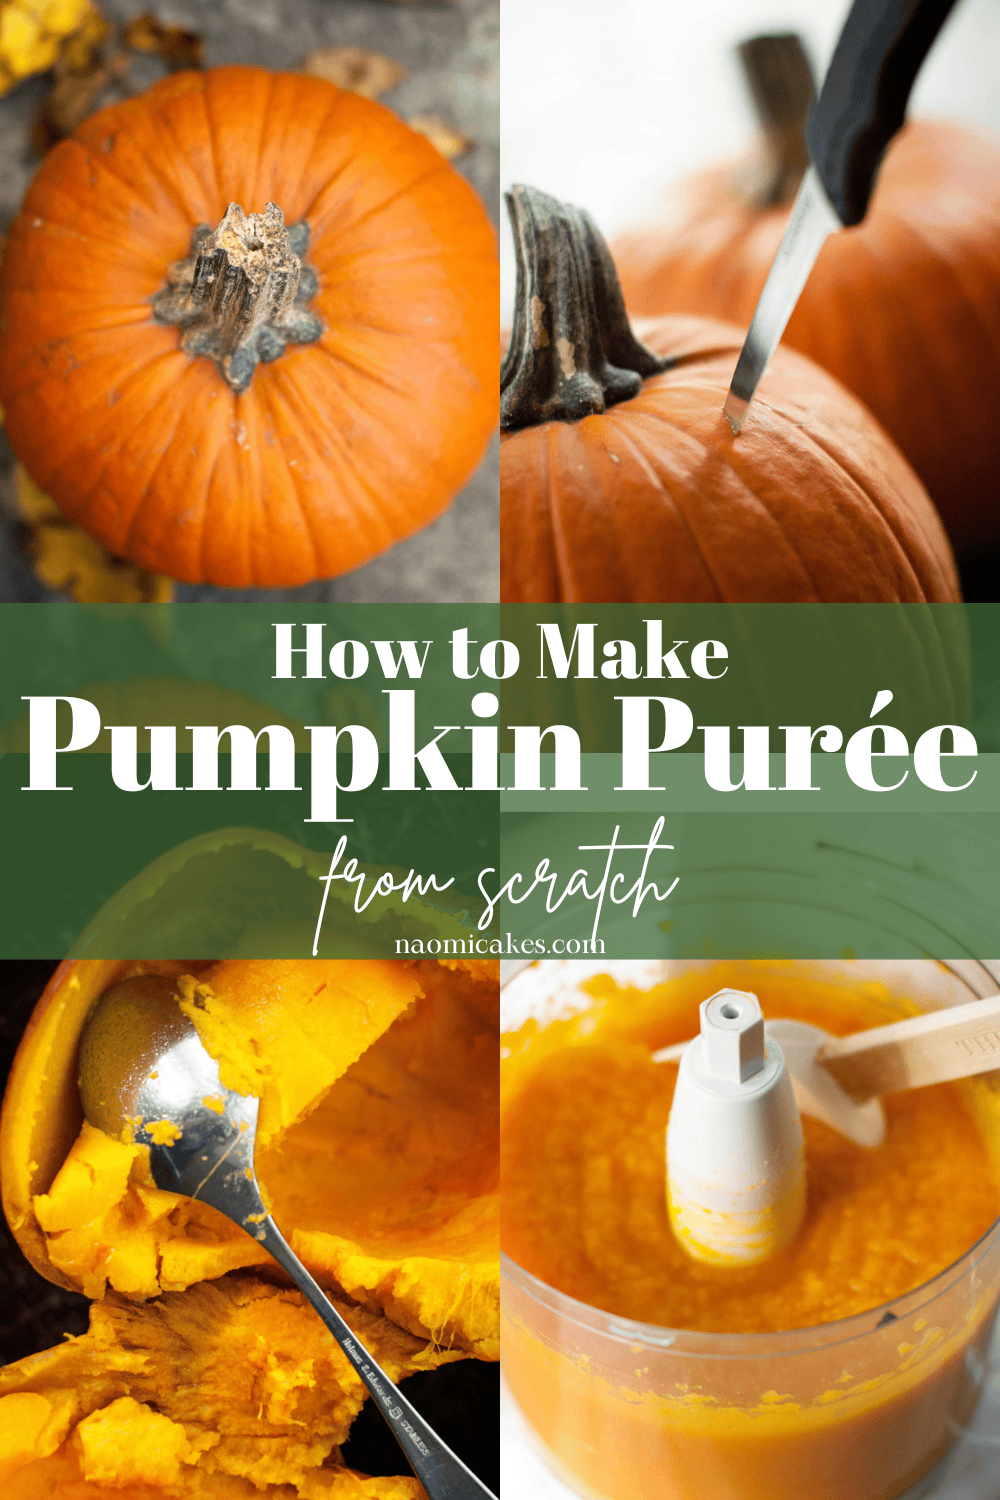
How to Make Your Own Pumpkin Purée [Tutorial]
If you’ve never learned it before, today is the day you learn how to make your own pumpkin puree from scratch. It’s just about that time of year, when pumpkin everything is the talk of the town, and it seems like all of the grocery stores (and every farmers market!) has a pile of local pumpkins available for purchase.
It’s pumpkin season, and today I want to teach you how to make this easy homemade pumpkin puree! This easy recipe has a delicious roasted flavor that will easily beat the canned stuff any day of the week. Read on to learn how the best pumpkin puree is made!
Fall = The best time of the year to BAKE!
Autumn is my favourite season, and baking at this time of year brings on such a feeling of warmth and nostalgia. I love baking all of the time, but there is something especially inspiring about crisp, cool days that makes me want to fill my home with the smells of fresh baked bread, simmering apple butter, and pumpkin everything. Something about this season makes you want to make all of your favorite pumpkin recipes. Roasted pumpkin seeds, pumpkin muffins, pumpkin bread, pumpkin cake, pumpkin apple butter, pumpkin pie… the works.
Would you not agree?
Reasons to make your own pumpkin purée
1 – It is more cost effective.
Making your own pumpkin purée is way, way cheaper than buying it from the store. Consider: It usually costs $3-$5 for 1 tin of canned pumpkin purée (enough to make 2 pies). I bought two whole pumpkins for $5 and got more than 4x the amount you’d get from one can. I call that a win!
2 – Pumpkin purée is easy to store.
Pumpkin purée can be canned or frozen and kept for months (or even years)! I like to freeze mine in leftover sour cream containers in the freezer, which each hold exactly 2 cups (making it really simple to pull it out in small amounts as I need for baking purposes).
You can also store your homemade puree in any other airtight container, ziploc bag, or in small amounts in an ice cube tray. (This is a great way make easy-to-access small amounts that you can add to tomato meat sauce, lasagna, or anything else in which you might want to hide a little bit of extra vegetable!)
3 – There are so many things you can make!
You can use pumpkin purée to make breads, muffins, pies, soups, bars, cookies, spreads, and syrups.
4 – It is more gratifying to make your own.
There is nothing like the satisfaction of saying, “I made that pumpkin pie,” knowing all the while that you didn’t just make a pie; you made a literal whole pumpkin into a pie. Like a boss.
5 – Fresh pumpkin just tastes better.
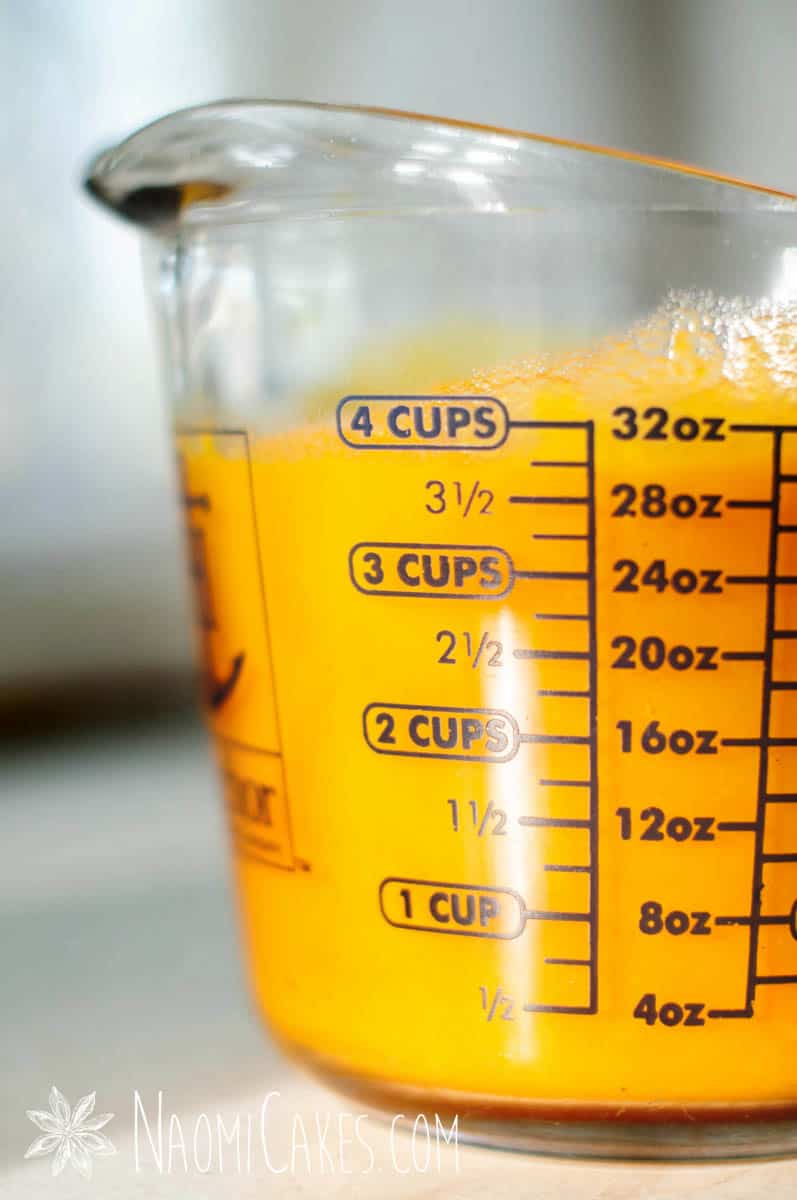
Like most things, when you make it yourself, you’re getting a fresher and more robust flavour than what you would buy in the store. You can even see the difference in colour; when you purchase canned pumpkin puree, the colour is a deep orangey brown colour. On the other hand, when you make your own, you get a bright vibrant orange or even yellow colour. There is nothing like fresh pumpkin!
6 – You get to buy cute chubby pumpkins.
Yeah, I do feel like I need an excuse to buy a lot of pumpkins every fall… and making my own pureed pumpkin is the perfect practical reason for me!
How pumpkin purée is made
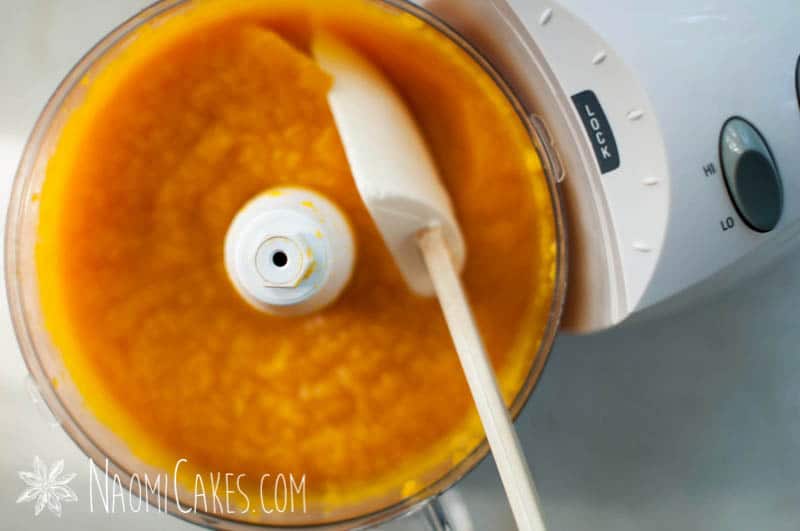
Pumpkin purée can be made with several different methods of cooking, but the main idea is that you cook the pumpkin until the flesh is very soft, scoop the flesh out of the skins, and (as you might expect) purée it in a blender or the bowl of a food processor until it is smooth. You don’t need to add anything to it, just use pure pumpkin puree in any recipe that calls for it.
My favorite cooking method is to bake my pumpkins until they have a golden brown look to them, rather than boil them, keeping more of the nutritional value and rich flavour inside of the pumpkin rather than having it leech into boiling water and get discarded. Plus, the roasted pumpkin flesh gives a flavor which really is one of a kind.
What are “pie pumpkins”?
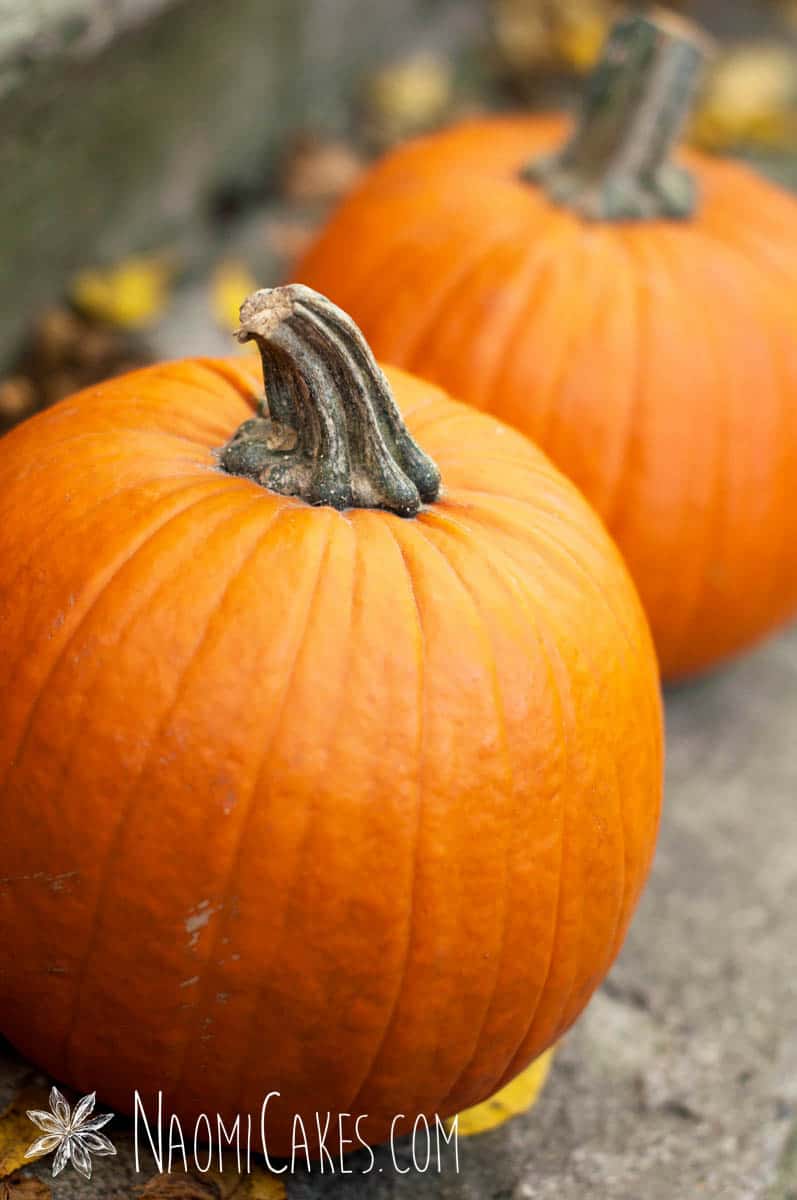
Pie pumpkins are the variety of smaller pumpkins that have a denser, sweeter flesh than the larger pumpkins (which can be a little more mild in taste and watery in texture). Pie pumpkins tend to yield a thicker, smooth puree, which is ideal for making pies (and honestly most other kinds of baking)! They are the best pumpkins for baking, in my opinion (although they are not the only kind you can use for it).
Can you make pumpkin purée with other types of pumpkins?
The short answer is, yes! You can make your own homemade pumpkin puree with almost any kind of pumpkin. Check out this list for a breakdown of which ones to use, and how.
Pie pumpkins
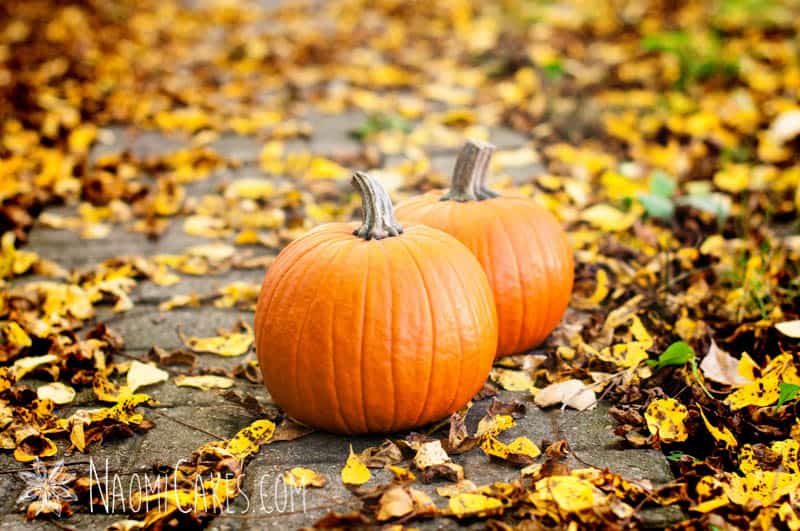
Pie pumpkins are my favourite for baking with their dense, sweet flesh yielding a thick, bright orange purée. This is the type of pumpkin I have used for this tutorial.
Regular pumpkins
These are the typical large pumpkins that you see outside the grocery store, beautiful for carving or making gorgeous outdoor fall decor. When you make purée with this variety, the result is often a more watery consistency with a bright orange or even yellow colour. You can use this thinner type of purée in just about any recipe (including pies), and I find that it usually comes out great.
White/Pale pumpkins
While I’ve never cooked these types of pumpkins personally, from what I’ve read these are edible too! I wouldn’t personally use them for making pumpkin purée (the flavour is apparently more bland/less sweet), but roasted, buttered and salted I’m sure they would be delicious… so if you have these pumpkins, give them a try!
Green pumpkins
Unripe, green pumpkins can be eaten (if they are not bitter), but their flavour, I understand, is very bland and not worth the effort. I would not use these pumpkins to make pumpkin purée.
Warty Goblin pumpkins
Warty goblin pumpkins are usually large, orange, and have orange, green and yellow “warty” looking knobs all over them. They are beautiful for decorating, and yes, apparently also edible! I have never cooked with this type, so I can’t speak too much to their flavour; however, assuming that these pumpkins are similar to other orange ones, I assume they’d make great purée.
Mini pumpkins
I always thought these were inedible, since they are typically sold alongside miniature gourds for decor (which are not meant to be eaten). However, I have recently learned that these pumpkins are edible as well!
I would not use these for making pumpkin purée, since the actual quantity of pumpkin flesh inside of each one would be very minimal.
Jack-O-Lantern Pumpkins
Do not use pumpkins that have already been cut open and exposed to the elements for making this homemade pumpkin puree recipe.
One final note: If the pumpkin tastes bitter…
Do not eat it!
Can you substitute other vegetables for pumpkin purée?
Yes! It seems a little silly to put this in here on the one hand, but also… You should know that if you come across a good butternut squash or sweet potato, those vegetables can be prepared exactly as in this tutorial and substituted 1:1 for pumpkin purée in just about any recipe!
10 great ways to use pumpkin purée
Here are my top 10 recommendations for using pumpkin purée!
- Pies
- Cakes
- Muffins
- Breads
- Rolls
- Cinnamon buns
- Soups
- Cookies
- Spreads (such as pumpkin apple butter)
- Sugar syrups (for making lattes)
A few creative pumpkin recipes that you might enjoy:
To make pumpkin purée, you will need:
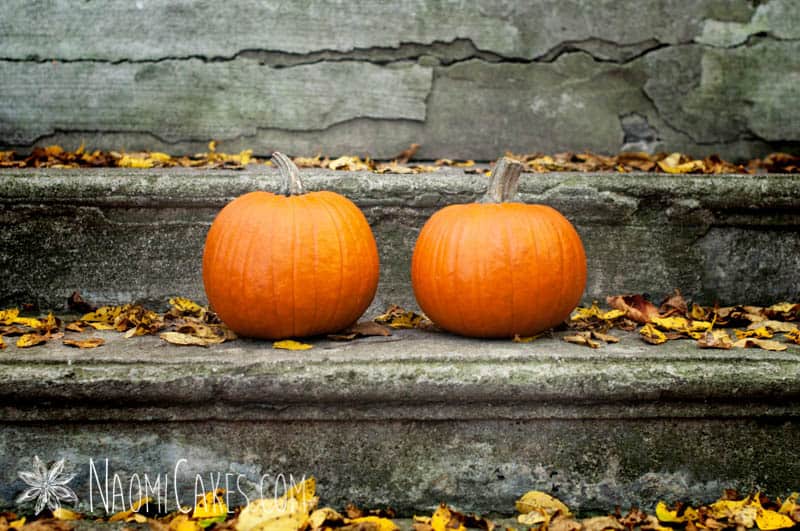
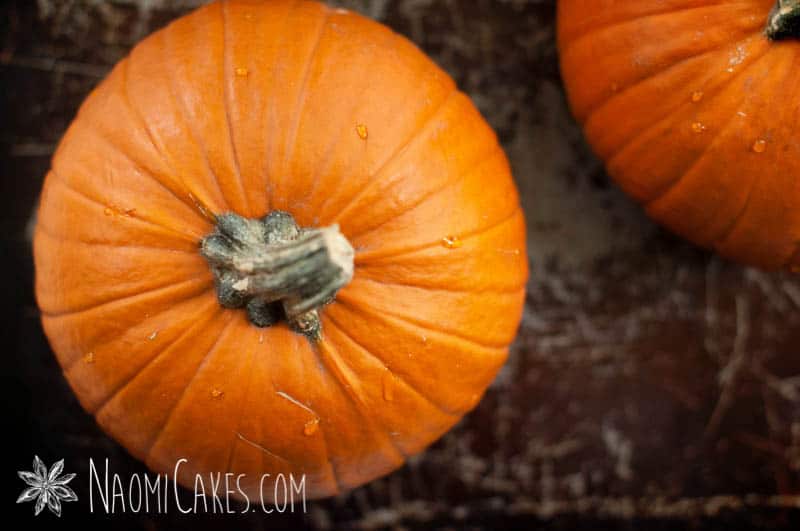
- 2 pumpkins (for this tutorial I’ve used pie pumpkins, which yield a thick, orange purée)
- Cookie sheet
- Sharp knife
- Large spoon
- Food processor or blender
- Mixing bowl (or two)
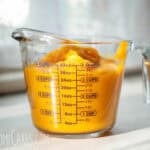
- Measuring pitcher
- Storage containers or jars
Printable Tutorial:
How to Make Pumpkin Purée
How to make your own pumpkin purée from scratch!
Ingredients
- 2 pumpkins for this tutorial I've used pie pumpkins
- 1 Cookie sheet
- 1 Sharp knife
- 1 Large spoon
- 1 Food processor or blender
- 1-2 Mixing bowl or two
- 1 4-8 cup Measuring pitcher
- 4-8 Storage containers or jars depending on the size
Instructions
-
Preheat the oven to 350 degrees F.
-
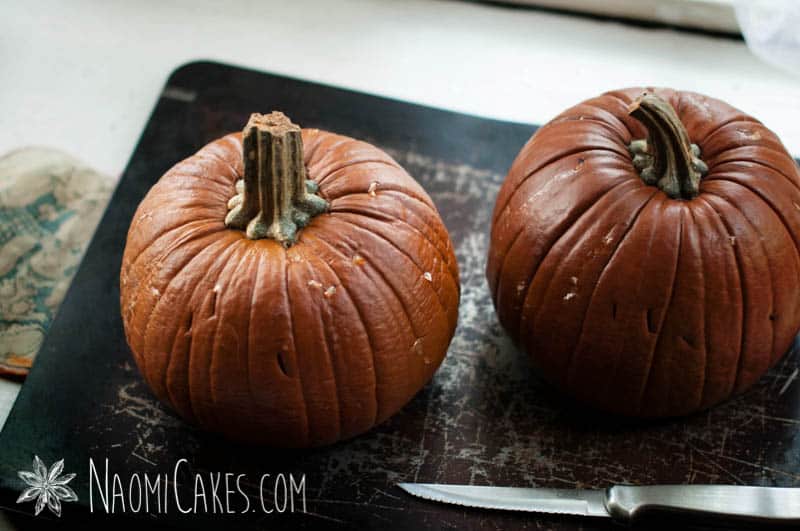
Wipe the pumpkins down with a clean cloth (or wash them if they’re really dirty), and place them on a cookie sheet.
-
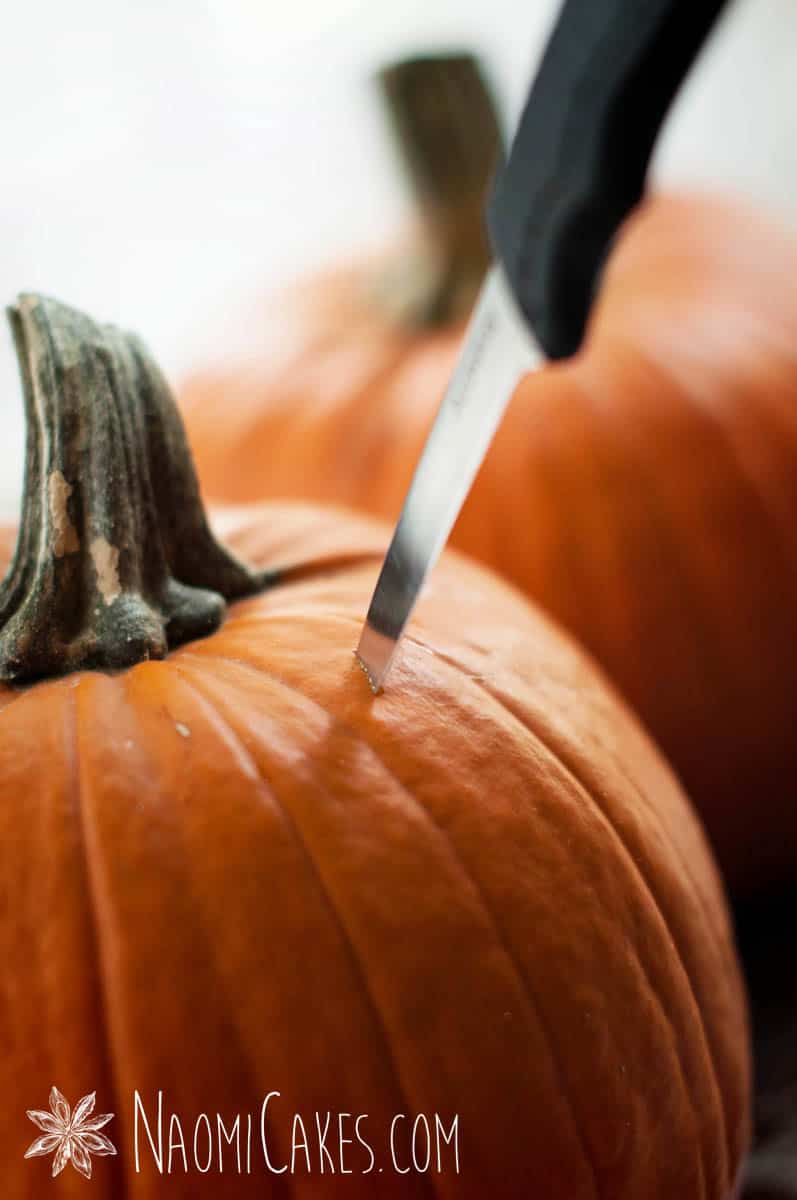
Using a small paring knife, pierce them all over (just to break through the skin, doesn’t have to be deep).
-
Bake for 1-1/2 hours, or until a knife inserted into a pumpkin slides in and out easily. The skin should be dark orange with little bits of sticky sugar oozing out of your knife pricks. Remove the pumpkins from the oven to cool.
-
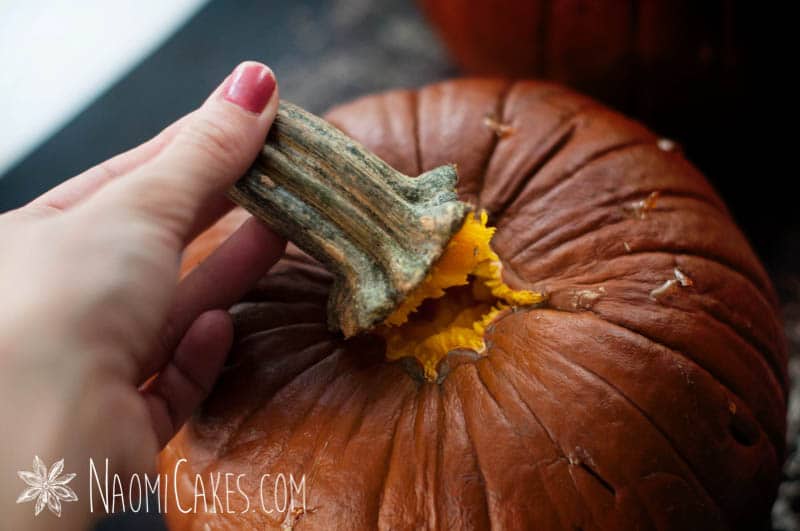
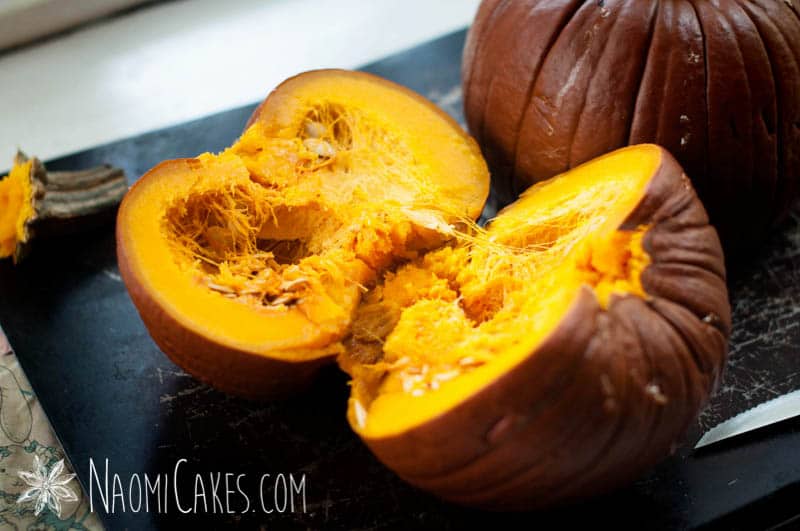
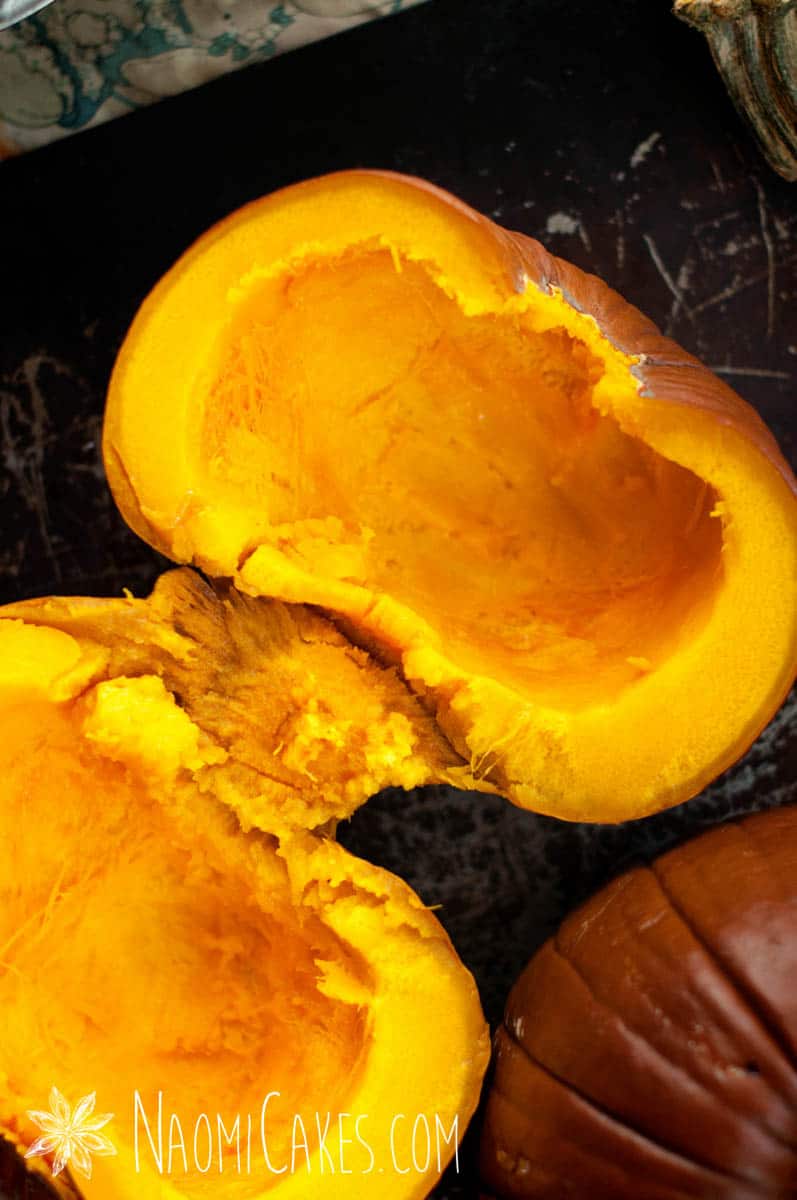
Remove the stem (you should be able to just pull it off easily), and cut the pumpkins in half.
-
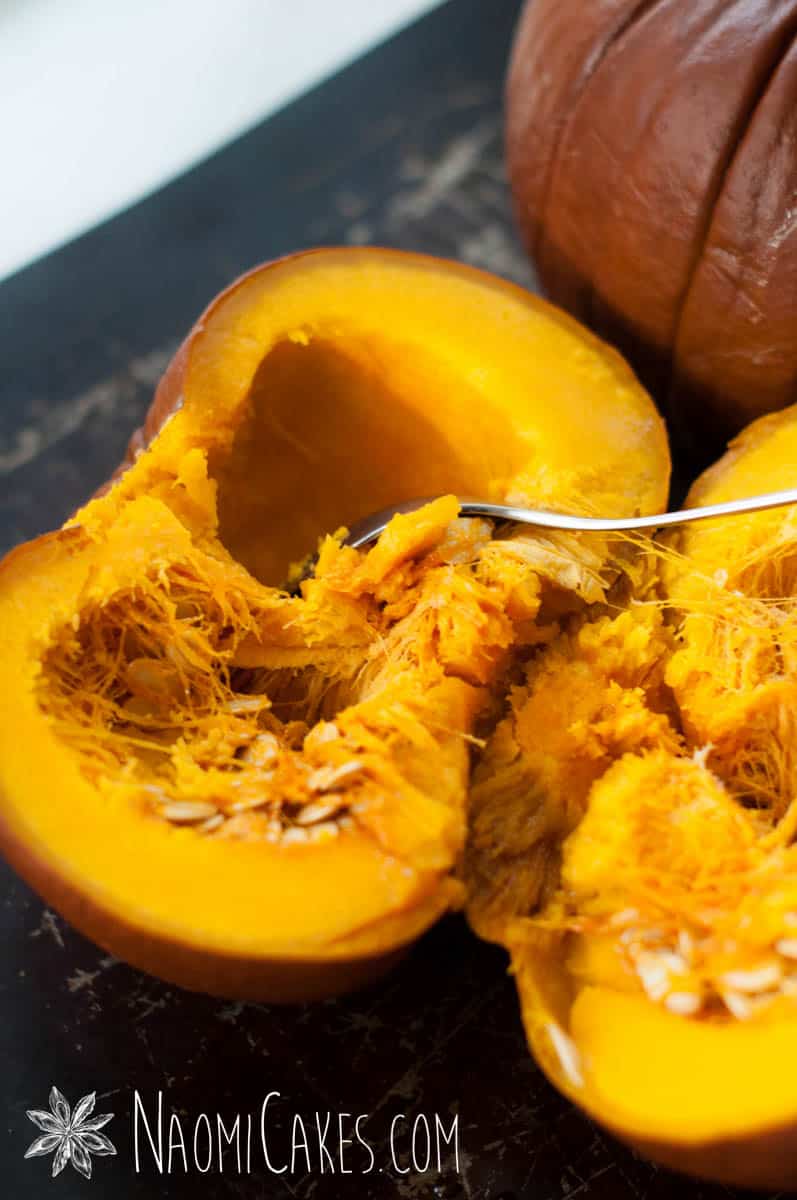
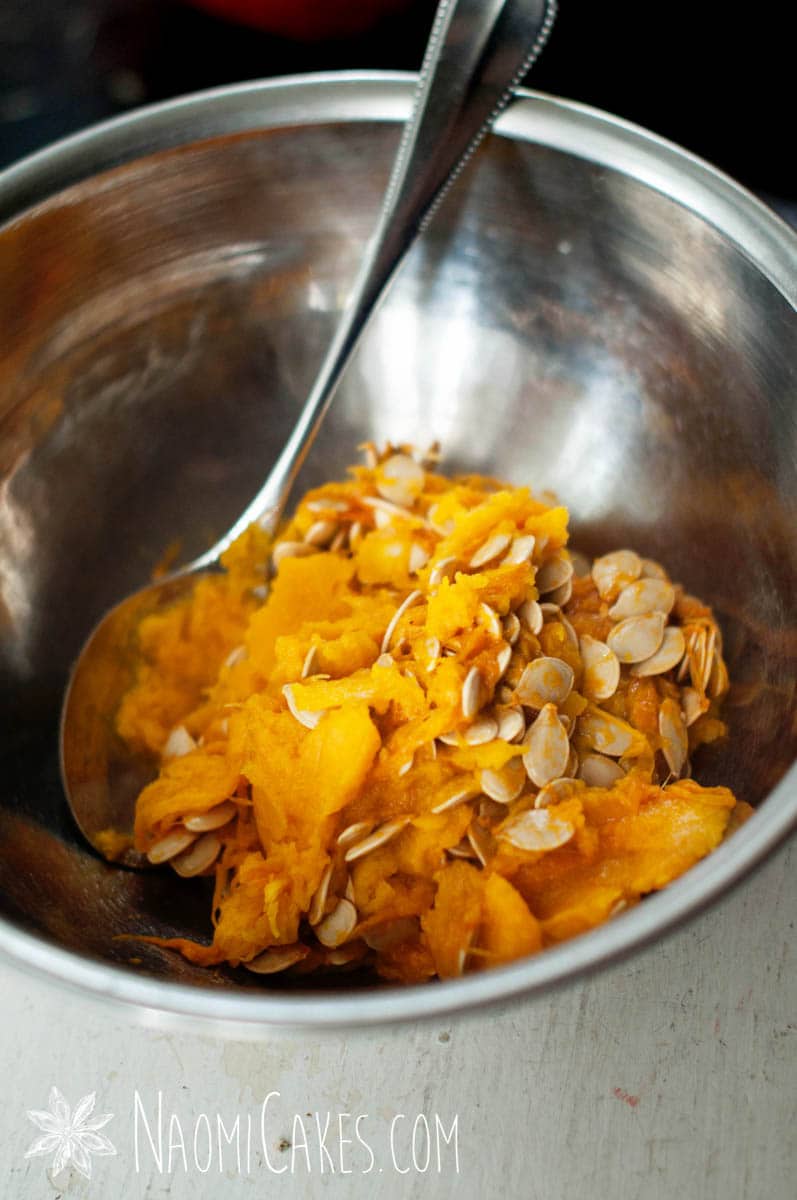
Using a large spoon, scoop out the insides. You can keep the seeds to roast them if you like, or discard them.
-
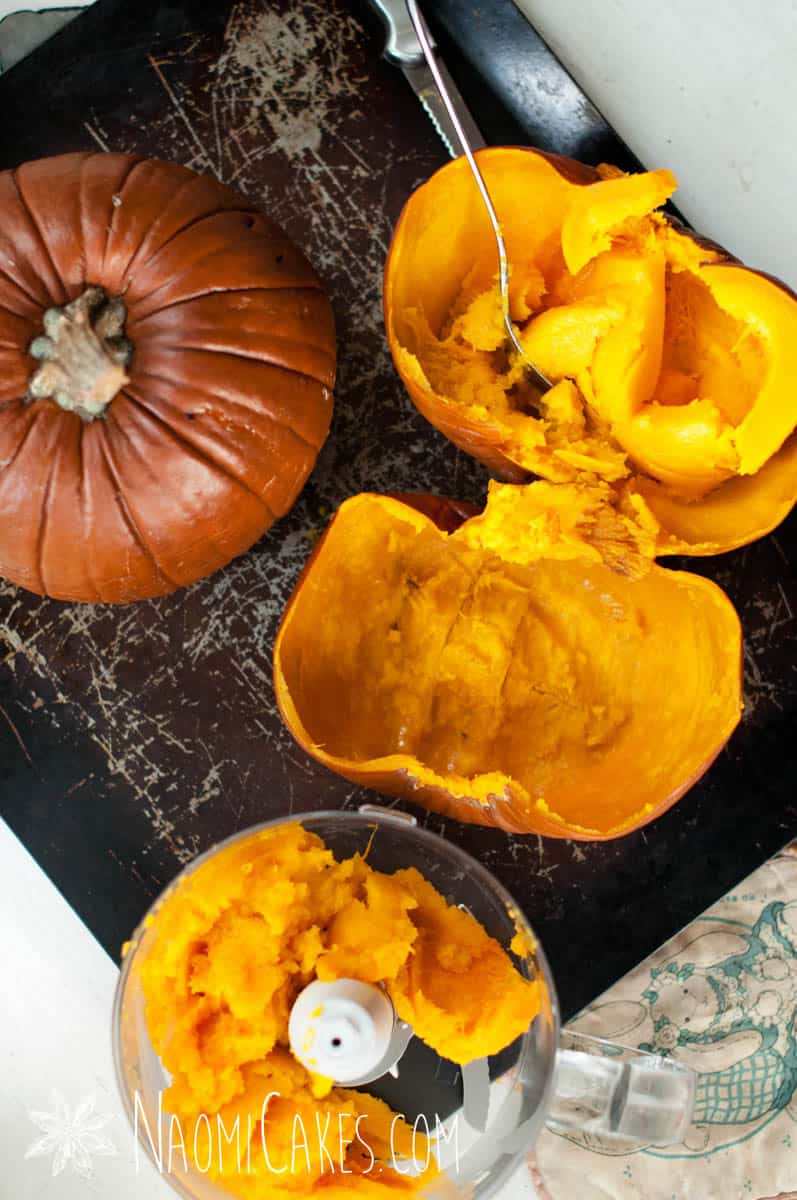
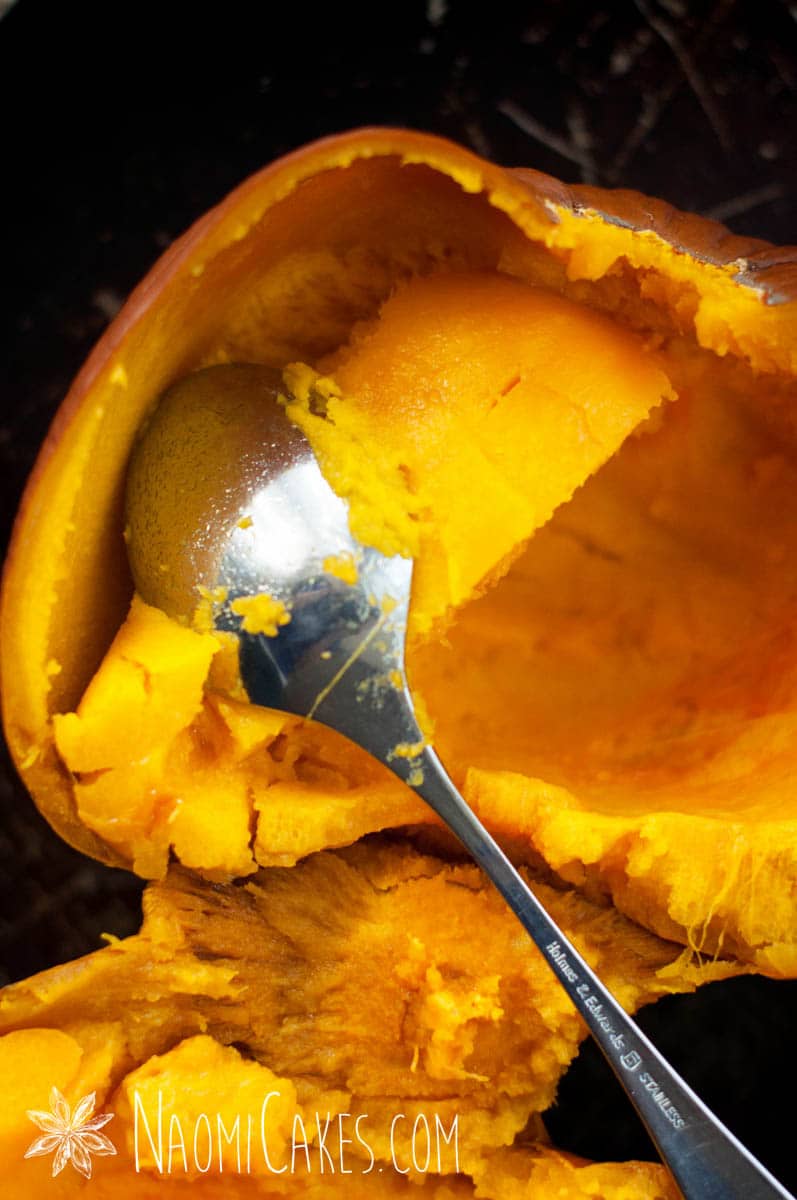
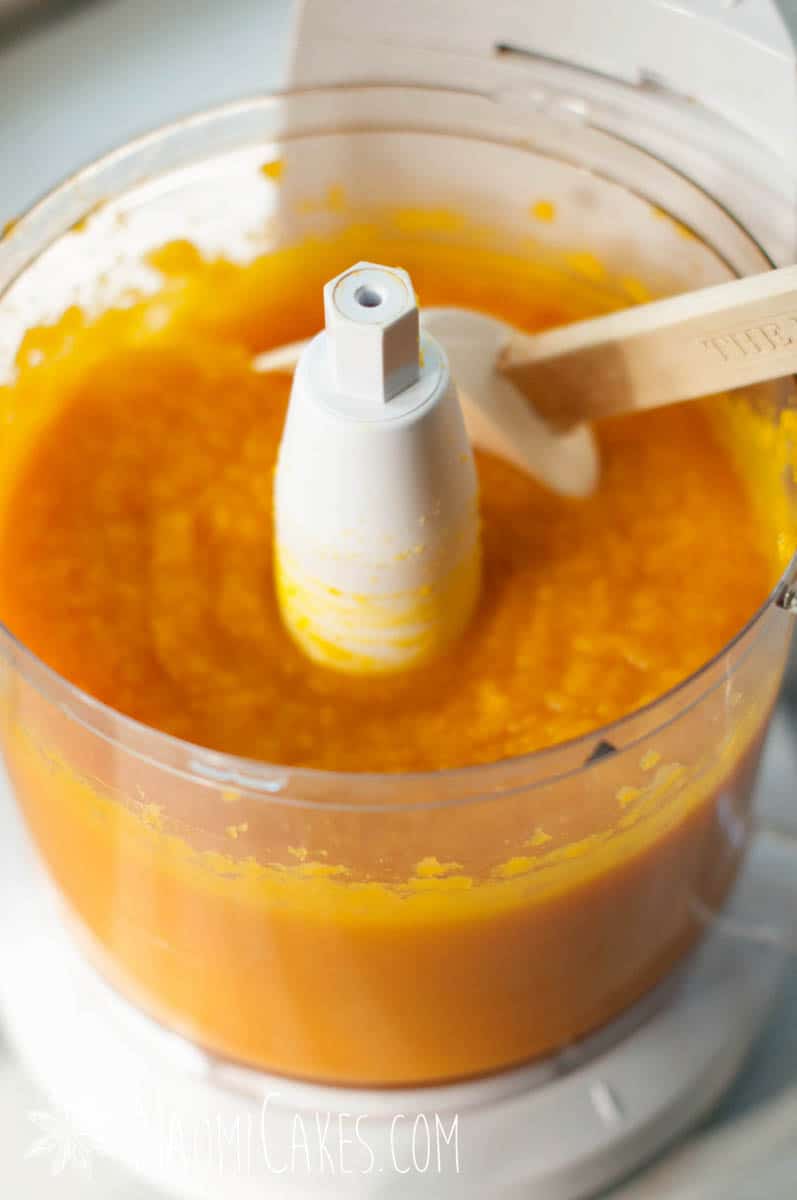
Once the seeds are removed, scoop the soft pumpkin flesh out of the skin, and put it into your food processor or blender.
-
Purée until smooth. Store in freezer safe bags or containers, or can in jars for long storage.
Recipe Notes
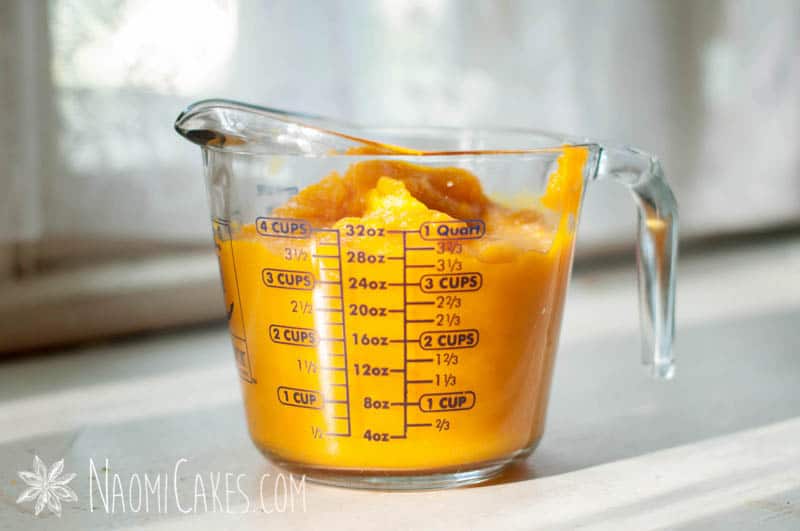
- If you know how you plan to use your pumpkin purée, store it in pre-measured amounts. For example, if you plan to make pies with the pumpkin, check your recipe to see how much you’d need for 1-2 pies and freeze that amount in a small container. I always date mine and label it with a sharpie and masking tape or painter’s tape. Make sure to write the amount in your container on the label so that you can easily remember later on!
How to Make Pumpkin Purée
1 – Preheat the oven to 350 degrees F.
2 – Wipe the pumpkins down with a clean cloth (or wash them if they’re really dirty), and place them on a cookie sheet.
3 – Using a small paring knife, pierce them all over (just to break through the skin, doesn’t have to be deep).
4 – Bake for 1-1/2 hours, or until a knife inserted into a pumpkin slides in and out easily. The skin should be dark orange with little bits of sticky sugar oozing out of your knife pricks. Remove the pumpkins from the oven to cool.
5 – Remove the stem (you should be able to just pull it off easily), and cut the pumpkins in half.
6 – Using a large spoon, scoop out the insides. You can keep the seeds to roast them if you like, or discard them.
7 – Once the seeds are removed, scoop the soft pumpkin flesh out of the skin, and put it into your food processor or blender.
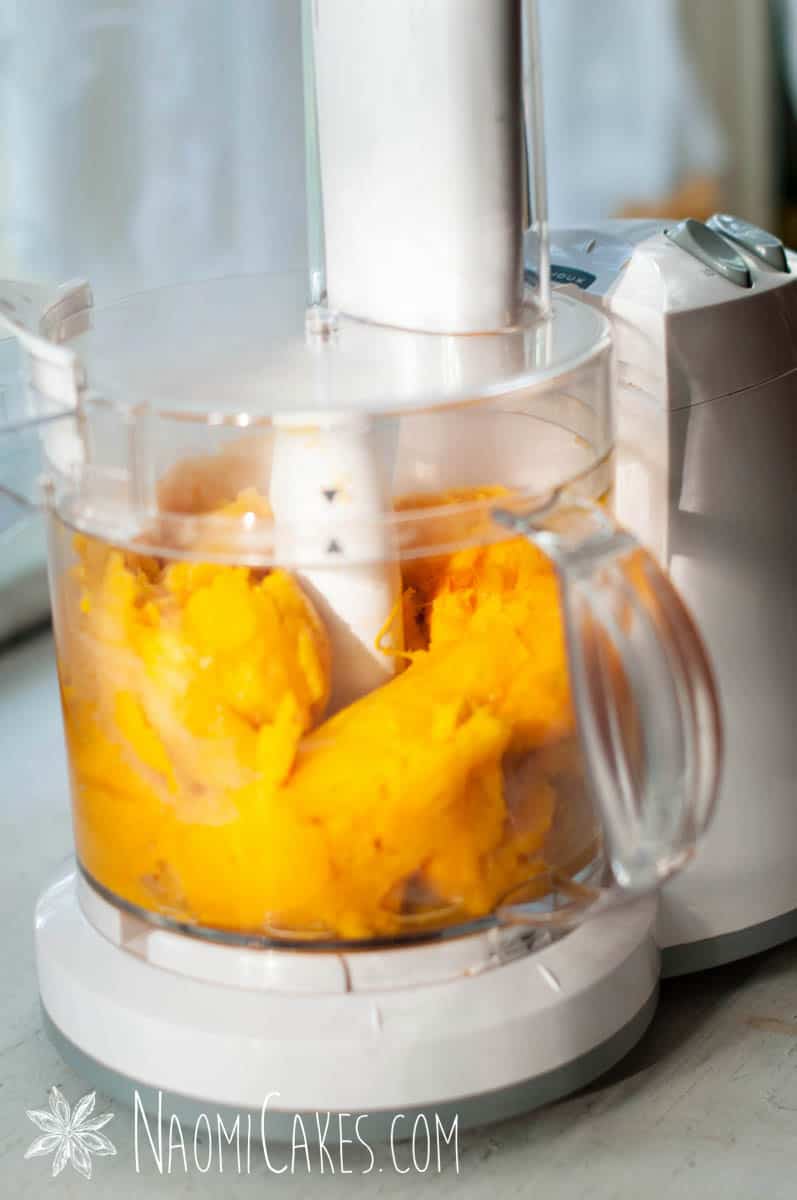
8 – Purée until smooth. Store in freezer safe bags or containers, or can in jars for long storage.
Notes:
- If you know how you plan to use your pumpkin purée, store it in pre-measured amounts. For example, if you plan to make pies with the pumpkin, check your recipe to see how much you’d need for 1-2 pies, and freeze that amount in a small container. I always date mine and label it with a sharpie and masking or painter’s tape. Make sure to write the amount in your container on the label so that you can easily remember later on!
- I used 2 pie pumpkins for this tutorial and got a total yield of about 8 cups of purée.
Some fall recipes you’ll love:
- Easy French Bread
- Easy No-Knead White Sourdough Bread
- Tart Apple Butter
- Homemade Applesauce
- Sourdough Cinnamon Rolls with Sweet Vanilla Glaze
- Miniature Apple Turnovers
- Easy Apple Strudel with Filo Pastry
- Apple Butter Baked Brie
As always, if you follow this tutorial, I’d love to hear about it! Feel free to tag me in your photos on Instagram @naomicakesofficial, or leave me a comment to let me know what delicious fall goodness you plan to make with your pumpkin purée!
Thanks for stopping in,
–Naomi
This post contains affiliate links.
Such beautiful photographs, love the pumpkins on the steps with the golden leaves. Puree looks pretty good too!