
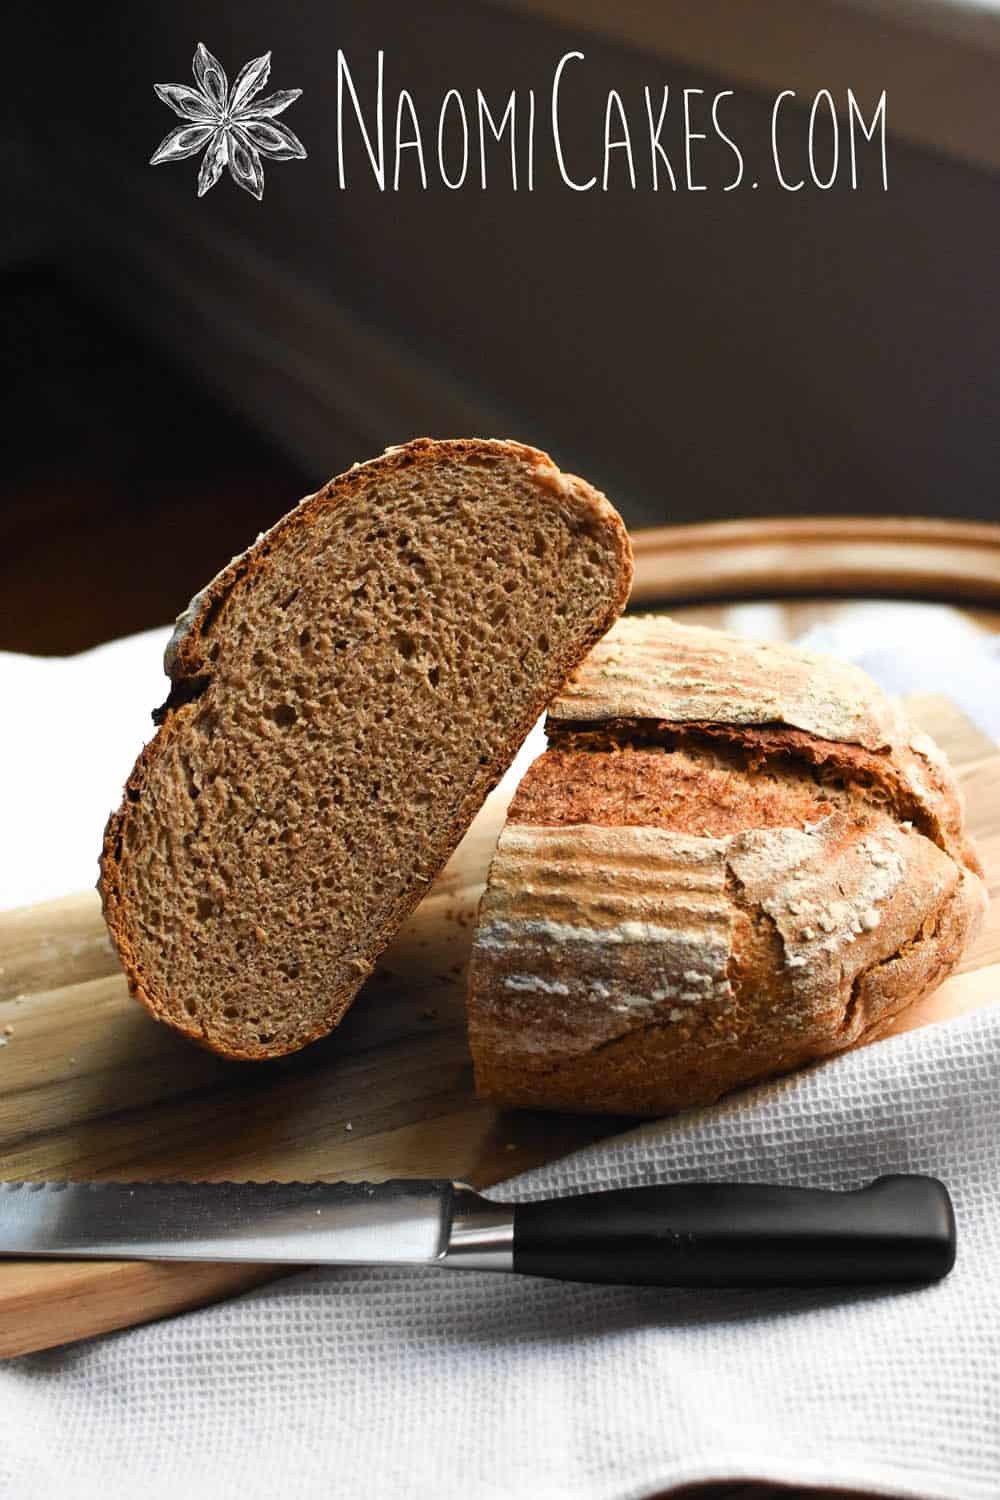
Mock Sourdough Bread [Recipe]
I came up with this recipe during the beginning of my sourdough journey because I just couldn’t bring myself to throw away my excess starter. After all, I paid for those ingredients! Also, I was tired of waiting for my sourdough starter to come to life… I just wanted to make bread!
I know there are all kind of things you can make with extra sourdough starter, like crêpes, waffles, flatbread, etc. Yet, while I love those things, I don’t really want to be making them every day.
So, What is “Mock” Sourdough Bread, You Ask?
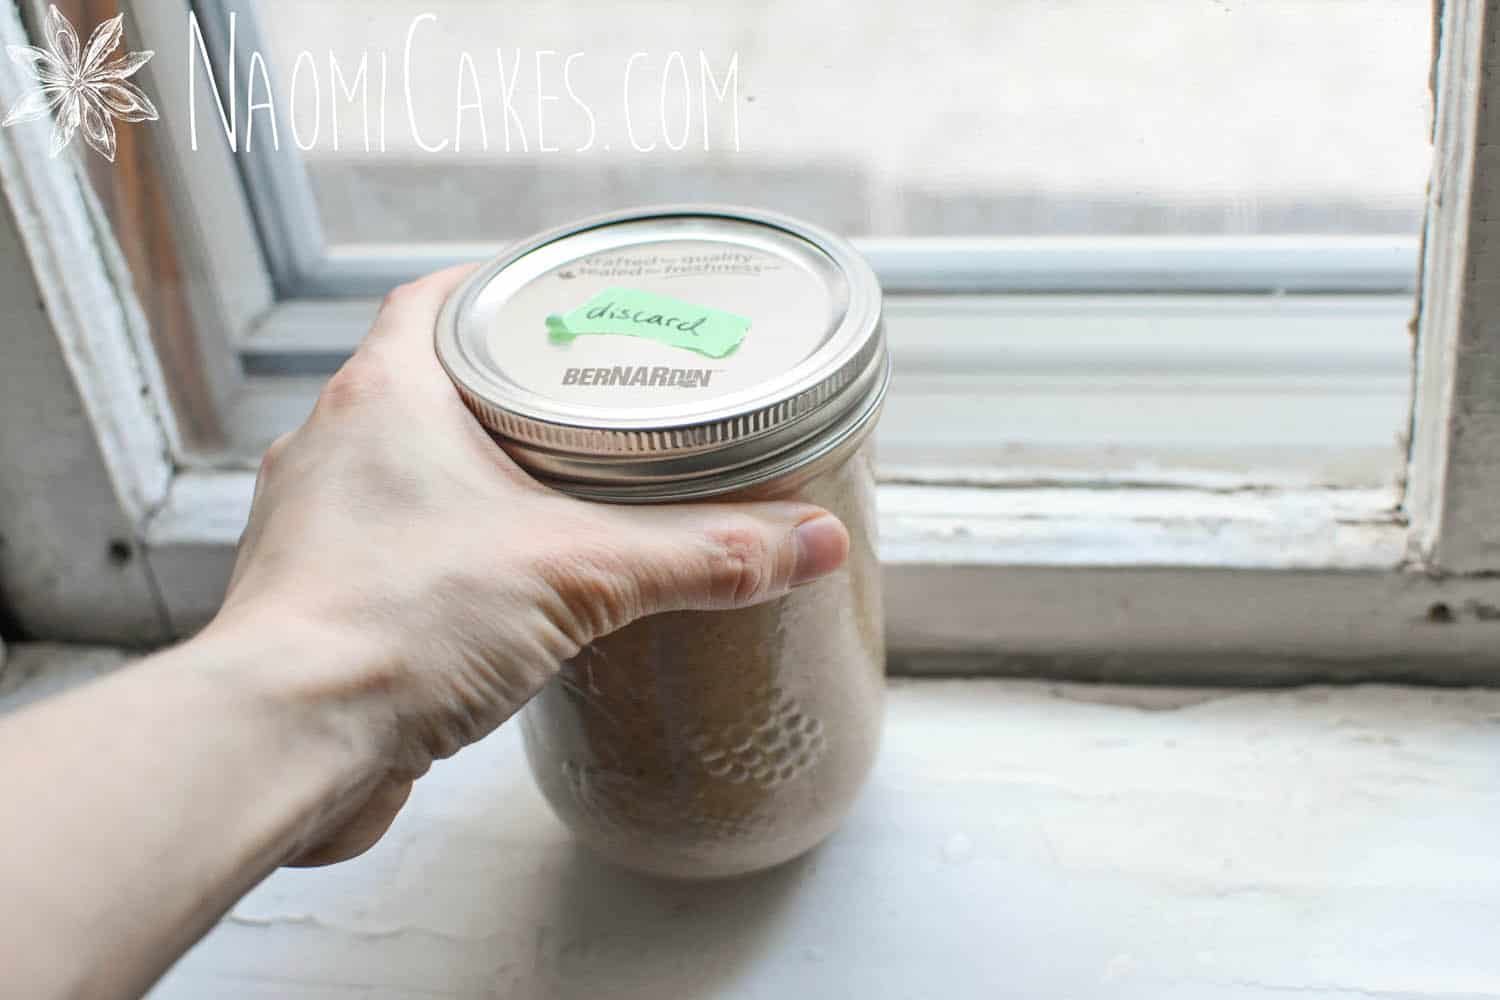
Mock sourdough bread is made with a dormant sourdough starter (or sourdough “discard”). Starter like this will not make a loaf rise on its own, so I created a recipe to use it up with a small amount of yeast to make it rise. It will take you a bit longer to make than a regular yeast bread; however, it is definitely quicker than making real sourdough bread. Hurray for that!
Doesn’t Traditional Sourdough Bread Have Yeast?
Well, yes – and no! Real sourdough bread relies on the natural fermentation process of an active starter to make it rise. It traditionally does not contain added yeast.
The Perks of This Recipe:
This bread has a LOT of sourdough starter discard in it! There are three reasons that this is awesome:
- You get to use it up! Yay! No wasting.
- Your bread will have more of the health benefits of the soaking/fermentation process that has already begun in the starter.
- The longer rising time gives the bread time to develop a really great flavour.
Here’s the recipe!
Mock Sourdough Bread
For those of us looking for ways to use up our "discard" starter - And still get that sourdough taste!
Ingredients
- 2 cups white flour (2 cups = 280g)
- 1 cup whole wheat flour (1c = 140g)
- 2 tsp salt
- 1 tsp dry active yeast
- 2 cups sourdough starter discard (dormant)
- 1/2 cup warm water (+extra, if needed - See recipe note, Step 2)
Instructions
-
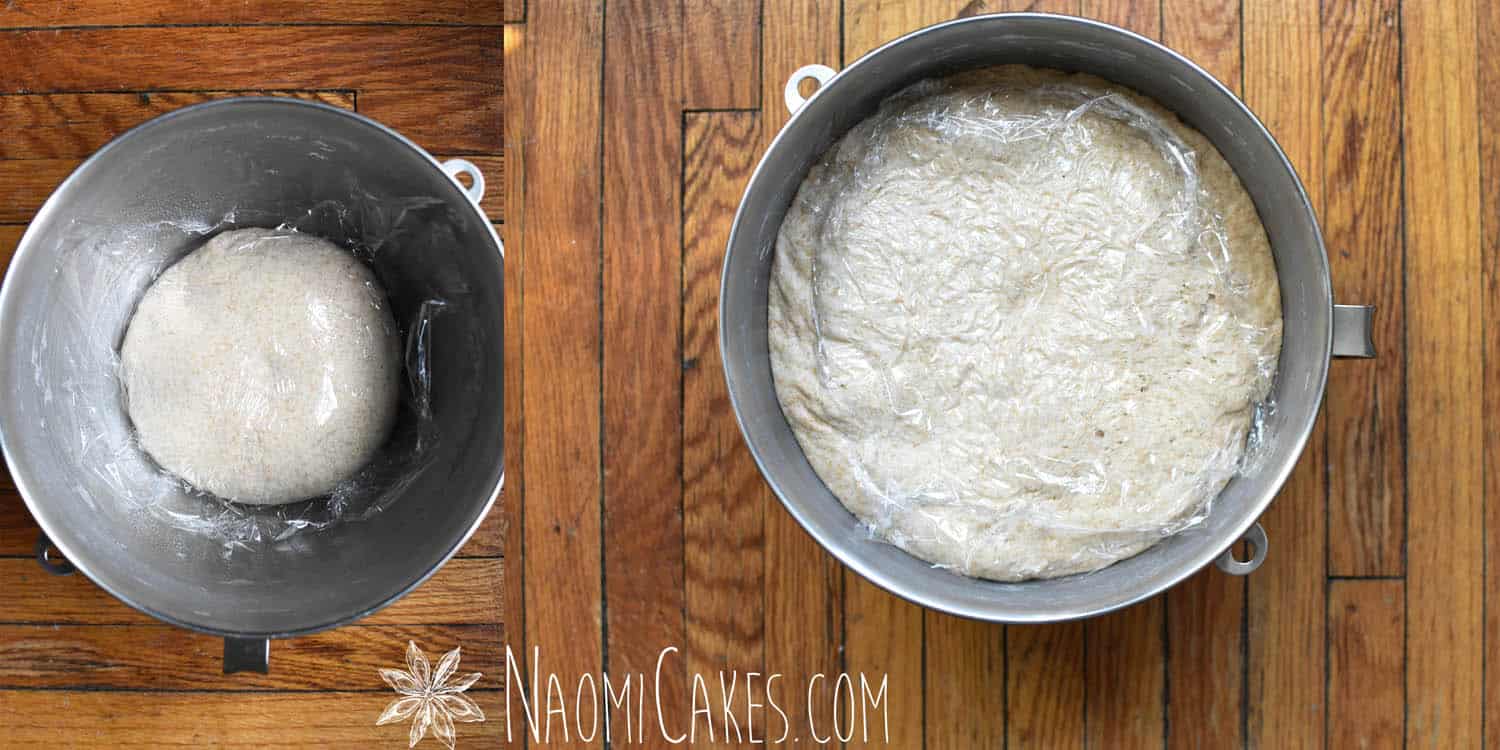
Combine all ingredients in the bowl of an electric stand mixer. Mix on low-medium speed with the dough hook for 10 minutes. (If you don't have a stand mixer, you can combine everything until it becomes difficult to stir, turn it out onto a lightly floured work surface, and knead for 10-15 minutes or until the dough is smooth and elastic; try not to add too much extra flour!) Turn into a large, greased mixing bowl, cover with plastic, and allow to rise for 3 hours (or until doubled) in a warm place.
-
Note:
When you measure flour by volume (cups), sometimes you end up with more than you need, so your dough might be a little dry. If this is the case, you might need to add a little extra water to this recipe, up to 4 Tbsp. If your dough looks dry, add 1 Tbsp extra water at a time (mixing or kneading after each addition) until the mixture comes together into a well-incorporated dough. Stop adding water when it looks like your dough is coming together, and finish mixing or kneading until it's smooth and elastic, 10-15 minutes as per the directions in step 1.
If you measure by weight, each cup in this recipe = 140 grams, and the amount of water in the recipe (1/2 cup) should work out just fine.
-
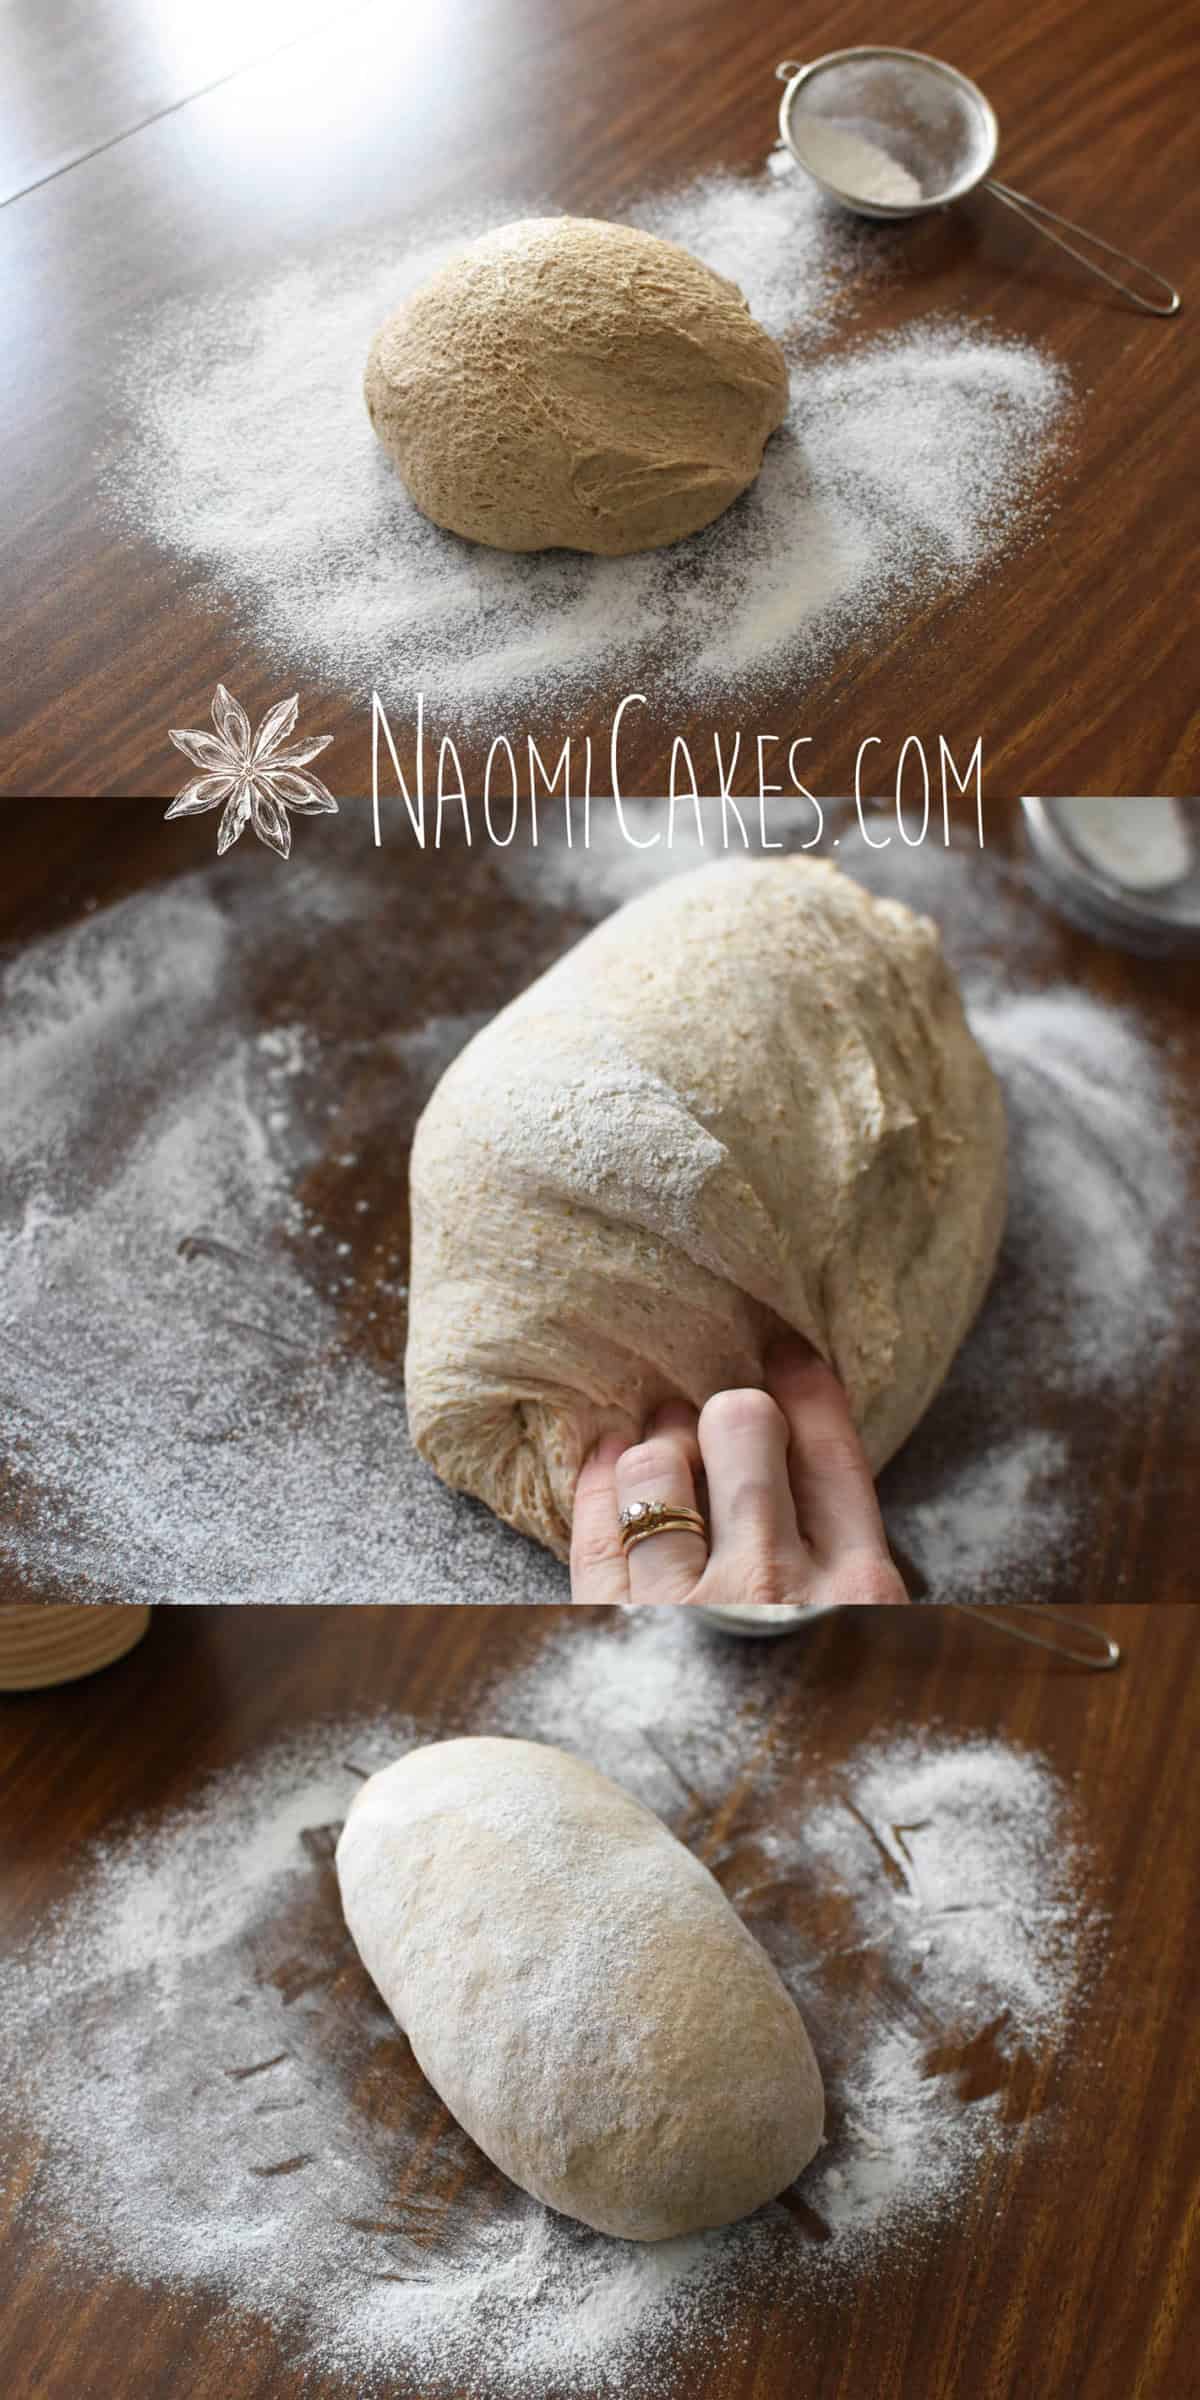
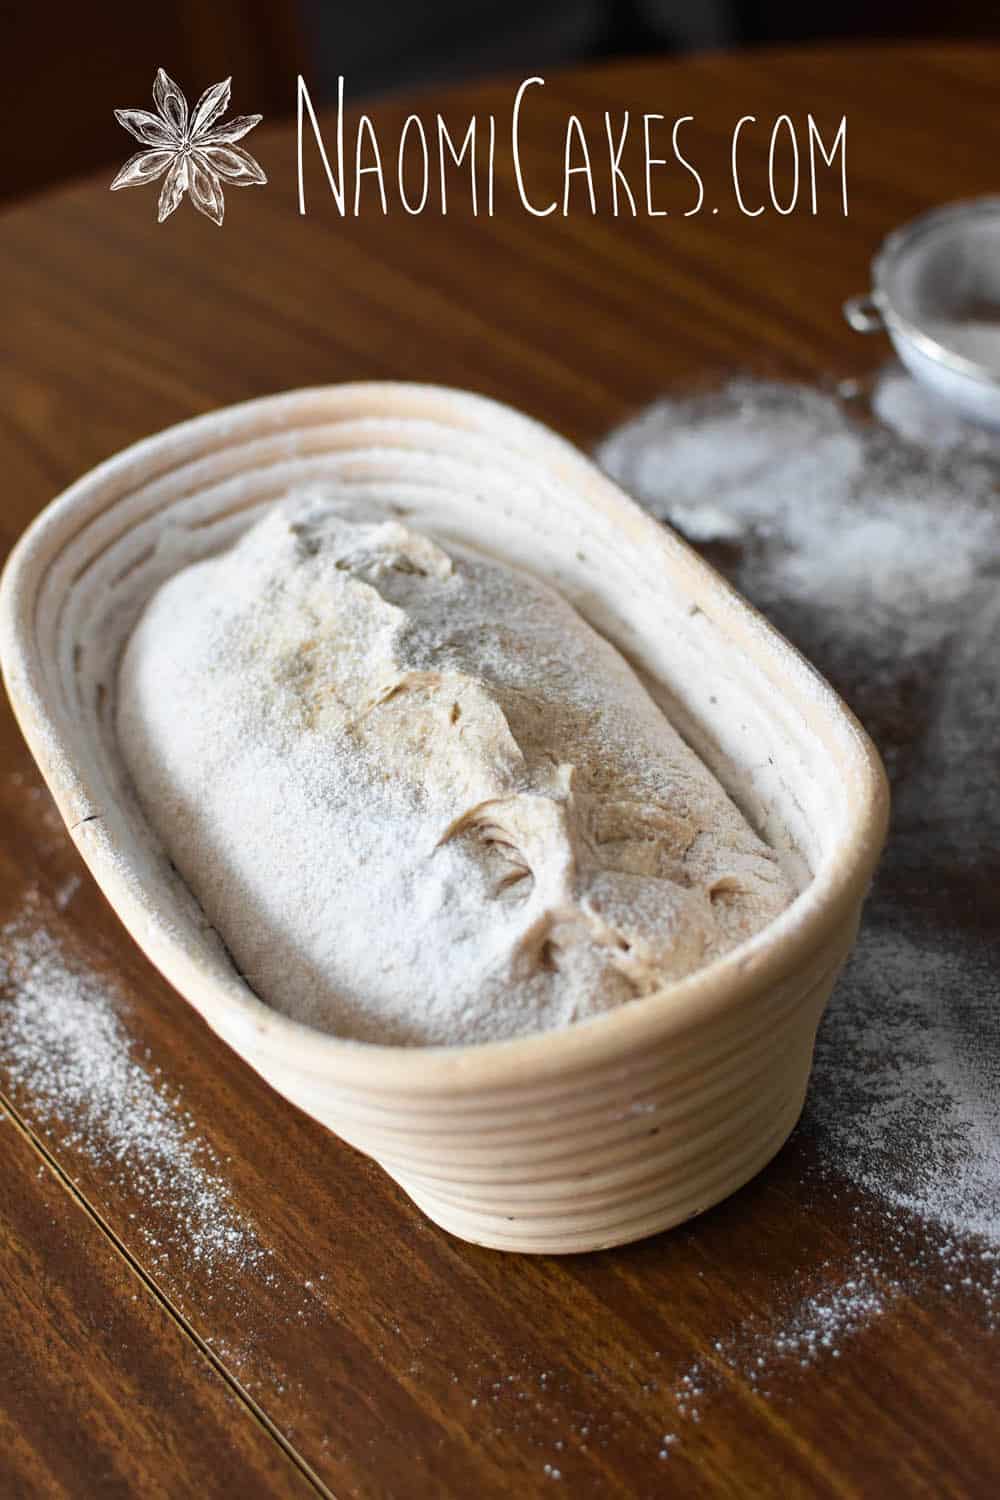
Turn the risen dough out onto a lightly floured work surface, and shape into a smooth loaf. Turn the shaped loaf upside down into a lightly floured banneton proofing basket or bowl lined with a tea towel, again dusted with flour. Cover and allow to rise 45 minutes longer, or until puffy. Set aside.
-
Place a dutch oven onto a cookie sheet and into your cold oven. Preheat the oven to 500 degrees F, and allow the dutch oven to heat with the oven for 15 minutes. (See recipe notes if you don't have a dutch oven.)
-
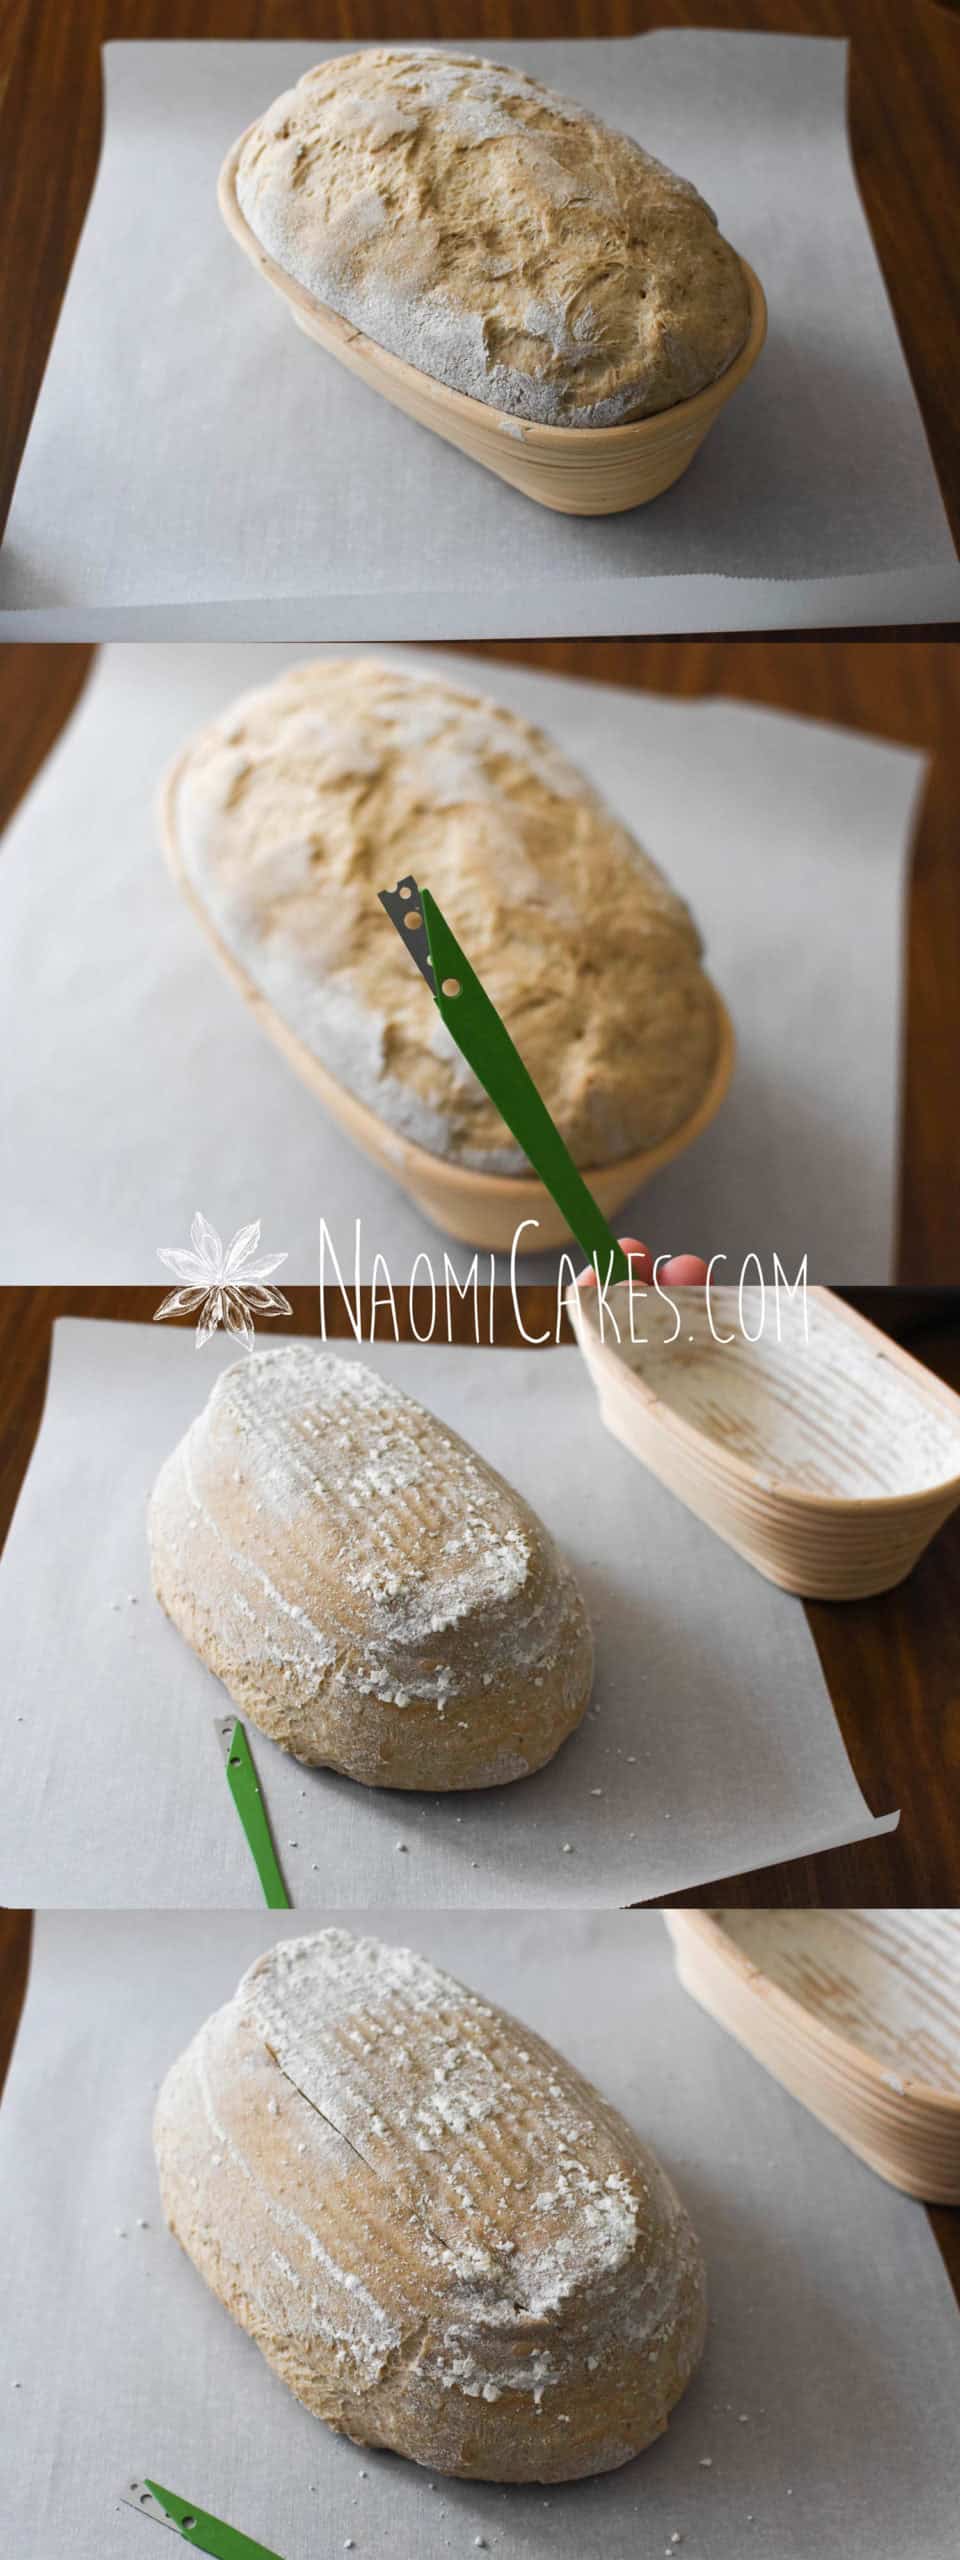
Turn the dough out of the proofing basket onto a piece of parchment paper. It should be large enough for you to lift it by the edges to move the loaf of bread easily. Score the top of the bread with a scoring knife. Carefully transfer the loaf (on the parchment) to your hot dutch oven, quickly covering it with the lid and returning it to the oven. Bake for 15 minutes.
-
Carefully remove the lid from your dutch oven, close the oven door, and reduce the oven temperature to 450 degrees F. Continue baking your loaf for 25-30 minutes or until golden brown and the loaf sounds hollow when tapped with a wooden spoon.
-
Remove the cookie sheet with the dutch oven on it from the oven; gently remove the loaf with the paper from the dutch oven (I like to use a spoon or some other utensil to lift it out), and cool on a wire rack. Cool completely before slicing.
Recipe Notes
IMPORTANT:
- Due to the large amount of starter in this recipe, if you let your bread rise too long, it will begin to break down the flour in your loaf and you could lose some structure to your dough. So, be careful to keep the times in this recipe as much as you can!
- If you don't have a dutch oven, this bread will hold its shape very well on a cookie sheet. Just make sure you put some steam into your oven during baking (boiling water poured into an empty pan on the bottom rack will work just fine). Bake 15 minutes @ 500 degrees F and then reduce the temperature to 450 degrees F and continue baking for another 25-30 minutes or until brown. Cool on a wire rack.
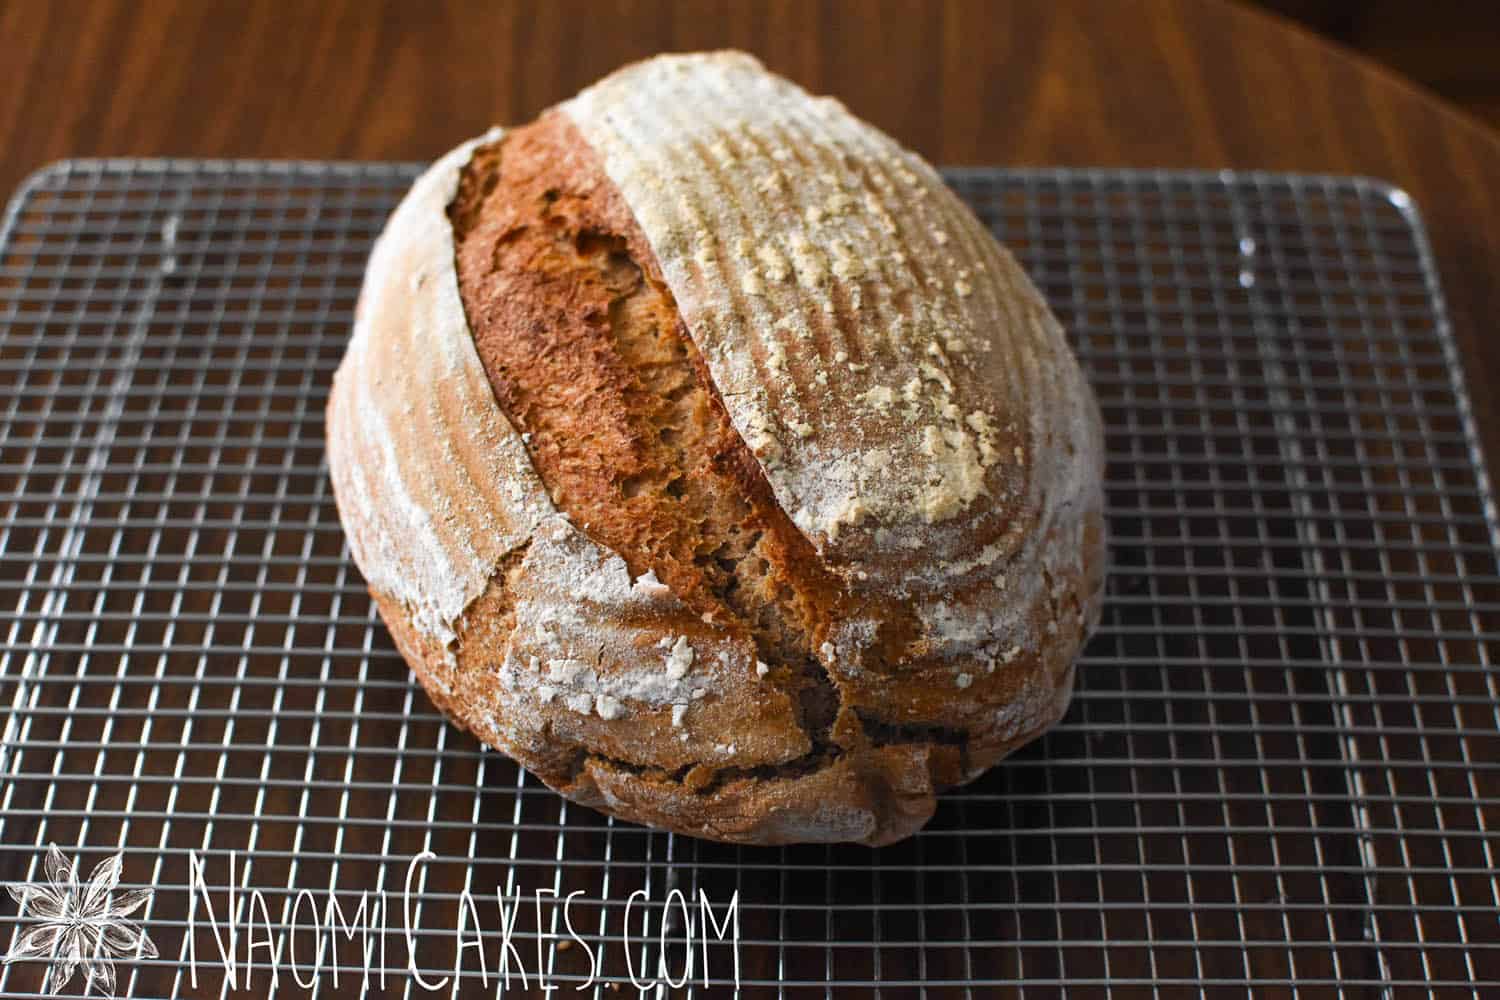
As you can see, I let this rise a tad bit too long. It started to deflate! I did put in the recipe notes that you shouldn’t let it rise too long… But, obviously, there’s a slight grace period. 😉
I decided to humble myself and share these pictures so that if this happens to you, no stress. It happened to me too!
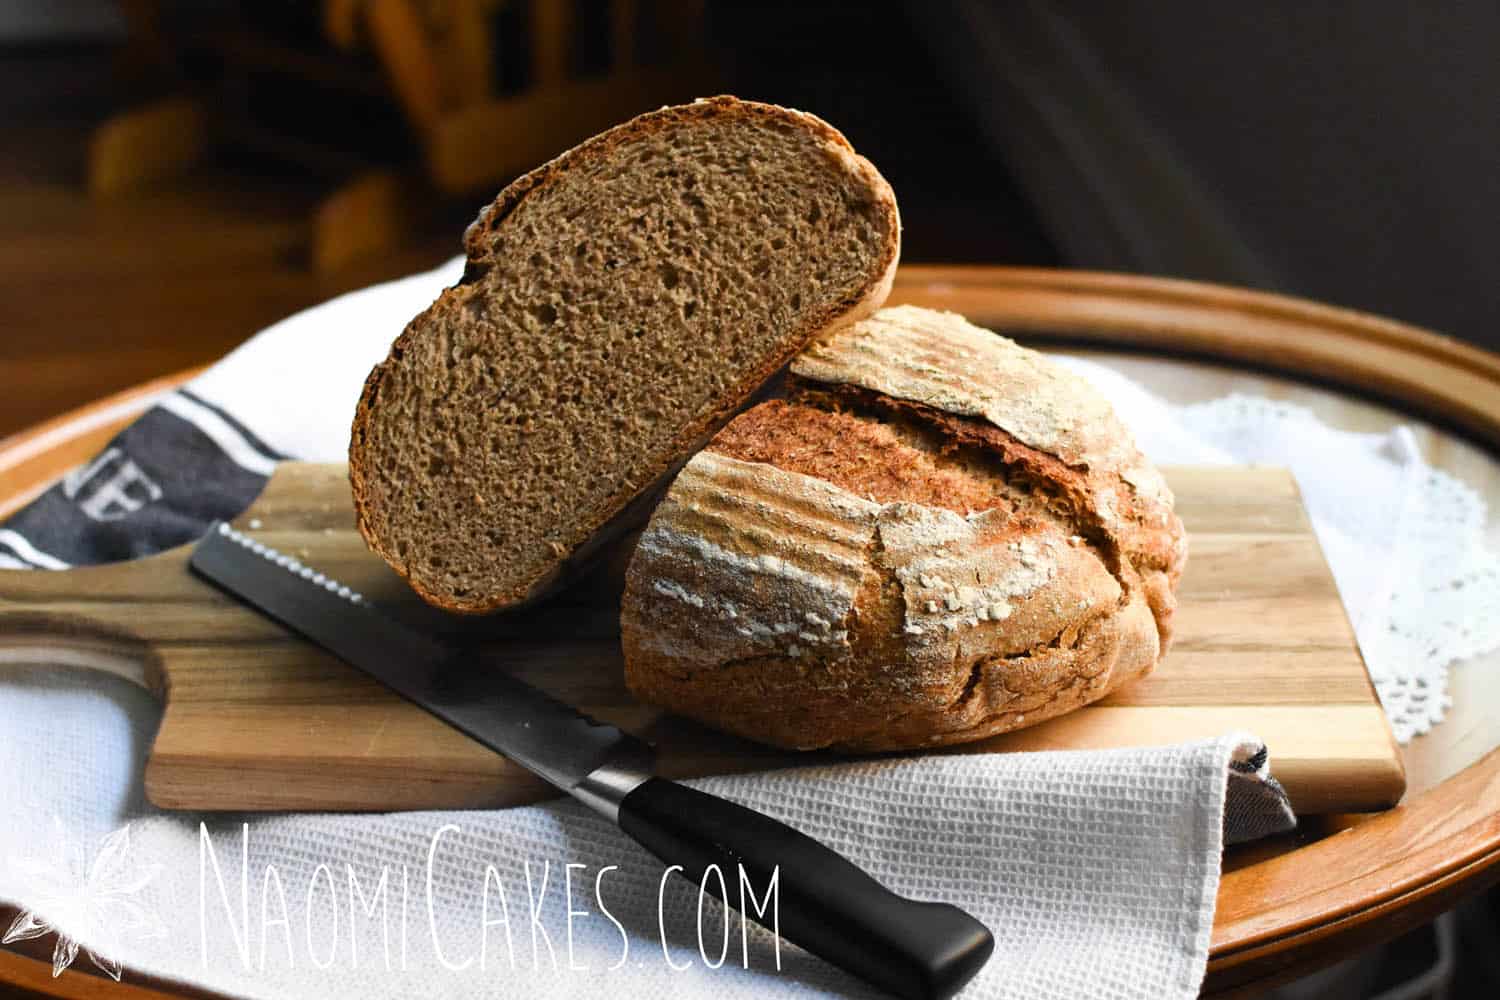
Annnd once again, my bread is slightly over-proofed in the pictures below! It didn’t harm the finished product, however, so… score!
If you can, aim to get your bread a *little* less puffy than these pictures show. If you do end up where I did, however, don’t fret! I know from experience that there’s a good chance it’ll turn out. 😉
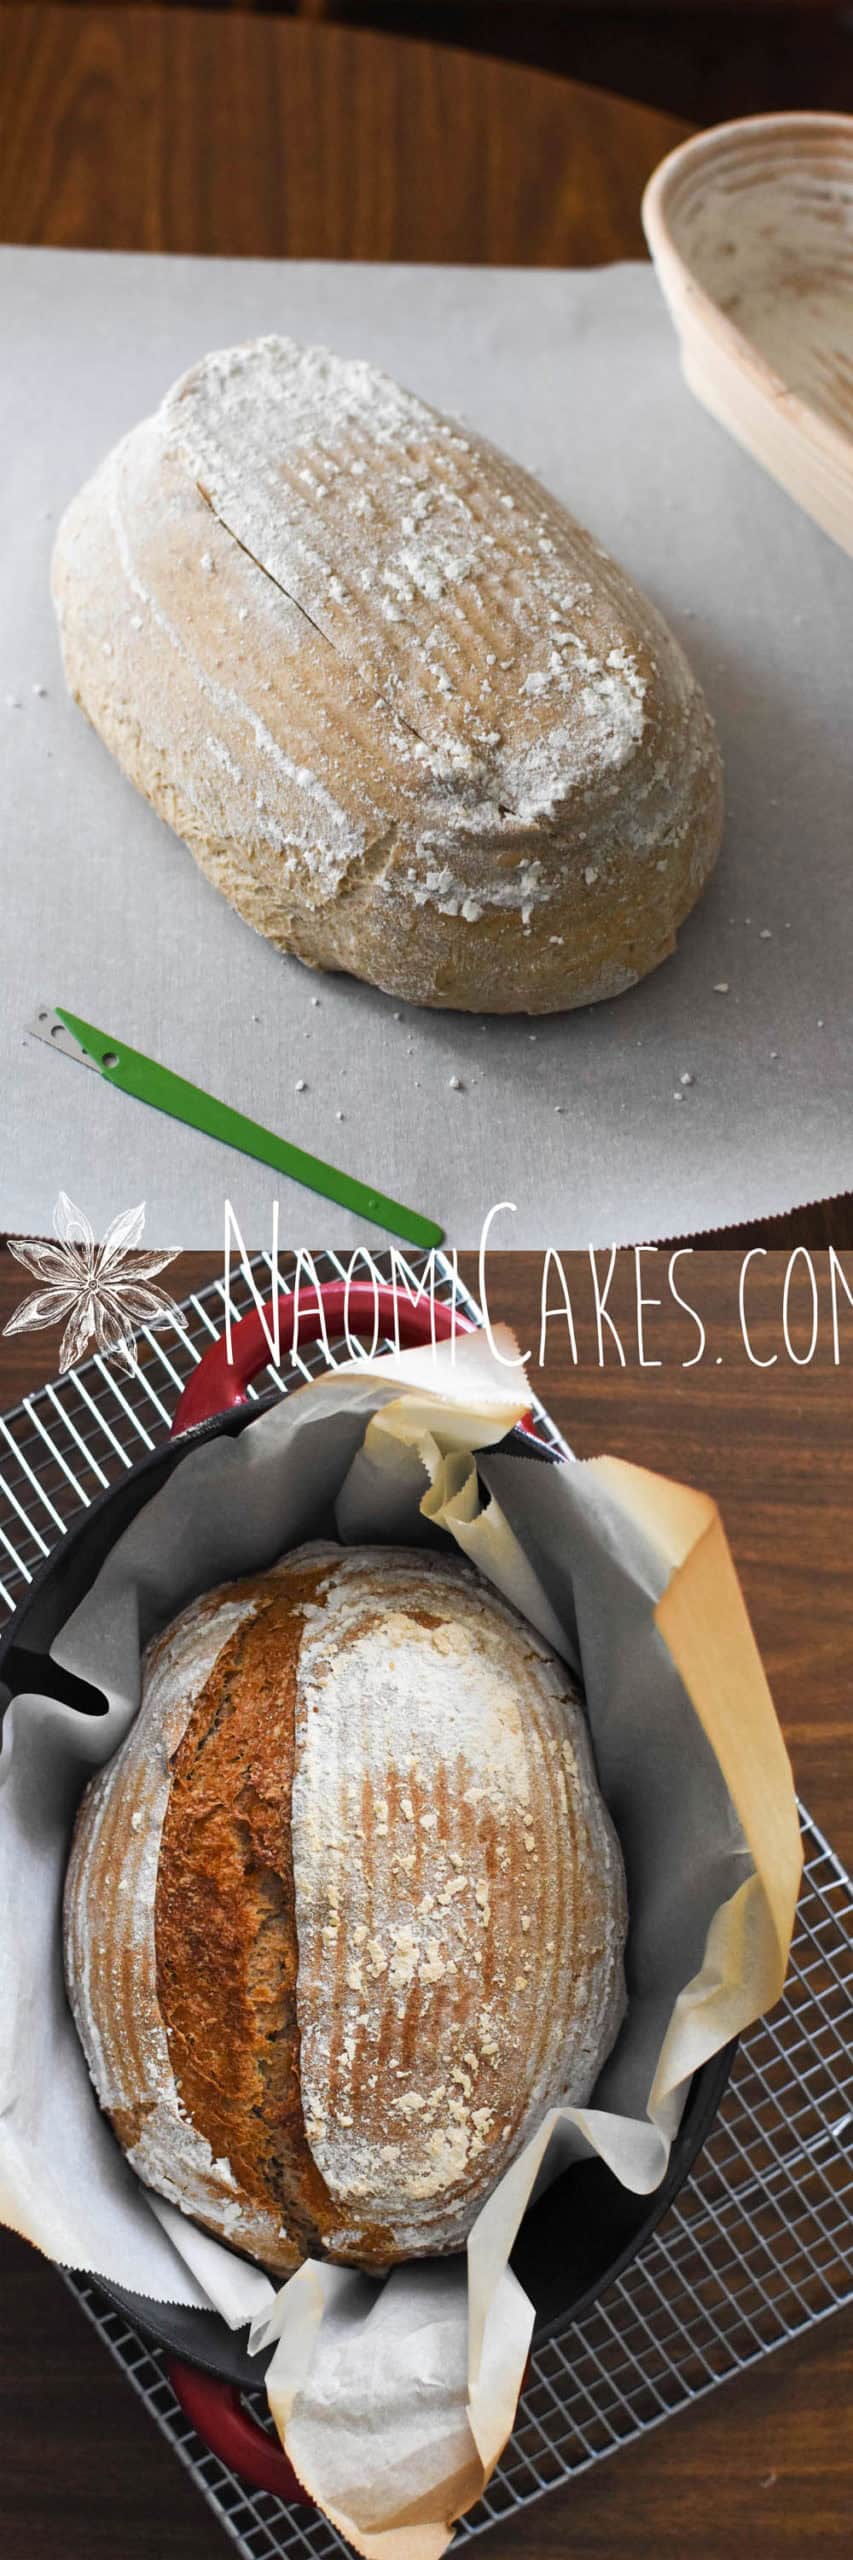
This particular loaf is made with a rye starter discard. It gave my loaf the lovely taste of rye bread and that dark caramel-y colour. Mm-mm.
As always, if you make this recipe, let me know how it turned out! You can do that by leaving a comment, or by tagging me in your photos on Facebook or Instagram.
Thanks for stopping in! Back soon,
Naomi