
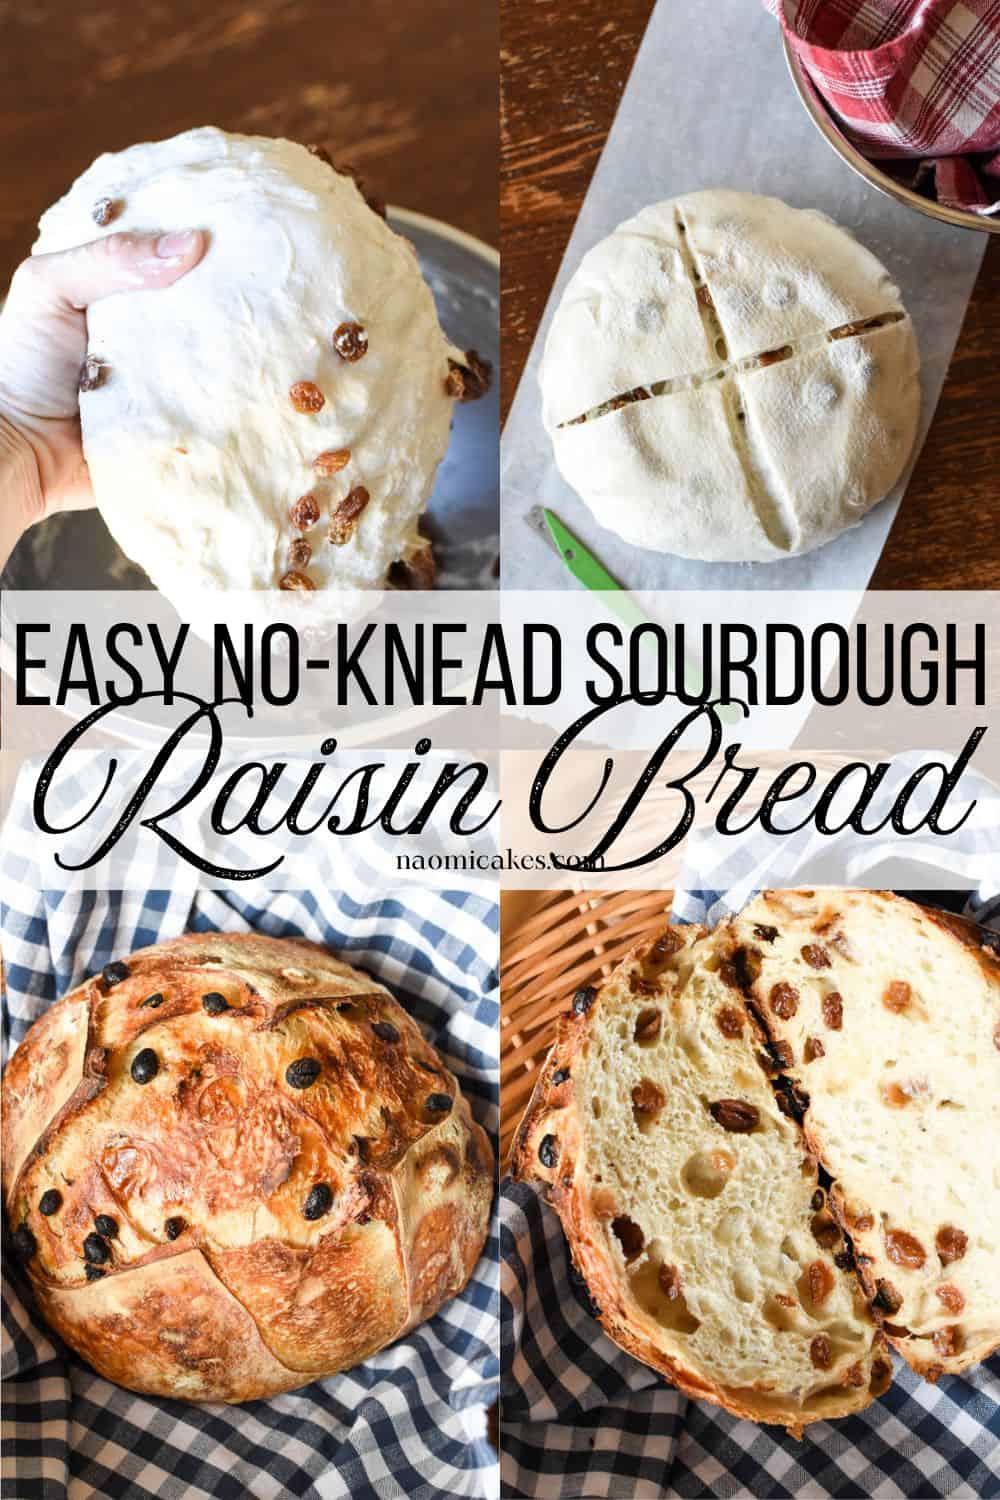
Easy No-Knead Sourdough Raisin Bread [Recipe]
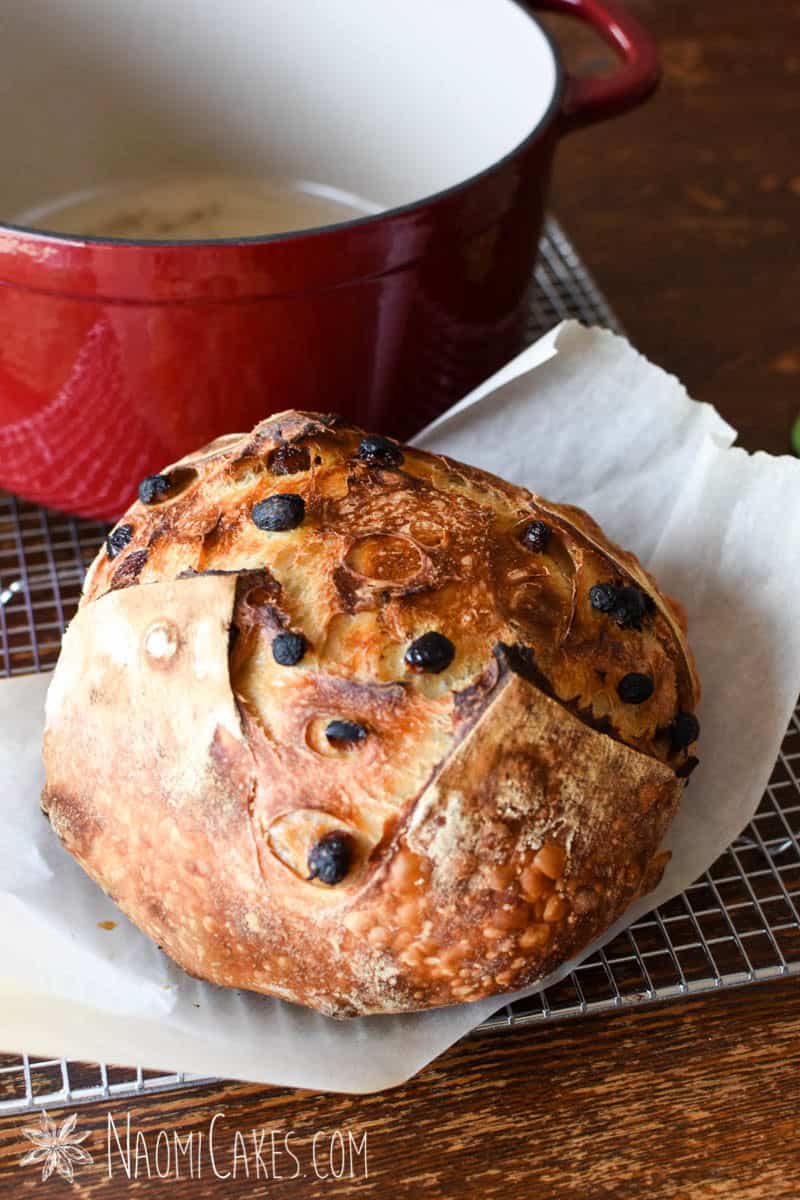
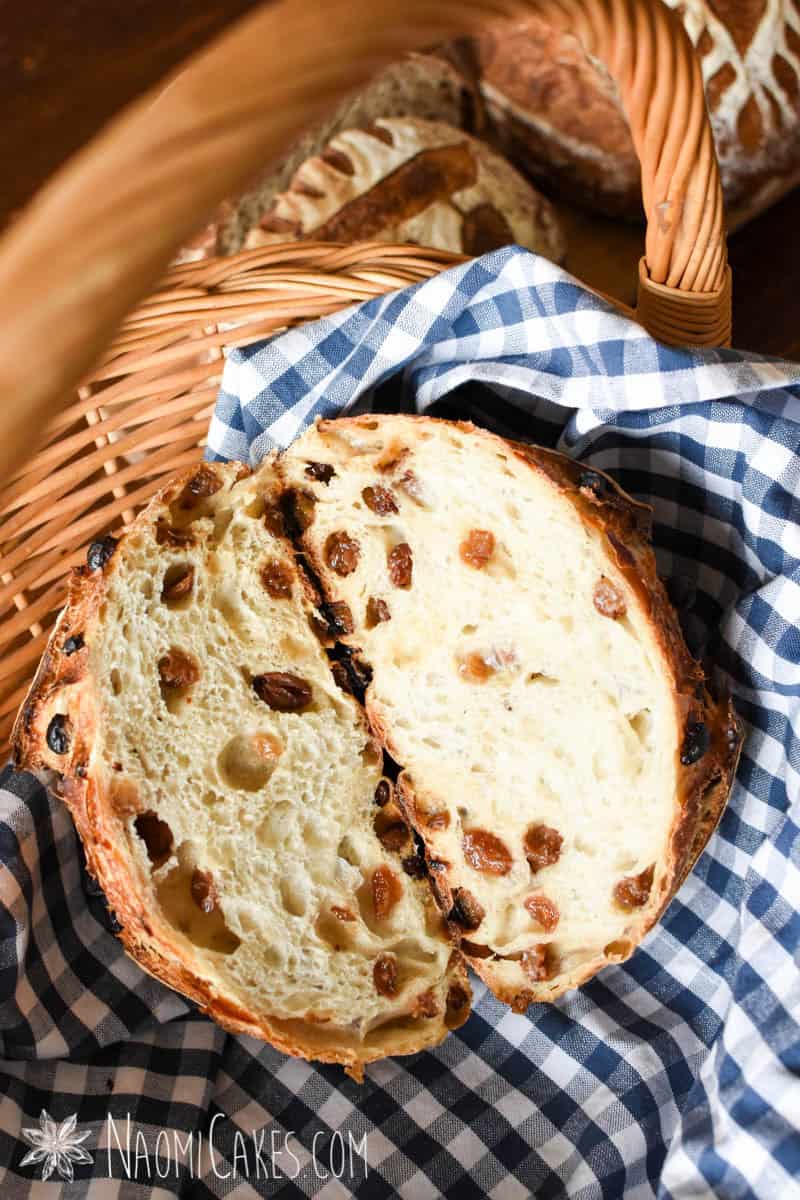
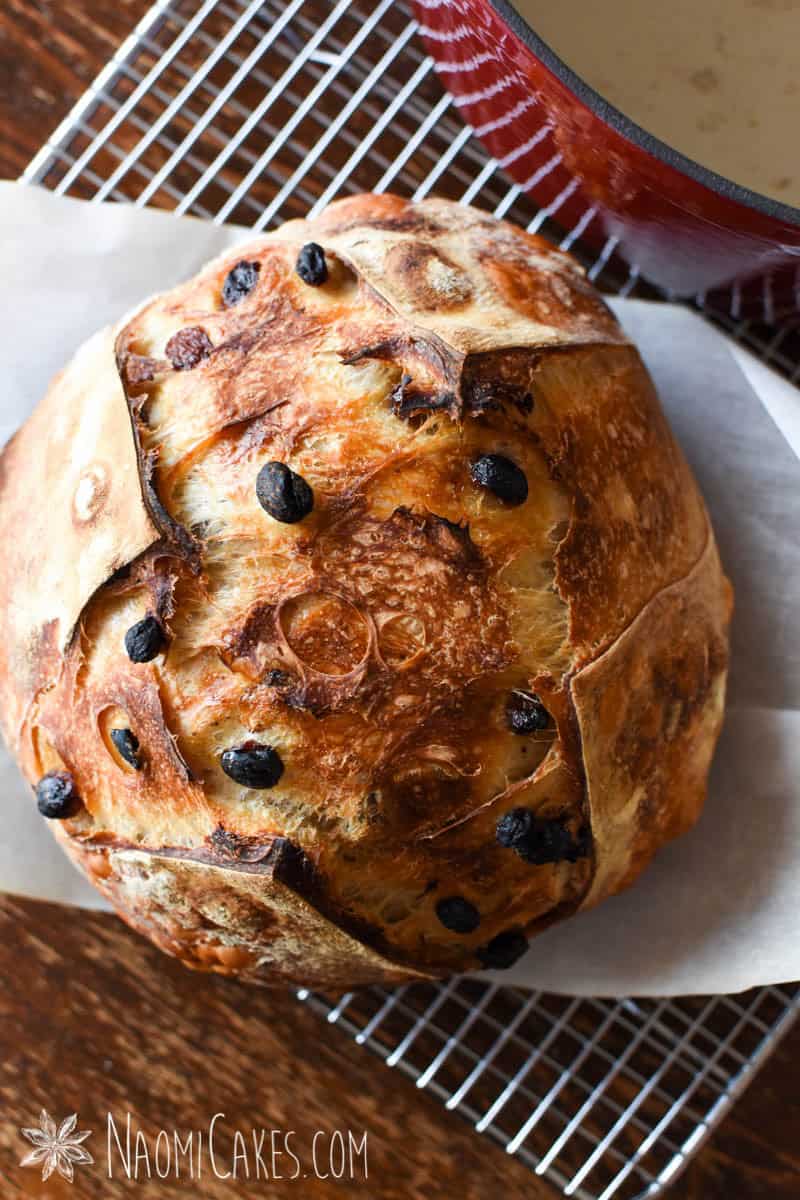
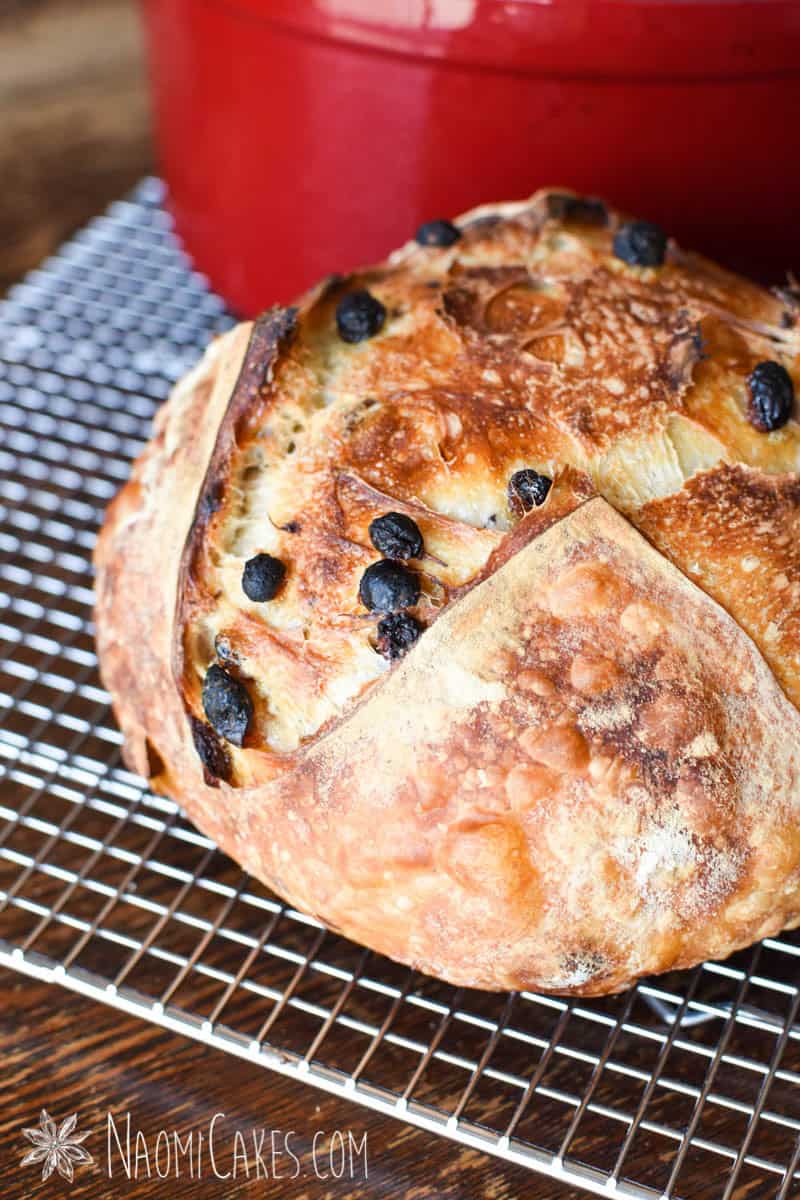
This easy no-knead sourdough raisin bread is one of my favorites. It is a delicious, homemade bread with a salty/sweet flavor and an incredible crunchy crust that can’t be beat!
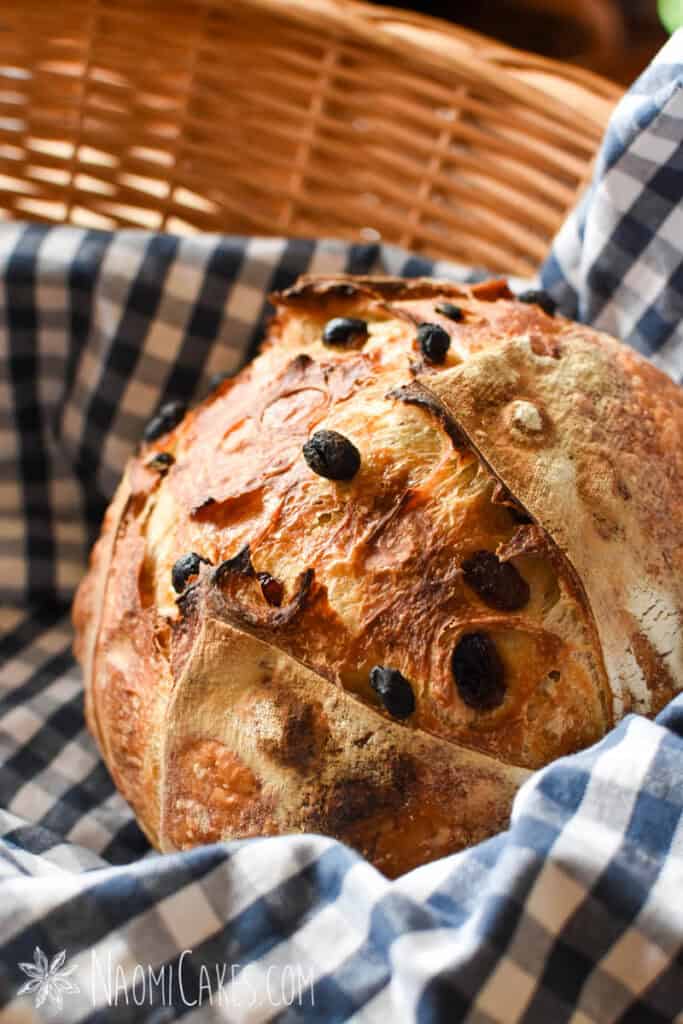
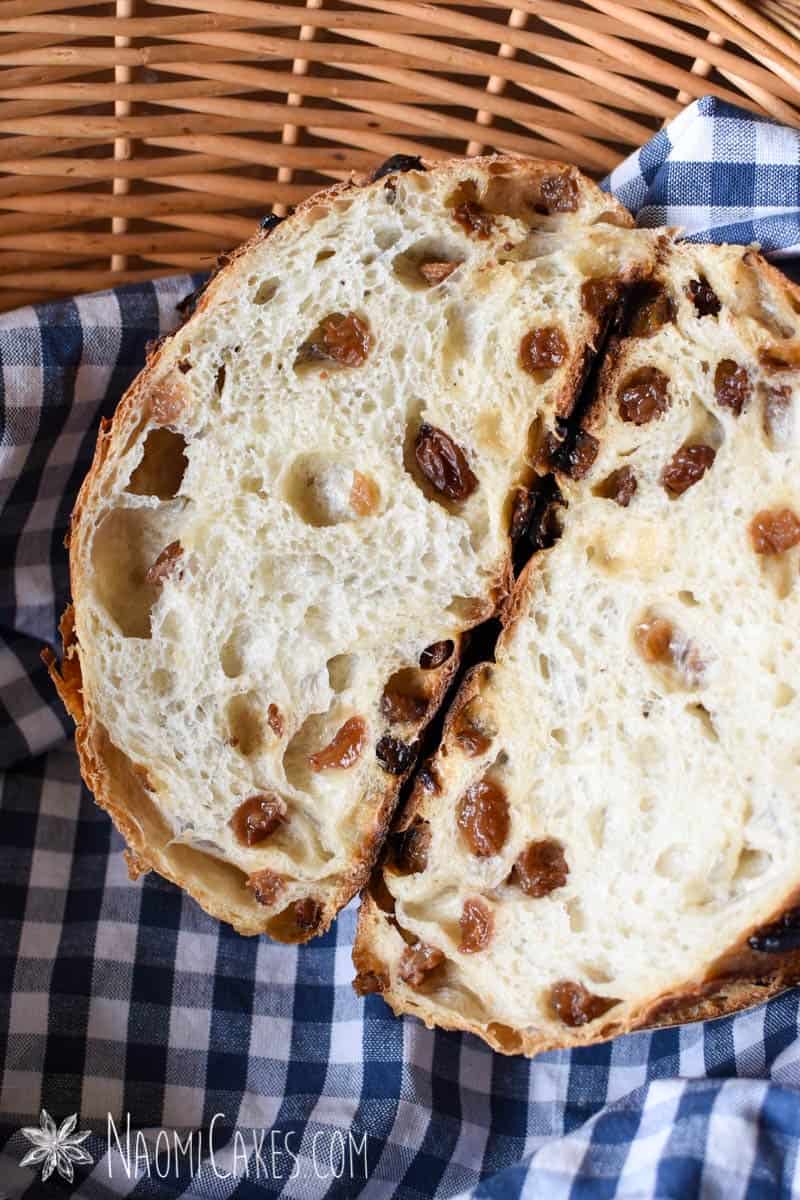
Unlike sourdough cinnamon raisin bread, this recipe is made with just raisins (rather than added cinnamon and sugar) for its sweet flavor. It feels less like dessert, and more like a perfect breakfast with its rich, soft inside texture and crunchy outer crust.
I love to enjoy a piece of this raisin bread toasted with butter, or alongside a savory egg breakfast for a bit of contrast.
What is sourdough bread?
Sourdough is the name for bread that has been fermented over a long period of time with an active starter culture vs traditional yeast. To make an active sourdough starter culture, you can check out this tutorial; it’s really super simple (just takes a bit of patience)!
Why is some sourdough more sour than others?
Basically, sourdough bread has a more tart or “sour” flavor when it has been fermented for a longer period of time.
The only thing to be careful of when you’re making sourdough is that the longer you ferment your dough, the more the dough actually begins to break down; in other words, it won’t hold its shape very well, and the dough won’t rise properly.
To long-ferment your bread, I recommend going with a longer slow (cold) ferment time. Allowing your bread to rise in the fridge will slow the fermentation process down, but it also does provide a great environment for that natural yeast to work its magic.
I tend to make my breads with a “long-enough” fermentation period to get some good yeast action and a good depth of flavor, but not long enough to make them truly sour tasting. That said, a recipe like this sourdough raisin bread isn’t going to be super sour; rather, it’s a perfect mix of salty and sweet.
Where to get a good sourdough starter
As I mentioned earlier, you can make your own following this tutorial – or, if you know someone who has an active starter already, you can ask to have a little bit of theirs. It only takes the tiniest bit to get you started, and I’m guessing your sourdough-baking friend won’t mind sharing!
If those are not an option for you, you can also offer to buy a little bit from a local bakery, or purchase a sourdough starter kit to make your own at home a little easier.
Active starter
Active starter is what we call a culture that has been “fed” with flour and water, and it has risen to become bubbly, “active,” and ready to use for baking.
Dormant starter
Dormant starter is a starter that has an active culture in it, but it’s been placed in the fridge (or freeze dried) so that it doesn’t need to be continuously fed to stay alive.
You cannot bake with a dormant starter, but if you feed it and give it some time (about 8-12 hours), a healthy dormant starter will become active again, ready to make some delicious fresh baked goods.
Sourdough discard
Discard is the name we give to excess starter that we don’t need. Some people choose to actually discard it, since having too much starter can get out of hand quickly! However, I recommend never throwing away your excess starter; rather, set it aside in the fridge, and pull it out to make any number of delicious things as you need it.
For a few recommendations, you can check out my sourdough crêpe recipe or mock sourdough bread as a way to use up sourdough discard and avoid any waste.
How to make sourdough raisin bread
This recipe is incredibly straightforward, and I hope it quickly becomes a favorite in your home! Here’s the basic outline of how it’s done.
Make sure you check out the recipe card below for all of the exact amounts and more detailed instructions. Also, scroll down just past the recipe card for more beautiful photos!!
1 – Make a starter
Before you can make sourdough bread, you have to have a starter. If you don’t have one of your own already, you can check out the tips I gave a little earlier in this post, or visit my tutorial to make your own.
2 – Mix up the dough
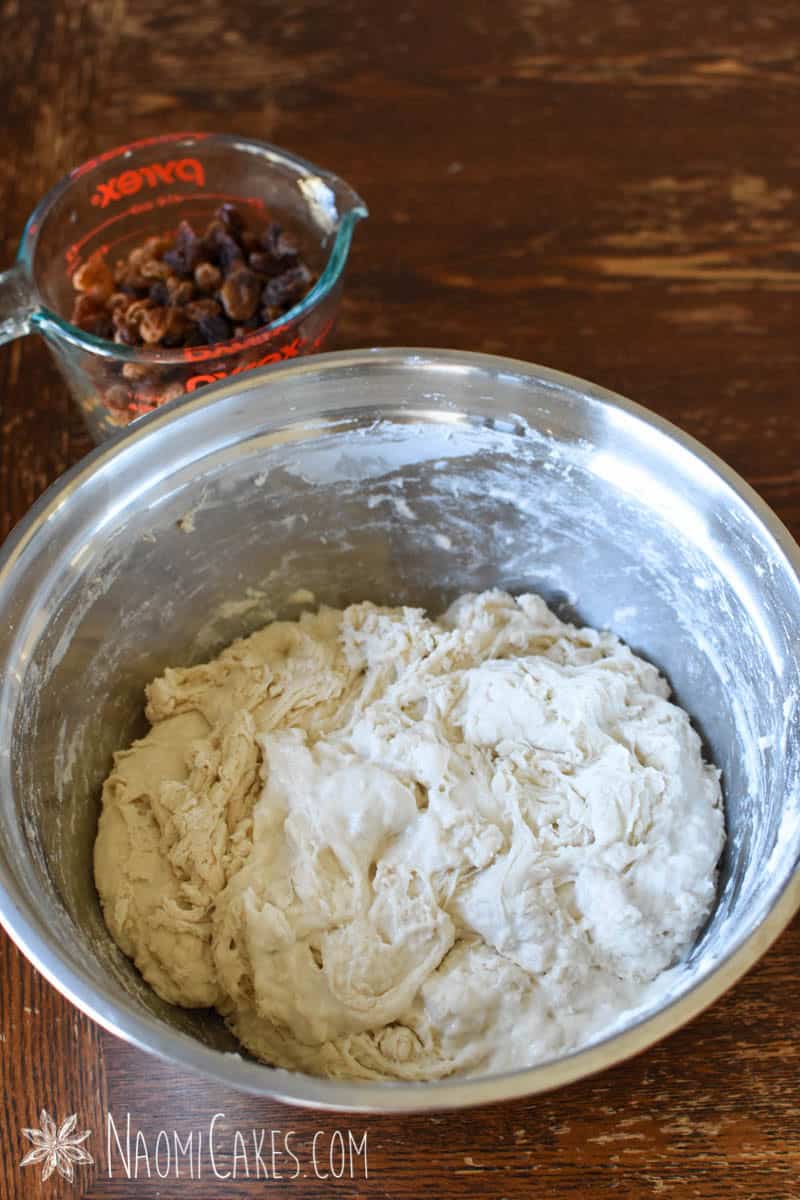
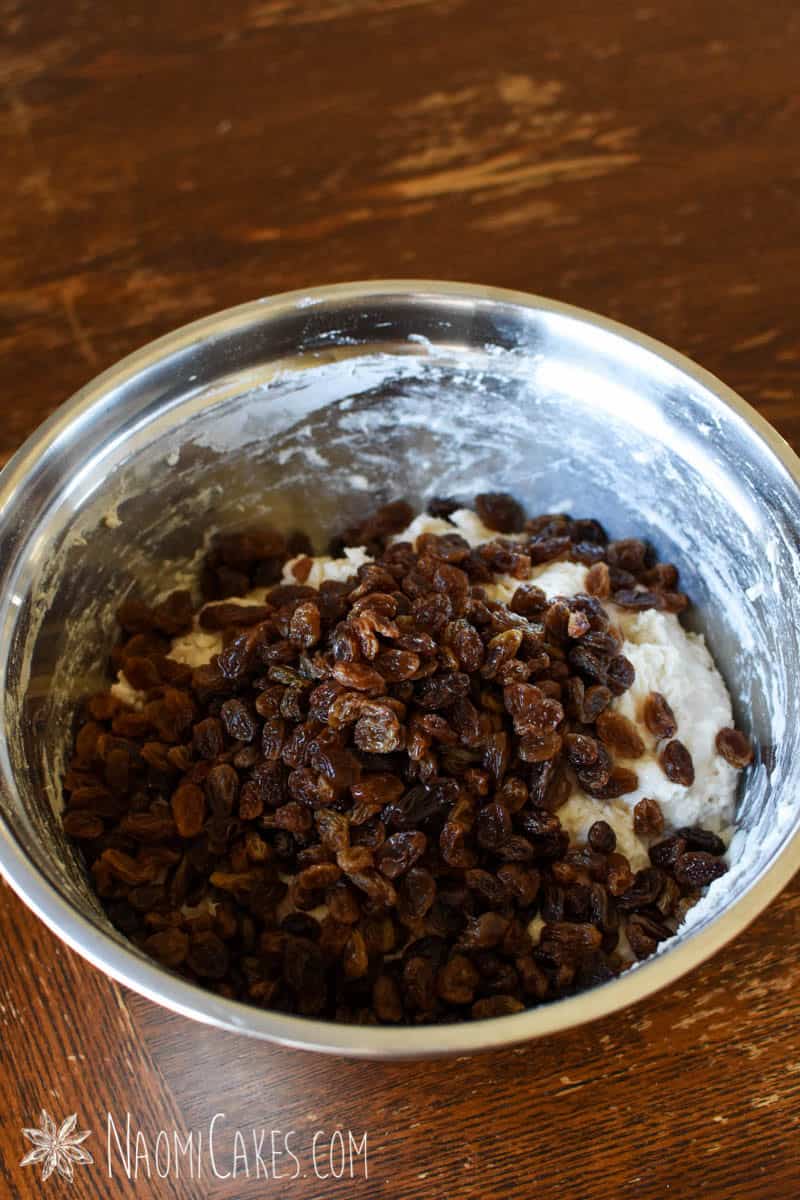
Once you have an active, healthy starter, you can make bread. This recipe is very simple: first you soak the raisins in boiling water to soften them a little bit (to give you plump raisins rather than hard, dry ones).
Then, you throw all of your dough ingredients in a bowl and stir it or mix it with your hand loosely until everything has been moistened by the water. Cover this shaggy dough, and allow it to rest for 30 minutes.
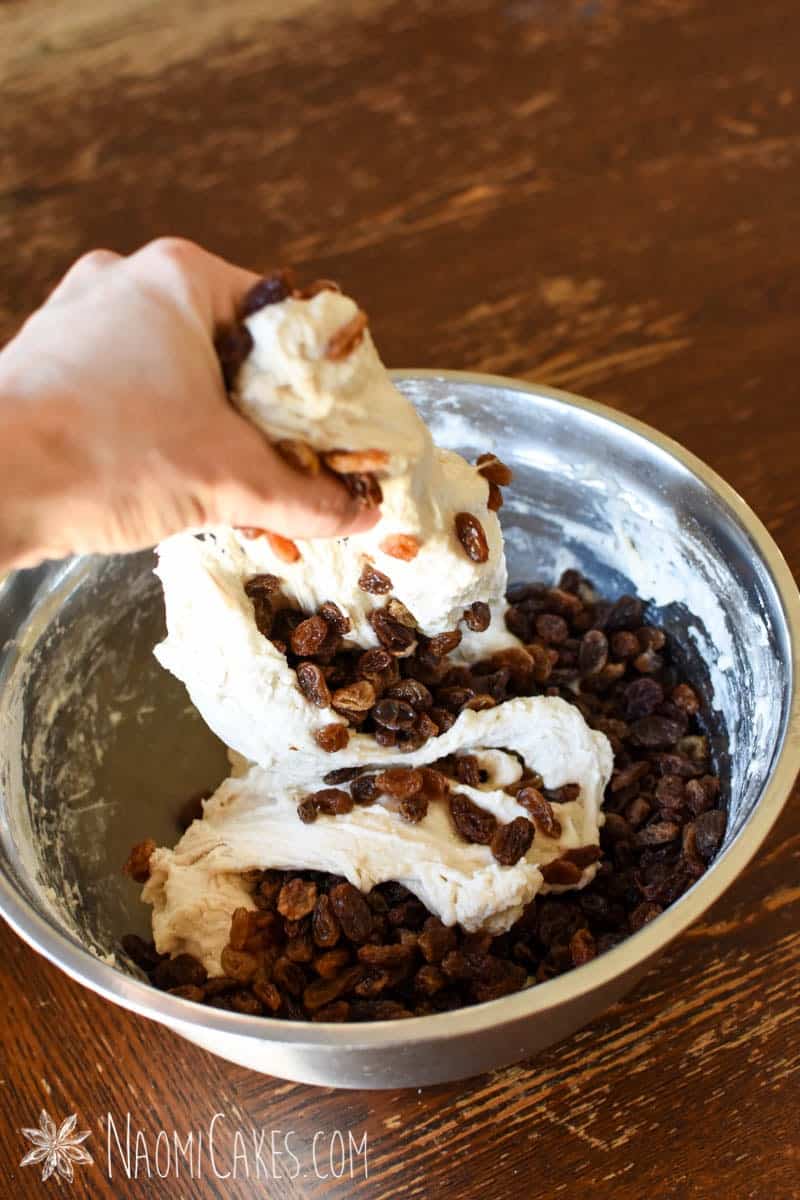
3 – Stretch and fold
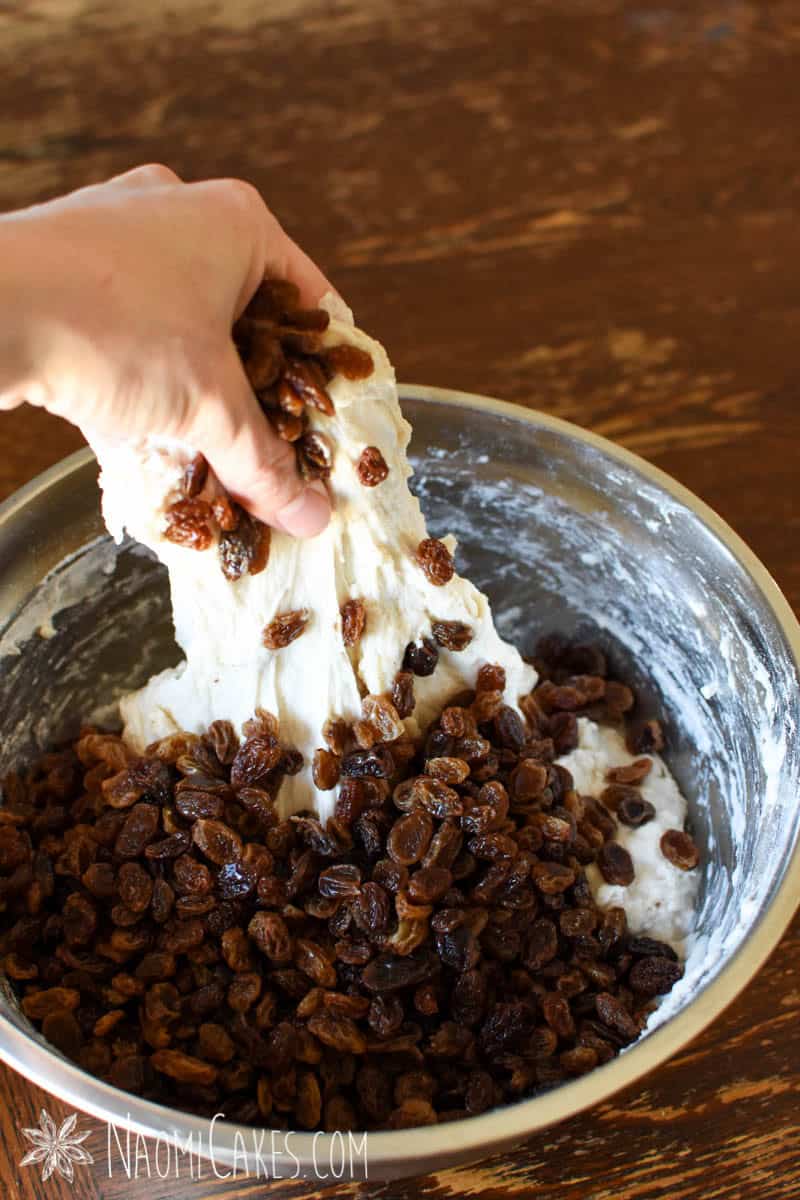
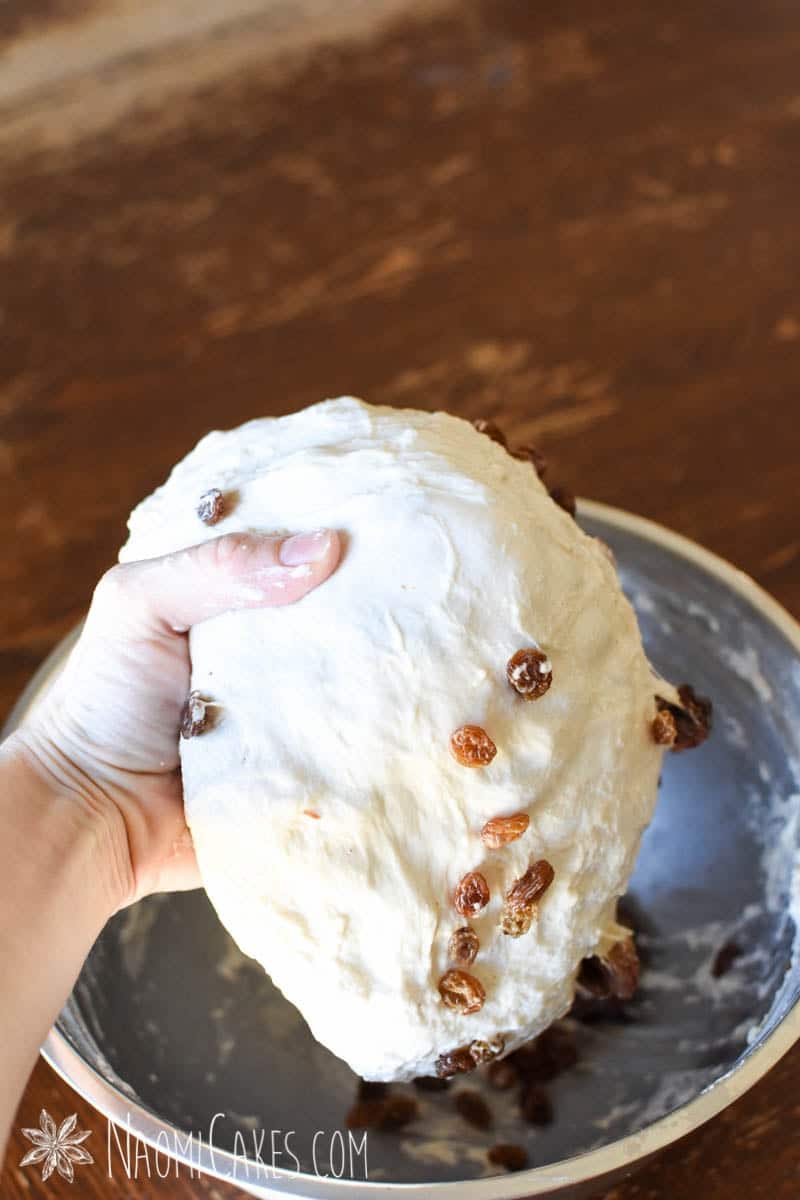
Once the dough has been resting, you can add the raisins and perform your first “Stretch and fold.” This is exactly what it sounds like – You pretty much just grab some of the dough, stretch it up high, and fold it back on itself a few times to build structure and strength into your dough. This process is performed a few times, and then the dough gets to rest again, at room temperature, for 20-30 minutes.
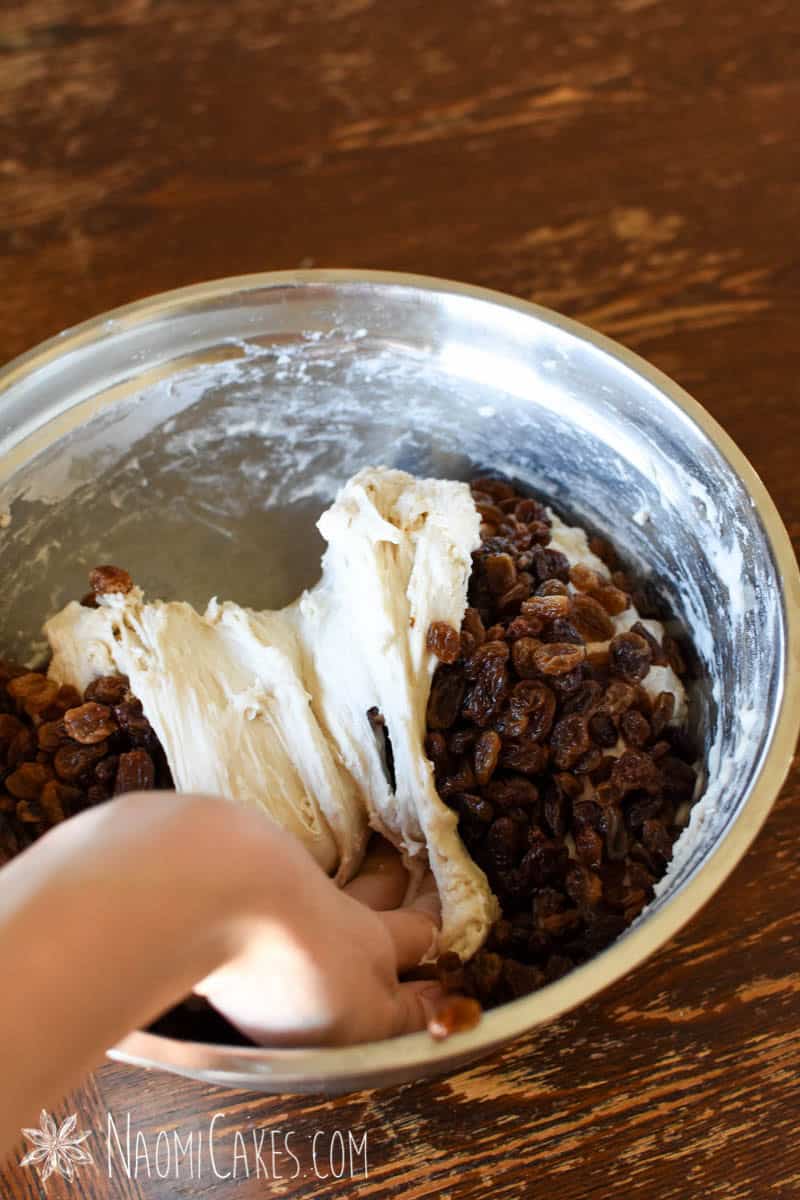
The stretch and fold process is repeated several more times, always letting the dough rest in between. Each time, the dough should become more soft, silky, and smooth. Cover the top of the dough with a damp tea towel between each stretch and fold.
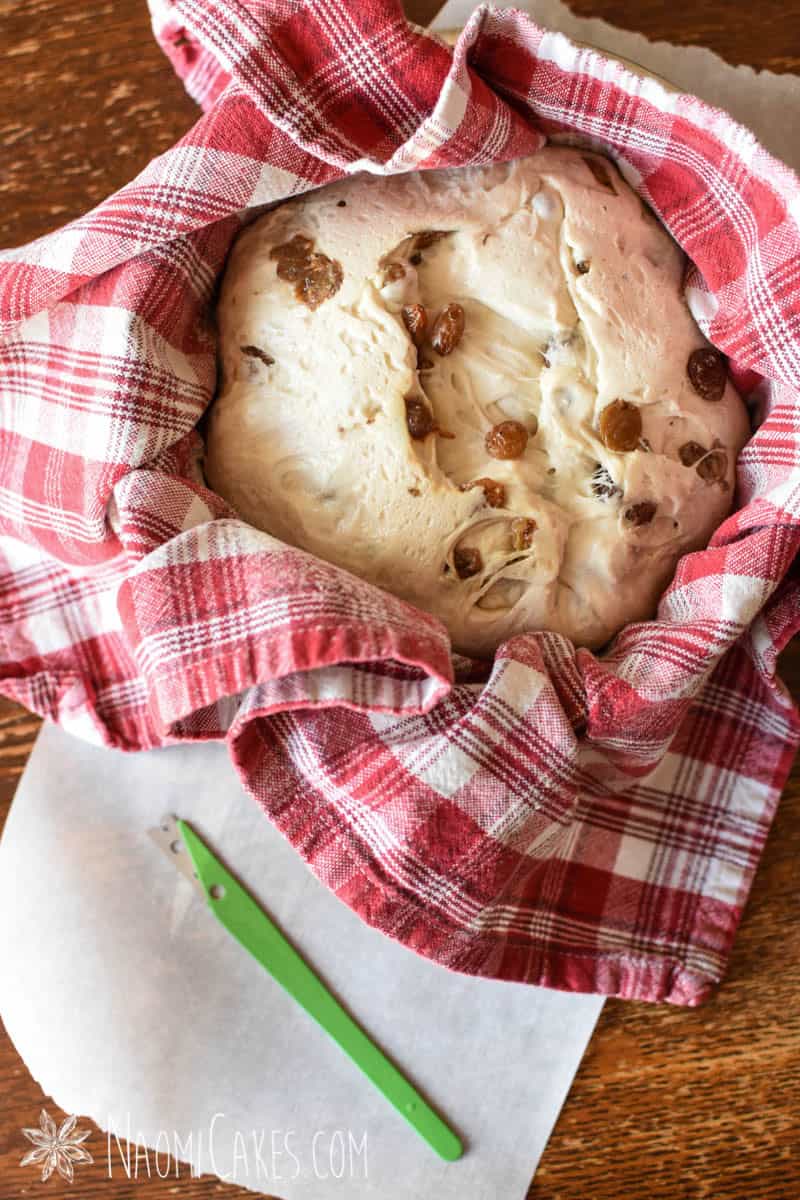
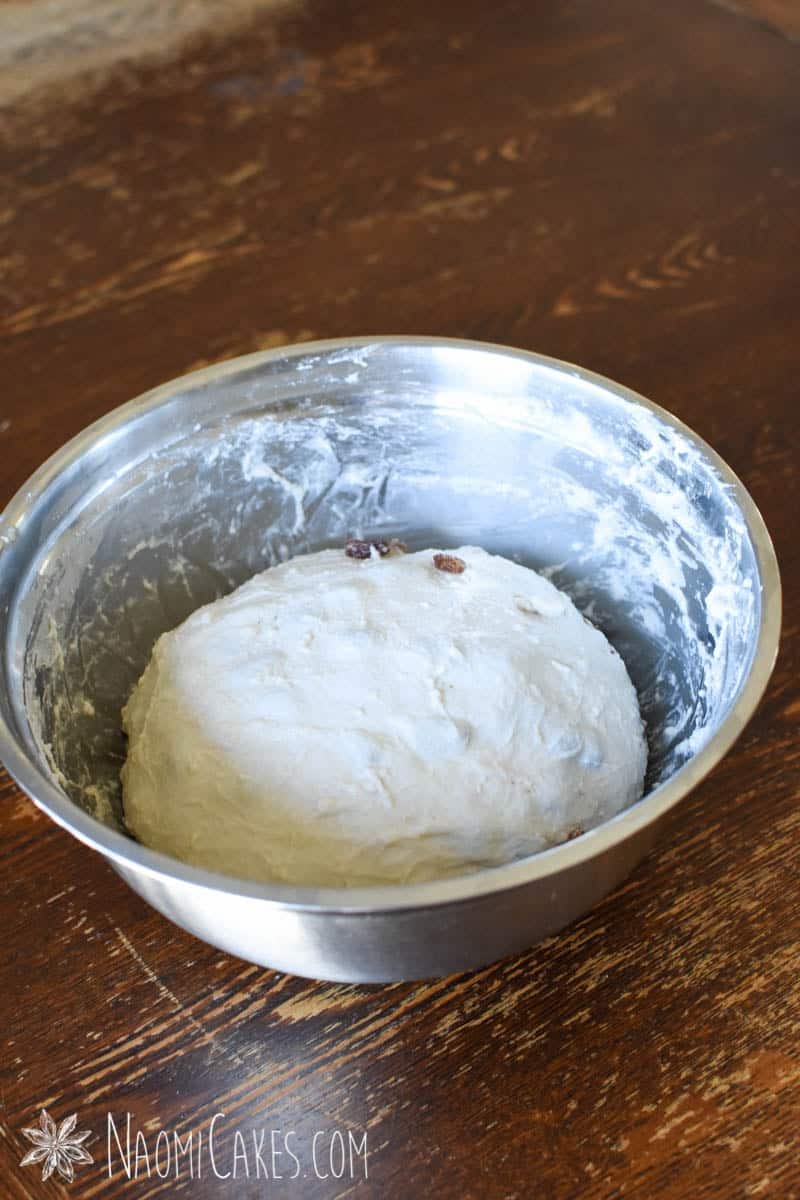
4 – Bulk ferment
Once the dough has been stretched and folded and its texture is nice and smooth, it can bulk ferment. This process is exactly how sounds as well; you’ll keep your dough covered with a damp tea towel, plastic wrap (or in a pinch, a plastic bag) until the dough has doubled (or nearly doubled) in bulk. This process of letting the dough rise should take about 3-5 hours.
5 – Shape your loaves
After the bulk ferment, you can shape your loaves. I sometimes like to do a “Pre-shape,” which basically means that you roughly shape the loaves, let them rest, and then shape them again, officially, later. (The pre-shape is not necessary, it just helps to build a little extra strength into the dough. More strength makes the loaves a little bit taller and more rounded.)
Once the pre-shape has rested (if you decide to perform it at all), you can shape your loaves. (Check out my recipe below for detailed instructions.)
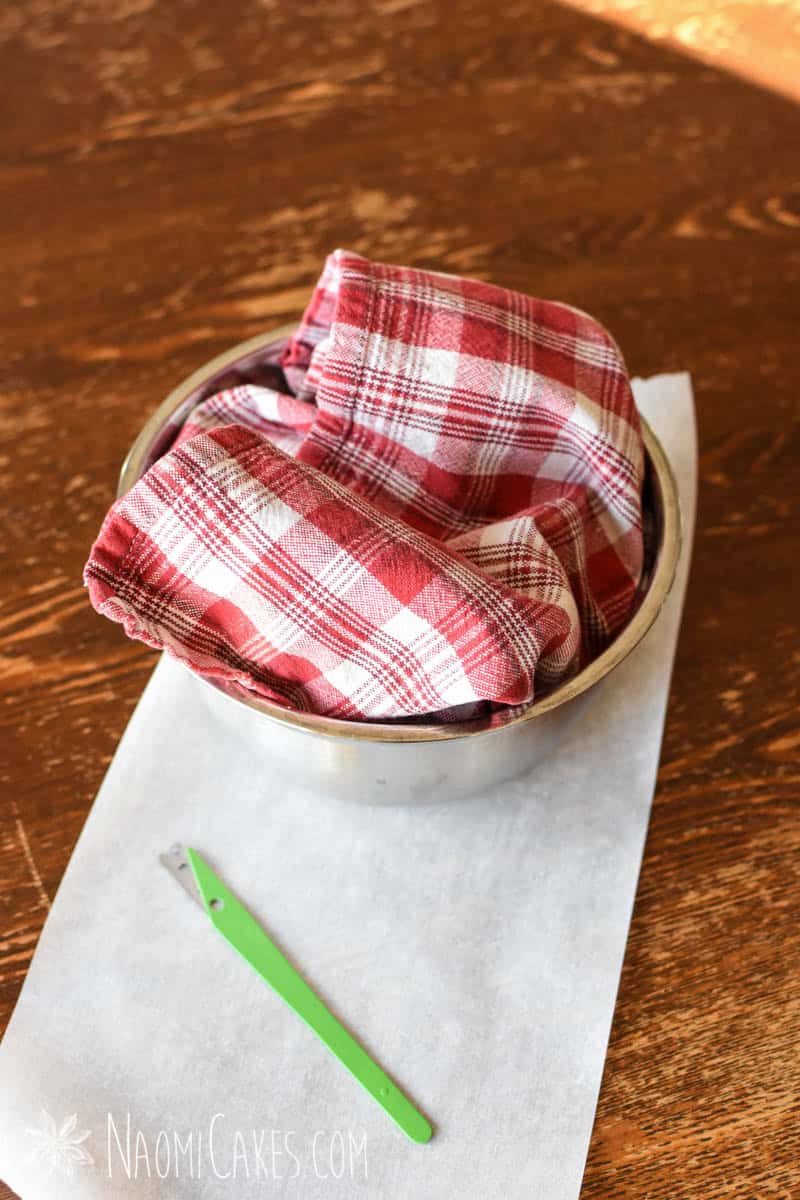
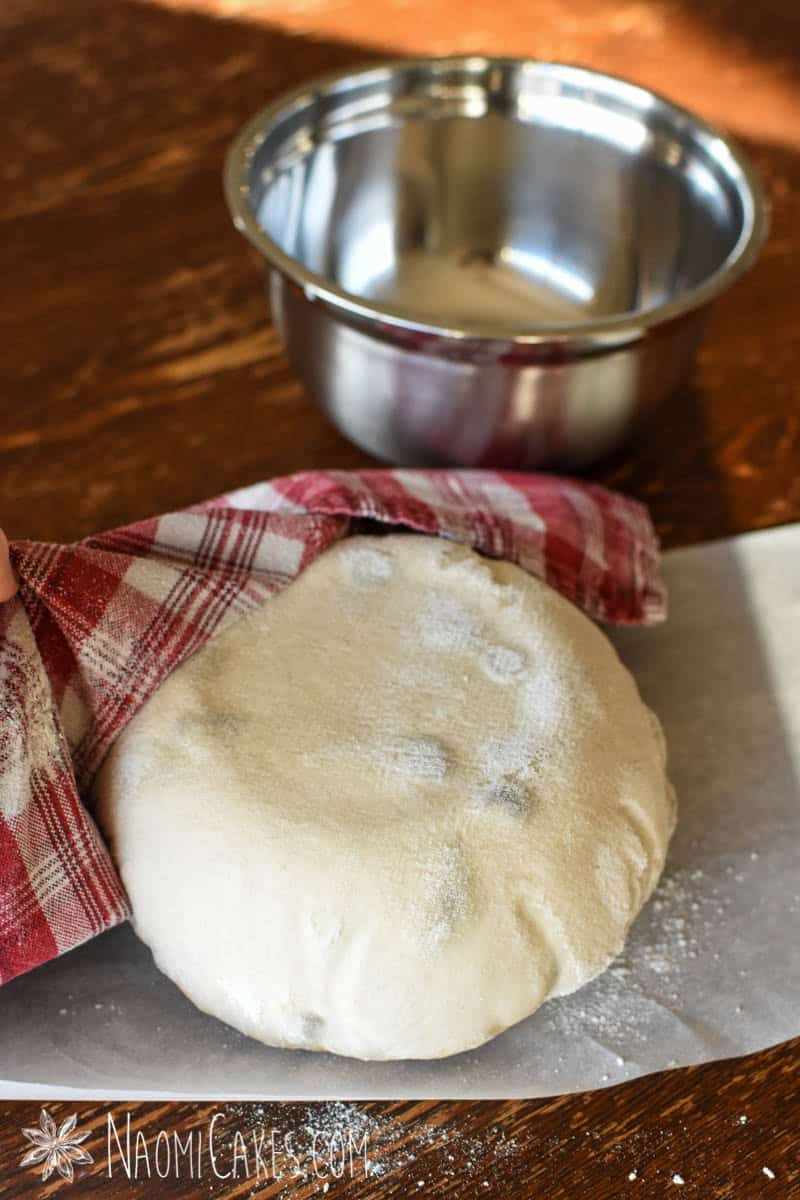
The shaped loaves are turned upside down into a floured tea towel in a banneton basket or small bowl.
6 – Cold ferment
This part is the easiest – Cover the bread, and place it in the fridge overnight! In the cold temperatures, the bread will slowly rise and ferment for the next 8-16 hours.
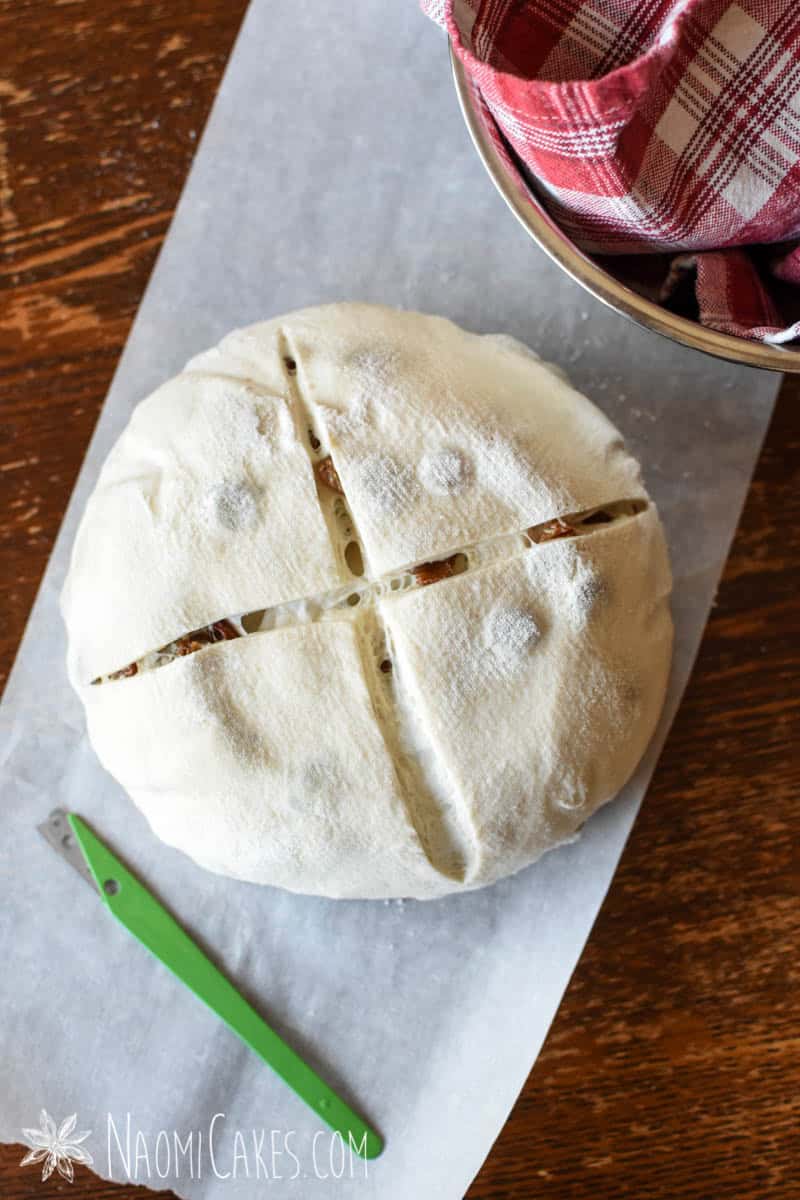
7 – Bake
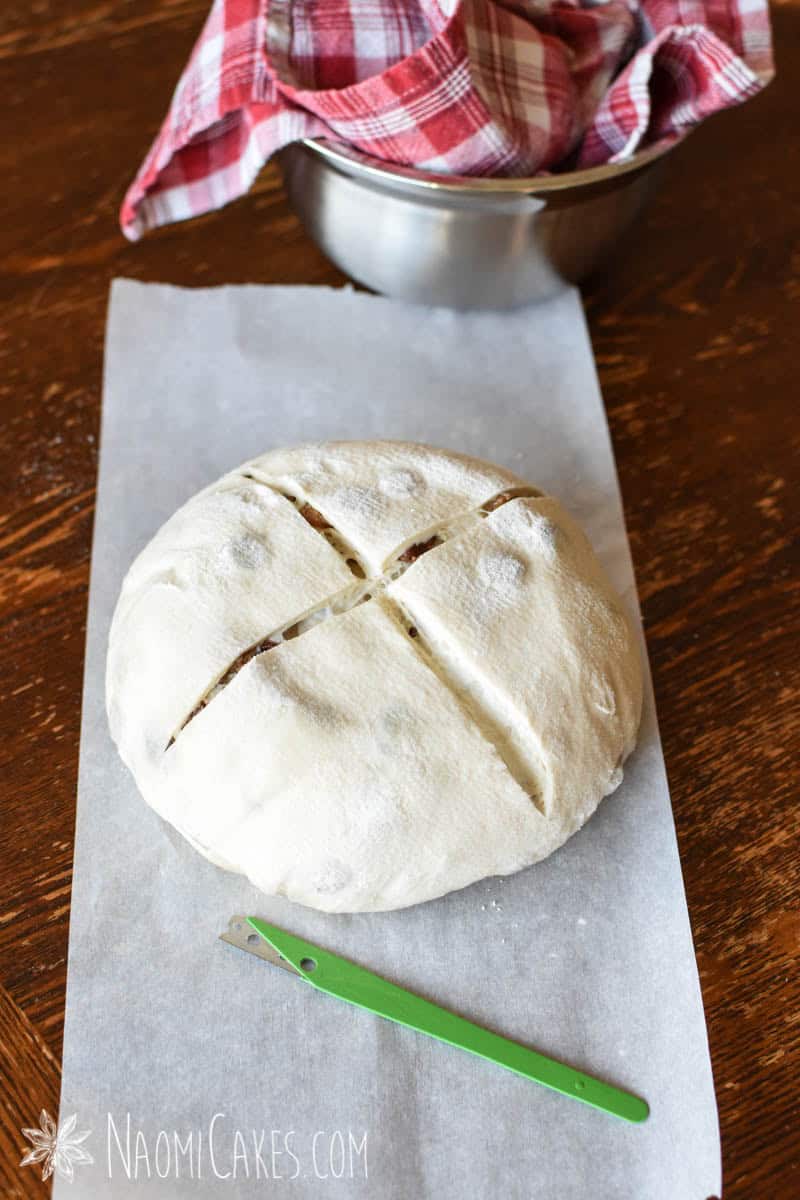
I love to bake my bread first thing in the morning. After you’ve finished the cold ferment (ideally about 12 hours), you can bake your bread on a piece of parchment paper in a covered baking dish (like a dutch oven) at a hot temperature. The heat, combined with the trapped steam created by a covered dish, will allow your bread to burst open. This creates that gorgeous oven spring we all want our sourdough breads to have.
To make sure you bread bursts open the way you want, score it with a sharp knife or razor blade where you want it to open up. If you do not, your bread will find its own weak point (usually on the side), and burst open in a funny looking kind of way).
Is it necessary to soak raisins for baking?
Soaking the raisins is not necessary; if you prefer, you can go ahead and skip this step. I like to do it because it makes the sweet raisins more plump and soft, and the texture of the bread is then softer as well.
Tips for making great sourdough
There are a few things to keep in mind when making sourdough bread in order to achieve the best success. Here are a few key things I can point to, and I hope they will help you stay on track.
Make sure your starter is active
To make sure my starter is active, I like to feed it the night before I want to mix up my dough. Feed your starter with a 1:1:1 ratio by weight of flour, starter, and water. You can use any typical bread flour (all purpose, bread flour, whole wheat flour, or rye flour); however, for best results, I recommend using unbleached white flour, whole wheat, or rye.
An active starter will have doubled or tripled its volume, and should look very bubbly. You can test to see if its ready by dropping a little bit into a glass of water; if the starter floats, it should be good and active, ready for baking.
Bake by weight
When it comes to sourdough, I find baking by weight so much better than using measuring cups. The reason for this is that it’s just much more accurate – a cup of flour can range anywhere from 100-170g! This is a massive margin for error.
To keep your dough’s texture and ratios spot-on, I would recommend investing in a baking scale (if you don’t have one already).
Dealing with humid or dry temperatures
Temperature and humidity definitely has an affect on sourdough bread. I have found that in hot, humid weather, my dough tends to be softer. If you find your dough extra sticky and wet, you can try adding 50g (about 1/4 cup) extra flour to the dough.
In dry temperatures, this recipe should be perfect; although, you may find that you can’t “stir the flour in” as well to soften it. If this is the case, just use your hand to gently massage the wet and dry ingredients together, until the flour has been incorporated.
Do not over-ferment
While the fridge can be forgiving, allowing your dough to ferment too long at room temperature can nearly kill it. If you have accidentally over-fermented your dough, you can try frying it in a lightly greased pan (to make fried bread), or go ahead and try baking it to see what happens. I can’t guarantee the result, however!
The main concern with over fermenting is that your bread will deflate, lose its structure, and become very sour.
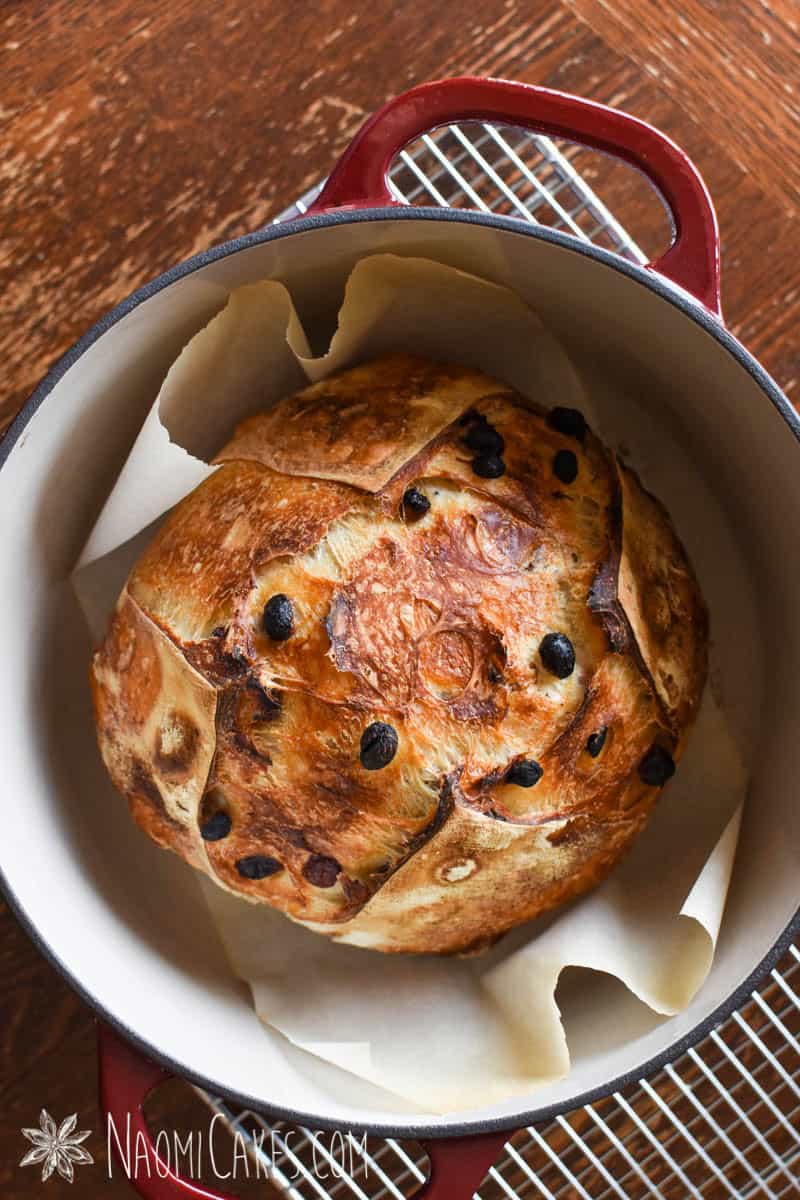
Bake with steam
Making your bread in a covered dish is one of the easiest ways to create steam in your oven to give your bread its best chance at rising and getting that gorgeous burst-open “Oven spring” that we all want!
You can also set a pan of boiling water on the bottom rack of the oven for decent results (although I’ll be honest, I like using my dutch oven much better)!
Can you use a stand mixer for this recipe?
Sure you can; but honestly, it’s easier not to! Just throw the ingredients into a bowl, bring them all together, and then perform the stretch and fold process (as directed) for incredible results with minimal effort.
Making sourdough cinnamon raisin bread
At some point, I do want to do a cinnamon raisin version of this recipe with a beautiful cinnamon and sugar swirl inside. That said, for now, if you want a “Cheater’s version” – You can just add 2 tsp. of ground cinnamon to this recipe with the flour (no white or brown sugar necessary, since the raisins are already sweet), and bake the bread as directed.
You will need:
- Ingredients (see recipe card)
- Mixing bowl
- Measuring cups and spoons OR a kitchen scale
- Stirring spoon
- Bench scraper
- 2 round or oval banneton baskets or 2, 7″ bowls with tea towels
- Plastic wrap (optional)
- Parchment paper
- Scoring tool (or a sharp knife)
- Dutch oven (or baking sheets and a pan with sides to create steam in the oven)
Note: This sourdough kit includes many of the supplies listed above.
No-Knead Sourdough Raisin Bread
The most delicious easy recipe for no-knead sourdough raisin bread!
Ingredients
- 2 c. (300g) raisins
- 5 c. (700g) flour
- 1 T (15ml) salt
- 1 c. (150g) starter
- 2-1/4 c. (550g) water
Instructions
Make the dough:
-
In a large mixing bowl, combine all of the ingredients until a soft, shaggy dough forms (make sure all of the dry flour gets incorporated into the dough). Cover with a tea towel and allow this to rest 20-30 minutes.
-
Meanwhile, cover the raisins in boiling water, and allow them to soak for 20 minutes. Drain.
-
Once the dough has rested for 30 minutes, add the soaked raisins. Stick your hand under the dough, grab a handful, and pull it up as high as you can without breaking it. Fold the stretched dough down over the top of the whole amount. Repeat this process from different sides of the dough 4-5 times, or until the dough isn’t “loose” anymore and it begins to feel stronger, or “taut”. Cover, and allow this to rest 30 minutes.
-
Repeat the stretch and fold process, folding 3-4 times, or until the dough begins to feel stronger (harder to stretch) again. Cover, and allow to rest another 30 minutes.
-
Repeat the stretch and fold process one final time, again folding 3-4 times, or until the dough feels taut and smooth. Cover, and allow to rest 3-6 hours or until the dough is doubled or nearly doubled in bulk.
For the pre-shape (optional):
-
Turn the dough out onto a clean, unfloured work surface. Divide it into 2 equal portions, and stretch one piece of the dough out into a square. Pull the corners of the the square into the centre, and then repeat “stretching and folding” the edges into the centre (from each corner, about 3-4 more times) until the dough comes together into a smooth ball. Turn upside down, and repeat with the other section of dough. Cover, and allow these to rest 30 minutes.
-
If you choose to skip the pre-shape, you can place your shaped loaves smooth-side down into flour-dusted banneton baskets or bowls at this point.
Shape the dough:
-
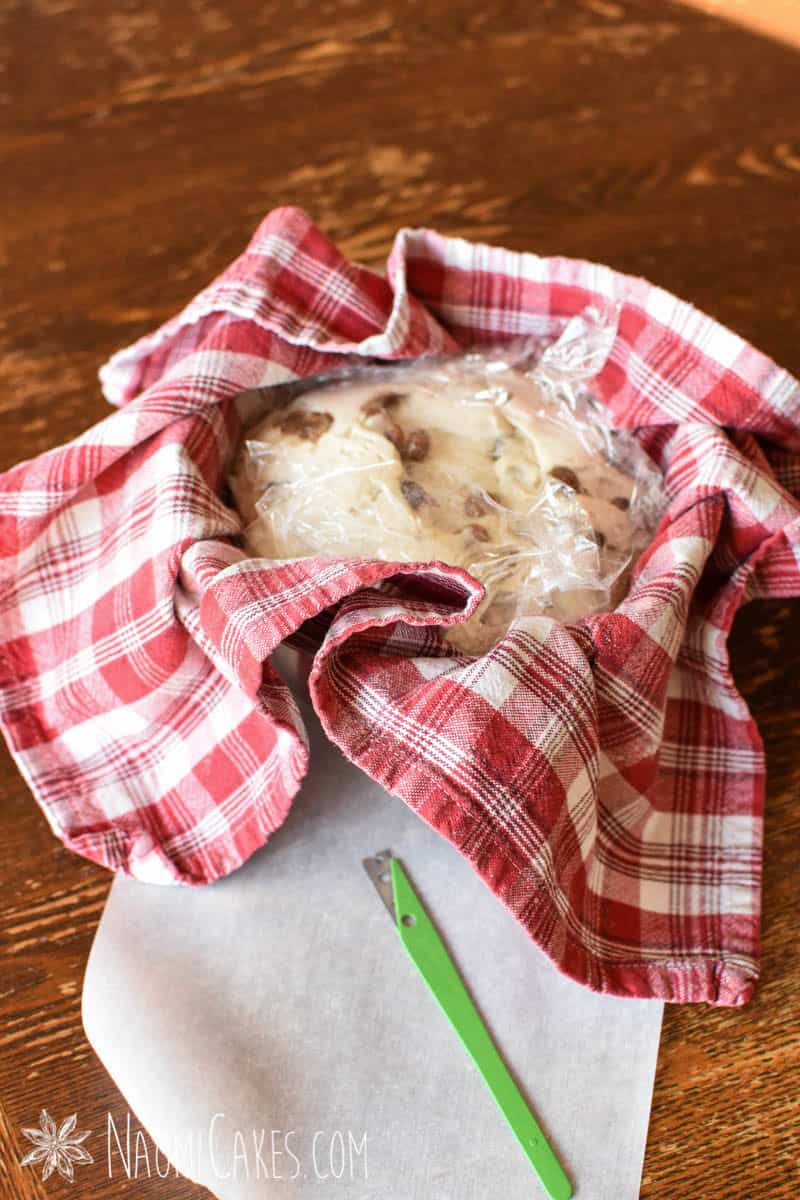
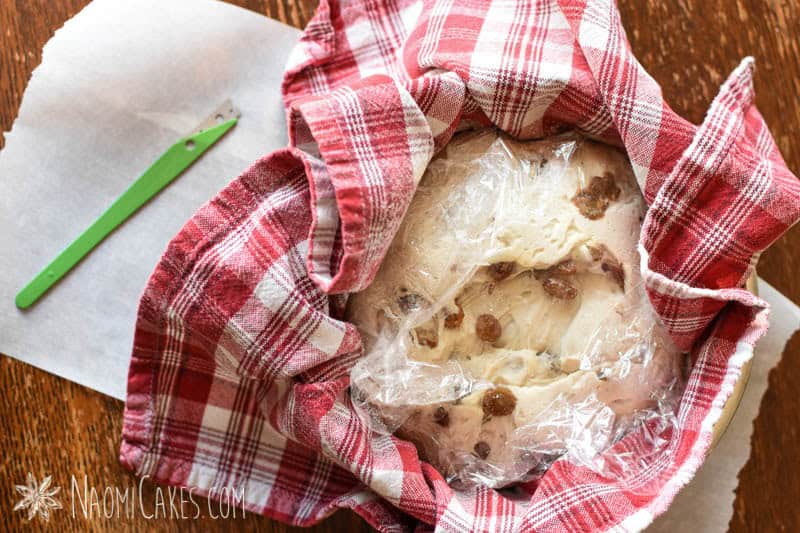
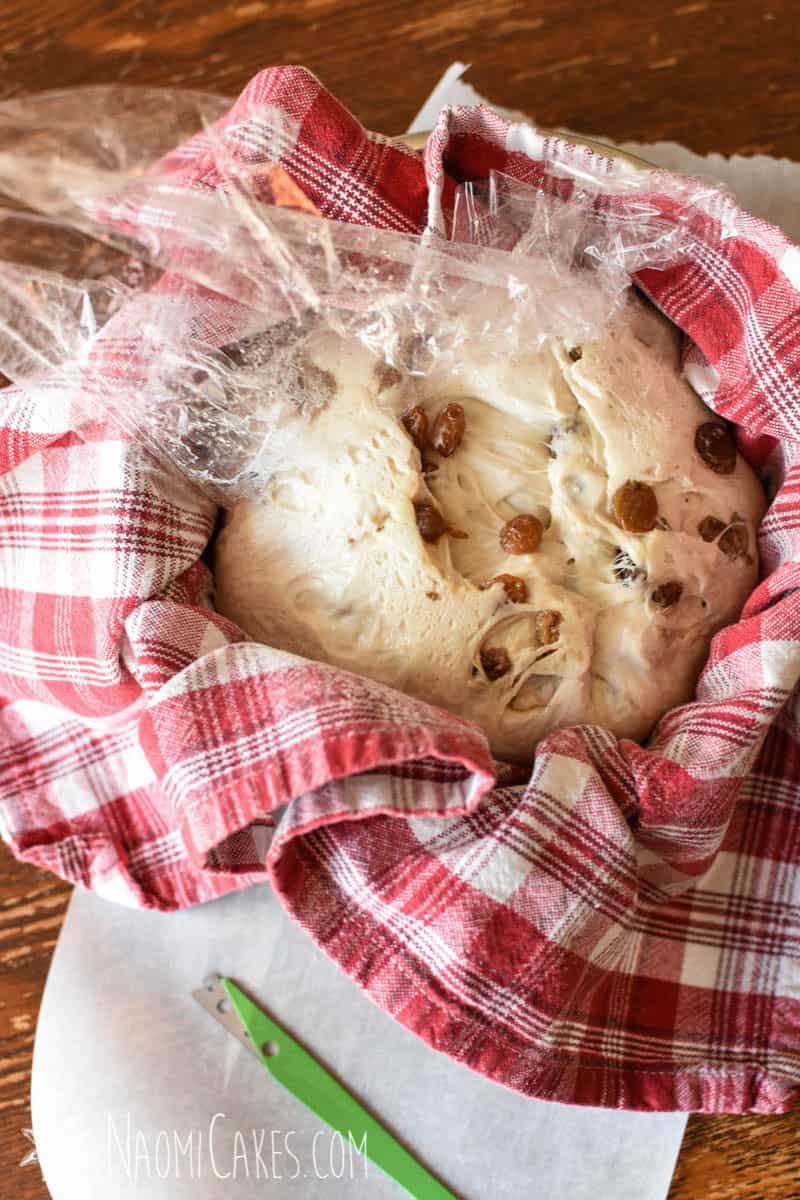
Pull each pre-shaped loaf into a square again, and stretch and fold the corners into the centre again. Roll the dough into a loaf shape, and put it smooth side down into a lightly floured banneton basket or bowl* lined with a tea towel. Cover the tops with a bit of plastic wrap (optional), fold the towel over top, and place the loaves immediately into the refrigerator. Allow to rest in the fridge until the next morning.
Bake the bread:
-
The next morning, place a dutch oven into a cold oven, and preheat to 425 degrees F. Set the timer for 15 minutes.
-
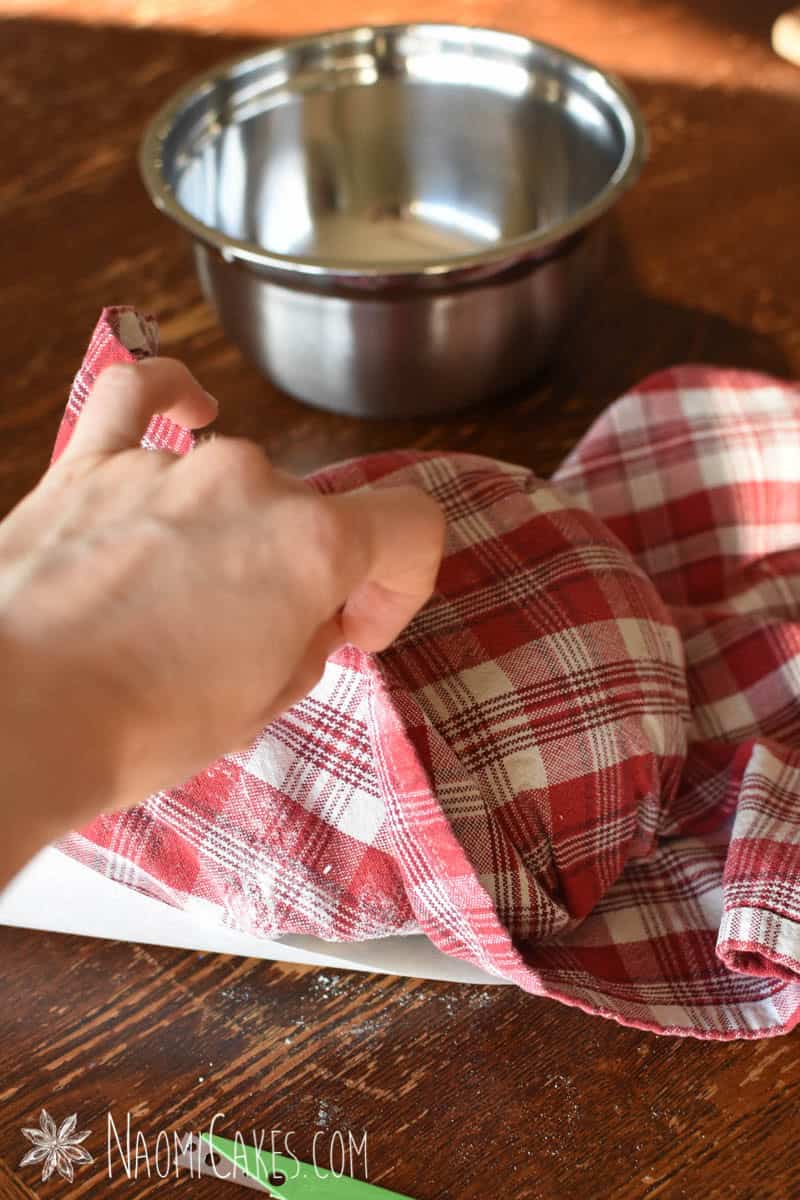
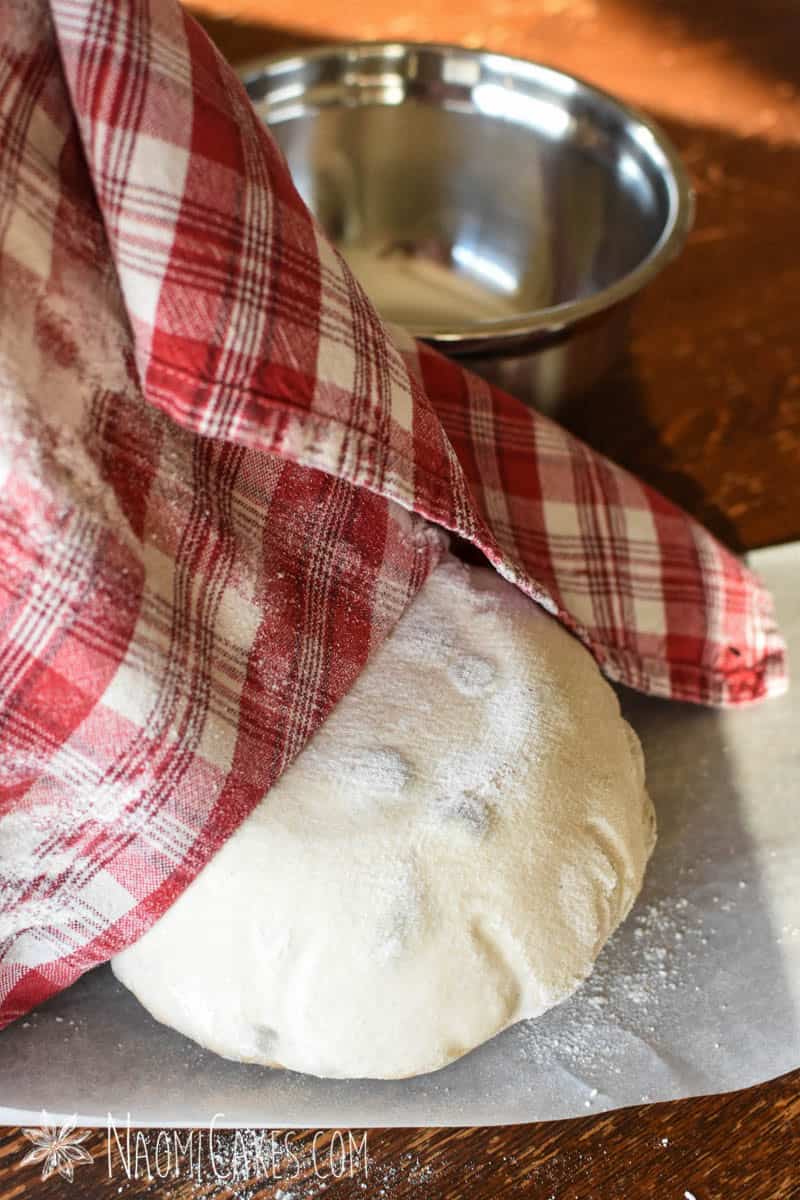
Uncover the bread and remove the plastic wrap. Turn out onto a sheet of parchment paper, and score with a sharp knife or razor blade as desired.
-
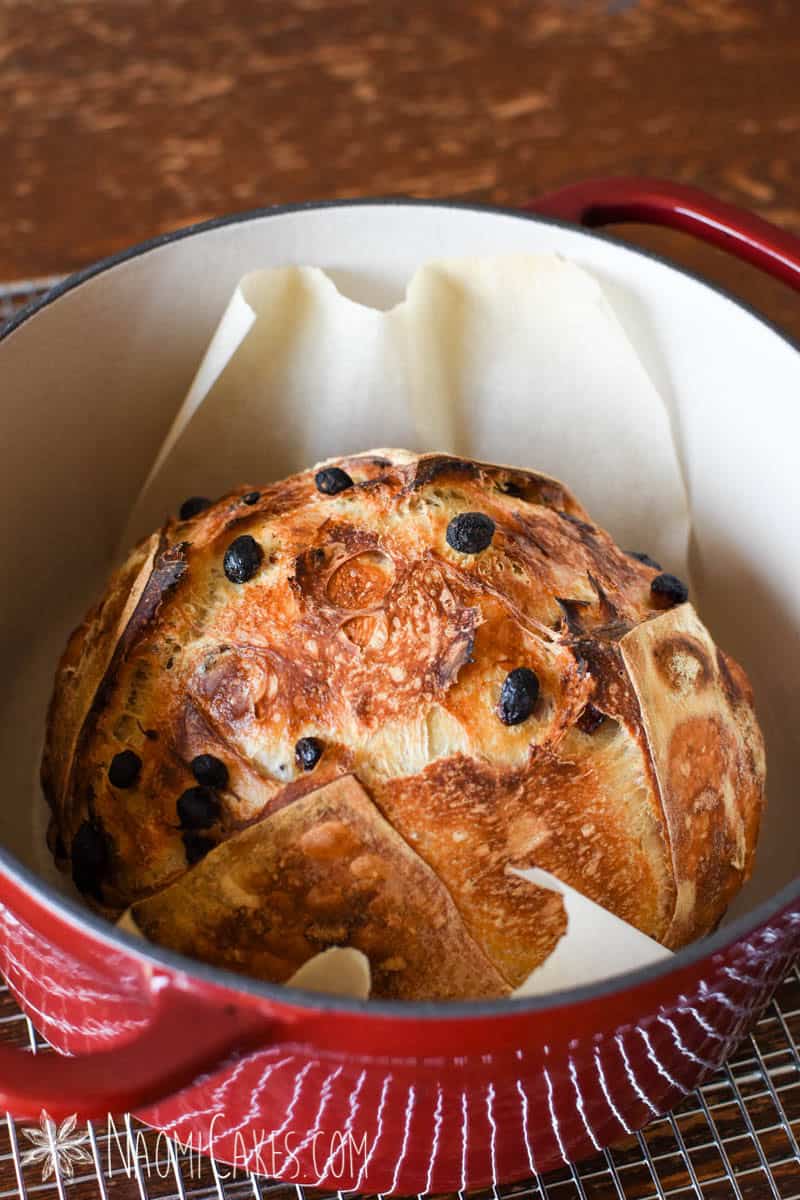
Once the dutch oven has been in the oven heating for 15 minutes, take it from the oven, remove the lid, and lift the bread into the hot dutch oven by the parchment paper sheet. Cover, and return to the oven for 35 minutes.
-
Remove the lid from the dutch oven, and allow the bread to bake 10 minutes more, just to brown it. Repeat with the second loaf, or save it for the next day to bake it fresh. Cool fresh bread on a wire rack. For best results, cool the bread completely before slicing into it. Remove and discard any loose, blistered raisins on the surface.
Recipe Notes
*To use a bowl instead of a basket, the perfect size for these loaves is a bowl that measures about 7 inches across the top and about 4 inches deep.
How to Make Sourdough Raisin Bread, Step-by-Step (photos)
If you like this recipe, you may also like:
- Easy No-Knead White Sourdough Bread
- Sundried Tomato and Cheese Sourdough Bread
- Easy Seeded Pumpkin Seed Sourdough Bread
- Easy French Bread
That’s all for today! I hope that if you enjoy this recipe you’ll consider leaving me a comment or review, and also – feel free to tag me in your raisin bread pictures on Instagram @naomicakesofficial! I love to see what you’ve been making.
Bye for now,
Naomi
This post contains affiliate links.