
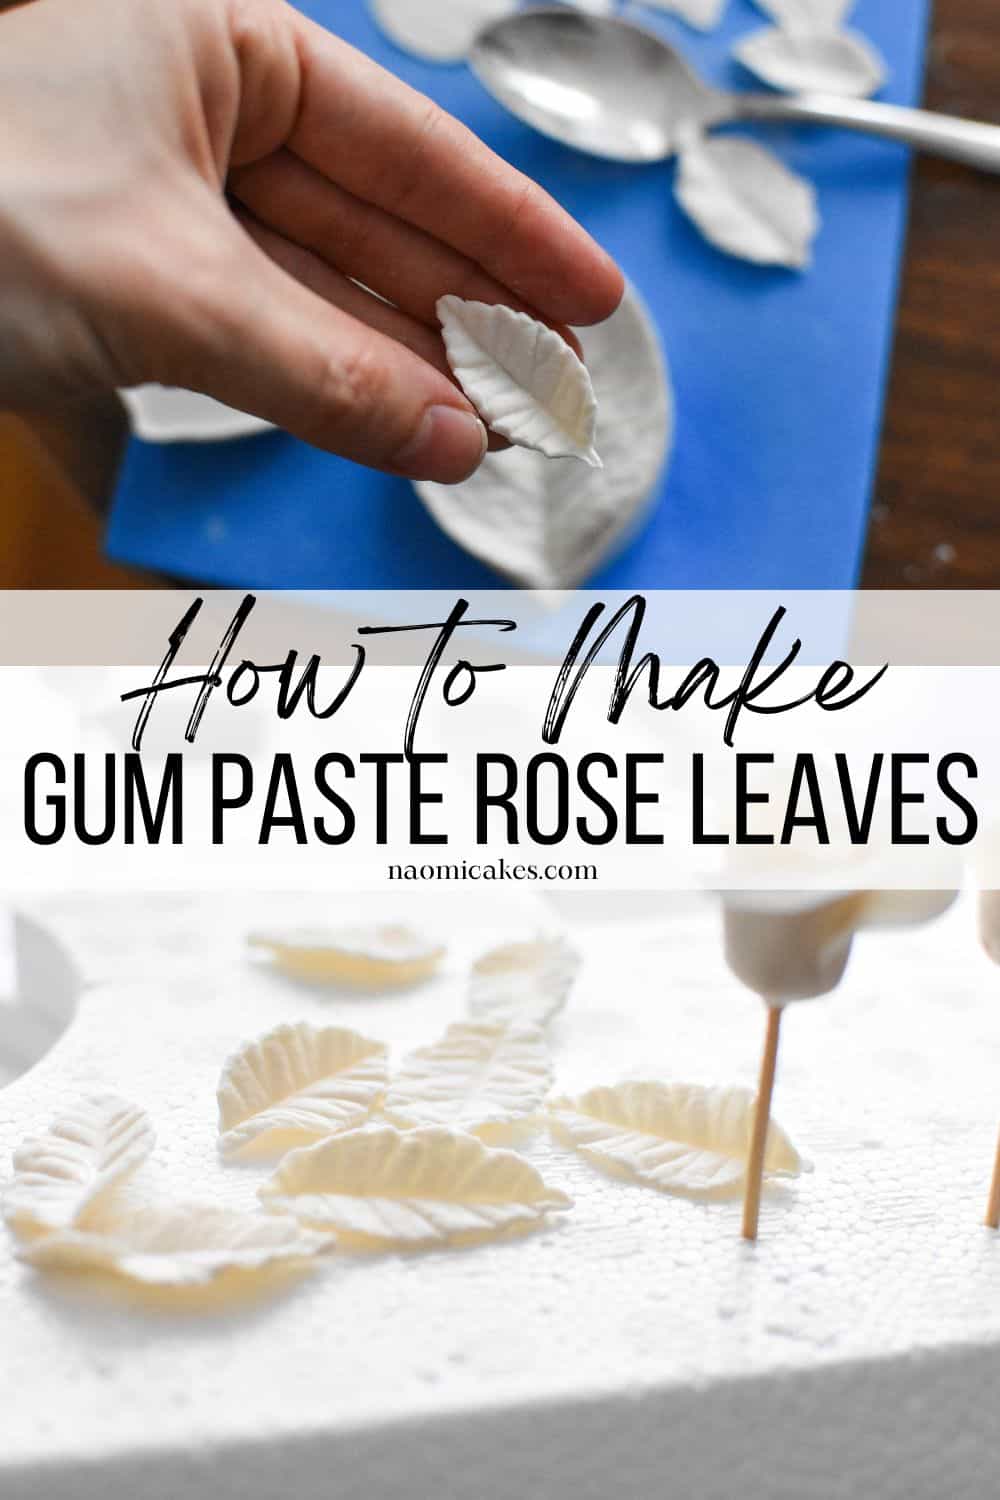
How to Make Realistic Leaves for Gum Paste Roses [Tutorial]
Over the last few weeks, I’ve shared the process of making gum paste roses for decorating cakes. And, one day, while I riffled through my cake supplies, I came across one of my favourite gum paste tools – A silicone leaf veiner! I wasn’t planning to make a leaf tutorial, but I figured that I really should (at least) share this with you! This is the kind of thing you want to know exists. So keep reading if you would like to learn how to make realistic leaves for gum paste roses—the easy way!
Use this tutorial to make beautiful edible leaves for wedding cakes, birthday cakes, anniversary cakes, cupcakes, and more!
What is gum paste?
Gum paste is a fondant-like sugar paste which hardens completely when it dries. It is a soft, pliable icing that can be rolled out like dough and cut into shapes, making it perfect for creating edible, realistic looking sugar flowers (gum paste flowers) and leaves.
In the past several weeks, I’ve shared how to make gumpaste roses; today, I want to finish the look by giving you this tutorial for making gumpaste leaves.
The best gum paste to use
I have tried several great kinds of gum paste, but my current favorite (and locally available for purchase) gum paste is this one from Satin Ice. Wilton gum paste is another one I have tried, with good success (great workability). I find that one to have a slightly chemical smell, however, so I generally avoid it if I can find something I like better.
How to make the leaf shape
The leaf shape is made with a rose leaf cutter. You can often get these as a part of a rose cutter set, or if you just need the leaf cutter, you can possible find it in a set with a silicone veiner for making just the leaves.
Making realistic leaf veins
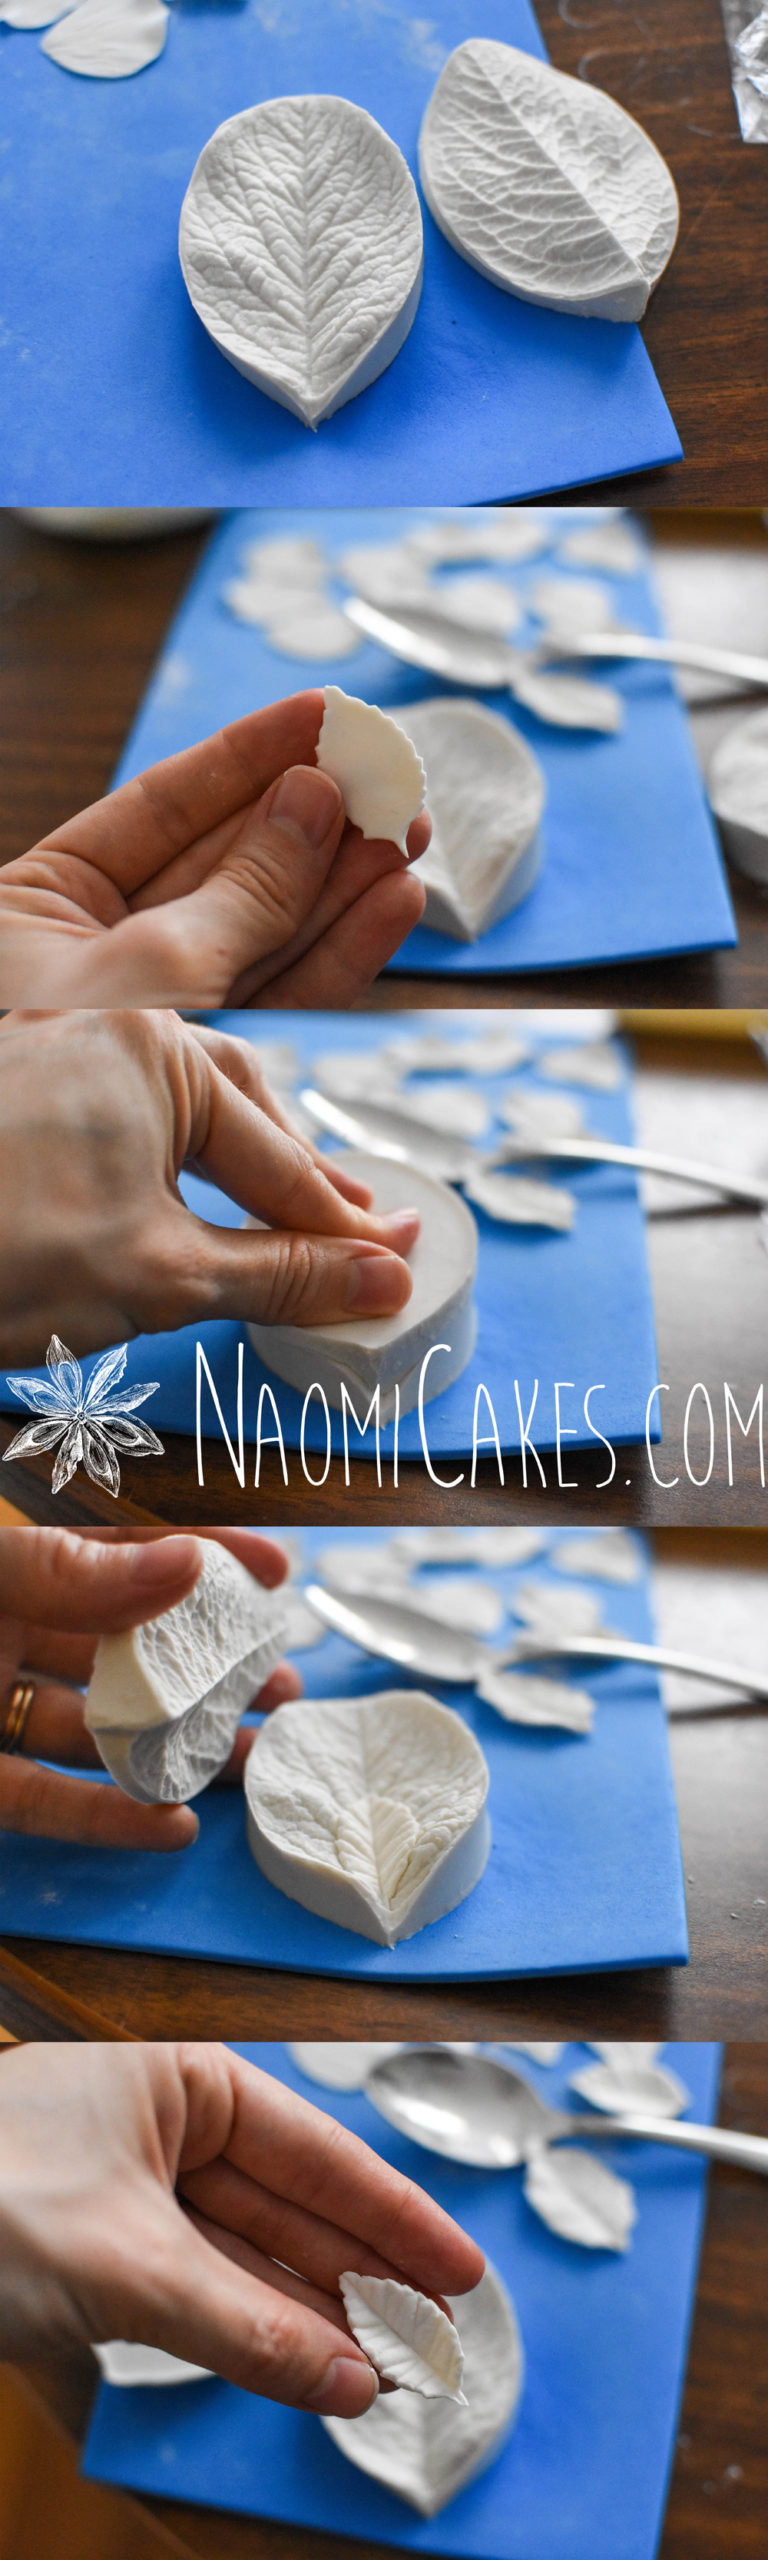
The key here is to get a silicone leaf veiner, which is not only an incredibly easy tool to use, the results it yields are outstanding.
There are other types of veining tools out there as well, such as the one I used to vein my rose petals in the rose tutorials, but frankly—silicone veiners are the best I have seen, and they give you the best results.
How to use a silicone leaf veiner
Using the leaf veiner is super simple: all you have to do is dust it with cornstarch (so that the gum paste doesn’t stick), place your little leaf cutout in the centre, and press the two mould pieces together.
If you’re wiring your leaves, you can wire the leaf first and vein it after.

Coloring your rose leaves
This part is really simple. I use petal dust to color my rose leaves, and often I find it best to use at least 2 colors to give it some texture and a more realistic effect. I will post a detailed tutorial on this coming up soon, but for now you can check out my last rose post for the general idea of how using petal dust on gum paste works.
In this tutorial, I am making white rose leaves, in part to show you how bold petal dust colors will show up on their own. That said, I would recommend tinting the gum paste with a little bit of leaf green color before making the leaves, if you want to make the coloring process a little easier.
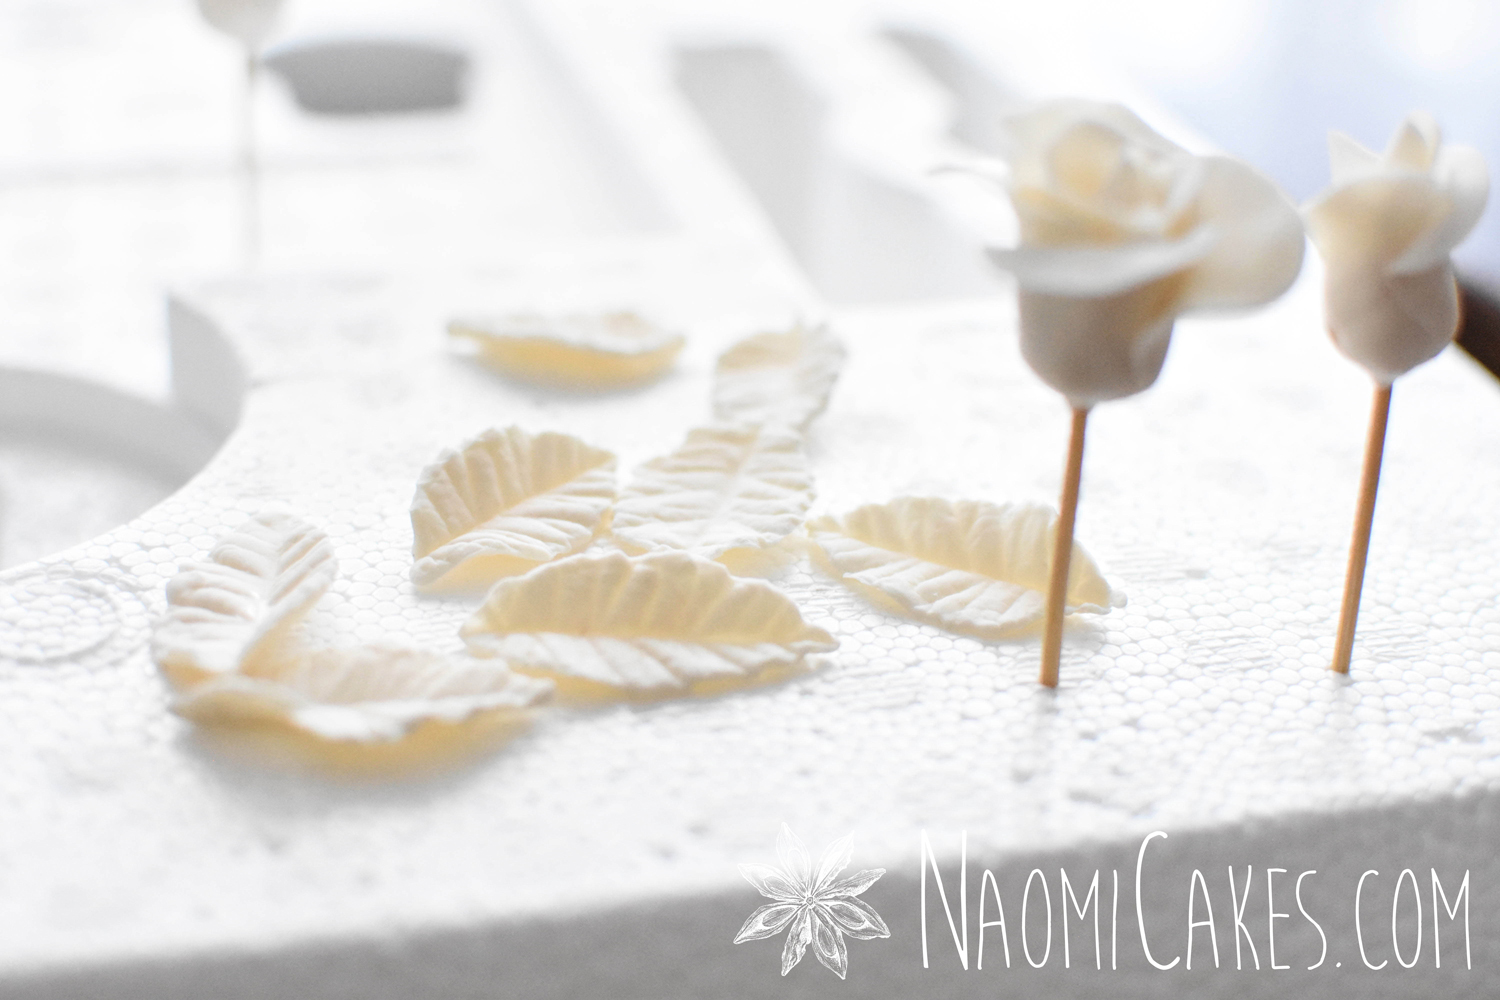
Attaching rose leaves to the flowers, or to your cake
If you have used floral wire to make your gum paste roses, you can also wire your rose leaves (as mentioned in the last paragraph), and then use floral tape to attach the two things together.
Since my rose tutorial was built the easy way, on toothpicks, I find that a simple way to add rose leaves is just to arrange them against the sides of the cake (near your beautiful roses), and attach them to the surface with a little bit of icing.
If your cake is made with fondant, you can use royal icing to attach your ready-made gum paste leaves to the surface.
To create lots of leaf filler around your flowers, make sure to prepare more leaves than you think you will need so that you can fill in any gaps between flowers with greenery. Alternatively, you can create little fondant or gum paste ruffles to fill in empty space.
You will need:
- Gum paste (about a golf-ball sized amount)
- Shortening
- Small gum paste rolling pin
- Rose leaf cutter
- Cornstarch
- Tea ball or cheesecloth bag (for dusting your surface with cornstarch)
- Ball tool, frill tool, or cell stick (optional – for thinning the leaf edges)
- Silicone leaf veiner
- Green floral wire (optional)
- Needle nosed craft pliers (optional – only needed if you are using floral wire)
- Plastic wrap
You should be able to find everything on this supply list (or most of these supplies) online or at your local arts and crafts store, such as Hobby Lobby.

How to Make Realistic Gum Paste Leaves for Roses
Ingredients
- 1 piece gum paste (about a golf-ball sized amount)
- 1 Tbsp shortening
- 1 small gum paste rolling pin
- 1 (or 2) rose leaf cutters in one or two sizes
- 1 Tbsp cornstarch
- 1 tea ball or cheesecloth bag
- 1 ball tool frill tool, or cell stick (optional – for thinning the leaf edges)
- 1 silicone leaf veiner
- 12 (or more) 6" lengths of green floral wire optional – one piece per leaf you're making
- 1 pair needle nosed craft pliers optional – only needed if you are using floral wire
- 1 roll plastic wrap
Instructions
Knead the gum paste until pliable
-
Lightly grease a clean work surface with shortening, and knead the gum paste with the palm of your hand against your work surface until pliable.
Roll out the softened gum paste
-
Add a little bit of shortening to your work surface again (just to make sure the gum paste isn’t sticking), and roll it out until quite thin, about 1/8-inch (or 2-3mm).
Cut the leaves
-
Using a rose leaf cutter from your gum paste rose cutter set, cut out as many leaves as you need (plus a few extra, just in case). Remove the excess gum paste from around the leaves, wrap the excess gum paste tightly in plastic wrap, and cover the cut gum paste leaves with plastic wrap against your work surface.
Wire the leaves and thin the edges (optional)
-
If you plan to wire your rose leaves, you can do that at this stage.
-
Take a 6" length of floral wire, and use your needle nosed pliers to make a small, sharp hook on one end. Dip the wire into a bit of water, and insert it (hook side in), at the base of one of your cut rose leaves, being careful to guide it into the gum paste without cutting it open.
(If your gum paste is too thin, it will break through, and you may need to re-roll and cut the leaf shapes. If the wire shows on the back of the leaf a little bit, don't worry about it; once the leaves are colored, this will not matter.)
-
Use a ball toll, frill tool, or cell stick to thin the edges of the leaves, if desired.
Press between the sides of your silicone leaf veiner
-
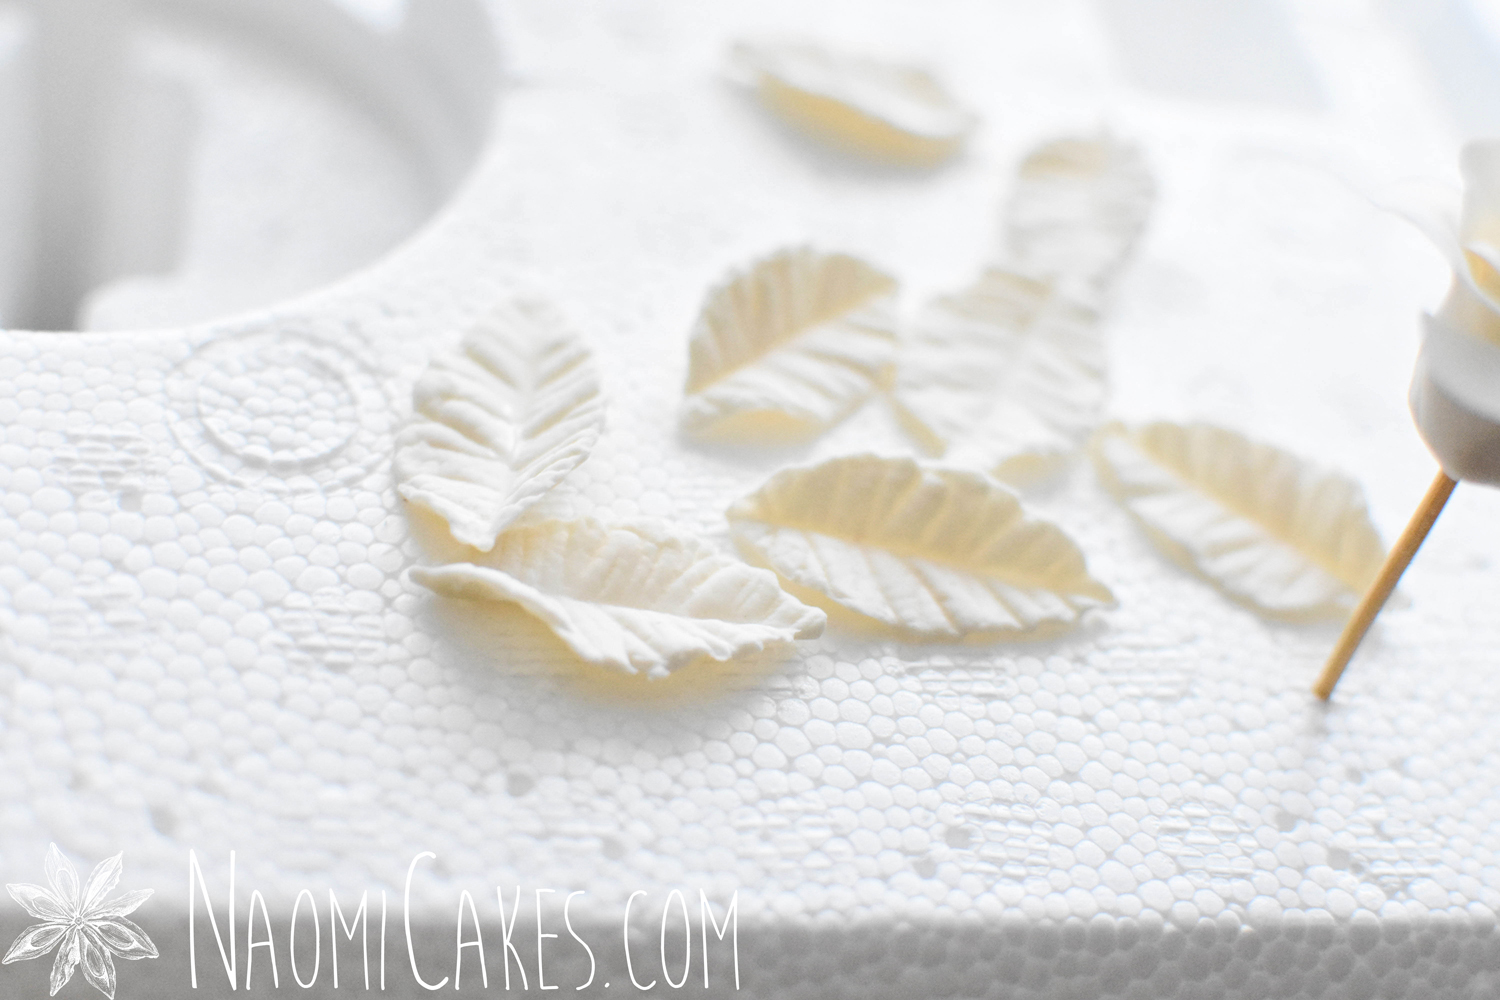
Using a tea ball or cheesecloth bag, lightly dust your silicone leaf veiner with cornstarch, and press the leaf between the two pieces firmly. Remove the top piece, and gently remove the leaf.
Dry the leaves
-
Set your rose leaf aside to dry for at least 8-12 hours in a cool, dry place. Repeat steps 1-6 with the remaining rose leaves, until all of them are done (making sure to keep any unused, cut leaves tightly covered while you work to prevent them drying out).
How to Make Realistic Gum Paste Leaves for Roses
This tutorial makes fairly small leaves to accompany a smaller rose. For larger leaves, the method is exactly the same (but a larger leaf cutter would be used). For the purpose of showing how it looks, I have opted to skip step 4 for the photos in my tutorial to show you how leaves look when you make them “The easy way.”
1 – Knead the gum paste until pliable
Lightly grease a clean work surface with shortening, and knead the gum paste with the palm of your hand against your work surface until pliable.
2 – Roll out the softened gum paste
Add a little bit of shortening to your work surface again (just to make sure the gum paste isn’t sticking), and roll it out until quite thin, about 1/8-inch (or 2-3mm).
3 – Cut the leaves
Using a rose leaf cutter from your gum paste rose cutter set, cut out as many leaves as you need (plus a few extra, just in case). Remove the excess gum paste from around the leaves, wrap the excess gum paste tightly in plastic wrap, and cover the cut gum paste leaves with plastic wrap against your work surface.
4 – Wire the leaves and thin the edges (optional)
If you plan to wire your rose leaves, you can do that at this stage.
Take a 6″ length of floral wire, and use your needle nosed pliers to make a small, sharp hook on one end. Dip the wire into a bit of water, and insert it (hook side in), at the base of one of your cut rose leaves, being careful to guide it into the gum paste without cutting it open.
(If your gum paste is too thin, it will break through, and you may need to re-roll and cut the leaf shapes. If the wire shows on the back of the leaf a little bit, don’t worry about it; once the leaves are colored, this will not matter.)
Use a ball toll, frill tool, or cell stick to thin the edges of the leaves, if desired.
5 – Press between the sides of your silicone leaf veiner
Using a tea ball or cheesecloth bag, lightly dust your silicone leaf veiner with cornstarch, and press the leaf between the two pieces firmly. Remove the top piece, and gently remove the leaf.
6 – Dry the leaves
Set your rose leaf aside to dry for at least 8-12 hours in a cool, dry place. Repeat steps 1-6 with the remaining rose leaves, until all of them are done (making sure to keep any unused, cut leaves tightly covered while you work to prevent them drying out).
If you like this tutorial, you may also like:
- Gum Paste Roses – The Base, Part 1/5 [Tutorial]
- Gum Paste Roses – The Rose Bud, Part 2/5 [Tutorial]
- Gum Paste Roses – The Medium Rose, Part 3/5 [Tutorial]
- Gum Paste Roses – The Full Rose, Part 4/5 [Tutorial]
- Gum Paste Roses – Tinting the Roses, Part 5/5 [Tutorial]
- Basic Piping Techniques for Cake Decorating [Tutorial]
- How to Frost a Cake with Buttercream (Smooth Finish) [Tutorial]
There you have it! Effortless and beautiful.
As noted in this tutorial, it is optional to thin the edges of the leaves before you vein them (I did not do that for my leaves in this post). I find that if you press the mold firmly enough, there is a natural thinning that happens, and it looks quite good!
Don’t you think? Let me know in the comments!
Back soon,
Naomi
This post contains affiliate links.