
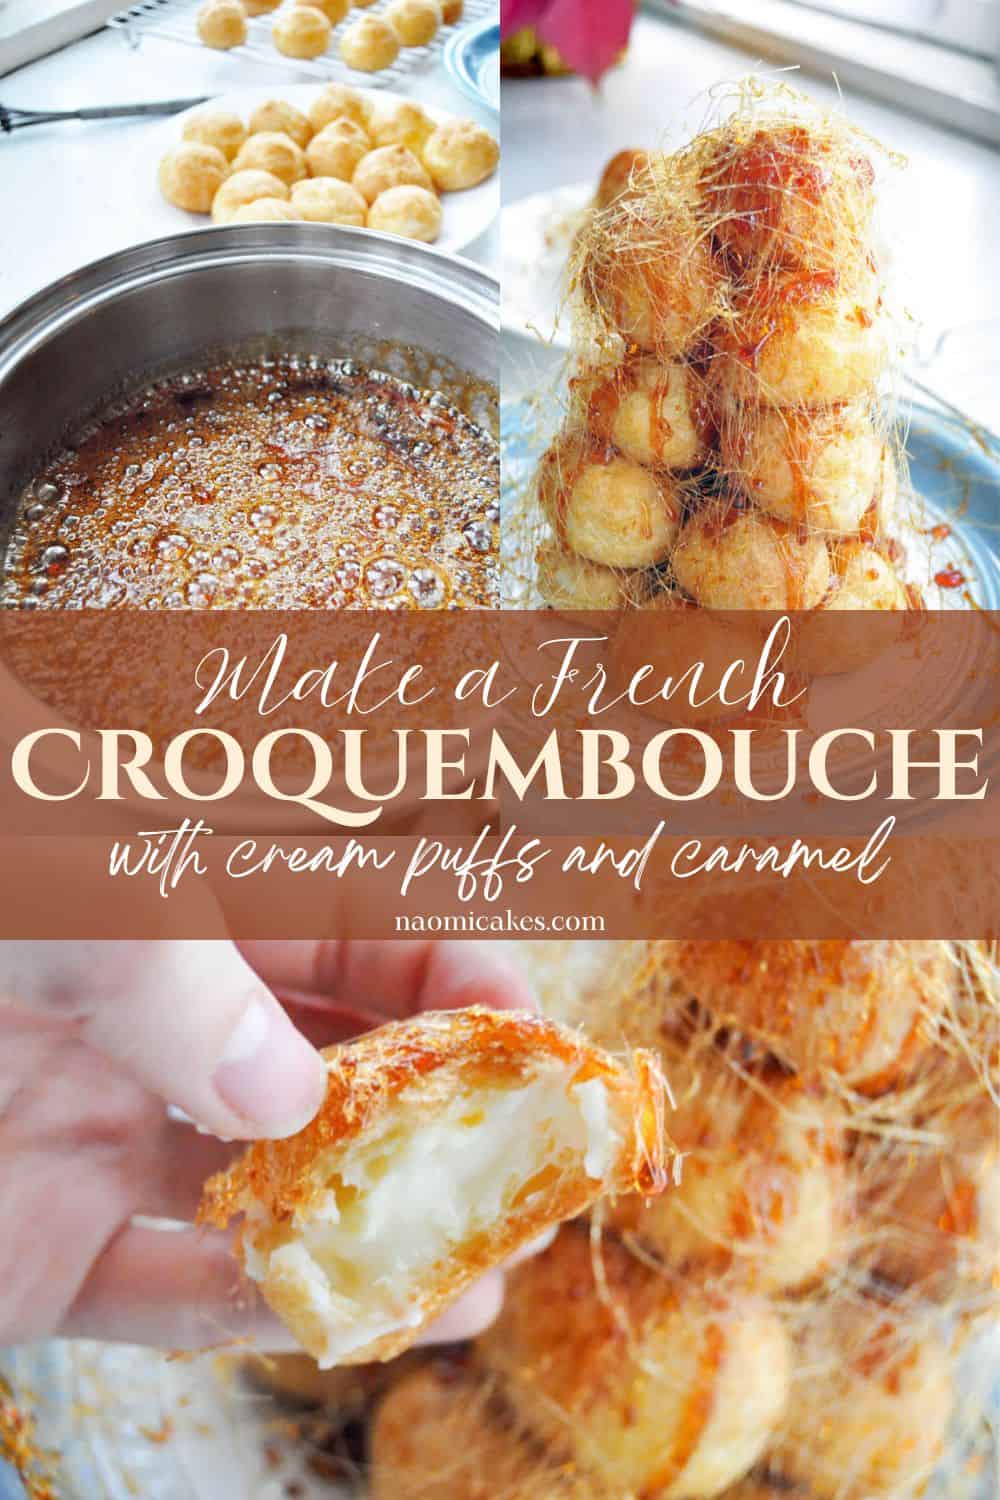
Croquembouche [Recipe]
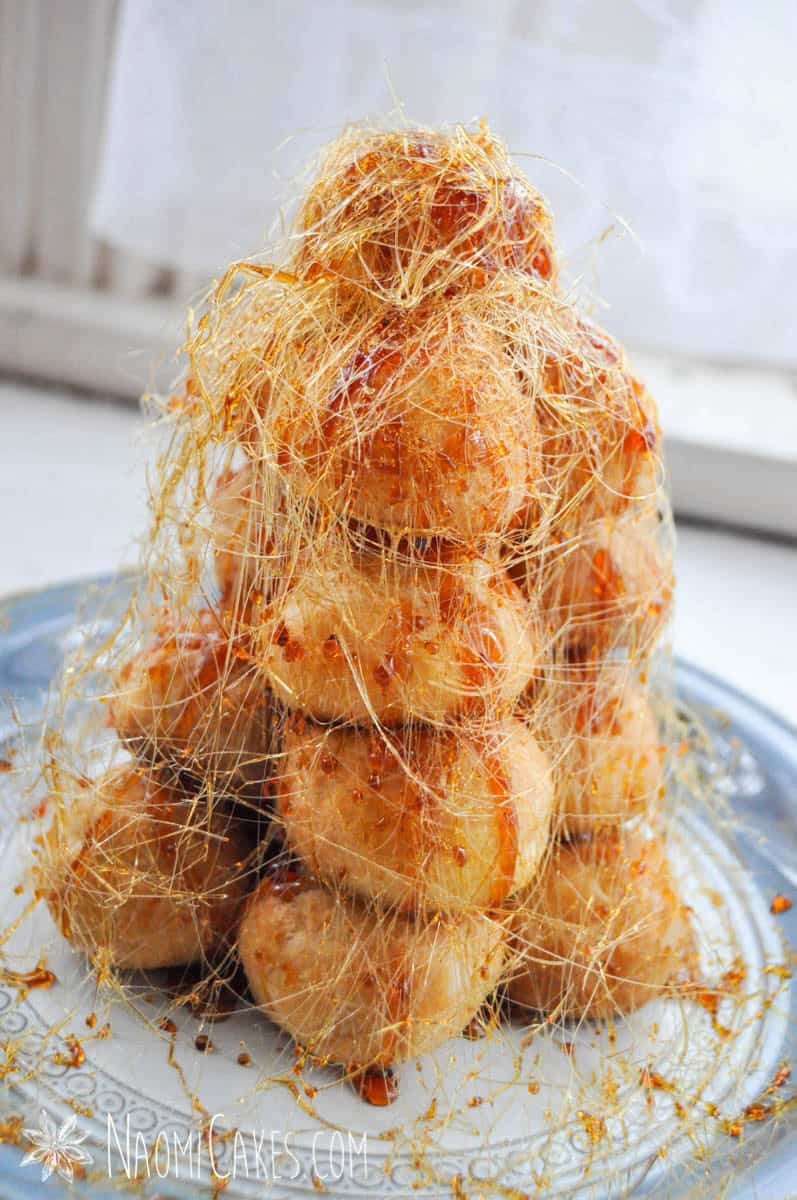
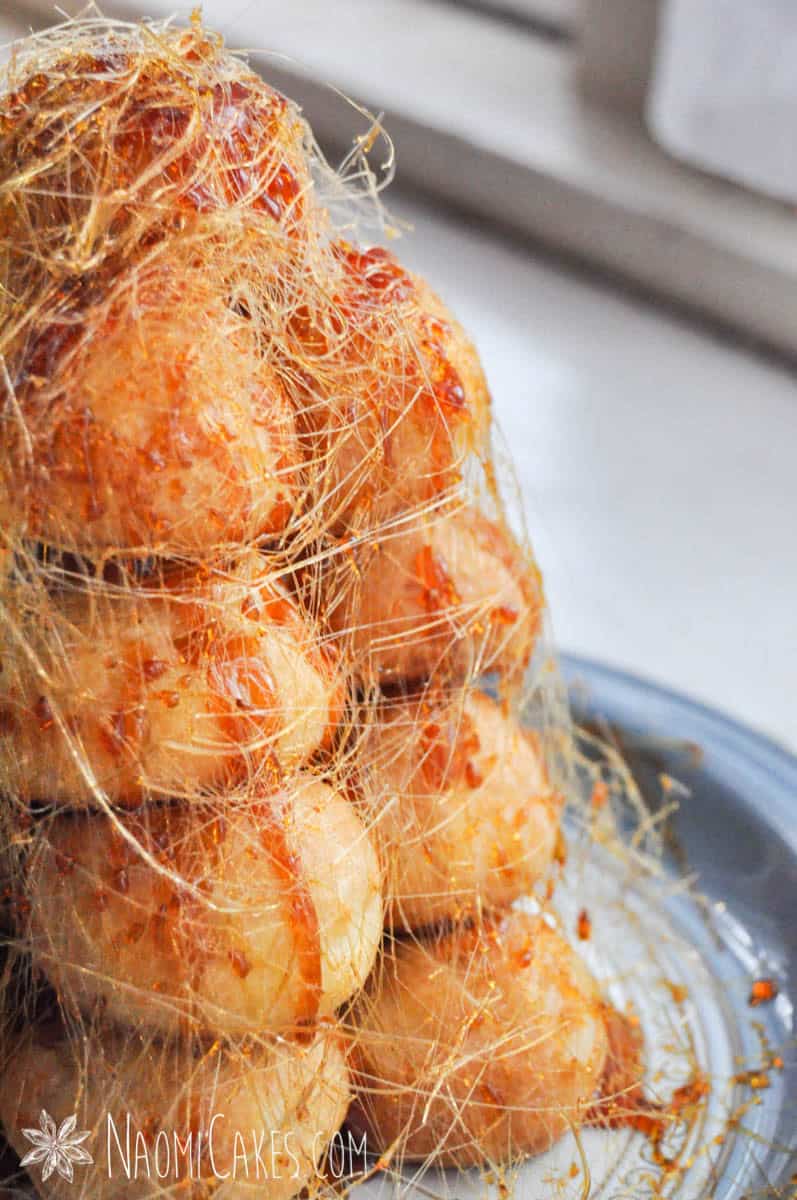
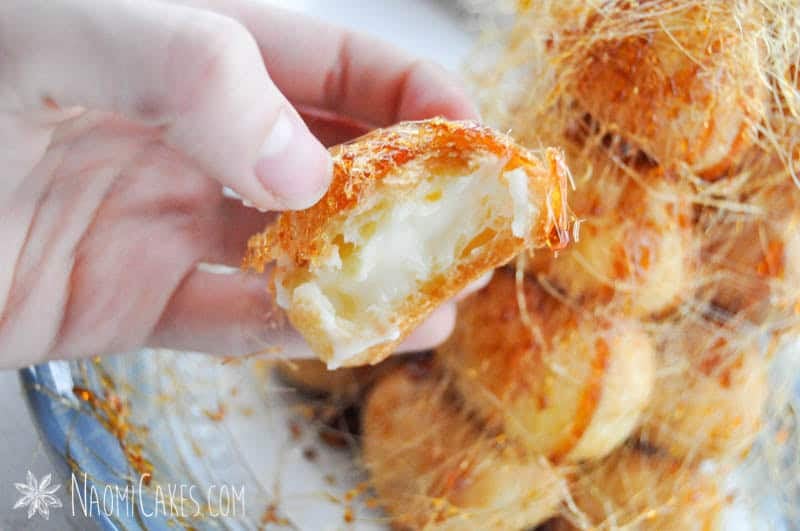
“Croquembouche” is the name of a French dessert that literally means, “Crunch in mouth.” Essentially, it is a tower of little cream puffs covered in strands of crunchy, golden, spun sugar.
I learned how to make this a while ago, as a favour to someone who wanted one for an event. It was a great time: super delicious, really cool looking, and honestly– just interesting. Since those are three things I love about making dessert, this project was a good one for me!
If that’s you as well (and you’re feeling adventurous), I’m about to tell you how to make one yourself. Are you ready?
A French wedding tradition
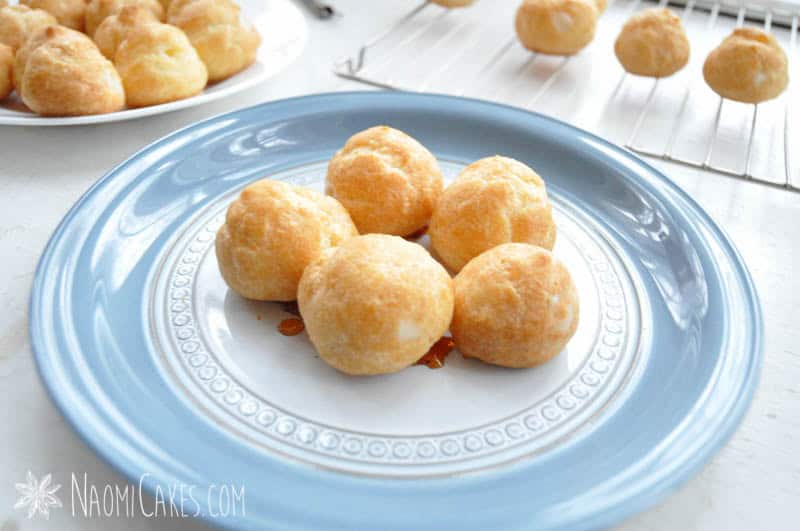
A croquembouche is a traditional French dessert for weddings, in place of a cake. It is a cone shaped tower of profiteroles (miniature cream puffs), stuck together with caramelized sugar and decorated with long, shimmery strands of spun sugar.
Typically, a croquembouche is constructed with hardened caramelized sugar as the “glue” that keeps the whole thing intact, and that is how I’m going to show you to make one today (on a very small scale).
Can you make a croquembouche the day before?
I would not recommend this. Like most pastries, profiteroles are best served on the day they are made (they will be a little bit stale tasting otherwise), and the caramel will eventually break down and melt, causing your confection to lose some stability and it’s beautiful sugar spun exterior.
Ways to make the tower more stable
If you want more of a structured look (and a little bit of insurance against accidents!), you can build your croquembouche by sticking each caramel dipped profiterole to the outside of a parchment covered floral cone. To make them the puffs even more secure, you can stick each profiterole to the cone with a toothpick.
I’ll be honest, when it comes to weddings, the stress of weather, transport, etc is enough to make me stick to the foam-cone “cheaters” method!
Dealing with hot weather:
This is something really important to consider while planning to make a croquembouche, especially for a wedding.
The caramel on a croquembouche will melt in hot weather, and those super thin strands of spun sugar will disappear. For best results, serve this dessert in cooler weather, or prepare it in a temperature controlled indoor environment (and keep it indoors to serve it).
How to spin sugar at home
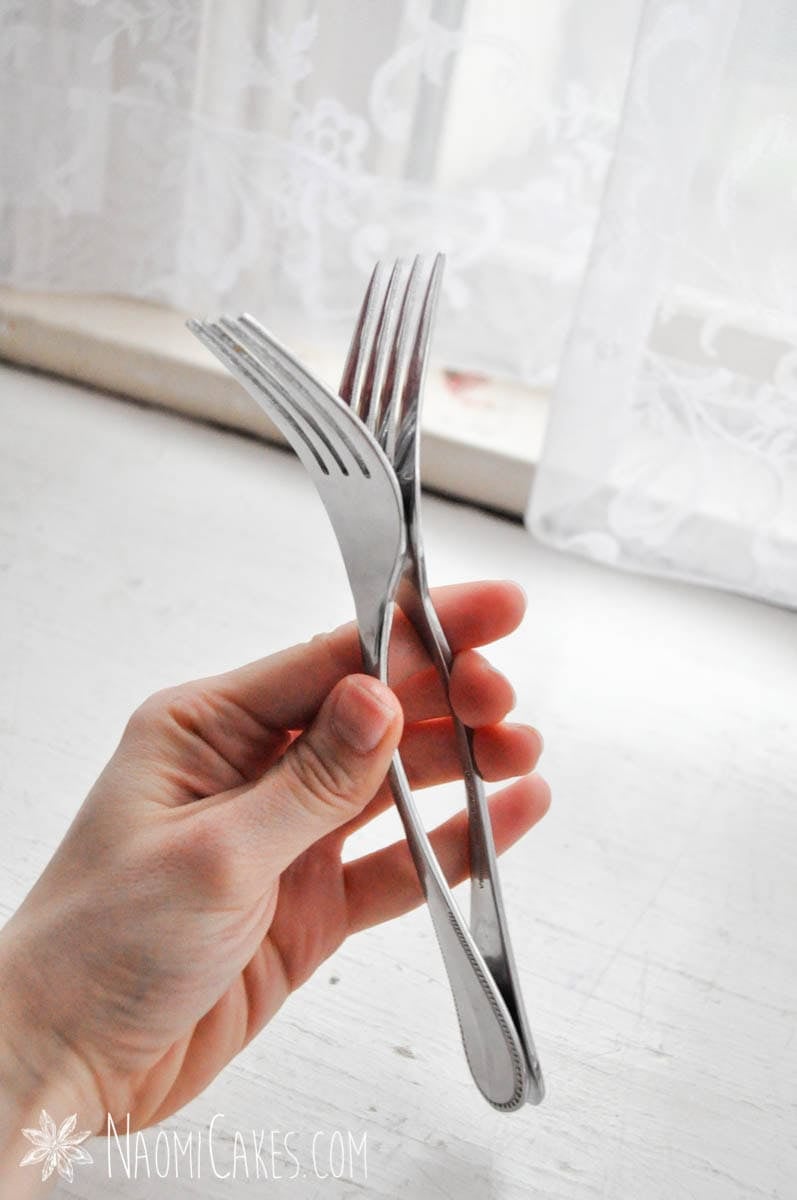
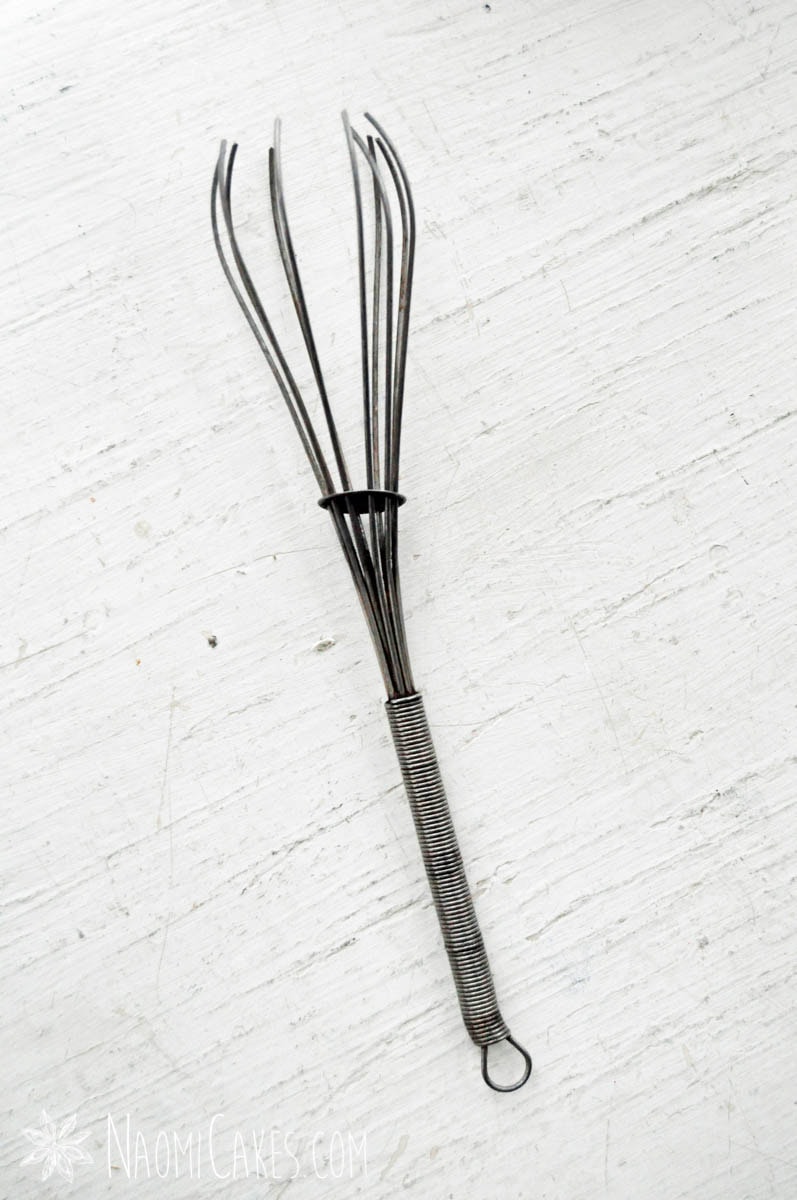
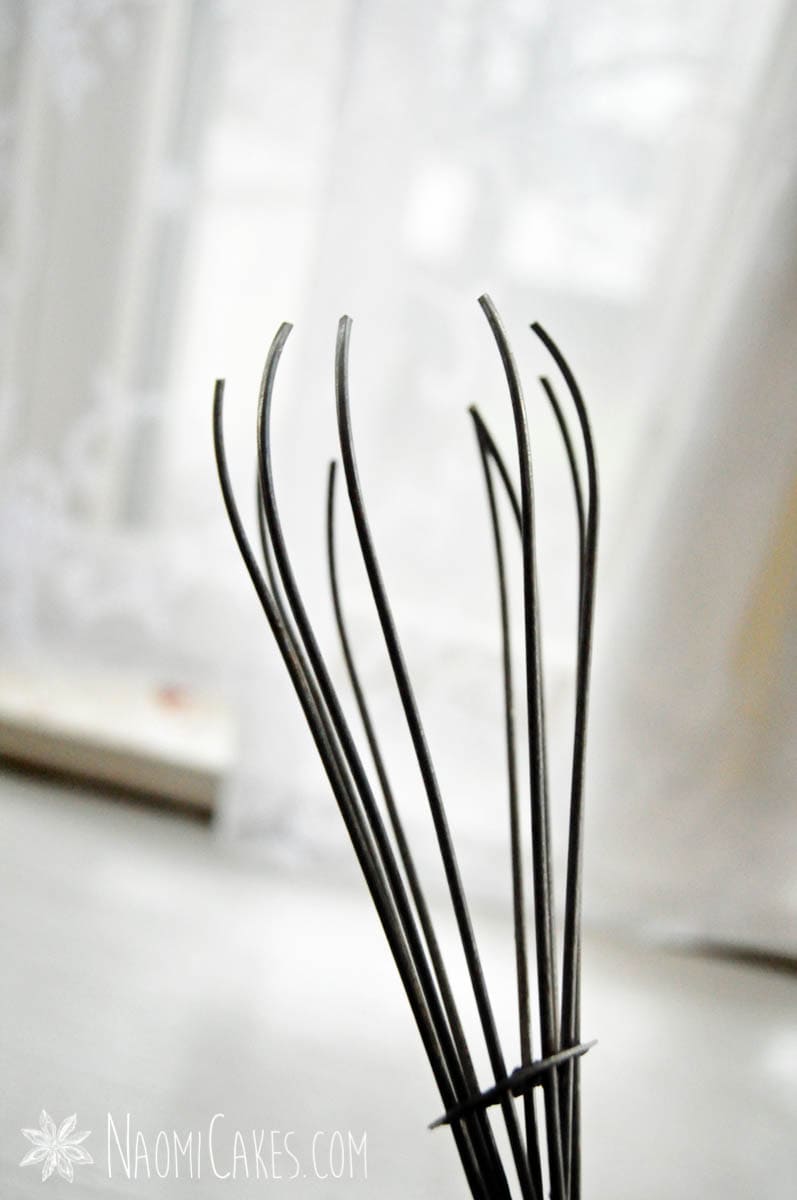
For this dessert, you can spin the sugar by first cooking it to a caramel colour (with some water and corn syrup), and removing it from the heat. Then, once the sugar has cooled slightly, the ends of two forks are dipped into the hot caramelized sugar (held back to back), or a whisk with the end clipped off (as pictured below). Once you’ve dipped your spinning tool, all you have to do is wave it over a nonstick surface (or your dessert itself) to create those long, super thin strands of spun sugar.
Straying from tradition: other ways to decorate a croquembouche
Although the “Crunch” of a traditional croquembouche is something special (and making it any other way would definitely take away from that effect), you can also make a cream puff tower with melted chocolate instead of caramel (so delicious, and much easier to do!). For this method, I would recommend using a parchment covered floral cone so that the structure will keep its shape a little better.
To make it a little more interesting to look at, I have also decorated the outside of a cream puff tower by sticking edible sugar flowers between the profiteroles. Beautiful!
Other important notes
Here are a couple of things to note before you begin.
- To make this croquembouche, you will also need my profiteroles recipe.
- Make sure you read through the recipes (profiteroles + this Croquembouche) to make sure you know how to plan your time!
You will need:
- Ingredients (see recipe card)
- Medium heavy bottomed saucepan
- Measuring cups and spoons
- Old newspaper (or some other kind of disposable covering for the floor)
- 2 large forks or a large whisk with the end clipped off
- Parchment or wax paper
- Silpat (optional)
- Floral cone (optional)
- Serving plate
Croquembouche
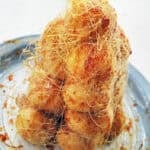
This delicious French dessert is a tower of caramel dipped profiteroles, decorated with spun sugar.
Ingredients
- 16-20 prepared profiteroles (see notes for the recipe)
- 1 cup sugar
- 5 Tbsp water
- 1 Tbsp corn syrup
Instructions
Prepare your work station:
-
To get started, set up a work station with newspaper on the floor, greased wax paper on the counter, and the plate you want to display your masterpiece on. You will also need a hot pad, a spoon, and 2 forks or a sugar spinning tool (a whisk with the end cut off), to make those thin strands of caramelized sugar around the outside of your dessert.
Make the caramel:
-
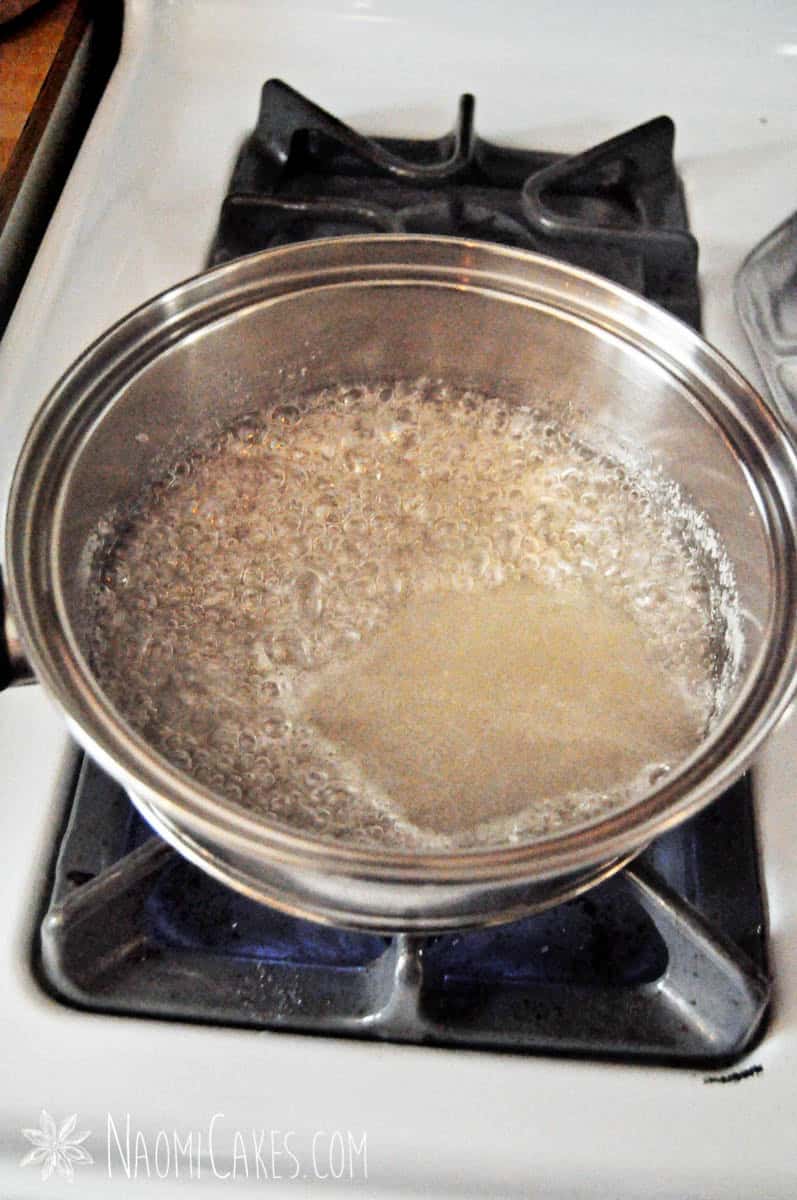
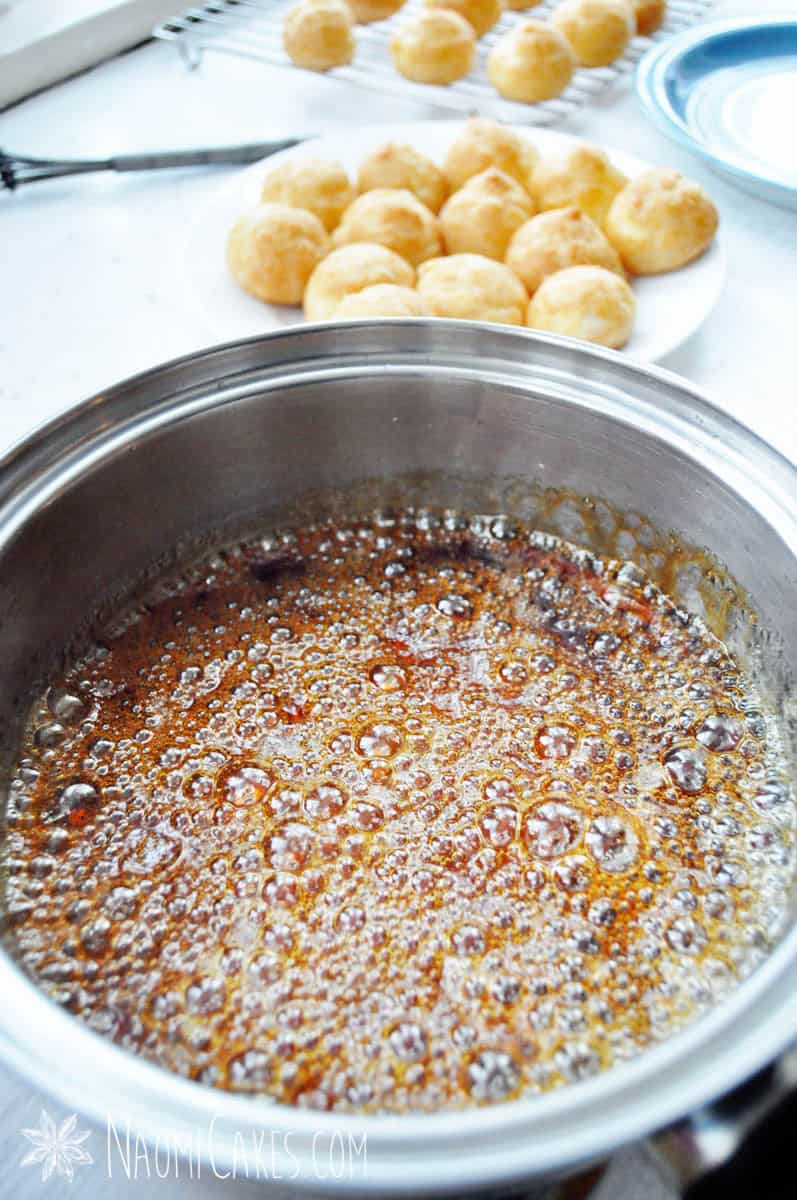
To make the caramel, measure the water and corn syrup into a small-medium sized heavy bottomed saucepan. Add the sugar, and cook on medium heat for 10-15 minutes, or until the mixture is golden brown (it will begin to have yellowy-caramel coloured bubbles on the surface). DO NOT STIR.
As the mixture boils, use a pastry brush dipped in water, to brush down the sides of the pan periodically to remove bits of sugar stuck to the sides. (Alternatively, you can just put a lid on top of the pan for a moment, till the steam dissolves the sugar.)
Warning: This is HOT! Be very careful.
Assemble the croquembouche:
-
Immediately remove the caramel from heat, and set to work! (You need to work quickly; this caramel will begin to set as it cools). Using a spoon, drizzle a small ring of caramel on the base of the plate you’re using. Set about 5 profiteroles around the caramel, to stick to the plate.
-
Note: Why not dip the profiteroles?
You can dip the profiteroles, but to keep from burning your fingertips, I’m going to recommend using a spoon. I have also found that if you dip them, the caramel may crystalize, and you will need to make a fresh batch.
-
Drizzle the tops of the first 5 profiteroles with more caramel, and stack more on top (I did 4 for the second layer, 3 for each of the next 2 layers, and 1 for the top). When they are all stacked together, you can spoon a little more caramel over the whole thing, to drip down the sides if you want (optional).
Making the spun sugar
-
Dip the tips of two forks held back to back (or sugar spinner) into the hot caramel. Lift your sugar spinning tool out, and and dip it back in a couple of times until there are little bits of sugar stuck to the ends and just barely starting to stream down back into the pot.
-
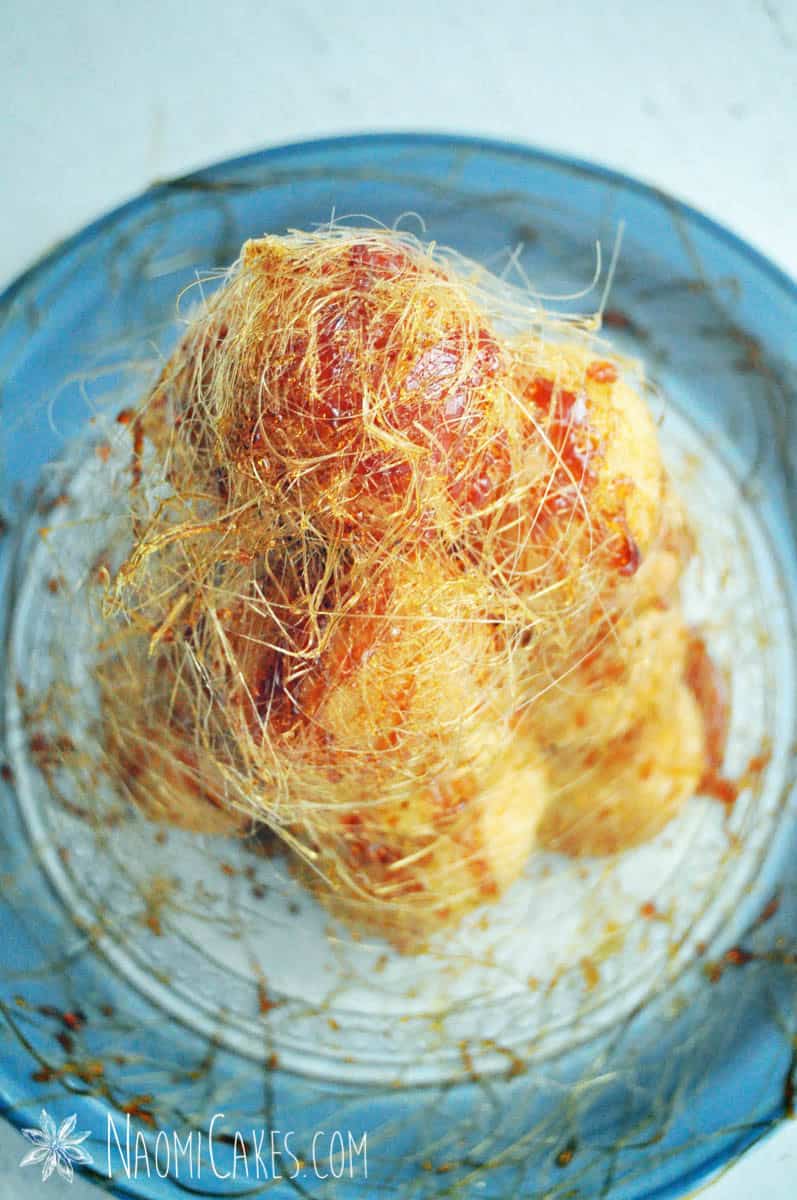
On the greased sheet of waxed paper, over a Silpat (silicone mat), or on the croquembouche itself (which is what I did), drag the spinning utensil out of the pot and flick it back and forth (waving it around) across the surface you’re spinning on, re-dipping it in the sugar as needed to create strands of spun sugar.
If you are doing this over a non stick surface, flick it back and forth a few times to create long, whispy strands of sugar, and then pick them up and wrap them around the croquembouche while they’re still warm.
-
Do this as many times as you want, until you get that kind of “Bird’s nest” effect, and you think it looks good.
-
Serve within a few hours of assembly. Keep cool* until serving.
Recipe Notes
Making a cleaner look:
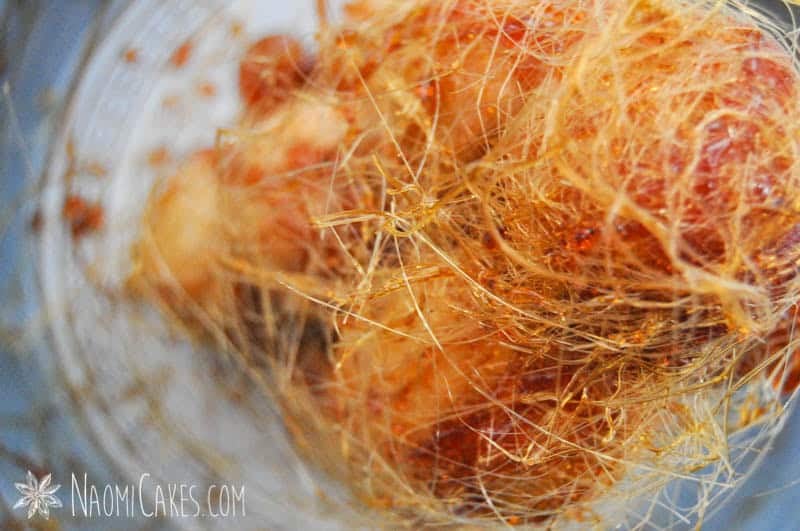
You’ll notice that there are little blobs of caramel on the plate that I made this one; that is because I spun the sugar directly over top of the croqumbouche. If you want a cleaner look, spin the sugar separately, and then wrap it around.
*Dealing with hot weather:
The caramel on a croquembouche will melt in hot weather, and those super thin strands of spun sugar will disappear. For best results, serve this dessert in cooler weather, or prepare it in a temperature controlled indoor environment (and keep it indoors to serve it).
Preparing the caramel:
A note about cooking sugar:
My sugar (pictured below) is darker than I would have preferred. This is an easy mistake to make! Once sugar gets hot, it will burn quickly and easily – so make sure you get it off of the heat as soon as you think it’s ready!
BE CAREFUL: Hot sugar gets up to very high temperatures, retains its heat for a long time, and sticks to whatever it touches. That said, if it touches your skin, you can be very badly burned. Take care not to let the sugar touch you!
Assembling the Croquembouche:


If you like this recipe, you may also like:
That’s all for today! I hope you enjoy this tutorial. At some point, I might get on here and do another one with a cone for structure… maybe a chocolate one next time. Thoughts?
Thanks for being here! Be back soon,
–Naomi
This post contains affiliate links.