
Profiteroles [Recipe]
Today’s post is a treat: delicious, cream filled pastry puffs that are easy to make and even easier to eat. What are we making, you might ask? This recipe is for profiteroles: little round hollow French pastries with silky insides and crispy outsides, piped full of your favourite custard or pastry cream.
What are profiteroles?
I’ve been told that profiteroles are the French name for the American “cream puff,” but in my mind, they are different by one qualifier: size.
Most cream puffs that I’ve had the pleasure of tasting have been quite large, (almost the size of a tennis ball), while every profiterole I’ve ever tried has been a small, walnut-sized puff. While my experience is definitely not the definer or what a profiterole “is” or “isn’t,” I’m going to lean into that for today’s tutorial (and hopefully come back to the blog with a cream puff tutorial in the future, separately).
What is the difference between profiteroles and éclairs?
Another similar pastry to cream puffs and profiteroles would be éclairs. The key difference between profiteroles and éclairs is that the former is a small, round ball shape and the latter is a long, oblong shaped pastry (with the same kind) of filling and chocolate on top.
Also one of these days, I hope to get a recipe for éclairs on here; they will be similar, obviously, but there are a few things I’d love to show you guys for how to make them extra special.
Is it hard to make profiteroles?
It may surprise you to hear it, but profiteroles are actually one of the easiest, quickest things to make. They do require a little prep (for the cream), and a little arm power (especially if you’re making a lot). However, hard is definitely not a word I would use to describe them… and wow are they ever good!
How to make profiteroles
Profiteroles are made with a delicious French pastry called choux pastry. This buttery, light as a cloud pastry is made by first making a simple dough with hot butter, boiling water, flour, and eggs. The dough is piped (or spooned) into little mounds on a baking sheet and baked in a hot oven where the heat makes them puff up, hollow out, and look and taste fantastic.
Once the puffs are cooled, the centres are filled with either a homemade custard/pudding or a slightly sweetened stabilized whipping cream.
Filling profiteroles with stabilized whipped cream
If you prefer to make your profiteroles a little lighter (rather than use my vanilla pudding/custard filling), you can fill your pastries with stabilized whipped cream. Just make sure that you make a sweetened version (I often make stabilized cream without sugar), since the choux pastry of profiteroles is not sweet at all, and a sweet creamy filling is key to making sure this dessert comes out right.
How to serve profiteroles
These delicious pastries can be served plain, dipped in chocolate, dipped in caramel, or made into a beautiful croquembouche if you want to make them really fancy. (If you don’t know what a croquembouche is, you can check out this tutorial to discover something amazing!)
You will need:
- Ingredients (see recipe card)
- Small heavy bottomed saucepan
- Measuring cups and spoons
- Whisk
- Heat proof spatula
- Glass bowl
- Plastic wrap
- Sharp paring knife
- Piping bags (I use an 18″ bag for the pastry and a 12″ bag for the cream)
- Scissors
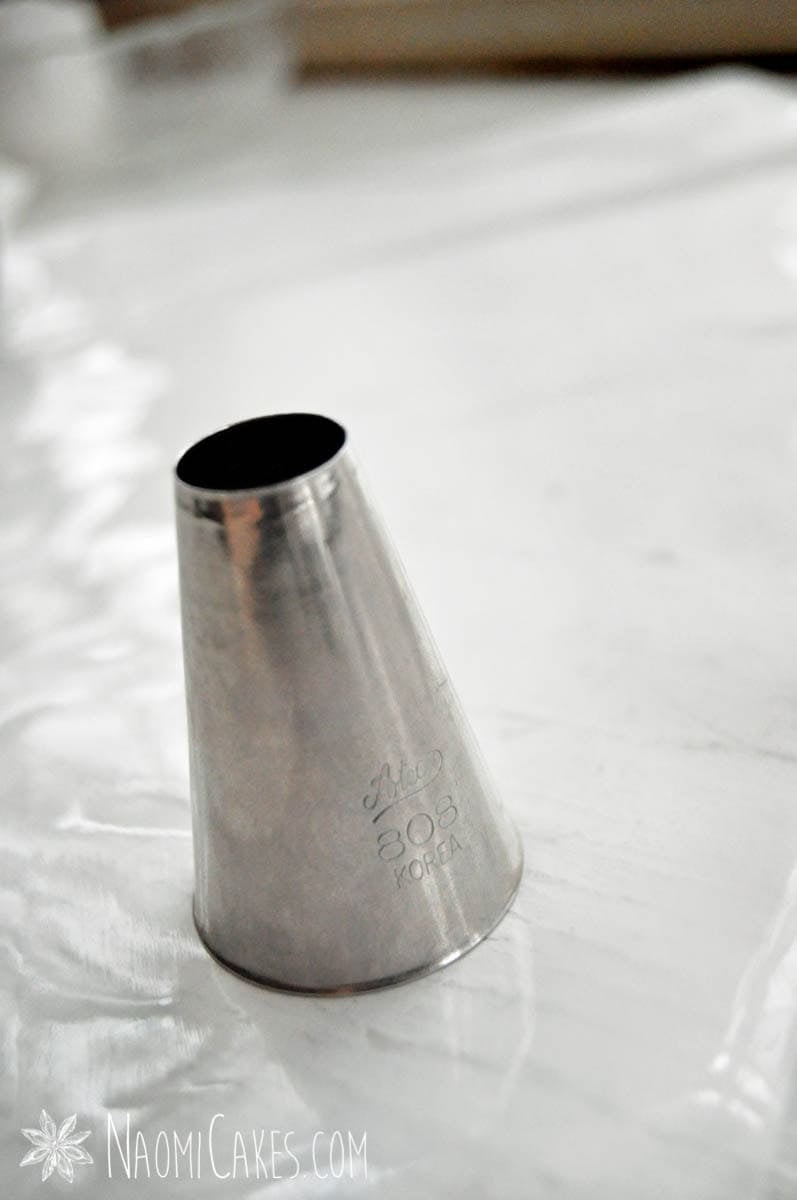
- Large round piping tip (I used #808)
- Large star piping tip (I used star tip #16)


Profiteroles
For optimal results, prepare the pastry cream at least one day before you want to serve your profiteroles, and bake the pastry fresh on the day you want to serve them.
Ingredients
Choux Pastry (bake on the same day you want to serve them)
- 1/4 cup butter
- 2/3 cup water
- scant 1/2 cup all purpose flour
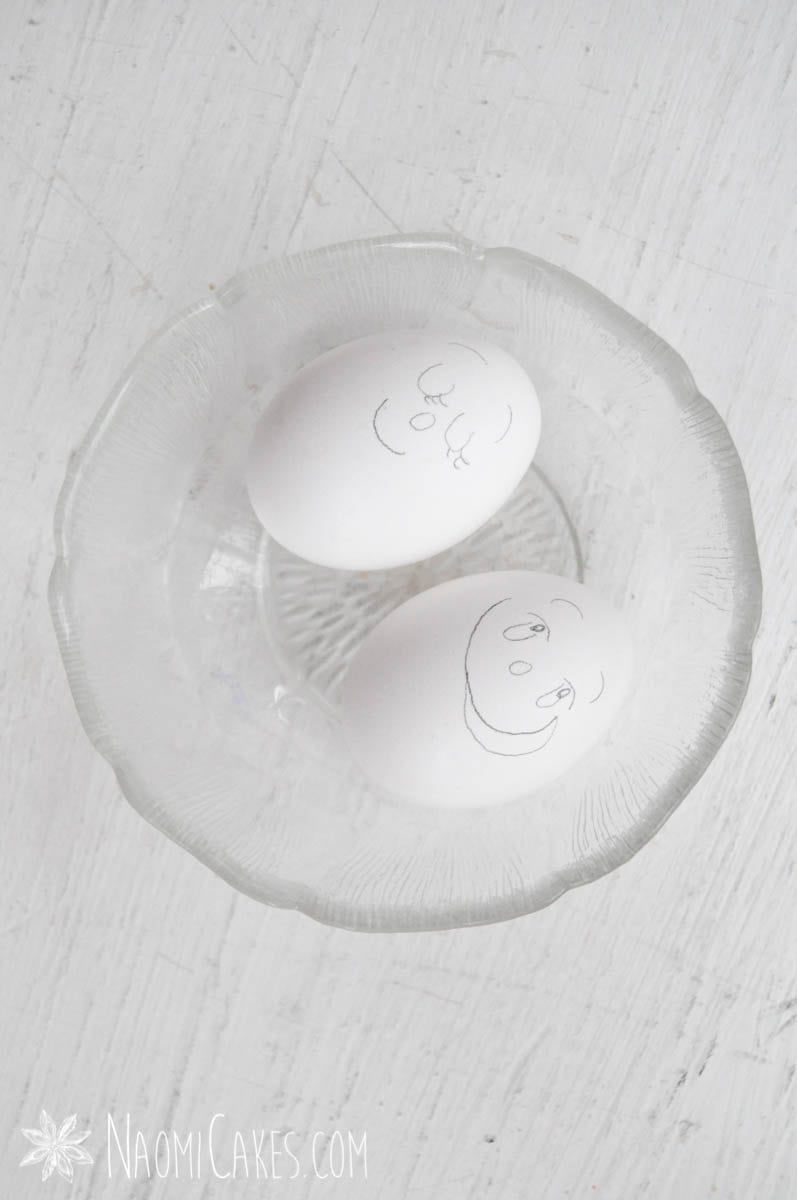
- 2 large eggs
Pastry Cream (prepare at least one day before use)
- 1 Tbsp. butter
- 1 rounded Tbsp. flour
- 1/3 cup sugar
- 1 pinch salt
- 1 cup whole or 2% milk
- 1 large egg beaten
- 1/2 tsp. vanilla extract
Instructions
For the choux pastry:
-
Preheat the oven to 425 degrees F.
-
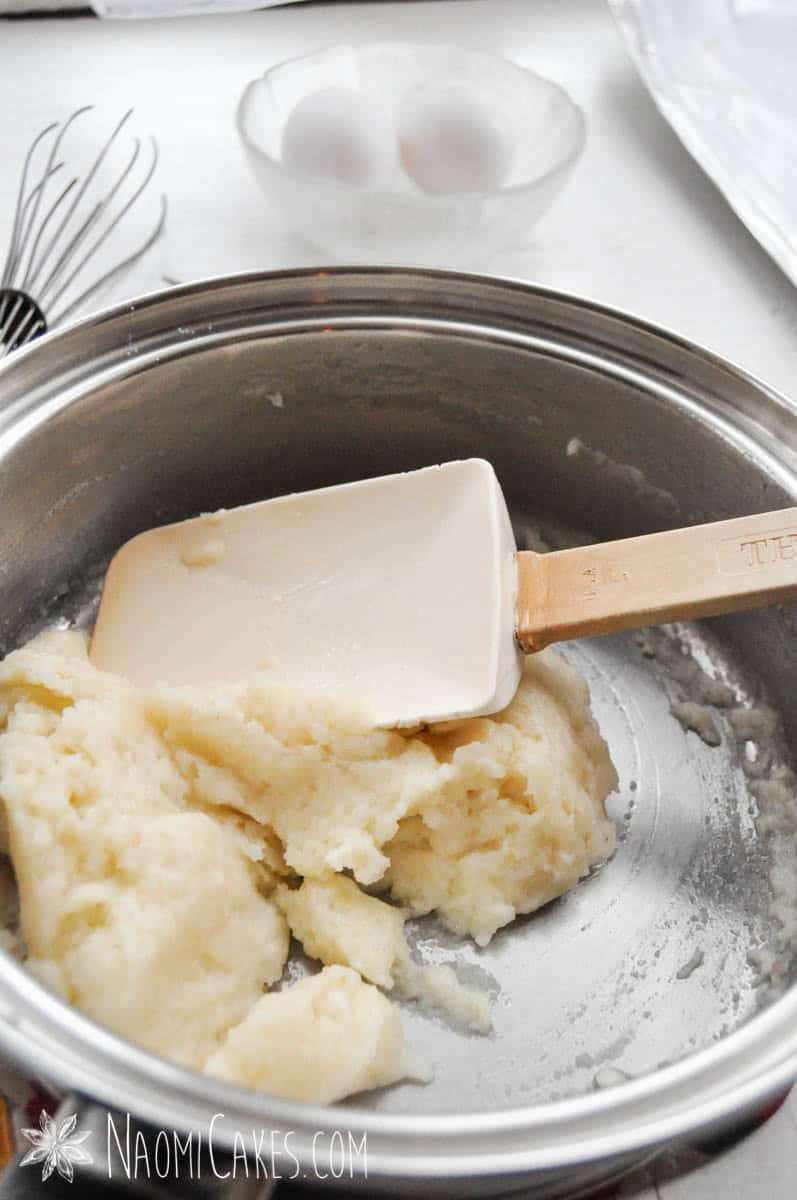
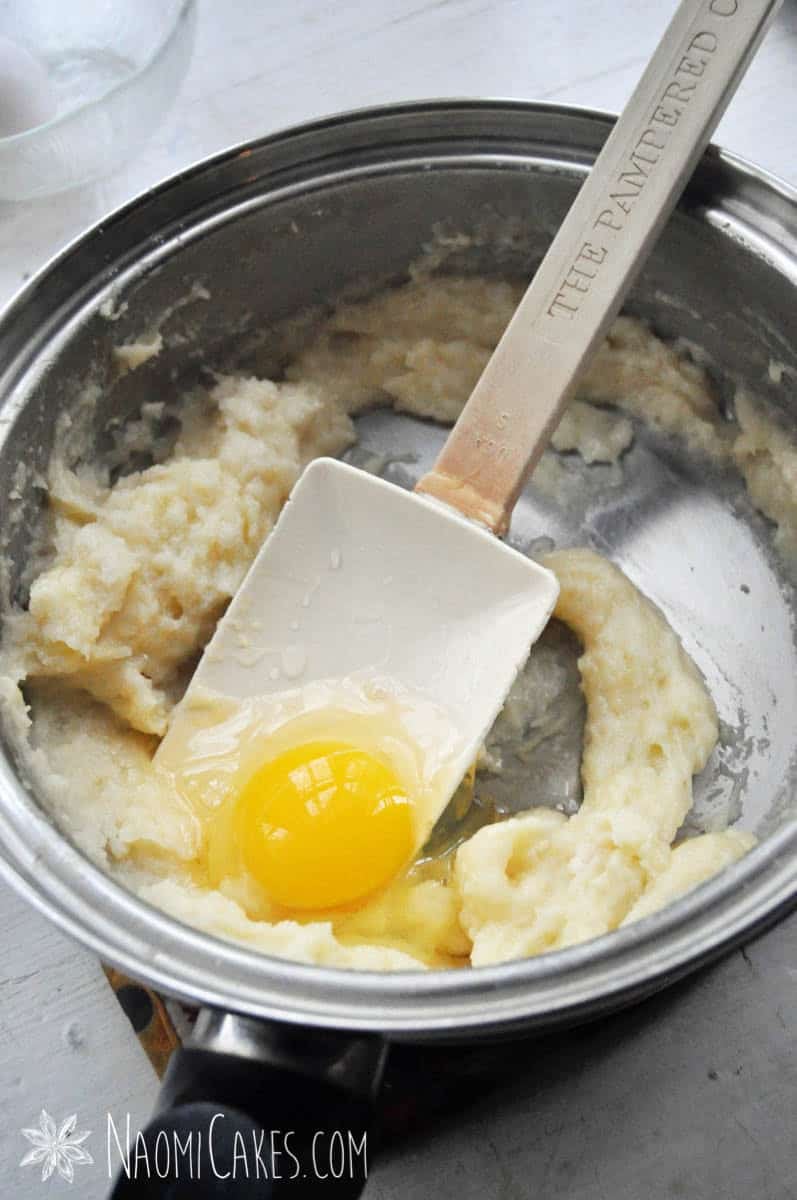
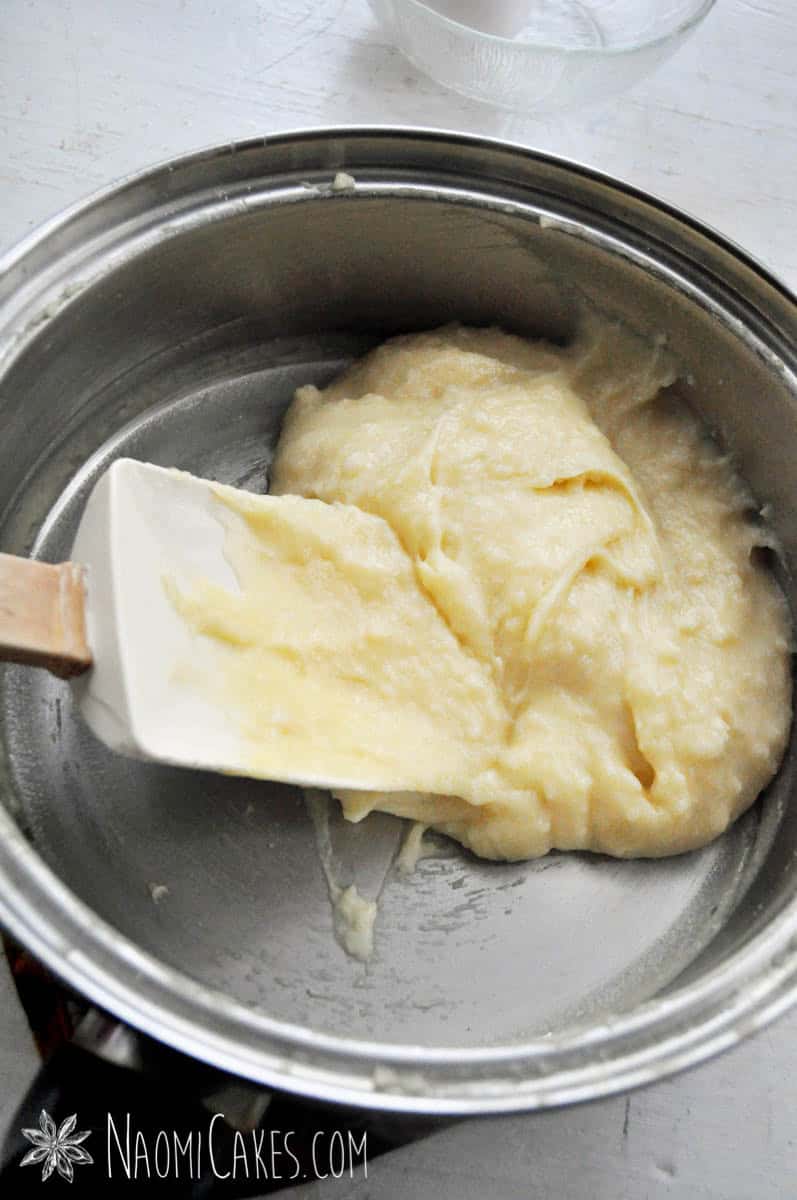
In a medium heavy bottom saucepan, heat the butter and water until the butter is melted and mixture comes to a boil. Remove from heat, add the flour, and beat until the mixture leaves the sides of the saucepan. Beat in the eggs, one at a time, until well combined.
Tip: Make sure to beat well after each egg, and quickly: You don’t want the egg to start cooking in the hot mixture before it’s mixed in!
-
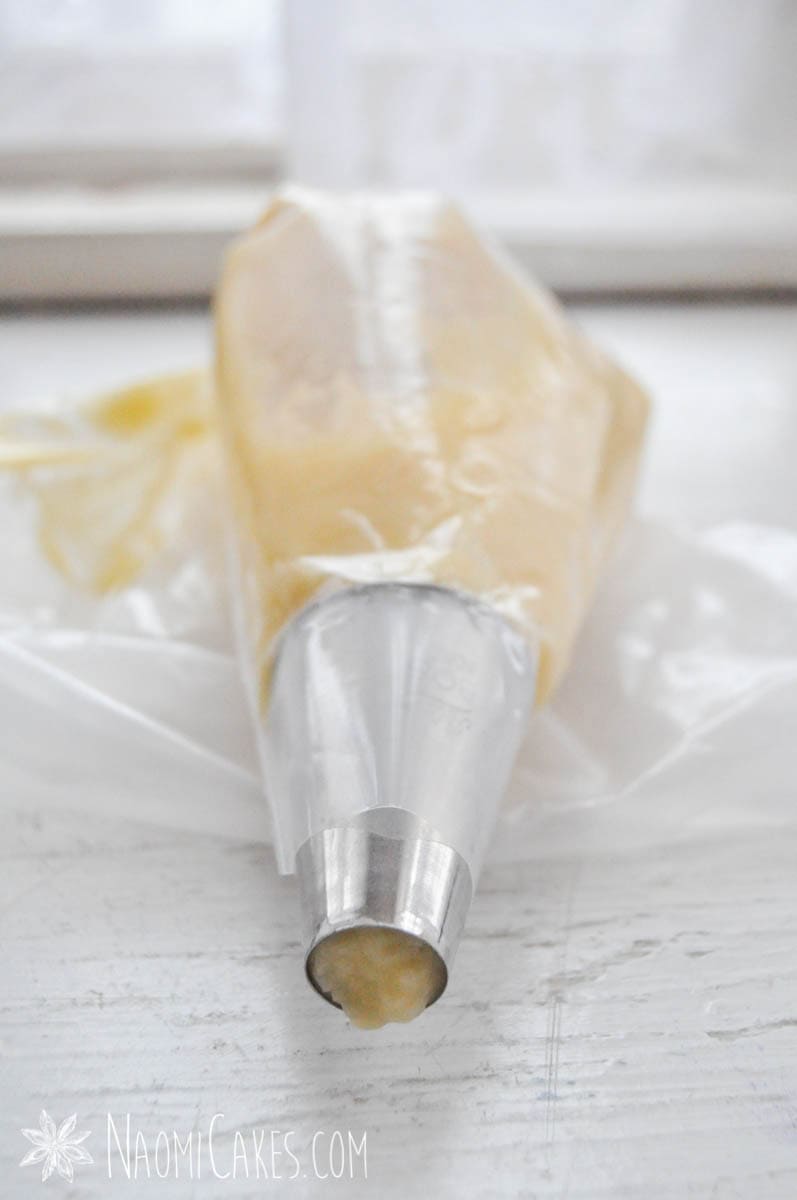
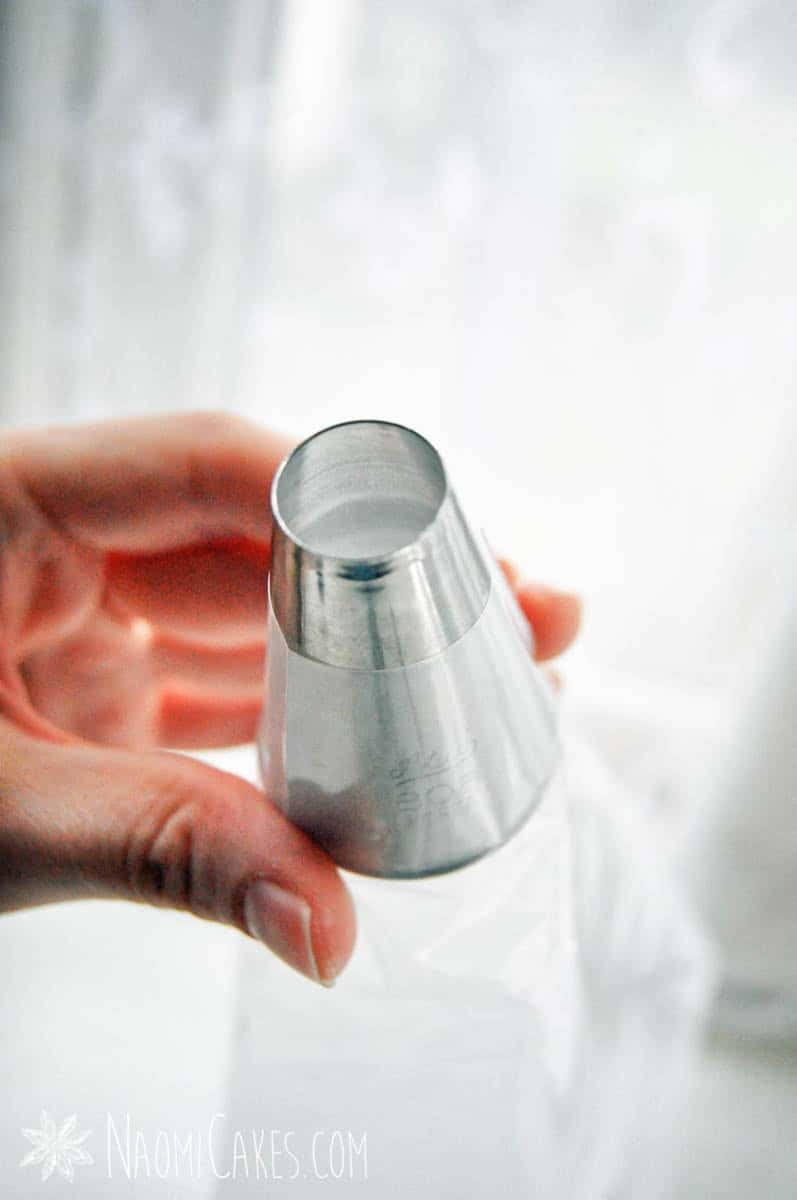
Set the pastry dough aside, and prepare a large pastry bag with a large round tip. (I use tip #808)
-
Spoon the pastry dough into a piping bag and pipe the dough into walnut-sized rounds on an ungreased baking sheet. Wet your fingertips with a bit of water and press down the little peaks on the tops of each round.
-
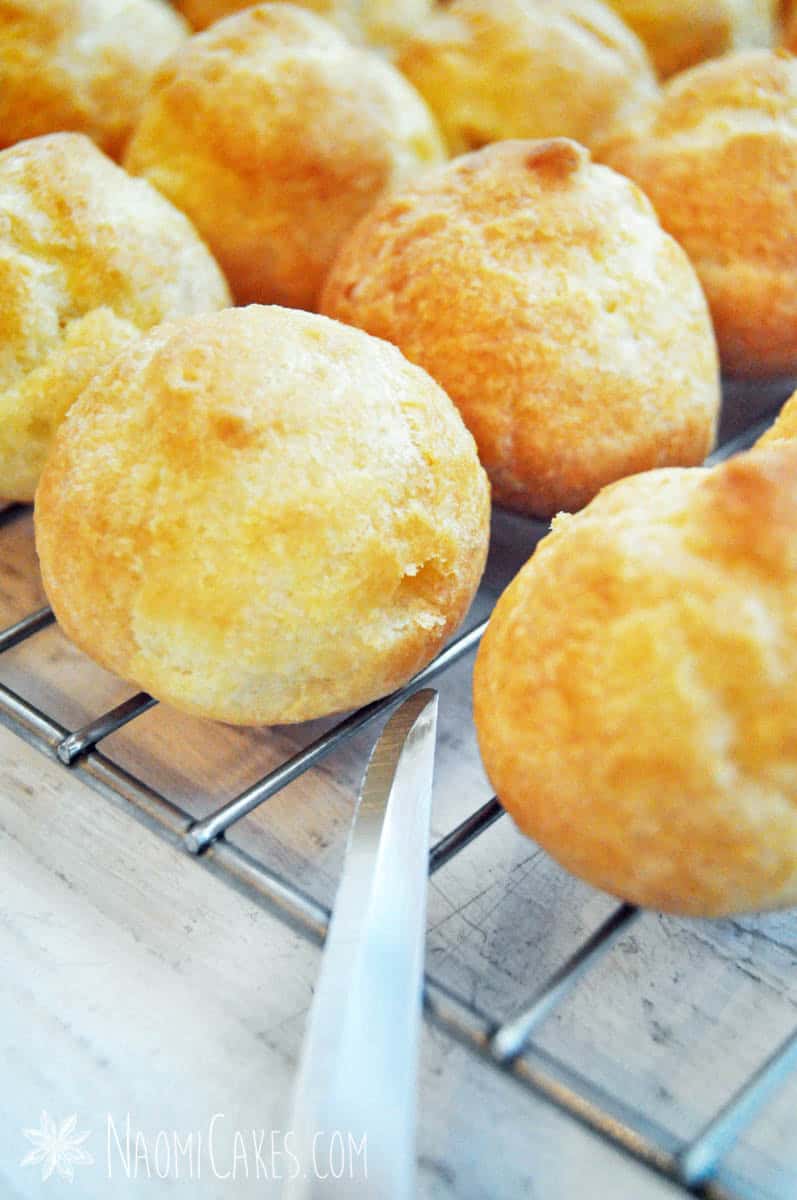
Place the pan of piped profiteroles in the oven, and reduce the heat to 400 degrees F. Bake for 20-25 minutes or until golden brown and puffy.
-
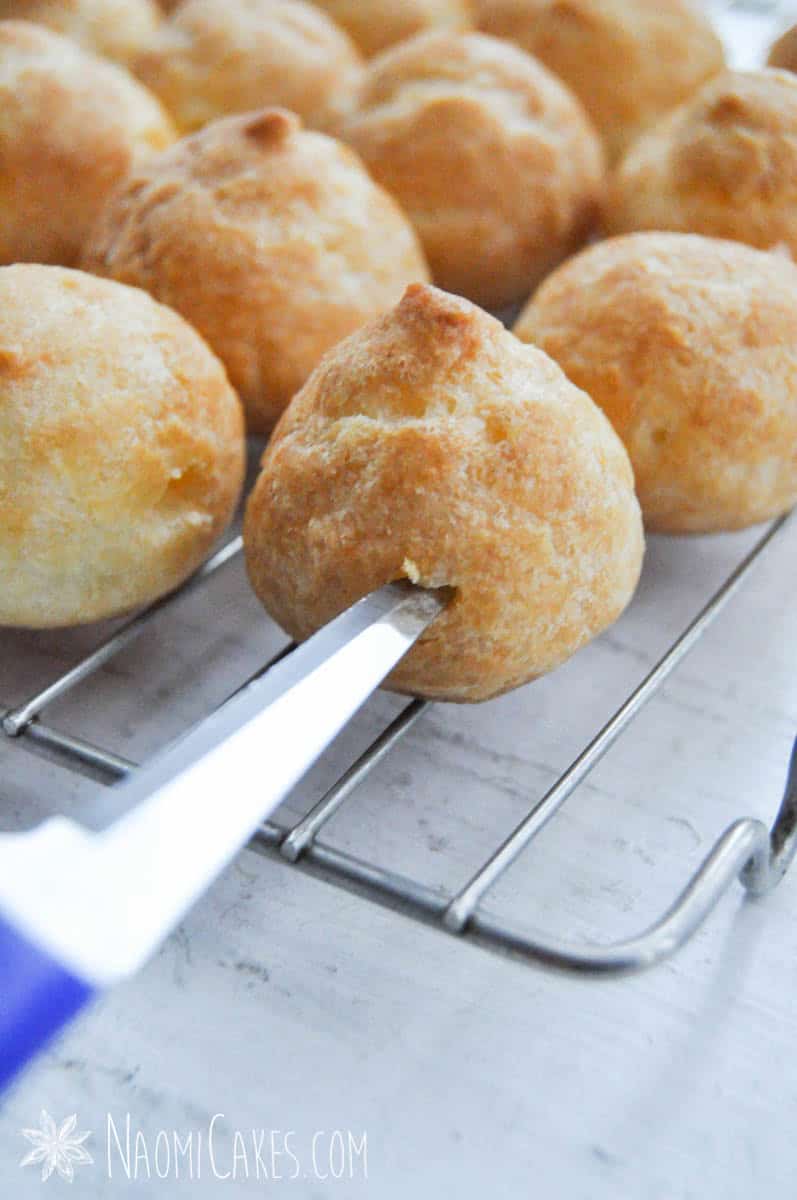
When the pastry comes out of the oven, using the sharp tip of a small knife, poke little holes in the side of each puff to let the steam escape. (This keeps the pastry a little more crisp.)
-
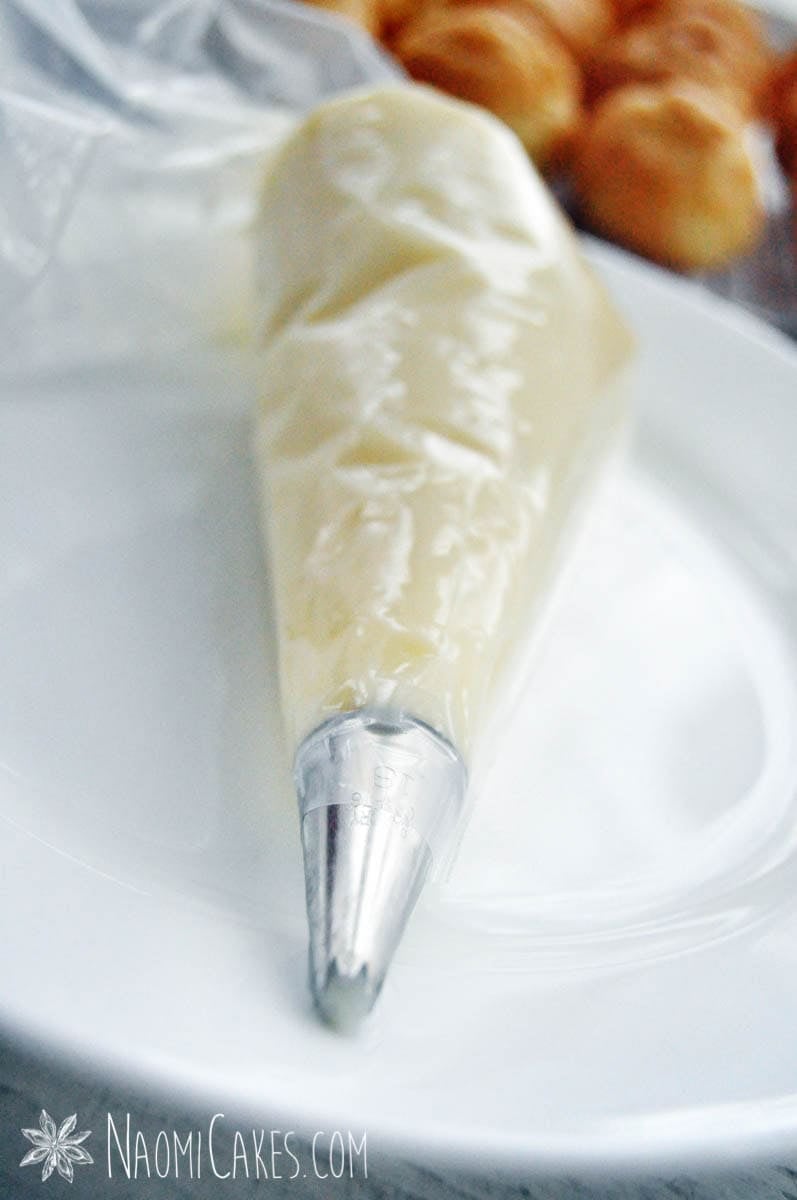
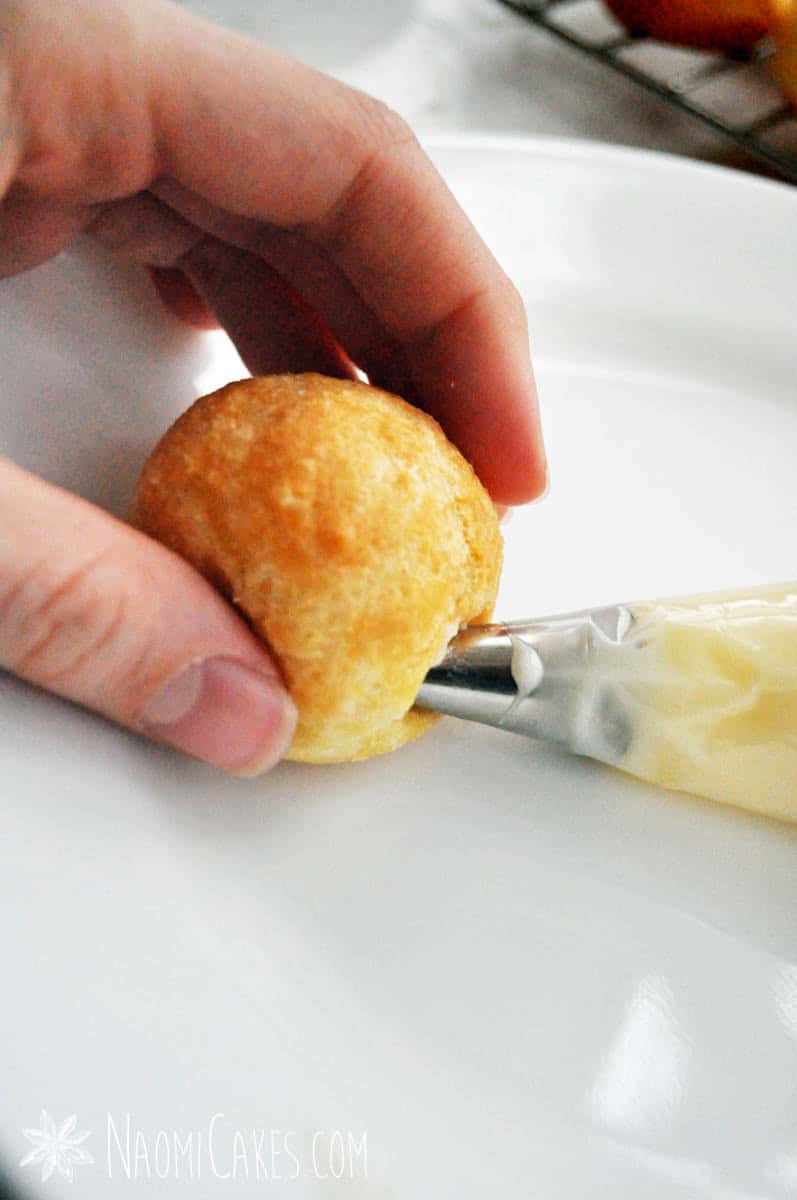
Once the puffs are cool, prepare another piping bag with a smaller tip (any shape, and the size doesn’t matter too much– I like to use a star tip #16 or #18 for this). Pipe a bit of filling into the puffs through the hole you made when they came out of the oven.
-
Serve fresh (ideally on the day they are made).
For the pastry cream:
-
In a medium, heavy bottomed saucepan, melt the butter and remove from heat. Stir in the flour, sugar, and salt (I like to mix them together ahead of time), and stir to combine. Add about 1/2 cup milk and stir until smooth; add the rest of the milk and stir to combine.
-
Return to medium heat and whisk until the mixture is hot and starts steaming. Beat the egg until frothy, and add to the hot milk mixture, stirring all the while. Continue whisking until the mixture begins to thicken. Whisk a couple minutes longer, then remove from heat, and stir in the vanilla.
-
Once the mixture is done, pour it into a glass bowl, cover it with plastic, and refrigerate overnight.
Note: Make sure the plastic sits directly on top of the filling; this will prevent it from forming a “skin.” And don’t worry– it won’t melt!


Flatten the peaks:


If you like this recipe, you may also like:
That’s all for today! If you make this recipe, let me know in the comments! I’d love to hear from you. Also, if you wanna show off your beautiful baking, feel free to tag me in your photos on Instagram @naomicakesofficial! I love to see that my recipes are being enjoyed!
Bye for now,
–Naomi
This post contains affiliate links.