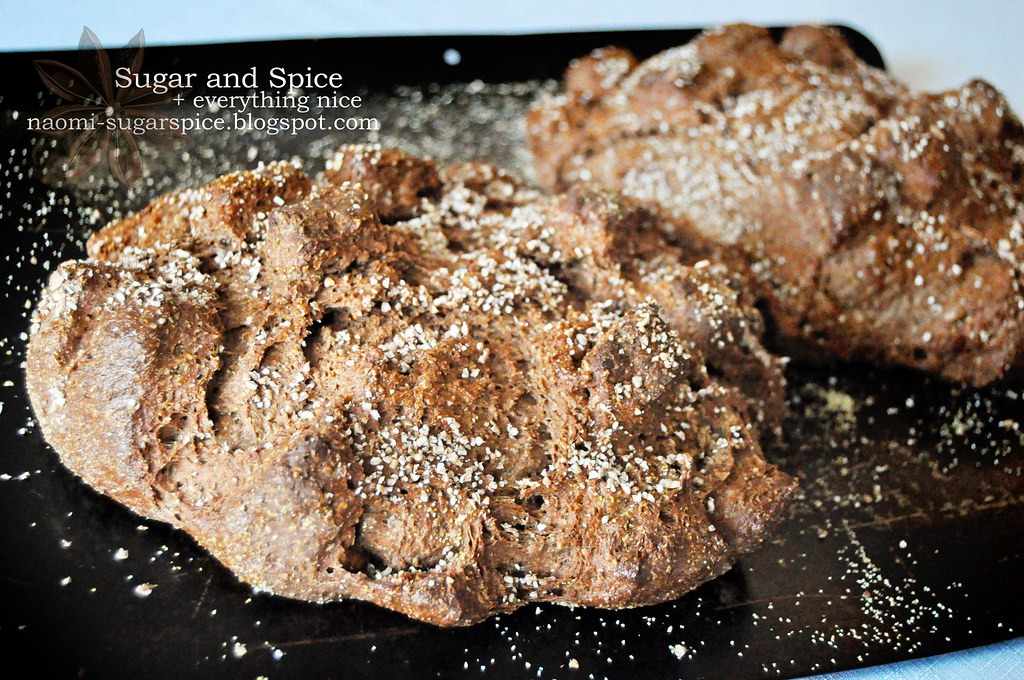
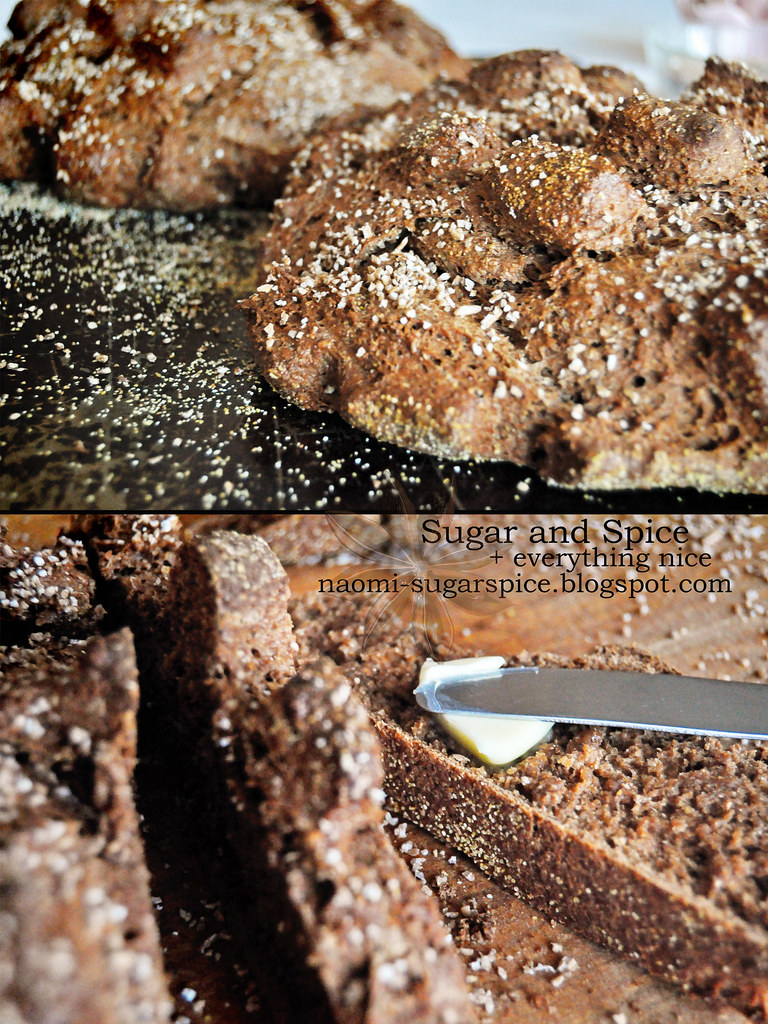
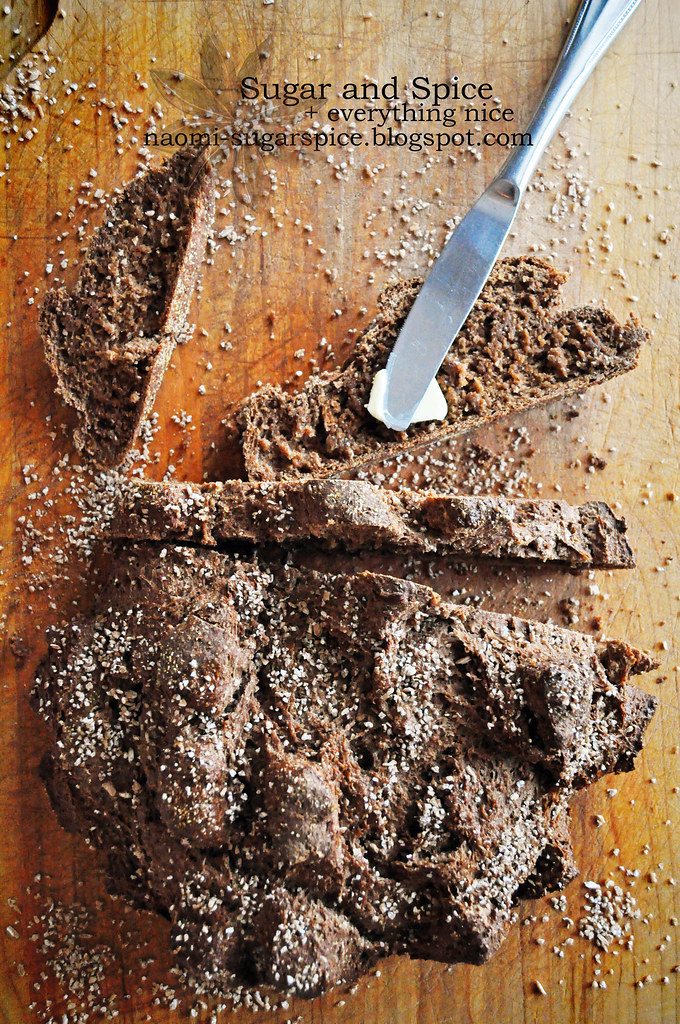
It looks a little crazy doesn’t it? But also, it looks completely edible, and I’m here to tell you that IT WAS. This is good stuff!
Pumpernickel bread is something that you typically see a lot around this time of year in particular, as it is a stylishly popular kind of bread that goes well with spinach or other holiday dips, as well as cheese or whatever you feel like eating on it. It–Is–Good. The bread is made with rye flour, bran, whole wheat flour, molasses, and cocoa or carob powder; all of which contribute to its a rich, dark coloring.
Different recipes have different ingredients, granted. This recipe is a medley of a few– I’m mostly using one recipe that I had (taken from The Book of Bread), but I am using a few substitutes, and I decided to add molasses, since I love the rich flavor and chewy texture that molasses gives.
I’m going to share a more modern technique for baking this bread, which means baking it at a higher temperature for a shorter amount of time. Traditionally, I understand, the original German recipes for this bread had it baked at a low temperature in a steam-filled oven for a LONG time. This would yield a dark, dense bread with little to no crust. The way I do it, however, yields just a moderately dark and dense bread, with an awesome crust (I like crust).
Here’s the recipe!
Pumpernickel Bread
Makes 2 loaves
1 Tbsp. dry active yeast
1 c. warm water
2 c. lukewarm or room temperature yogurt
1 Tbsp. cocoa powder
3-4 tsp. table salt
1 Tbsp. blackstrap molasses
1/4 c. canola oil
2 c. rye flour
1 c. bran
2 c. whole wheat flour
White flour, approximately 1-2 c.
Corn meal, for dusting
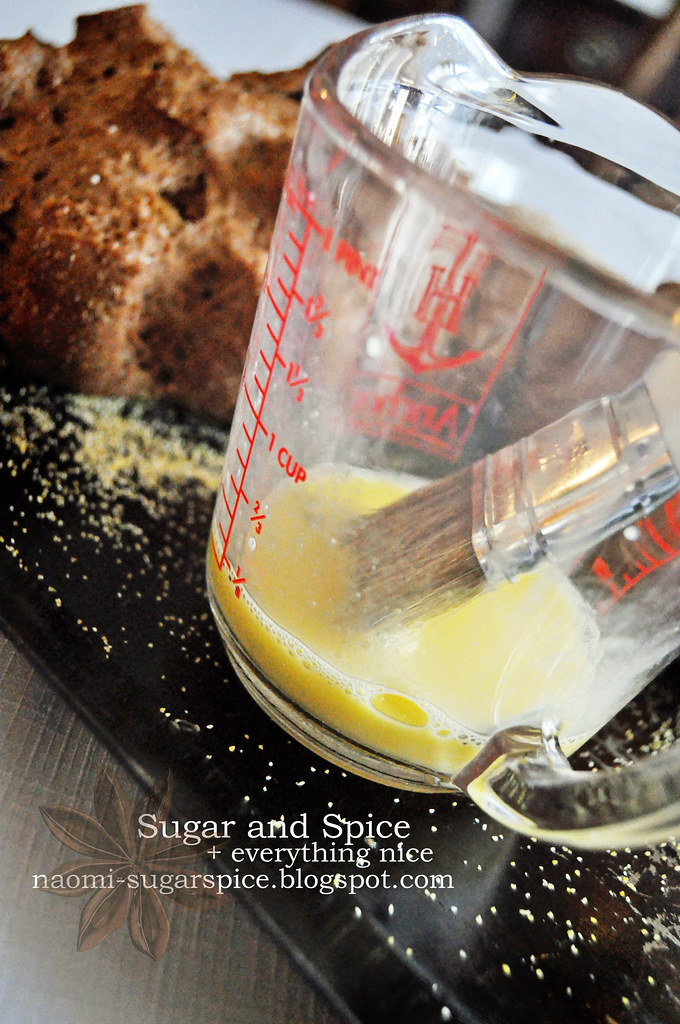
1 egg beaten with 1 tsp water for glaze
Cracked wheat, to garnish
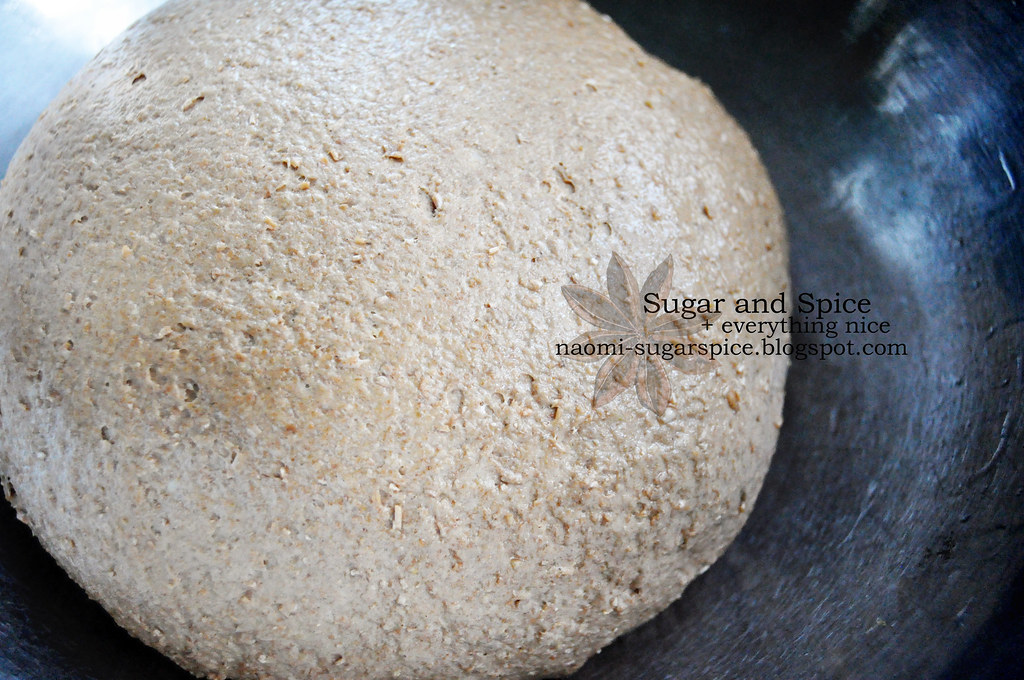
Combine the water and yeast in a large mixing bowl stir, and let rest until the yeast is bubbly (if the water is too hot, the yeast will die and you will have to start again). Add the yogurt (again, can’t be hot) to the mixture, and stir in the cocoa, salt, molasses, oil, rye flour, and bran. Stir to combine, and add the whole wheat flour. At this point, it might be getting difficult to stir– turn the dough out onto a floured work surface (use the white flour from here on out), and knead until it comes together in nice, stiff dough (the dough will be sticky, so you may need to clean your hands and/or grease them a few times in between).
Tip: If you’re making bread and it’s just too sticky to manage, set the dough on a floured work surface, grease the top of it with a bit of oil, and turn a large bowl upside down over the top of it. Let it rest 5 minutes, then start kneading again. Pretty much always works!
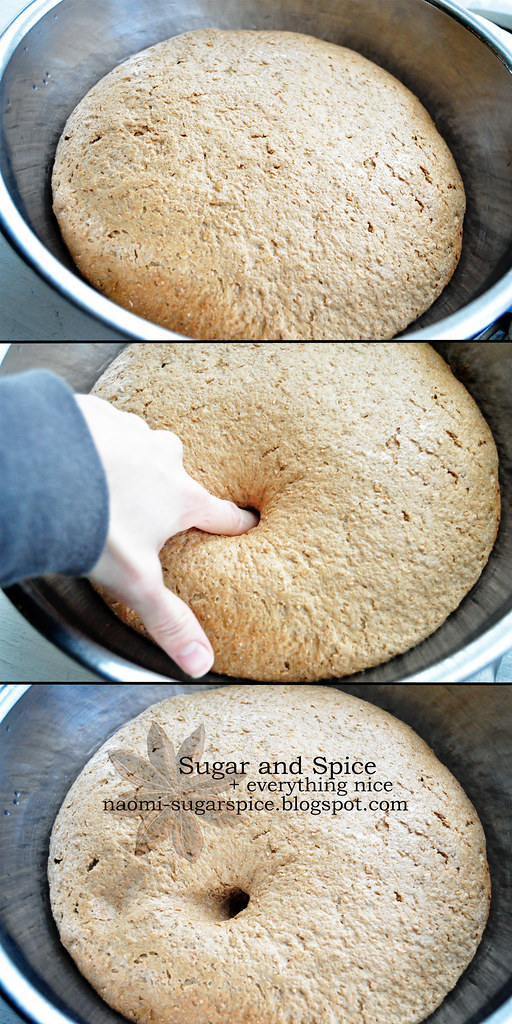
Clean the bowl out of any bits of dough and knead them into your loaf (you can kind of scape out soft bits of dough with flour on your hands). Grease the bowl, and turn your finished bread dough upside down into it, cover with plastic, and let it rest for 1-2 hours, or until doubled in bulk.
Tip: I live in an old house that is always FREEZING! If it’s too cold, the bread won’t rise– I usually warm my oven a little bit (just until it feels warm to put your hand inside), and set the bowl of dough into the warm oven to rise. Be careful not to place a plastic bowl on a hot oven rack, though! If you heat your oven too much, the racks will heat– and if you’re using a plastic mixing bowl, it could melt right through. So be careful.
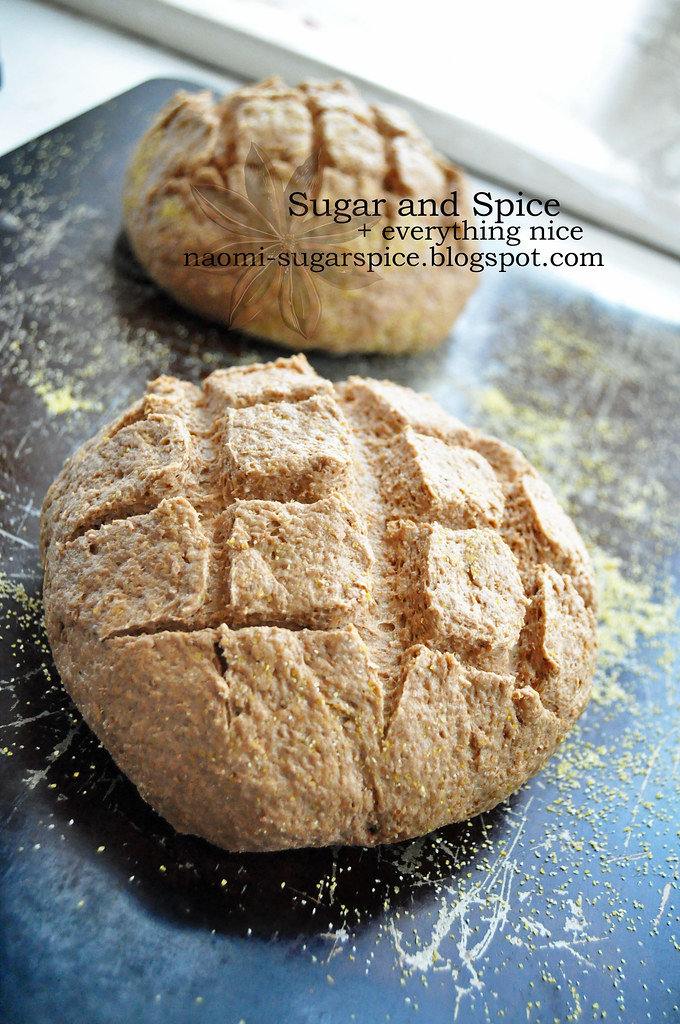
Punch the dough down and divide it into 2 sections (you’ll want to grease your hands for this part). Mould the loaves into rounds, pinching the seams underneath the bread and setting it, seam side down, on a cookie sheet dusted with corn meal.
Now. If you want to be creative, as I always do, you can use a serrated knife to cut scores in the top of the bread, like so. Here’s the thing though. This bread is the opposite of white bread’s fluffy, puff-out-into-a-cloud rising… And I forgot that. That’s why my finished loaves look so eccentric. 😉
Tip: Usually when you’re testing bread to see if it’s done, you can tap the surface and listen. If the loaf sounds hollow, it’s finished! If not, it needs more time. After an hour though, these babies are pretty much guaranteed to be done… But I knocked on mine anyway, ’cause I like to. 😉
Serve however you want. Butter is great (especially when the bread is warm), honey is great, cheese is great, dips are great. Personally, I want to try this with a hot artichoke dip… Mm. 🙂
Oh! One more tip before you go. Don’t try cutting the bread until it has been out of the oven, sitting on cooling racks, for at least 15 minutes. Otherwise, the soft, hot interior will kind of stick to itself, and come out tasting kind of doughy, possibly. 1/2 hour is ideal, but I always cut mine sooner than that… at least a couple of slices, anyway. I love it when it’s all hot and steamy. 🙂
Store the loaves in plastic bags.
Thanks for stopping in!
–Naomi
P.S. Toasting is a really good idea.

