
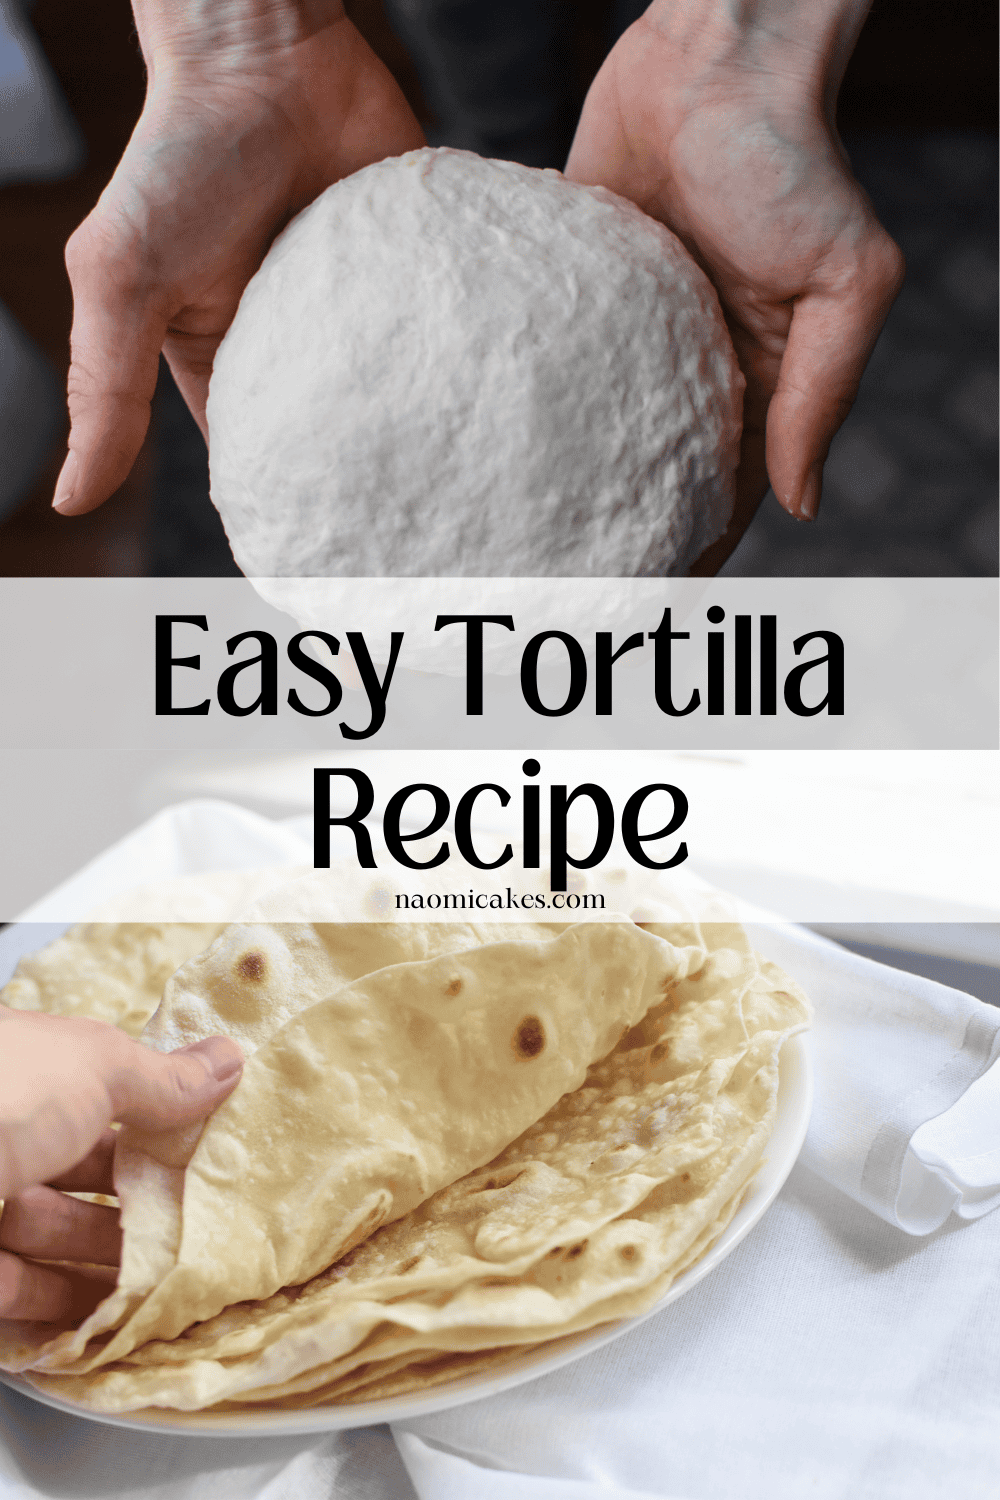
Easy Homemade Flour Tortillas [Recipe]
Alright everybody, it’s time for another staple to add to your recipe collection! These flour tortillas are actually remarkably easy to make, and like most things, they are a million times better homemade than from the store. Also, these are nice and easy: only 4 ingredients, with no baking powder or other leaven needed!
Making flour tortillas at home
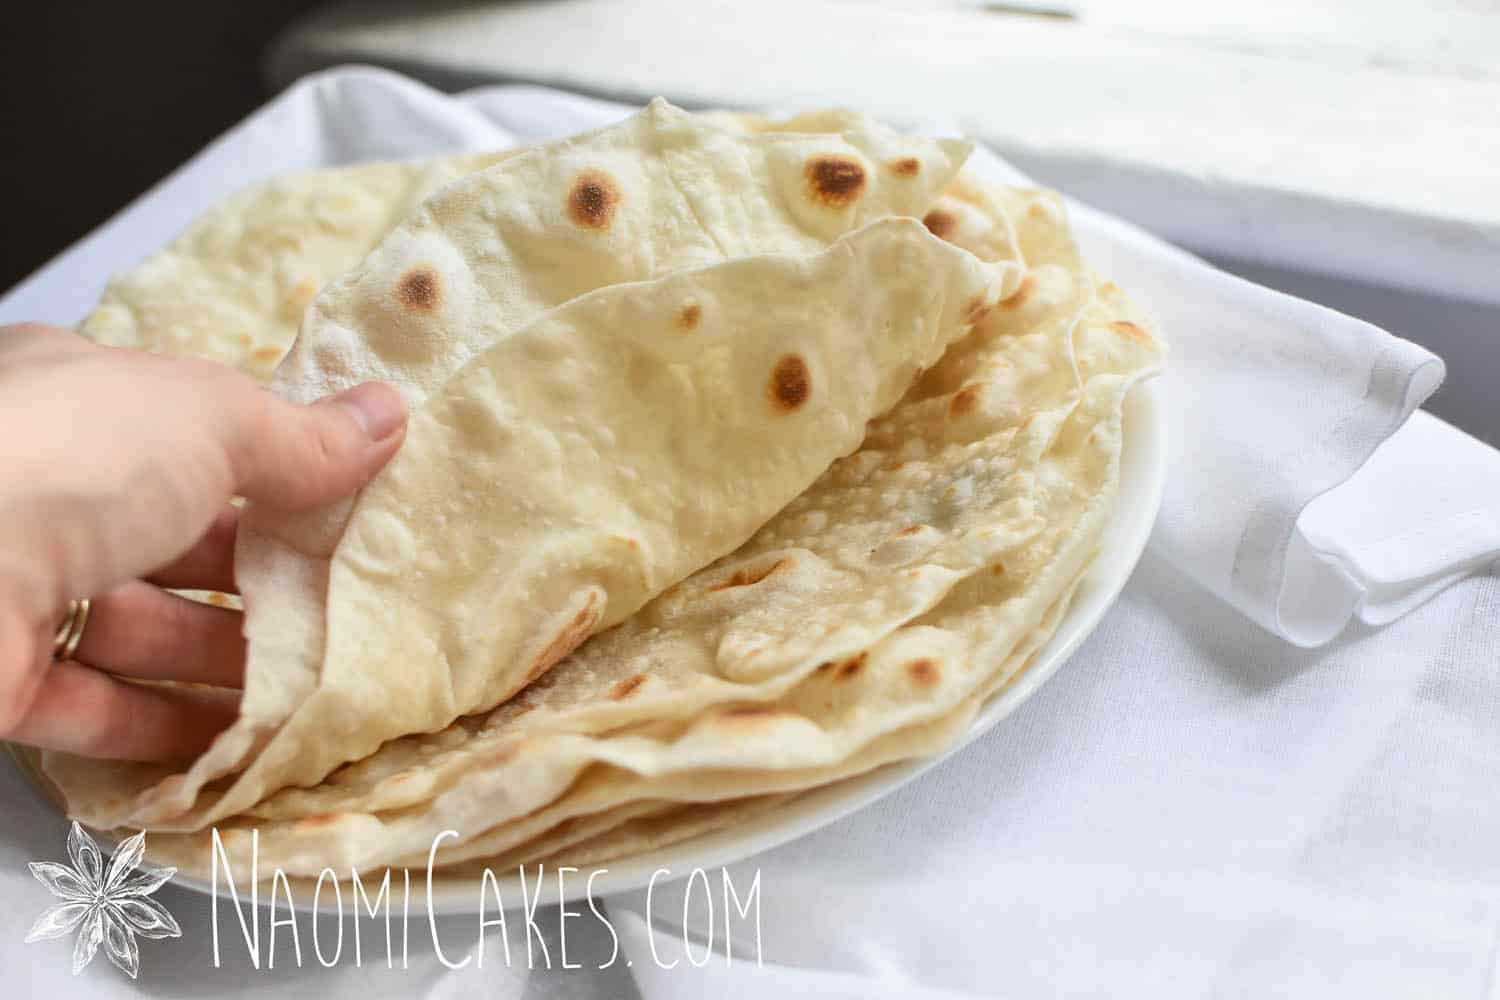
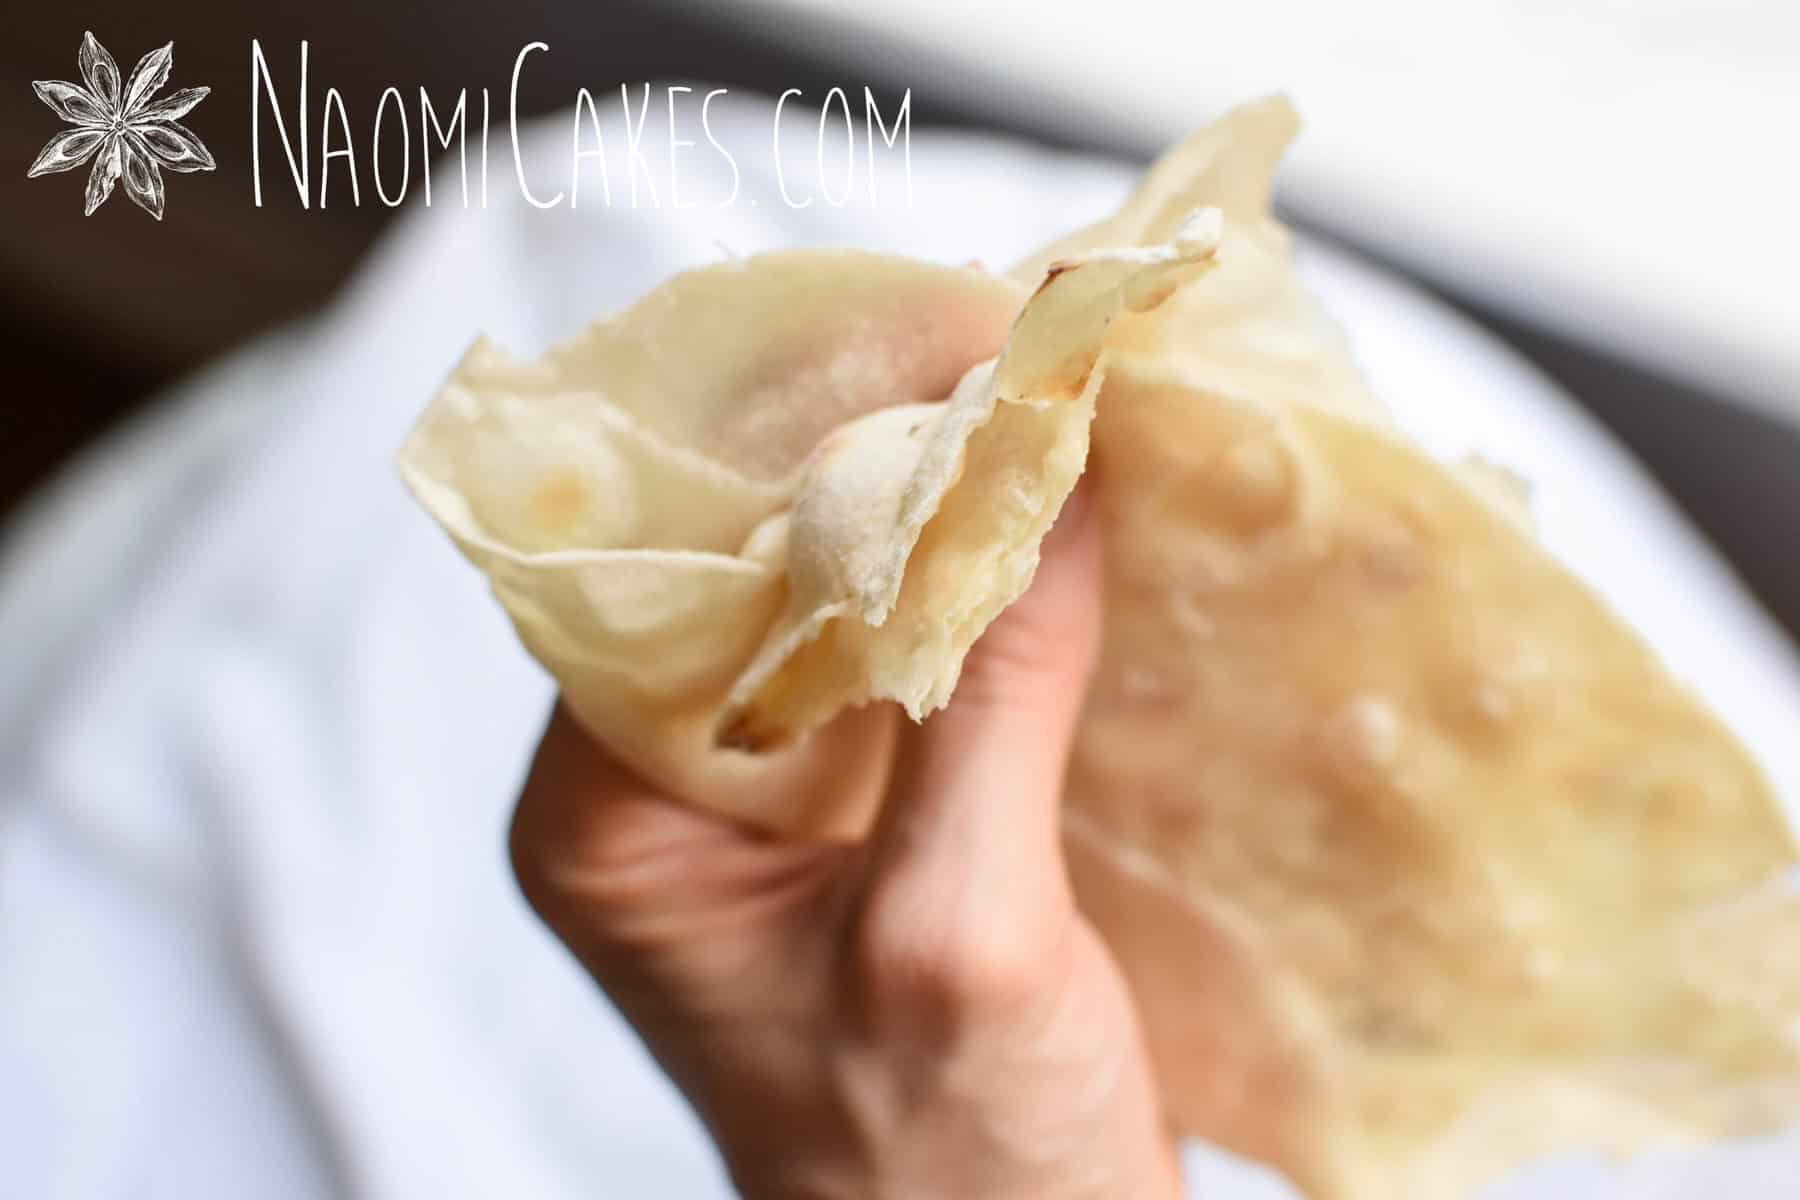
I love this recipe because it’s simple, delicious, and the tortillas you come away with are soft, flexible, and hearty. The dough is also really easy to roll thin without breaking, which makes their workability fantastic.
Is it hard to make flour tortillas?
Making flour tortillas is not hard; although, it can be a bit time consuming. In a perfect world, I would enjoy making these with one other person. That way, one person could roll the tortillas into shape, and the other can fry them.
However, in the phase of life that I’m in, doing this alone is the way that it goes – and yes, it’s doable!
Is it worth the time to make homemade tortillas?
Homemade is always worth it, for flavour most of all – but also for cost effectiveness. The cost of making homemade tortillas alone is probably about 1/3 the cost of purchasing them from the grocery store! Taking the time to try it, at least, is definitely worth it. And once you get a taste for homemade, store-bought tortillas will likely feel like less of an option.
How are flour tortillas made?
Flour tortillas are made by a simple 4 step process.
- Make the dough in a medium or large bowl
The dough is made with very simple ingredients; 2 dry ingredients (flour and salt) and 2 wet ingredients (oil and water). I like to make my dough by hand, but you can also do it in a stand mixer with a dough hook. - Let the tortilla dough rest and relax
This process allows the gluten to develop (which helps the dough stretch without breaking while you roll them). - Roll the tortillas
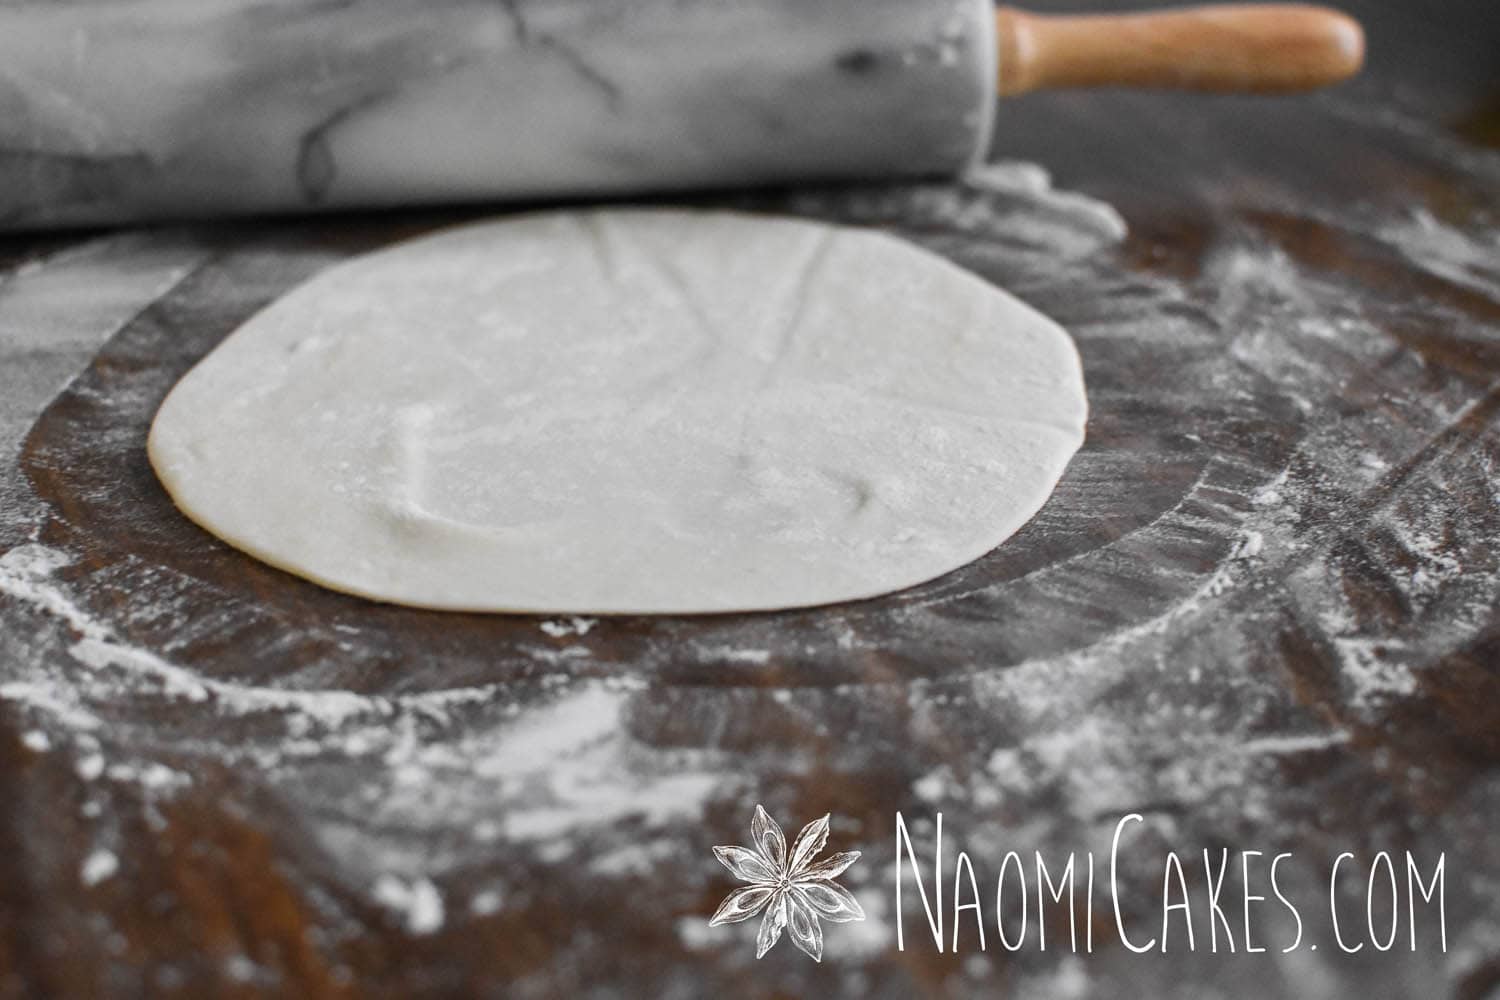
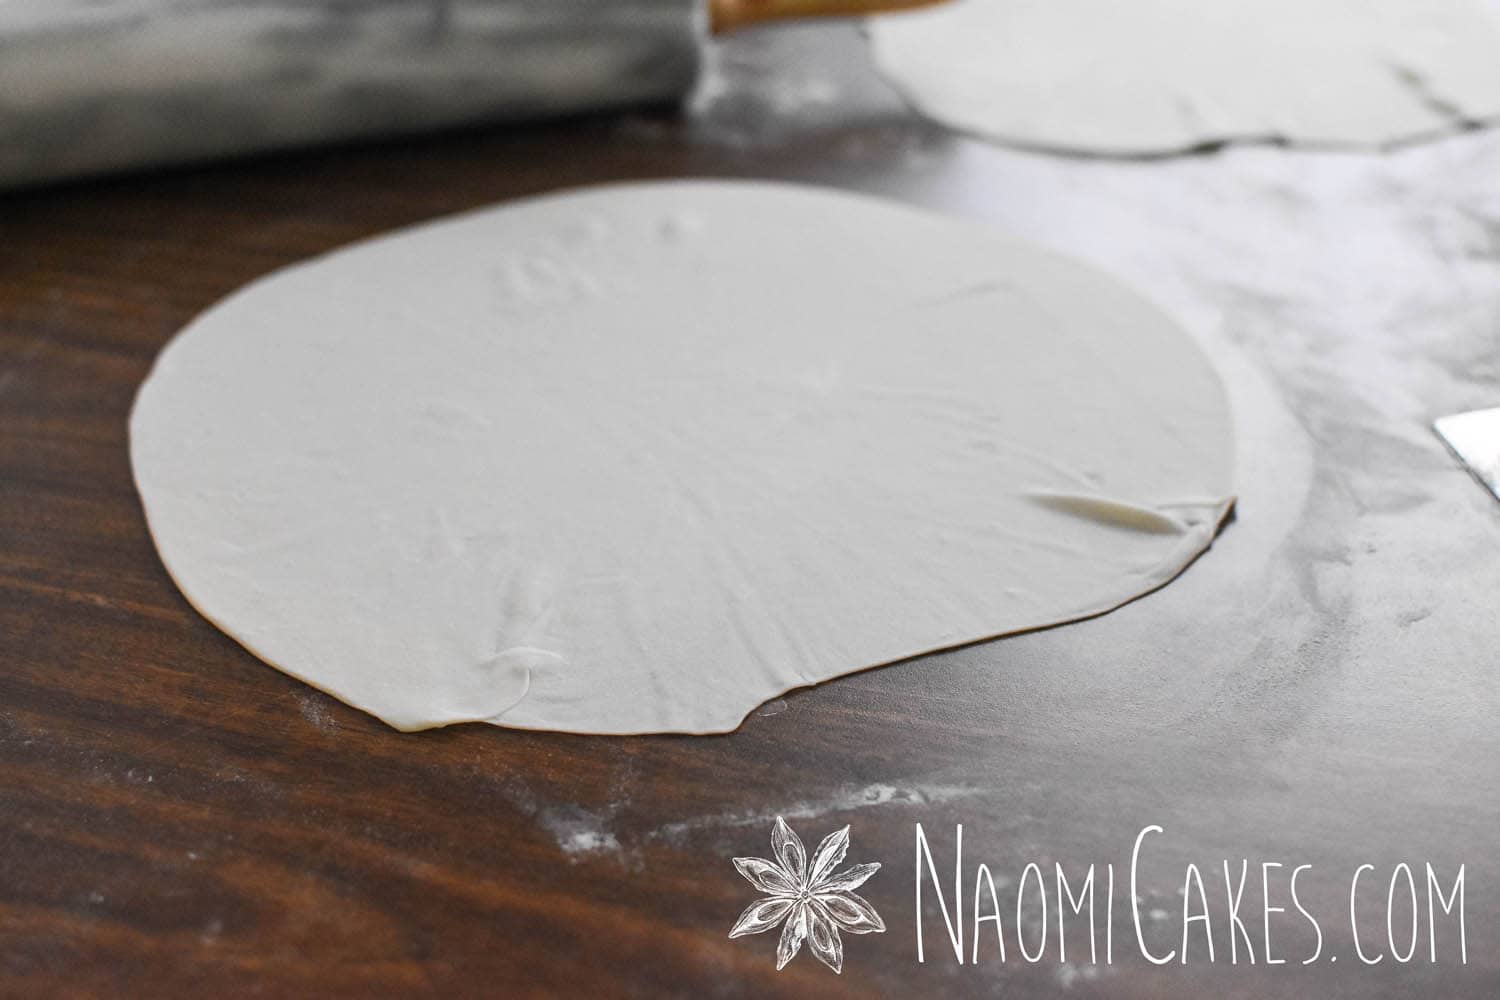
After the resting period, each piece of dough is pressed into a small disk and then rolled out with a generous amount of flour to be very wide and thin (a lightly floured surface is often too sticky dough like this, so important to use plenty of flour). - Fry your flour tortillas
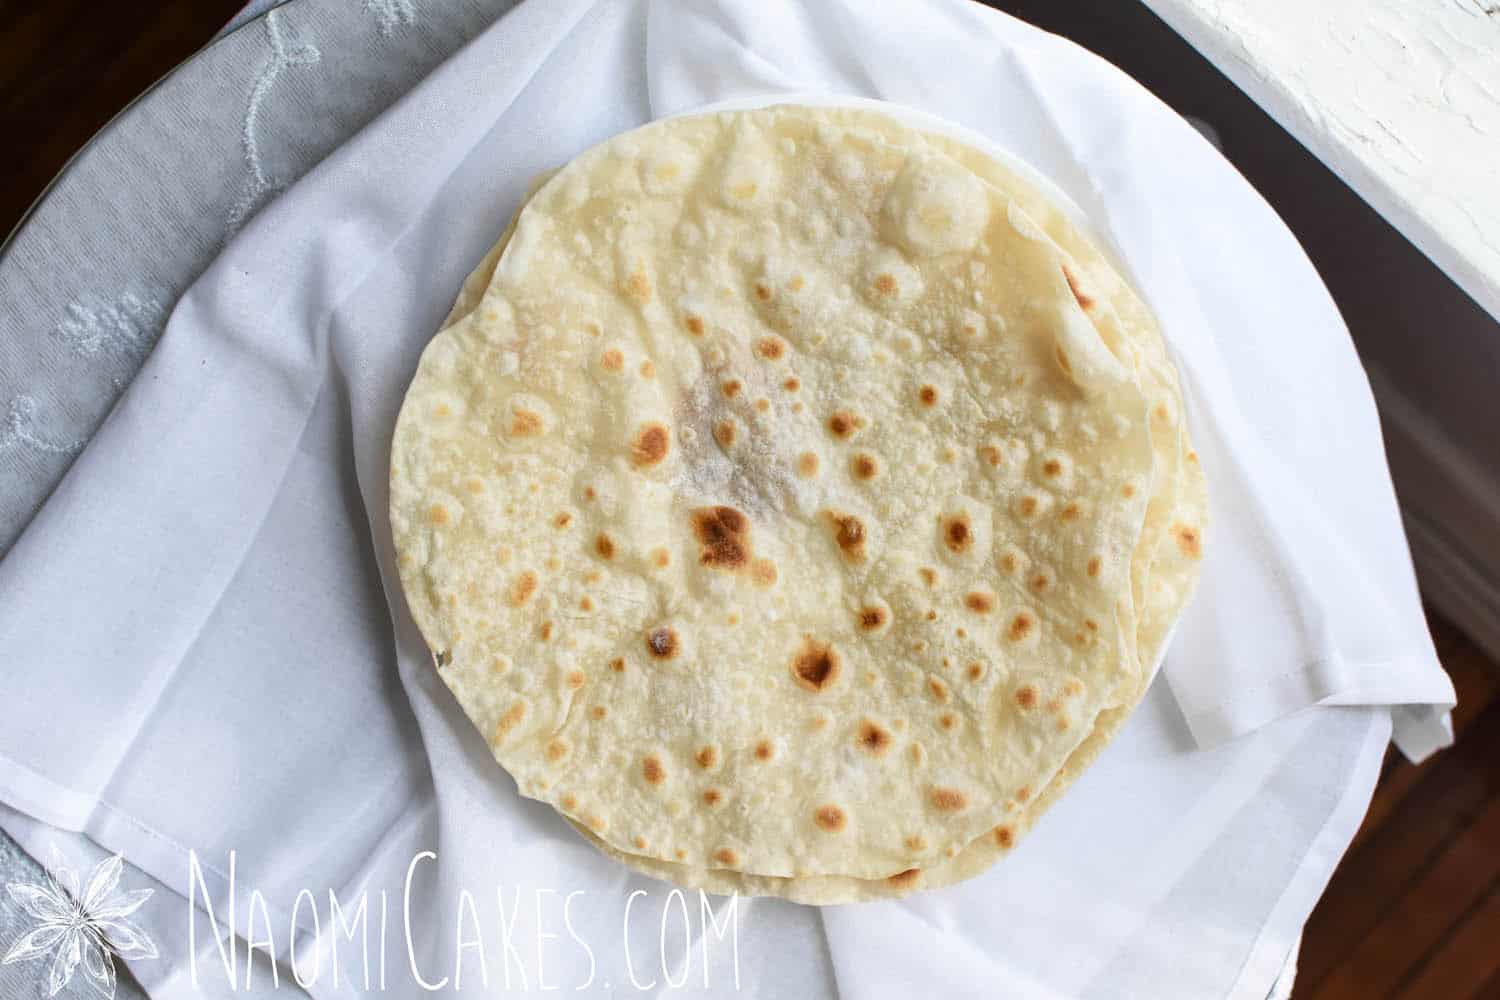
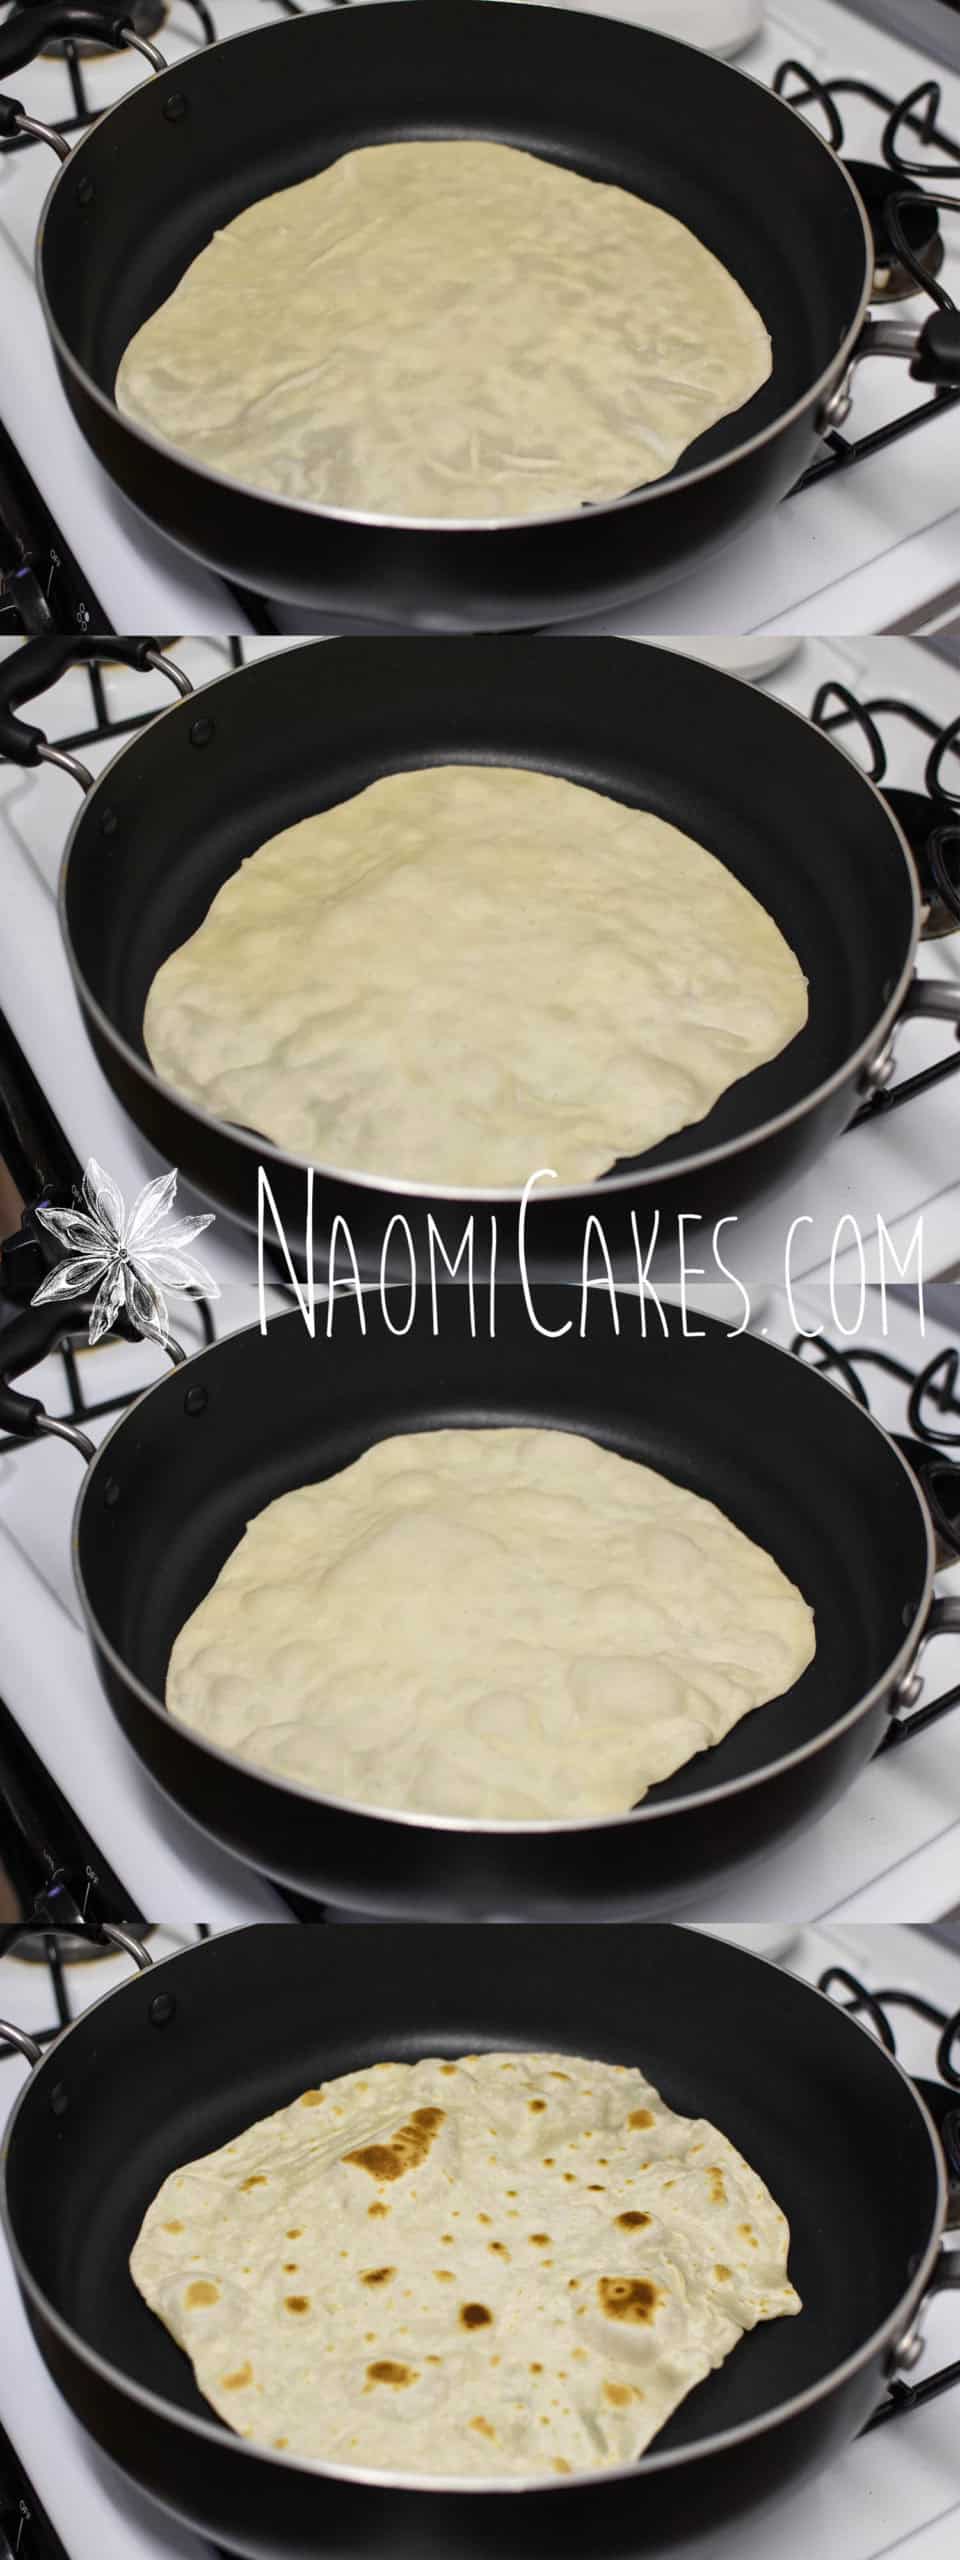
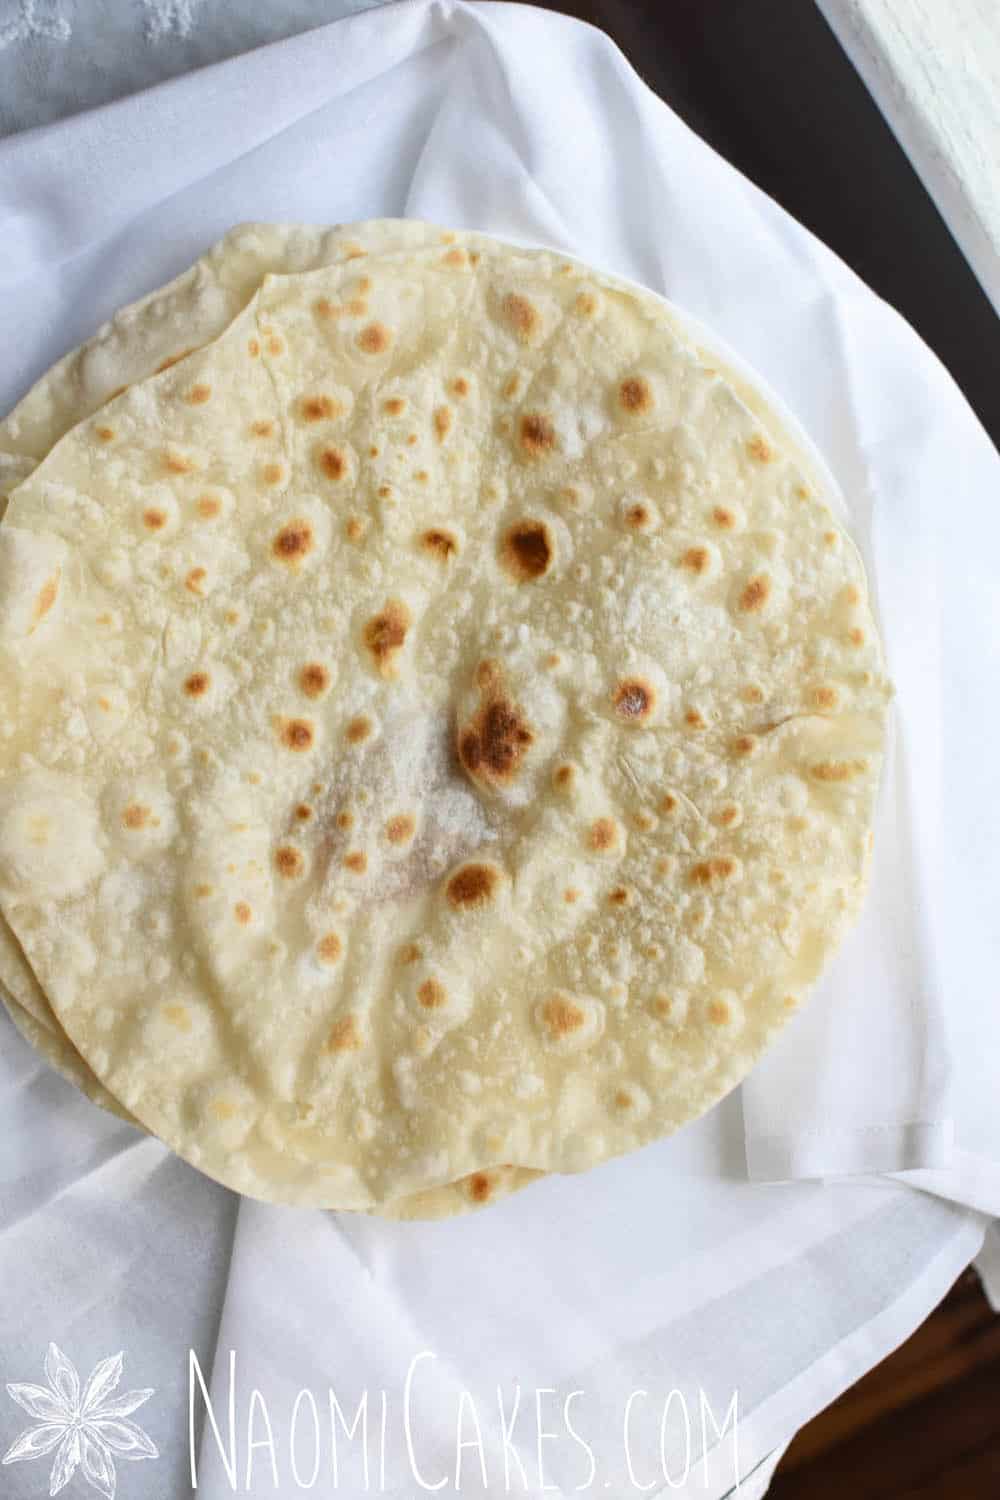
The cooking process is simple. Rolled tortillas are fried dry in a pan on medium heat until speckled with brown spots and puffy.
That’s it!
Making sure your tortillas are soft
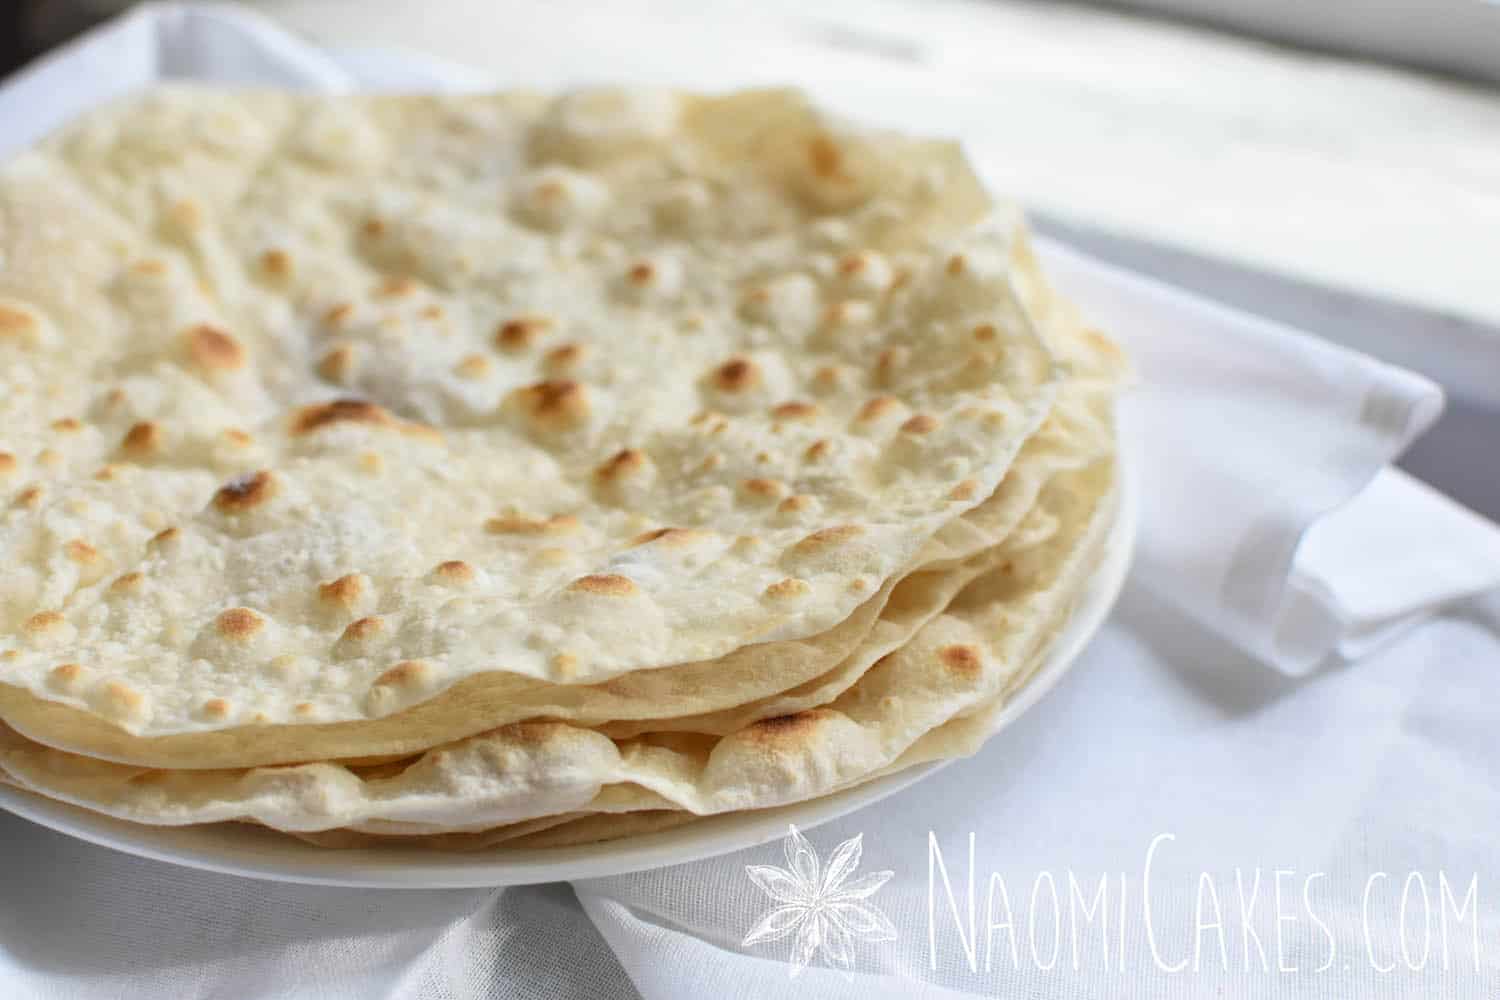
To make sure your tortillas remain soft and flexible, do not overcook them. Finished tortillas should be pale and speckled brown, not black and brittle. You can make sure you keep your tortillas soft by keeping the heat moderate and keeping an eye on them while they cook (each tortilla only takes a minute or two to finish cooking).
How long do homemade tortillas last?
I find that they are absolutely best eaten the day you make them, but if you store them in a sealed ziploc bag or airtight container, the tortillas will still be pretty good the next day.
The one thing you need to be careful of is that if you re-warm the tortillas after cooking, you should serve them immediately. They will harden like chips as they cool, and won’t retain their flexible nature.
Can homemade tortillas be frozen?
Yes, although there is really no substitute for making them fresh! I do find that they lost some of their softness and flexibility after they are frozen, especially (as mentioned above) if you re-warm them. For best results and perfect tortillas, make and serve them fresh.
How to serve homemade flour tortillas
Taco night, here we come! You can stuff these beauties with all of your favorite fillings. Try making them into any of the following:
- Burritos
- Soft tacos
- Quesadillas
- Wraps
… And you name it! Bring on alllll the Mexican food!
Personally, I’m planning to stuff some of them with all of the best sandwich toppings to send for my husband’s lunch tomorrow, since he’s gotta go straight from work to another appointment, and he will have to eat his lunch on the go.
Keeping the tortillas warm
To make sure you have warm tortillas until you serve them, wrap the finished tortillas in a clean tea towel as you cook them. Re-warmed homemade tortillas tend to lose their flexibility, so keeping them warm initially is a better option.
A word of advice:
When these come right off of the heat and they’re all puffy and beautiful… If this is your first time making tortillas, I recommend spreading some butter on your first tortilla, roll it up, and have at it. You need to reap the reward of your labour, and nothing showcases the delight of a fresh warm tortilla like eating it right out of the pan!
You will need:
- Ingredients (see recipe card)
- Mixing bowls
- Measuring cups and spoons
- Rolling pin
- Miniature sieve
- 12″ frying pan
Printable Recipe:
Scroll down for process pictures!
Flour Tortillas
This recipe is remarkably simple to make, and is an inexpensive way to impress your family! This recipe makes 8 10" tortillas.
Ingredients
- 2 cups all-purpose flour +extra for kneading and rolling
- 1 tsp salt
- 1/4 cup oil (any cooking oil; I have used olive oil, canola or vegetable oil)
- 3/4 cup water
Instructions
-
Combine all of your ingredients in a medium sized mixing bowl until it comes together in a shaggy mass. Turn out onto a lightly floured work surface and knead for 5-10 minutes or until the dough begins to feel elastic and smooth (it won't be perfectly smooth).
-
Place the dough back in your mixing bowl (ungreased), cover with plastic, and allow to rest for 1 hour at room temperature.
-
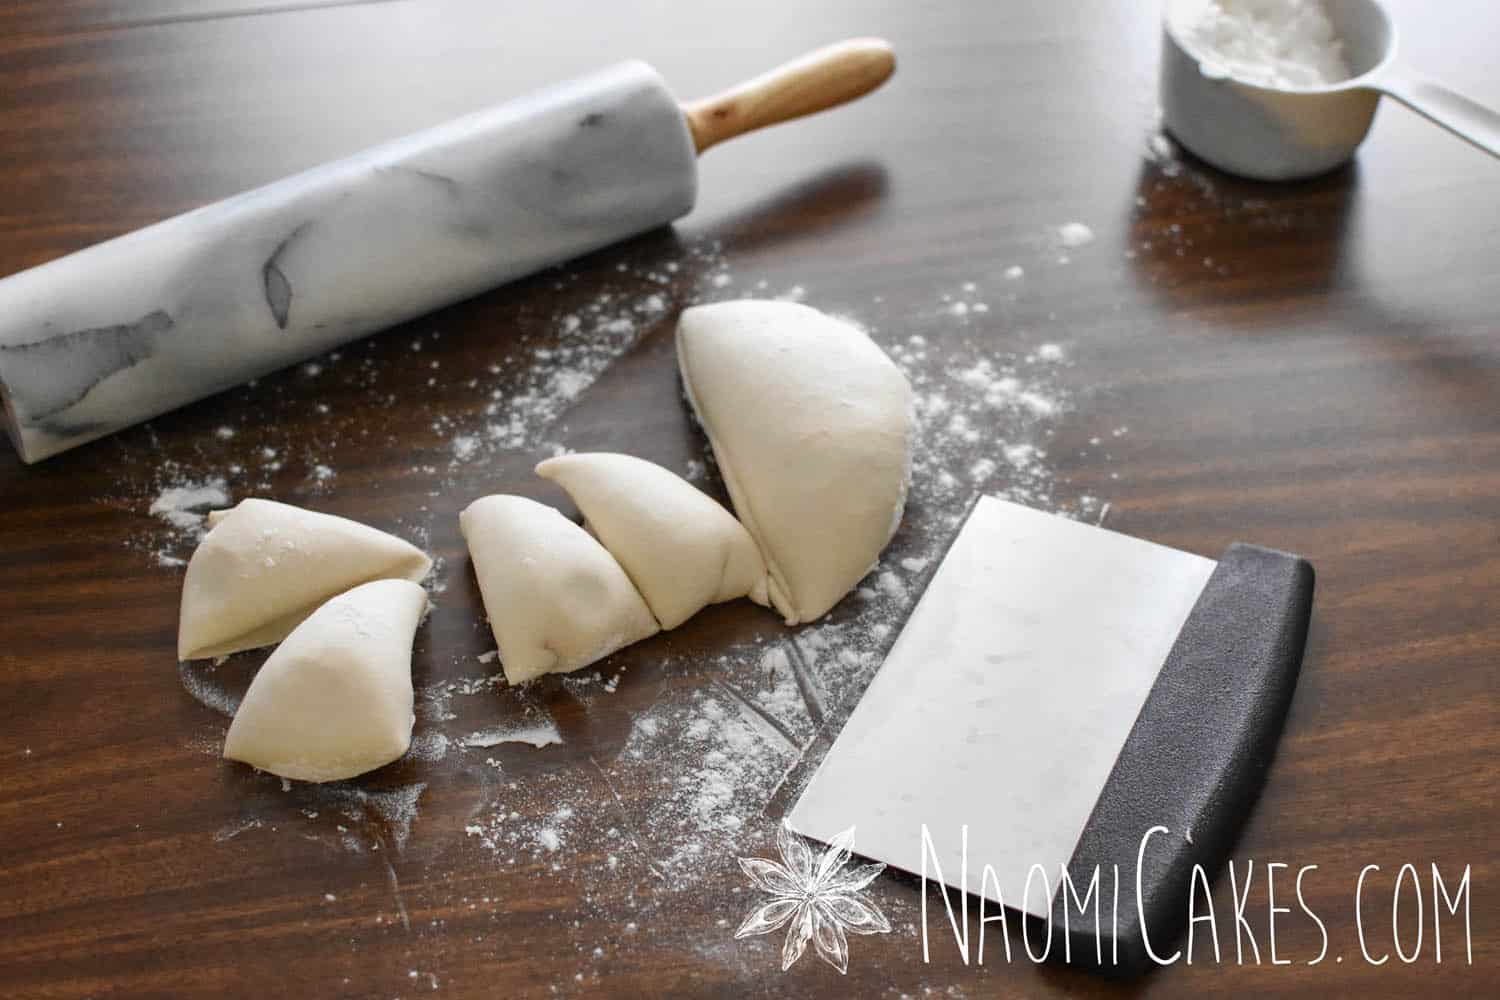
Divide the dough into 8 equal sized portions; cover 7 of the pieces with plastic wrap, a cloth, or an upside down mixing bowl to prevent drying out while you work. Generously flour a work surface, and roll 1 piece of the dough into a thin, 10-inch circle, adding more flour to prevent sticking as you go. Repeat with remaining pieces of dough.
-
Heat a large non-stick skillet over medium-high heat, and fry the tortillas in the pan (ungreased) for a few minutes, or until bubbly and the underside is speckled golden brown. Turn over with a fork and continue frying until the other side is done. Remove the tortilla from the heat; repeat with the other circles.
-
Serve immediately, or if you are preparing them ahead, cool completely and then place the tortillas into an airtight plastic bag for storage. Tortillas are best the day they are made, or the day after.
Recipe Notes
Tip: I found that the more generous I was with flour both underneath and on top of the tortillas, the better my “circle” shape was turning out. Otherwise they may look sort of oblong.
As you can see in my photos, the dough doesn’t have to be smooth right away – just knead it for a good 5 minutes or so, and you should come away with something like this:

Then, give it one last shaping, and throw the slightly sticky dough ball into a bowl to rest, like so:

Once the dough has rested and the gluten has relaxed, the dough will look much smoother if you shape it again, as in this picture:

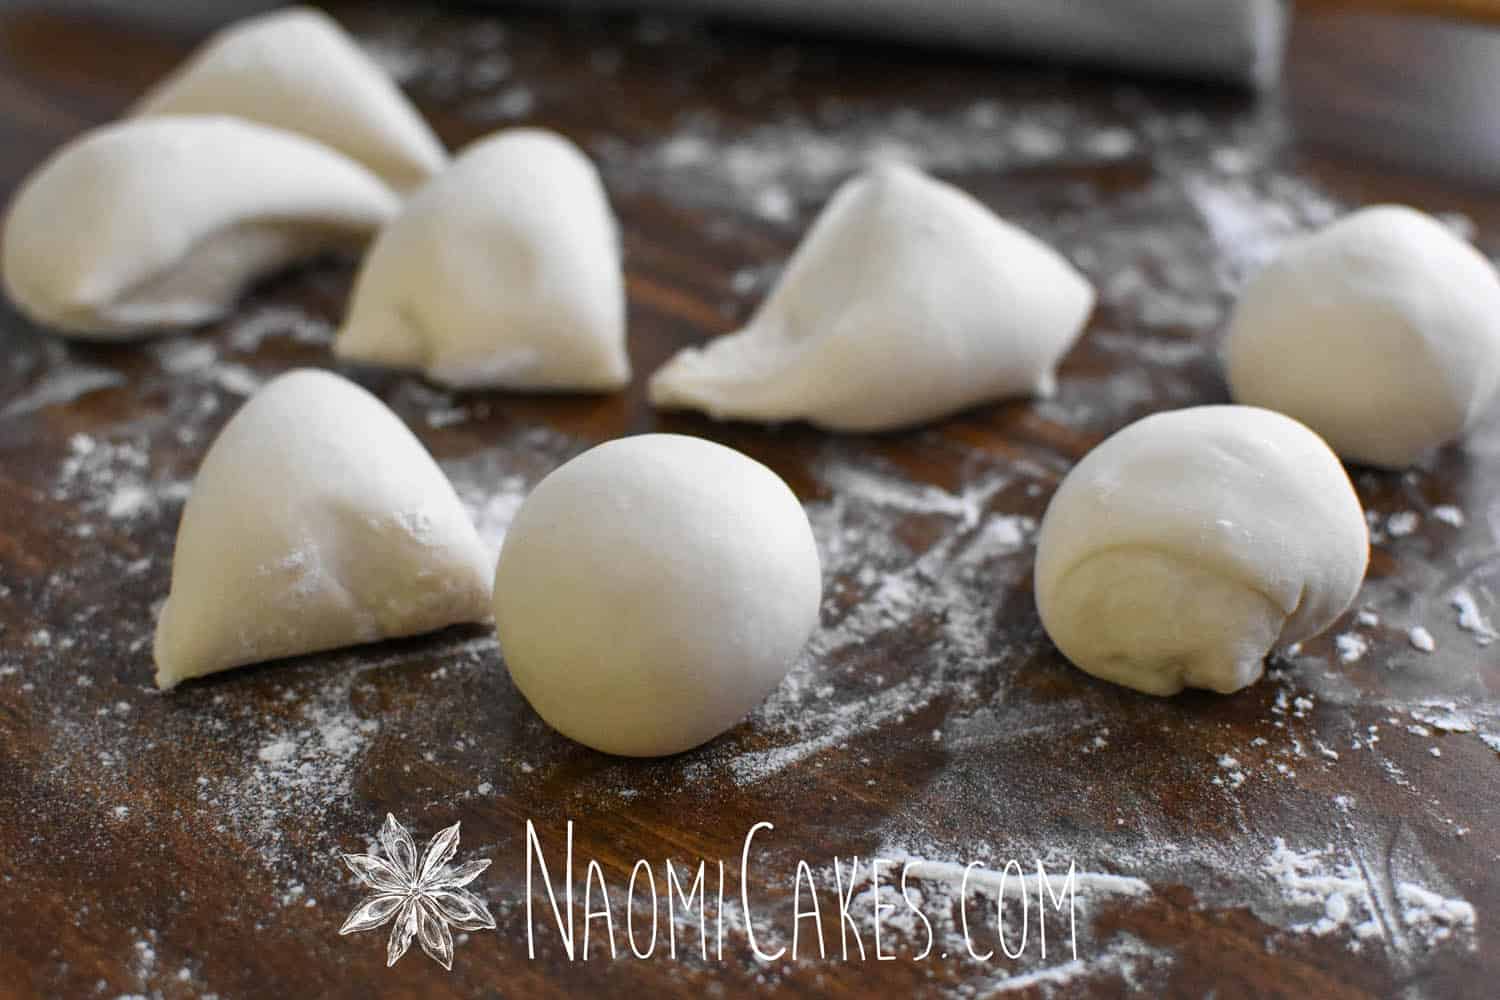
Divide the dough into equal pieces, and then shape each piece into a small ball:

If you like this recipe, you may also like:
Alllll the heart eyes on this one. Love! If you make this recipe and enjoy it, let me know in the comments below! Or, feel free to tag me in your taco party photos on Instagram @naomicakesofficial. It makes my day know when you guys are enjoying my recipes!
I hope these serve you well! I’m gonna go get myself something to eat…
–Naomi
This post contains affiliate links.