
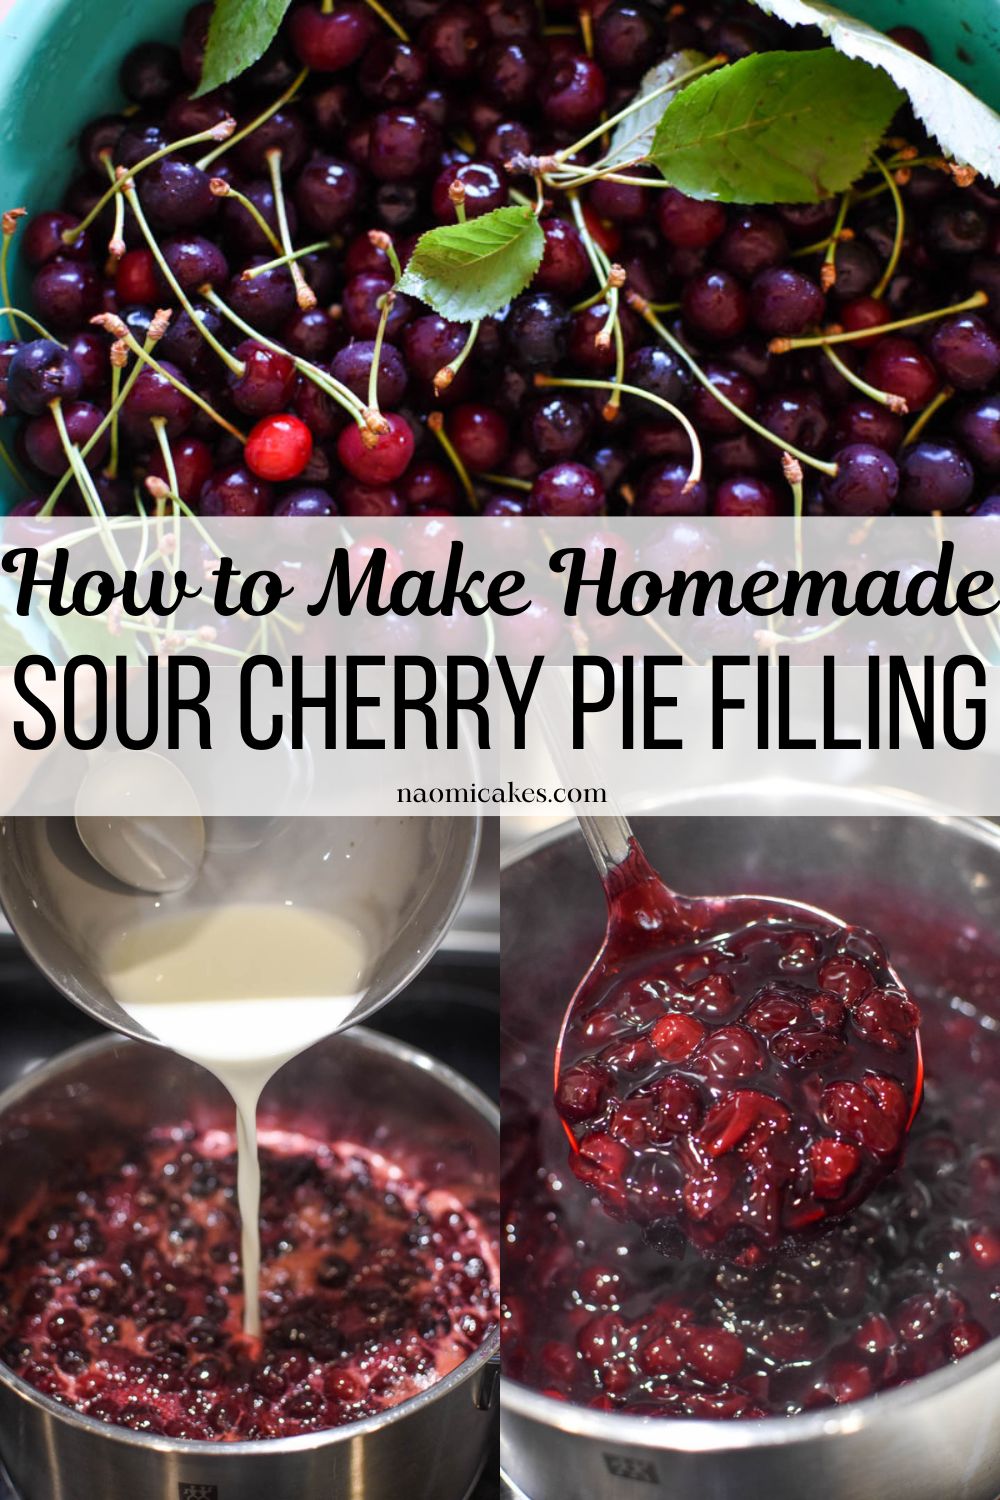
How to Make Homemade Sour Cherry Pie Filling [Recipe]
Today I want to teach you how to make homemade sour cherry pie filling; this recipe can be canned for later use or used right away. Cherry pie filling is one of the most magical things, and when sour cherries are an option… my goodness. There is really nothing like it.
Sweet cherries vs. sour cherries
Little did I know before today, but there are actually so many different varieties of cherries in the world. According to my research, there are more than 1,000 different types of cherries out there! Thankfully, to keep things less overwhelming, we can categorize all of these types into two basic categories: sweet cherries or sour cherries. Tart cherry varieties (such Montmorency or Northstar cherries) are usually smaller, tart cherries with incredible flavor. Sweet cherries (such as Bing cherries or Rainier cherries), would be familiar to most of us as dark sweet cherries or the bright red-kissed yellow of Rainier cherries.
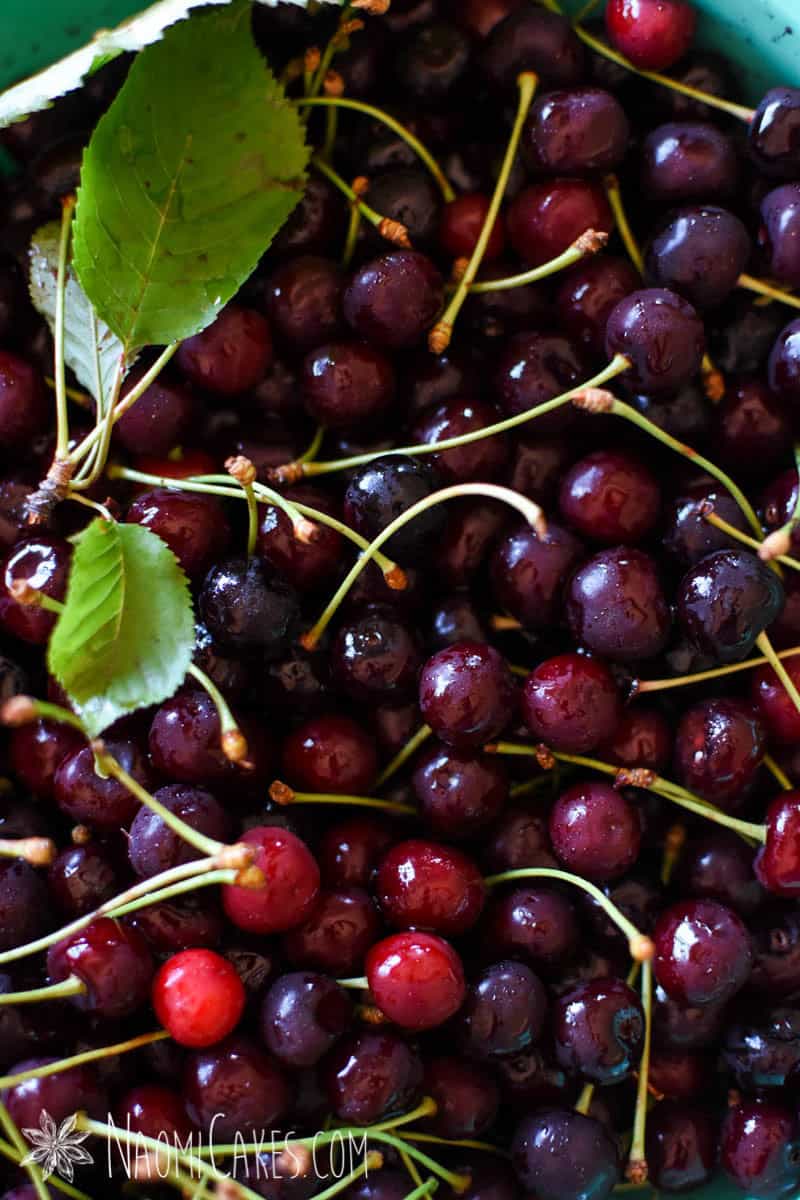
Most often when I’ve encountered sour cherries in the past, they have been Montmorency cherries, which come in a bright red color and make a beautiful, delicious cherry pie filling. Today, however, I’m using a cherry variety called Northstar cherries; a wonderful dark sour cherry with a beautiful rich color and incredible cherry flavor. I’d actually never seen this variety before I made this particular batch of sour cherry pie filling; but, to my delight, a friend of mine has a Northstar cherry tree in her front yard, and I was the delighted recipient of some of its fruit this summer.
How to pit cherries
There are a number of different methods out there for pitting cherries, with the most simple of them all being to use a cherry pitter. That said, if you don’t want to spend money on single use kitchen gadgets, you can do what I do and use my tutorial for how to pit cherries without a cherry pitter – with a bobby pin! This method is quite simple, and it makes a fun activity to do with a friend or family member on a summer afternoon.
Making cherry pie filling from scratch
Homemade pie fillings are the absolute best. Partially because the flavor is amazing, but also because you know exactly what is going into them, and you have have peace knowing that you’re in control of what you’re putting into your body. True, they are usually made with sugar – but at least you’re not dealing with chemicals, dyes, or unnatural preservatives.
Most sweet fruit pie fillings are made a little more tart with lemon juice; however, if you’re making your own cherry pie with sour cherries, that won’t be necessary. All you need are some fresh cherries (or frozen ones) from the sour cherry category, and that tartness will be built into the recipe.
Making perfect cherry pie filling
Here’s a breakdown of how I make this easy homemade cherry pie filling, with a few notes for making sure that it comes out right. For the full recipe, including specific measurements and instructions, make sure to check out the recipe card below.
Wash and pit the cherries
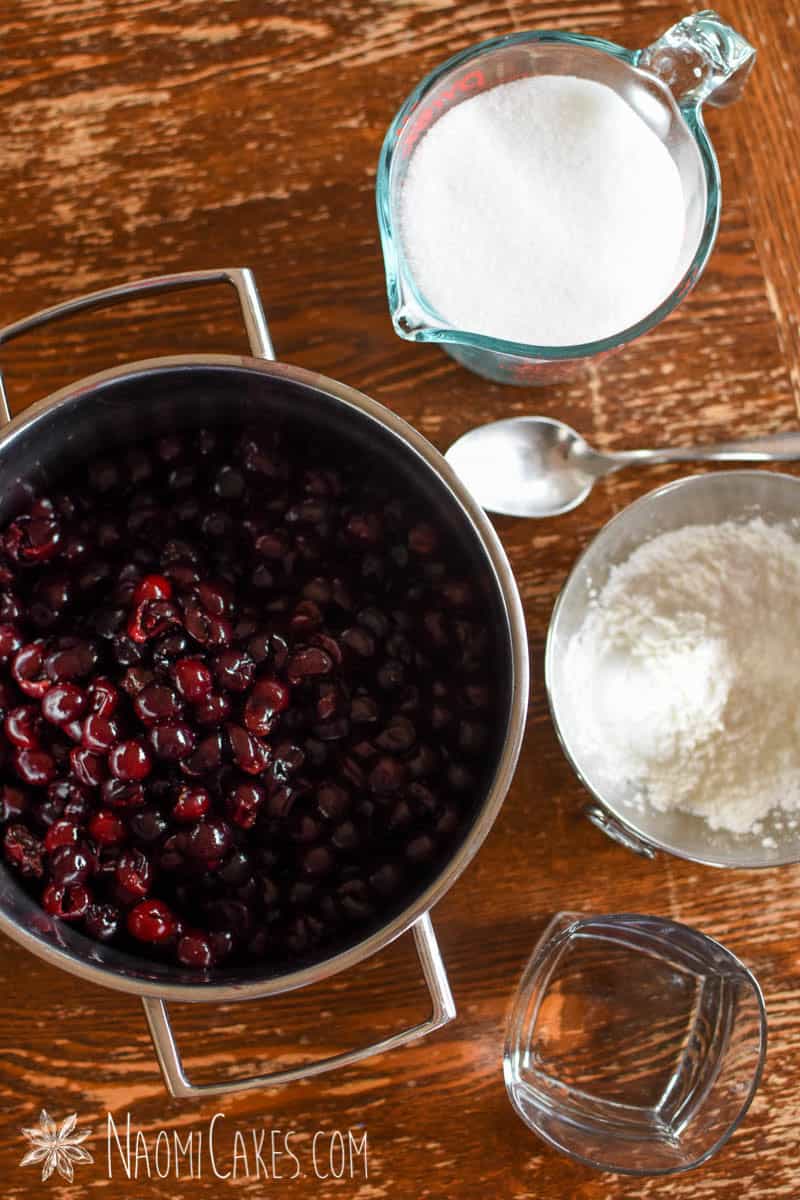
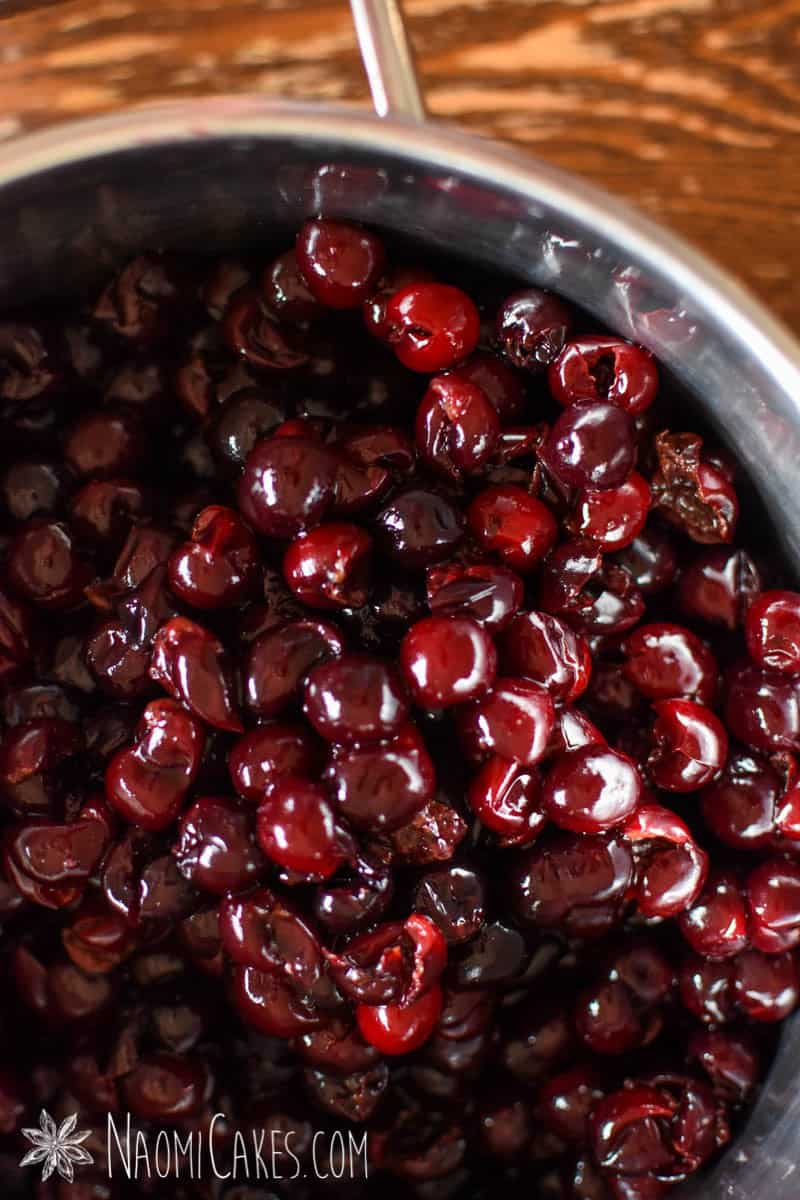
First, you’ll want to make sure your cherries are clean and the cherry pits and stems have been removed. I recommend washing the cherries in a large bowl of water, and the straining them in a colander. Then, you can use a cherry pitter or my tutorial for how to pit cherries with a bobby pin for getting the pits out.
Note: Pitting cherries can take some time, so I recommend doing this in advance if you can. You can use my tutorial for how to freeze fruit if you want to save your pitted cherries for making the filling another day in the future as well.
Cook the fruit
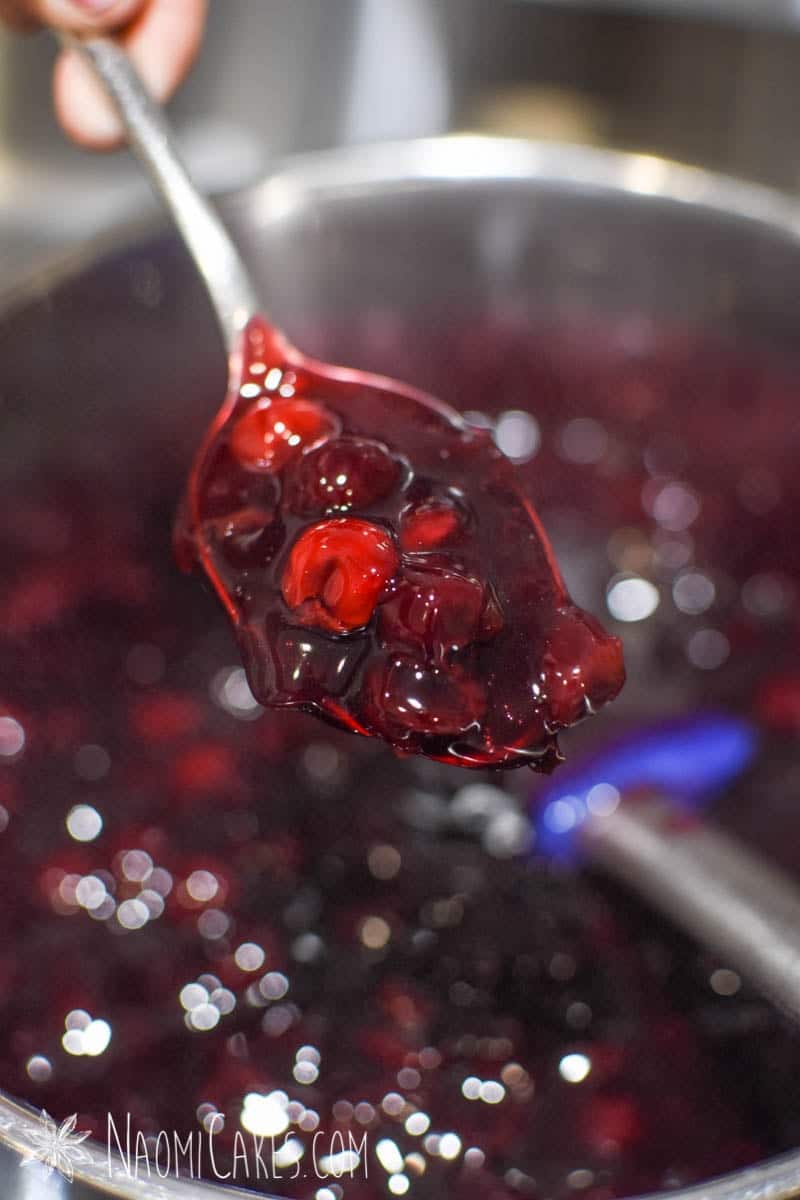
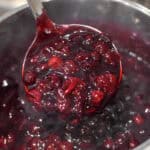
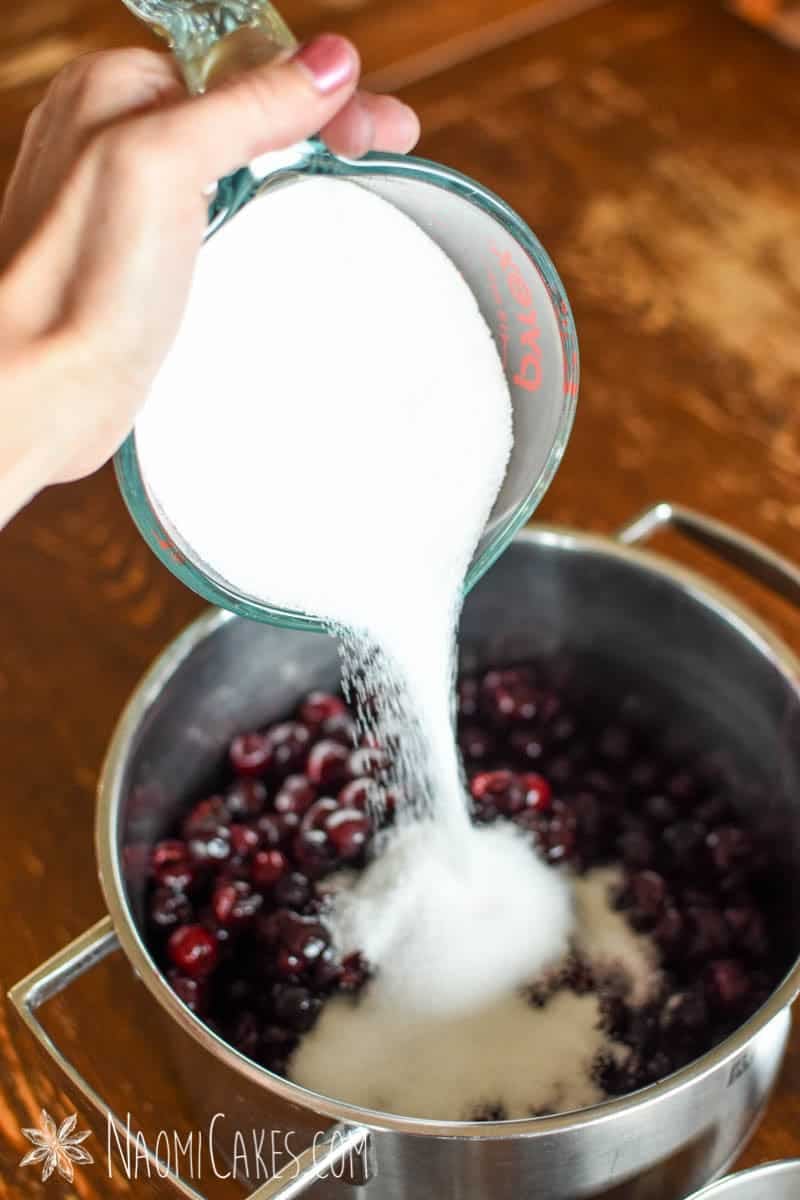
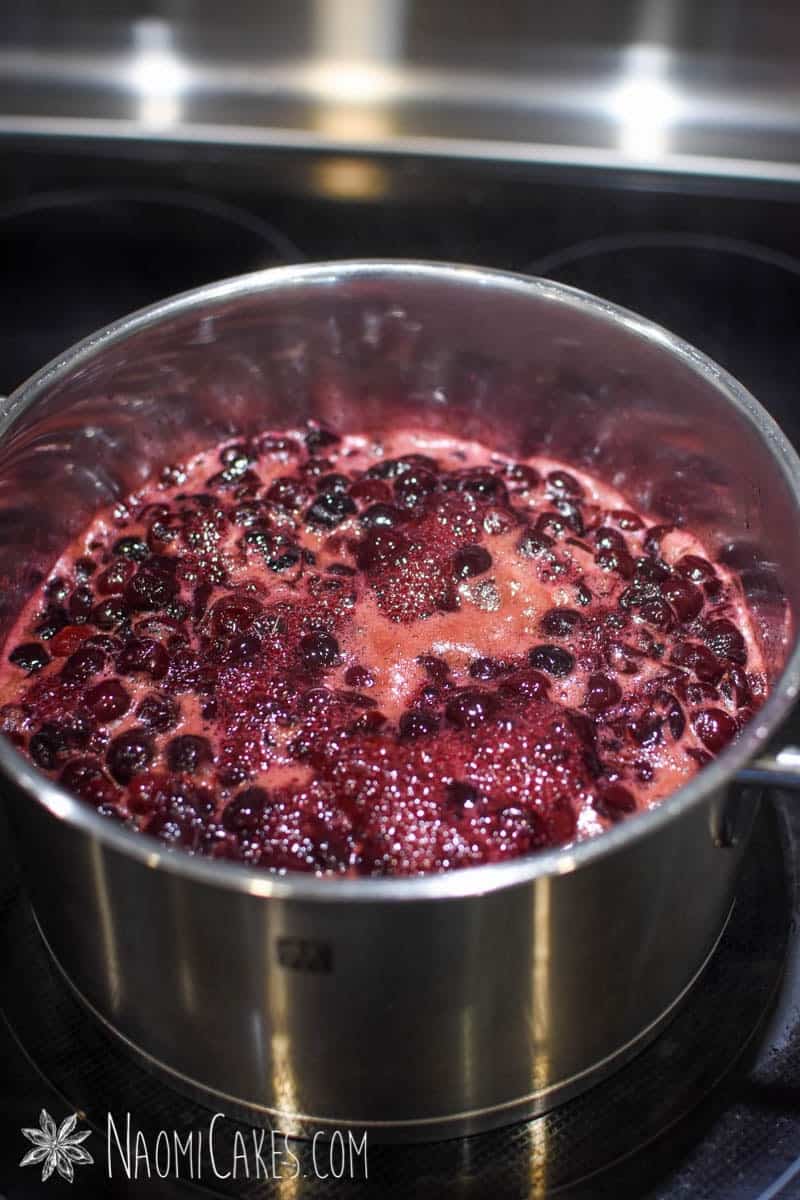
Once you’ve finished pitting the cherries, you can put them (fresh or frozen cherries work well) on the stovetop to cook with a little bit of water (to prevent burning while the juices let off). Cook the fruit on medium heat until it comes to a boil, and continue cooking until the fruit begins to break down, stirring occasionally to prevent the mixture from burning. Once the fruit has broken down, add the 1 cup sugar, and continue cooking until it has fully dissolved and the mixture comes to a rolling boil.
Thicken the filling
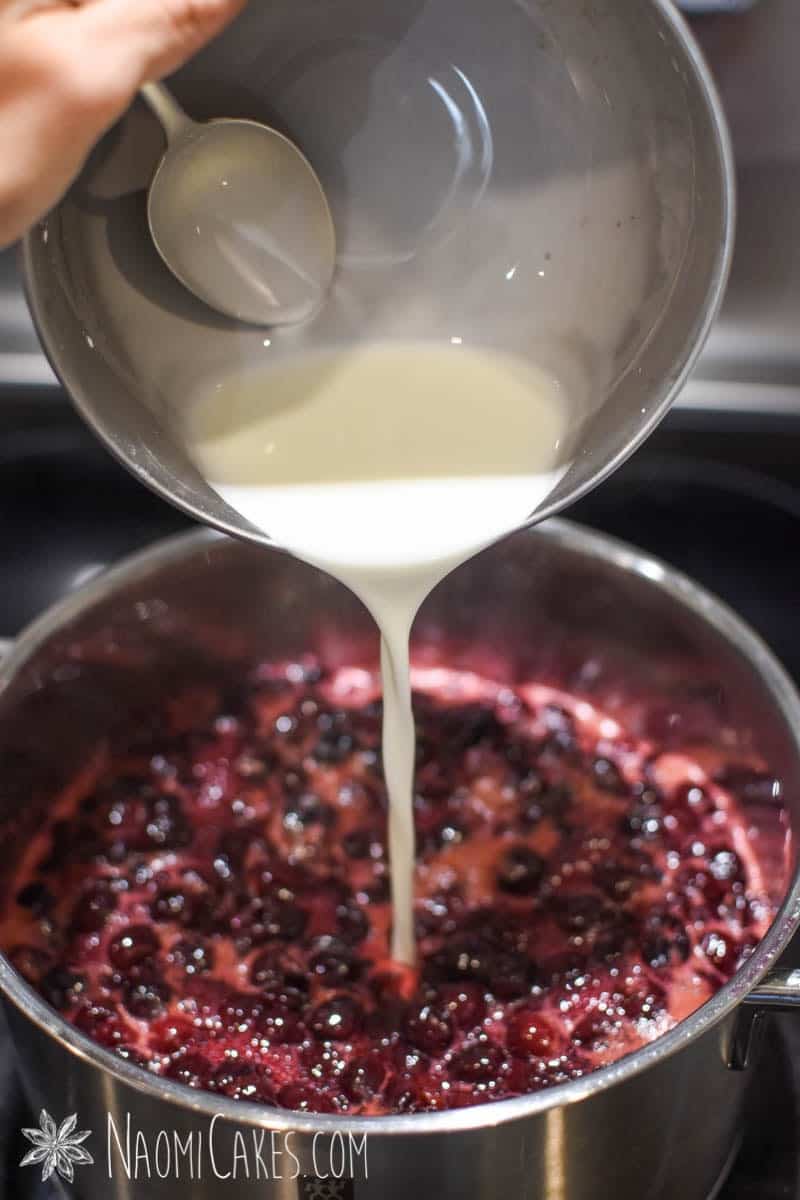
Make a smooth paste with cornstarch and the rest of the water, and slowly add this to your hot cherry mixture, stirring while you add it. Cook until thick (a few minutes). You can also use tapioca starch instead of cornstarch if you prefer.
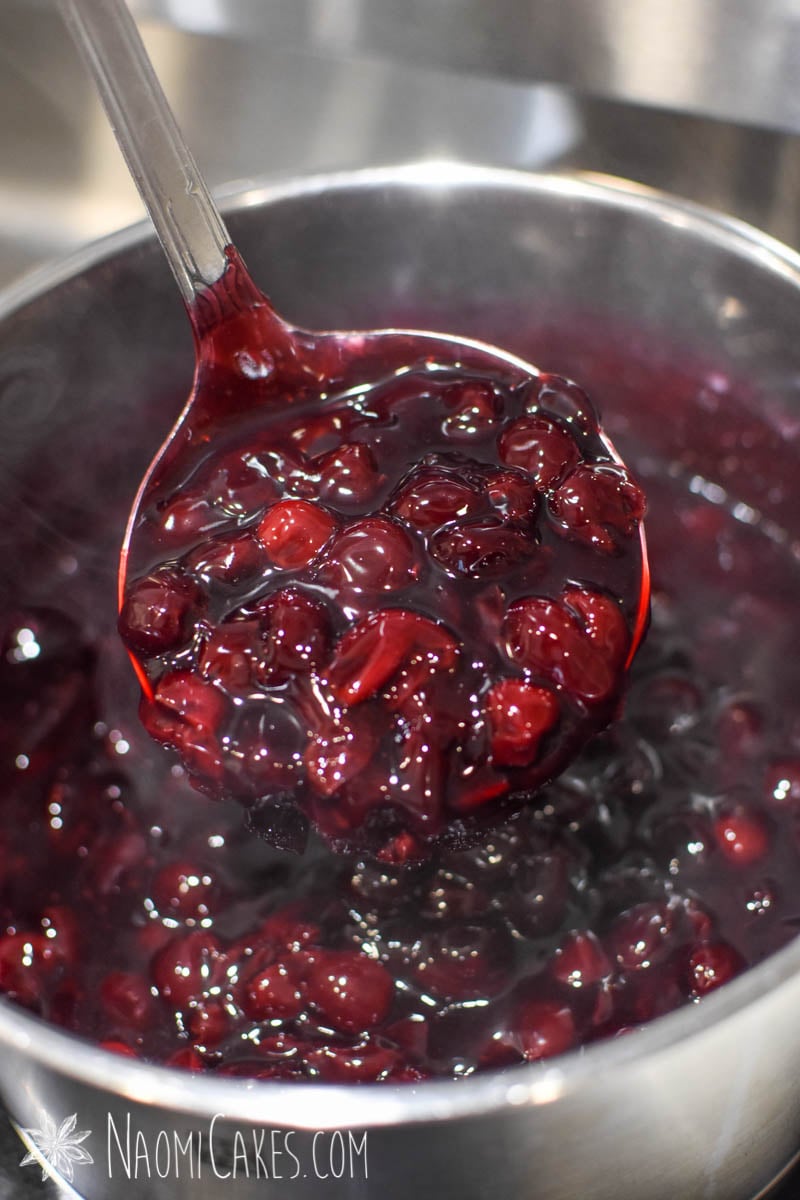
Can or use your homemade pie filling
Use my Basic Canning Method to preserve your cherry pie filling for the future, or let it cool to room temperature and use it right away.

How much pie filling is in one can (and how much do you need for 1 pie)?
Canned cherry pie filling is usually pre-portioned to be enough for one 9-inch foil pie plate, which in my experience tends to be measured across the top of the plate (rim to rim), rather than the bottom (which is much more narrow, and the part of the plate that really matters). Foil pie plates also have a much more shallow pan, which makes them need less pie filling than a larger glass pan. 1 can of cherry pie filling usually contains about 1-1/5 cups, which is enough to fill one 9-inch foil pie plate.
For a nice, deep, homemade pie, I recommend using at least 3-4 cups of pie filling (about 1 quart of filling, which is what you will get with this recipe). You would need a double portion of the canned stuff to get the right amount for a regular 9-inch glass pie plate.
Preserving cherry pie filling
I recommend using my easy Basic Canning Method (without a boiling water canner). If you want to make lots of filling, multiply this recipe by the number of canning jars you want to fill. You can also freeze cherry pie filling with good success in an airtight container.
A note about homemade canned pie filling:
You will notice when you go to use your pie filling (after it’s been sitting in a jar for a while) that it almost has a “chunkiness” to it, rather than the silky smooth texture it had when you first made it (like store-bought pie fillings). For pies, this won’t make a difference (the texture will correct as the pie bakes), but if you want to use it as a cheesecake topping (something where you want that silky texture), just warm the filling again on the stovetop until its texture is restored. You can cool it in the fridge or on the countertop to room temperature before using, and the texture should stay the same.
Restoring the texture of frozen pie filling:
When your frozen pie filling thaws, you will notice that it separates slightly and again, has a chunky texture. To restore the smooth texture of the pie filling, warm it on the stovetop and cook it on medium heat until its texture is restored. Cool before using.
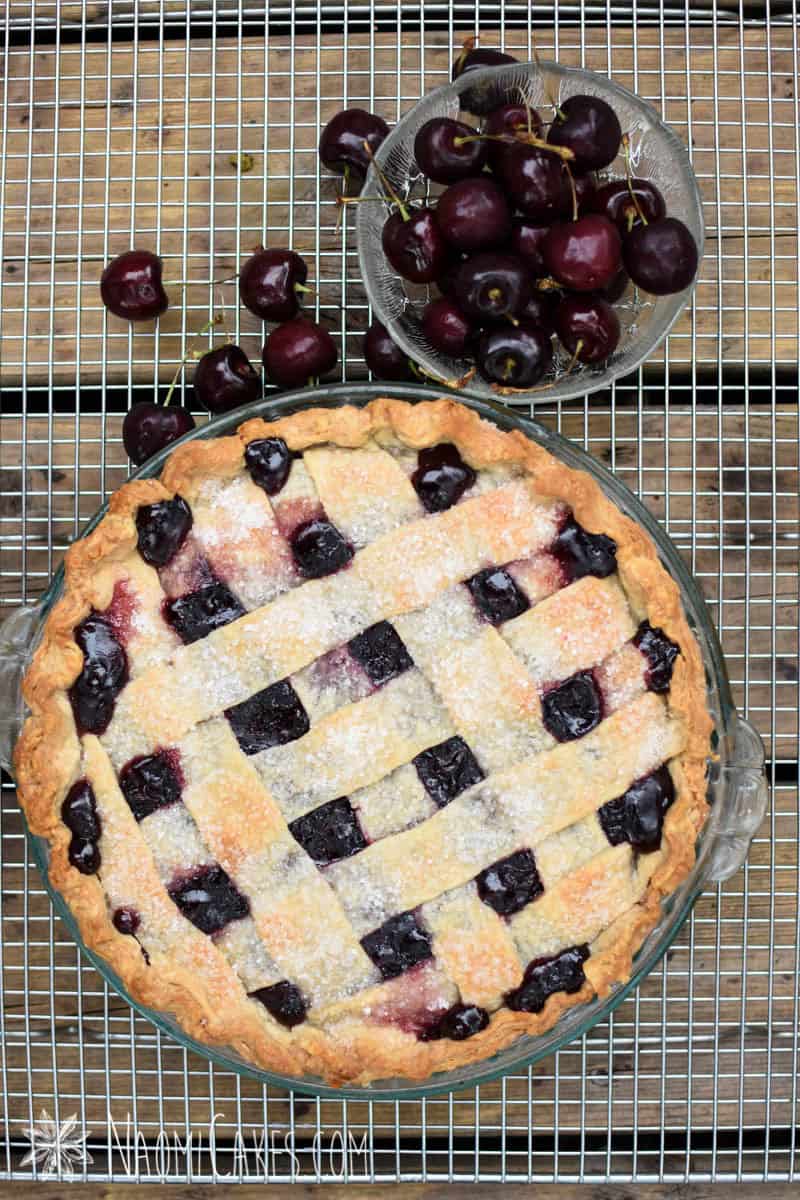
The best uses for sour cherry pie filling
You can use your homemade cherry filling for so many different things, but here are a list of my favorites!
- Homemade pies (check out my favorite pie crust recipe for this!)
- Turnovers
- Danishes
- Cheesecake topping
- Cake filling
- Trifle
- Cherry galette
- Tarts
- Cherry pastries
- Cherry pie bars
- …And more!
You will need:
- Ingredients (see recipe card)
- Cherry pitter or bobby pin
- Medium saucepan or large saucepan
- Measuring cups and spoons
- Heat proof spatula
- Canning supplies and mason jars or airtight containers, for storage
Sour Cherry Pie Filling
This recipe makes a delicious, tart sour cherry pie filling! Makes enough cherry pie filling for 1 pie or to fill 1 quart jar.
Ingredients
- 3 c. (330g) sour cherries washed and the stems removed
- 1 c. sugar
- 3 Tbsp cornstarch
- 1/4 c. water
Instructions
-
Combine the sour cherries with about 1 Tbsp (15ml) of the water in a medium saucepan. Bring to a boil, and cook until the cherries let off lots of juice and begin to break down.
-
Add the sugar, and continue cooking until it has fully dissolved and the mixture comes to a rolling boil (about 1 minute).
-
Combine the rest of the water (3 Tbsp) with cornstarch in a small bowl, and stir to make a smooth paste. Pour into the hot cherry mixture, stirring as you add it, until the mixture becomes thick. Cool to room temperature and pour into a prepared pie shell, or can it immediately (hot) for future use in a 1 quart mason jar.
Recipe Notes
Use my Basic Canning Method for an easy way to can this recipe (without a hot water bath)!
If you like this recipe, you may also like:
- How to Pit Cherries (Without a Cherry Pitter!)
- Easy Cherry Pastries
- Mini Cherry Cheesecakes
- Miniature Cherry Pies
- Miniature Cherry Turnovers
And there you have it! One of the best ways to make cherry pie filling without too much fuss and bother. If you’re looking for the perfect pastry to go with this recipe, check out my homemade pie crust recipe for a flaky pie crust that never disappoints!
Thanks for being here! I hope you enjoy this simple recipe.
Bye for now,
Naomi
This post contains affiliate links.