Why do you need this tutorial?
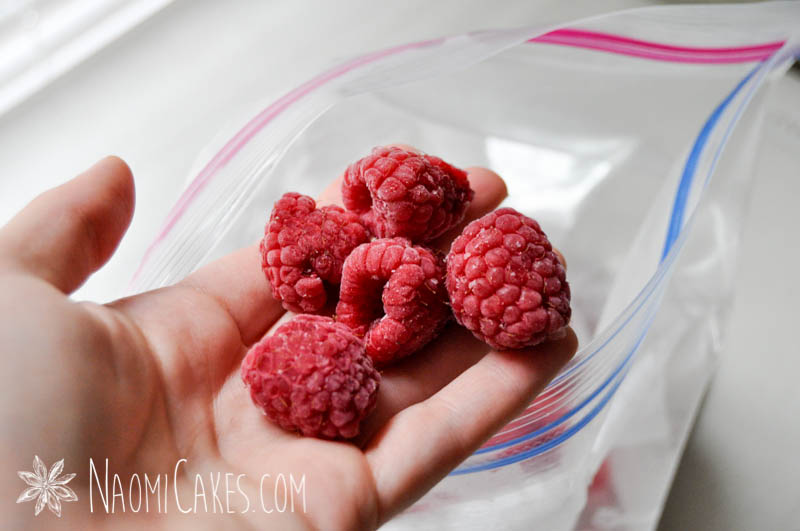
- That your fruit won’t all stick together in a large mass when they come out of the freezer, and
- In order that you can use your fruit for decorative/garnishing purposes without it looking like mashed, mangled globs of juice.
Sounds pretty good, right?
What are the benefits to freezing fruit?
The two main reasons, I think, go hand in hand:
- Preservation.
Anyone with an abundance of produce knows that sometimes, you can’t use it all before it goes bad! This is way to keep fruit from spoiling and continue to enjoy it for many months to come. - Keeping summer produce available all winter long.
I personally love having access to some of summer’s best things in the dead of winter, especially for baking!
How long does frozen fruit keep?
Honestly, I’ve sometimes kept it for years. Provided that it’s stored in a sealed bag or container, fruit can last a very long time and be the gift that just keeps on giving.
One tip I will offer, however, is that the longer you keep it in the freezer, the more likely it is to develop ice crystals (which will start to become a sticking factor), or over a longer period of time, it may develop freezer burn.
I like to use my frozen fruit within a year of freezing it.
Can you use frozen and fresh fruit interchangeably?
Yes, and no. Anything cooked will work perfectly with frozen fruit (such as jams or sauces), and many (or most) baking items will work very well with frozen fruit as well.
The only two cautions I would give for baking with frozen fruit is that 1) if you’re working with particularly juicy fruit, the colour can bleed into your batter and tint it, and 2) you will probably need to increase your baking time to accommodate the thawing process of the fruit. Baking will take longer depending on the amount of frozen fruit present in your recipe.
The best uses for frozen fruit
Frozen fruit is like magic for any fruit thing that gets cooked (like jams, sauces, and pie fillings), and obviously, it’s the way to go for things like smoothies and smoothie bowls.
Also, to be honest, I’ve found frozen fruit to be a life saver for pregnancy (especially in the summer). Freeze chunks of papaya to help with heartburn, and keep frozen fruit on hand as a great option for labour if you like to have something cold during that process.
Can you freeze fruits and vegetables the same way?
Unfortunately, no. Most vegetables need to be blanched (partially cooked) before they are frozen in order to maintain some of their original textural integrity, and some watery or delicate vegetables (such as cucumbers or lettuce) can’t be frozen at all.
Thankfully, many vegetables are great to ferment or pickle, so that’s a great option for preserving them. Freezing vegetables, on the other hand, is generally not a great idea.
Can all fruits be frozen?
In my experience, yes; I haven’t met a fruit yet that I couldn’t freeze well! Here are some that I particularly enjoy having frozen on hand:
- Apples (for cakes, sauce, and pies)
- Bananas
- Berries (all types)
- Rhubarb
- Blue plums
- Yellow plums
- Apricots
- Peaches
- Mangoes
- Pineapple
- Papaya
- Kiwi
- Melon
- Cherries
- Grapes
You will need:
- Fresh fruit (any type)
- Colander
- Cookie sheets
- Paring knife (for fruit that you would like to cut or remove pits/seeds/stems first)
- Peeler (for fruits that need the peels removed)
- Plastic wrap or parchment paper
- Sealable freezer bags or storage containers
- Freezer
How to freeze fruit:
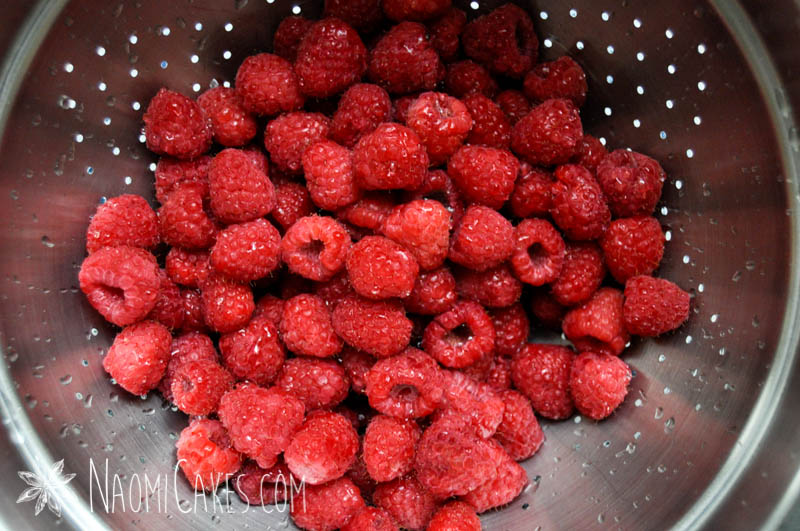
1. Wash & prep the fruit
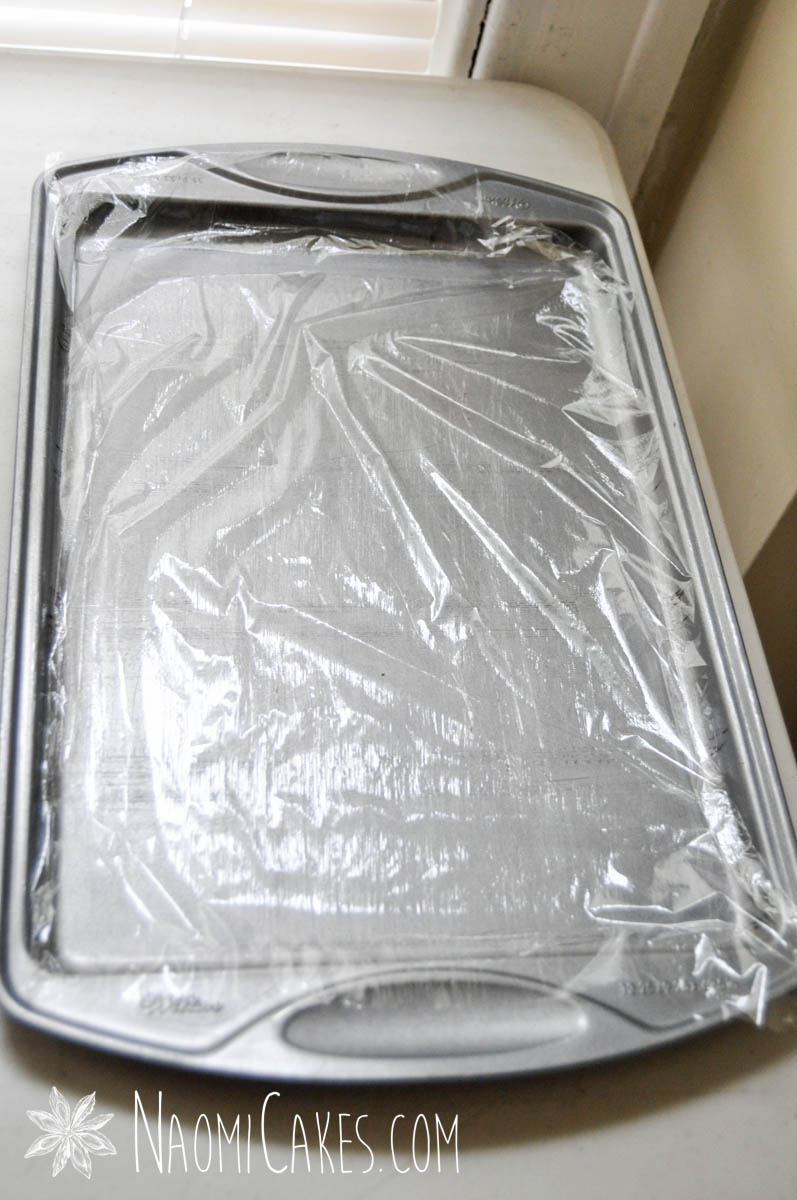
2. Prepare the cookie sheet
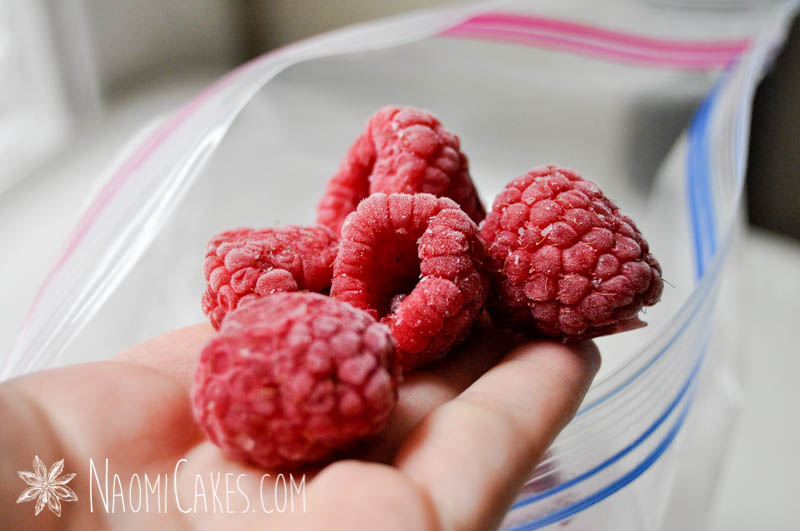
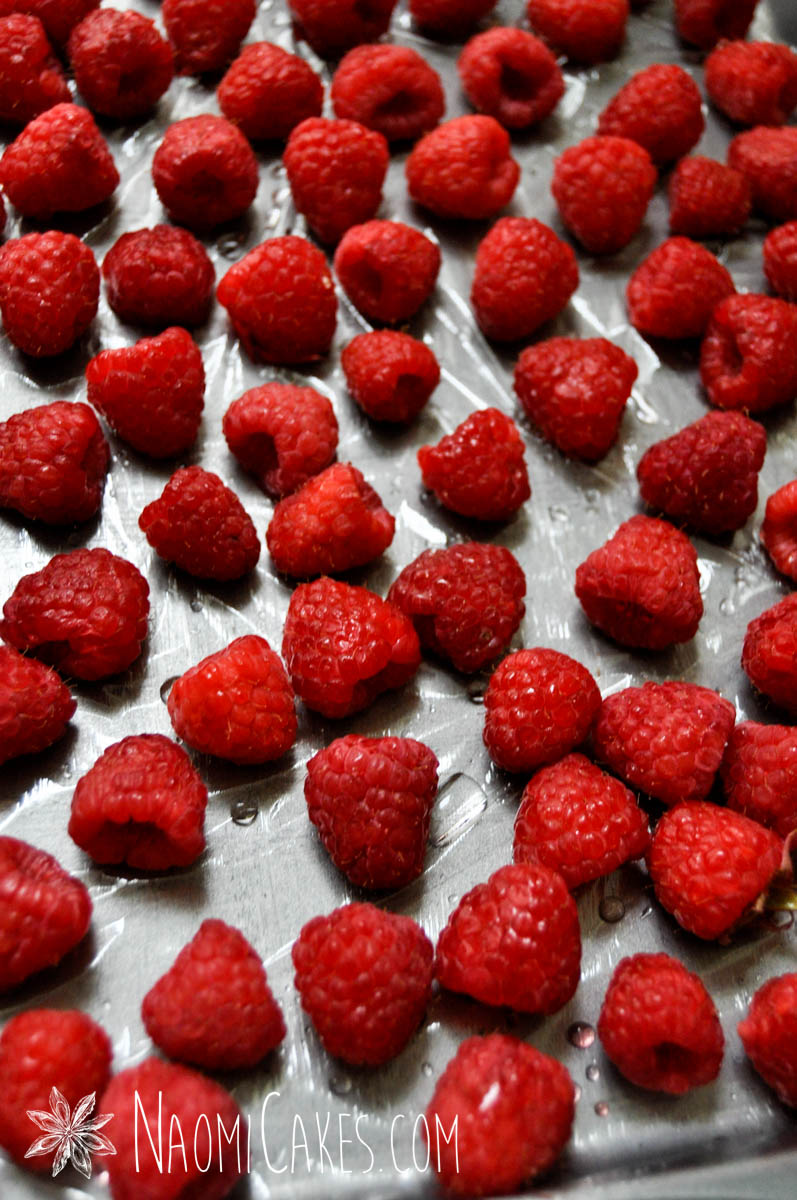
3. Freeze the fruit
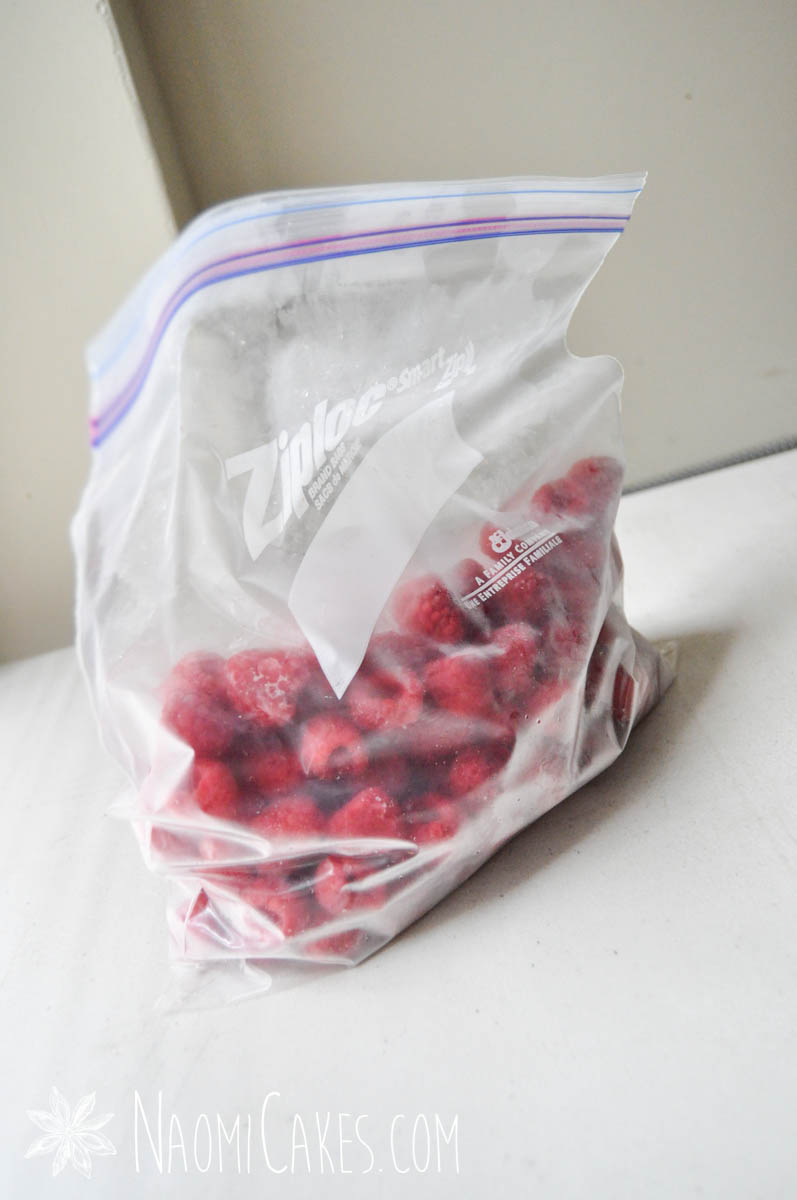
4. Prepare for storage
Recipes using frozen fruit:
- Strawberry Raspberry Smoothie
- Blueberry Blackberry Smoothie
- Mango Pineapple Smoothie
- Kiwi Honeydew Smoothie
- Apple pie filling
- Blueberry pie filling
- Raspberry Sauce
- Strawberry Sauce
- Strawberry Orange Marmalade
- Raspberry Peach Jam
- Blueberry Drop Scones

[…] moons ago, I posted a tutorial for how to freeze fruit so that it doesn’t all stick together, making it easier to use in […]
[…] smoothie is best made with frozen fruit. If you don't have it frozen ahead of time, add 6 ice cubes* to this recipe, pulse 4-6 times, and […]
[…] like this smoothie best blended with frozen fruit so that it gets that good, thick consistency – As pictured, however, I blended it with fresh […]
[…] smoothie is best made with frozen fruit. If you don't have it frozen ahead of time, add 6 ice cubes* to this recipe, pulse 4-6 times, and […]
I am hrishi from India. I m mango producer . And alphanso mango pulp manufacturer. Now we are looking for frozen mango making. So I need your help
I hope this tutorial is helpful for you! Thanks for your comment.