
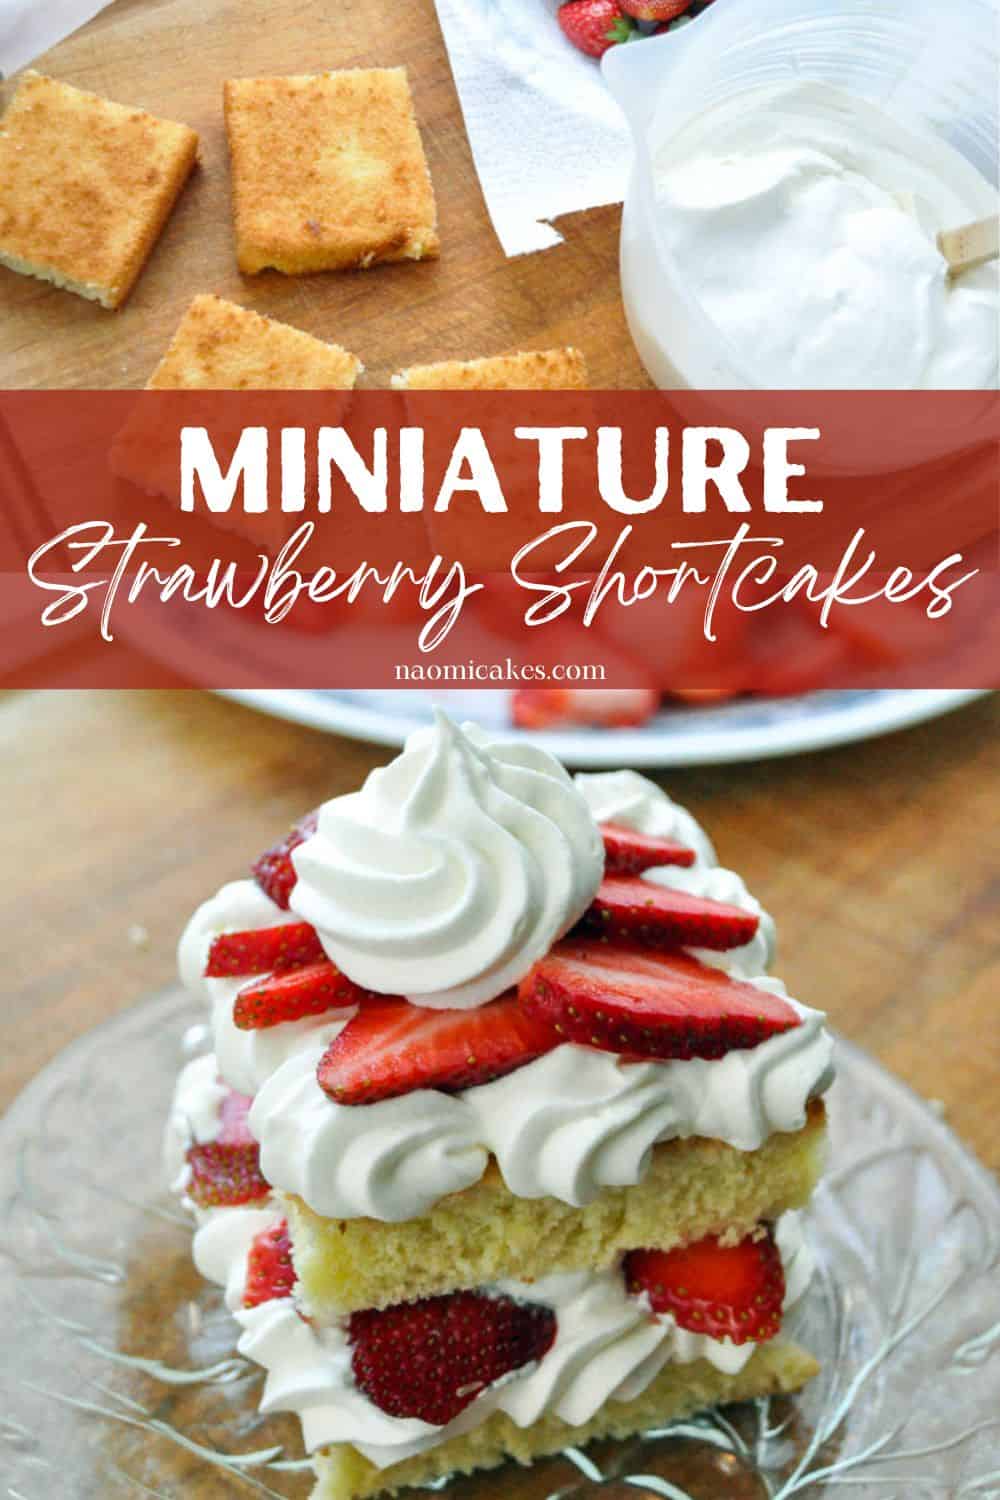
Mini Strawberry Shortcakes [Recipe]
The easiest way to make mini cakes for a crowd, I’m convinced, is with this recipe for mini strawberry shortcakes. These cakes are light as a cloud (which makes it easy to enjoy them at the end of a meal), not too sweet, and full of fresh summer flavour. In my opinion, they are the perfect dessert!
What is strawberry shortcake?
I’m told that a true strawberry shortcake is made with a buttery biscuit-like cake (similar to shortbread or scones) and fresh strawberries. The recipe’s origin dates back to the late 1500’s in England, and it was typically served with hot melted butter and sweetened cream.
This tried and true favourite has taken many forms over the years in various parts of the world, and in America, it even has its own holiday! June 14 is Strawberry Shortcake day, which (right in the middle of strawberry season) is the perfect time to eat it.
How to make mini strawberry shortcakes
This recipe for mini strawberry shortcakes is a little different, however, made with sponge cakes instead of the biscuit/shortbread cake layers.
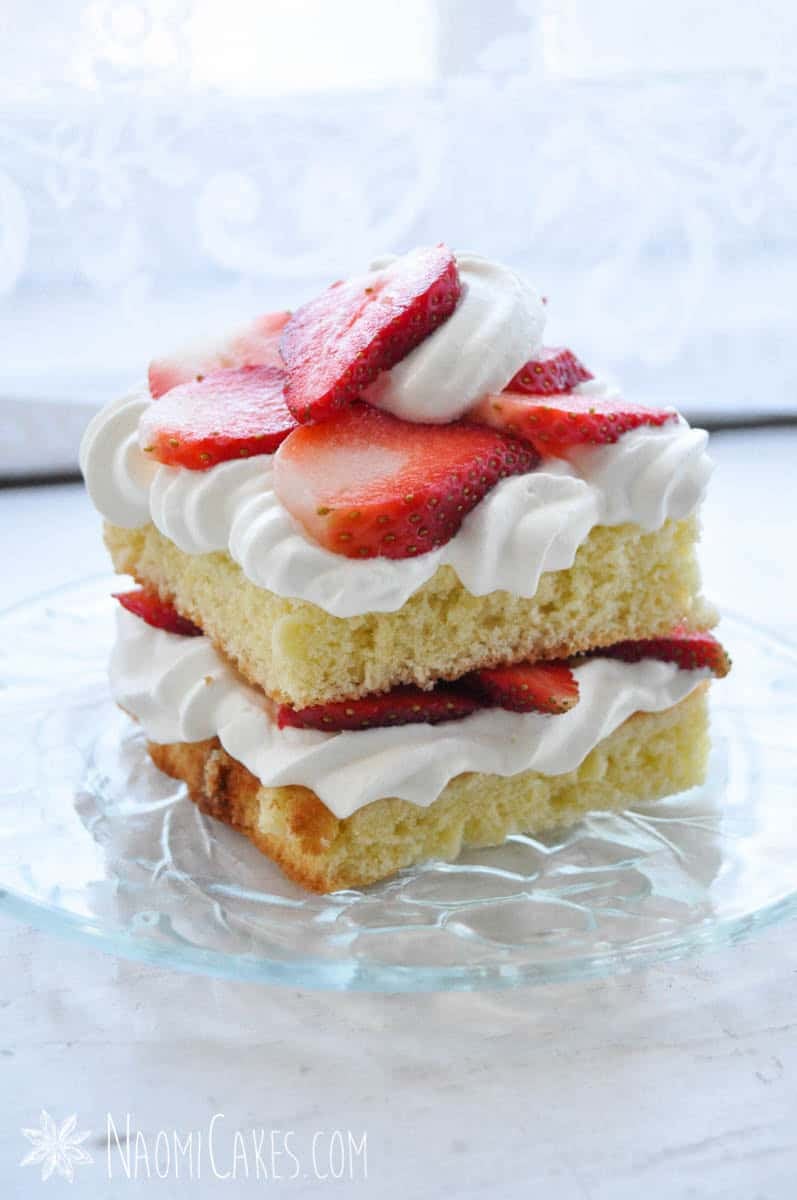
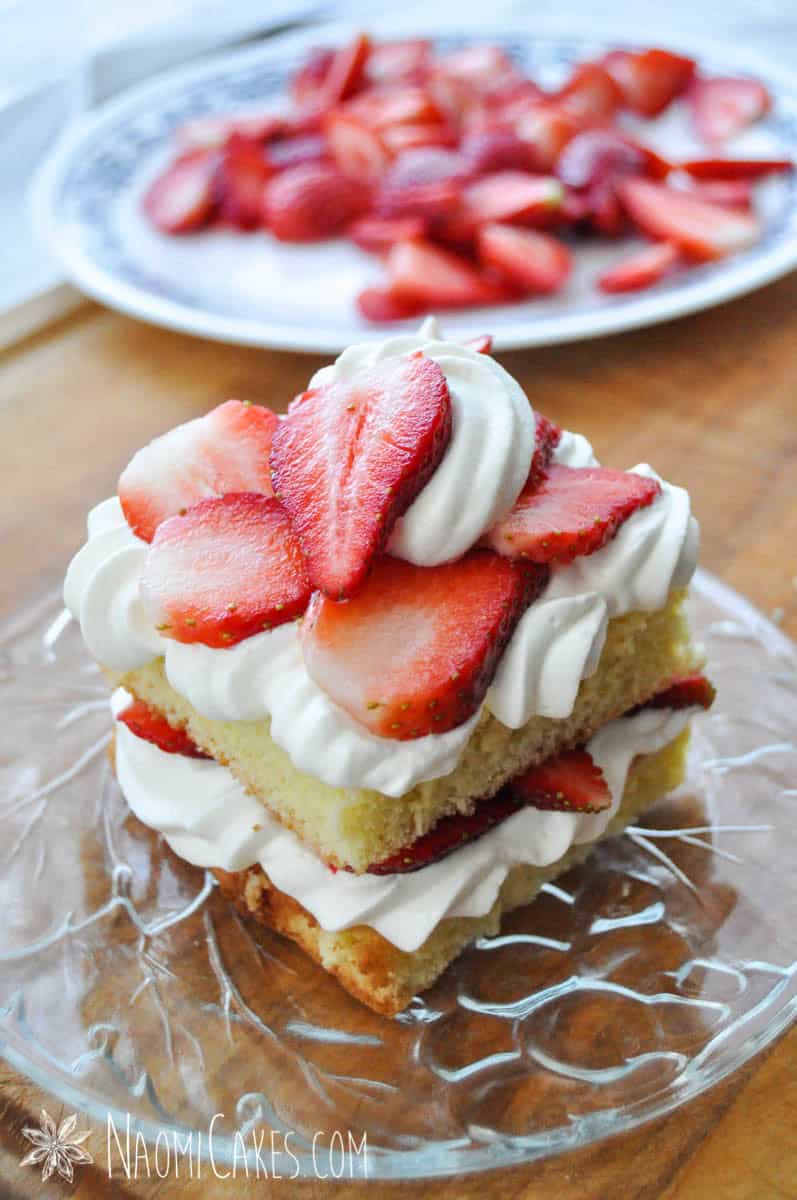
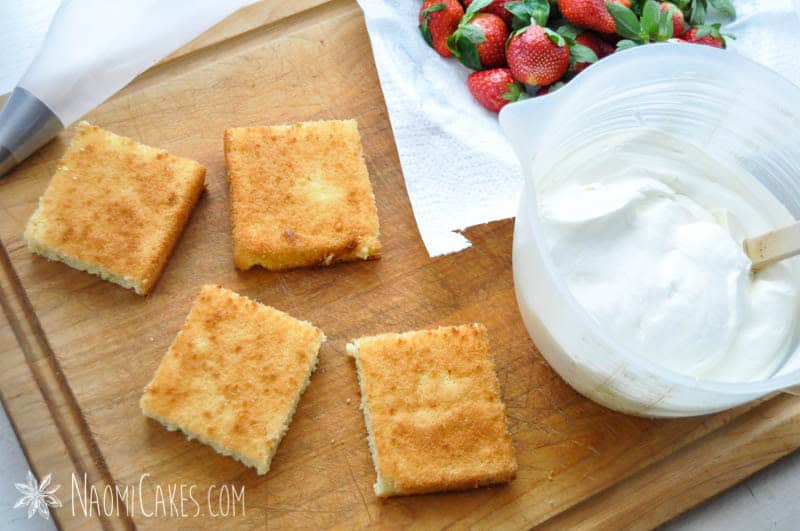
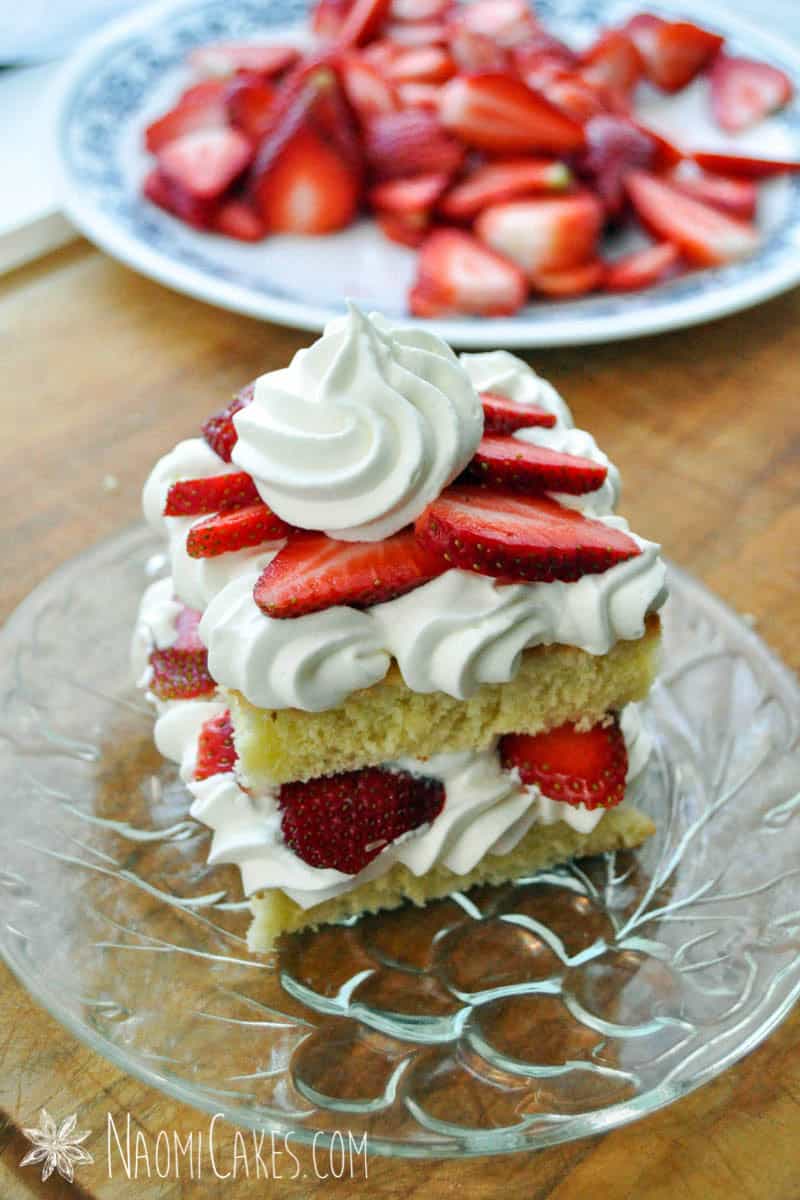
I like to make this miniature version by baking one large sponge sheet cake, cutting it into equal size portions, and using the pieces as my cake layers. Then I layer the cake sections with fresh strawberries and billows of freshly whipped cream.
The best kind of cream to use for strawberry shortcakes
The best kind of cream for strawberry shortcakes is heavy whipping cream (35% cream), which you can whip to stiff peaks. I like to make stabilized whipped cream for my cakes, which allows me to make them a little bit further ahead of time, and ensures that the cakes maintain their shape with lots of cream (instead of falling over!).
Choosing the best fruit
It may seem obvious, but strawberries are always best when you get them in season (usually between May-July, depending on where you live).
To pick the best berries, choose plump strawberries with a bright red colour, healthy looking green stems, and minimal white around the top of the berry near the stem. The more white the berry appears, even at the top, the more watery/mild the flavour. The more bright red the berry appears, the more juicy and sweet the strawberries tend to be.
Try to avoid choosing berries that are dark red/burgundy with dry stems; berries like that are most often overripe and will spoil quickly– if they aren’t spoiled already!
How far in advance can these cakes be made?
I like to make these cakes best on the day I want to serve them. You can make these cakes a day (or two!) in advance, but the fruit will begin to break down and lose some of its colour and fresh appearance.
Can this recipe be made gluten free?
Yes! You can make this strawberry shortcake recipe exactly as detailed below with a 1:1 substitute of the flour for 1:1 gluten free flour. You can also make this cake with cornstarch instead of flour, but I have found that the cake has more of a corn-cake flavour, and it tends to shrink in slightly while you let it cool.
Other recipe variations
You can make this cake with any number of substitutions, but one of my favourite ways is to swap out the fruit and make shortcakes of any kind! One of my favourites is to make Raspberry Shortcake, but I’ve also made this with fresh peach slices, blueberries, and kiwi (to name a few)!
You will need:
- Ingredients (see recipe card)
- 11″x15″ jelly roll pan
- Parchment paper
- Electric mixer or Stand mixer
- Large mixing bowls
- Measuring cups and spoons
- Spatula
- Lemon juicer
- Box grater or lemon zester
- Cutting board
- Sharp serrated knife
- Paring knives, for prepping strawberries
- Cooling racks
- Dessert plates & forks

Mini Strawberry Shortcakes
This recipe is light as a cloud and perfect for any summer gathering!
Ingredients
- 8 large eggs separated
- 1-1/2 cups sugar
- 1 cup all purpose flour
- 1 pinch salt
- 1/2 lemon or orange grated rind and juice
- 2 tsp unflavoured gelatine
- 3 Tbsp cold water
- 3 cups heavy whipping cream
- 4 cups strawberries washed and chopped
Instructions
-
Lightly grease and line the bottom of an 11×15" jelly roll cake pans with parchment paper.
-
Preheat the oven to 350 degrees F.
-
Beat the egg yolks until light; add the sugar and beat until lemon coloured and thick.
-
Add the flour, salt, and grated rind and juice of the lemon or orange.
-
Beat the egg whites until stiff peaks form. Fold into the batter gently, until just incorporated. (Do no over-mix)
-
Pour the batter into the prepared pan. Bake for 20-25 minutes or until just starting to become golden and the cake springs back when lightly touched. (You can also stick a toothpick in and test it that way if you prefer – it should come out of a fully baked cake clean.)
-
When the cake is done, run a sharp knife around the edges to loosen the cake from the sides of the pan. Allow the cake to rest in the pan for 10 minutes, then turn it out onto a wire rack (removing the parchment from the underside) to finish cooling completely.
-
While the cake is cooling, wash and slice the strawberries; set aside.
-
In a heatproof cup/mug, sprinkle the gelatine over the 3 Tbsp. cold water. Bring a bit of water to a boil in a small saucepan, and then set the cup into the simmering water on the stove. Stir the gelatine mixture until completely dissolved and no longer grainy looking. Remove from the heat and set aside.
-
In a large mixing bowl or the bowl of an electric mixer, beat the cream until soft peaks form. Reduce the speed to low, and gradually add the gelatine mixture (do not scrape out the cup – only add what pours in easily, and immediately soak the cup to be washed later). Once the gelatine has been added, increase the mixing speed, and whip until stiff peaks form.
-
Cut the cake into 12 equal sized squares (3 across the short side and 4 across the long side). Arrange 6 squares of cake onto 6 dessert plates.
-
Scrape half of the whipped cream into a large piping bag fitted with a large star tip. Pipe shells or rosettes onto the surface of each plated piece of cake, and arrange strawberries on top. Top with the remaining squares of cake for a second layer on each mini cake.
-
Scrape the remaining cream into the piping bag, and repeat with more cream shells/rosettes and finish with strawberry slices.
-
Allow the cakes to set in the fridge for at least 2 hours before serving.*
Recipe Notes
*These cakes can be served immediately, but they hold their shape best if they are allowed to chill first. Serve them on the day that they are made for best results.

If you like this recipe, you may also like:
- Raspberry Sponge Cake
- Authentic German Black Forest Cake
- One-Step Strawberry Lemonade
- Lemon Berry Mousse Cake
- Strawberries ‘N’ Cream Jello
There you have it! If you made this recipe, make sure to leave me a comment to let me know what you thought! You can also tag me in your photos on Instagram @naomicakesofficial; I’d love to see your beautiful work!
Thanks for stopping in! Back soon,
–Naomi
This post contains affiliate links.
Well doesn't that just look like such a wonderful decadent treat on a beautiful summer evening! Nice job once again.
I think I like the swirl of whipped cream on top only because it looks more festive.
Loving the blog. Its always so appealing