
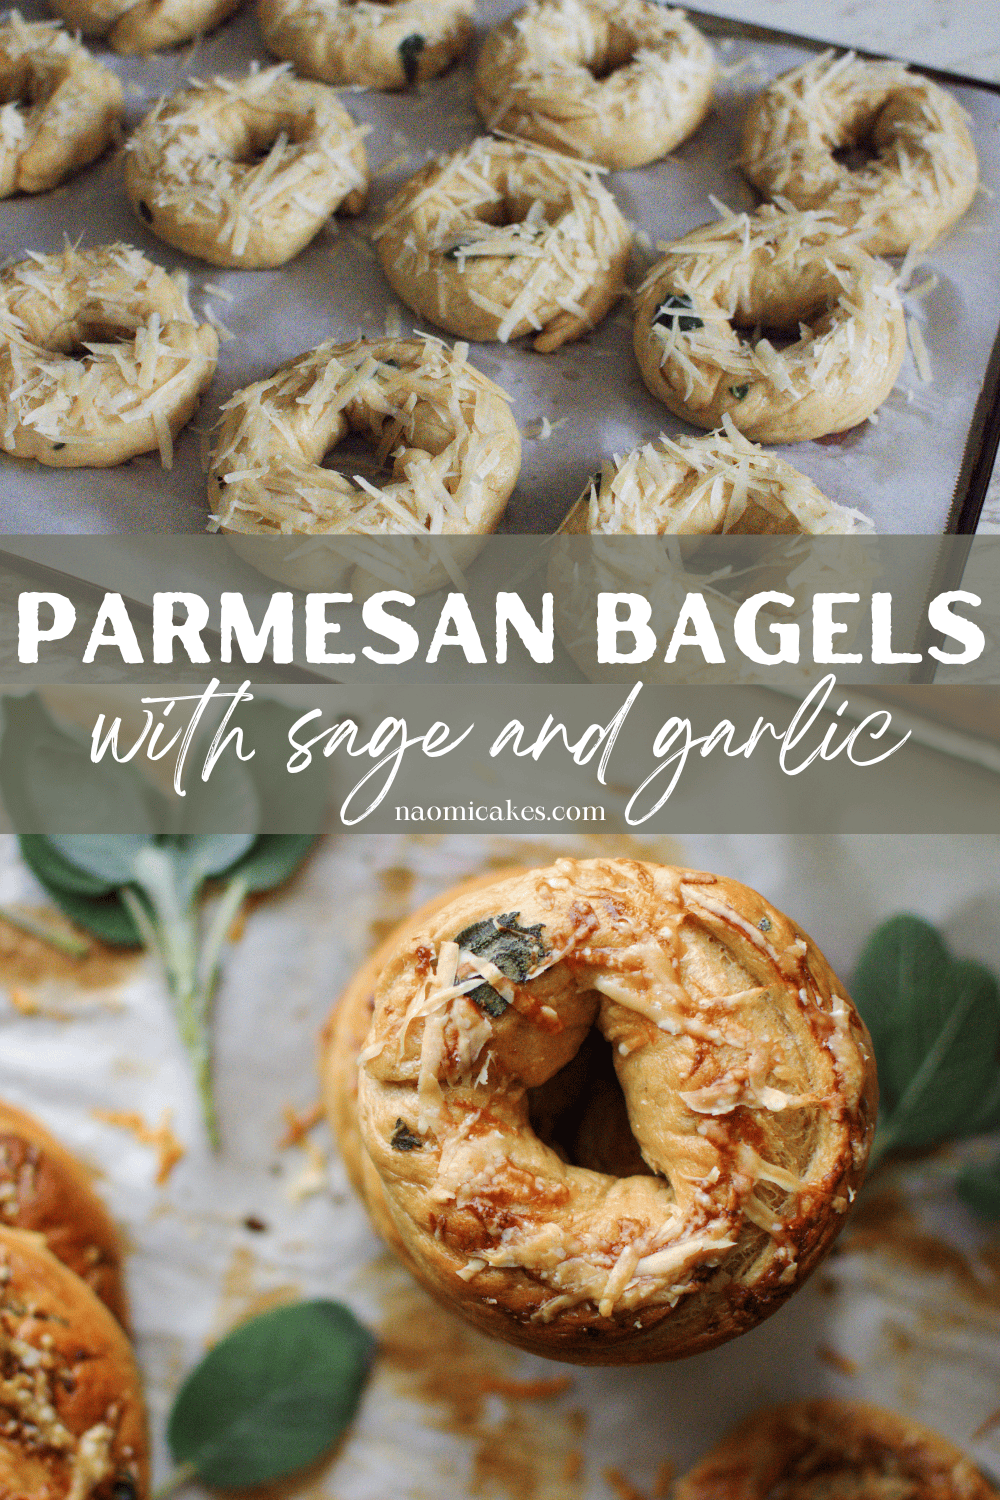
Parmesan Sage Bagels [Recipe]
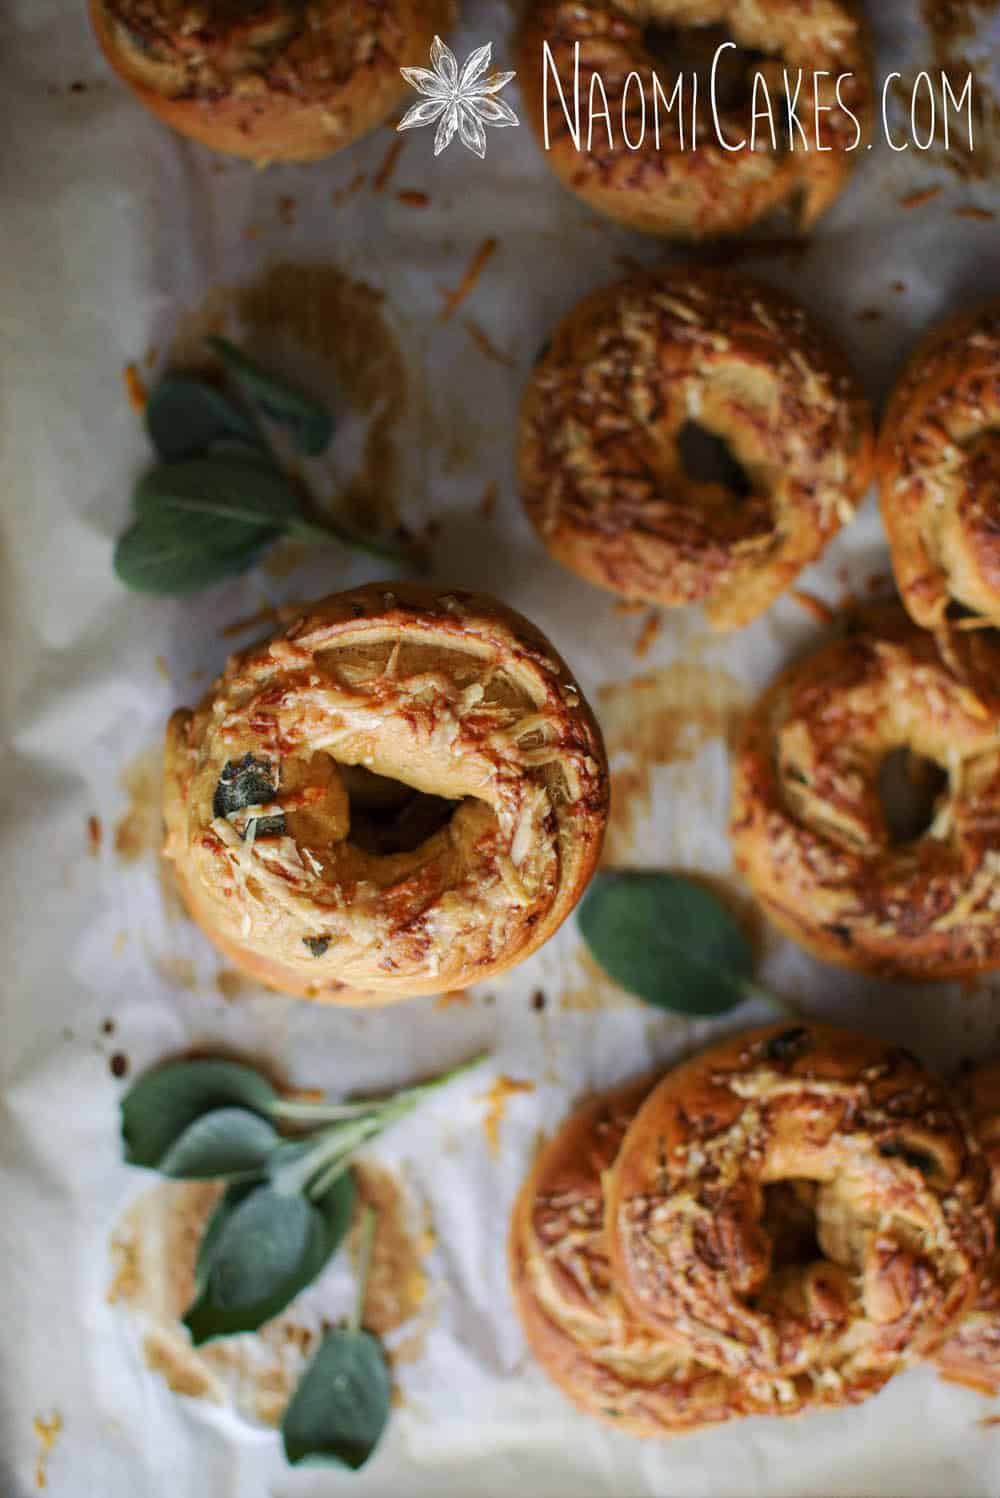
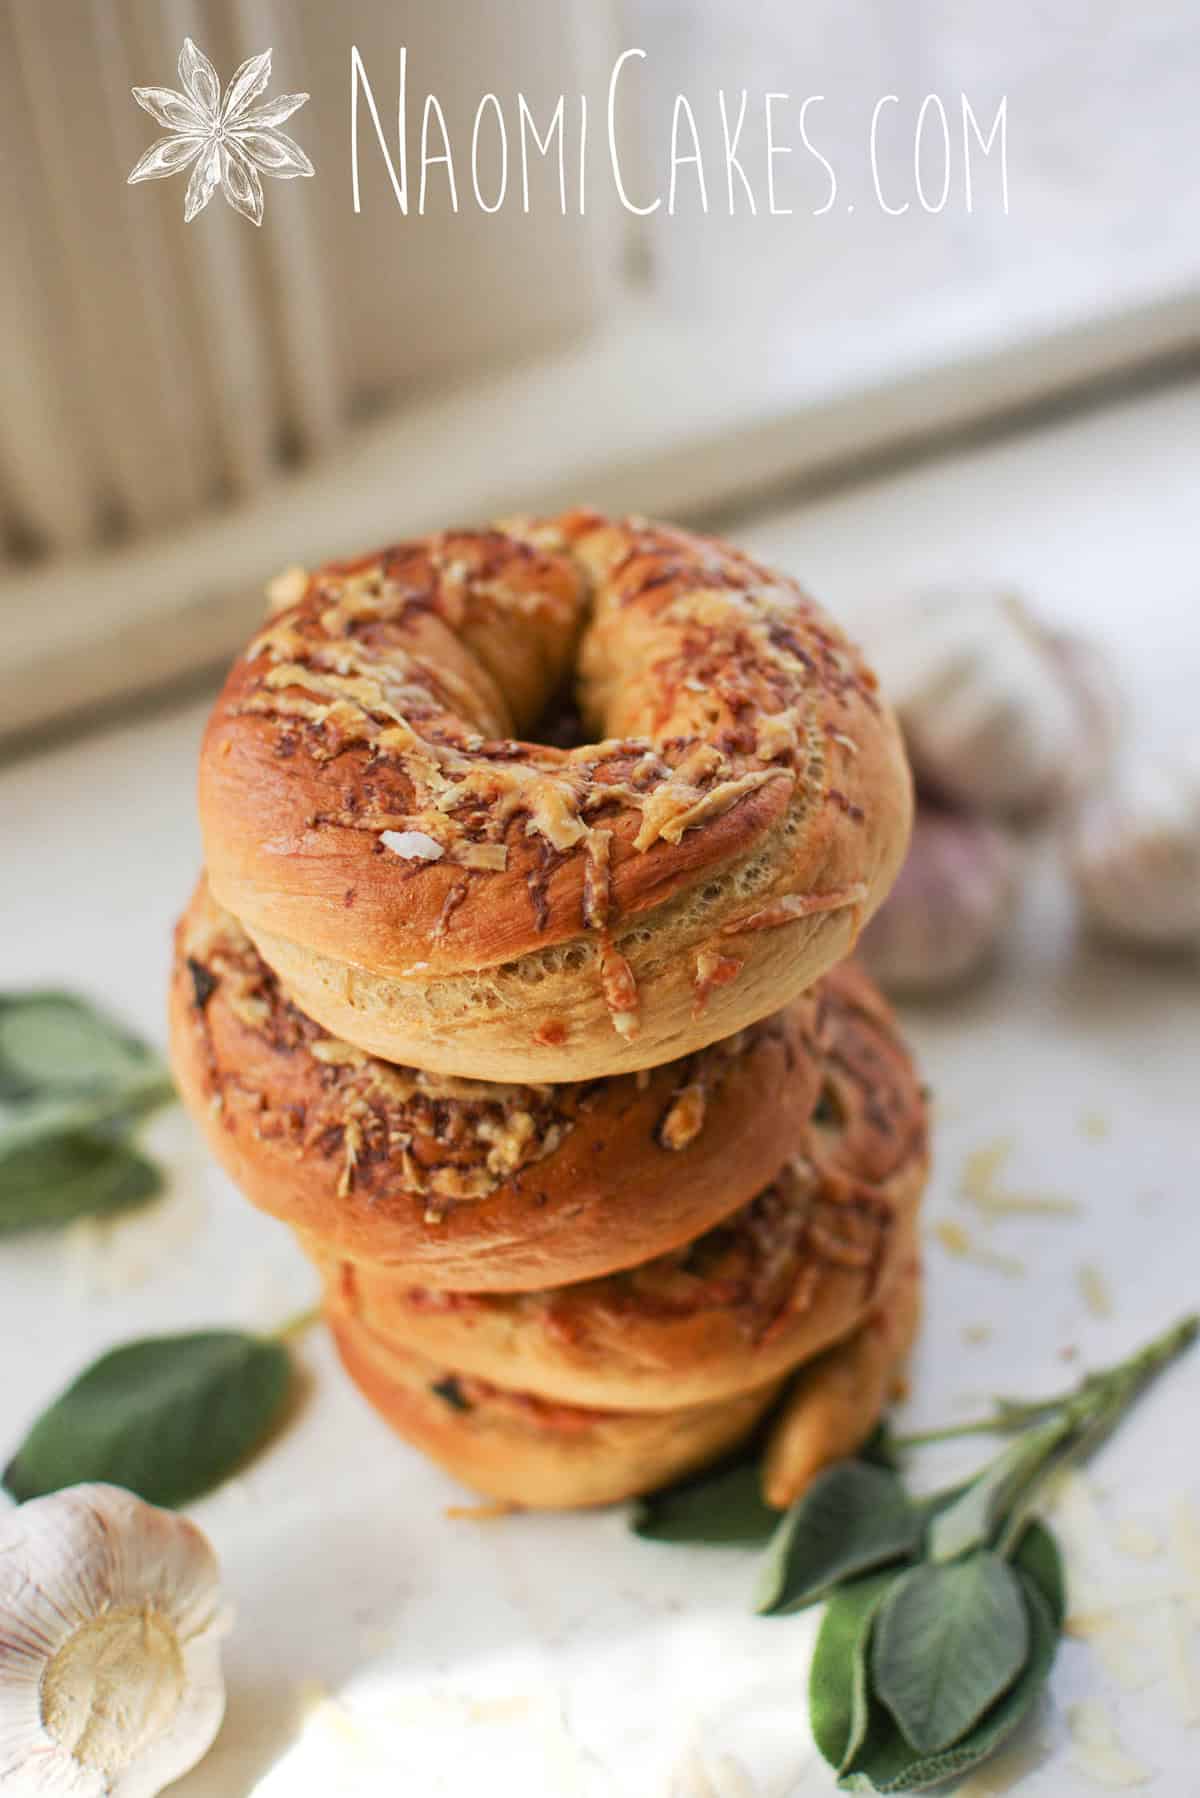
Welcome to the prettiest bagels I’ve ever made: parmesan sage bagels. And, depending on the type of cheese you use, possibly the smelliest bagels I’ve ever made. But trust me… It’s totally worth it (if you’re using the right stuff). Read on to see what I mean!
What makes parmesan sage bagels unique
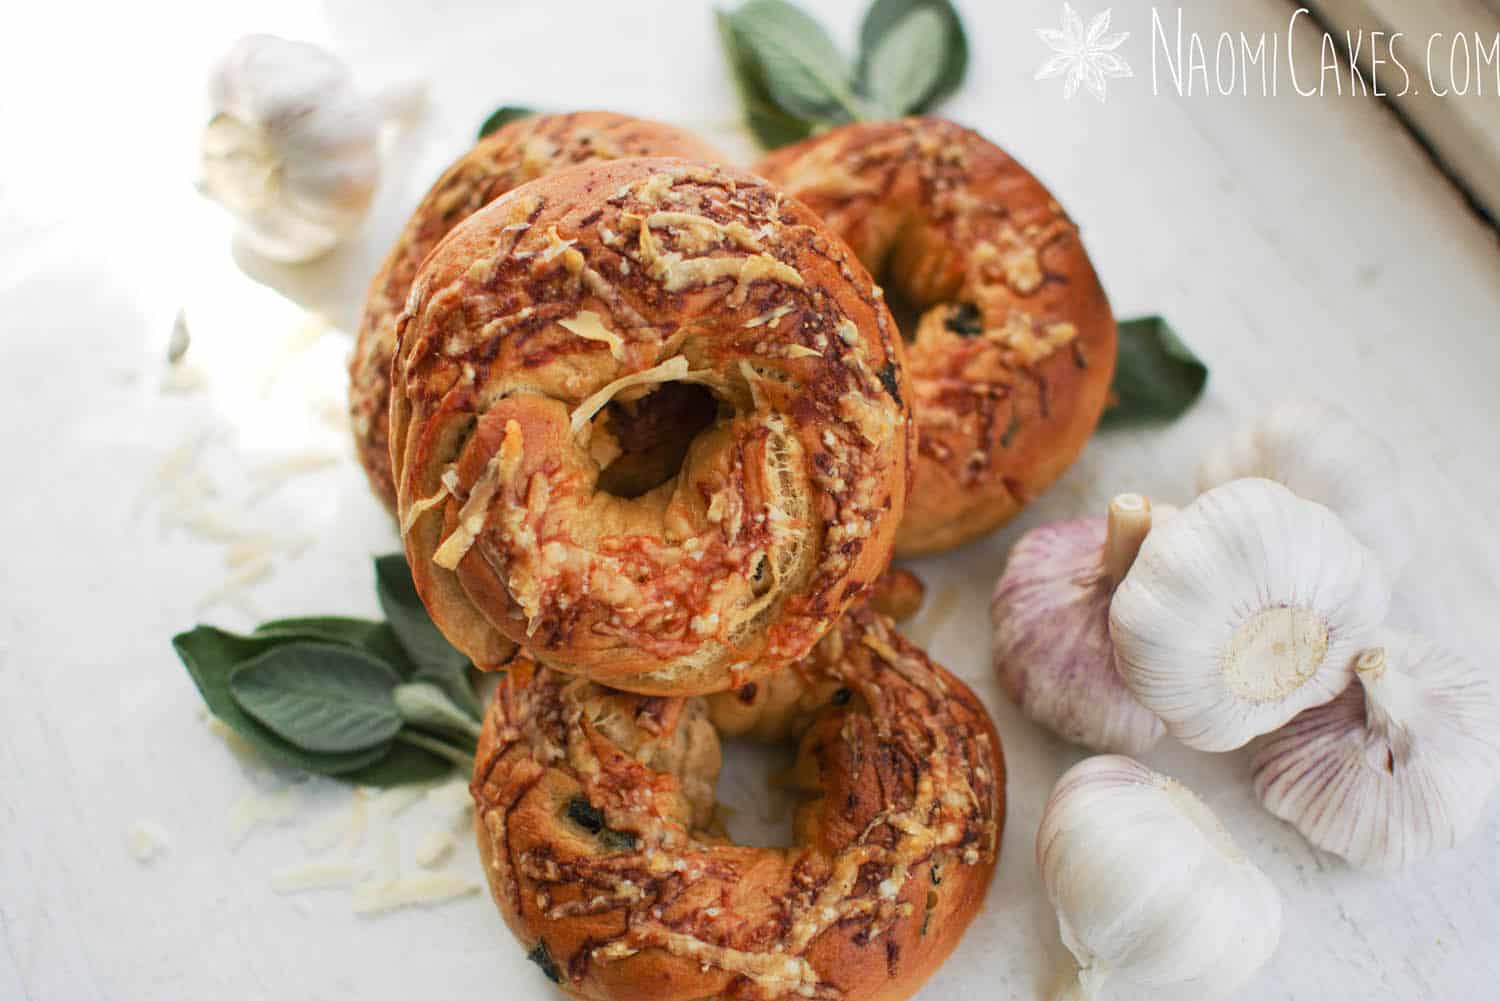
The dough for these bagels is unique in that it’s made with the addition of sautéed fresh garlic and fragrant sage leaves in butter for extra flavour and texture. Once the dough has been made and the bagels are shaped and boiled, they are sprinkled with freshly grated quality parmesan cheese before they are baked.
The story behind this recipe
This recipe came to be because I was inspired to make another variation to one of my all-time favourites, asiago cheese bagels. Since parmesan and asiago are similar, and I loved the idea of pairing it with sage, this recipe was born!
When I first started making my own bagels years ago, I was working at a local coffee shop and bakery, and the owners graciously allowed me to make an experimental batch of parmesan bagels for them. I have to cringe when I think back to that day, however… At the time, I used what we had on hand (Kraft parmesan), and… Oh dear. Our poor customers (and staff!) that day! The ripe smell of parmesan cheese filled the place from top to bottom, and let me tell you… it wasn’t a good time!
Choosing the right cheese
After my mistake at the bakery (above), I wanted to try it again at home with real, fresh grated parmesan. And, like asiago bagels, I again had to deal with the smell of sizzling hot strong cheese filling my home… but wow, I will say, getting the right kind of cheese did make it a lot more tolerable!
All of that said, I have some tips for you:
- Choose real, hard parmesan from the refrigerated section of your grocery store. Not the stuff in a shaker bottle off the shelf. Never… again. (Trust me.)
- Make these on a summer day when you can open the windows while you bake. Airflow makes a difference!
- You don’t need a lot of cheese on these bagels. Just enough to give them that fantastic textured look and the delicious taste of parmesan once they are baked.
- You can… cheat! Get yourself a nice aged white cheddar for almost the same effect.
Making sure your parmesan sage bagels turn out right
When making bagels, there are a few things to keep in mind for optimal results. Here are a couple of tips from my kitchen for you:
- Try not to multi task during the second proof or boiling process (especially the first time you make them)
The reason for this is that the turnaround time between boiling bagels is quite small, and trying to do anything else in between can get pretty stressful, quickly! - Weigh the flour (or make sure you don’t overdo it!)
Here in North America, most recipes measure by volume (cups) instead of by weight. The problem with this, however, is that for someone with less experience baking, they may scoop out a cup of flour, not realizing that flour packs down as it sits. 1 cup of flour can range anywhere from 100g-170g! If you are baking with cups instead of a scale, make sure to loosen up the flour with a spoon or measuring cup before you scoop it out.
Making sure the dough is the right stiffness
Depending on how you measure your flour, you might get a very different result for your dough. Bagel dough should be quite stiff, but not dry or hard.
For this recipe, I will assume that 1 cup of flour is equal to 140 grams. I never really would have thought that would matter so much, but it really does. I’ve made some horribly stiff bagel dough without weighing the flour!
If you don’t have a kitchen scale, try making this recipe with 4 cups of flour at first, and then add more as you need it to make a stiff, smooth, soft dough.
How long does it take to make parmesan sage bagels?
These bagels can be fresh from the oven just 2 hours after you mix up the dough. Not bad, eh? Scroll down to see how they’re made!
Step by step process photos
If you want to see what this process looks like step-by-step from start to finish, check out This Tutorial for Asiago Cheese Bagels! Otherwise, for just a few images taken during the process of making these specific bagels, you can scroll down below the recipe card to see what that looked like!
For this recipe, you will need:
- Ingredients (see recipe card)
- Mixing bowls
- Stand mixer (optional)
- Measuring cups and spoons
- Glass measuring pitcher
- Stirring spoon
- Sharp knife
- Large pot
- Round slotted spoon/Cooking skimmer
- 2 Forks
- Kitchen timer
- Baking sheets
- Parchment paper
- Cooling rack
Parmesan Sage Bagels
Made with fresh garlic and sage, these bagels are rich with savoury flavour. Delicious served with butter, cream cheese, or served with your favourite toppings as a sandwich.
Ingredients
- 1-1/2 cups lukewarm water
- 1/2 Tbsp sugar
- 1 Tbsp dry active yeast
- 2 Tbsp oil olive oil or vegetable oil
- 2 Tbsp liquid honey
- 1-1/2 tsp molasses fancy/table molasses or blackstrap – table molasses is my preference
- 1 tsp salt
- 1 egg beaten
- 2 cloves garlic minced
- 1 handful fresh sage leaves torn slightly
- 2 Tbsp butter
- 5 cups all purpose or bread flour
- 2 cups fresh good-quality parmesan cheese grated*
Poaching Syrup
- 1 gallon water (1 gallon =16 cups)
- 1/2 cup liquid honey
Instructions
-
In a large mixing bowl, combine the lukewarm water with sugar and yeast, and stir to dissolve (there may be small clumps that don’t blend in very well – this is okay). Allow this mixture to rest about 10 minutes, or until slightly risen and bubbly.
-
Combine the minced garlic fresh sage, and butter in a small saucepan and sauté until fragrant and just beginning to brown. Set aside to cool.
-
Add the oil, honey, molasses, salt, and beaten egg to the water and yeast mixture; stir to combine. Stir in the sautéd garlic mixture, and add the flour, stirring to combine. Knead on a lightly floured work surface until smooth and elastic, about 3-5 minutes. Place the dough back into the bowl, cover with plastic wrap, and allow to rise 1 hour or until doubled.
-
Note: To test if the dough is risen enough, stick your finger into the dough – if an indentation remains without shrinking back where your finger was, it is ready to use.
-
While the dough is rising, combine the water and honey for the poaching syrup in a large pot and bring to a boil. Reduce heat to a simmer, just to keep it hot, until ready to use.
-
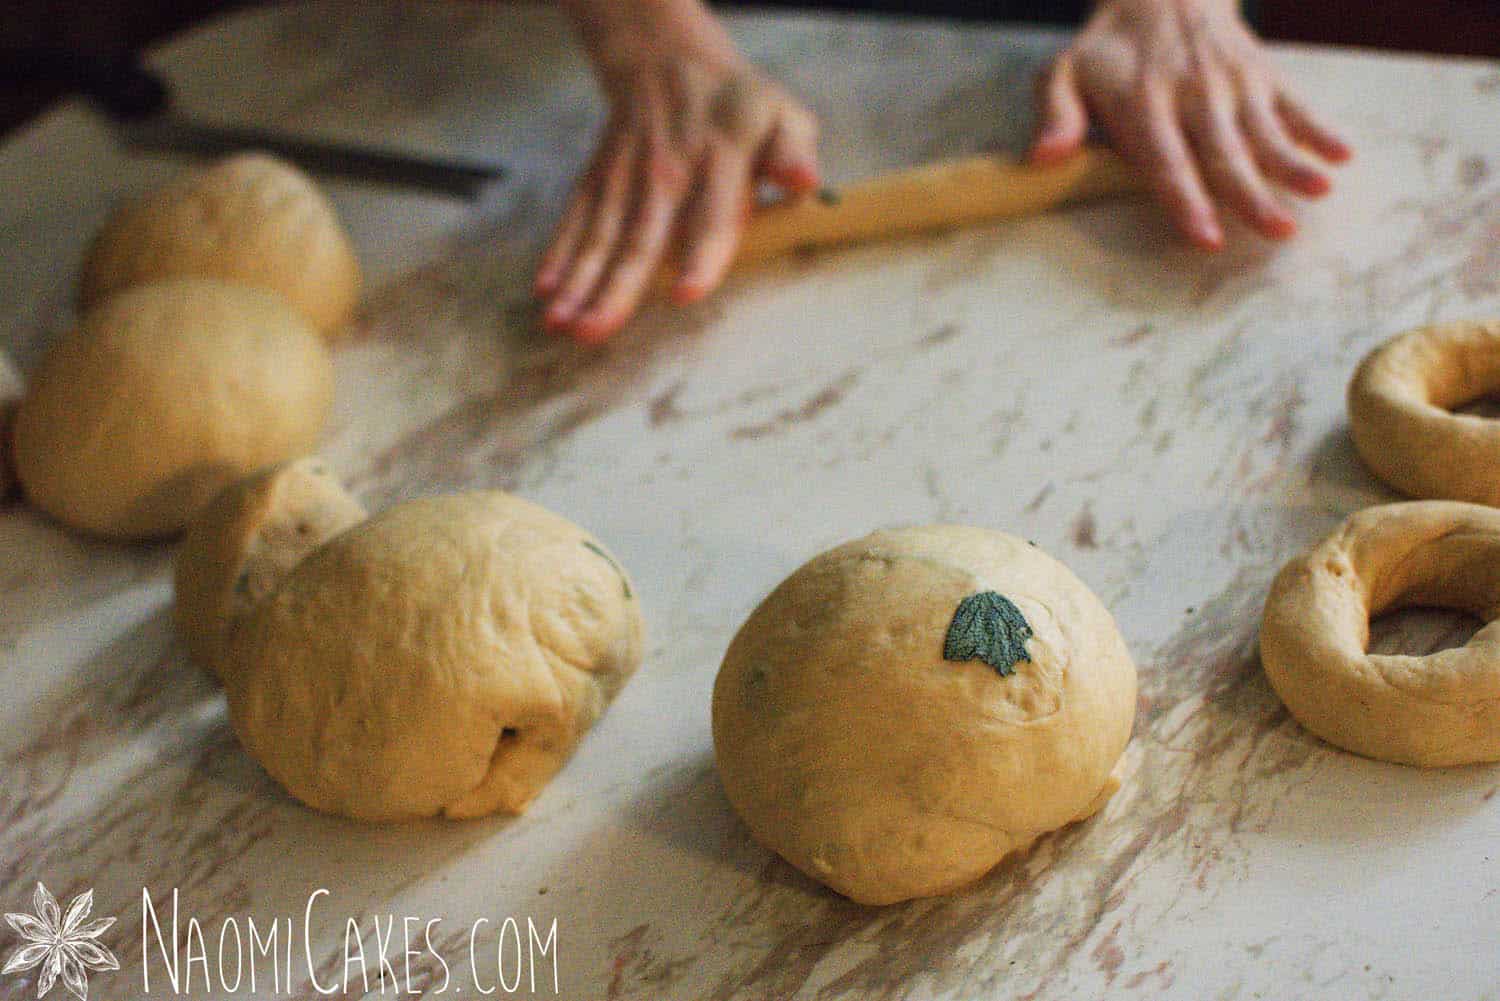
When the dough has risen enough, punch it down to remove any air bubbles. Turn it out onto a clean work surface. Divide the dough into 12 evenly divided portions (each should weigh about 100 grams).
-
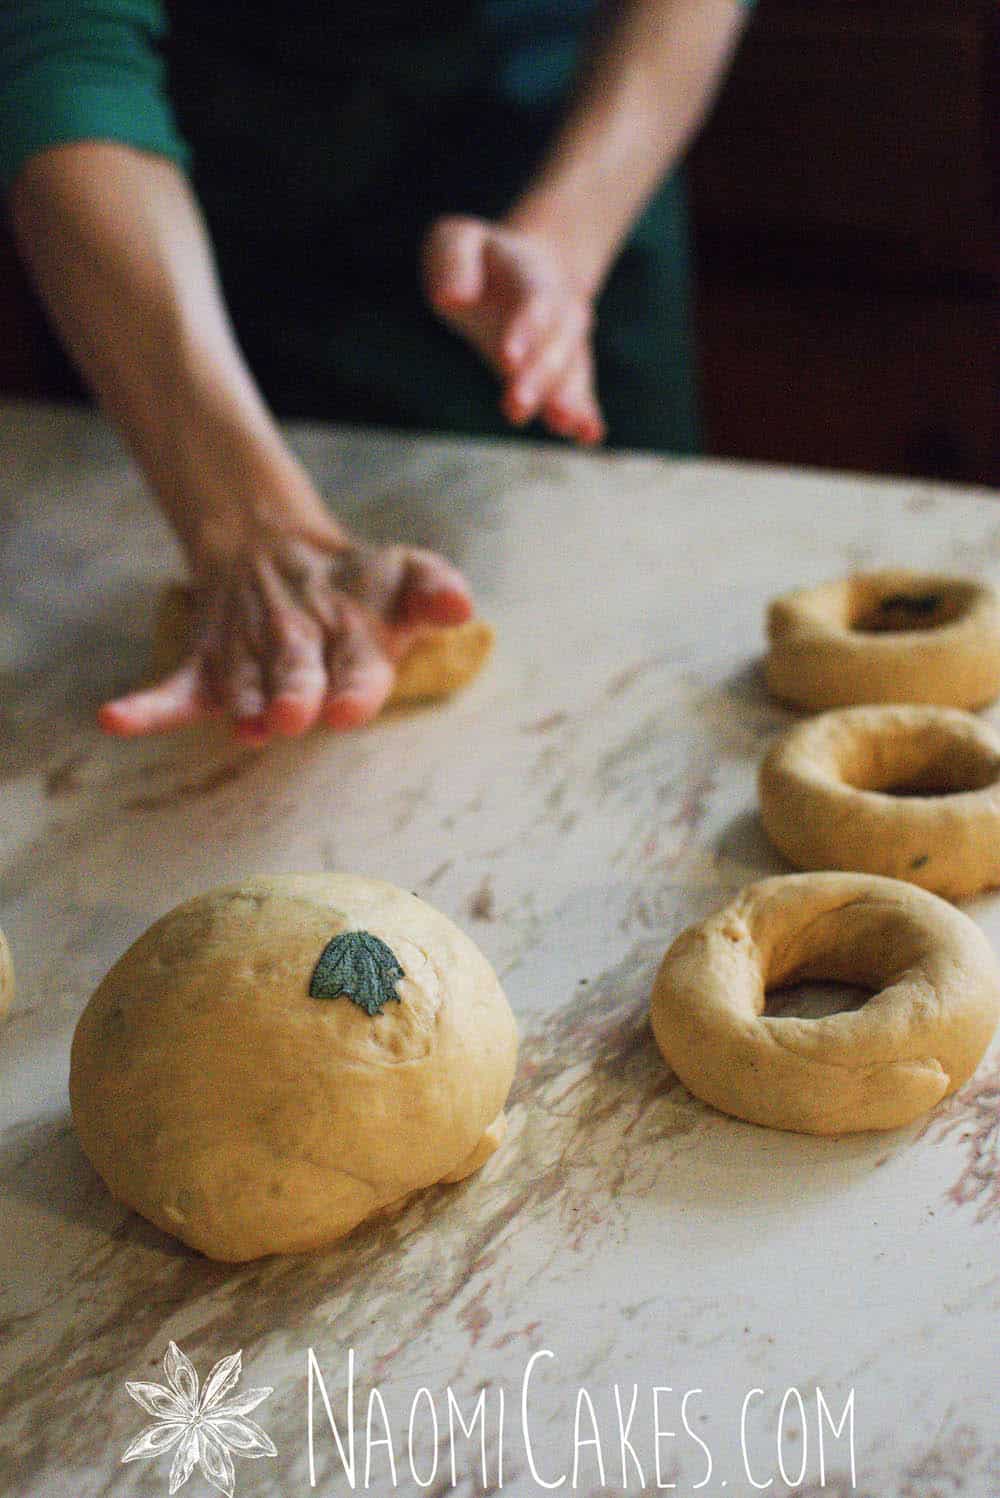
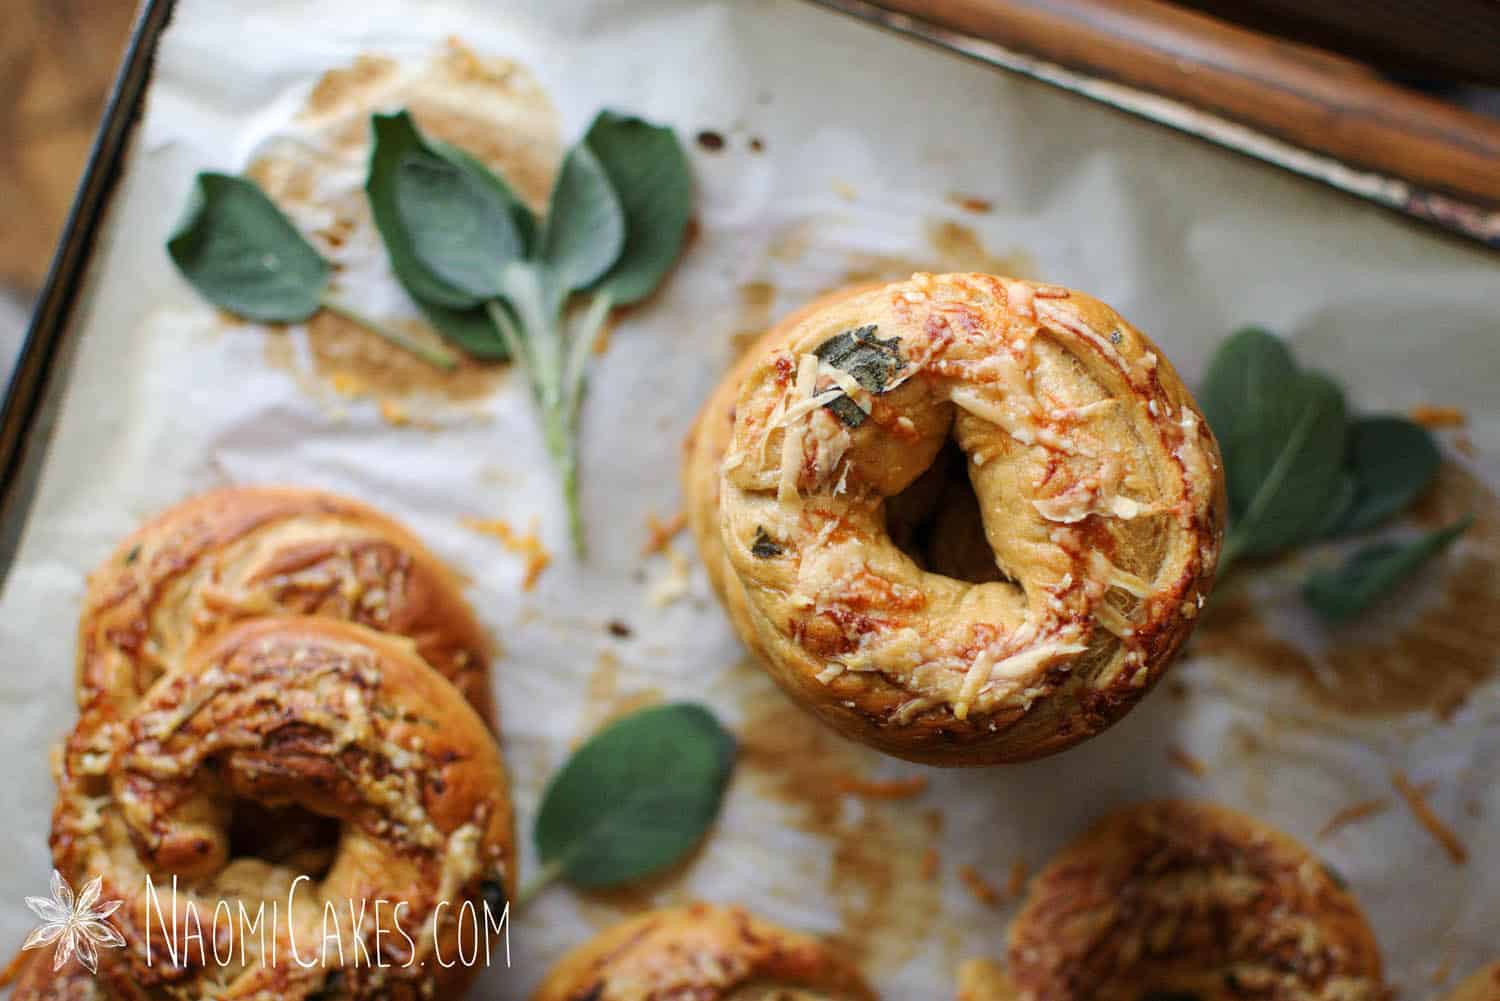
Roll each portion of dough into a long rope, about 12 inches long. Bring the ends together with about a 1-2 inch overlap, pinching the ends together firmly to seal. Roll over the pinched portion of dough a couple of times, with your hand in the hole of the bagel, to make the seam a little smoother and more uniform. Set the finished bagel onto a parchment lined baking sheet, and repeat with the other bagels until all 12 have been shaped. The holes in the centre of the just-shaped bagels should be large enough to fit a golf ball inside snugly.
-
Note: If the dough is sticky, you can use a little flour on the work surface to prevent sticking. Also, I like to make my bagel holes a little smaller, so I usually roll them with 3 fingers in the hole – Using your whole hand makes the hole a little larger.
-
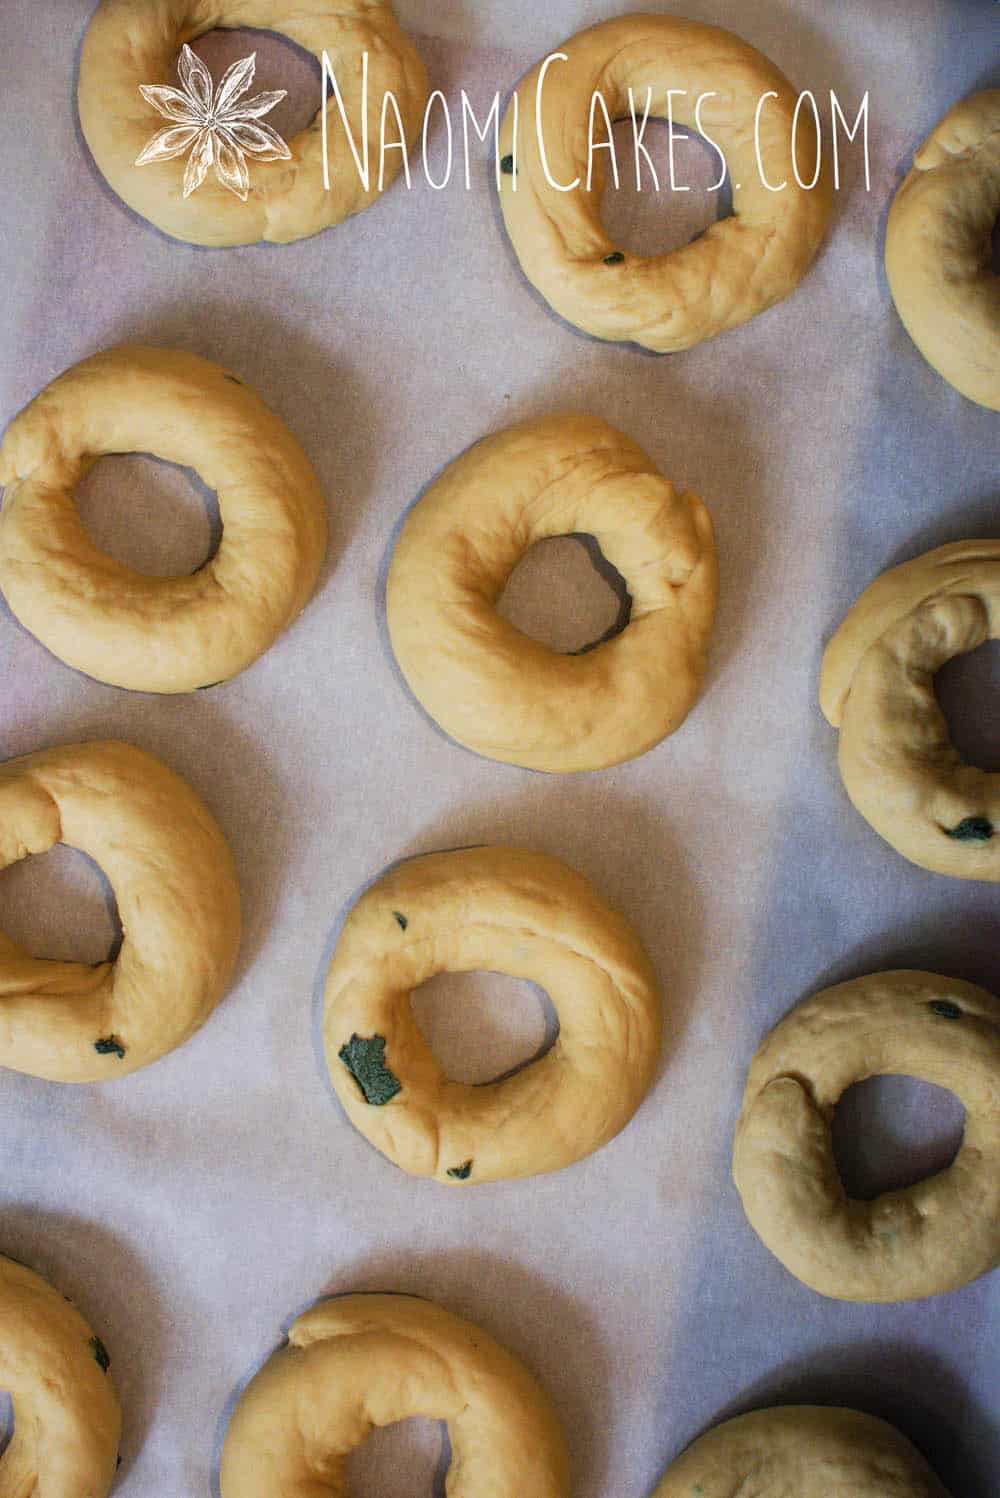
Bring the poaching syrup back to a boil, preheat the oven to 425 degrees F, and allow the bagels to rest 10-20 minutes, or until about 1-1/2 times their original size. They won’t look very much larger – just slightly more puffy.
-
Drop 3-5 bagels into the boiling poaching syrup (depending on the size of your pot – you want them to have room to expand without overlapping each other), and allow them to poach 1 minute on each side, but not longer. If anything, take the bagels out slightly before they reach the 1 minute mark per side. Lift the bagels out of the water using a slotted spoon or fork, allowing them to drip slightly before setting them onto a parchment-lined baking sheet. The bagels should double in size during this step.
-
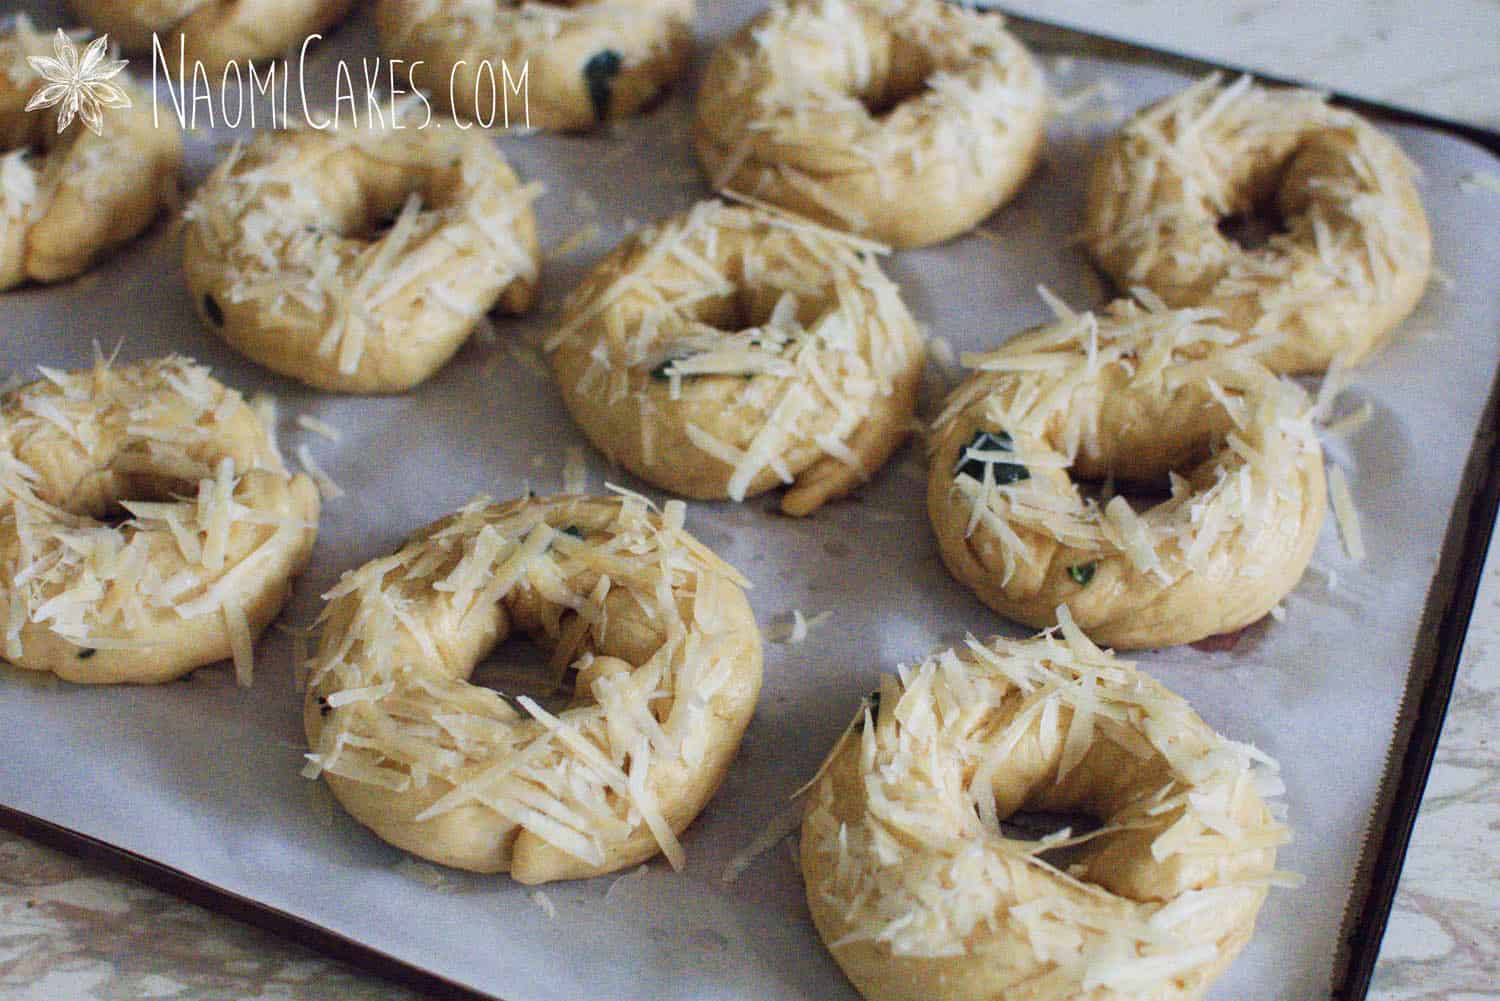
Allow the bagels to cool slightly, and then gently re-attach the ends of any bagels that broke open during the poaching process. (The dough should be a sticky, spongy texture at this step.) Sprinkle with parmesan cheese.
-
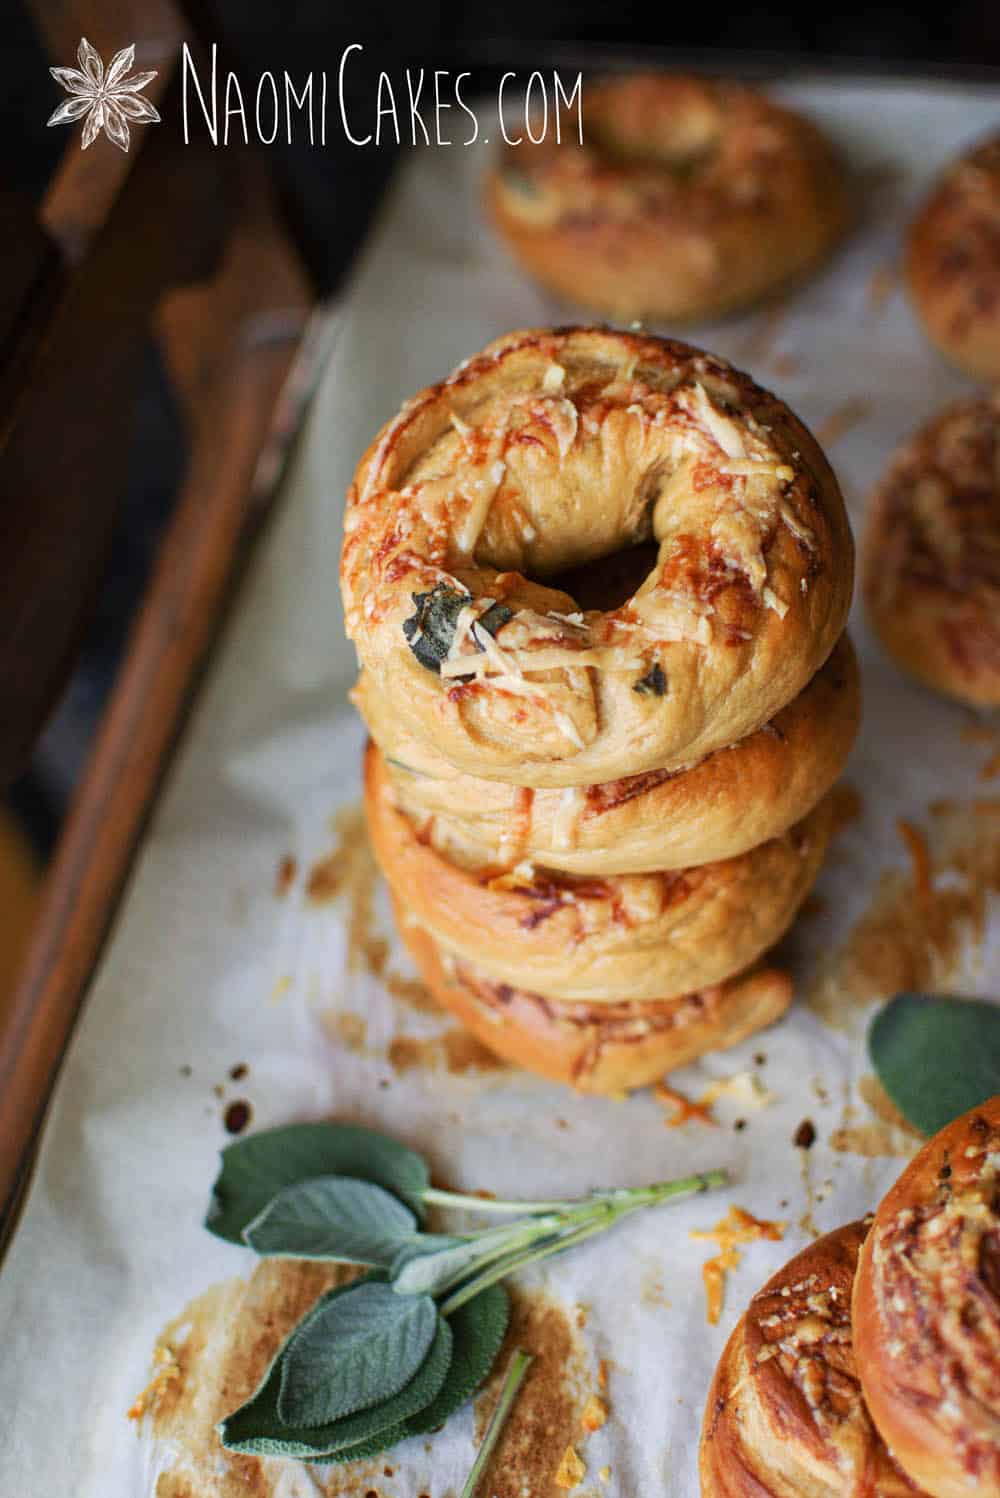
Bake at 425 degrees Fahrenheit for 12-15 minutes or until golden brown and sizzling. Cool on wire racks.
Recipe Notes
1 cup flour = 140 grams in this recipe.
*Alternatively, you can make this recipe with aged white cheddar cheese.
If you like this recipe, you may also like:
- Everything Bagels
- Asiago Cheese Bagels with Black Pepper
- Jalapeno Cheddar Bagels
- Chocolate Cherry Bagels
- Sourdough Sesame Montreal Style Bagels
If you enjoy this recipe, let me know in the comments! I’d love to hear how your bagels came out… And also, what do you think: is the smell worth the effort?
I’ll be back soon… with more recipes!
–Naomi
This post contains affiliate links.