
Creamy Custard Pavlova [Recipe]
Not a cake person? Can’t have gluten? Love creamy, light, and fruity desserts? Well folks, today is your day: and if it isn’t already, Pavlova is going to be your new favourite dessert.
What is Pavlova?
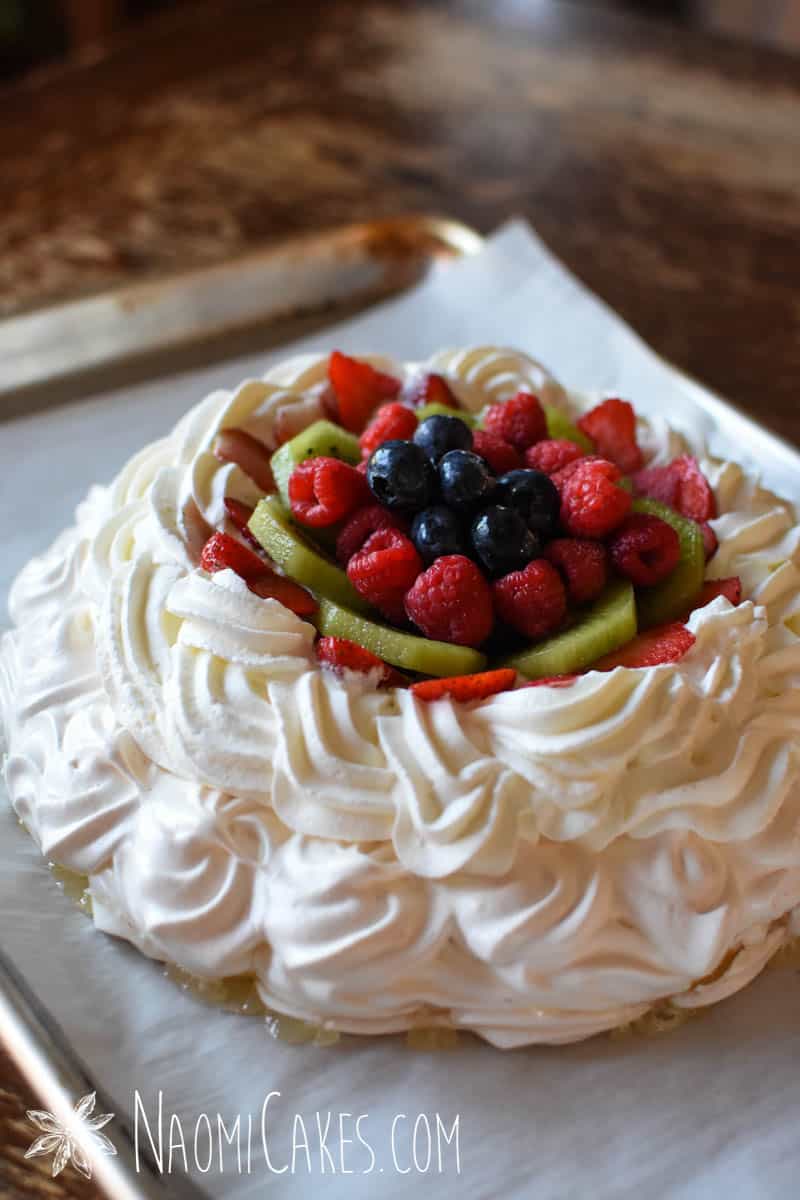
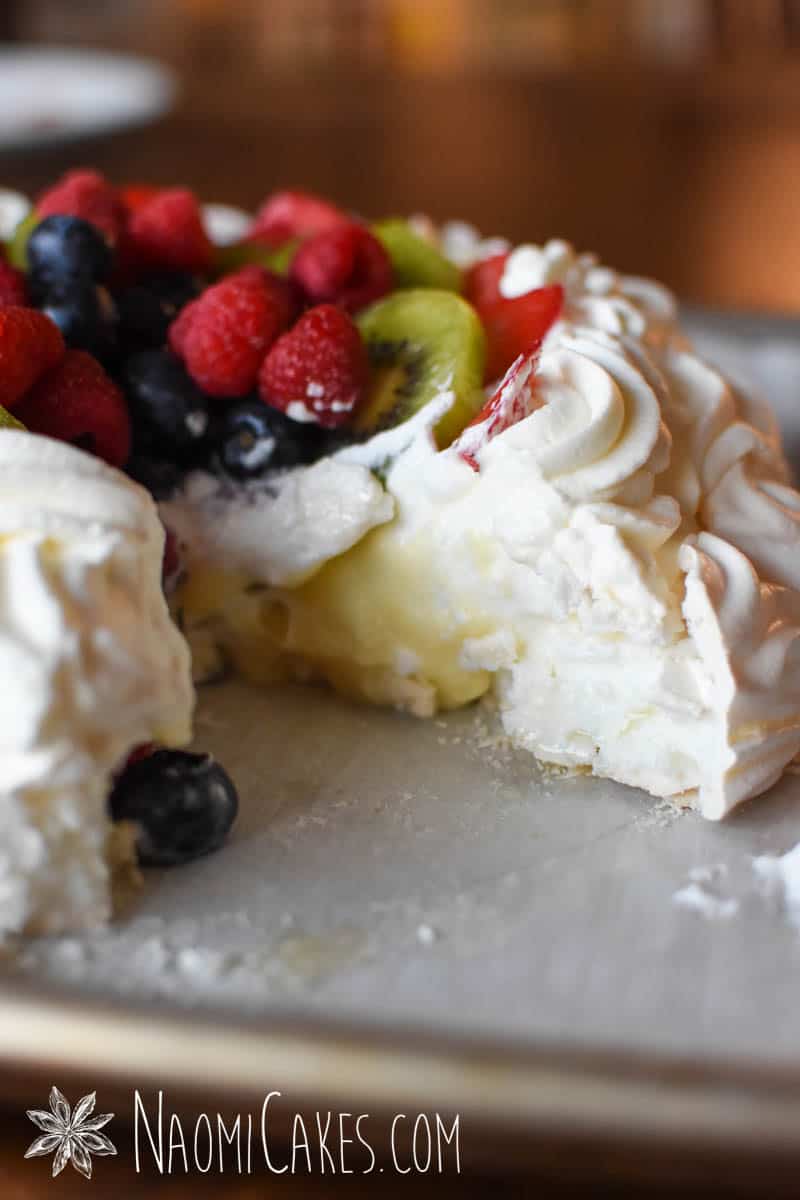
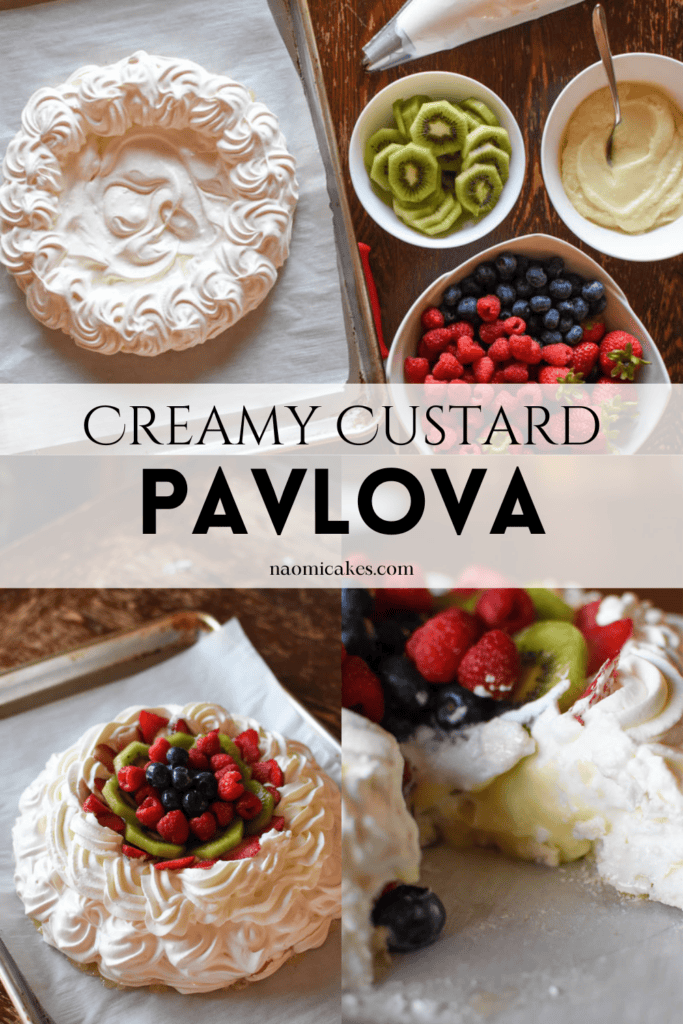
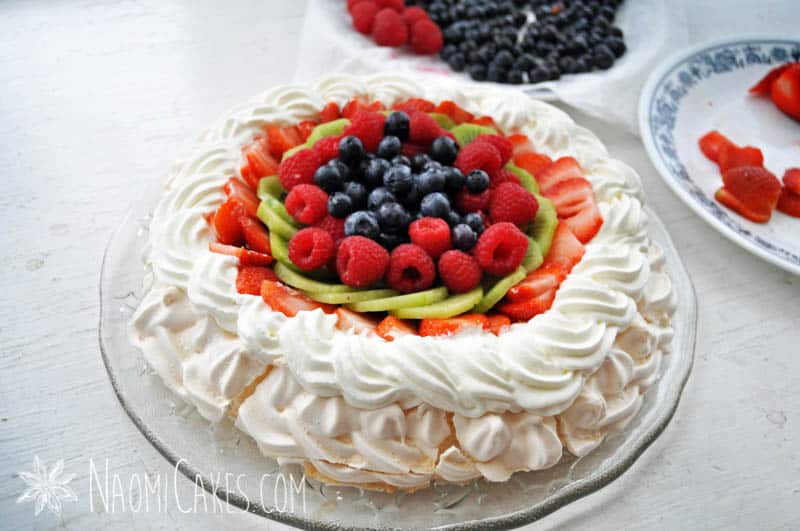
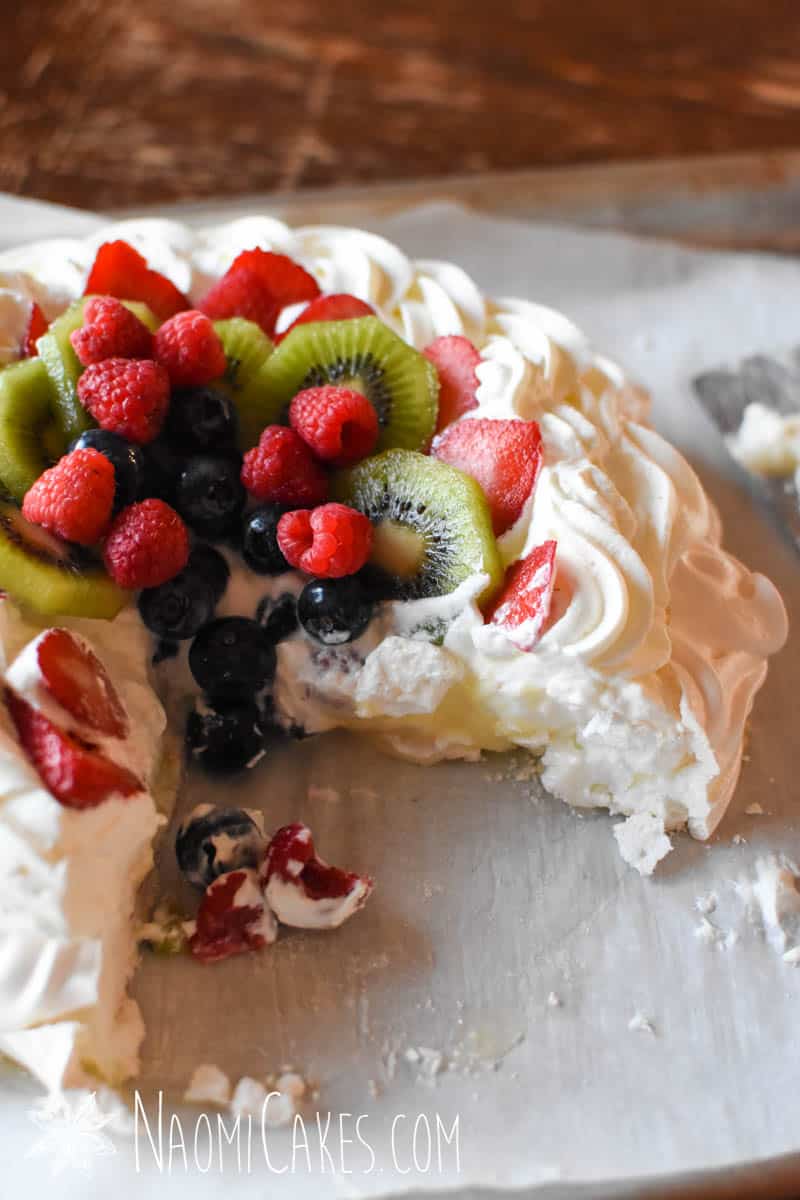
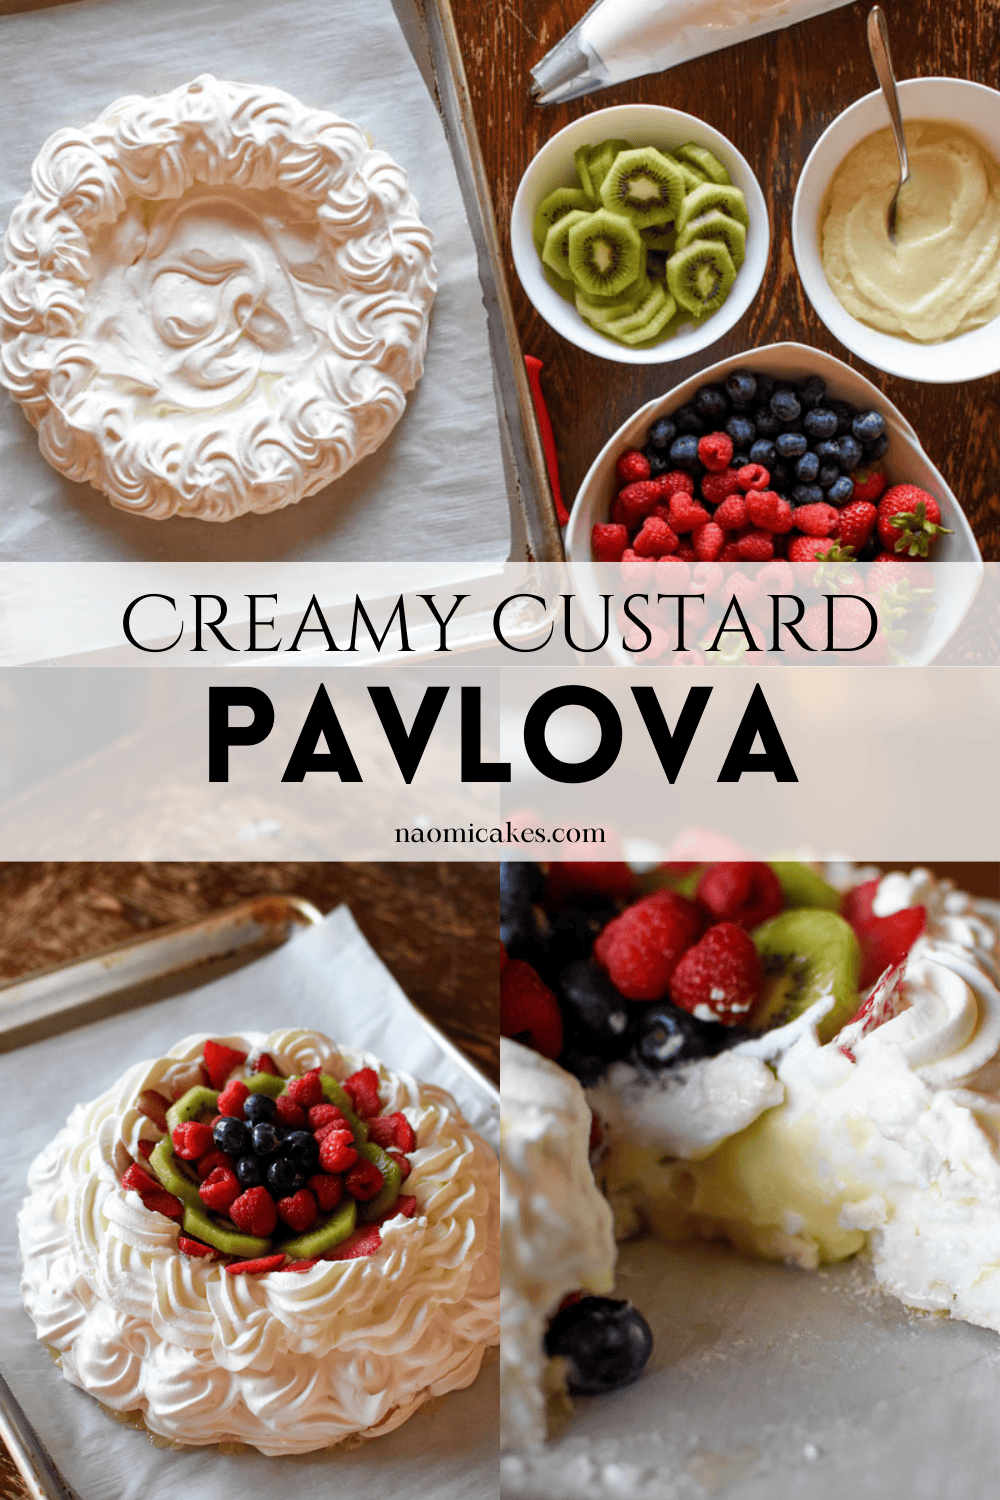
Pavlova is a crisp, sweet meringue shell filled with freshly whipped cream and fresh fruit (or in this version, an additional layer of custard in the middle). If you like meringue cookies, this recipe is the “cake” version of the same thing… but a little extra deluxe with the additional toppings.
Where the name Pavlova comes from
This dessert was named for the Russian ballerina, Anna Pavlova, who was famous for being “Light as a cloud” on her feet while she danced, and so the name is appropriate for this sweet, light-as-a-cloud confection. The original recipe, I understand, was created in honour of one of Anna’s tours to Australia or New Zealand in the 1920’s.
Ways to serve Pavlova
I created this custard version of the dessert because it seemed like the perfect addition to the flavour profile already present. To my experience so far, it is my favourite way to eat it; but I have seen lots of other creative twists on this recipe on the internet as well.
Some Pavlova recipes are served with a berry sauce on top, which would also be delicious! I have a couple of recipes that might make great additions, if you would want to try it that way. I’ll link them below for you to check out:
Mistakes to avoid
When making Pavlova, there are a couple of things that I think are worth noting.
- Use parchment paper, not wax paper.
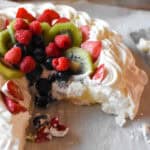
Wax paper makes a great substitute for parchment in some cases, but not all – and this is definitely not one of them! The first time I made Pavlova, I decided to use wax paper (since that’s what I had at the time), but my meringue stuck to the paper and I couldn’t remove it without cracking it significantly! The cracked shell from the first Pavlova I made is pictured here: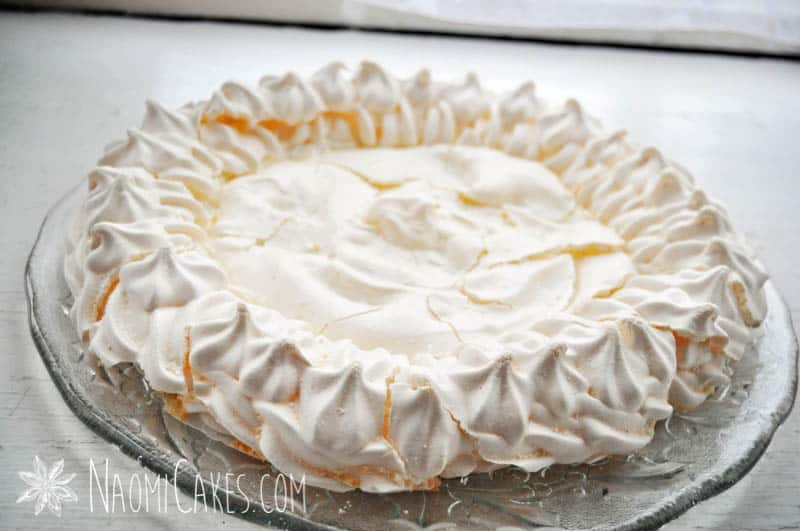
- Keep the pavlova in the oven while it cools.
If you remove the meringue from the oven, it will cool too rapidly and the meringue may crack. So, to keep it look crisp and beautiful, make sure you leave it in the oven for the time recommended.
Additional toppings
This is a recipe that you can easily make your own by changing up the toppings. Try adding different fruits to the top (peaches would be amazing), dark chocolate shavings, or whatever else comes to mind.
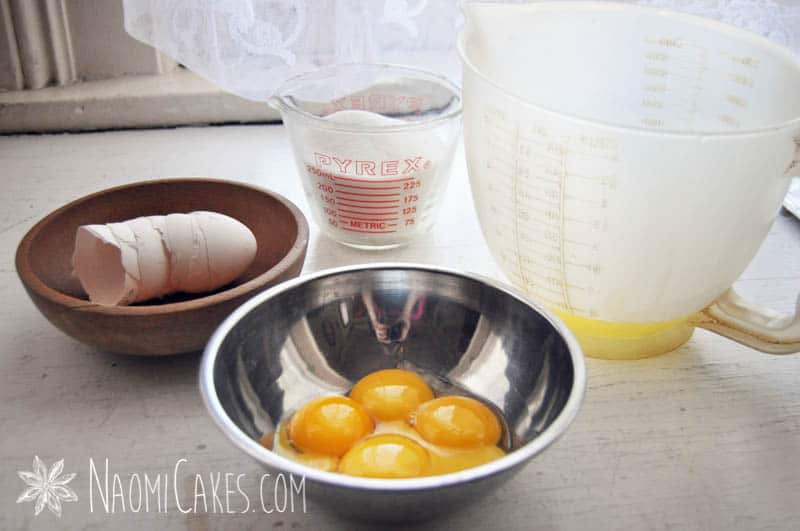
What to do with leftover egg yolks
Since this dessert is made with lots of egg whites, you might wonder what to do with the extra yolks. Thankfully, there are lots of ways to do that to ensure that they won’t go to waste! Egg yolks are very high in fat content, so they make whatever they go into a little bit richer and more creamy.
You can add extra egg yolks to any of the following recipes:
- Lemon curd (often calls just just egg yolks)
- Miniature Lemon Meringue Pies (in the lemon curd portion)
- Easy French Bread (in the dough, or beat it with some cold water to make an egg wash for the tops)
- Easy Cinnamon Rolls with Vanilla Glaze (in the dough)
- French toast (in the batter)
- Bread pudding (with the milk mixture)
- Pancakes (in the batter)
- Homemade custard/pudding (as in this post)
Can Pavlova be made in advance?
Unfortunately not. You can, however, do a few things to make the process faster. The meringue can be made a day ahead of time and stored in a cool dry place, and the custard can be made the day before as well. Just make sure to assemble it within a few hours of serving it, as the dessert will age quickly and begin to break down and soften.
I have found that leftovers still taste delicious (maybe even better, if I’m honest!) up to 2 days after your event, so that’s great news! The appearance, however, is definitely reduced by that time. So, just make sure that you do the assembly on the day you want to serve it.
Some personal notes on this recipe
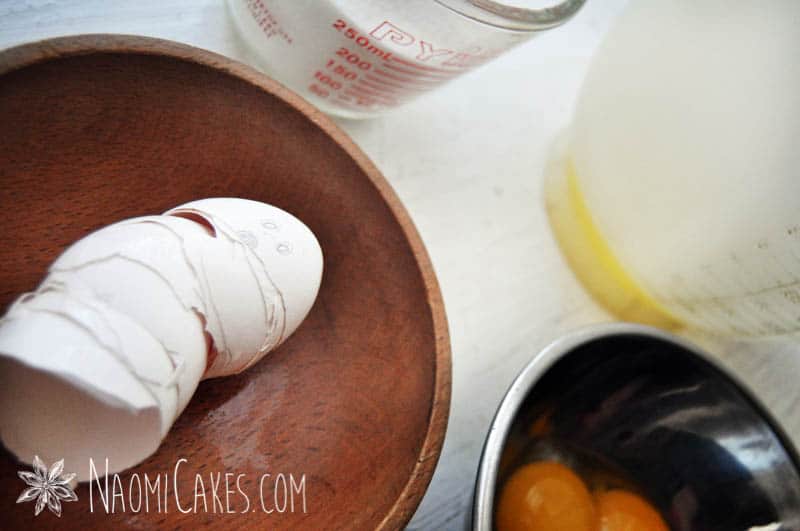
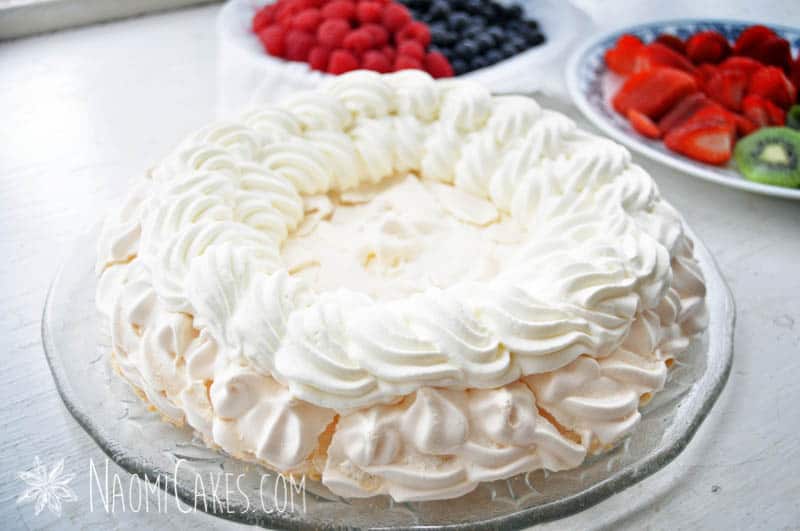
You may notice that the pictures on this post look like they came from two separate occasions; and if so, you’re completely correct! The white background images are from the first time I made Pavlova, years ago. A lot of those images are still perfectly helpful to this tutorial, so I decided to keep them. I also learned some good lessons from my mistakes that time, so I wanted to keep those images as well, in case they would be helpful.
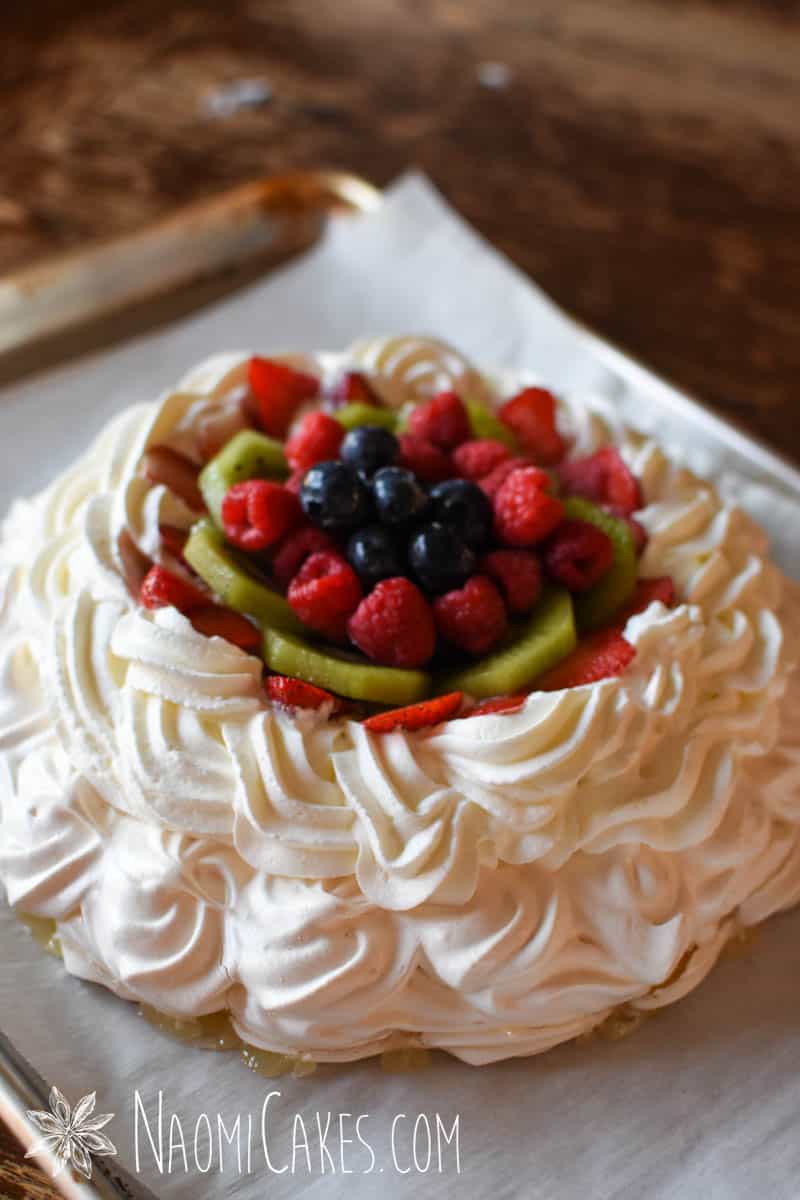
So, rather than take a lot of the same pictures again this time, I decided just to take what was necessary to show you what I didn’t manage to photograph last time (ie, the custard portion of the recipe, and an un-cracked meringue shell).
You will need:
- Ingredients (see recipe card)
- Cookie sheet
- Parchment paper
- Pencil
- 9″ cake pan
- Large star piping tip (such as #846)
- 18″ piping bags
- Small heavy bottomed saucepan
- Measuring cups and spoons
- Whisk
- Heat proof spatula
- Paring knife
- Cake decorating palette knife (optional)
- 12″ serving plate or cake stand
Creamy Custard Pavlova
This light as a cloud dessert is perfect for any occasion, and oh so delicious!
Ingredients
Meringue Shell
- 5 large egg whites
- 1-1/4 cup sugar
- 1 pinch salt
Custard Filling
- 1/2 Tbsp butter
- 1/2 Tbsp cornstarch
- 1 Tbsp sugar
- 1 pinch salt
- 1/2 cup milk
- 1 large egg yolk or 1/2 a beaten egg
- 1/4 tsp vanilla
Cream/Fruit Topping
- 1-1/2 cup whipping cream
- 2 green kiwis peeled and sliced
- 4-5 strawberries washed and sliced
- 1/4 cup raspberries washed
- 1/3 cup blueberries washed
Instructions
For the Meringue
-
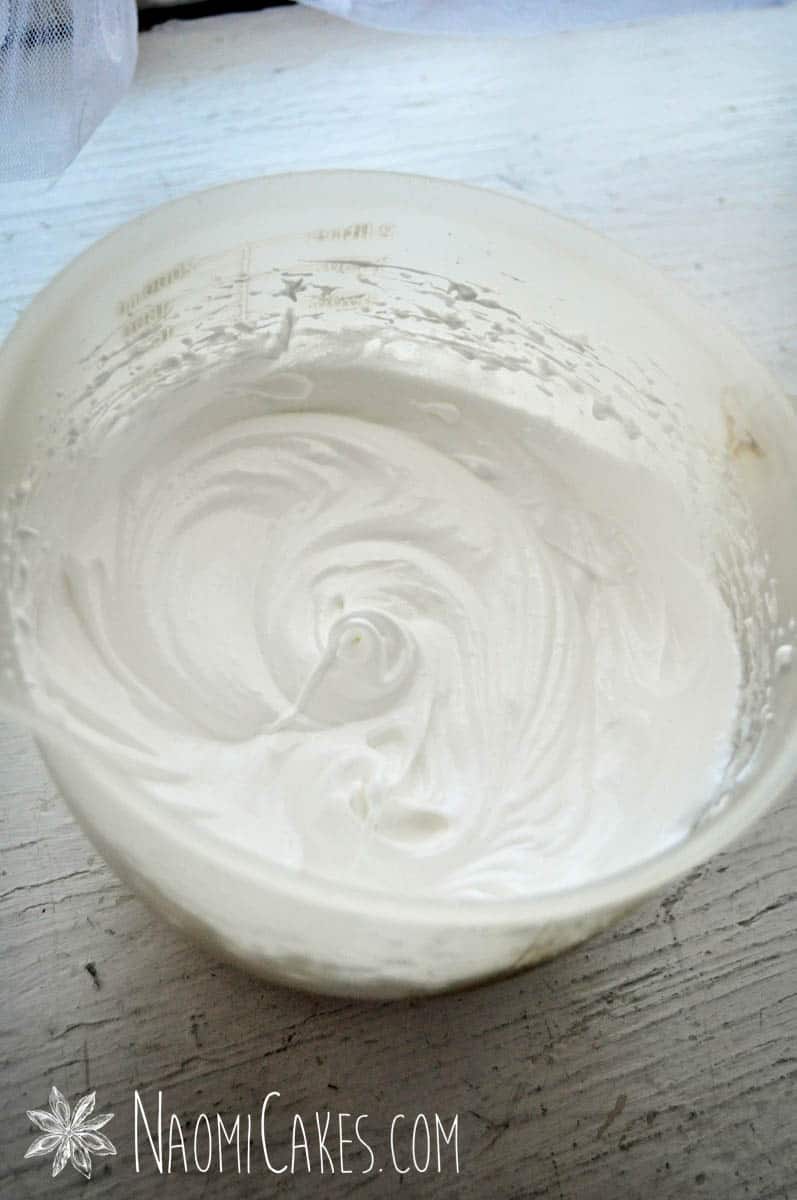
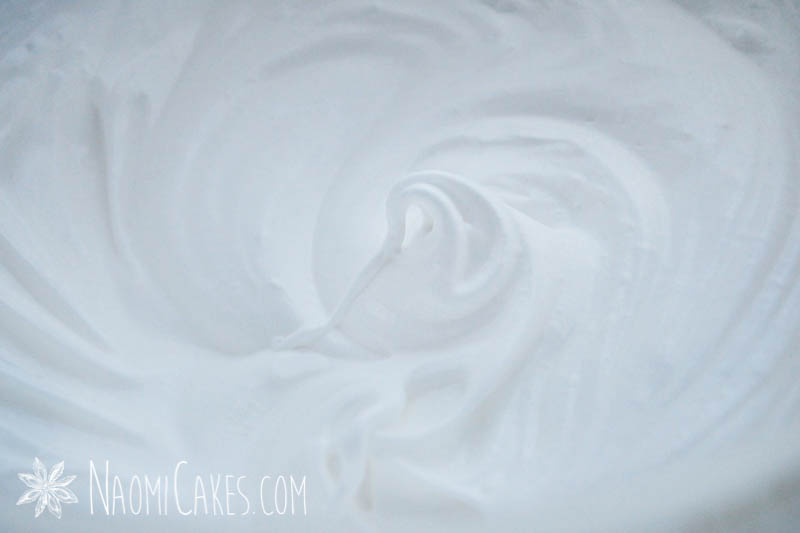
In a large mixing bowl or the bowl of an electric mixer, beat the egg whites until foamy. Add the pinch of salt and then the sugar slowly, 1/4 cup at a time, until the mixture is shiny and quite stiff.
Note: It's ok if it doesn't quite form perfectly stiff peaks, but it should be close to that point. See picture for reference.
-
Trace the bottom of a 9" round cake pan onto a piece of parchment paper with pencil and turn the paper over onto a cookie sheet (pencil side down) so that you can see the outline of the circle.
-
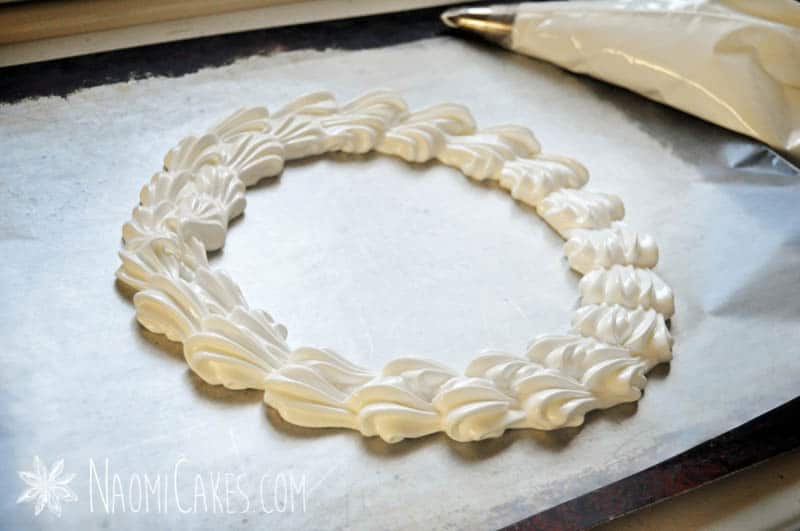
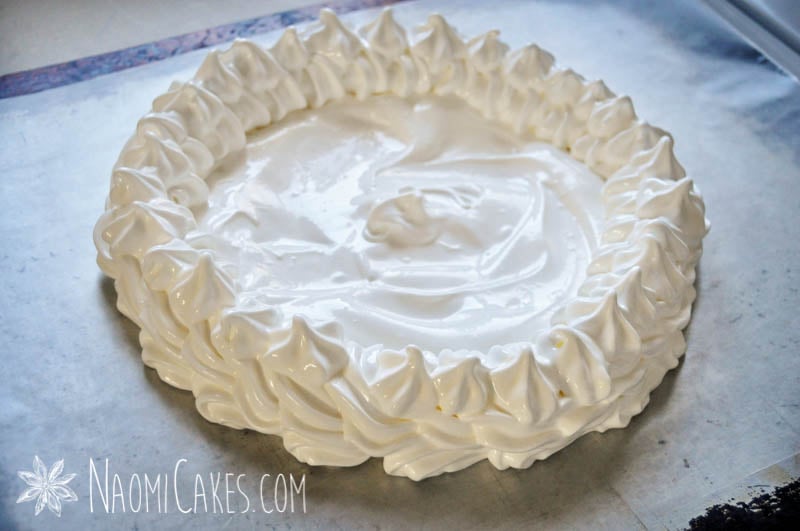
Spoon the meringue into a large, 18" piping bag fitted with a large star tip (such as tip #846). Pipe 2 rows of shells around the outside of the circle, and then use a palette knife or the back of a spoon to fill the middle of the circle with more meringue. Pipe two more rows of shells on top of the first ones, and then a finishing layer of meringue rosettes on top of that.
Note: Clean the piping tip to be ready for the cream later on.
-
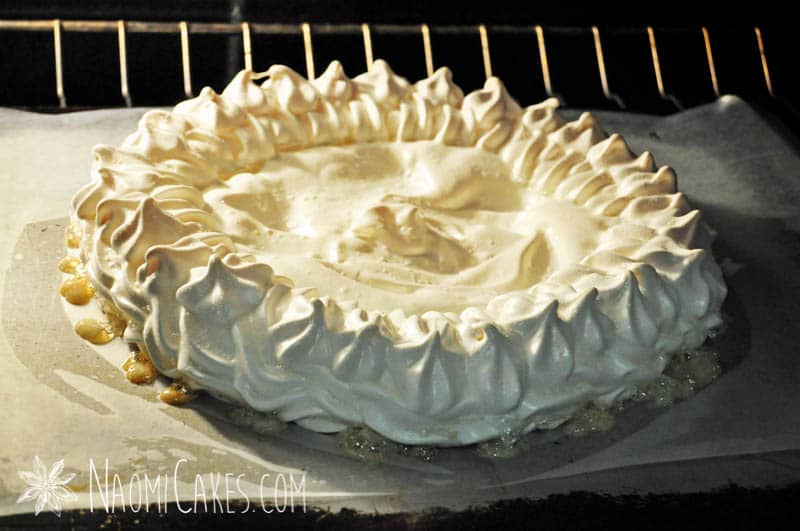
Bake the meringue in a 225 degree F oven for 1 hour or until dry and just barely golden. Turn the heat off, and allow the meringue to rest in the warm oven for 2 hours with the door closed.
For the Custard
-
While the meringue is baking, melt the butter in a small saucepan. Remove from heat, and add the sugar, cornstarch, and salt. Whisk briefly, and then add a little bit of the milk slowly until the mixture forms a smooth paste. Add the remaining milk, whisking until smooth. Beat the egg yolk thoroughly, and whisk it into the milk mixture.
-
Cook over low-medium heat, whisking constantly to prevent burning. Cook until the mixture is thickened. Remove from the heat, whisk in the vanilla, and poor into a glass bowl. Set a piece of plastic wrap directly on top of the custard to prevent it from forming a "skin" while it cools, and refrigerate until cold.
-
Optional: To make your custard silky smooth, make sure you use cornstarch instead of flour to thicken it, and press it through a sieve before you cover and refrigerate it.
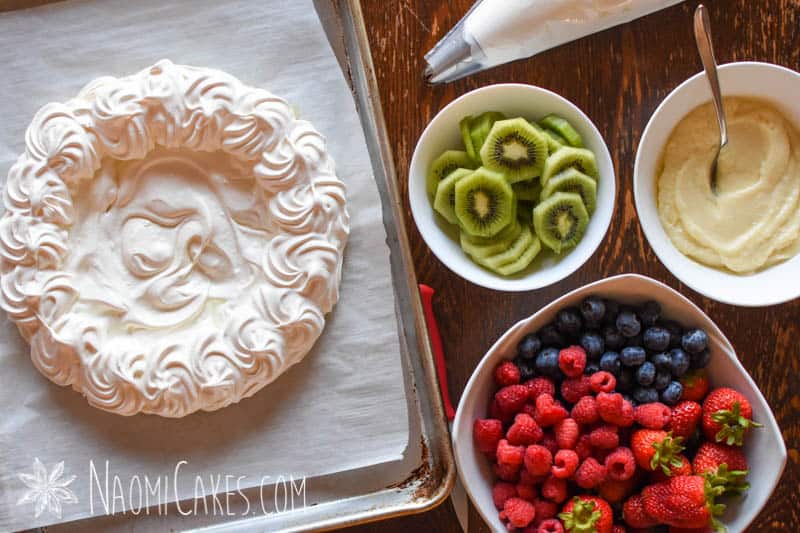
Assembling the Pavlova (Assemble directly before serving)
-
Once the meringue is baked and the custard has cooled, wash and slice all of the fruit as desired. Carefully loosen the meringue from the parchment paper and slide it onto a serving plate.
-
In a medium sized mixing bowl or the bowl of an electric mixer, beat the whipping cream until stiff peaks form. Spoon the cream into a large, 18" piping bag fitted with the same (cleaned) star tip you used to pipe the meringue. Set aside.
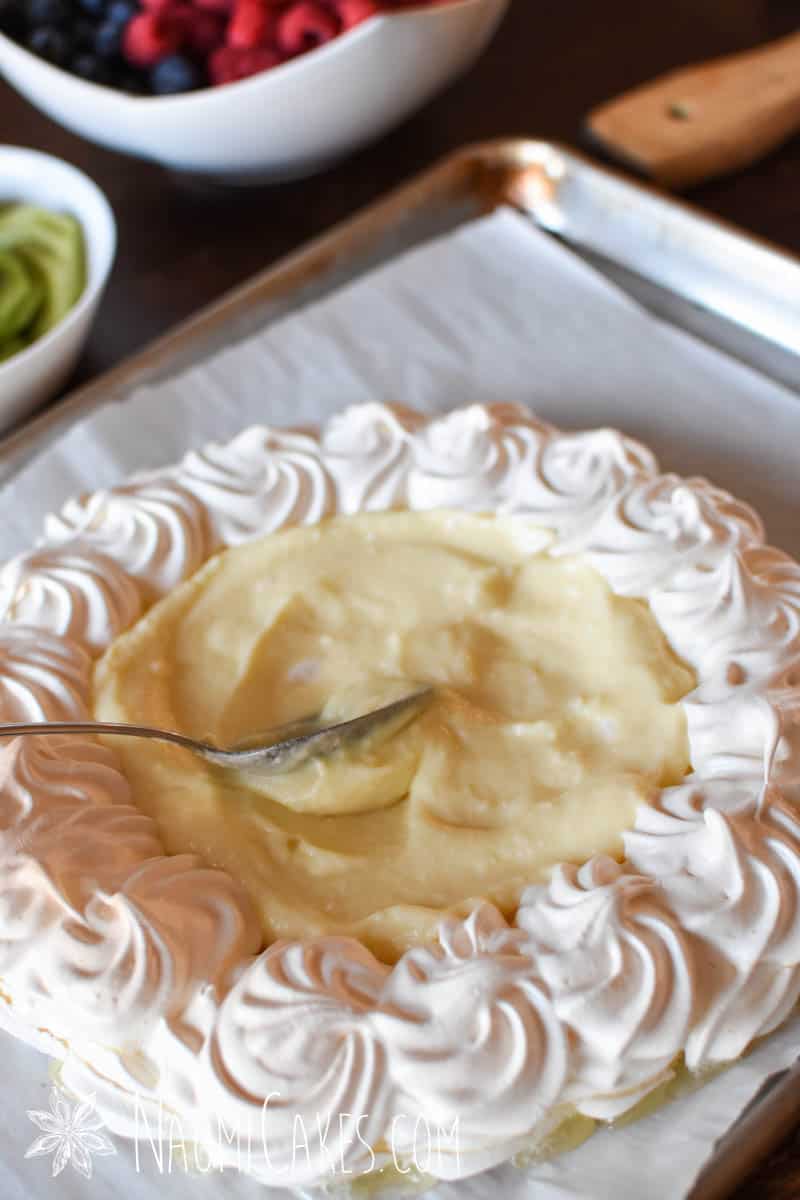
-
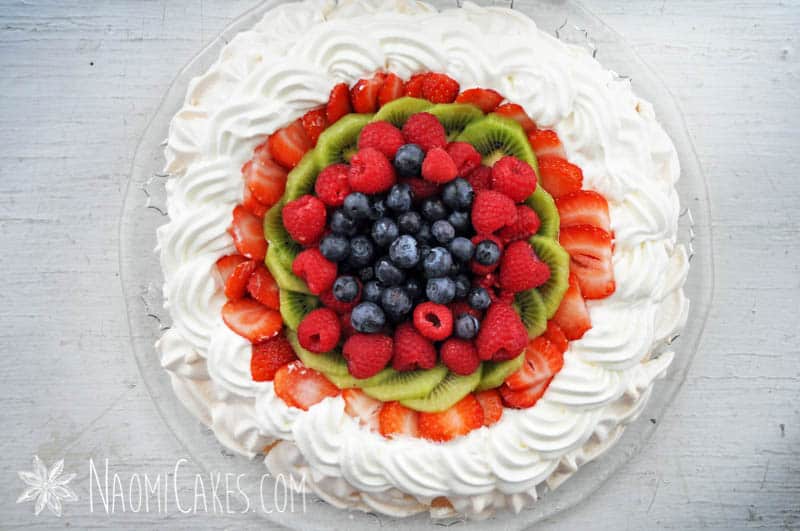
Scrape the cooled custard into the centre of the baked meringue shell. Spread the custard evenly, and then pipe 2 rows of cream in a circular motion all the way around the perimeter of the pavlova. Spread any remaining cream into the centre.
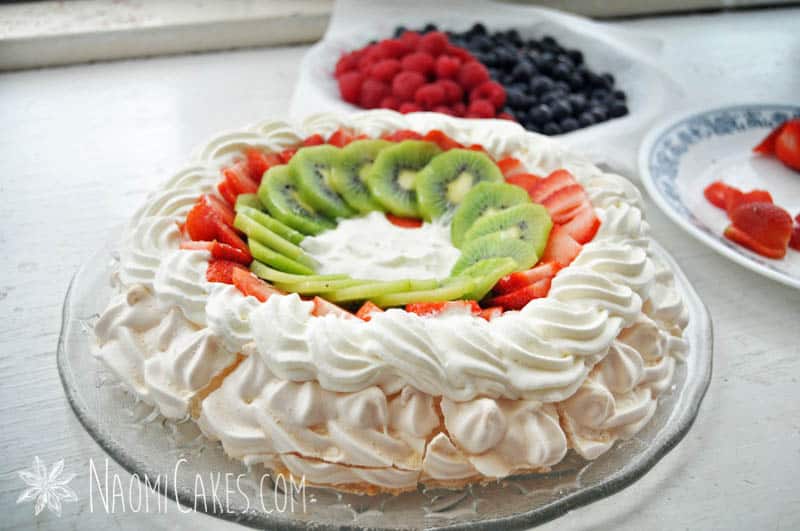
-
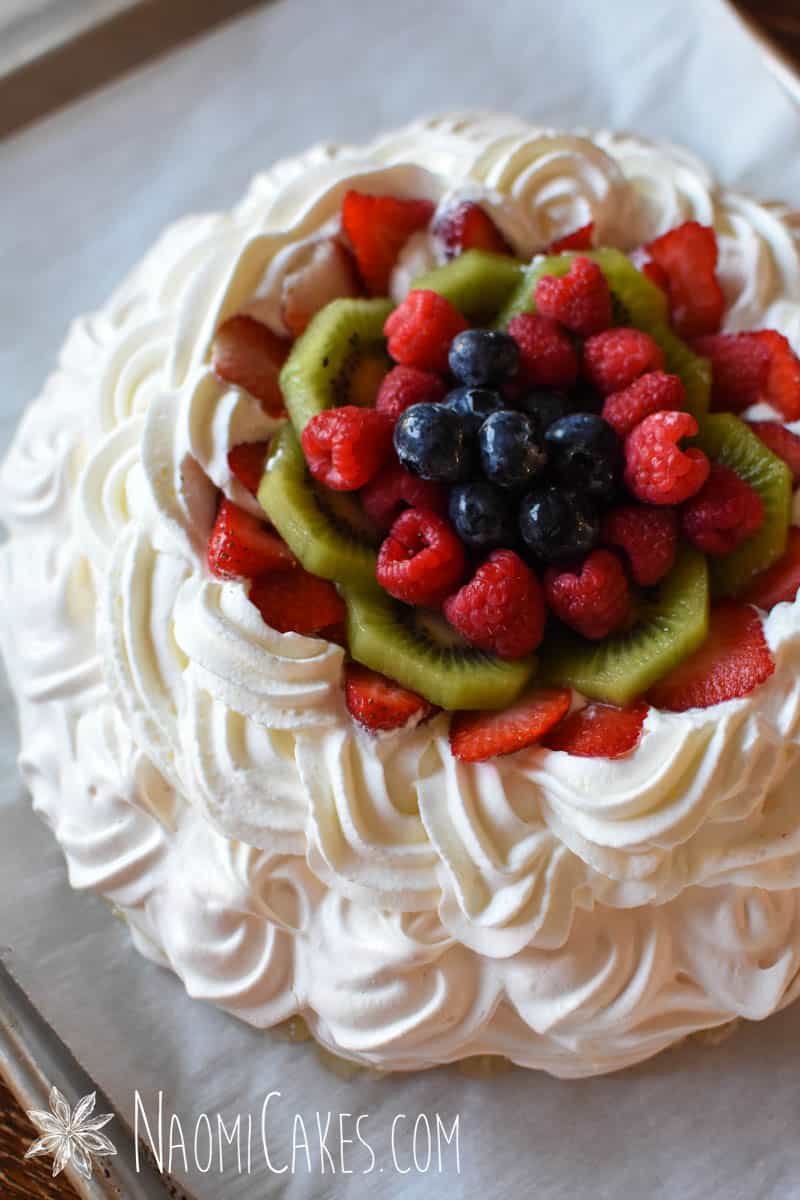
Decorate with layers of fruit (I did strawberries, then kiwis, raspberries, and blueberries). Refrigerate until serving. Serve within 2-3 hours of assembly.
Note: The images below were taken on two separate occasions. The cracked meringue was made on wax paper instead of parchment; a redeemable (but also avoidable) mistake!


Some other great dessert recipes:
As always, thanks for stopping in, and I hope this recipe serves you well! If you enjoy this recipe, or want to show of your great work, you can tag me in your photos on Instagram @naomicakesofficial, or go ahead and drop a comment below. I love to hear from you!
One final question before I go… If you had to change up this recipe in one way, what would you do? Let me know in the comments!
Thanks for being here, and I’ll be back soon!
–Naomi
This post contains affiliate links.
Very well done, it looks like this cake jumped from a cooking/baking magazine!
Thank you! That is a fabulous compliment. 🙂
Wow this looks absolutely amazing! You are very talented! I can't wait to try it 🙂
Wayyyy off in everything minus the berries because I just decided to change recipes after all my attempts
Hey Martha, Thanks for taking the time to comment! I’m so sorry to hear this recipe didn’t work out for you. All the best in the future!