
Freezing Apples for Baking and Cooking [Tutorial]
Perhaps you have asked the question, as I have: Can you freeze apples for baking and cooking? Well, the short answer, I am happy to report, is yes!
Why freeze apples?
When apple season comes rolling in, I often find myself inspired to make all the things. I want to make pies, cakes, muffins, crisps etc… yet, I can’t eat all of that all at once, and apples don’t last forever! Freezing peeled, chopped apple pieces is an easy way to save time in a pinch AND to make sure those apples don’t go bad before you get a chance to use them.
Freezing apples vs. canning for preservation
If you are the person who knows what you want to make (such as applesauce or pie filling), then canning your apples is probably the better way to go. However, if you (like me), want to keep your options open, freezing apple chunks is a great way to ensure that you can make a wider variety of cooked and baked treats.
I love using frozen apple chunks to make any of the following:
- Cakes
- Pies
- Muffins
- Quick breads
- Scones
- Apple butter
- Turnovers
- Strudels
- Pie filling
- Apple sauce
…and the list goes on and on!
Frozen vs. Fresh: The one catch
Often, recipes for apples count on the juice from the fruit mixing with the dough a bit, making it a little more moist. Frozen apple chunks keep all the moisture inside, in which case the recipes wouldn’t work the same way.
For example, I have a coffee cake recipe that is quite dry, and the juice from the apples is what makes the mixture into a batter that bakes into the finished cake. I also rely on the juice from the apples to blend with flour and sugar in homemade (uncooked) apple pie fillings, since it causes all of the ingredients to stick together and blend better.
In cases such as these, you may need to thaw the apples before you make your recipe.
How to use frozen apple pieces
So, here’s the deal: Like other fruit, you can freeze apples for baking, but you would need to thaw them out before mixing them into a recipe that requires the juice to mix with the other ingredients, like a pie with a raw apple filling (instead of a pre-cooked pie filling).
I have tried making both a coffee cake recipe and a pie with apples that needed to thaw first, and both worked perfectly. However, without thawing the apples (I know from other experiences), it would not have worked out so well.
The thawing process is needed for this: to make sure that you don’t get globs of unmixed flour throughout your baking.
For recipes that don’t need the juice, like scone batter, cookie dough, muffin batter, or basic quick breads – You can just add the frozen apple pieces to your recipe, and they should work perfectly well.
Using frozen apples for cooking
Frozen apples can certainly be used for cooking as well as baking. Since the apples thaw quickly on the stovetop, there is no need to thaw the apples before cooking with them. You may, however, want to add a little bit of water to your pot (if you don’t have other liquid in there), since it will take the apples longer to release their juices. You don’t want the pieces to burn as they begin that process!
What you will need to freeze apples:
Or, to make your lift a little easier, get one of these apple peeler/corer machines.
Printable Tutorial:

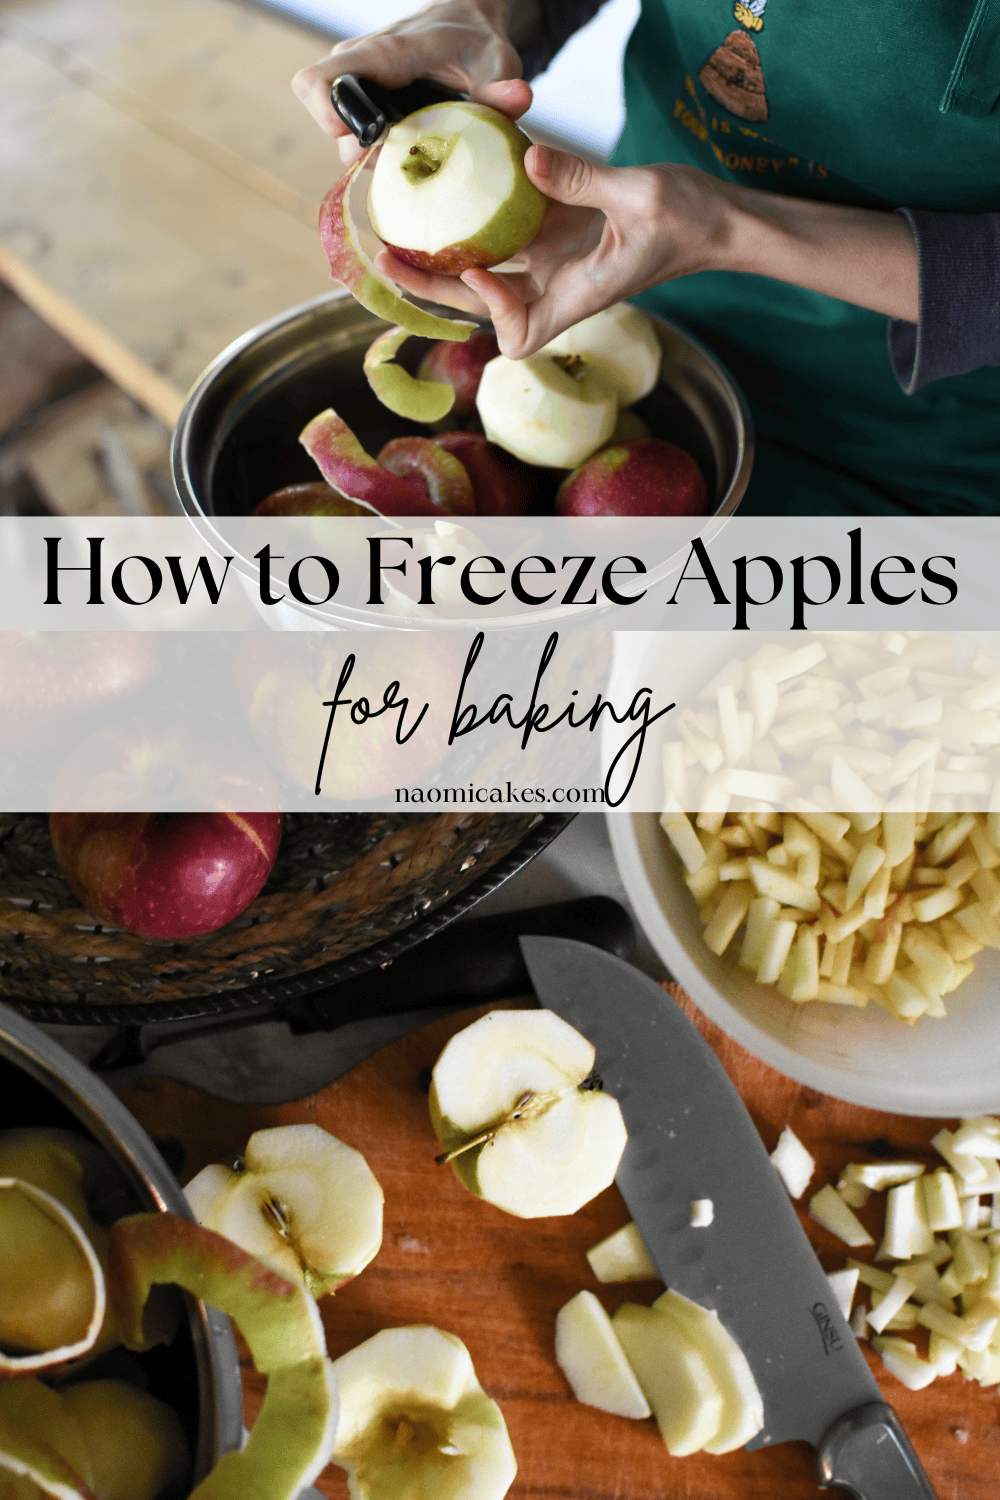
How to Freeze Apples
A simple tutorial on how to freeze apples (or other fruit!) for cooking and baking.
Ingredients
- 1 apple peeler
- 1 A good quality paring knife
- 1-2 Cookie sheets
- Plastic wrap or parchment paper
- Ziploc bags
Instructions
-
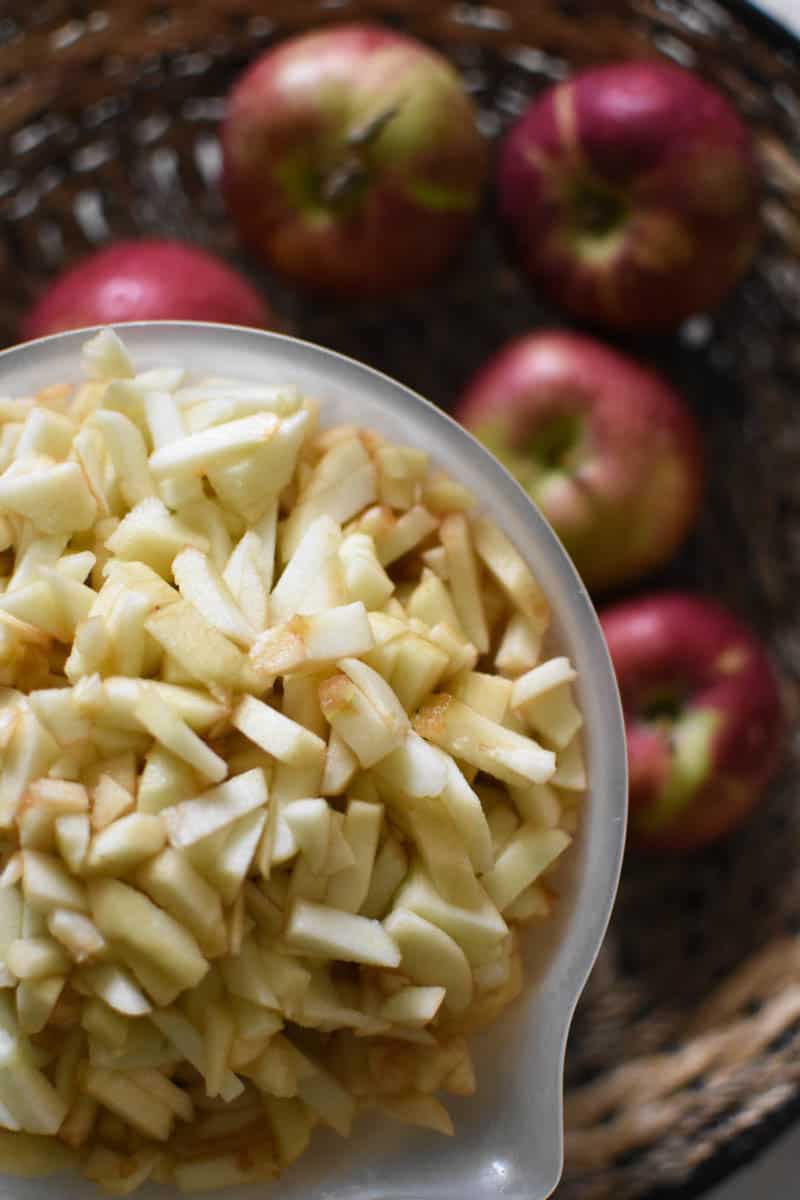
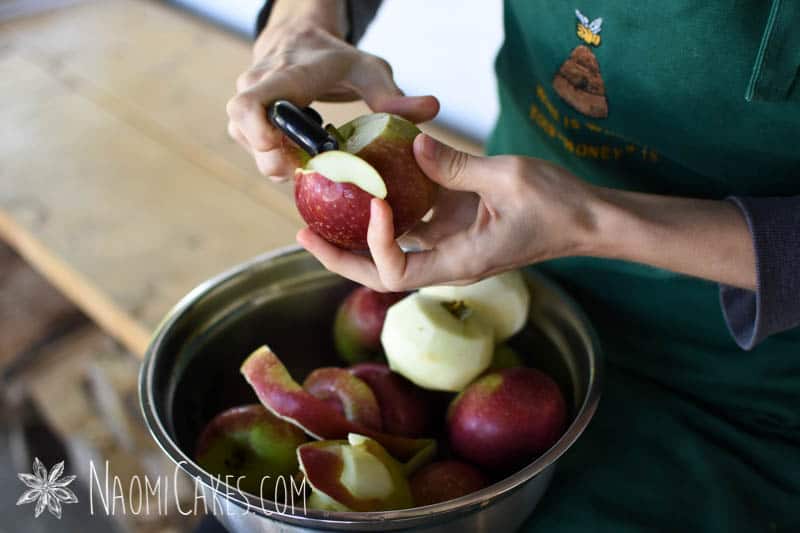
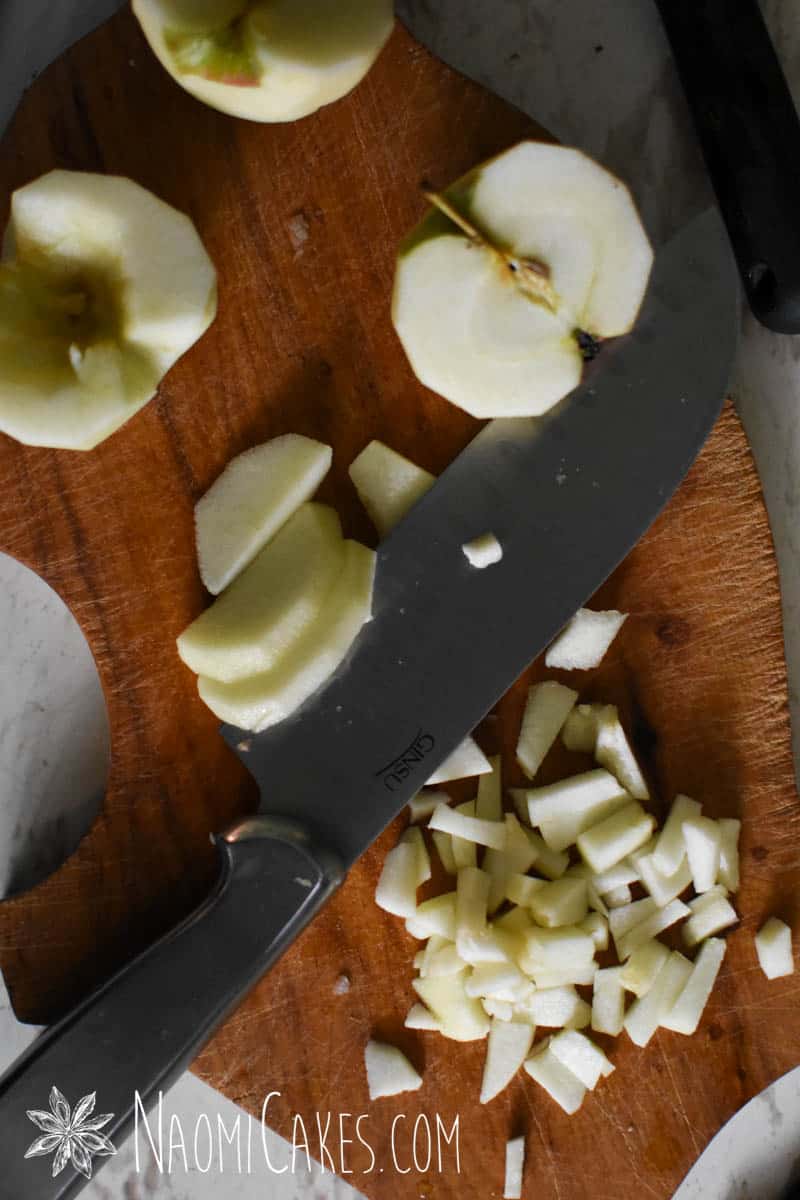
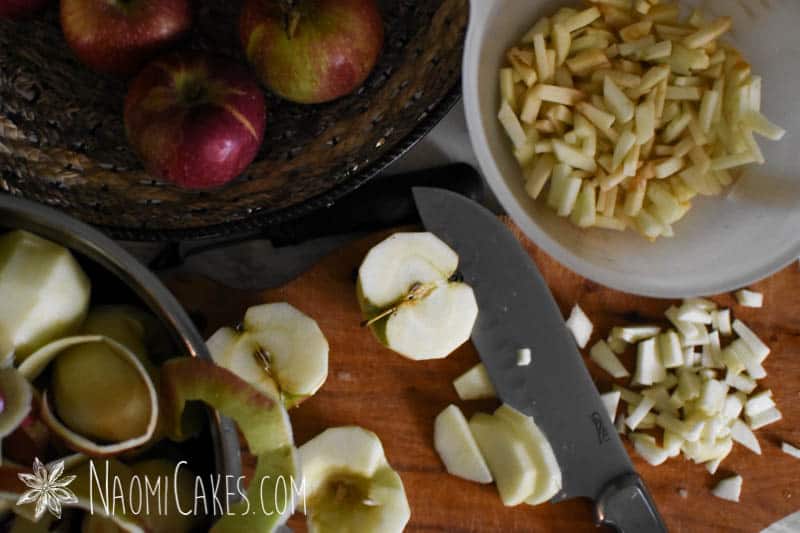
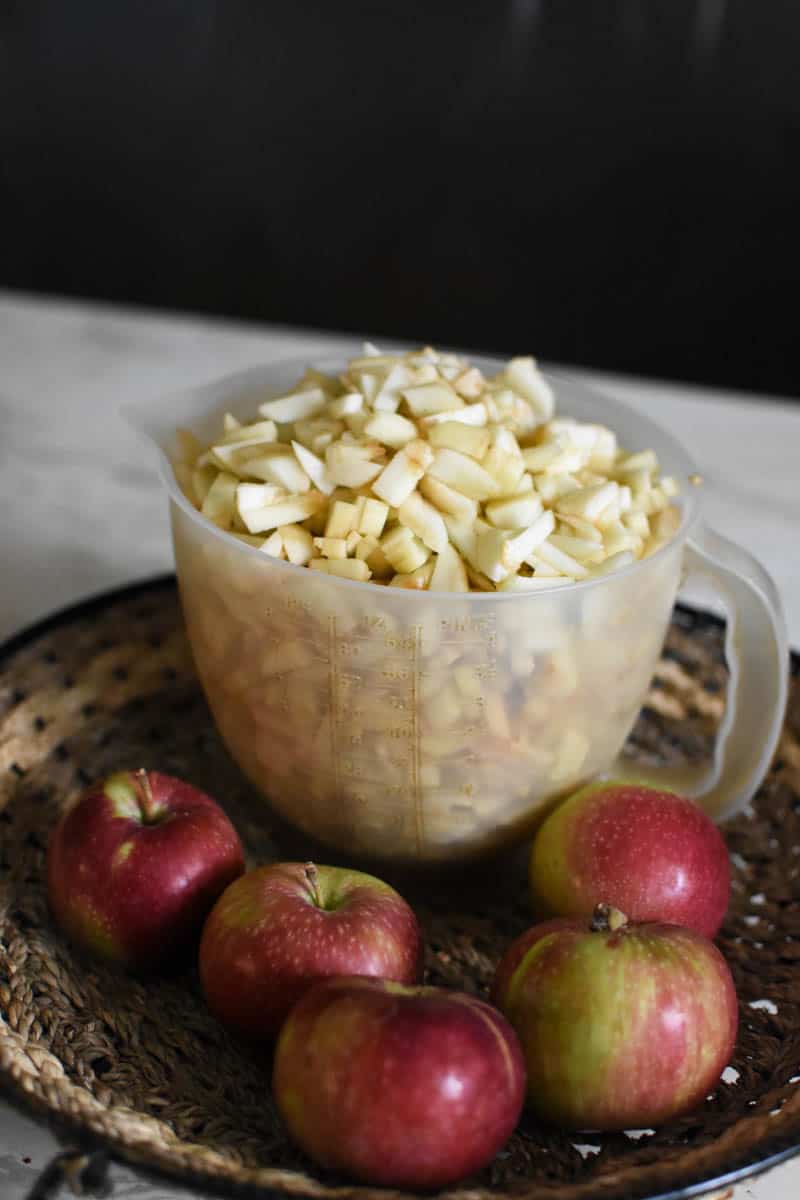
Wash, peel, and chop the apples
-
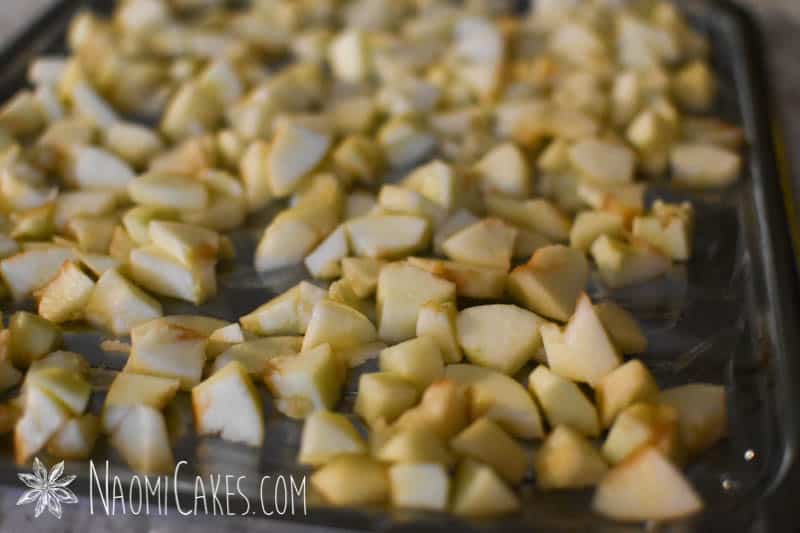
Lay them out onto a baking sheet lined with parchment paper or plastic wrap, keeping them separated from each other as much as possible so that they don't stick together.
-
Freeze until solid, about 2 hours.
-
Pour into labeled ziploc bags, and return to the freezer until use.
-
Use as directed in your recipe. For some recipes, it may be necessary to thaw the apples before baking so that the juices can mix with dry ingredients to moisten them.
How to Freeze Apples for Baking and Cooking
1 – Wash, peel, and chop the apples
2 – Lay them out onto baking sheets
3 – Freeze until solid & use them how you like!


That’s all there is to it! I hope this tutorial serves you well. Let me know how you plan to use your frozen apple pieces in the comments – or tag me in your photos to show of your great work on Instagram @naomicakesofficial!
Enjoy!
–Naomi
This post contains affiliate links.
I want to know how to use the frozen apples in a cobbler
Hi Cindy! You can use frozen apple chunks in a cobbler just as you would use fresh apples! My experience making cobblers is usually to make them with the fruit portion on the bottom and a crumble on top- as in this recipe, here: https://naomicakes.com/easy-peach-cobbler-recipe/
If your recipe calls for mixing dry ingredients (like flour and sugar) in with the apples, you may want to let them thaw first so that you can really mix the dry mixture and apples together well (otherwise you might find that your cobbler bakes with uneven distribution of flour/sugar/apples).
If you’re making a cobbler with a batter, you can just make your batter and stir in the frozen apples. Then bake as your recipe directs, with a little extra baking time added to make up for the thawing time in the oven.
I hope this helps! All the best, and thanks for your comment!
–Naomi