
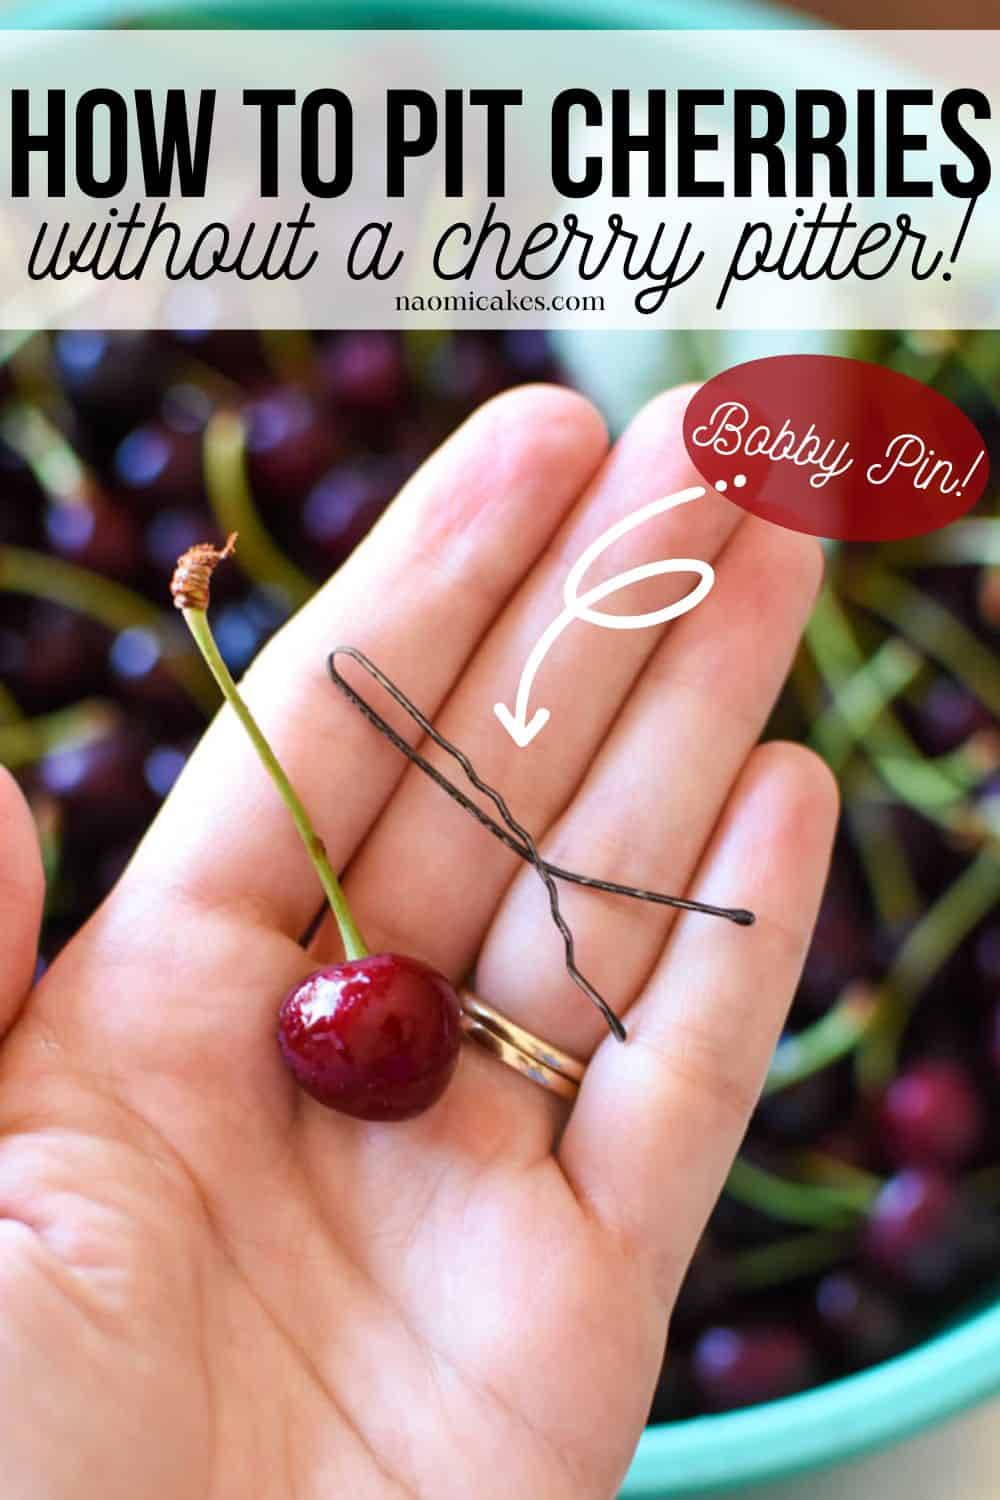
How to Pit Cherries Without a Cherry Pitter [Tutorial]
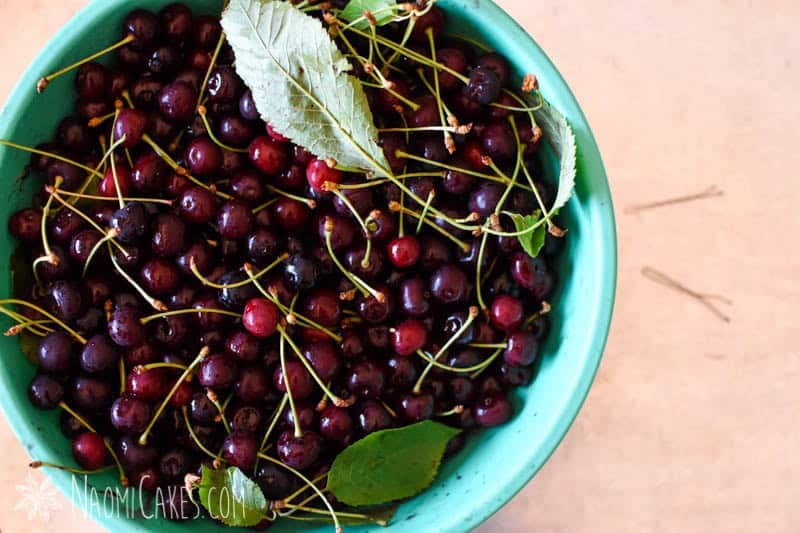
Cherry season is here, and it’s time for harvesting, pitting, and storing them. Also, I’ve got good news for you: if you’ve never done this before, today you’re going to learn how to pit cherries without a cherry pitter— at home, with something you likely already have on hand!
I’m already dreaming about all the delicious cherry things, but before we can get to eating them, we’ve gotta figure out how to prep those cherries for storage. First, we have to remove the pits.
How to make your own cherry pitter
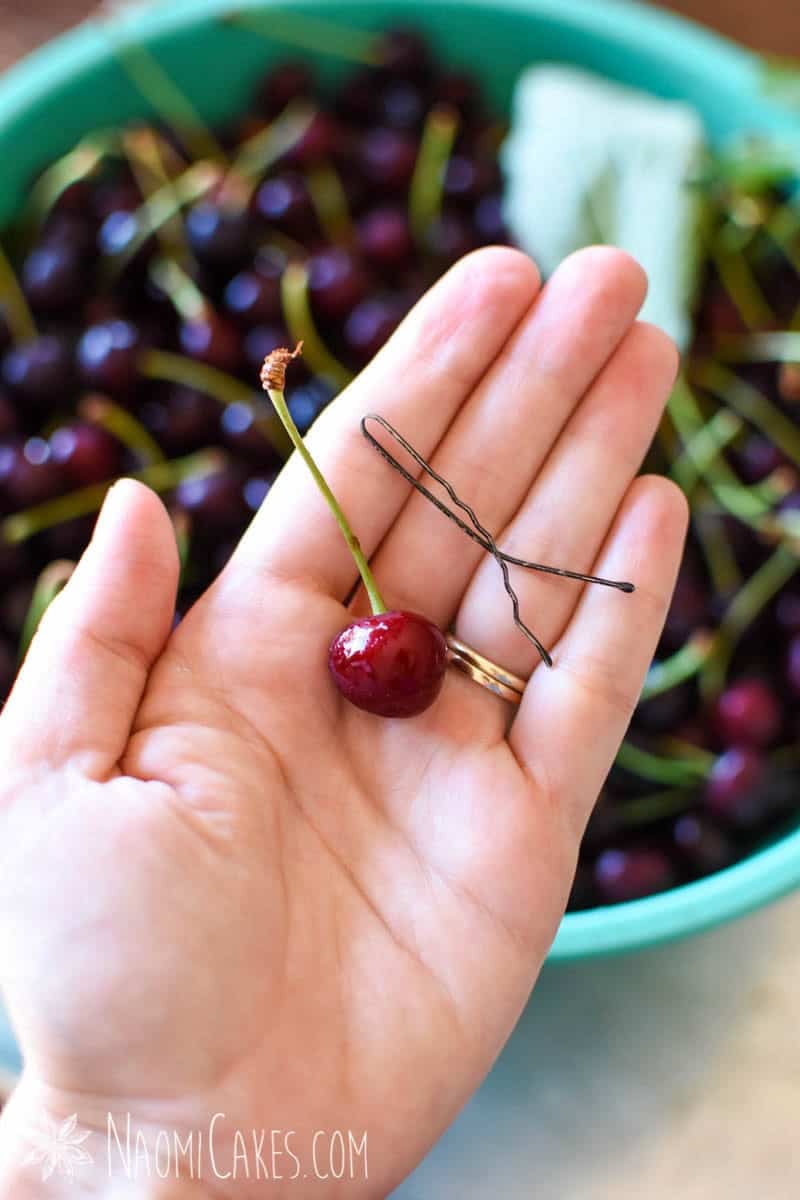
You can make your own cherry pitter with one simple tool: a clean (ideally new) bobby pin! I’ve taken some pictures and included them further on in this post to show you, step-by-step, exactly what this looks like.
I recommend pitting cherries with a friend, or at least while watching a movie. Although it is easy, this task can be a tediously long process (especially when you have a large cherry harvest). To make it more fun, doing it with a friend or family member is my favorite way to go.
The best cherries for pitting
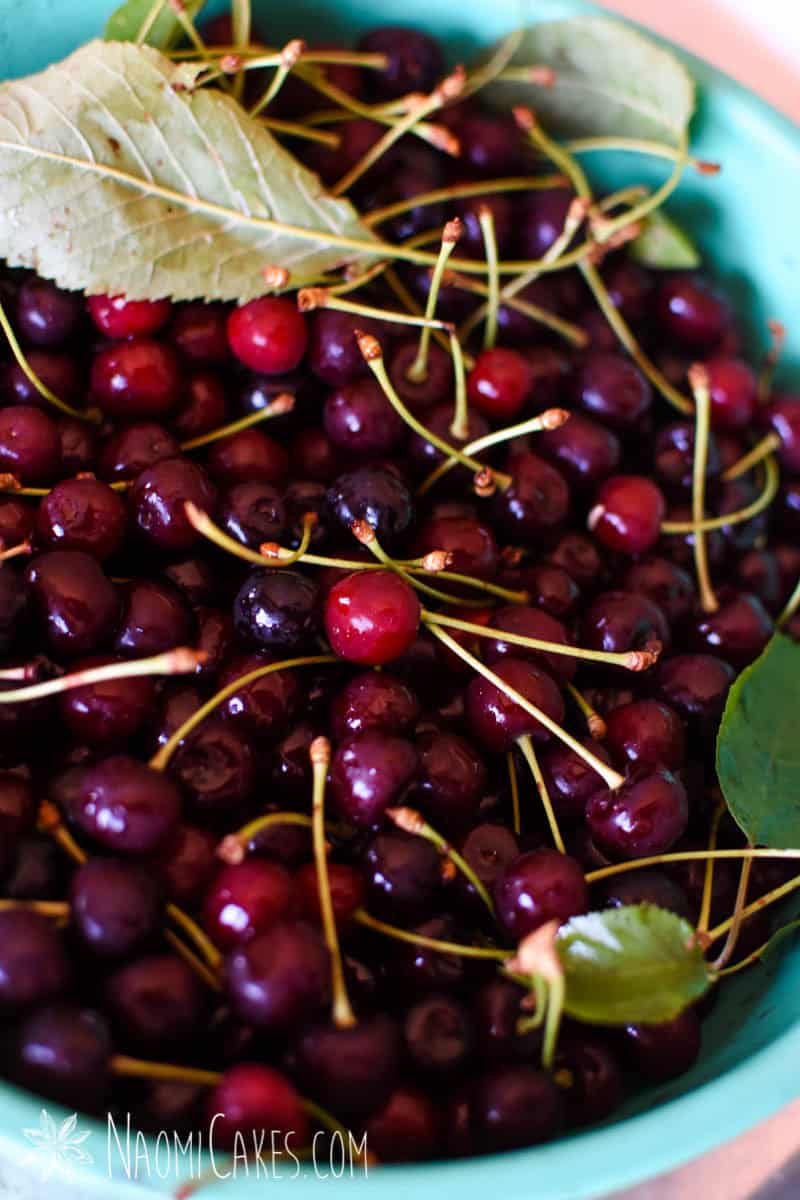
In my experience, sour cherries are the best for pitting for two reasons:
- If you’re pitting cherries, my guess is that you’re using them for cooking or baking. Sour cherries are the way to go for maximum tartness, flavor, and color!
- Sour cherries are smaller, and often juicer (less meaty). This makes them easier to slip the pitter inside and remove the cherry stones.
If you’re using this method with larger sweet cherries, you may find that using this method can be a little bit more challenging, as they are typically more firm (meaty), and require a little extra effort to extract the pits. It does still work, however, so feel free to use this method with whatever type of cherries you have on hand.
What to do with pitted cherries
Use pitted cherries to make cherry pie filling, cherry turnovers, cherry danishes, Black Forest cake, cherry cheesecake, or anything else your cherry-loving mind can dream up.
Preserving cherries to pit later
If you don’t have time to pit the cherries now, you can always can them for later use. The best way to do this is to wash the cherries thoroughly, and then cook them in a little bit of water (you won’t need much – maybe about 1 cup of water for every 6 cups of cherries) until boiling, and then use my basic canning method to preserve them in glass mason jars.
My only caution about doing this is that if your cherries happen to have any little critters inside of them, you won’t find them the same way you can when you remove the pits – and you’ll end up preserving some little friends at the same time as the cherries themselves.
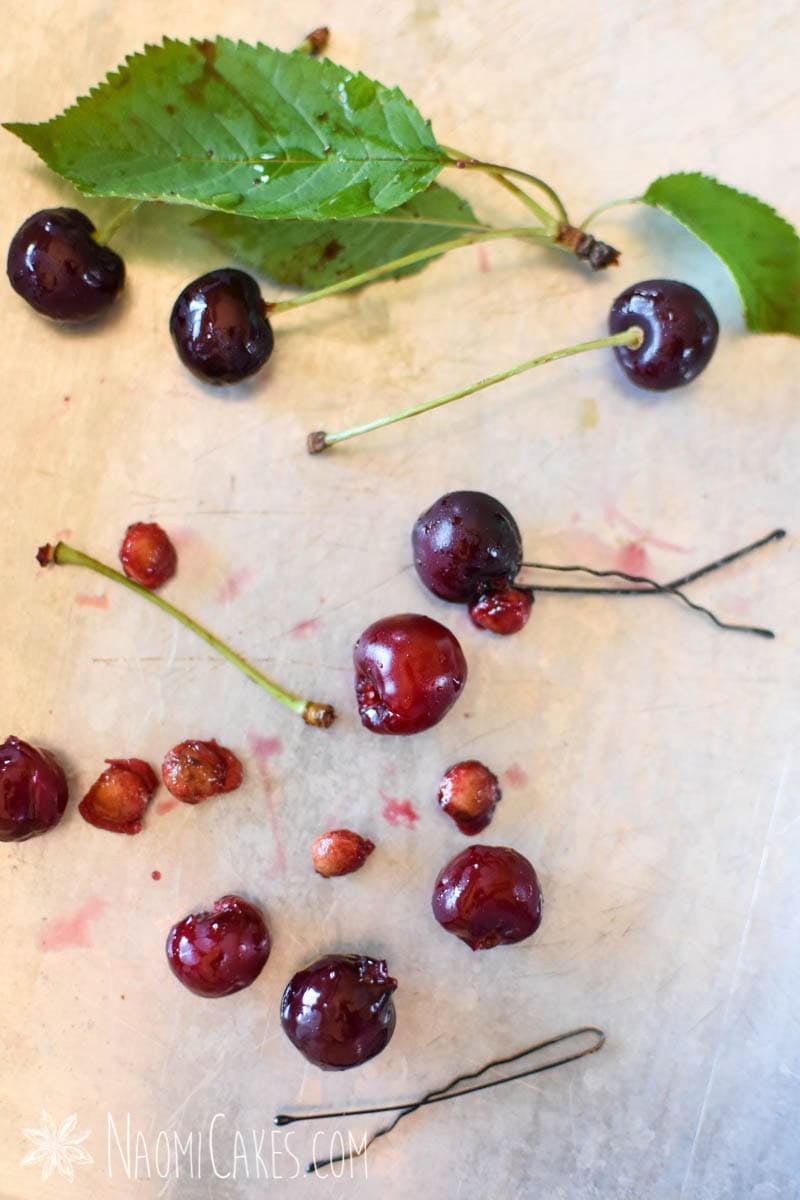
What to do with cherry pits
Cherry stones have a hard outer layer and then a soft kernel (seed) on the inside, much like a peach or apricot pit. You can crack the outer layer off of the seed with pliers (gently, so as not to damage the soft interior) wrap the cherry kernel inside of a wet paper towel, and leave it in a plastic bag in a sunny spot for 14-20 days, or until the kernel sprouts. From there, you can plant your cherry seed to (eventually) get your very own cherry tree!
If you don’t have interest in planting, I confess: I have no other uses for cherry pits. In this case, you can compost or discard them. (Unless you know of another way to use them – in which case, I’d love to know! Leave me a note in the comments if you do.)
How to Pit Cherries Without a Cherry Pitter
Here’s my easy, step-by-step tutorial for how to pit cherries without a cherry pitter! All you need are cherries and a bobby pin, and then whatever containers you plan to use to preserve the cherries for later.
You will need:
- Cherries
- A new bobby pin
- Preservation tools (canning tools, mason jars, freezer bags, or another type of freezer safe container)
How to Pit Cherries Without a Cherry Pitter
An easy way to pit cherries at home – with nothing but a bobby pin!
Ingredients
- 1 new bobby pin
Instructions
Stretch open a new bobby pin
-
Open your bobby pin until it makes a wide “V” (to widen the tip a little bit).
Fold the pin backwards
-
Fold the bobby pin backwards so that you get sort of a ribbon shape, with a loop on one end and two tails on the other.
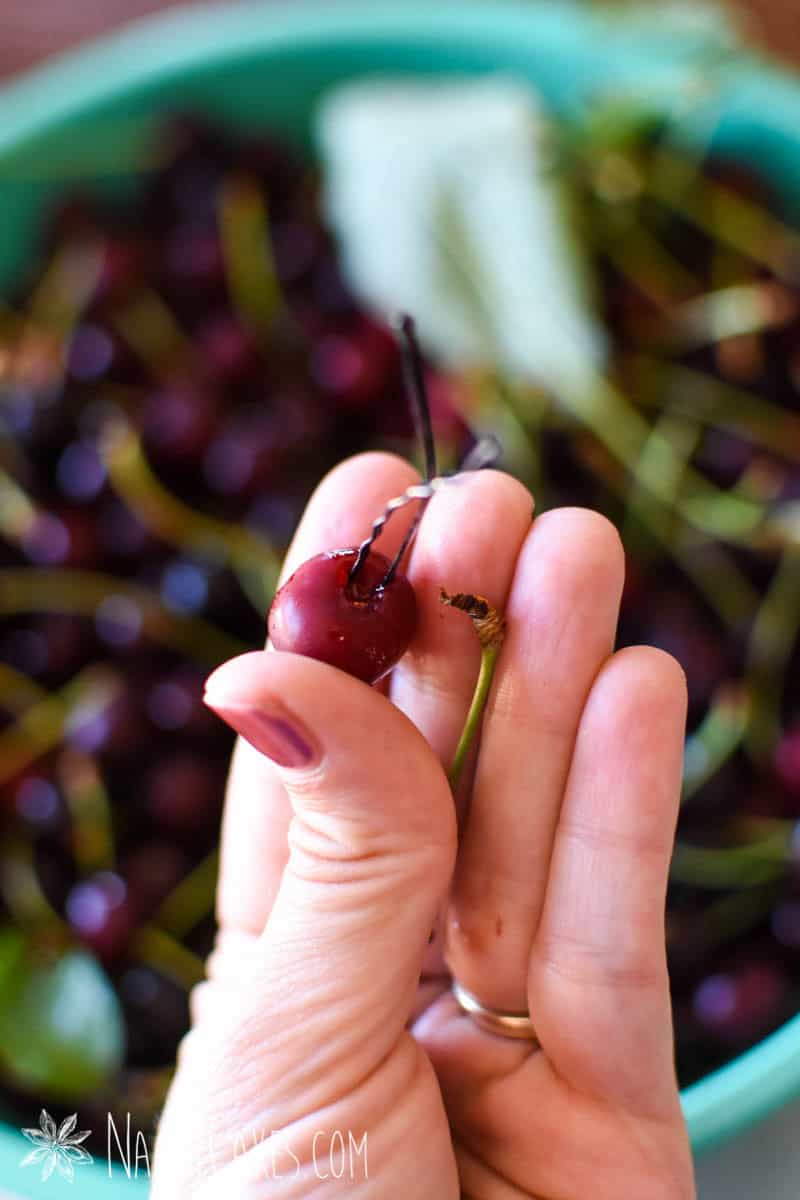
Insert the pin into the stem opening
-
Hold your homemade cherry pitter on the tails of the bobby pin (they should provide you a little extra grip), and insert the looped end of the pin into the part of the cherry where the stem used to be.
Hook the pitter around the cherry stone
-
Use the looped end of the bobby pin to hook around the cherry pit.
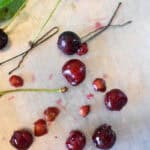
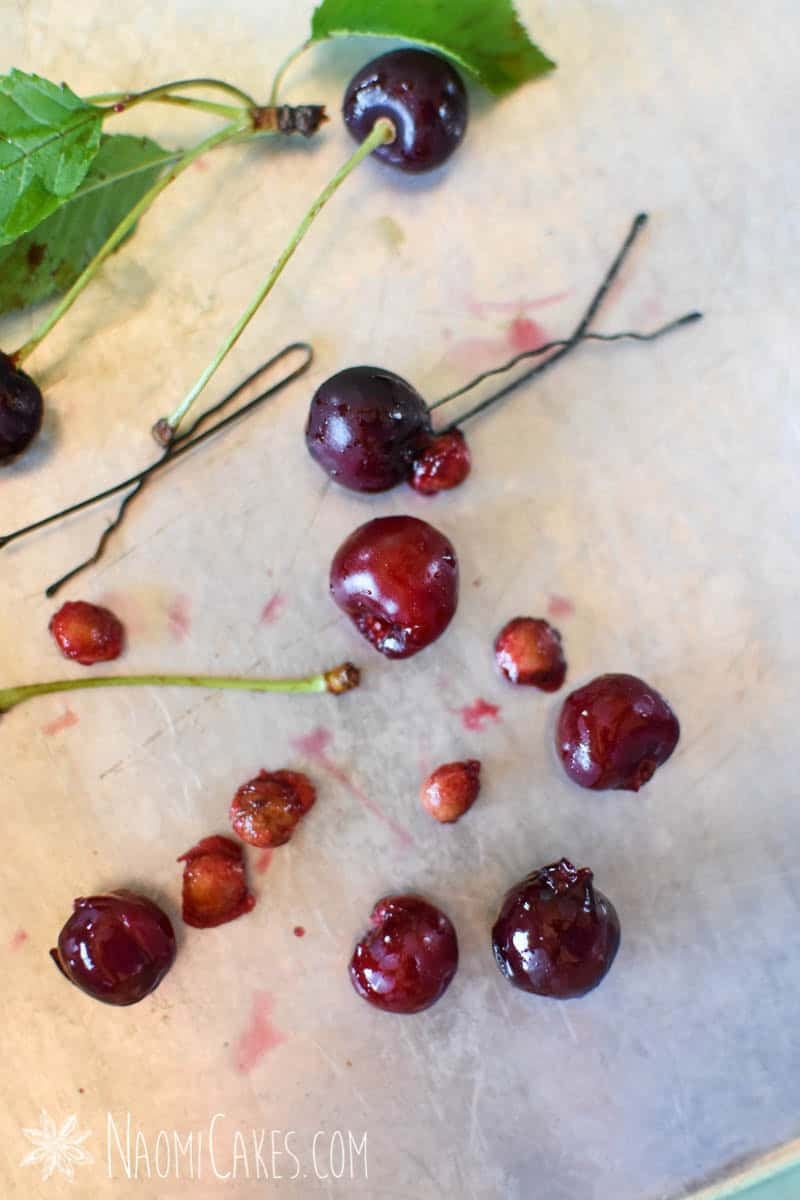
Pull the cherry pit out of the cherry
-
Use the bobby pin to pull the pit out of the cherry.
Preserve the cherries as you like
-
Repeat until all of the cherries have their pits removed. You can store your cherries by freezing them individually to bake things like scones or muffins, or you can can them with this simple method. If you intend to cook them into cherry pie filling or jam later, you can also freeze them in bags or containers in pre-measured amounts so that you can add them to your pot later in the correct amount.*
Recipe Notes
*It’s important to measure the cherries ahead of time for this, since cherries are very juicy and will stick together in one large mass if they have not been frozen individually first.

1 – Stretch open a new bobby pin
Open your bobby pin until it makes a wide “V” (to widen the tip a little bit).

2 – Fold the pin backwards
Fold the bobby pin backwards so that you get sort of a ribbon shape (similar to a “Y”), with a loop on one end and two tails on the other.

3 – Insert the pin into the stem opening
Hold your homemade cherry pitter on the tails of the bobby pin (they should provide you a little extra grip), and insert the looped end of the pin into the part of the cherry where the stem used to be.

4 – Hook the pitter around the cherry stone
Use the looped end of the bobby pin to hook around the cherry pit.
5 – Pull the cherry pit out of the cherry
Use the bobby pin to pull the pit out of the cherry.

6 – Preserve the cherries as you like
Repeat until all of the cherries have their pits removed. You can store your cherries by freezing them individually to bake things like scones or muffins, or you can can them with this simple method. If you intend to cook them into cherry pie filling or jam later, you can also freeze them in bags or containers in pre-measured amounts so that you can add them to your pot later in the correct amount.*
*It’s important to measure the cherries ahead of time for this, since cherries are very juicy and will stick together in one large mass if they have not been frozen individually first.


If you like this tutorial, you may also like:
- Freezing Apples for Baking and Cooking
- How to Freeze Fruit
- Basic Canning Method [Hot Liquids]
- How to Cut a Pomegranate
That’s all for today! I hope this tutorial was helpful, and if you have any questions (as always), feel free to drop them in the comments below!
Happy cherry pitting,
Naomi
This post contains affiliate links.